I’m happy with my new organization where I work on step-outs three to four days and then work on the string over the next two days. I’m not perfect at it yet, but it is helpful. 
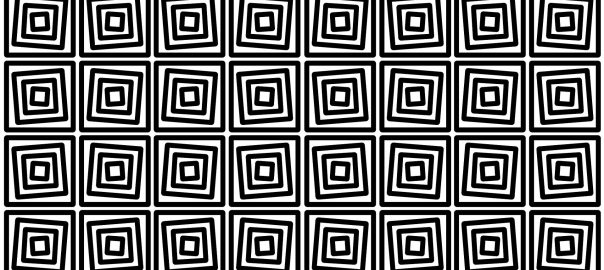
The tangles this week are Ravel, Cogwheel, Cirquital, Rixty, Courant, Rumpus, and Chillon. Thankfully I had three of these already down, so that just left Ravel, Cogwheel, Courant, and Rumpus.
I have to tell you Rumpus kicked my rump. I was struggling to follow the step-out, as it appears that step 4 was rotated a bit. Then someone on the facebook group shared this youtube video where Maria talks through tangling Rumpus. NOW I get it. It is quite lovely and I didn’t do it justice but at least now I know how to tangle it.
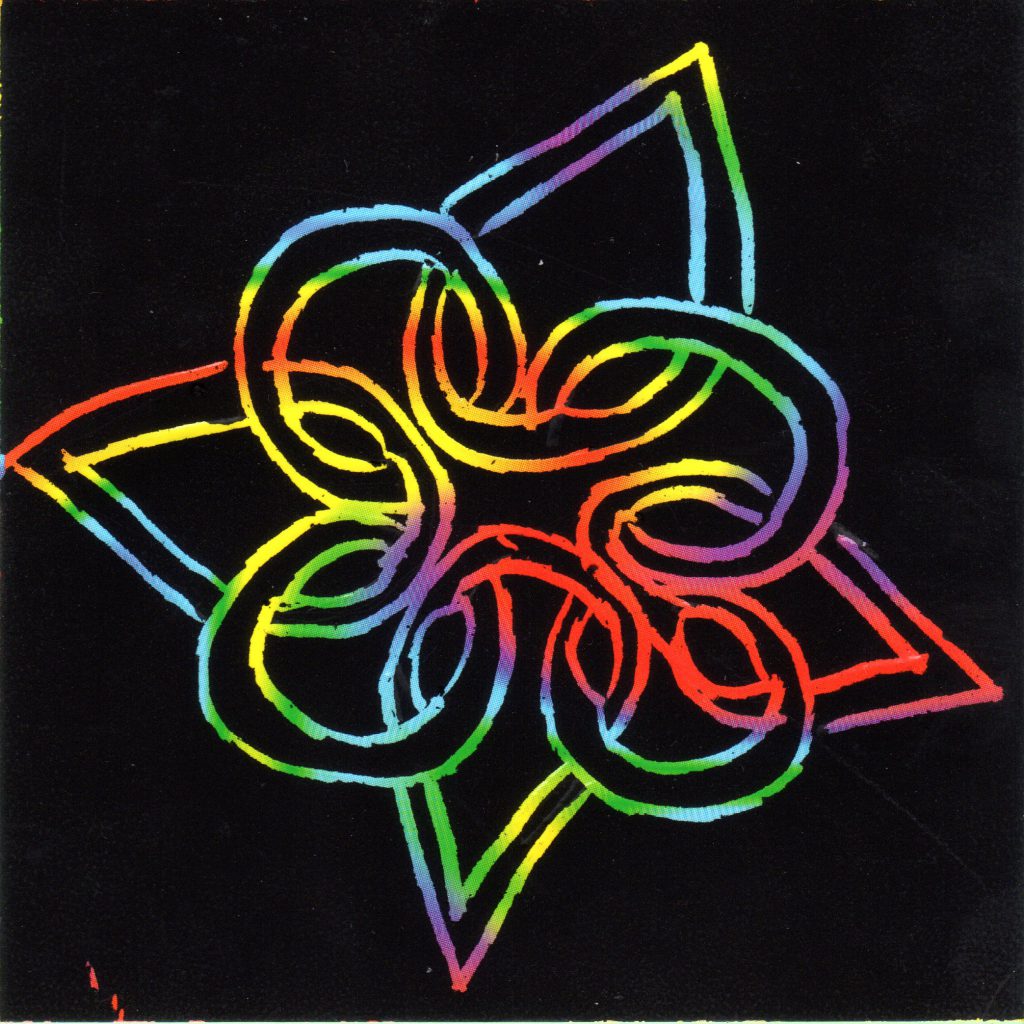
Alice shared the step-out by Holly Atwater for Chillon. There is one variation there that looks soooooo nice! It has a completely different look. (It’s the one on the upper right hand corner.)
I have to say that once again, there are a couple tangles that resemble each other so much that I would probably not name them correctly if I saw them in a tile or zia. This week those two tangles are courant and cogwheel. Now, if you search for cogwheel, the one Melinda Barlow does looks nothing like the official step-out. I saw on the group that someone said hers is called Wheel Cog . . . I don’t know who the creator of that one is though.
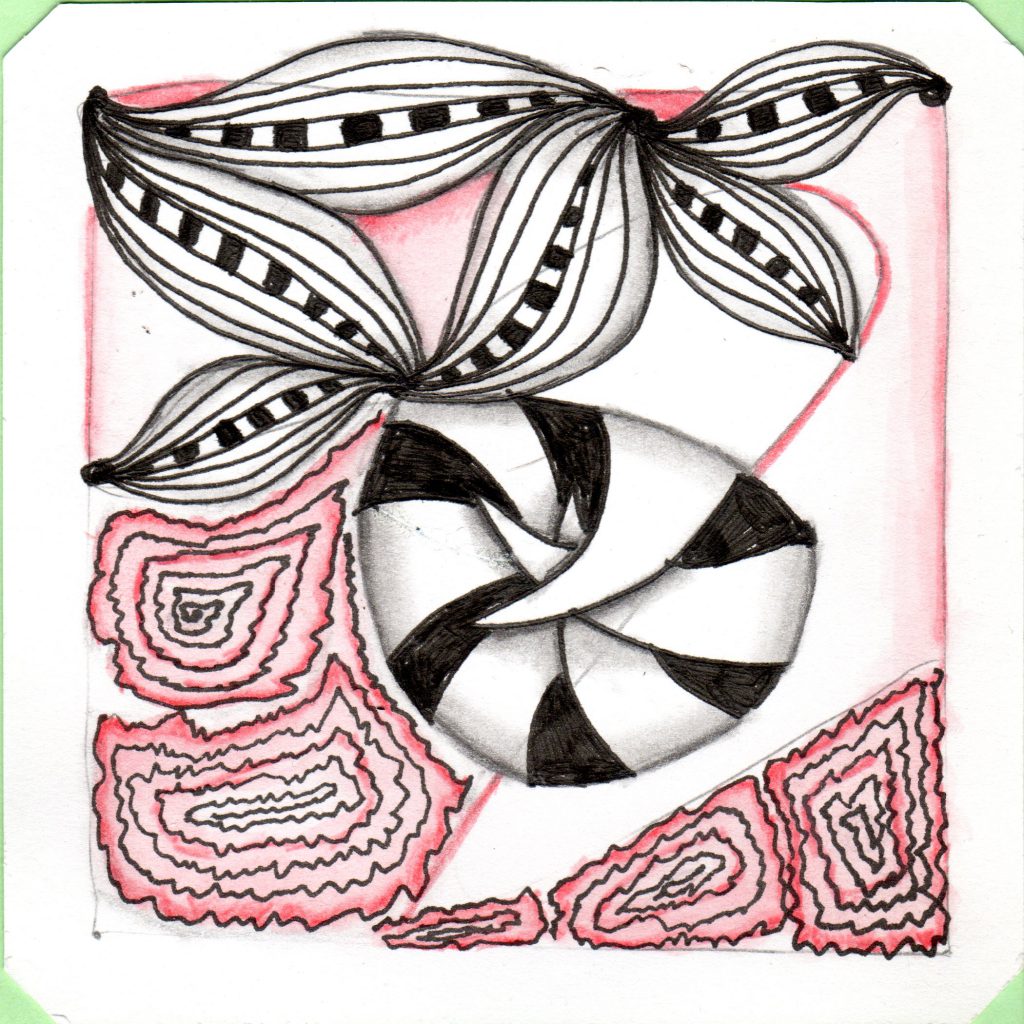
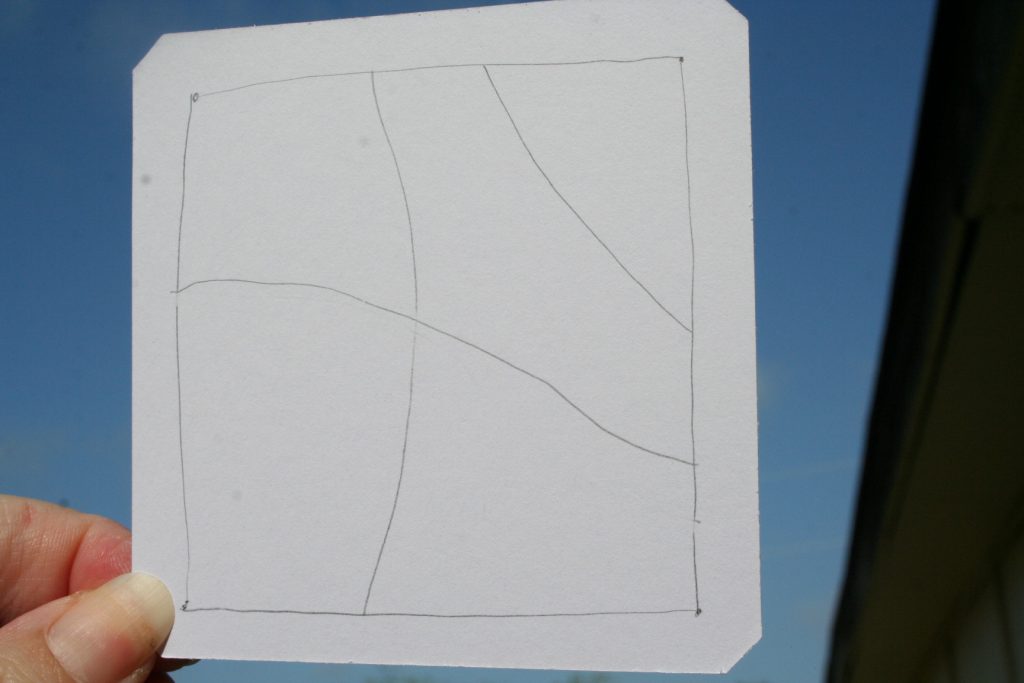
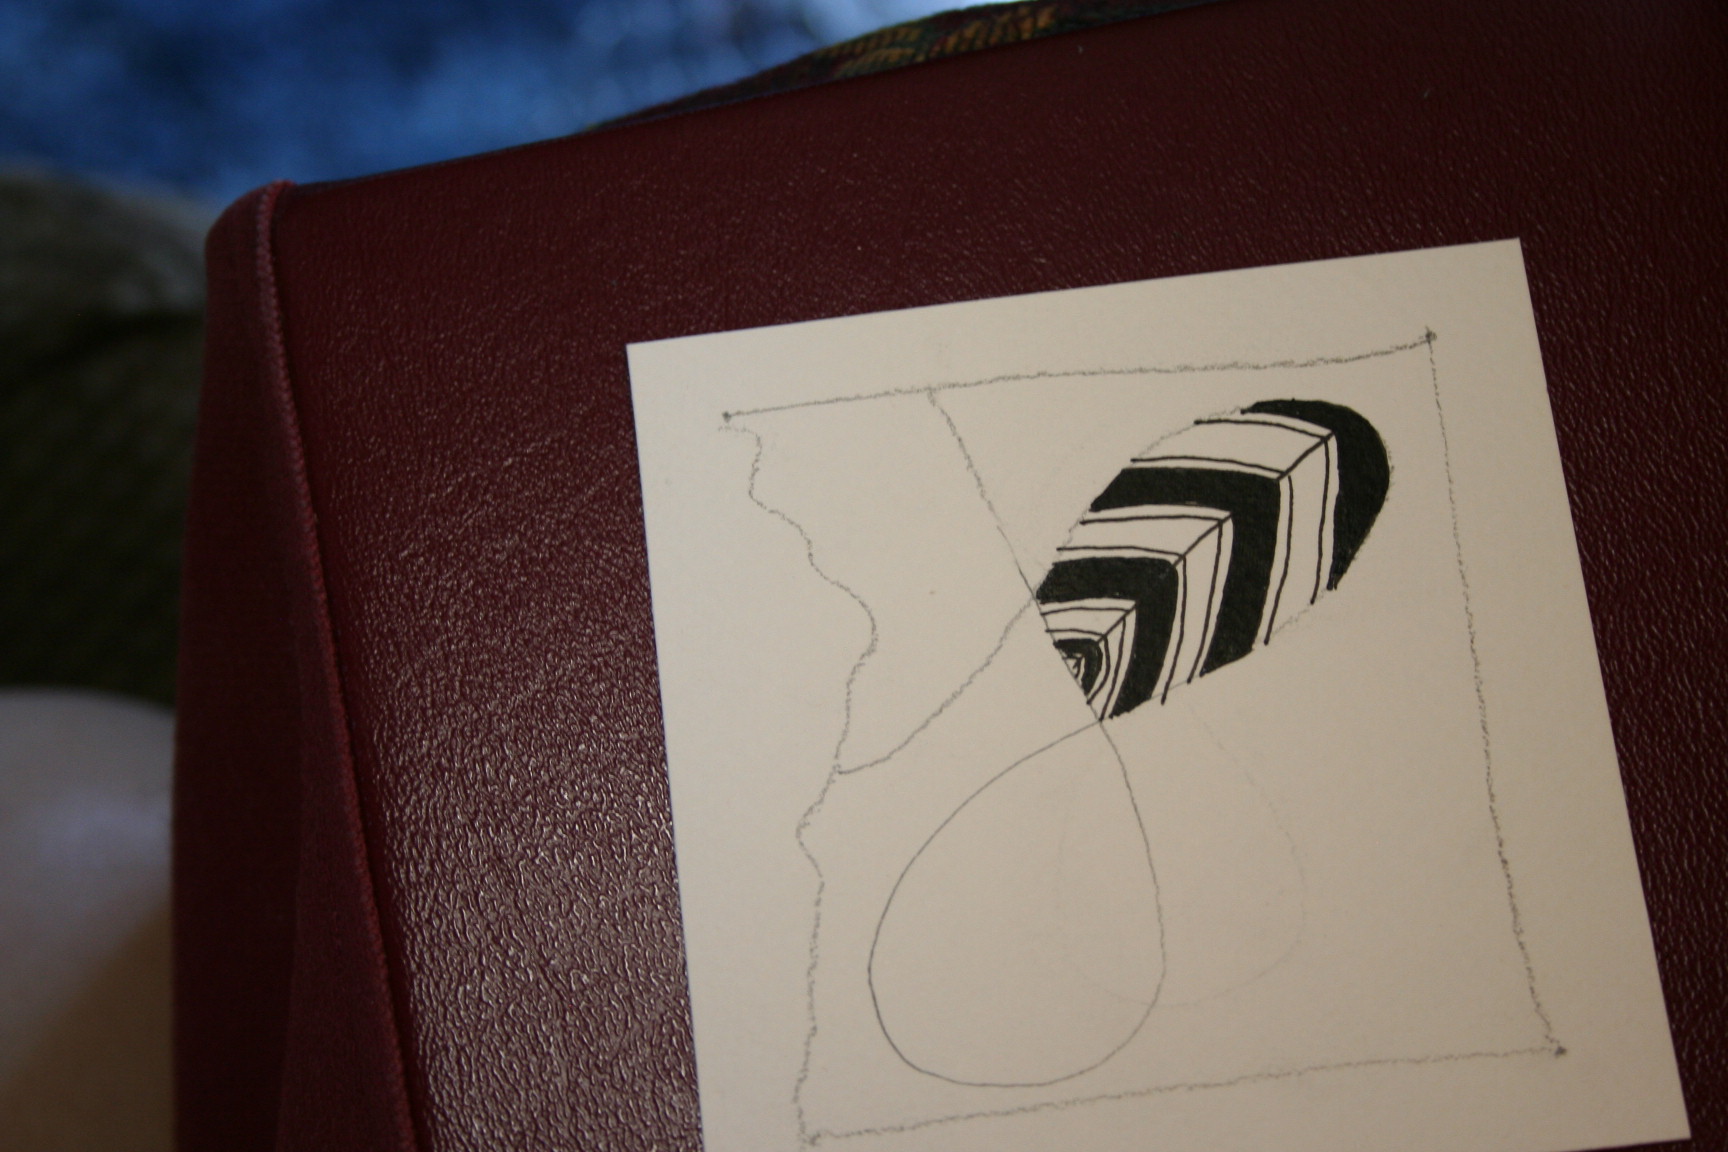
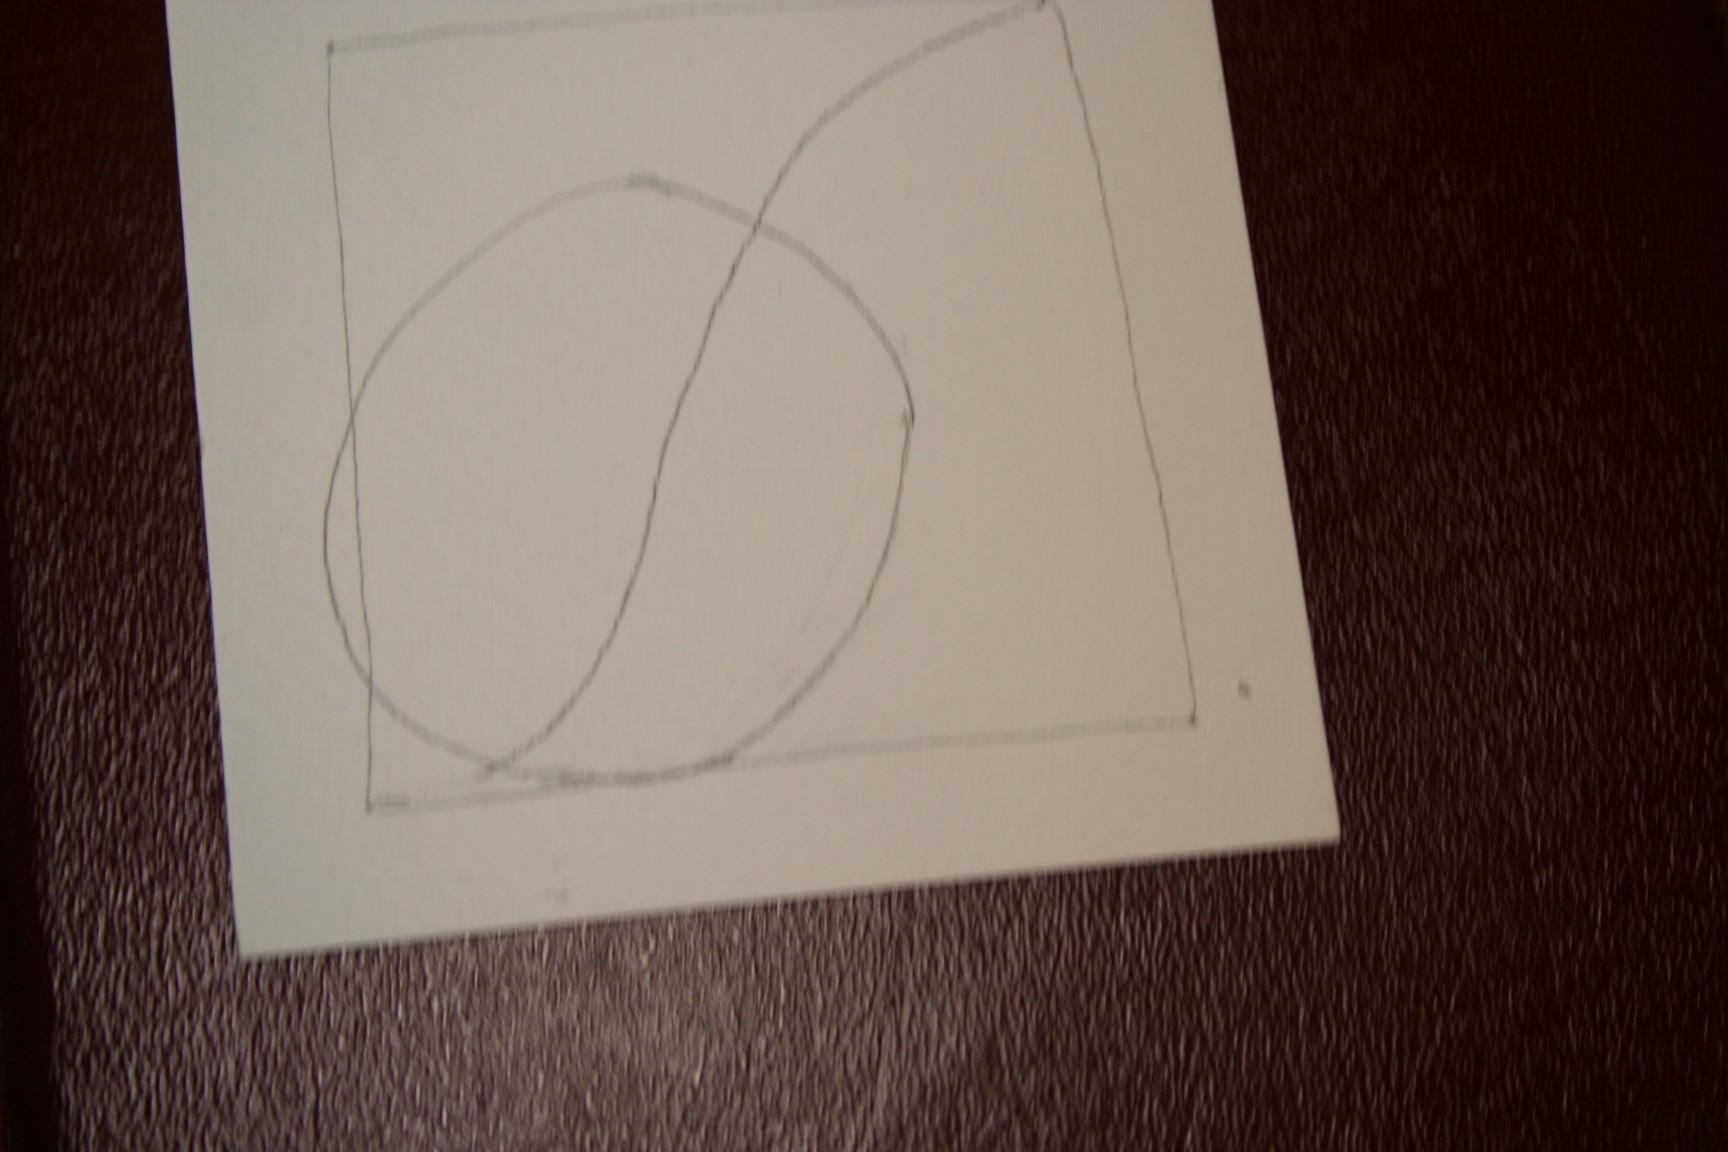
Well, this week’s string is a blind string. That means to put your pencil on your tile, close your eyes and draw a string. I do start by putting my dots and borders first though. As usual, I forgot to take a picture of my string before I started tangling.
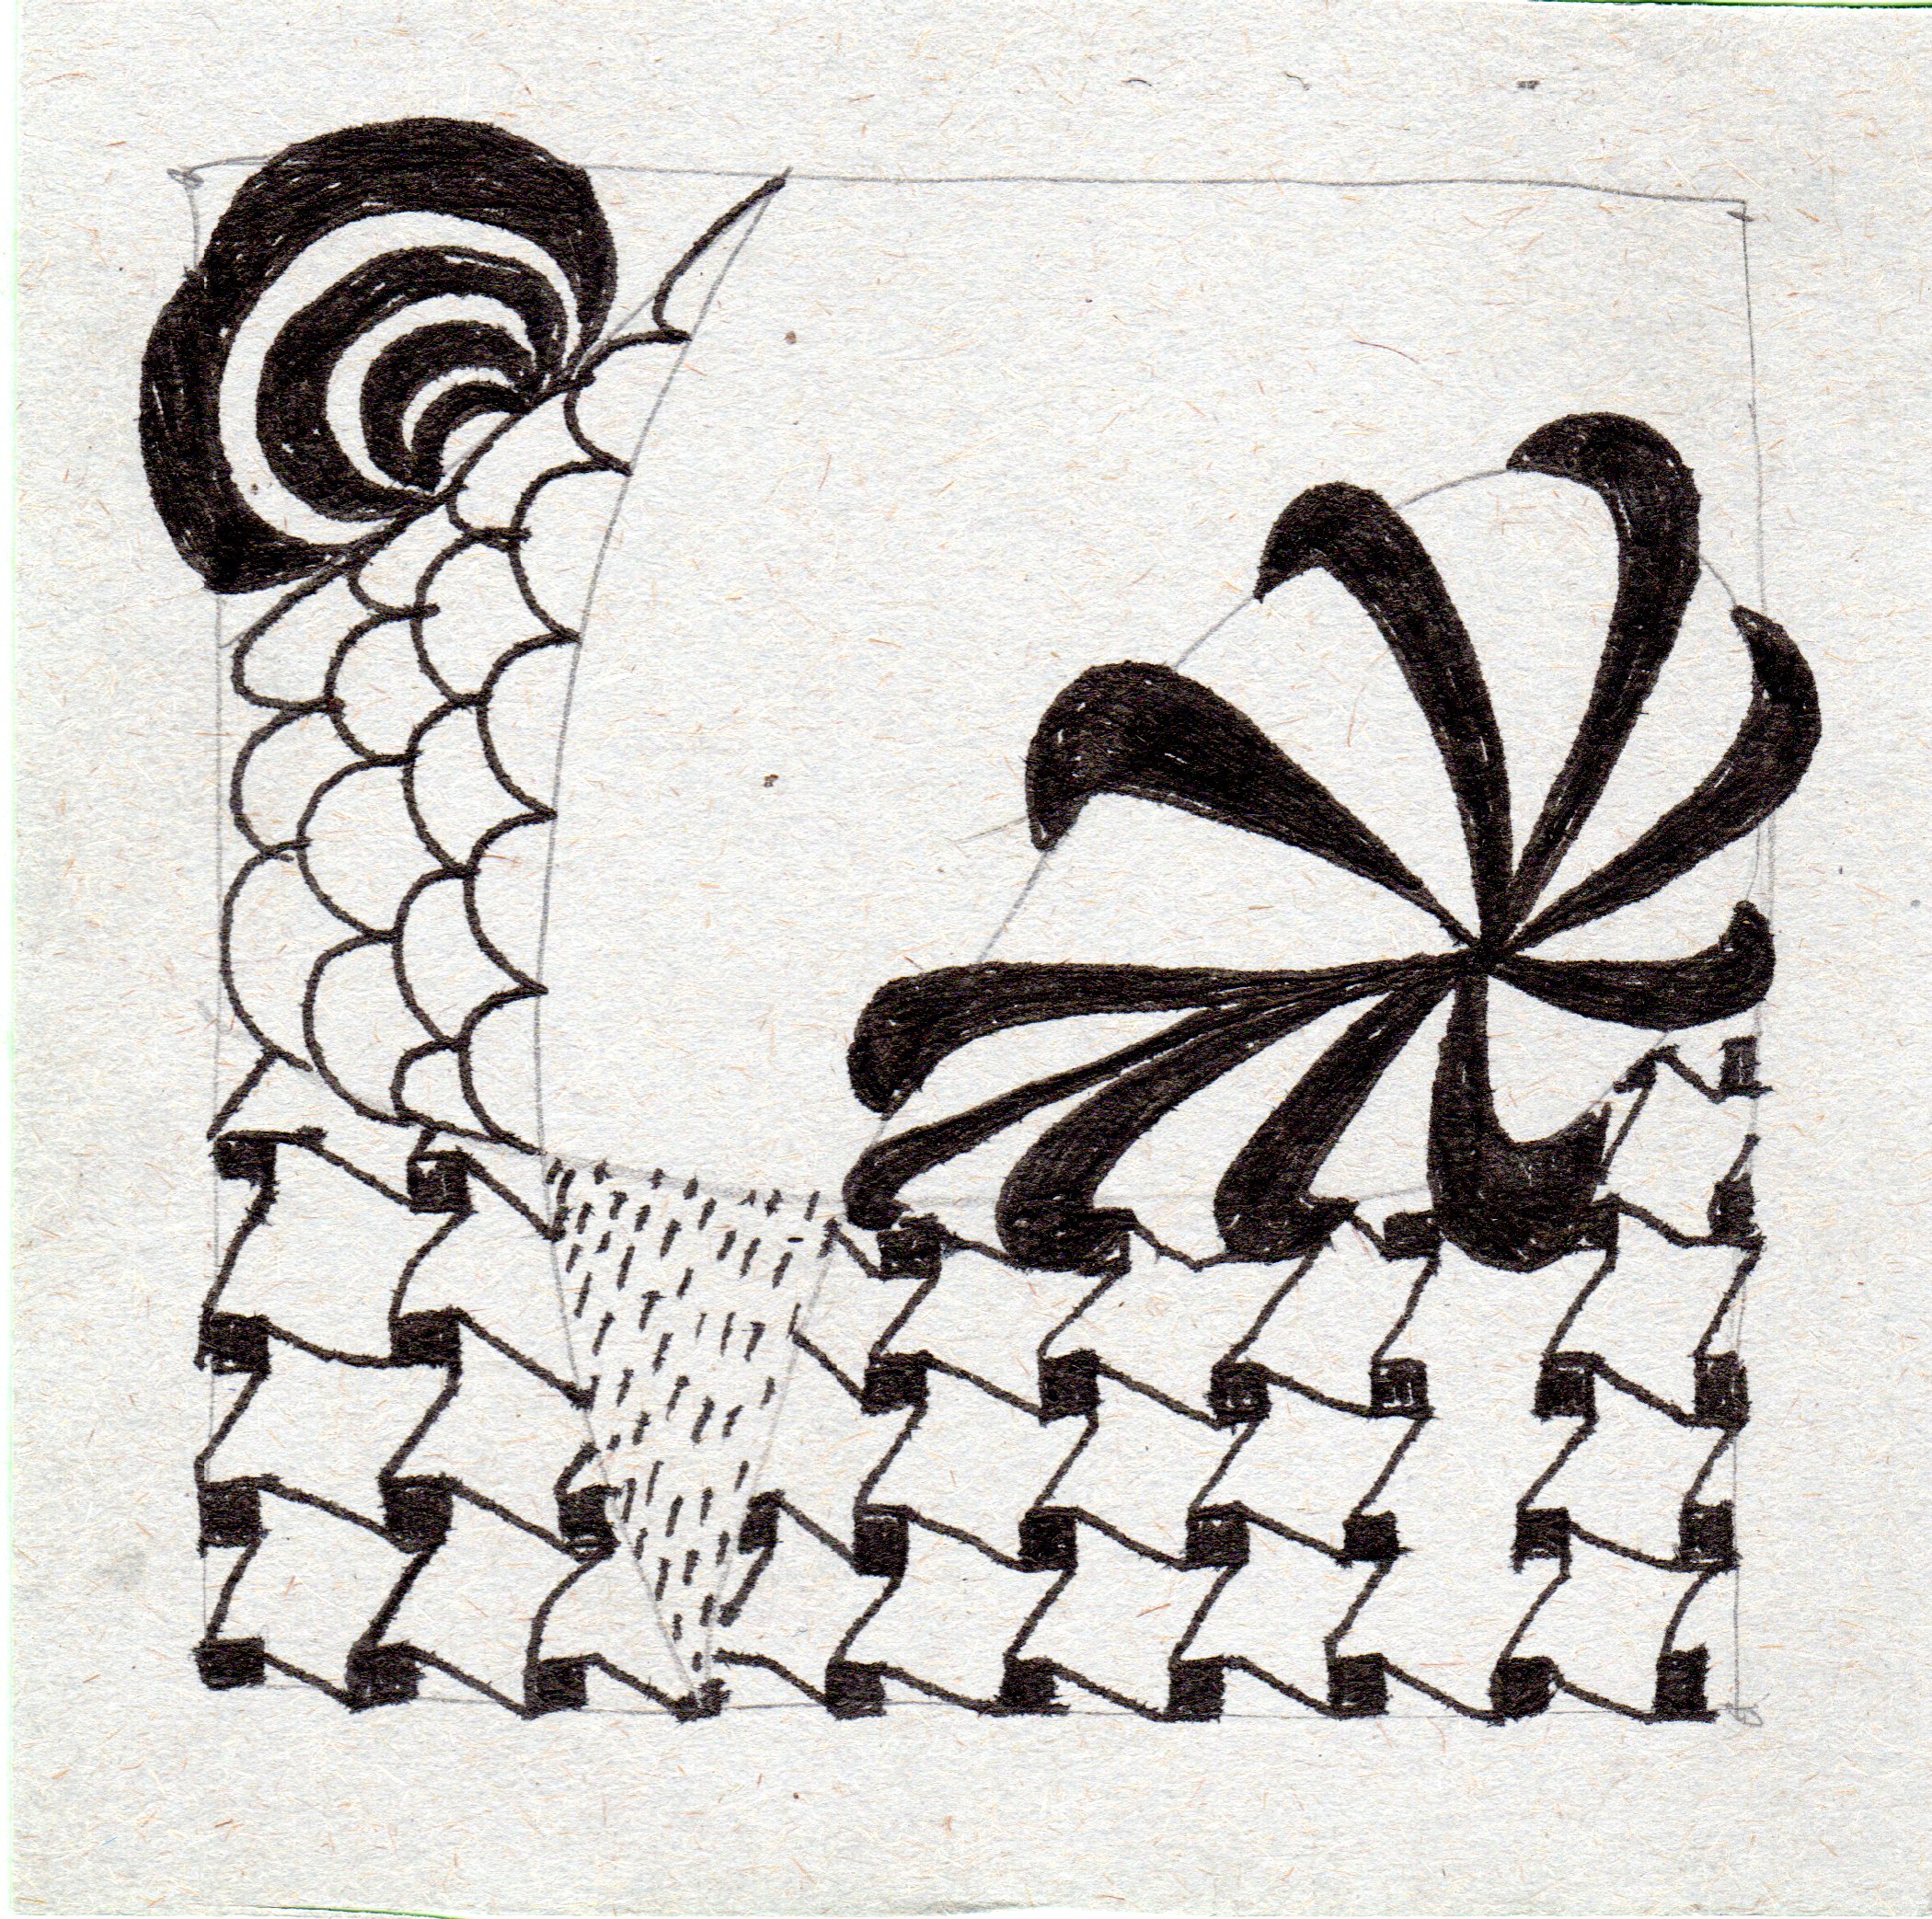
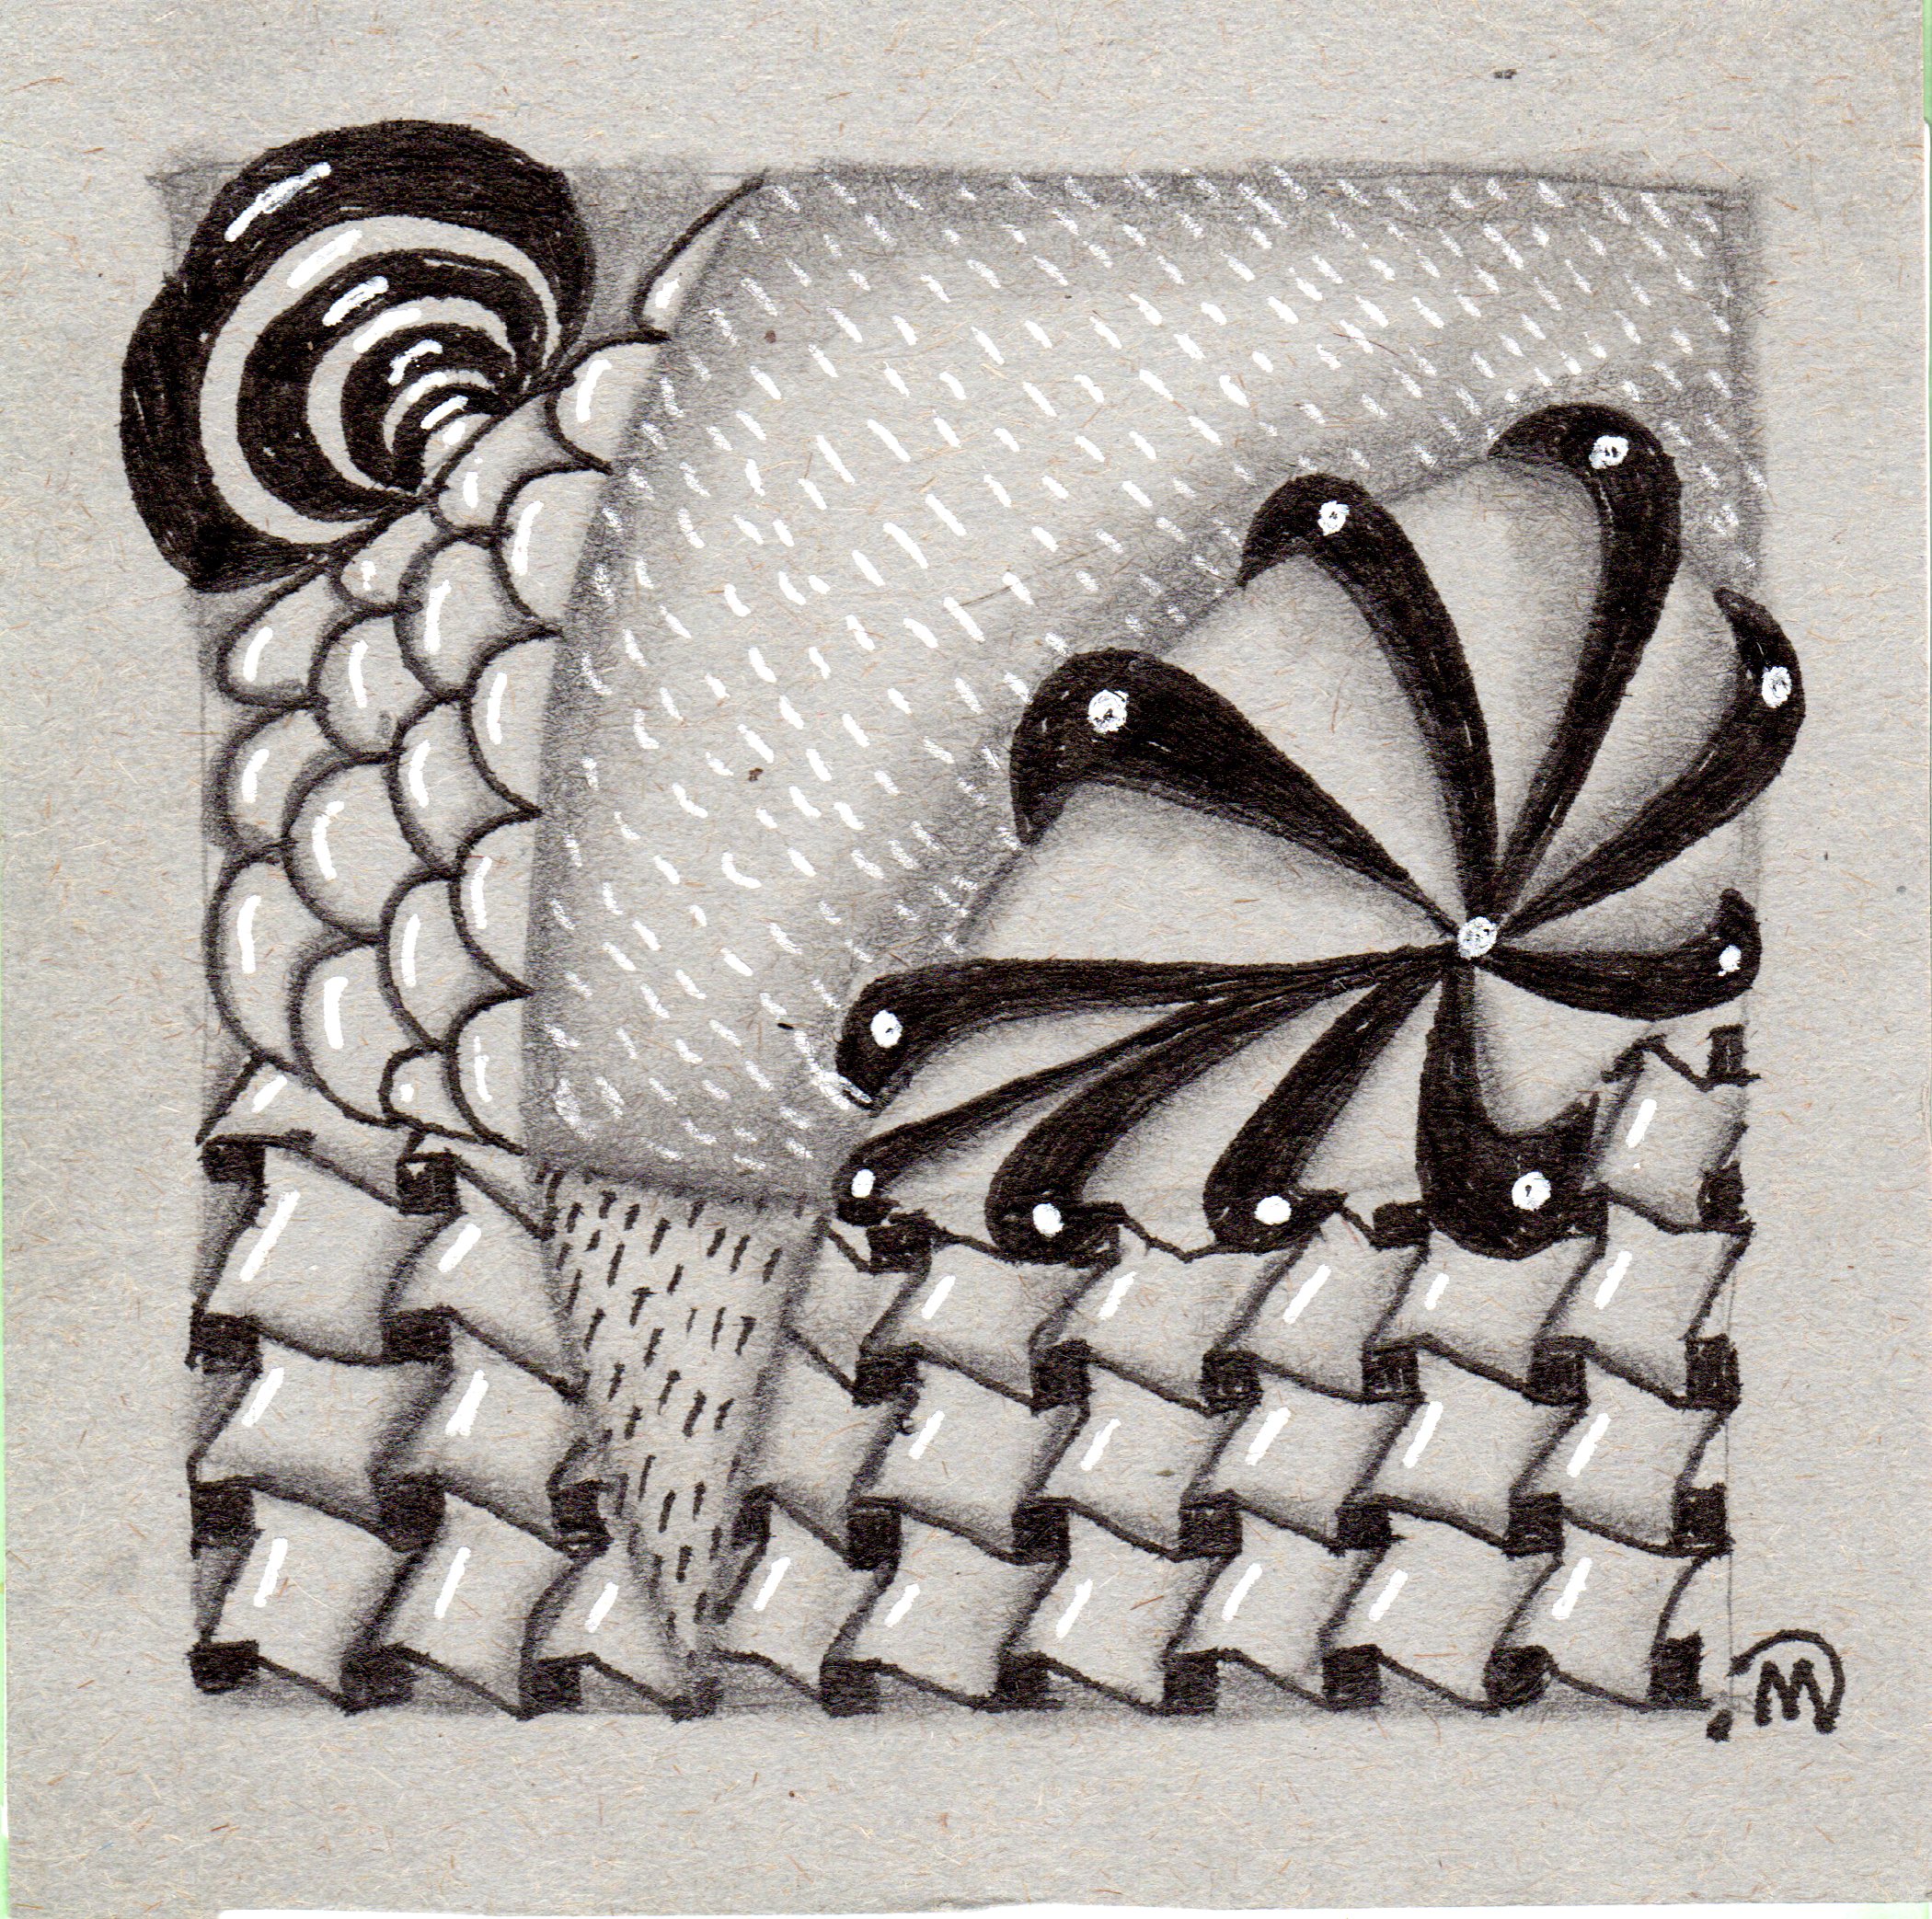
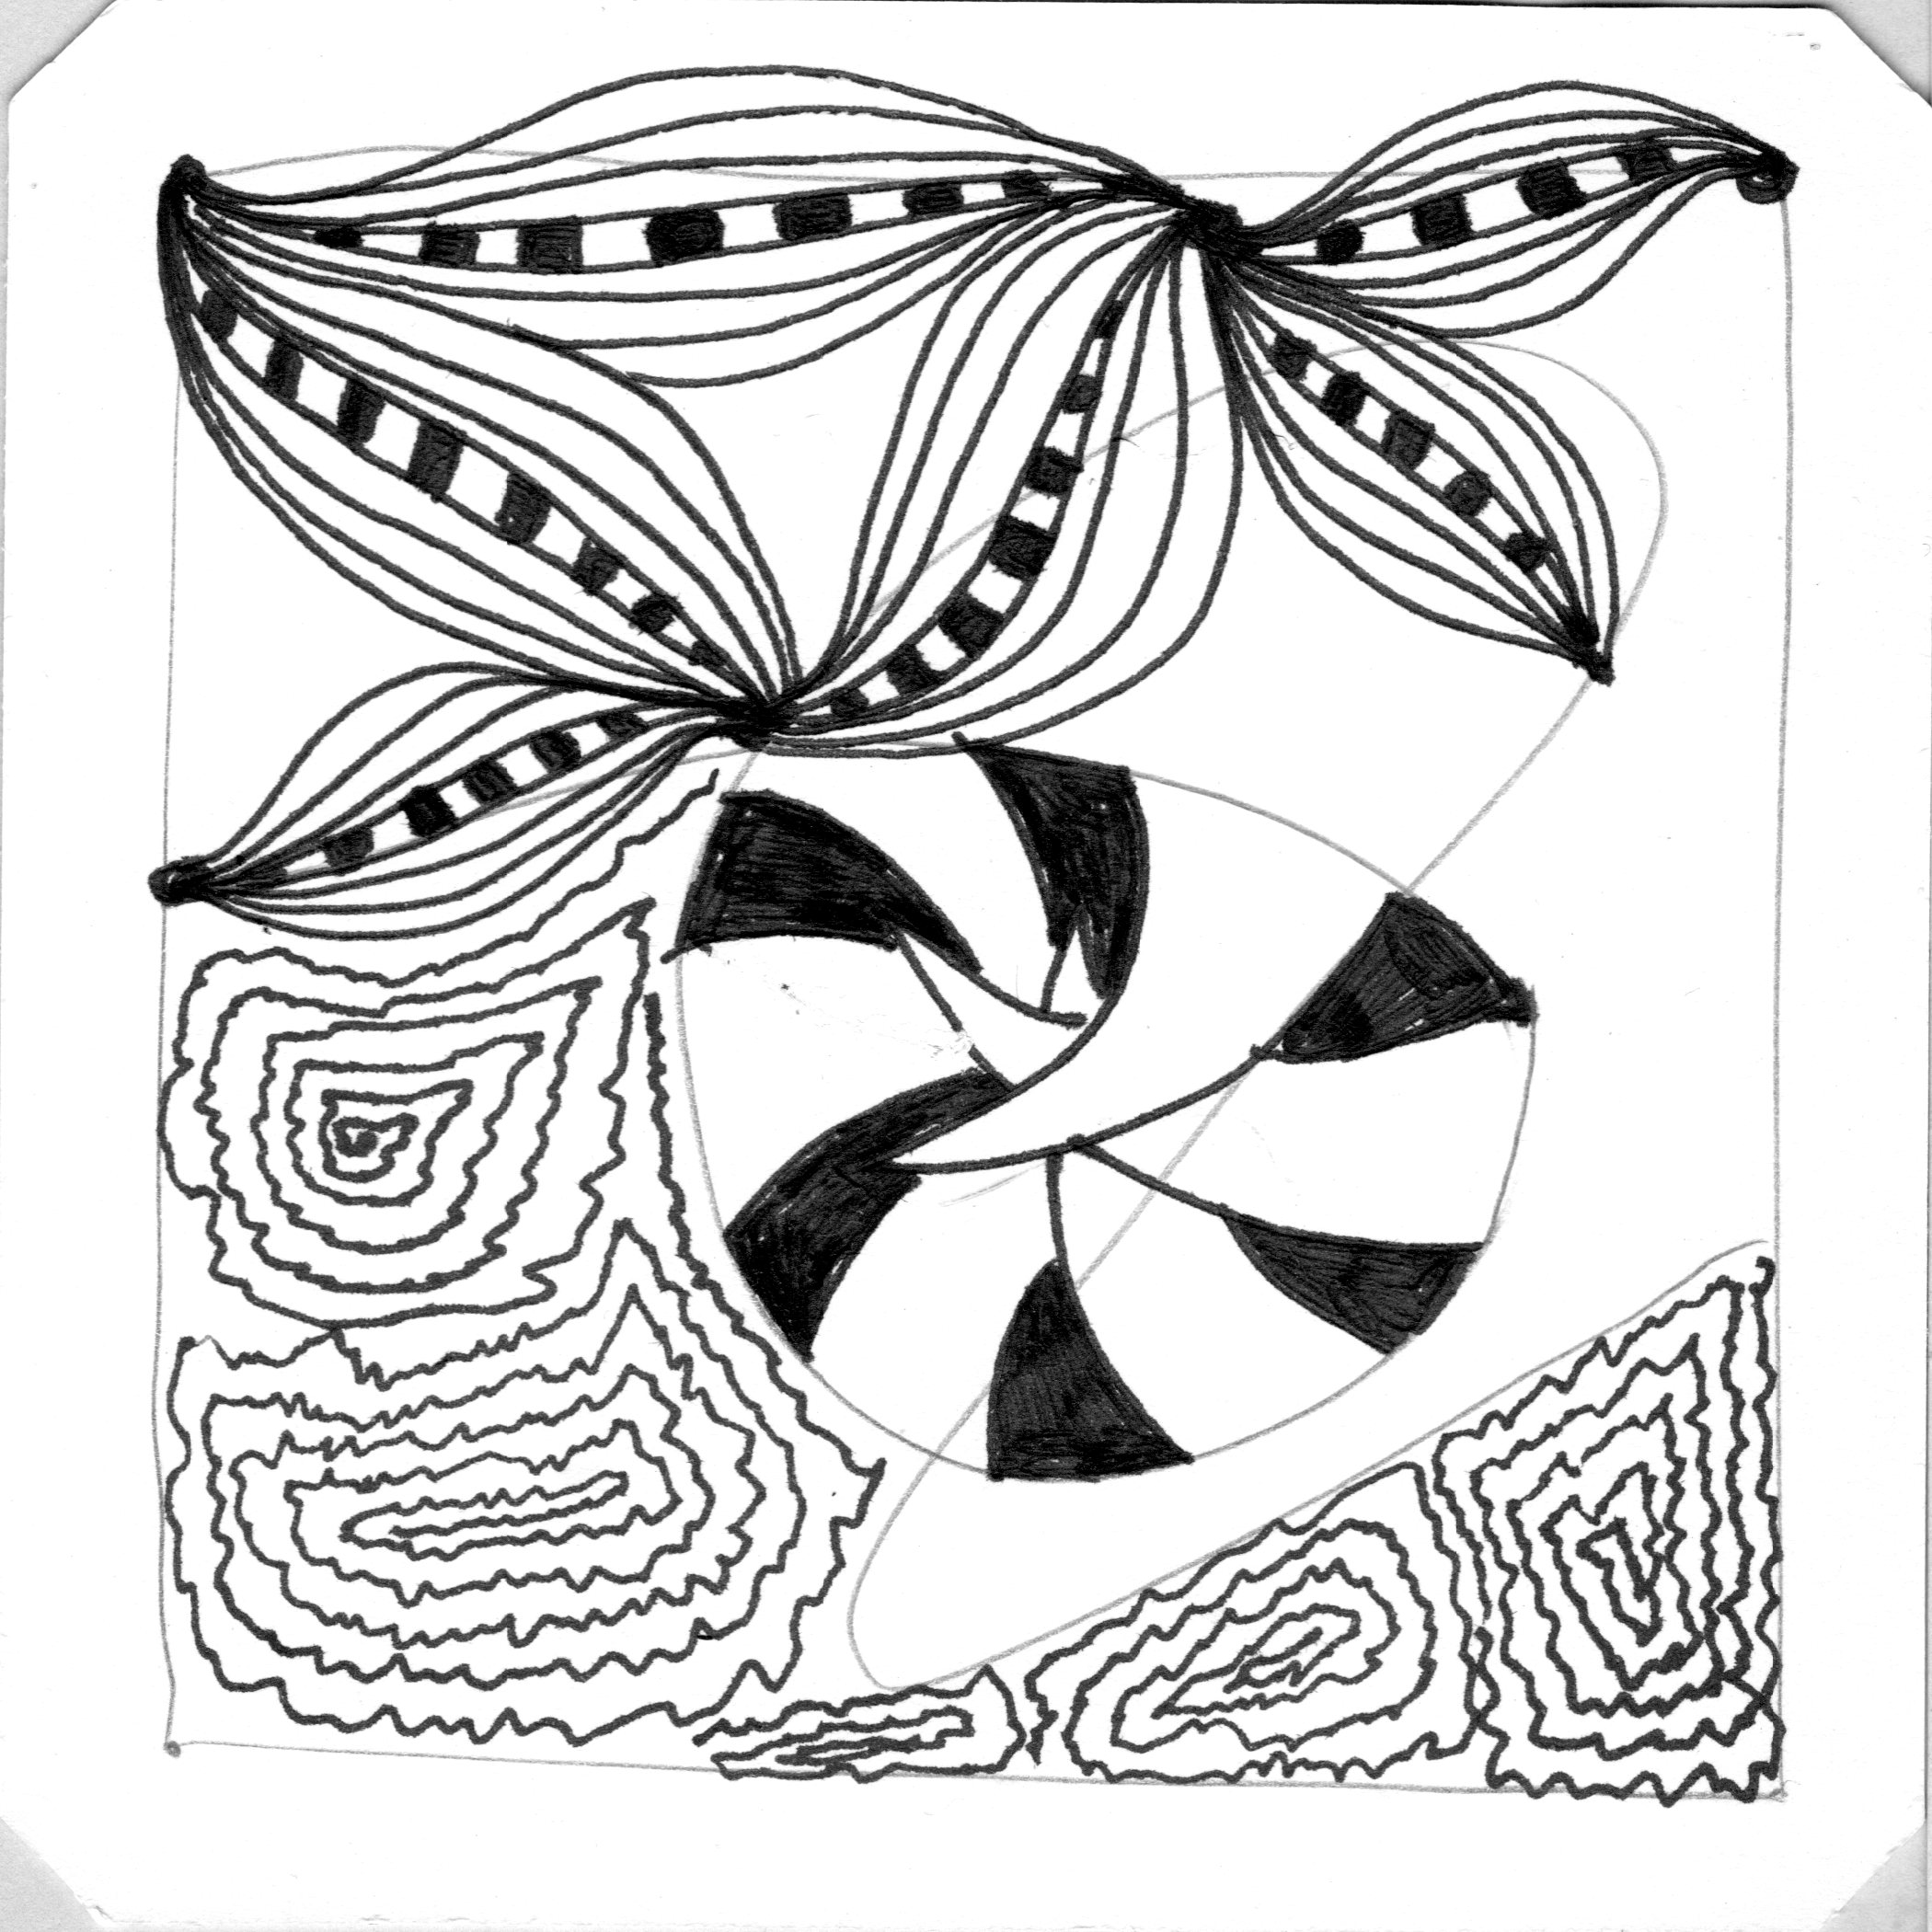
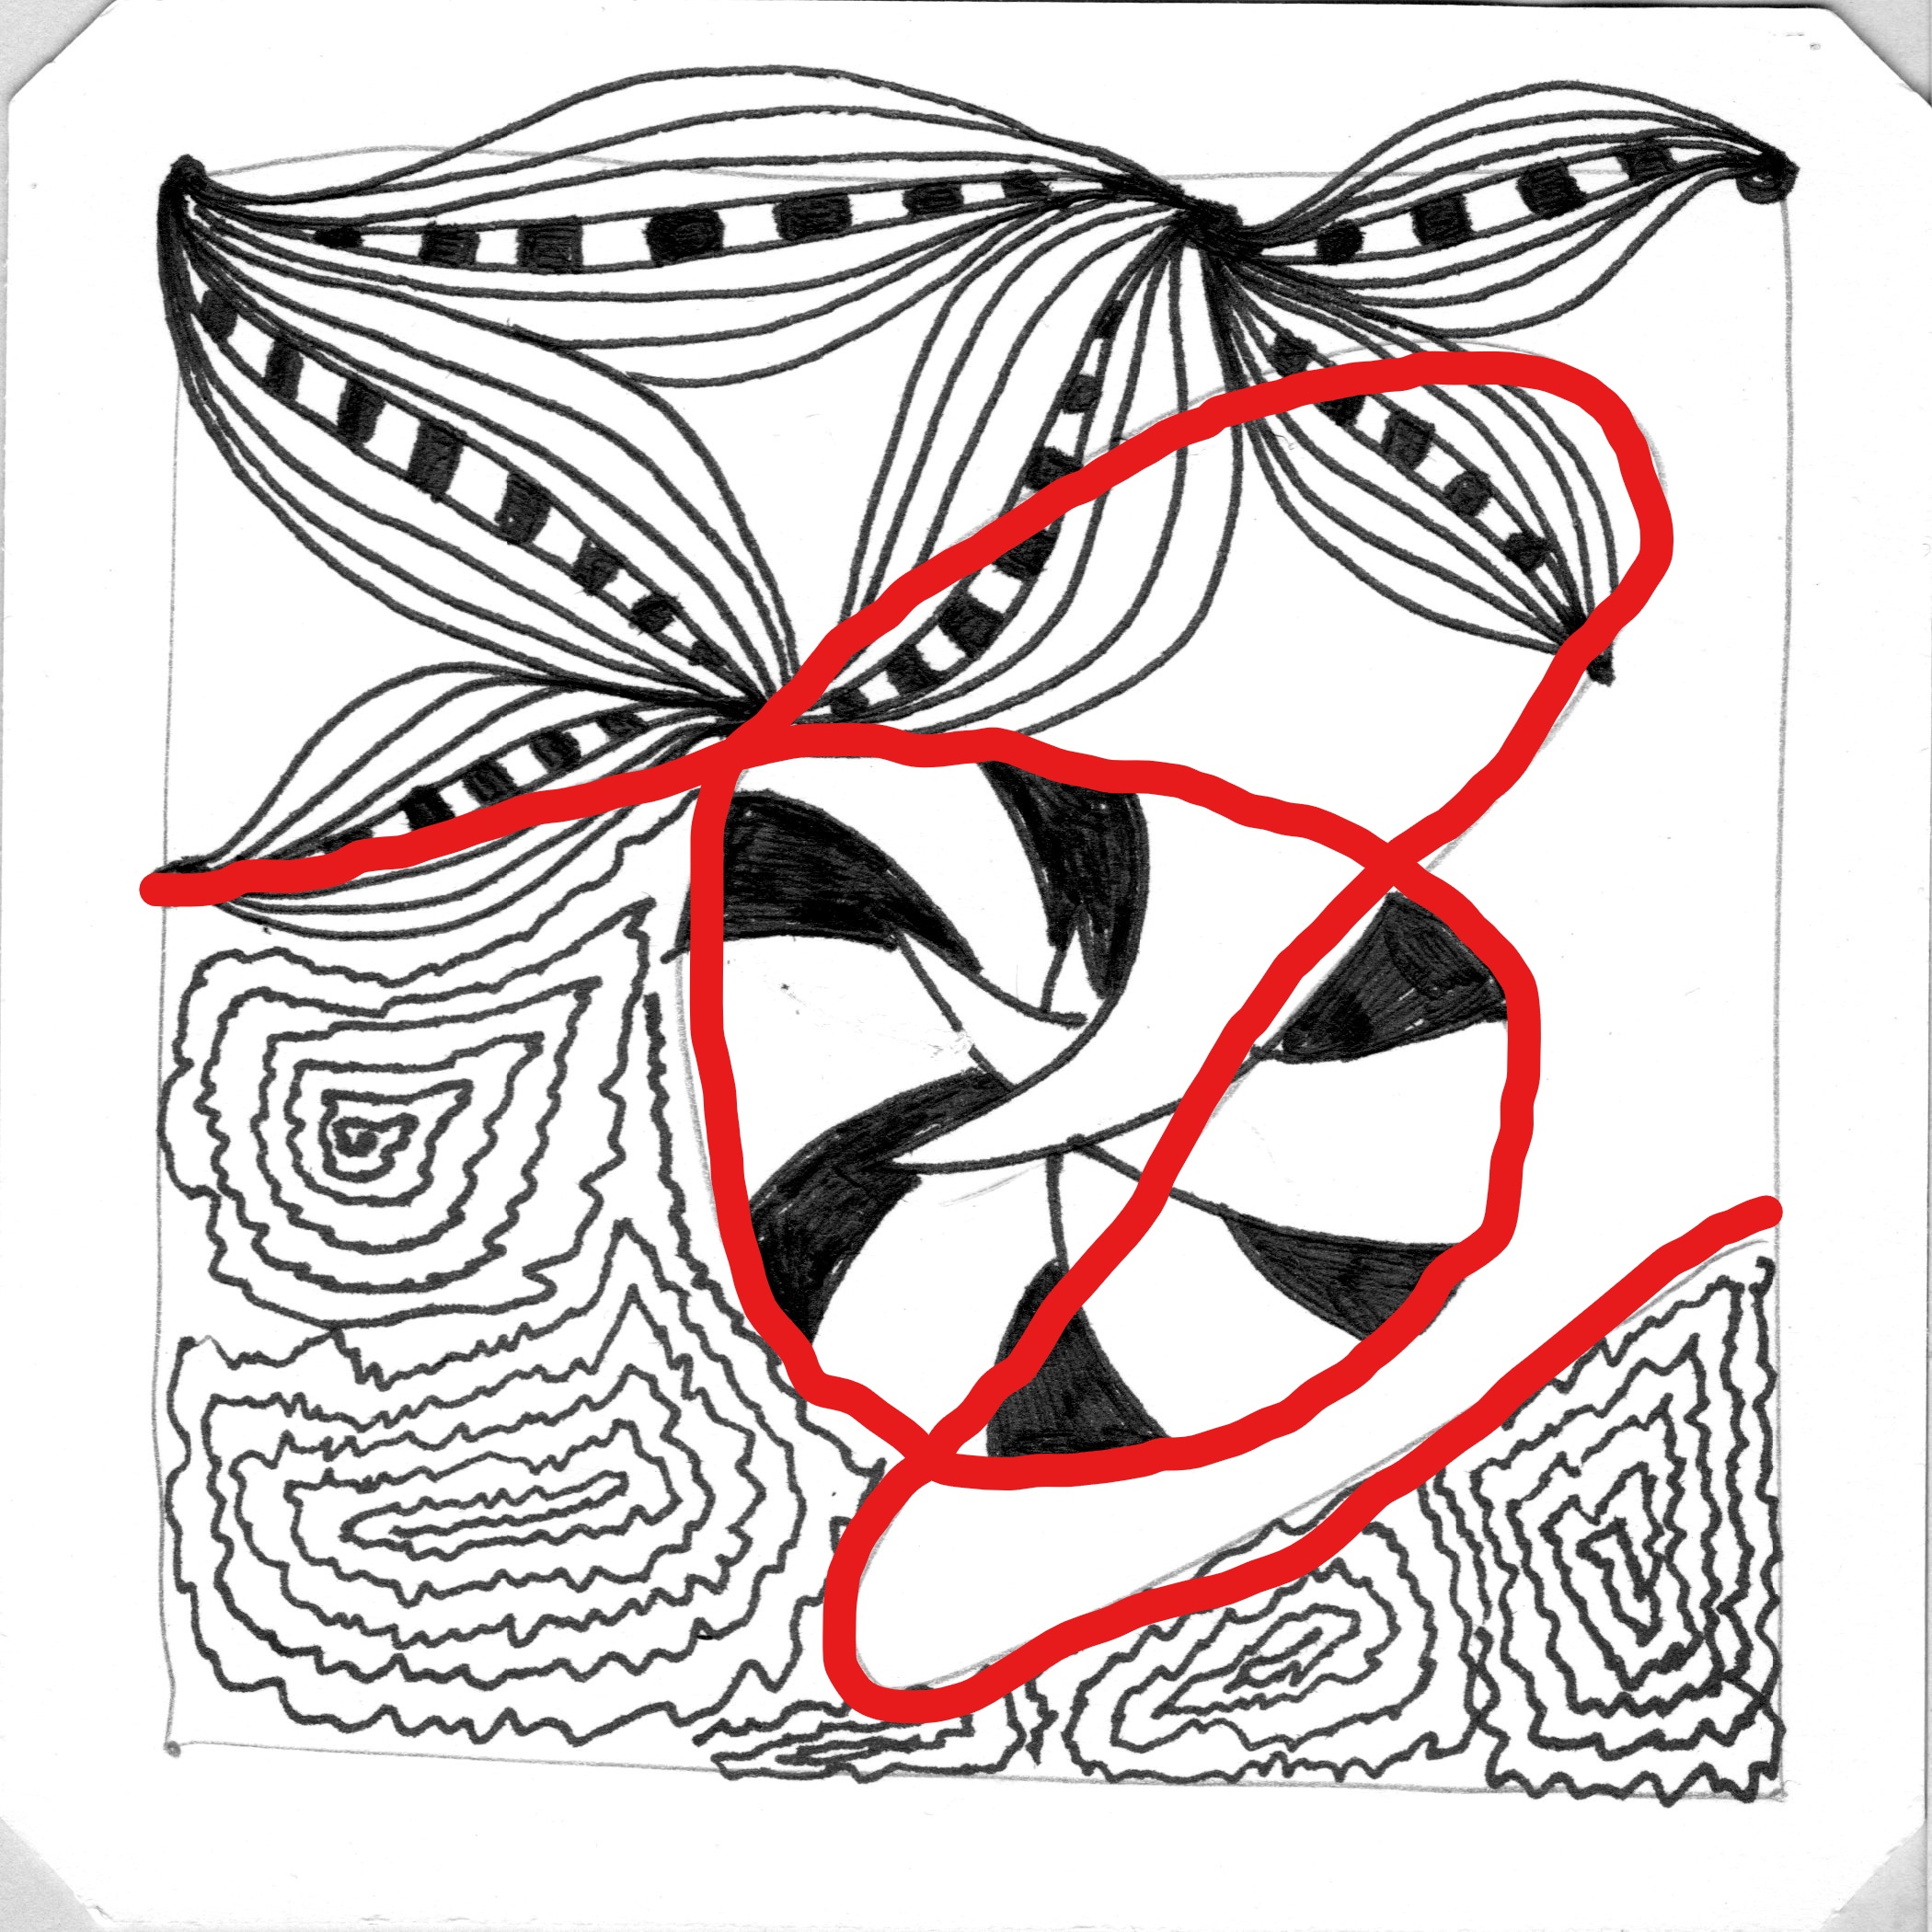
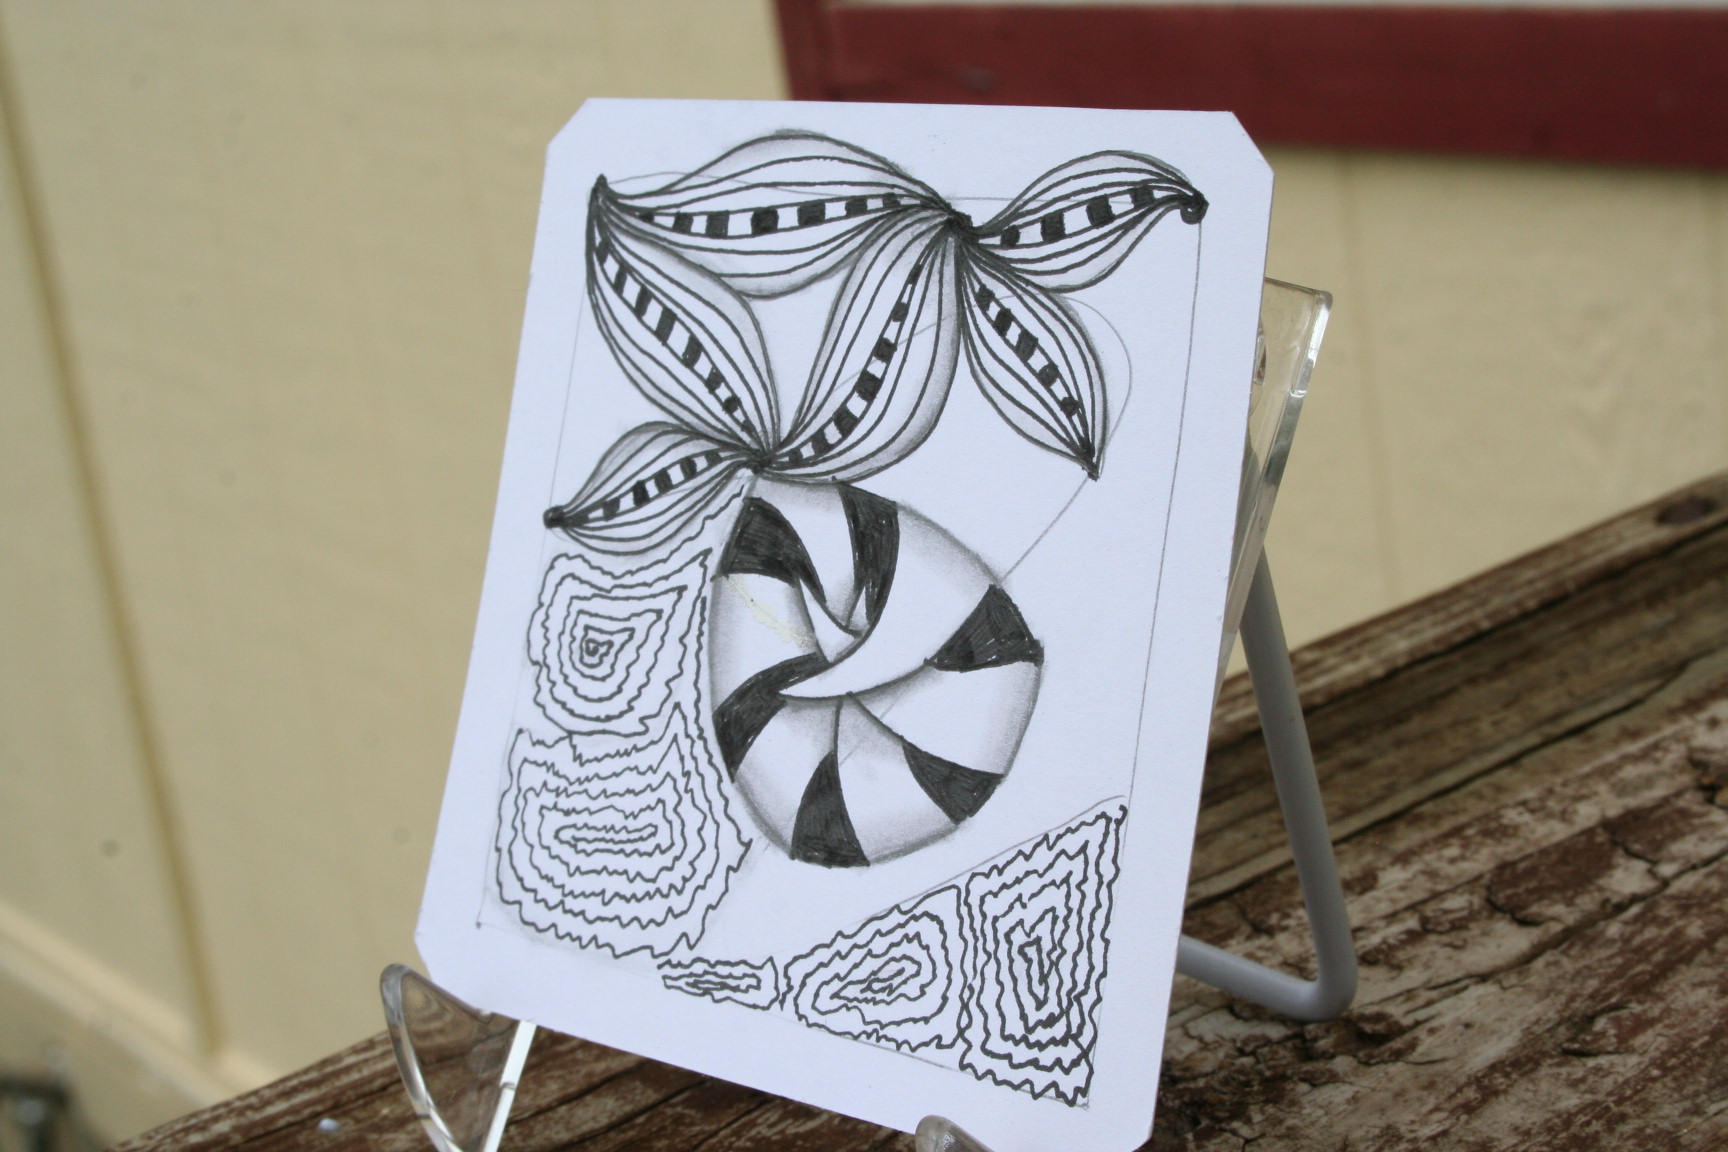
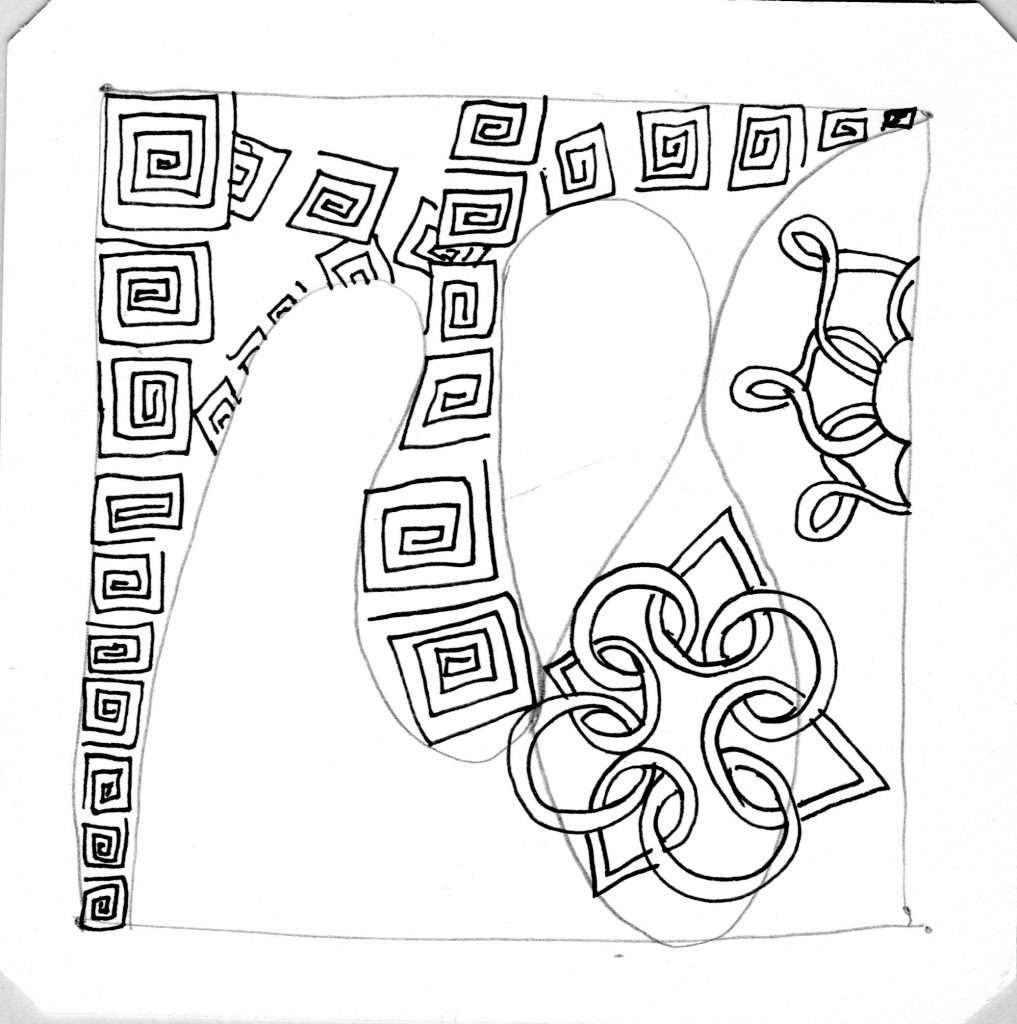
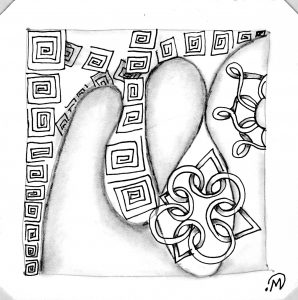
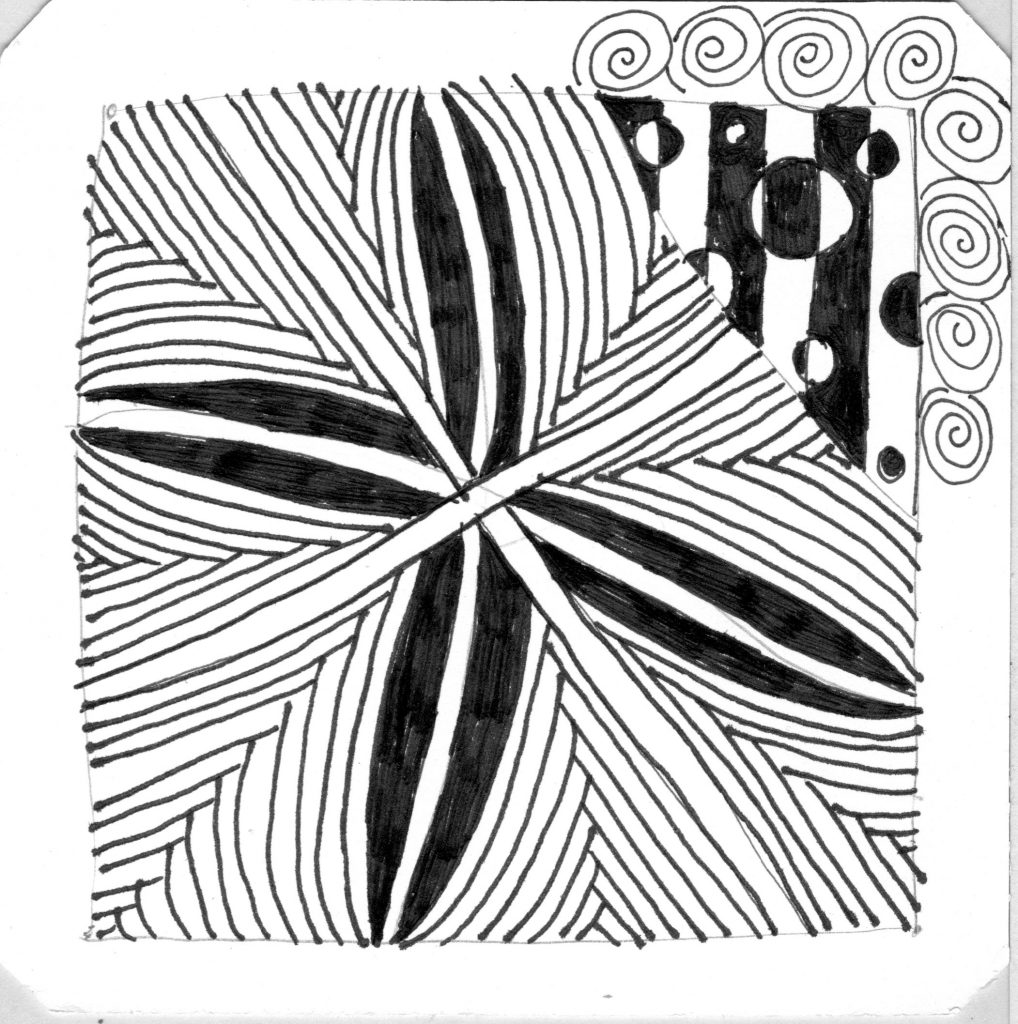
Here is the scan of my tile before shading.

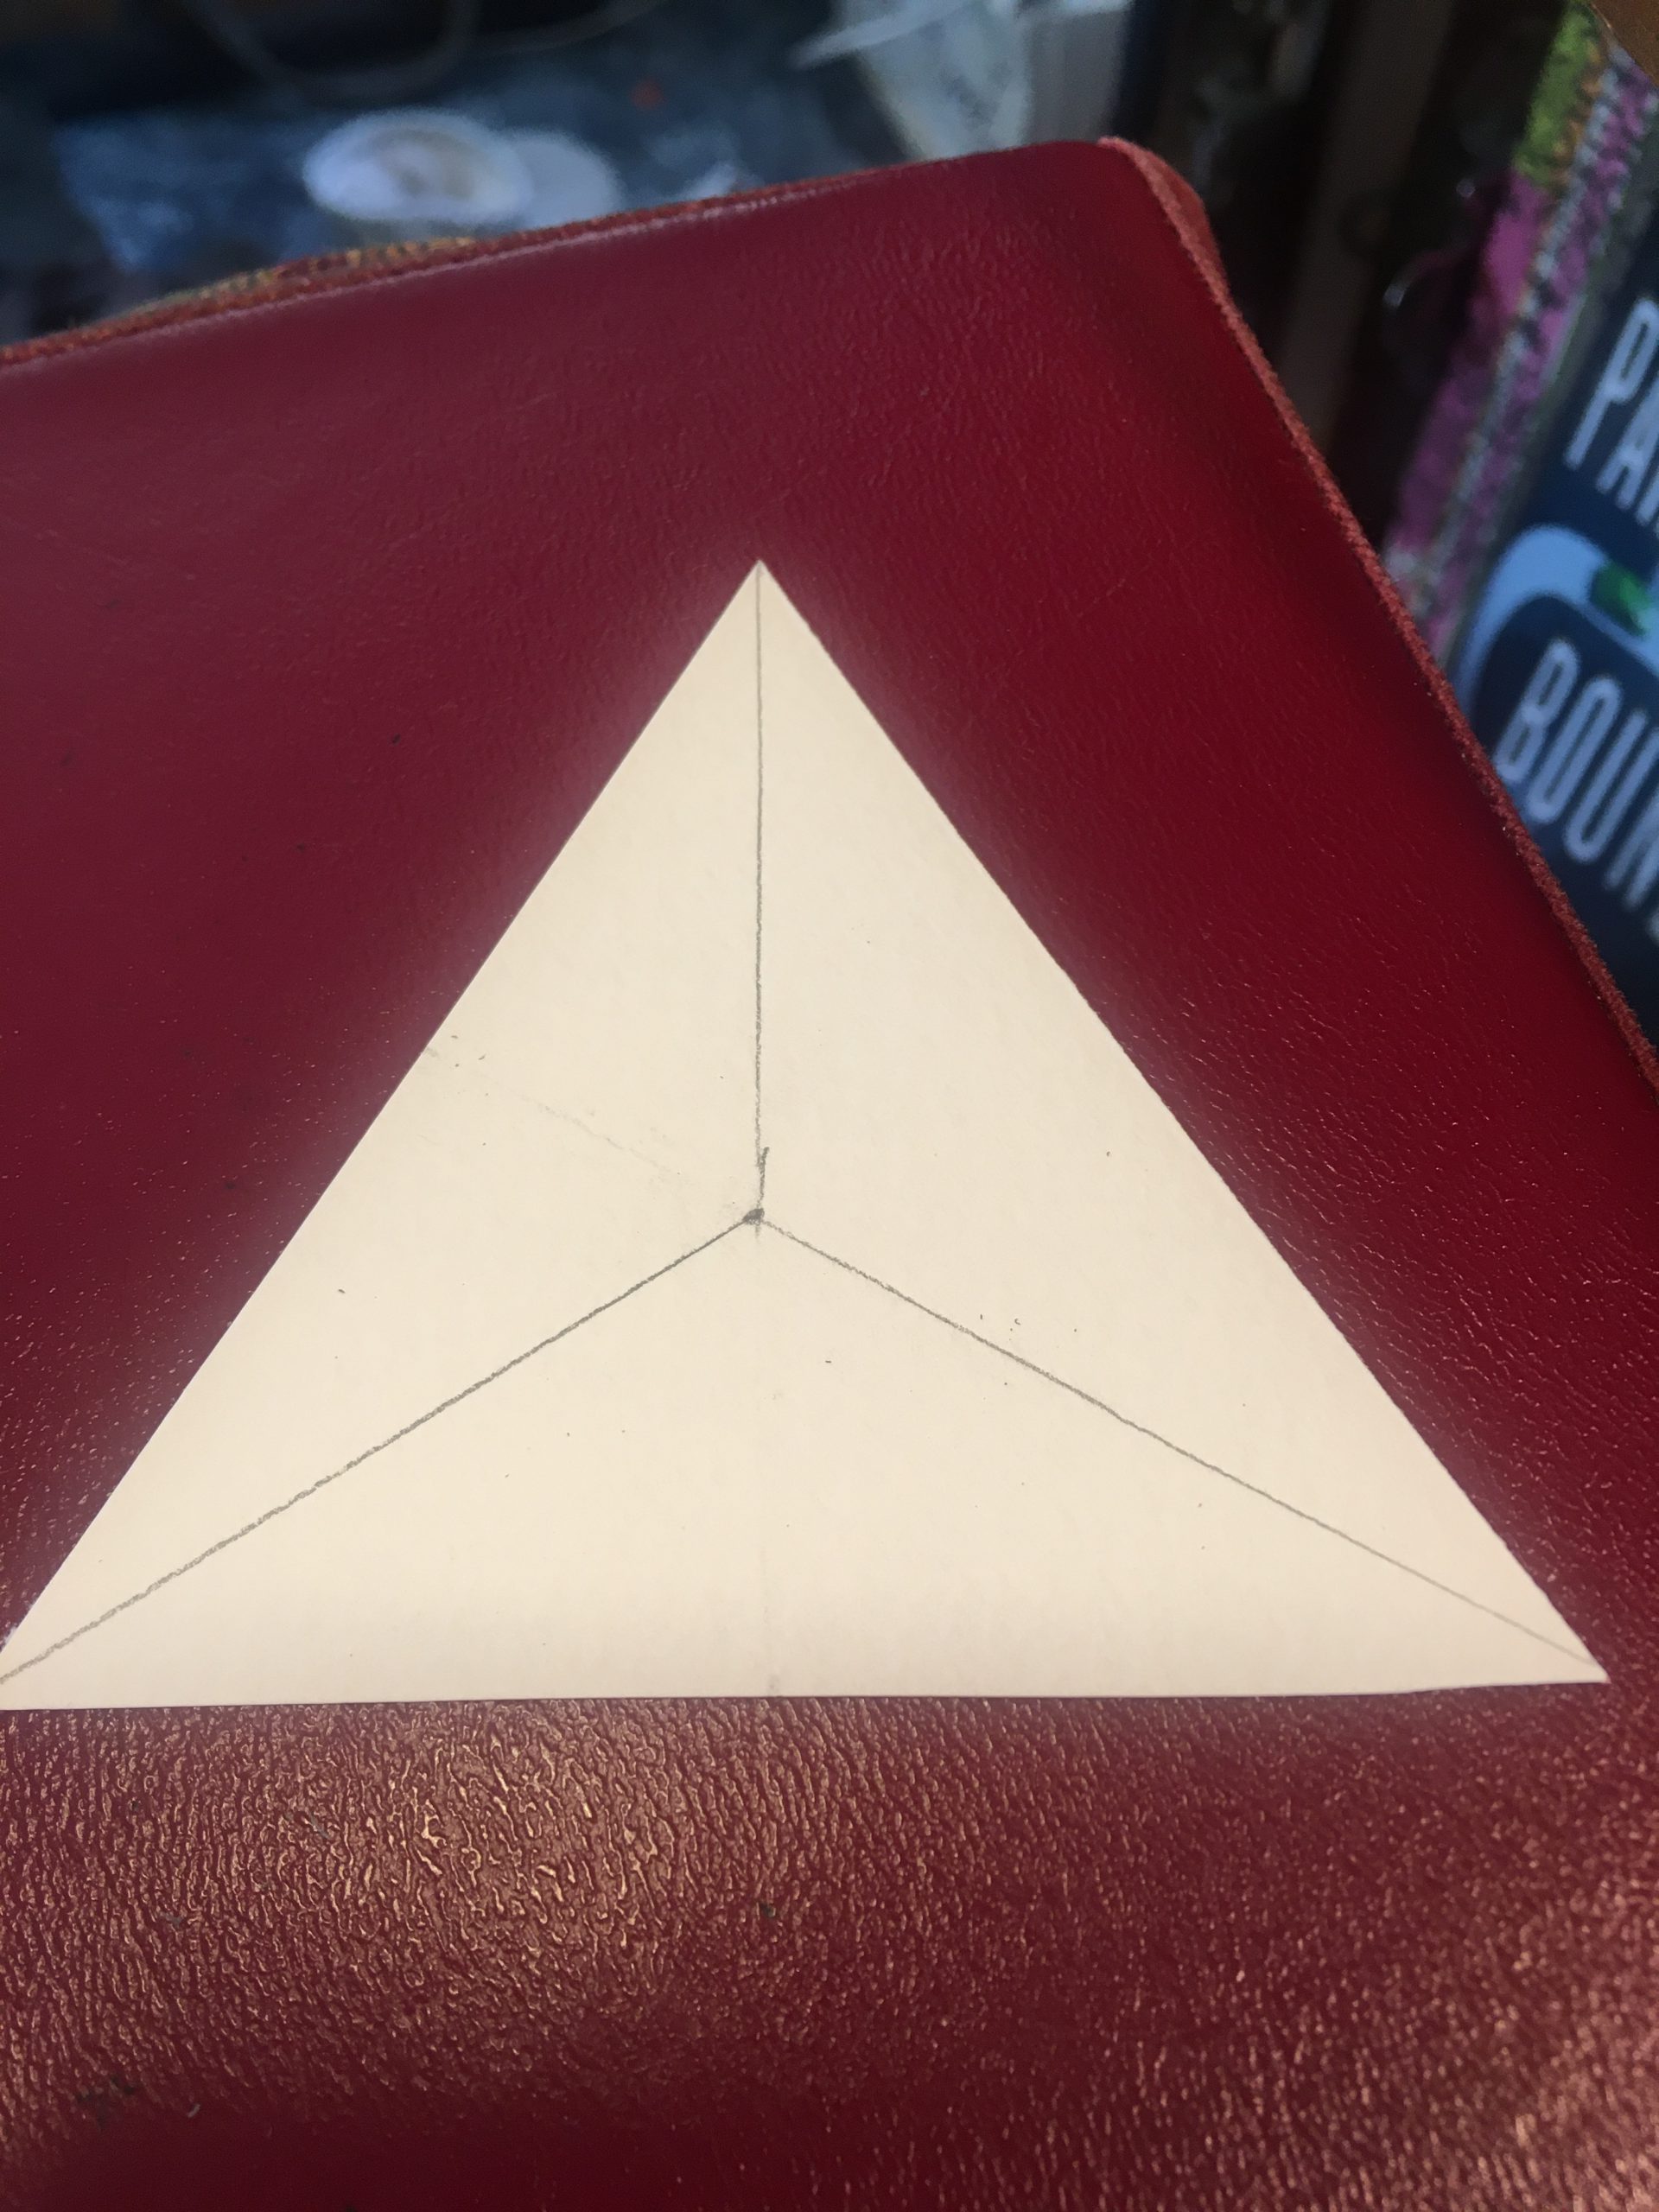
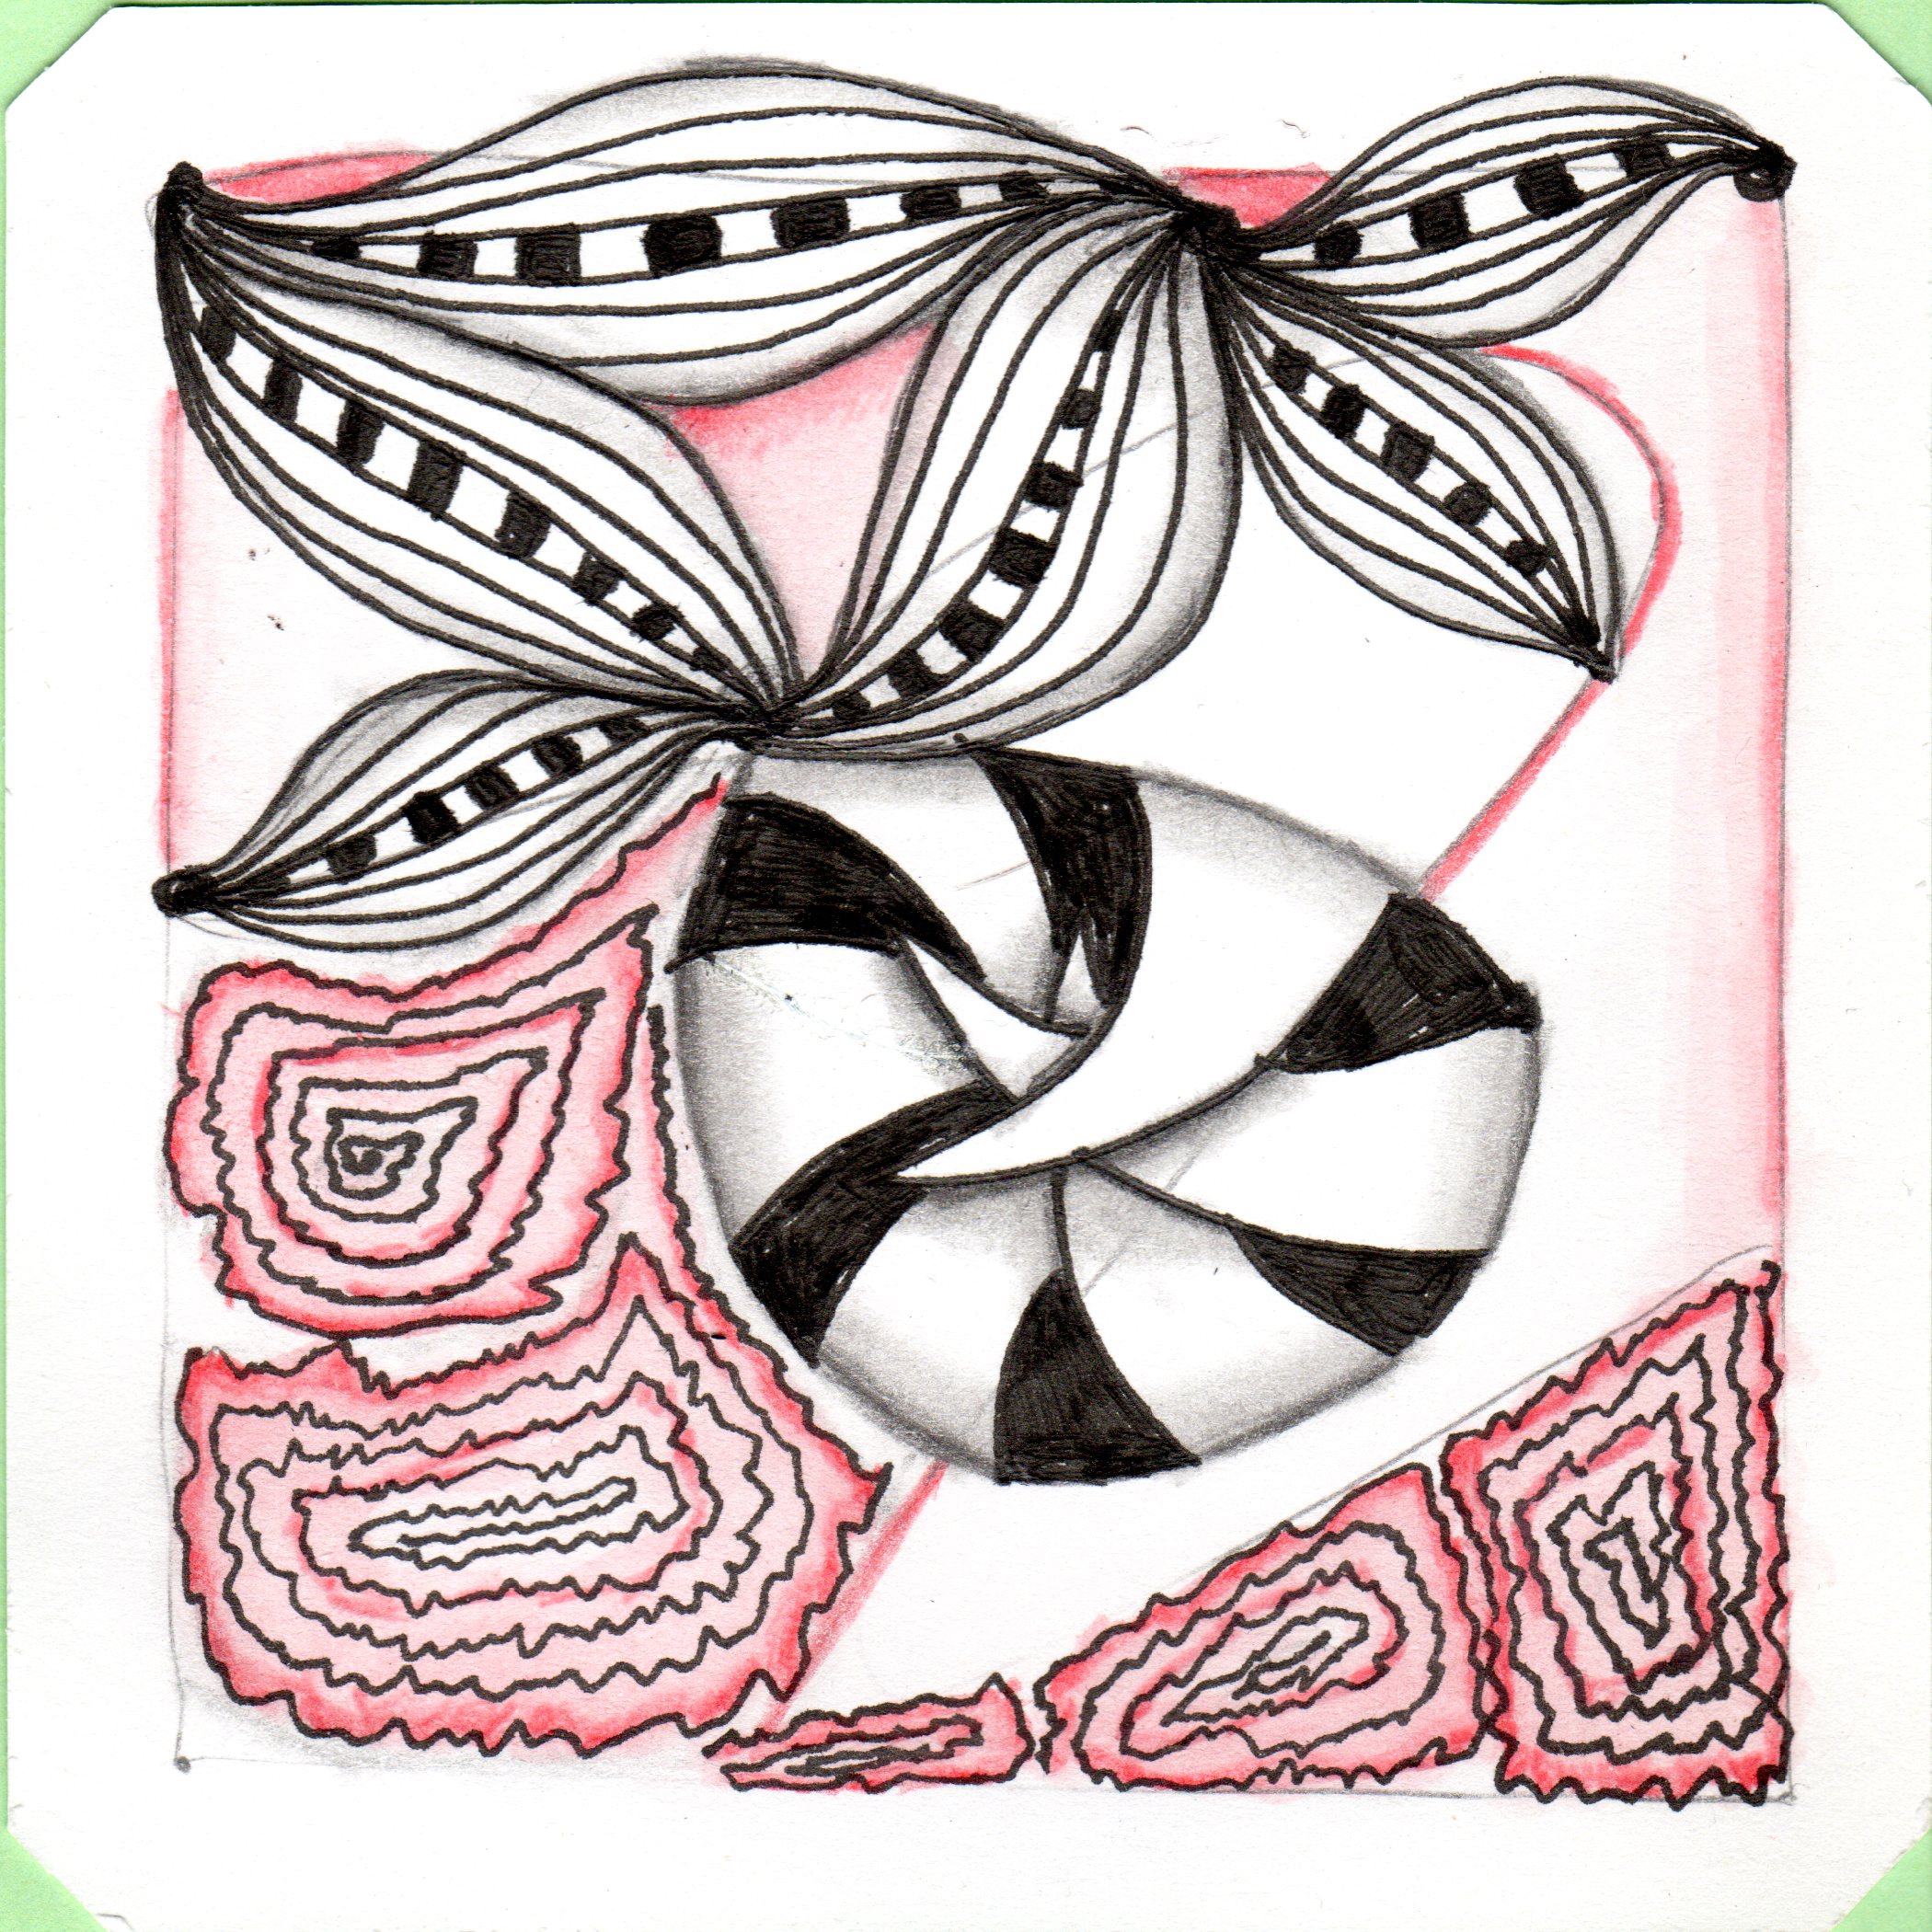
You can see some of my string but I marked it in red here.
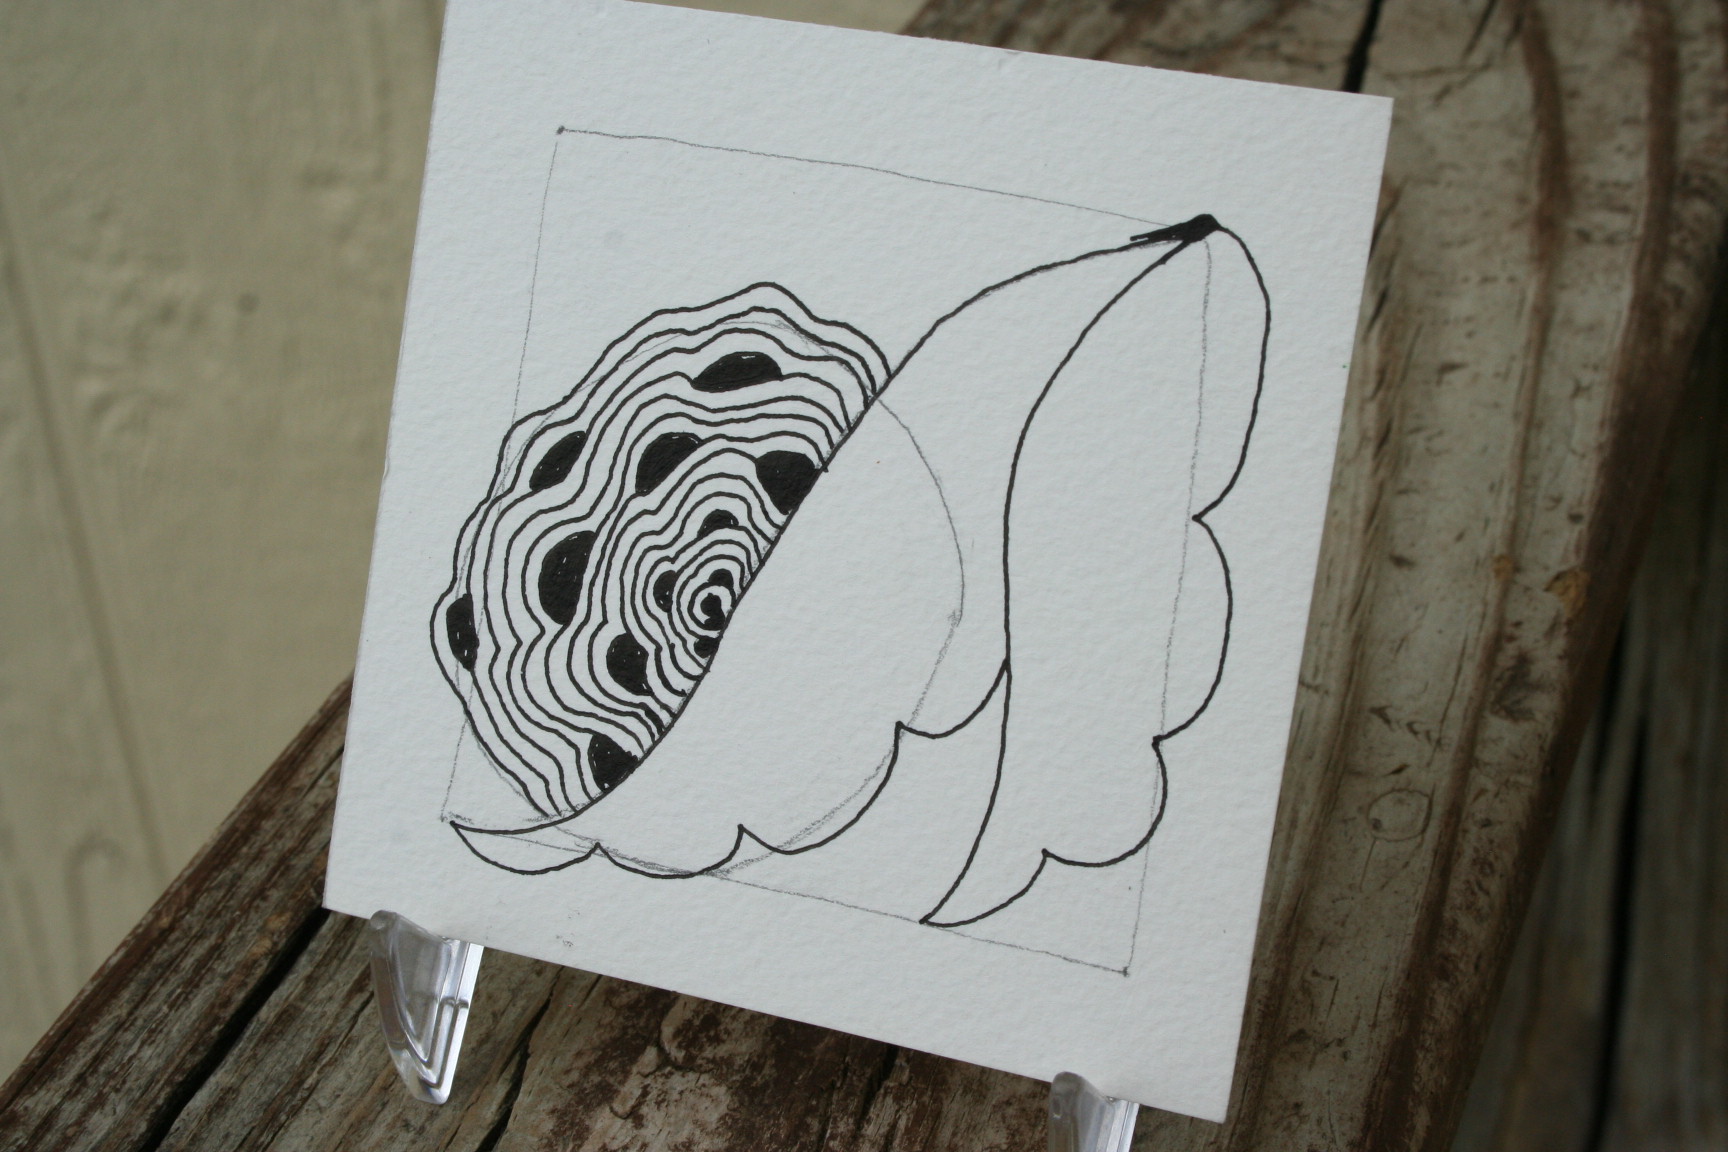
 As you can see, I opted to ignore part of the string. It was just too good of a place to put Cirquital. When I tangled Ravel, I added the striping as soon as I drew those first two lines, so I wouldn’t lose the middle.
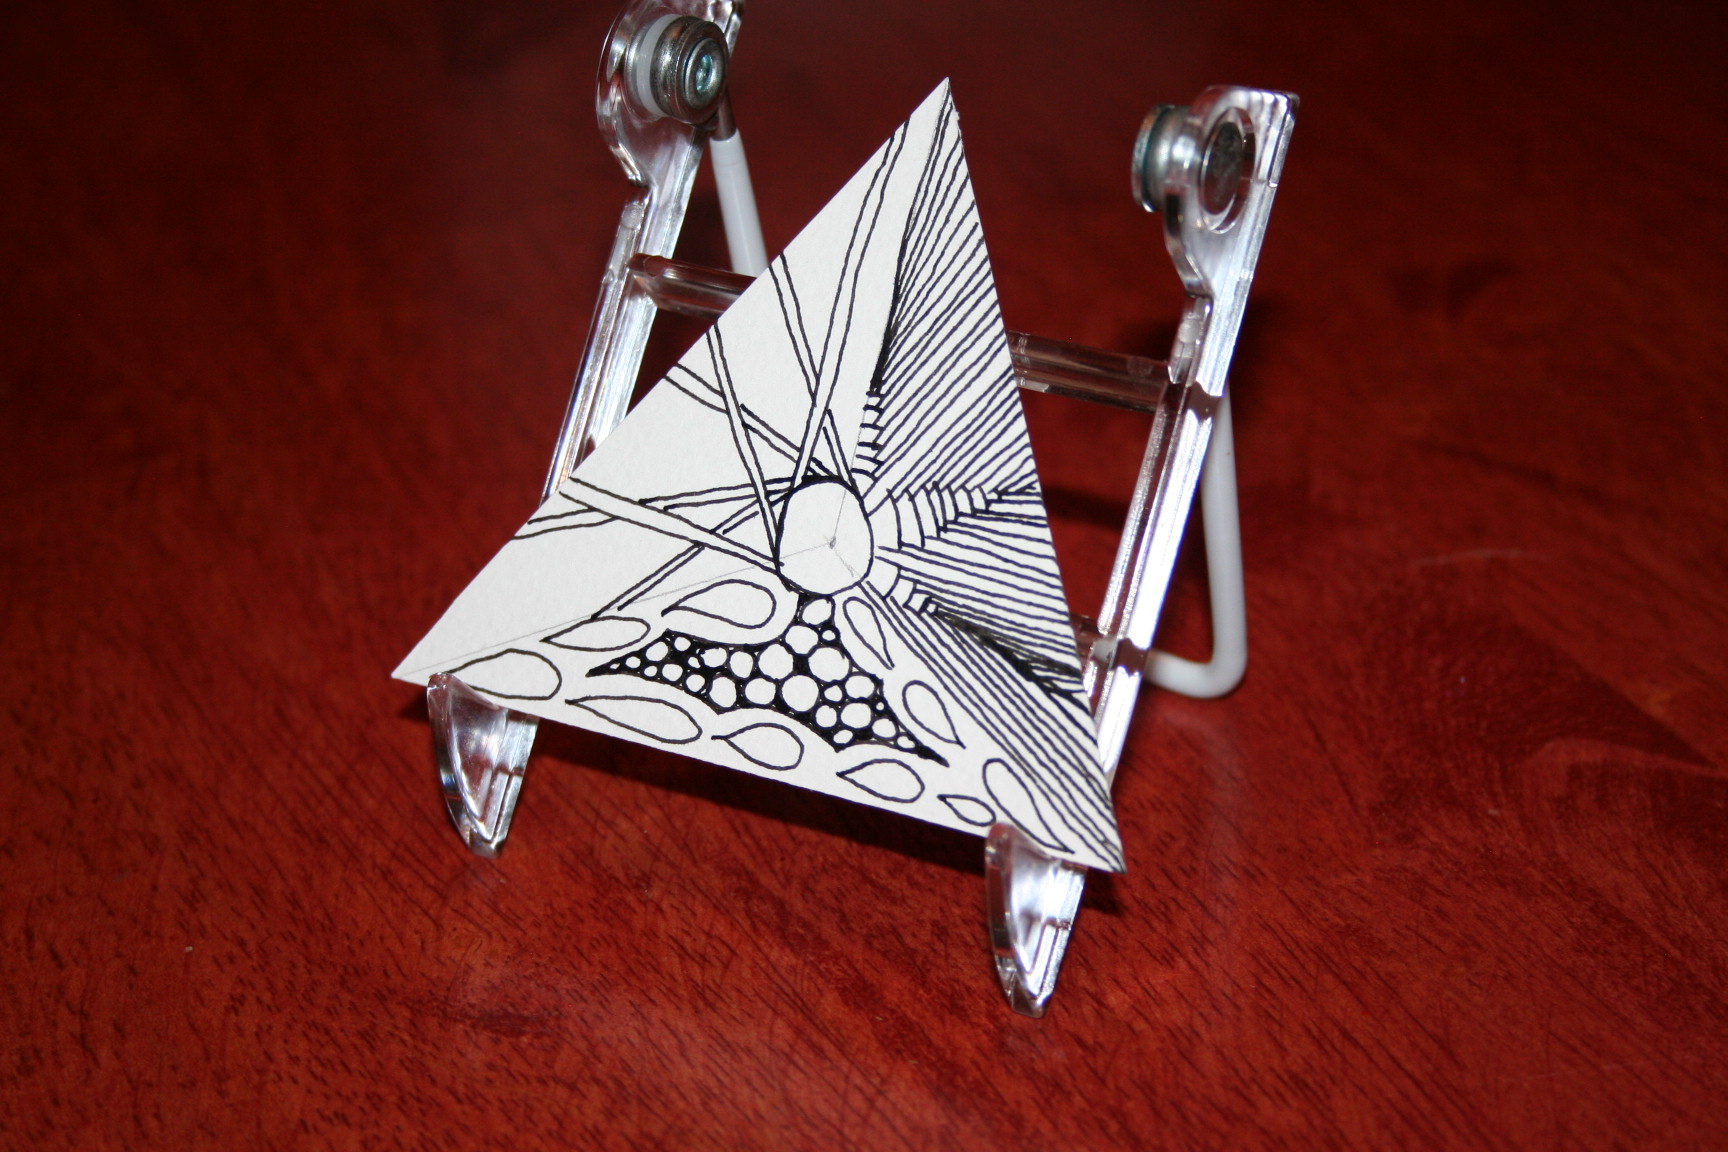
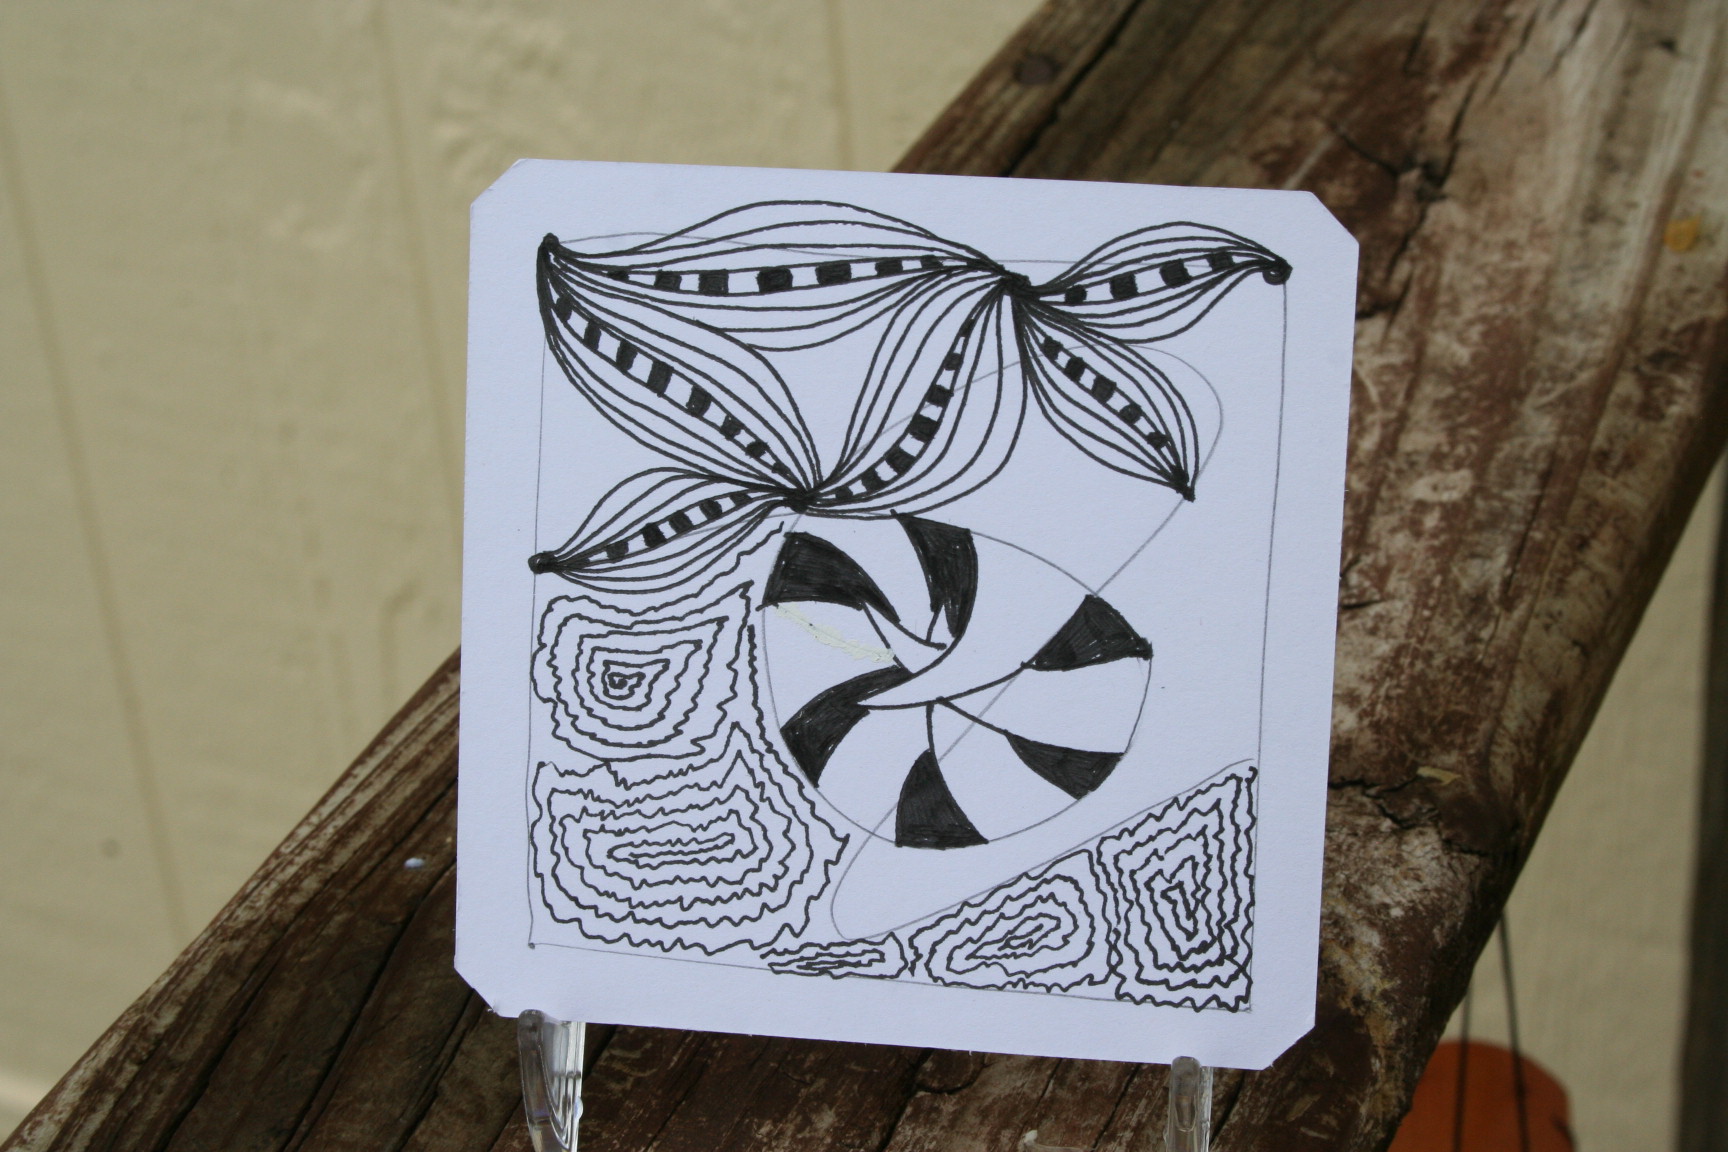
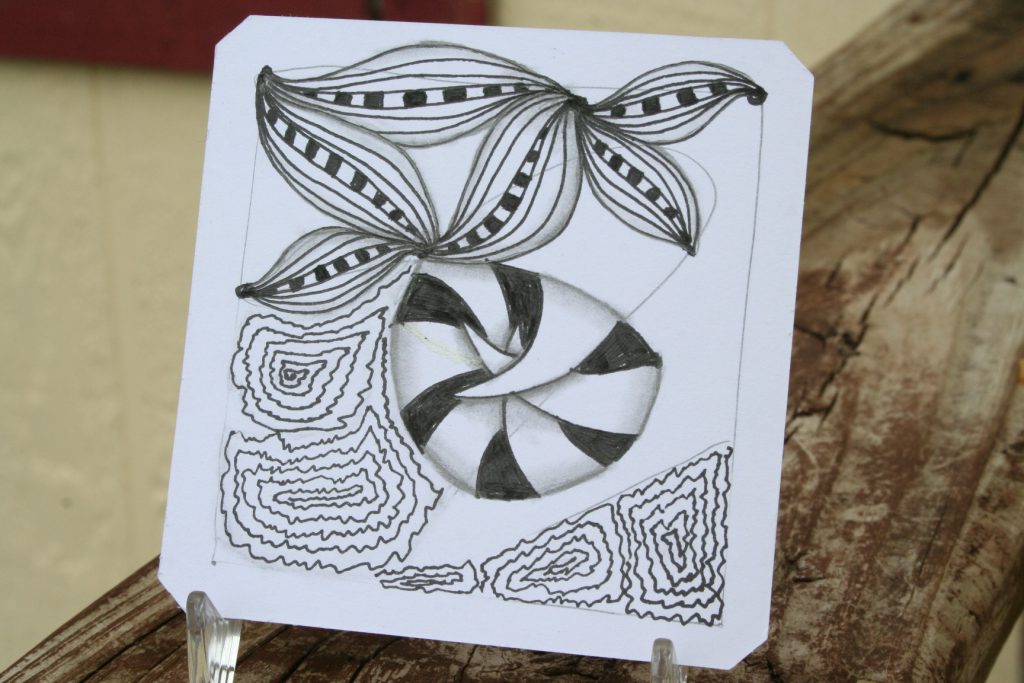
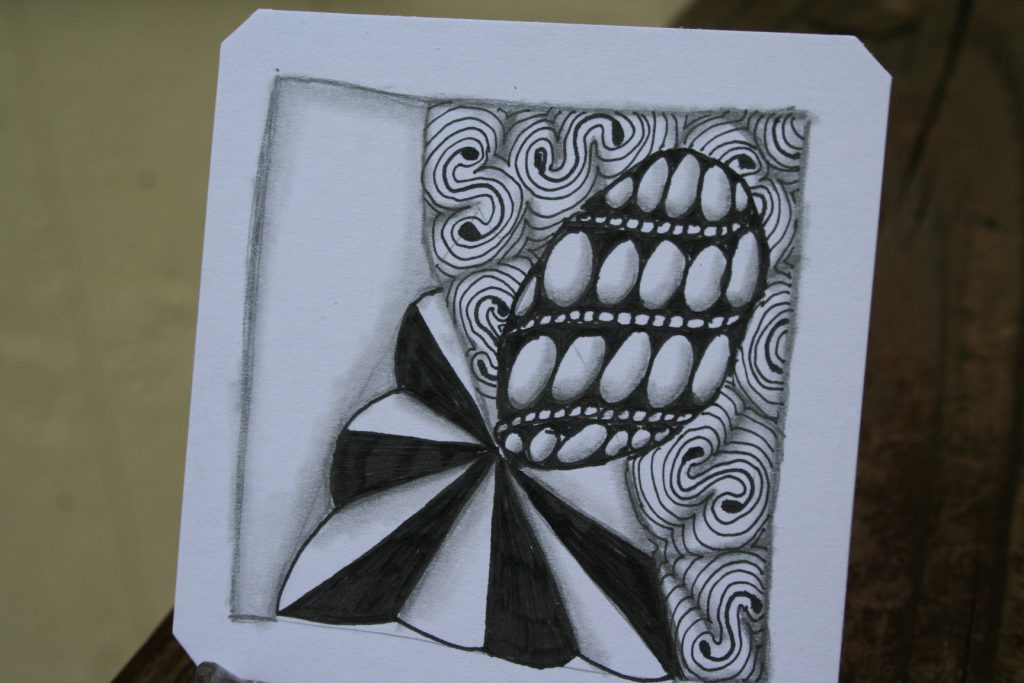
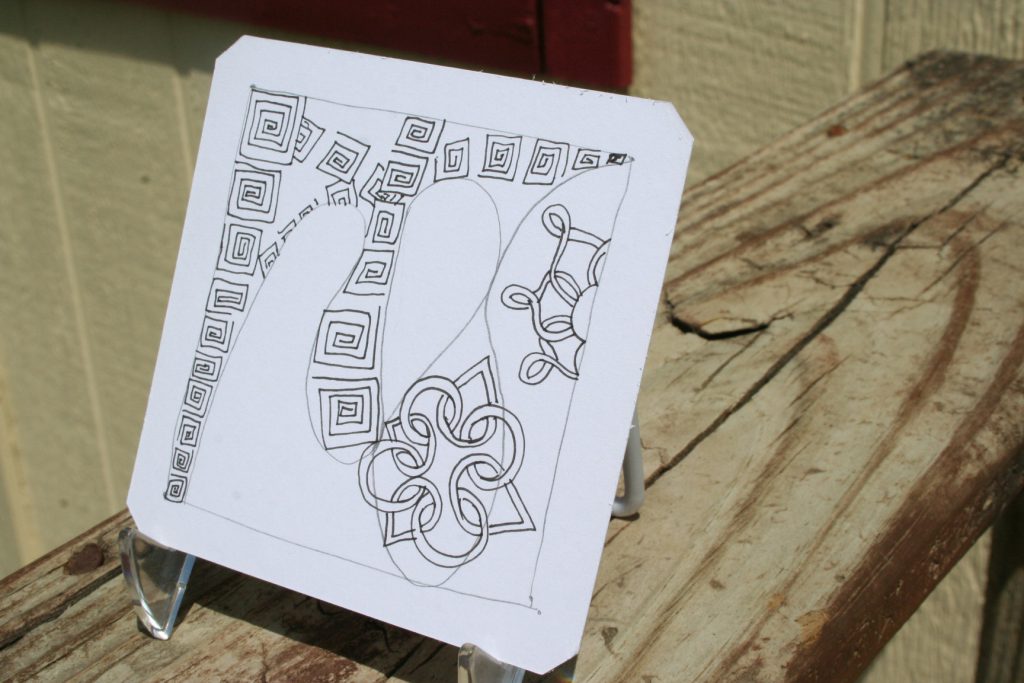
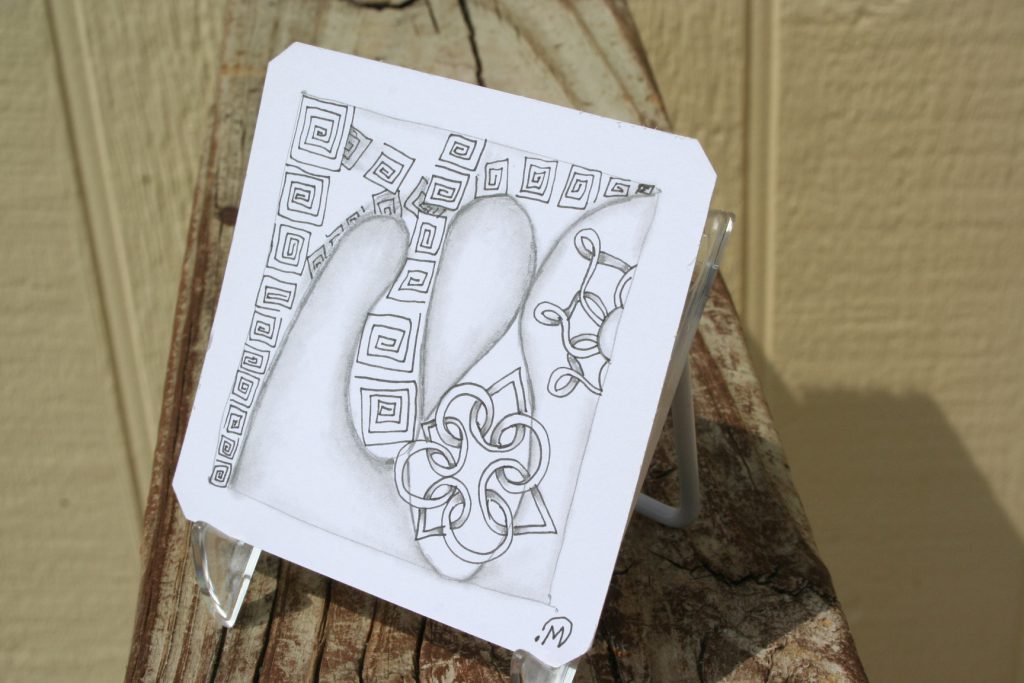
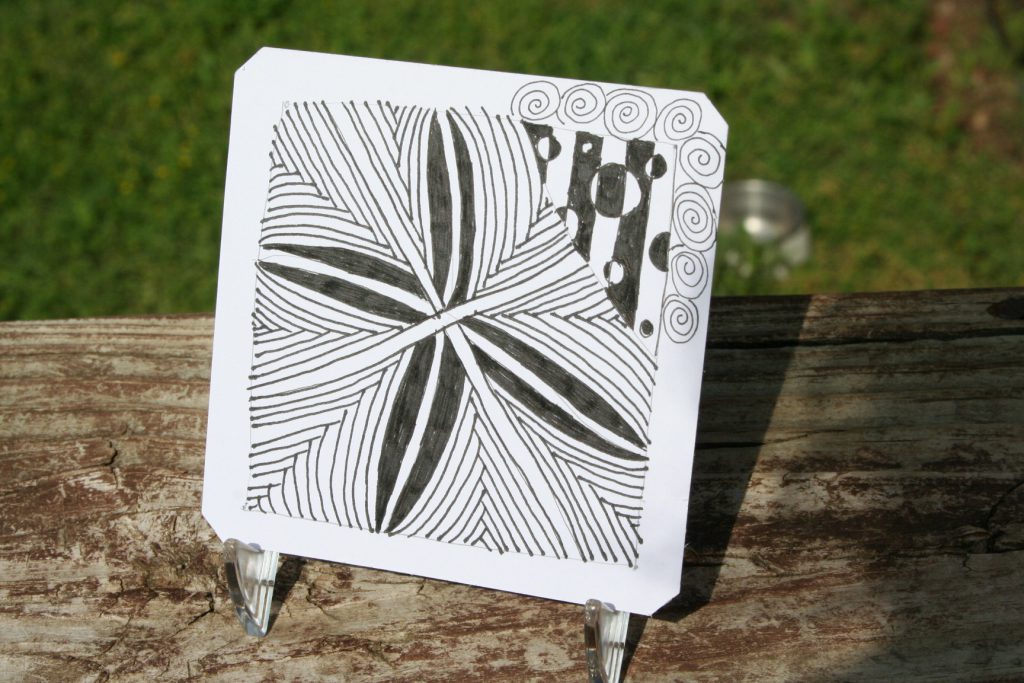
  I much prefer the tangle with some kind of filler added to it than without, which is what I did for my step-out and didn’t care for it as much. Here’s the picture I took in natural light before shading.
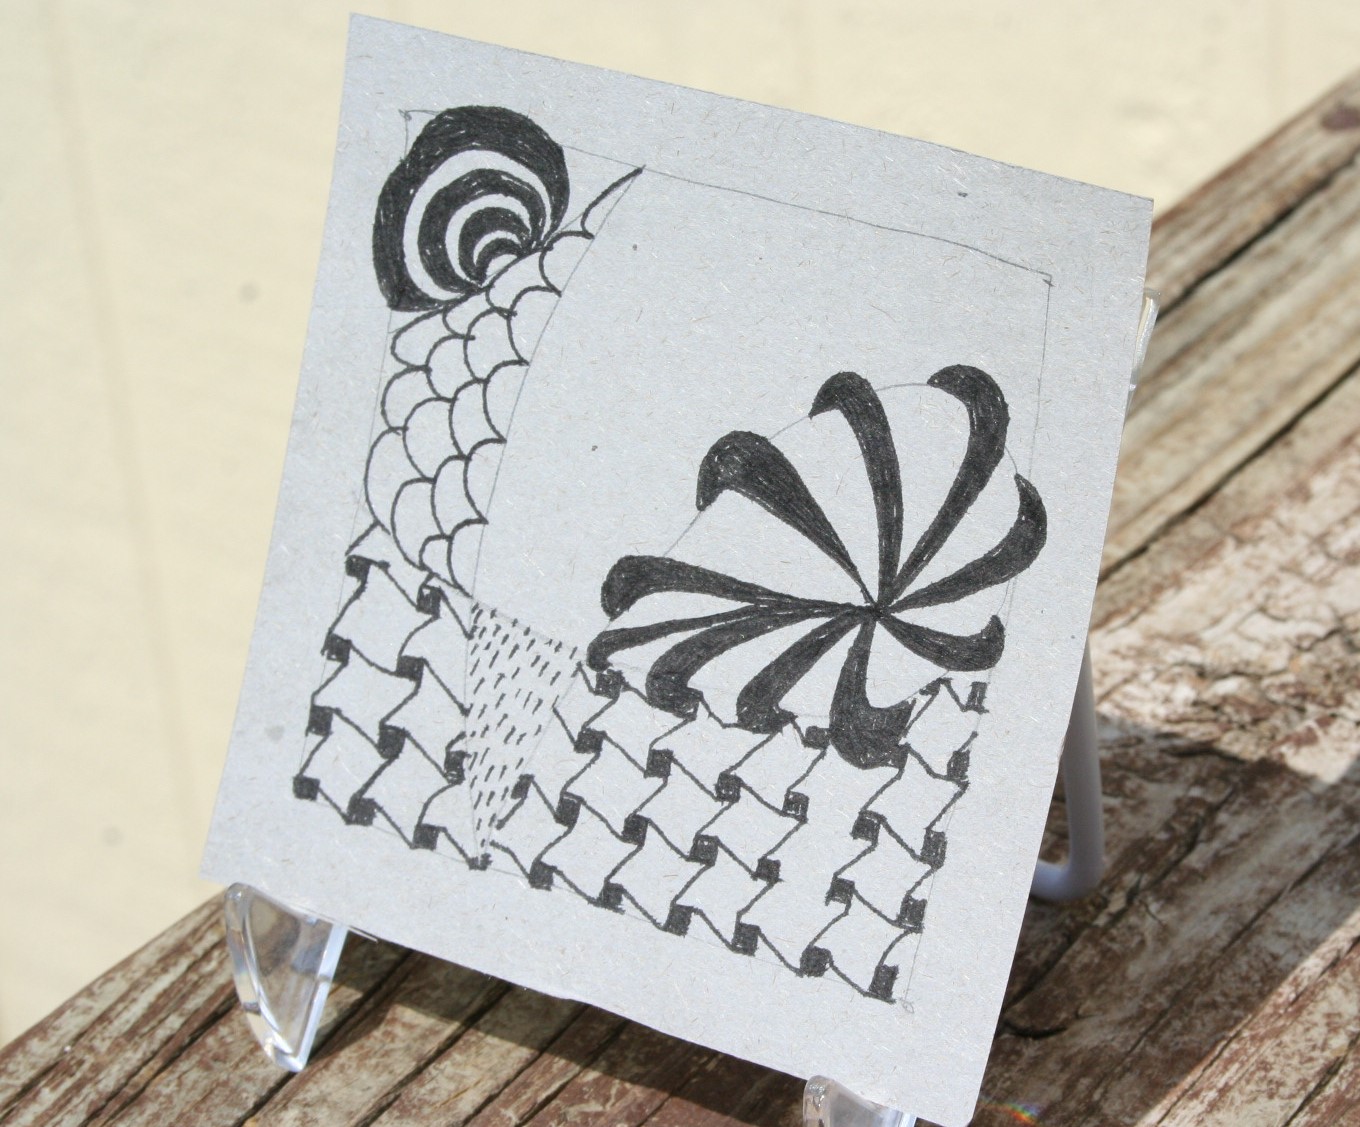
 Yeah, it’s another overcast day.
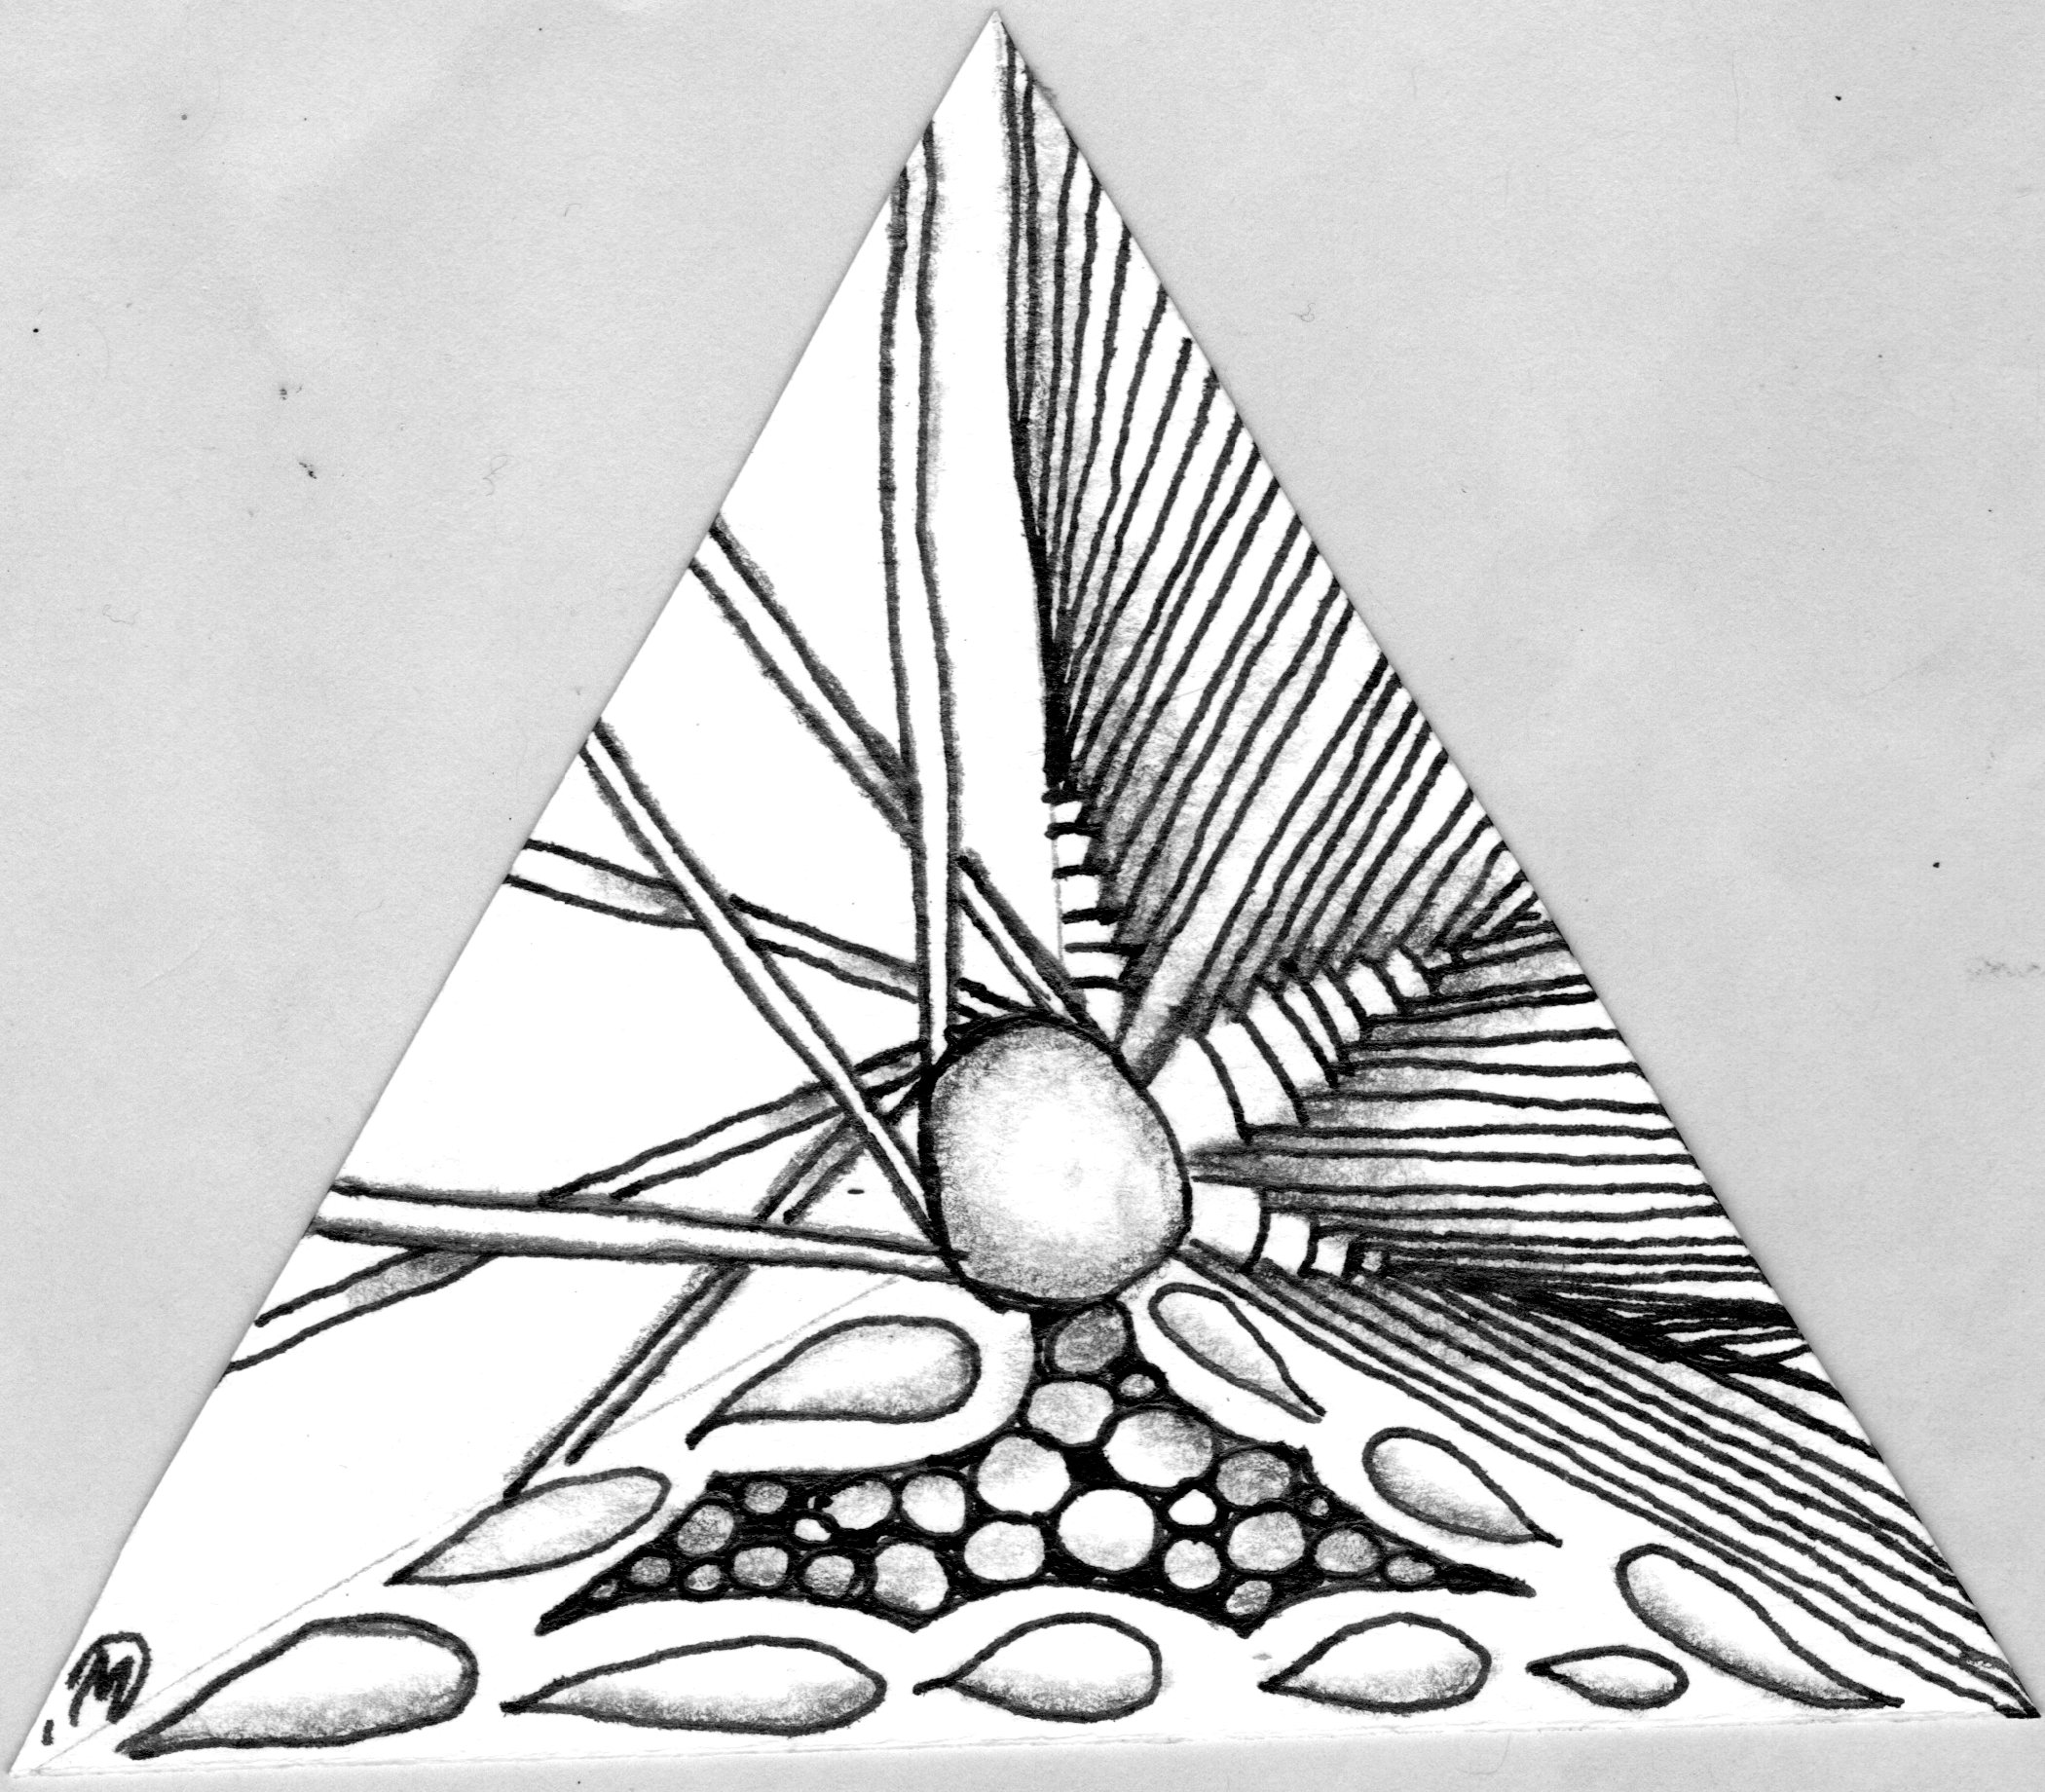
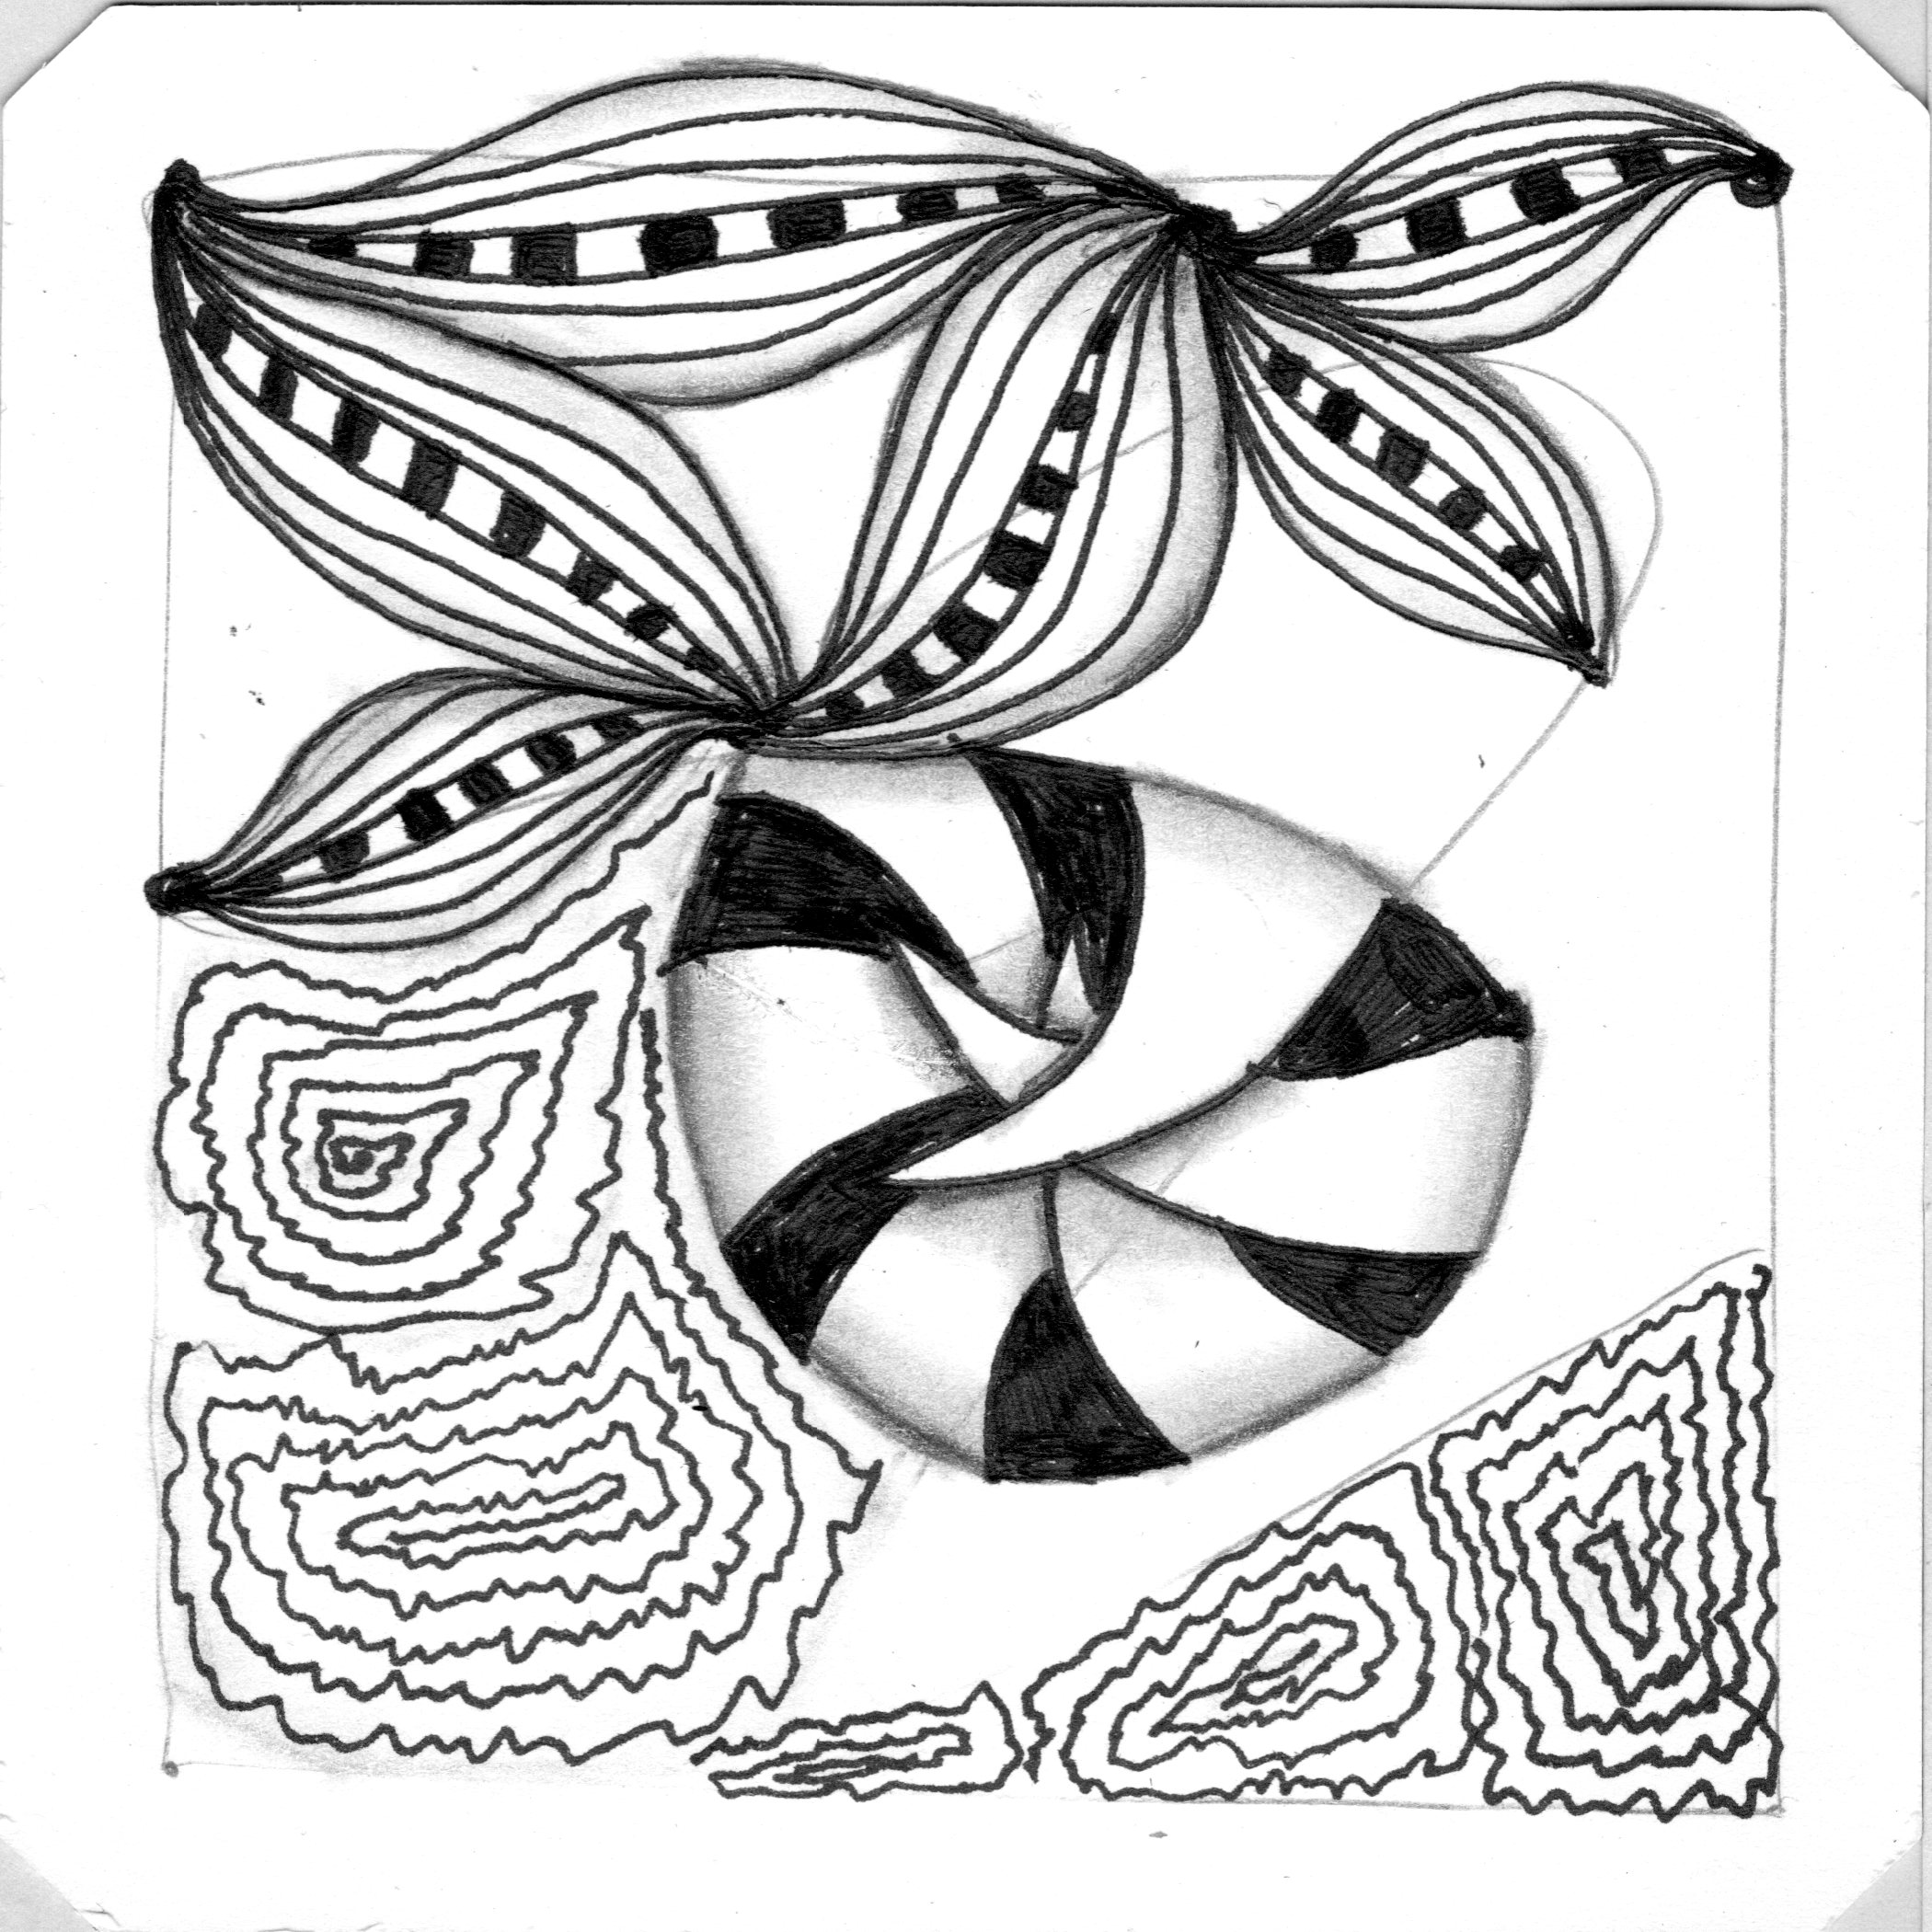
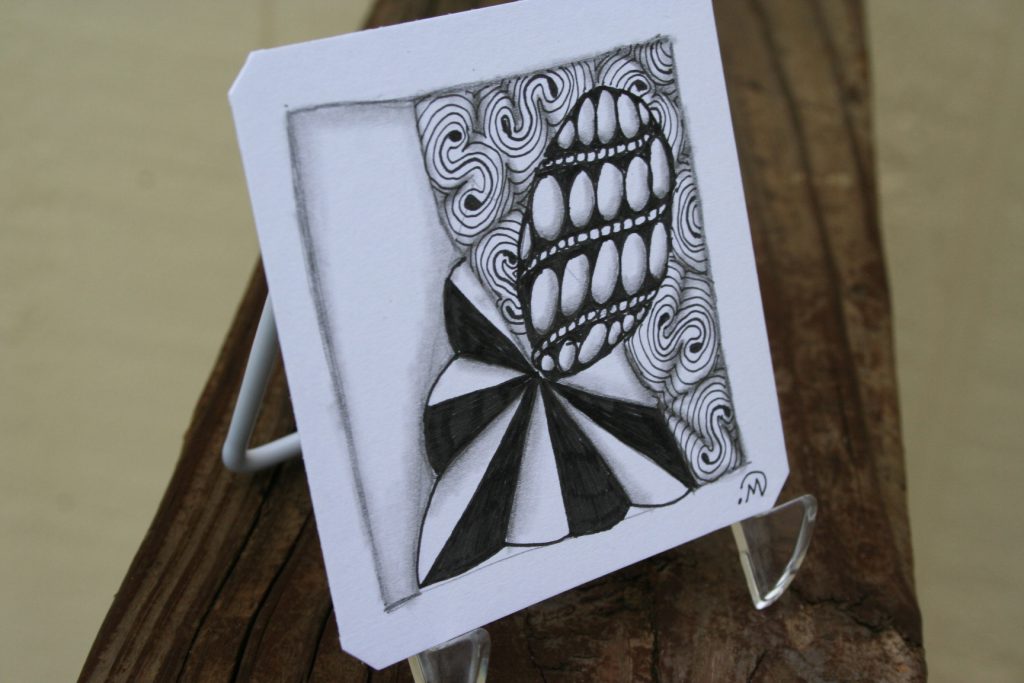
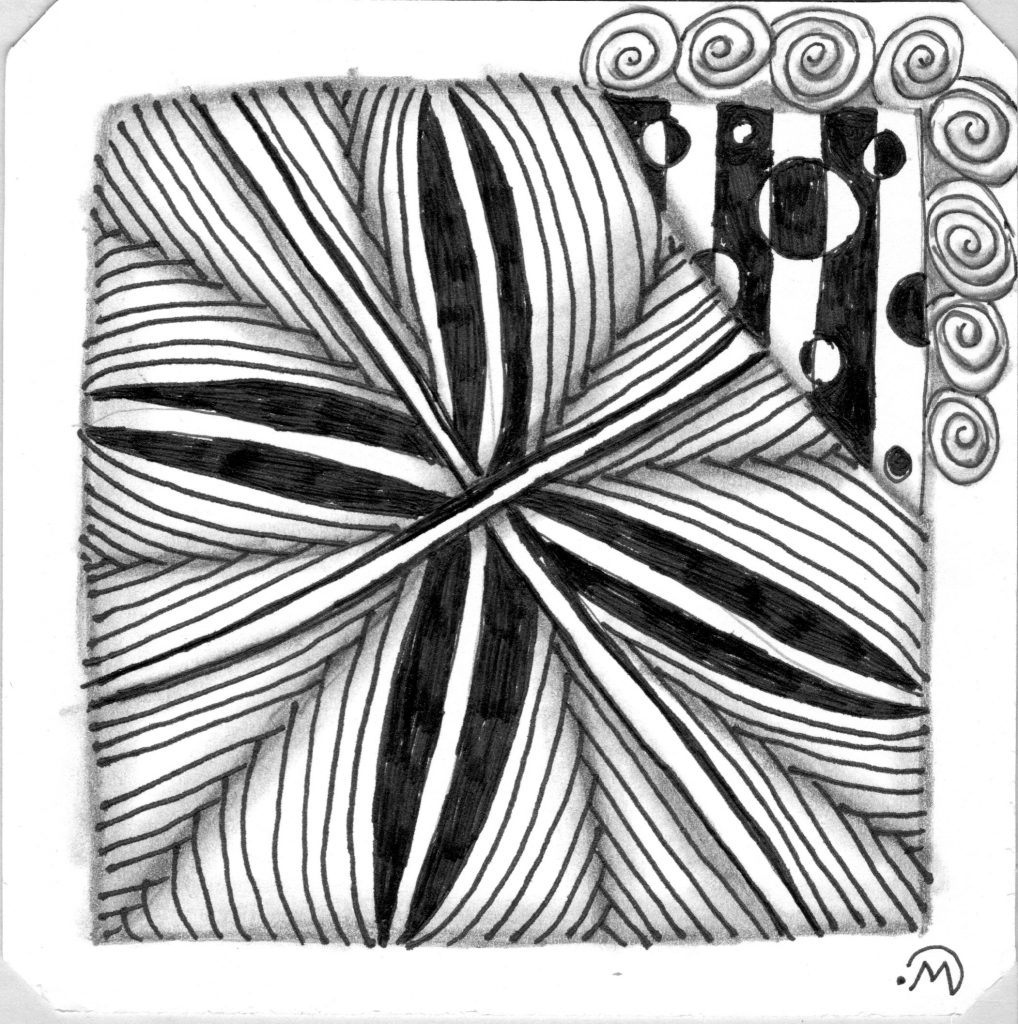
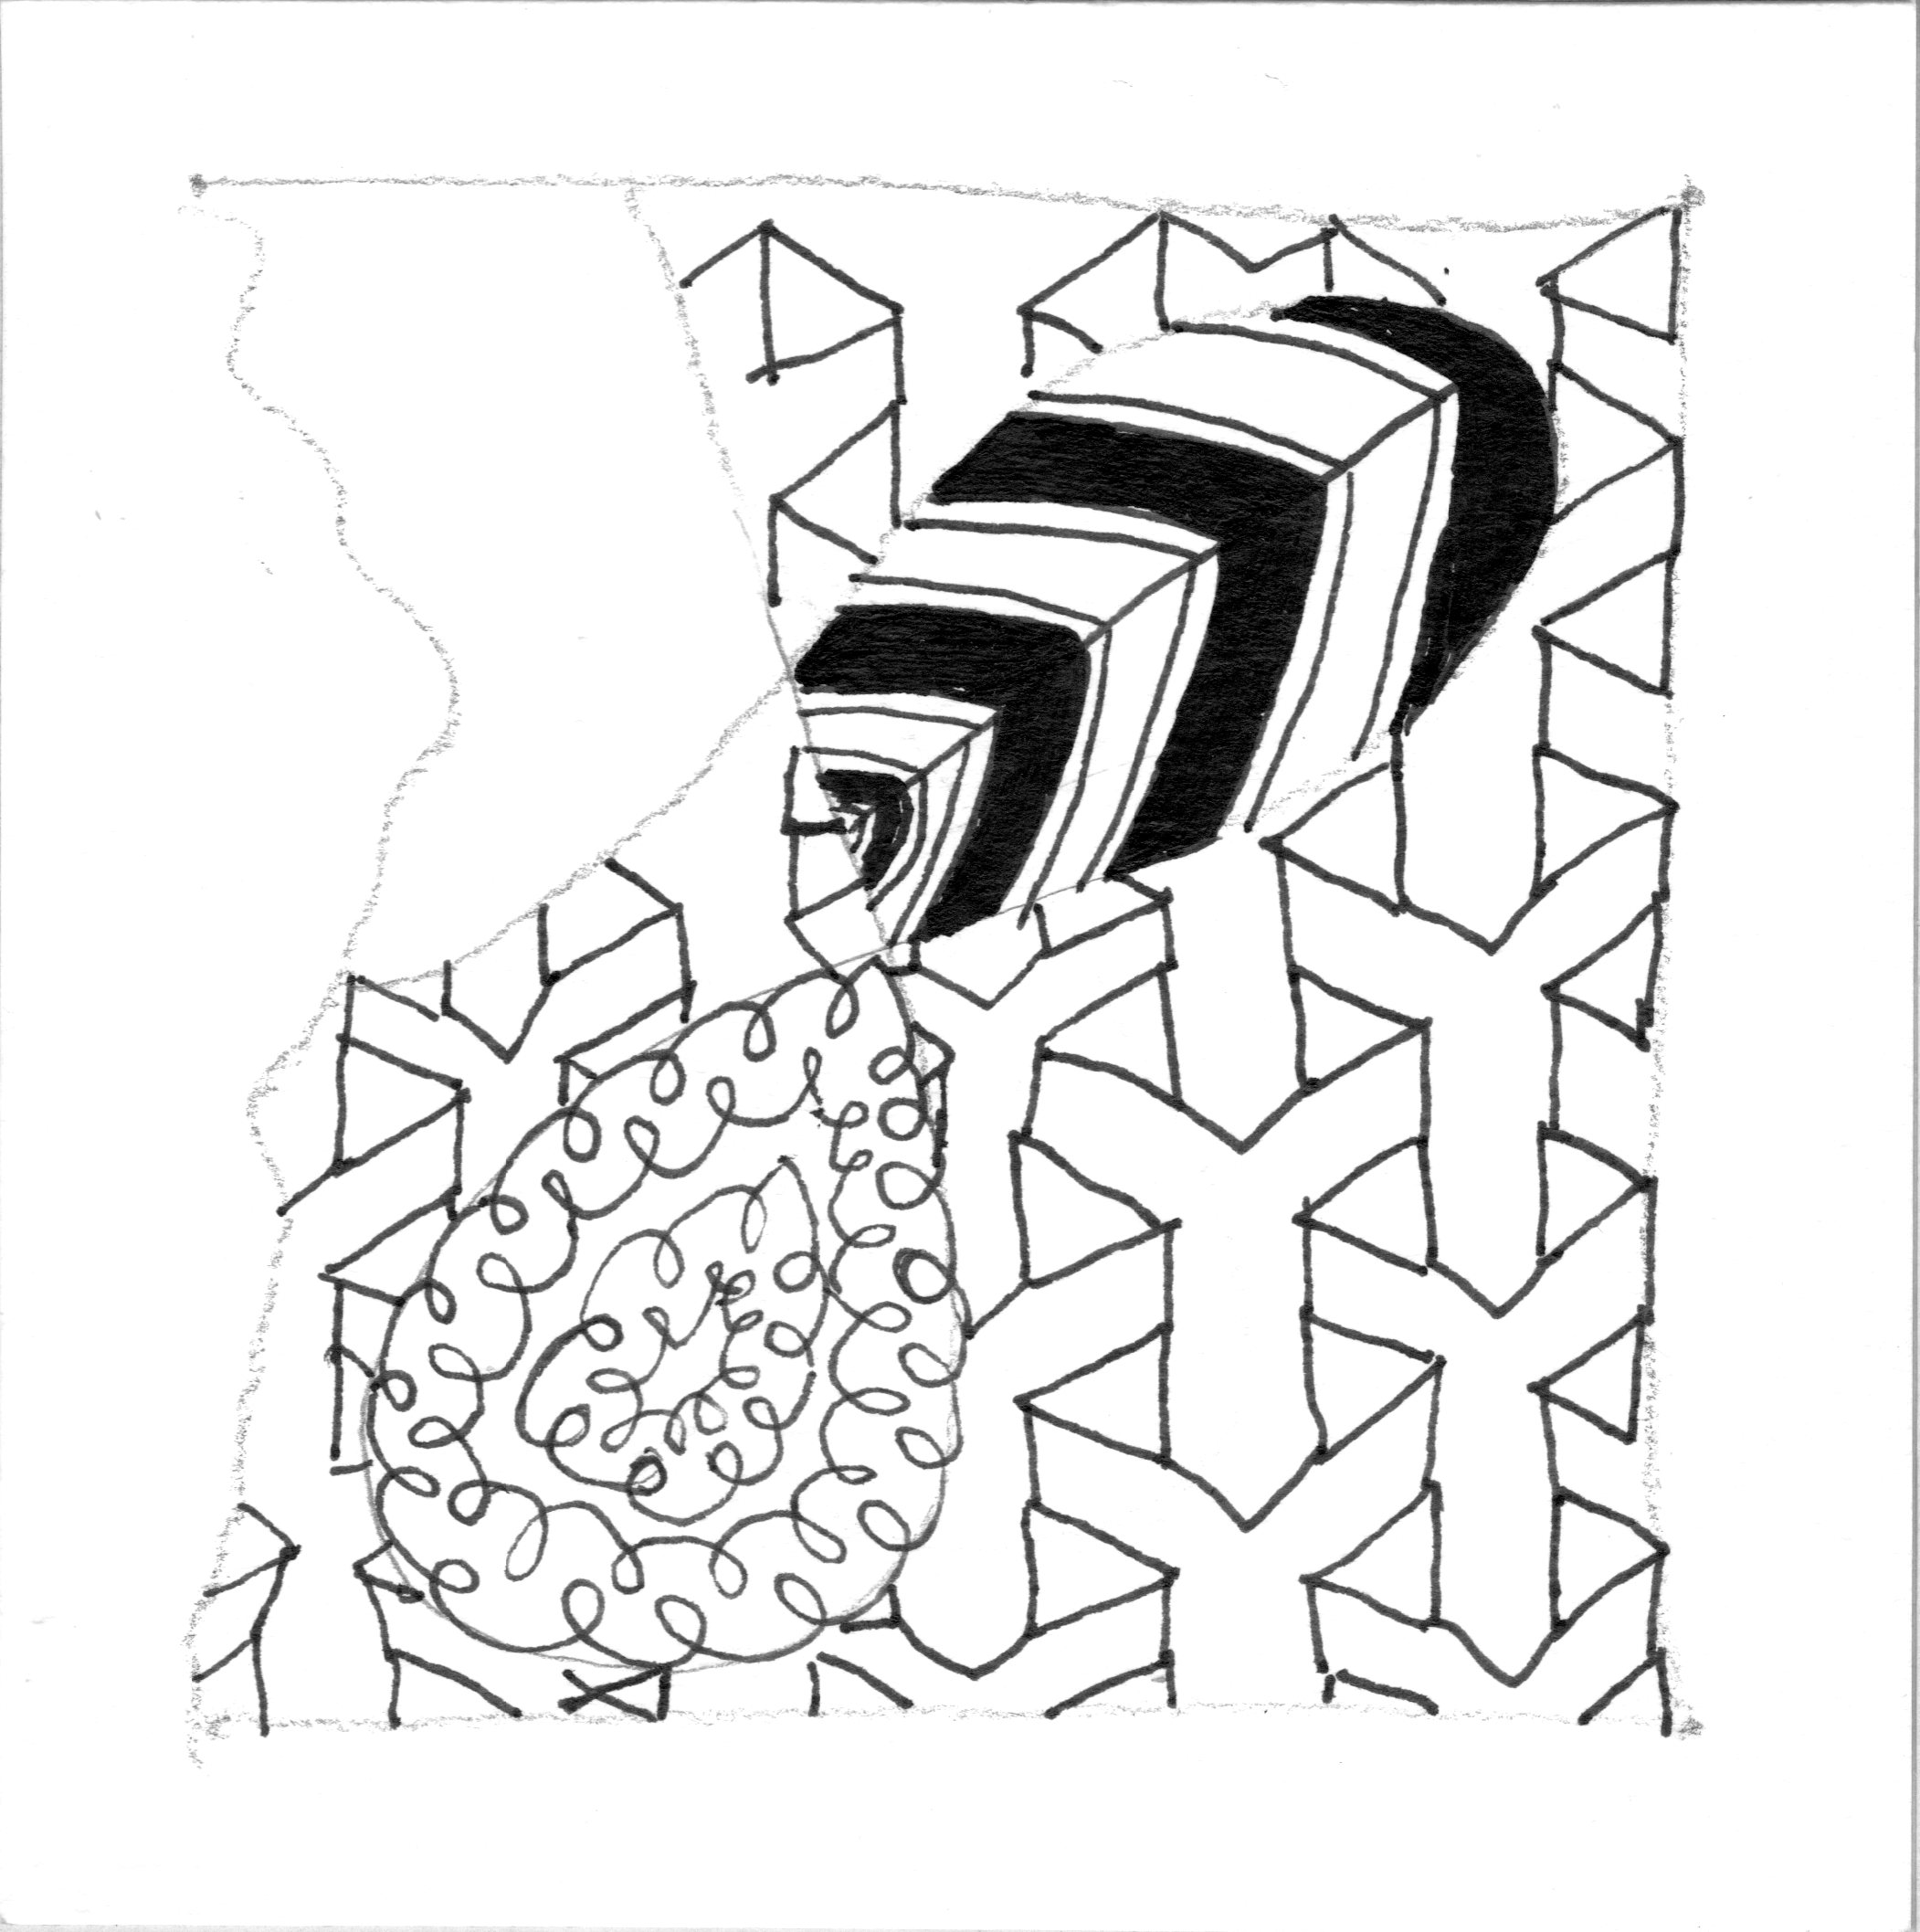
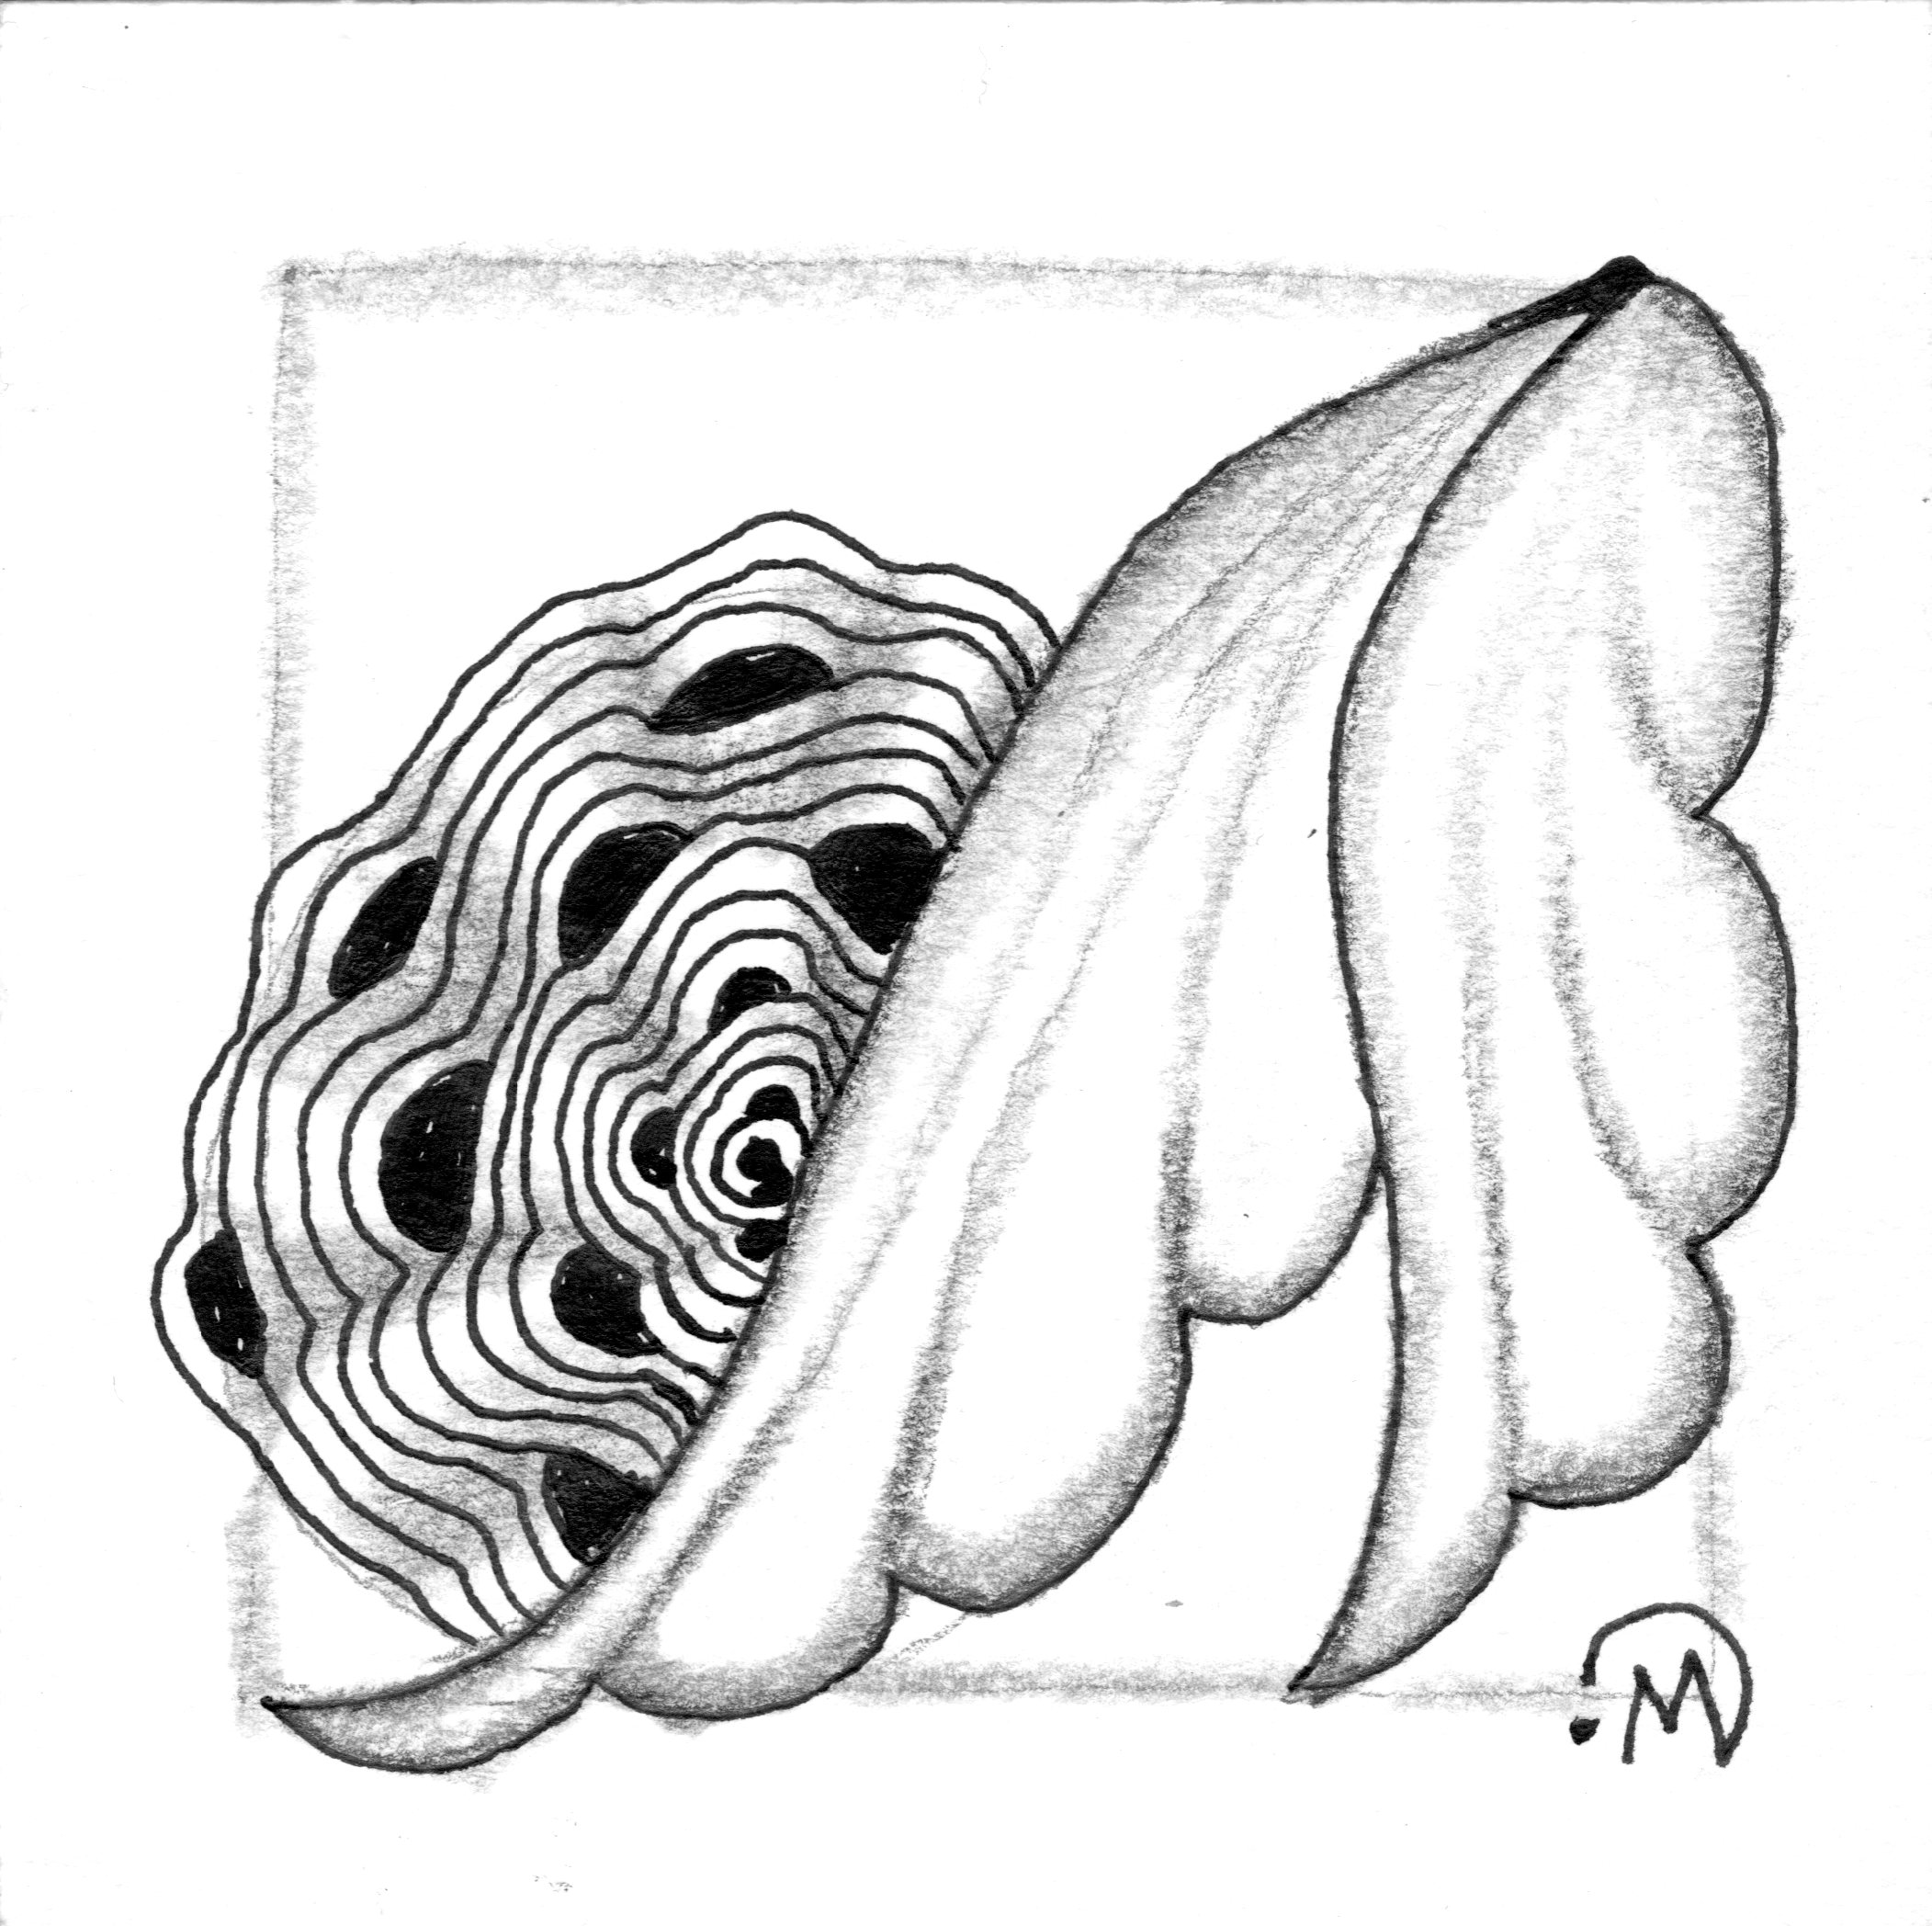
Then I added some shading. Here is the scan of the shaded tile.
 I was at a loss on how to shade cogwheel. I tried adding some graphite and ended up erasing it . . . yeah, I know, no erasing . . .
Here is the same scan only smaller, because it is so much kinder to my lineart.
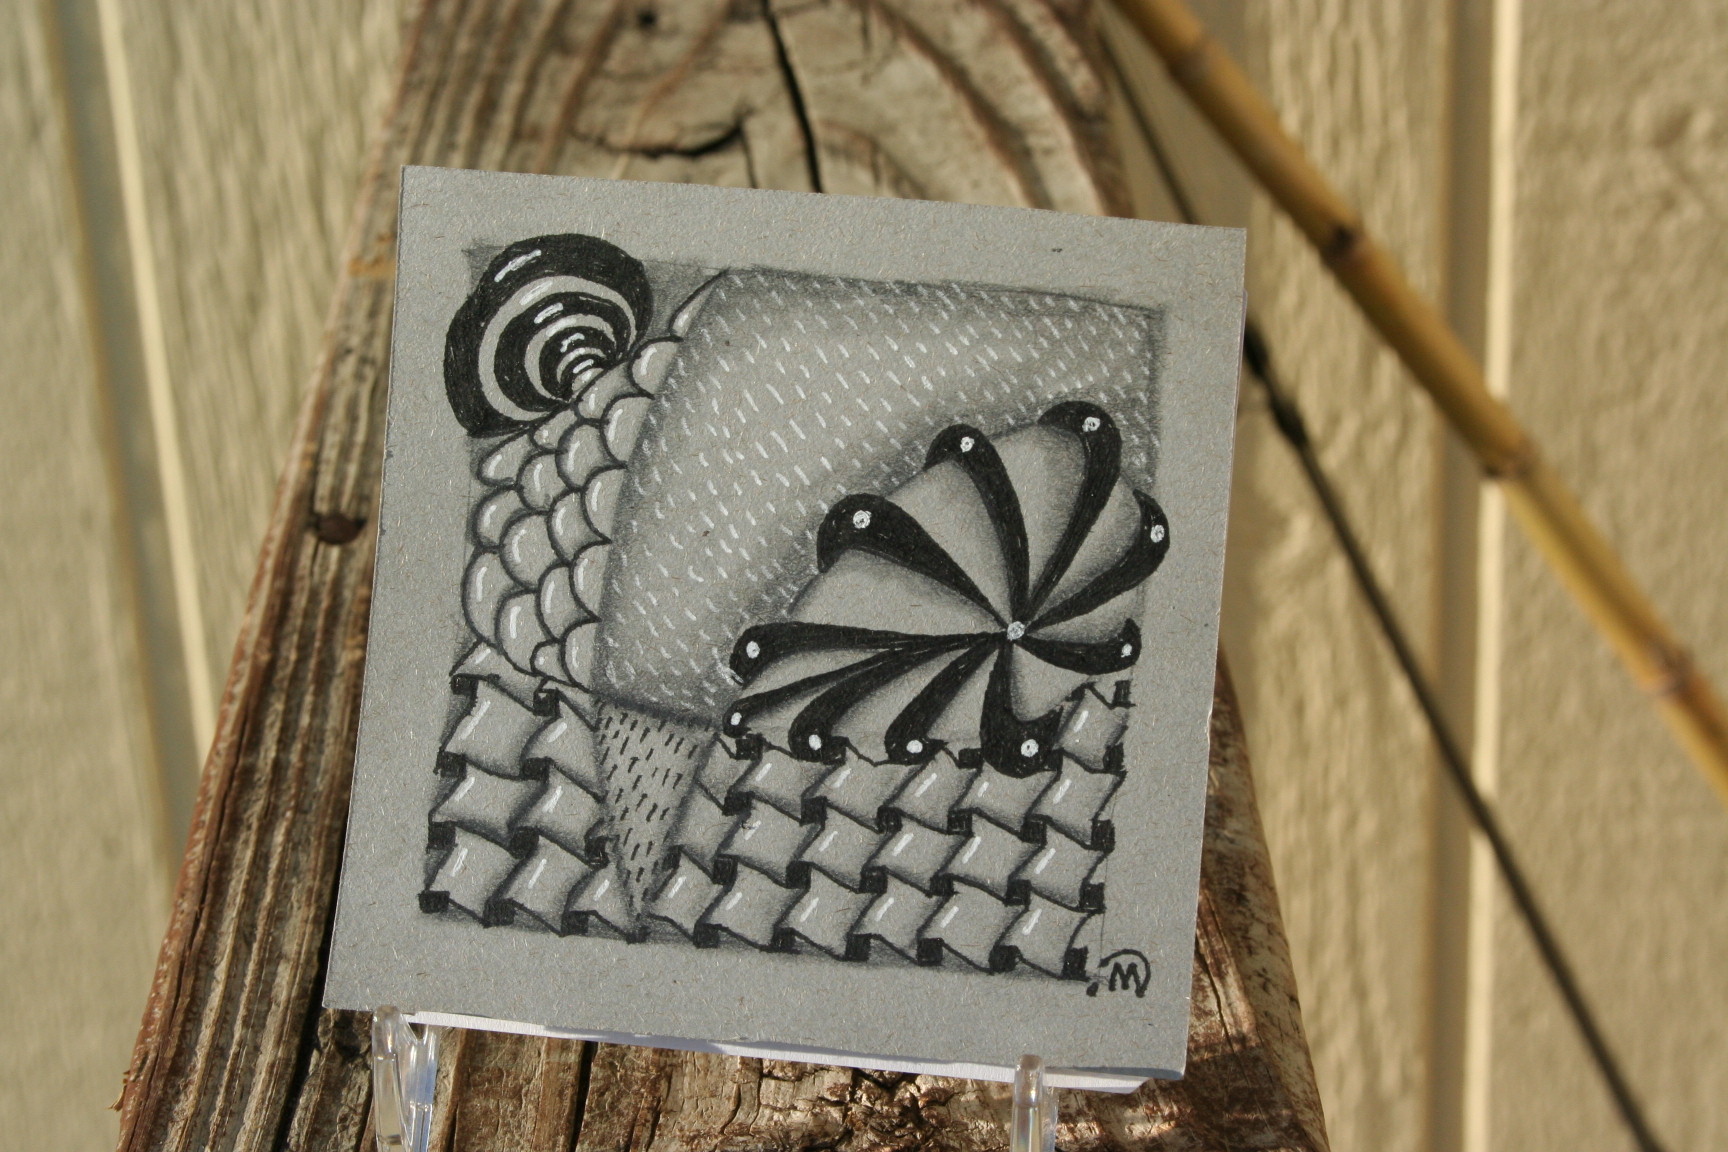
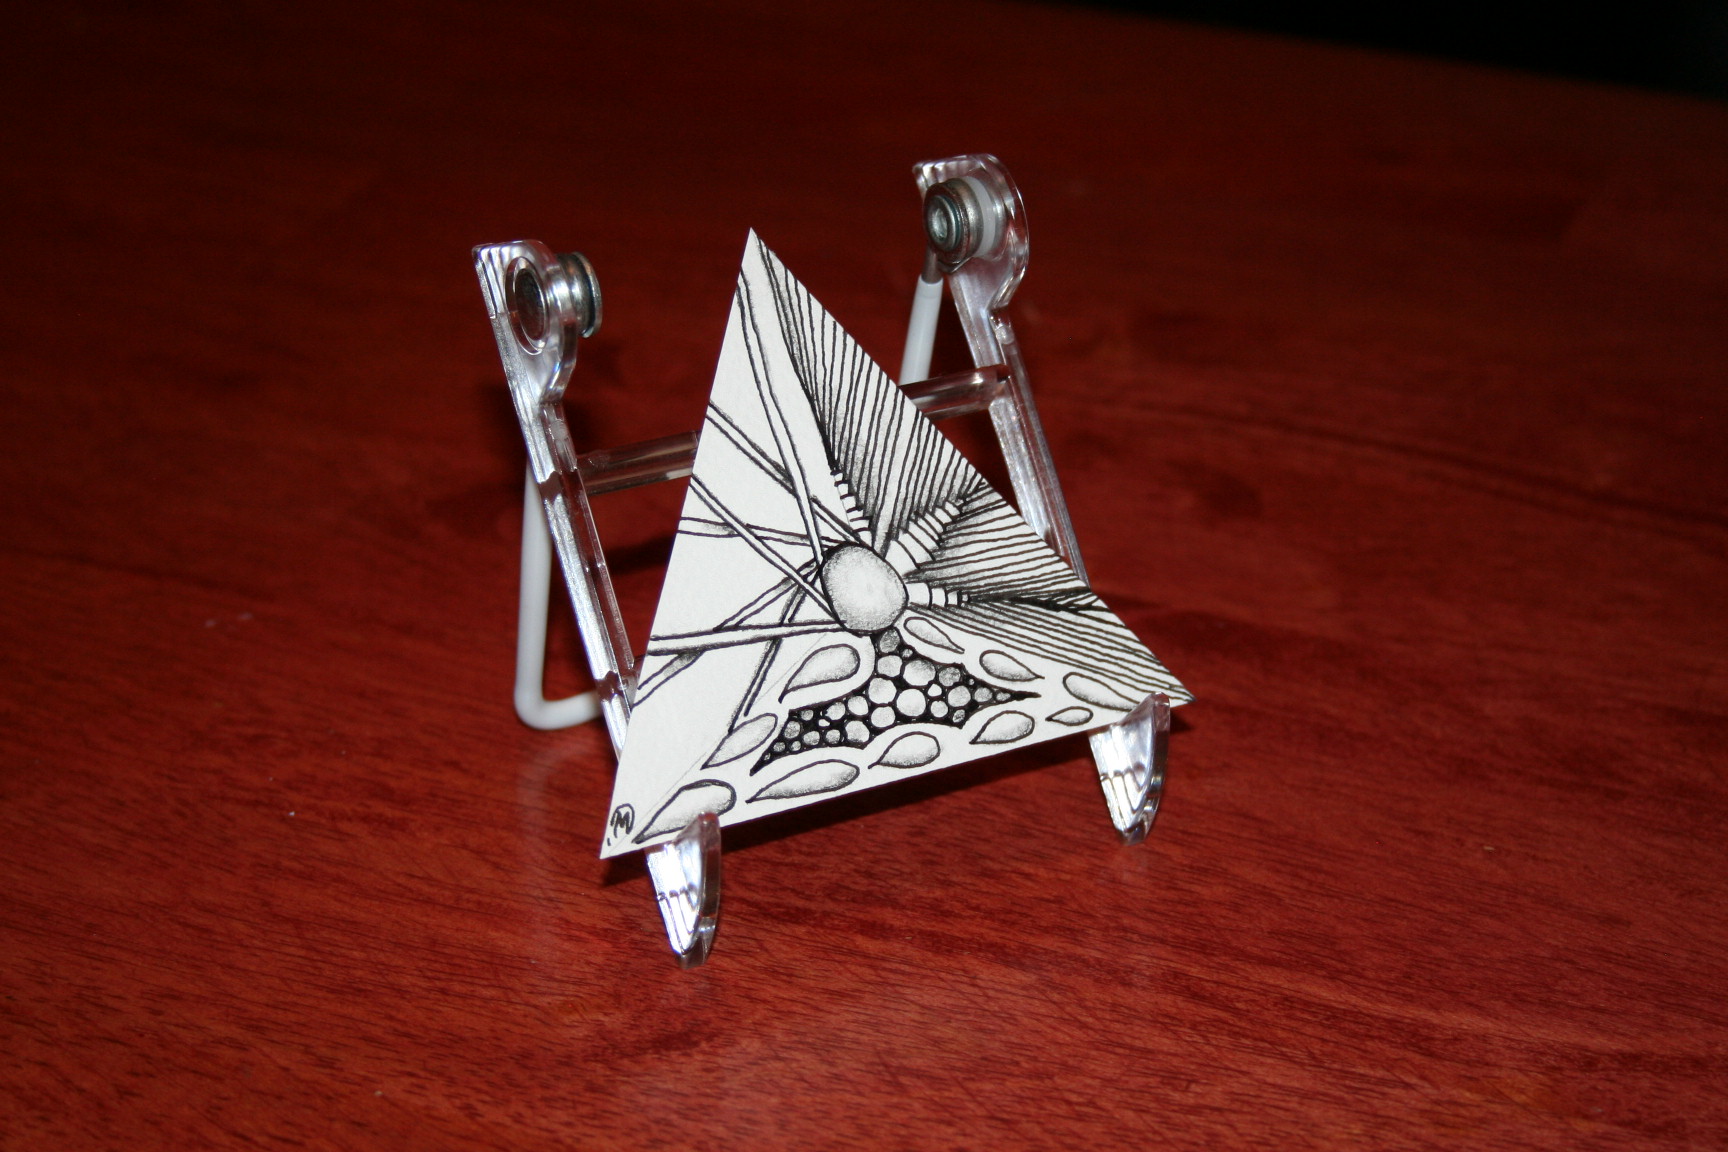
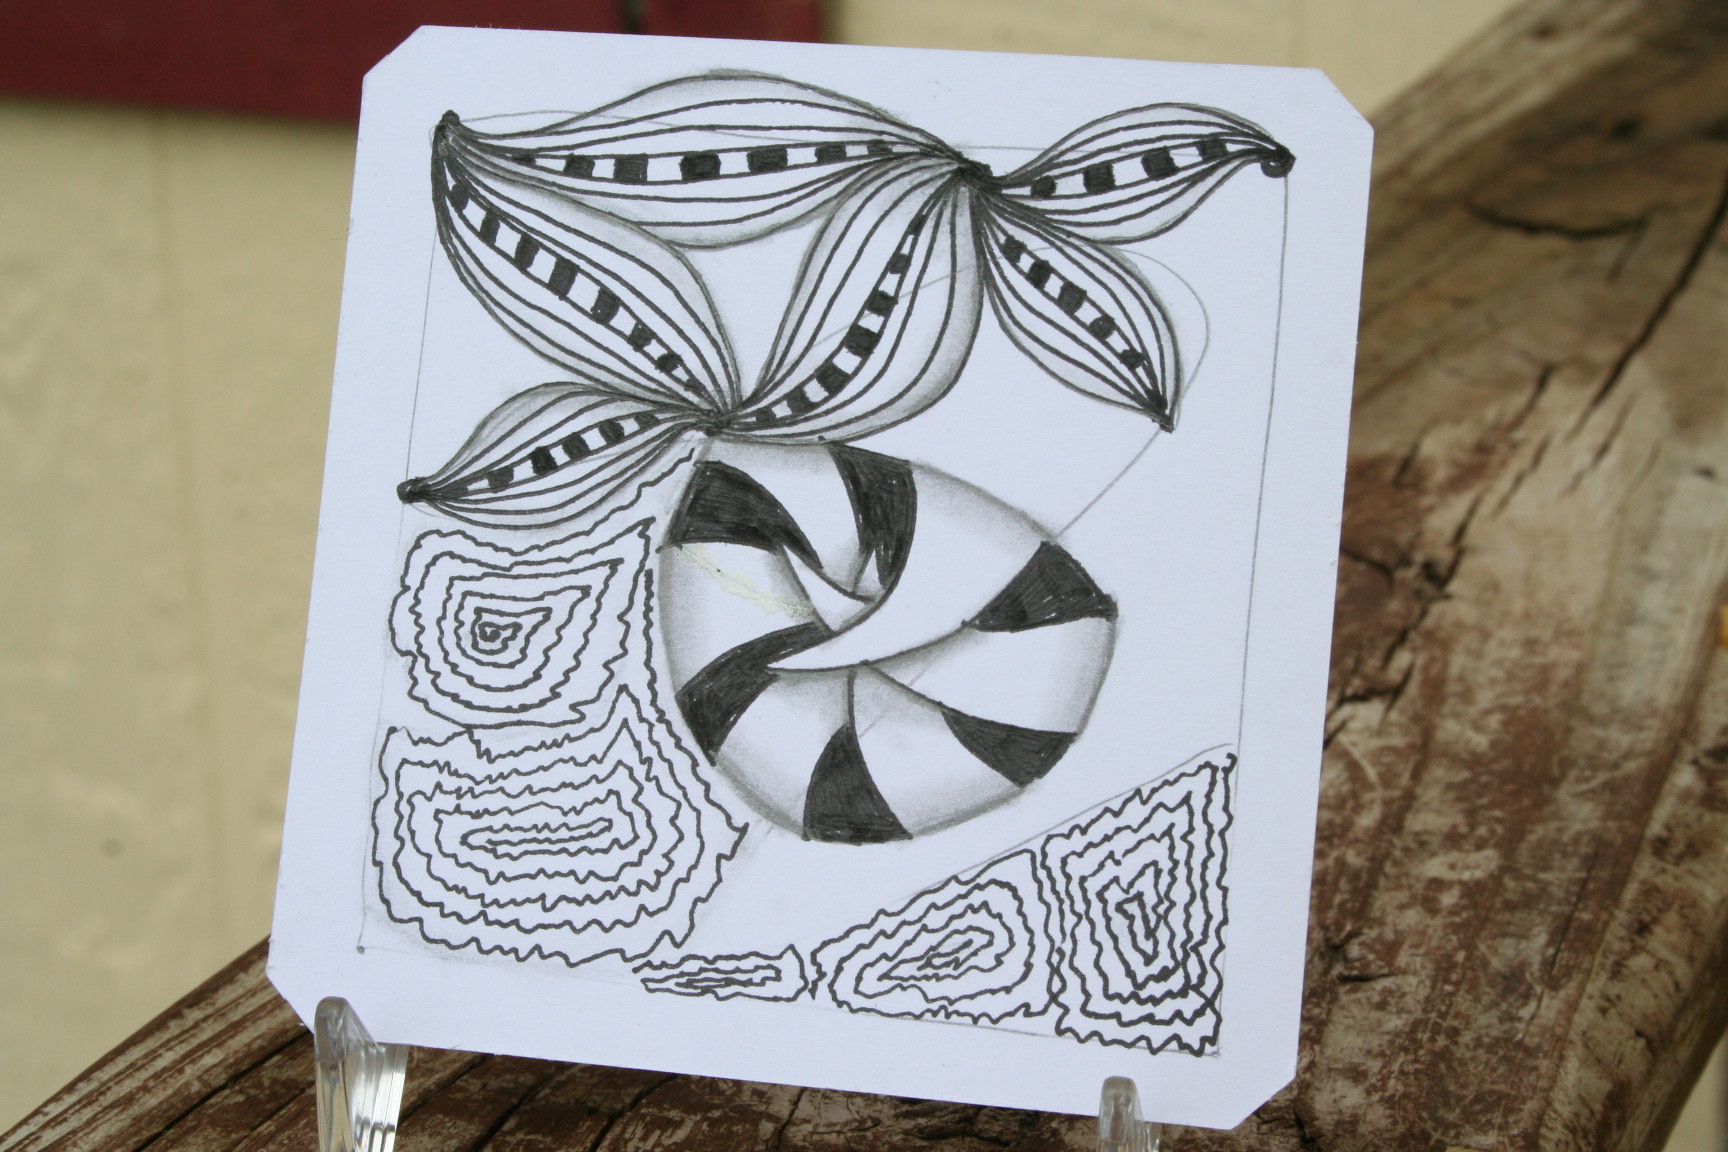
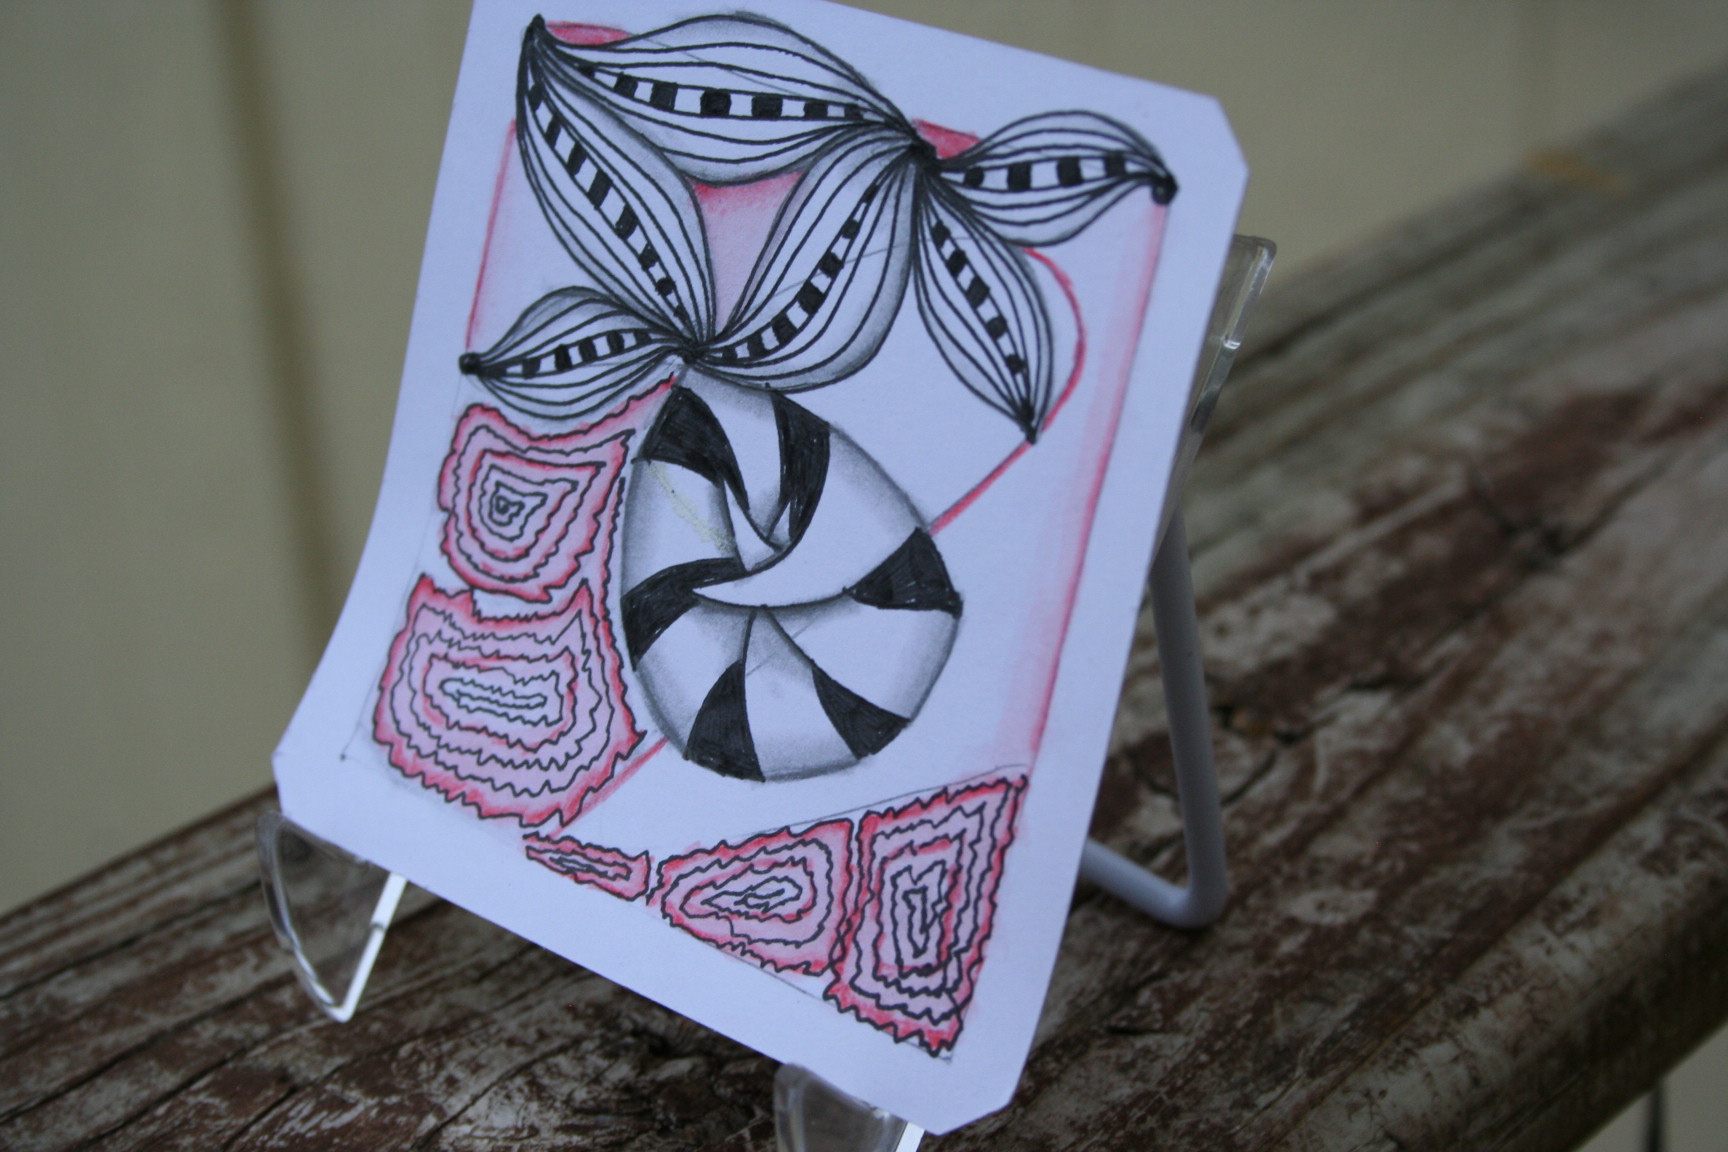
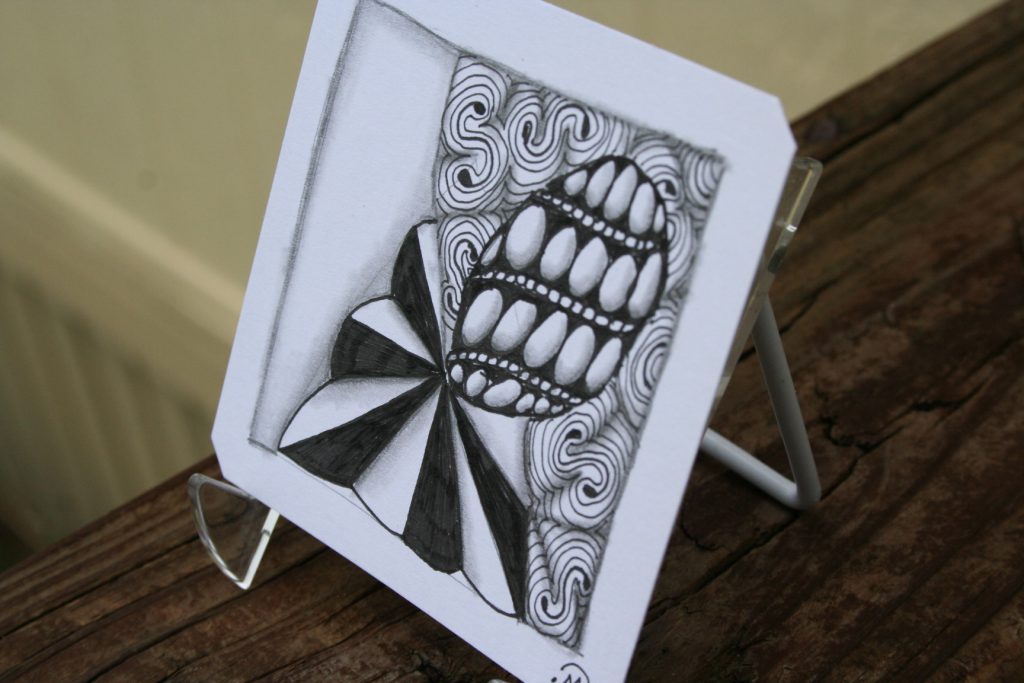
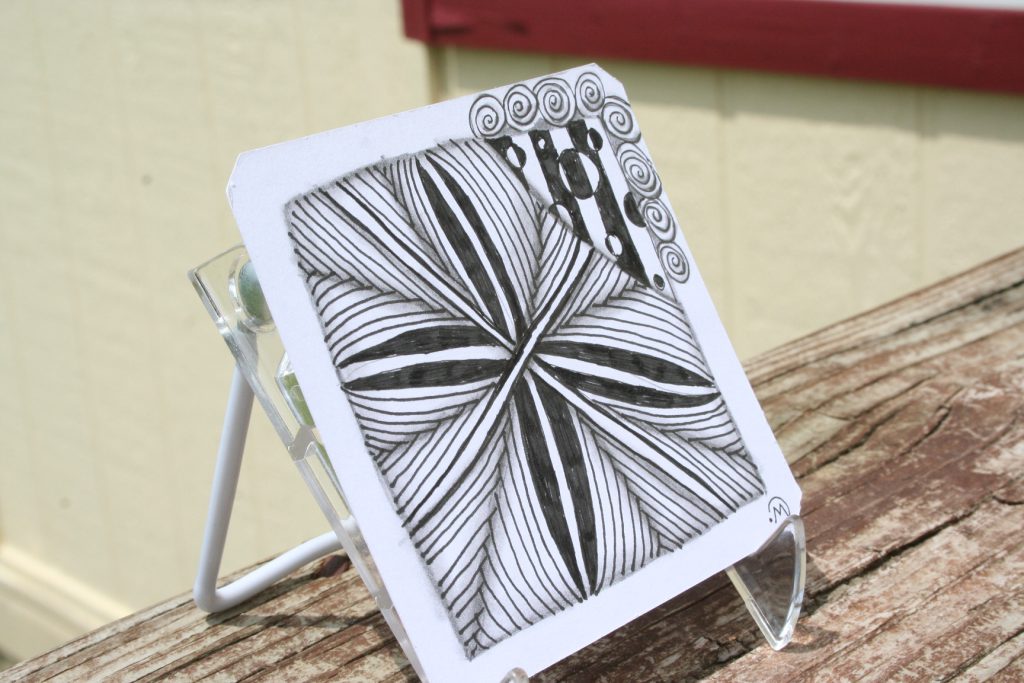
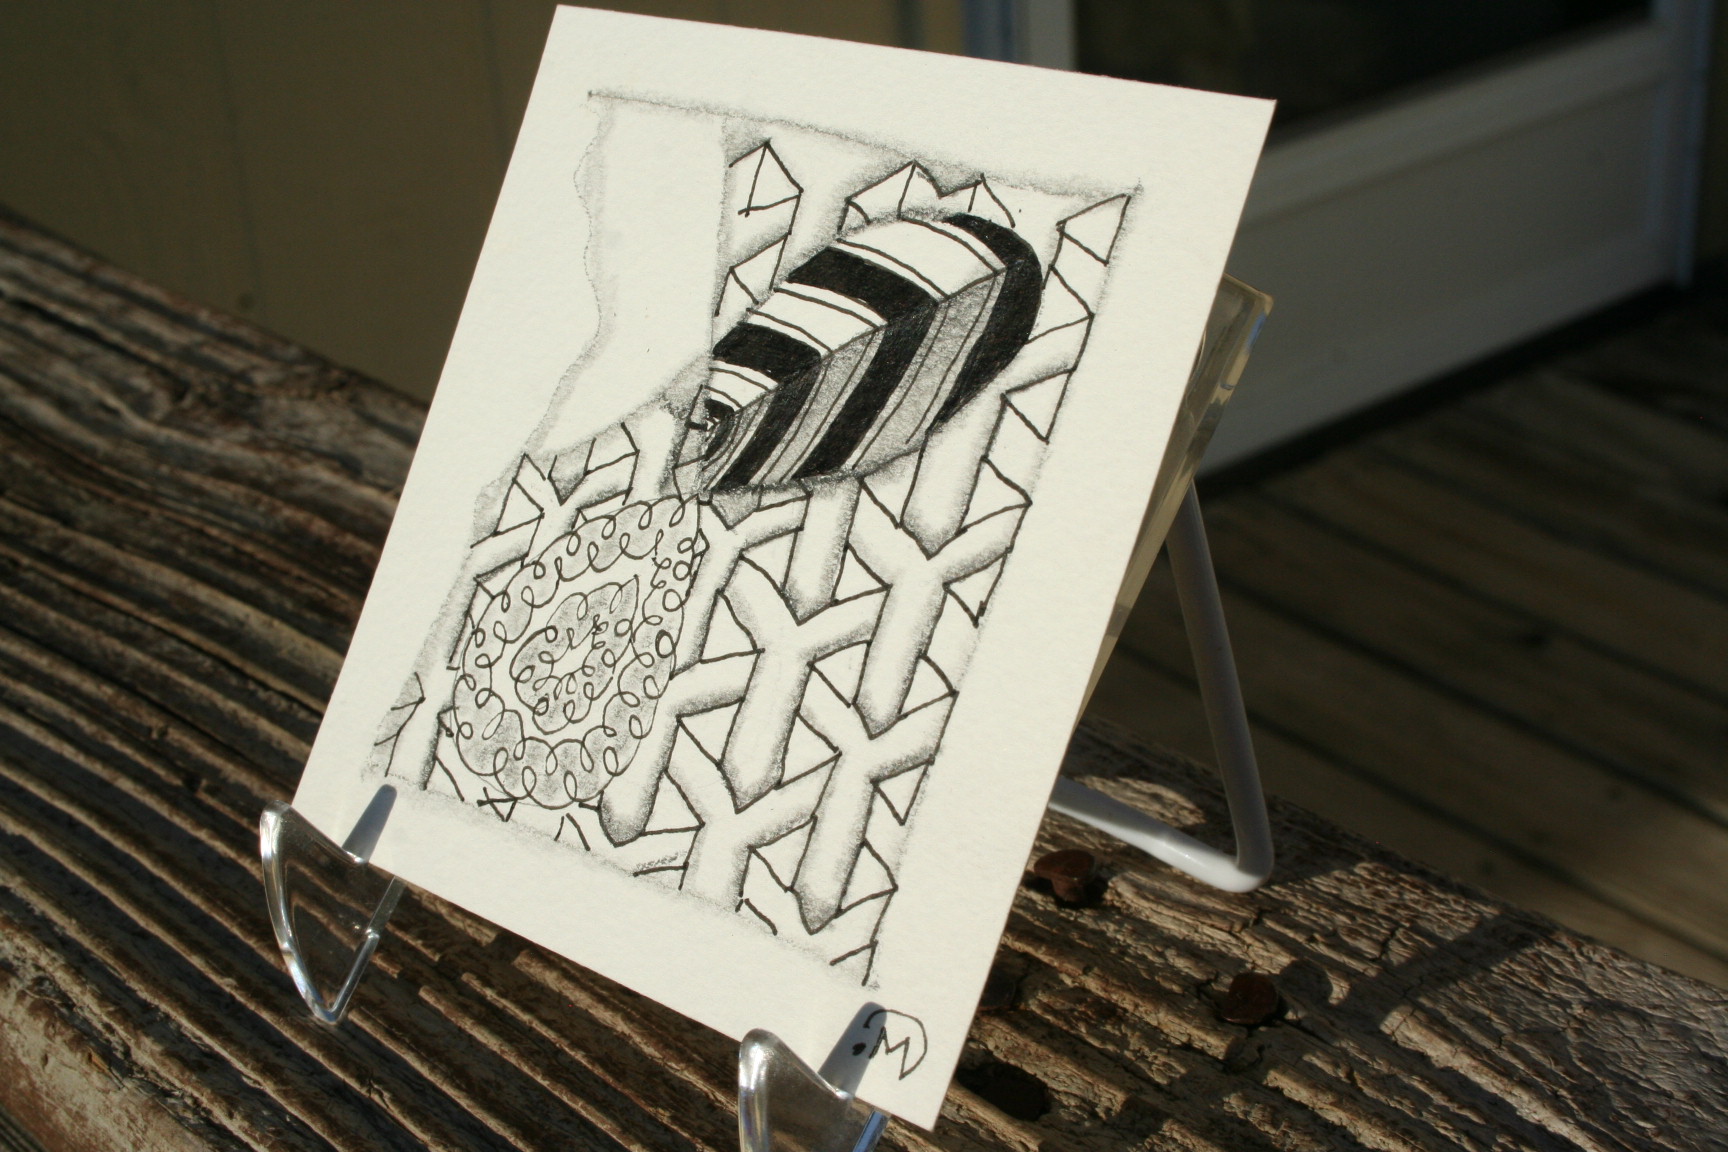
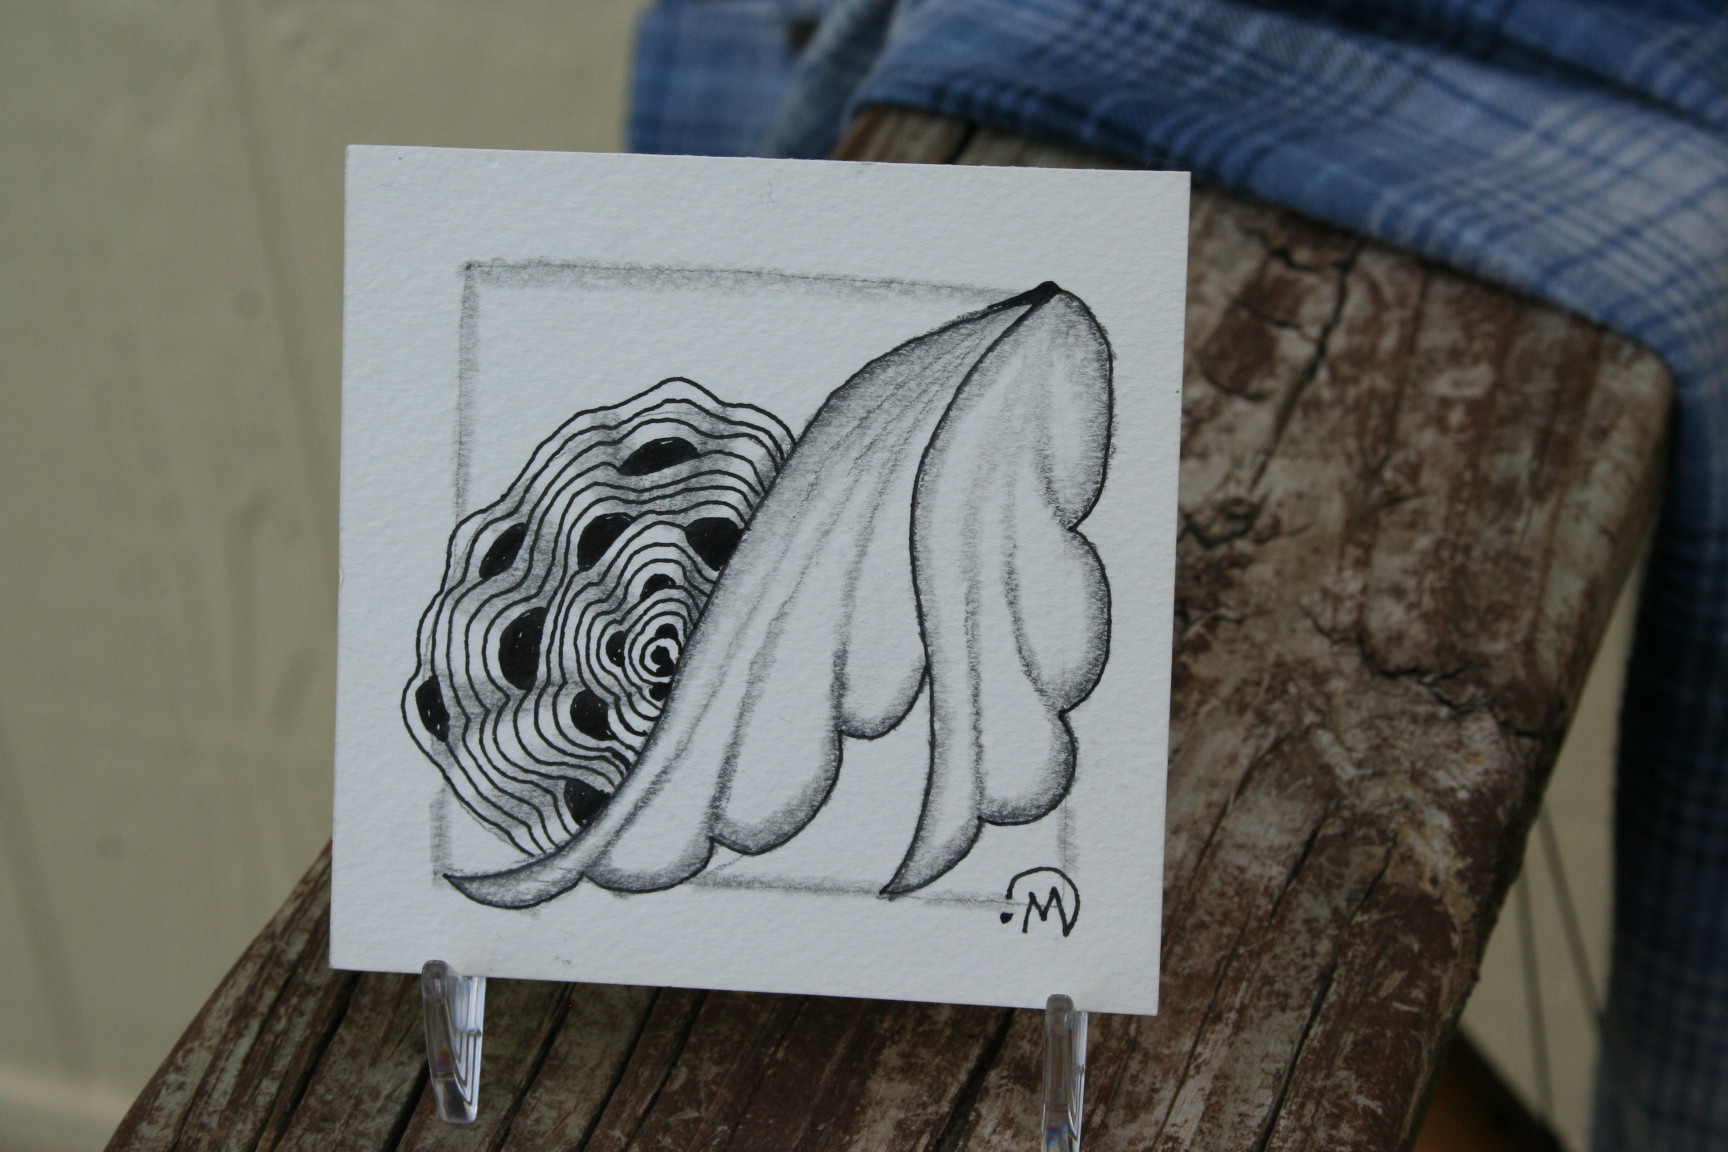
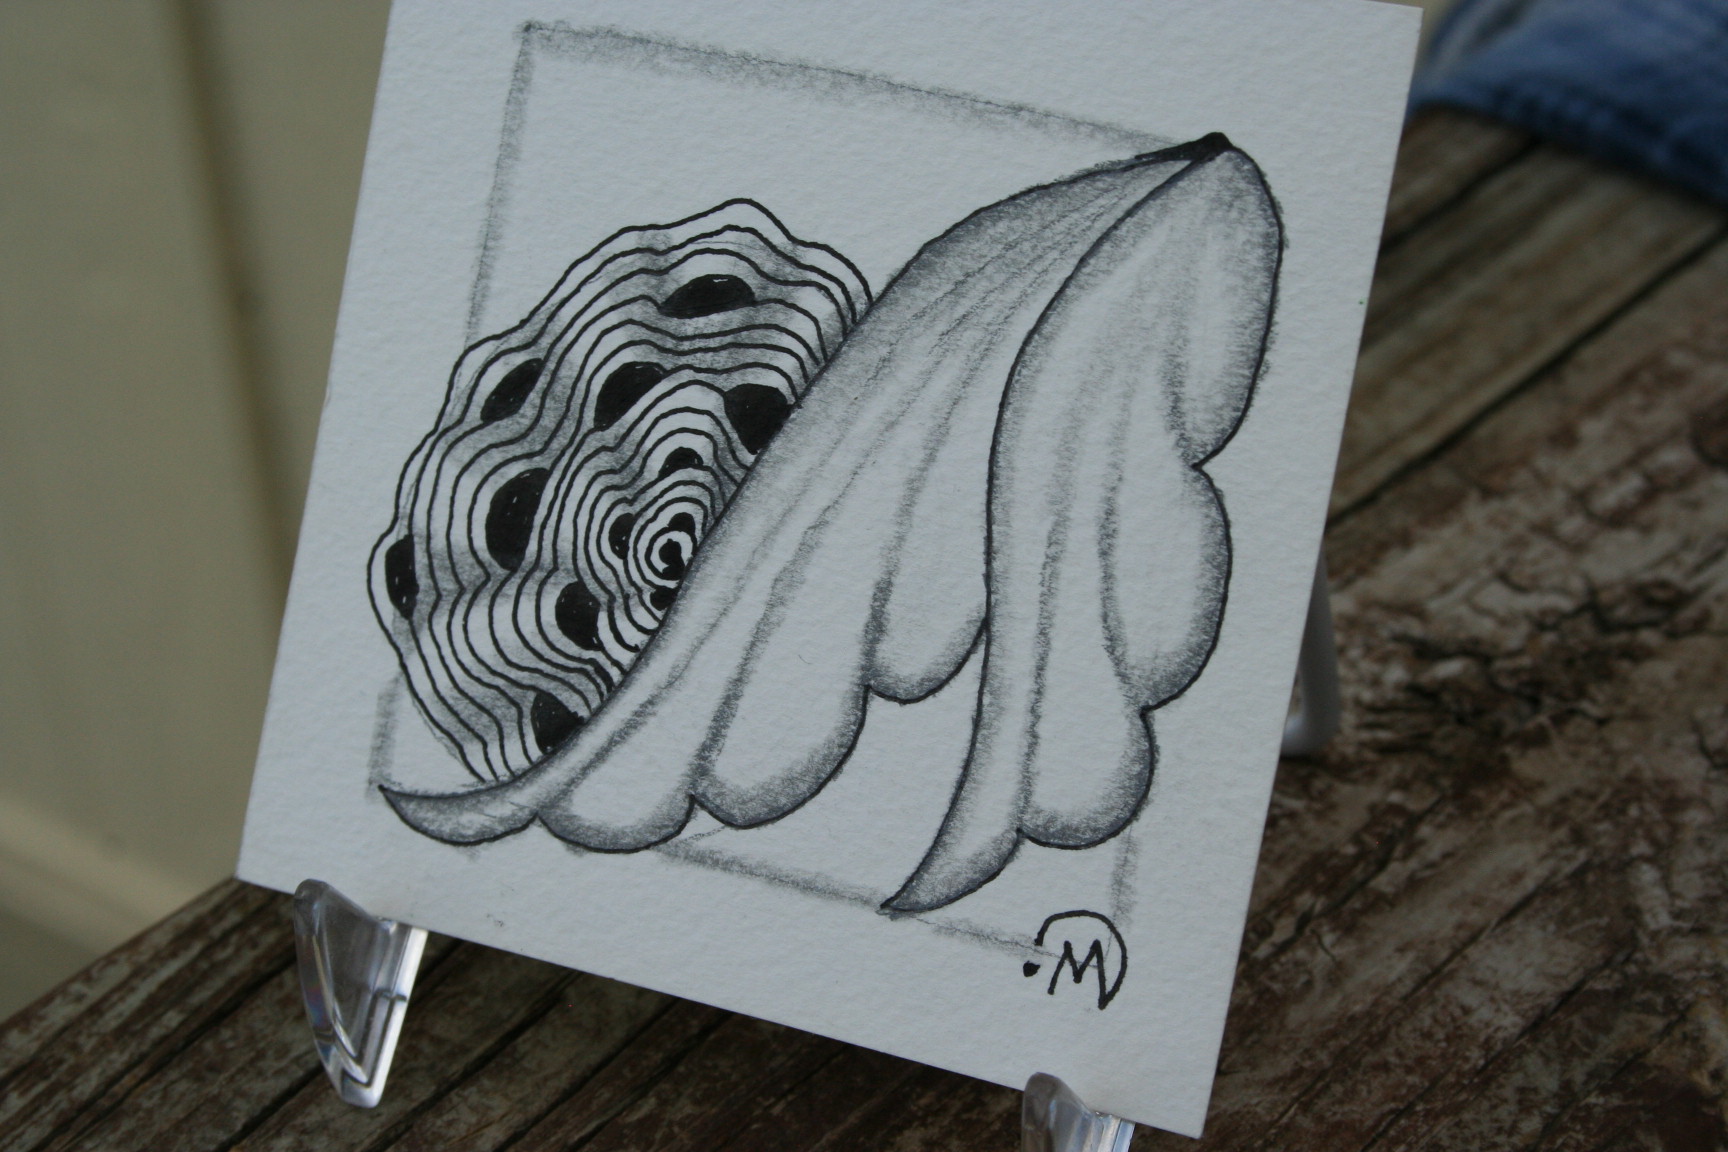
 Here is the picture taken out in natural light, where the sun did break through the clouds for a few minutes.
 I felt something needed to be done with cogwheel, so I added some red/pink watercolor pencil.
 Yeah, the sun went back behind the clouds.
I considered blackening some of the white space but just wasn’t sure. And I’m still not sure about the pink. How would you shade cogwheel? Which one do you think is better, with or without the pink?
Well, that’s all for me today. Thanks for stopping by.
Until next time, God bless,
Michele ºÜº


 So I had to take them all over again but I couldn’t exactly remove the shading.


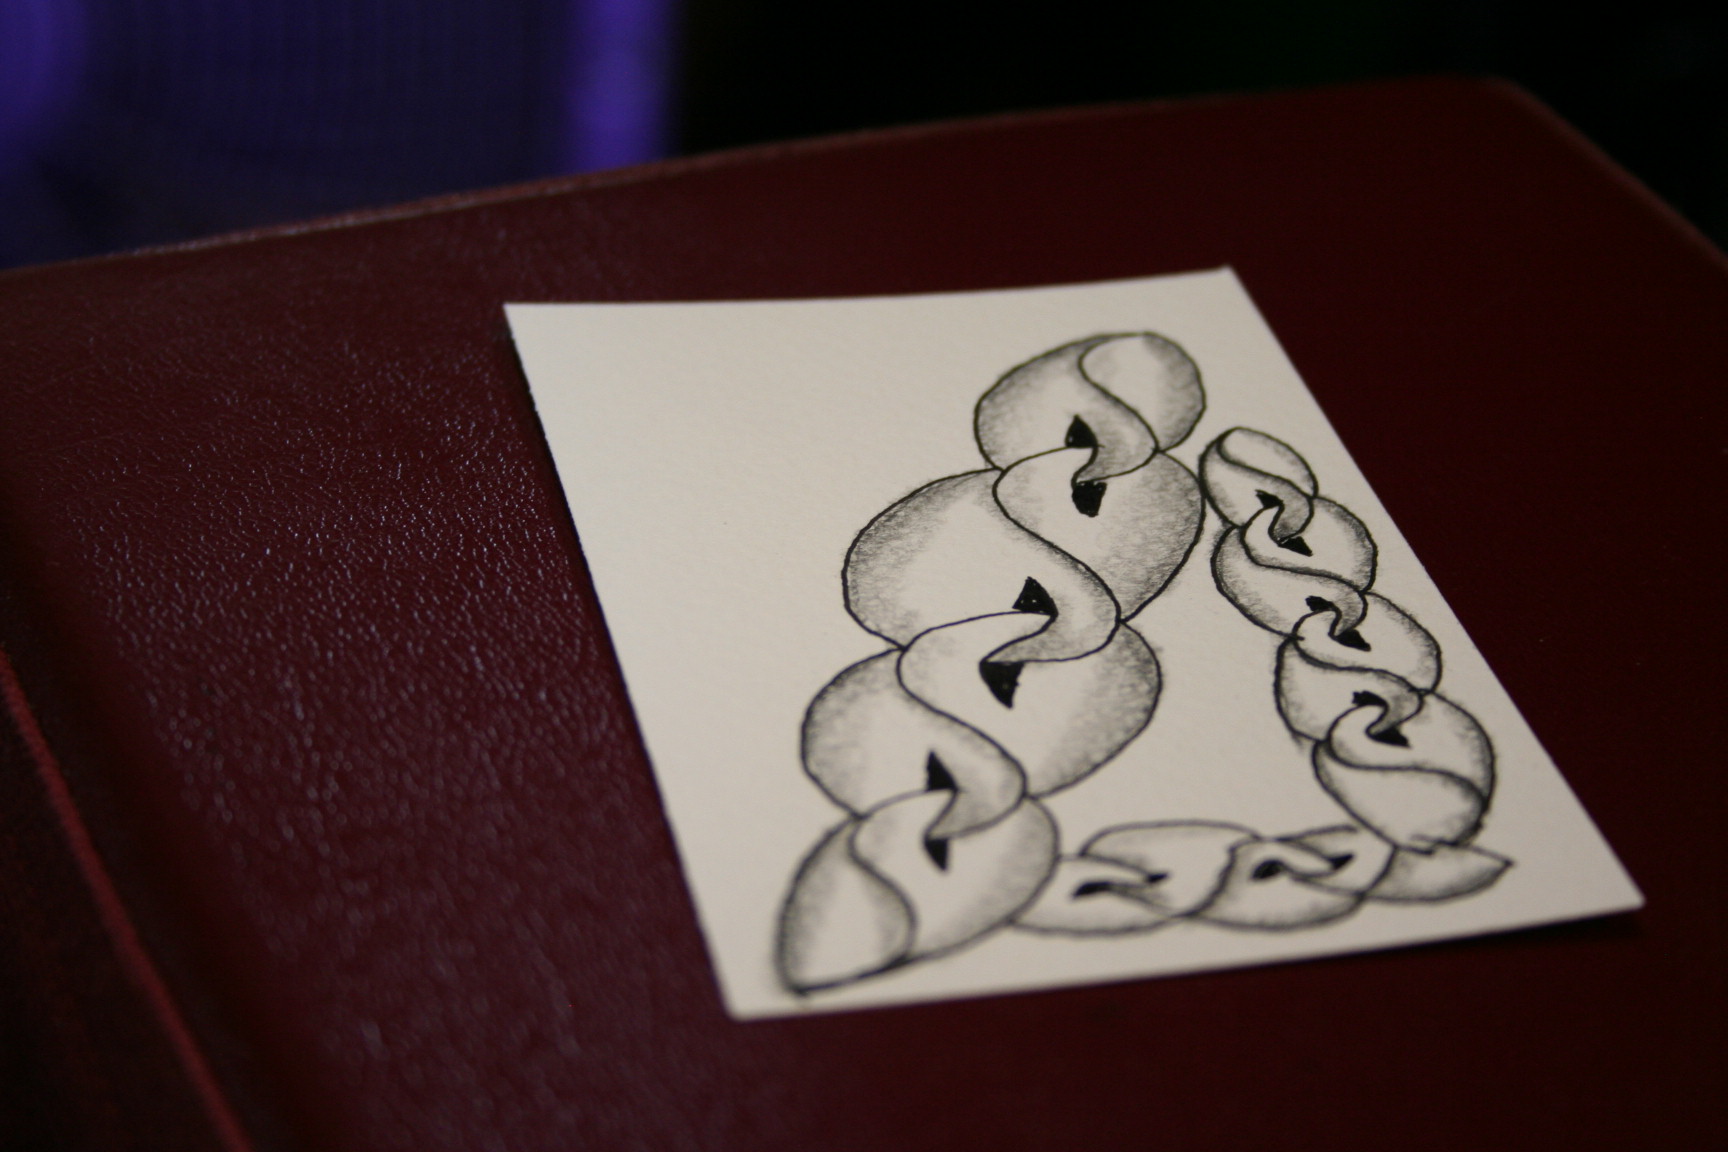


 This week’s Zen-Untangled is comprised of tangles I’m familiar with. It includes the Diva Dance tangles along with Drawings and a few others I cannot recall at the moment. I only had 2 tangles to do the step-outs for and so I procrastinated–not surprising to me.