Category Archives: Wonder Wednesday

Because wonder means to be filled with adoration, amazement, or awe and I’m always amazed at the things I create

Tulsa Zentangle Group ~ Lifeofjoy.me

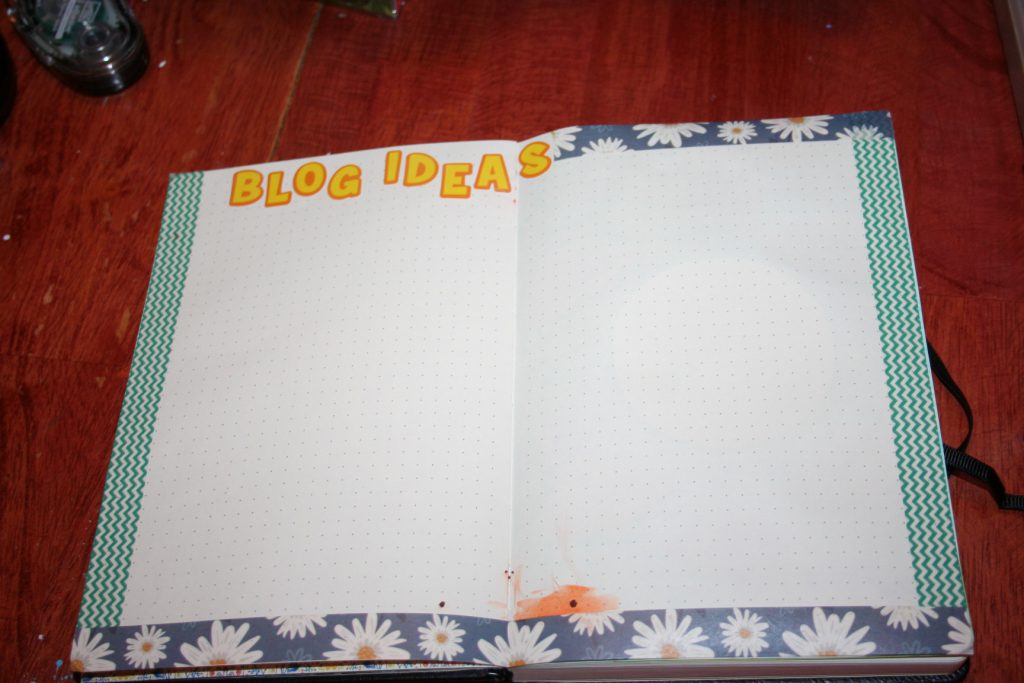
Ideas for Wednesday Posts

I had been floundering with what to do for my weekly tile long before I took the break from blogging this year because Laura Harms stopped doing a weekly Zentangle challenge. I managed to find inspiration from here and there but it was even more difficult after I got off of facebook, as the MeWe tangling community isn’t very prolific just yet.

Honestly, I don’t think I have tangled but one thing since February this year and am so out of touch with the community that I completely forgot about Inktober this year. By the time my daughter reminded me, it was too late for me to push myself.

When I was looking for things I’d like for Christmas I remembered that Zentangle Inc puts out activity packs that are more expensive than what I am comfortable purchasing for myself throughout the year but decided it would make a great Christmas present. So I looked through the 15 or so packs they had at the time and chose one that the supplies were such that I could appreciate receiving it for a Christmas gift.

While looking through them I got the idea to tangle through the project packs. You don’t have to have their kits and they have the videos on youtube to show you how to do the projects. They even encourage people to follow along with whatever supplies you do have. So that is my plan: to work through the project packs and share pics and my experiences here. I’ll also share the links so you can give it a try yourself.

I hope this will be inspiring for you. I also hope it encourages you to try your hand at tangling with whatever supplies you have on hand, even if it is just copypaper and a ballpoint pen with a number 2 pencil for shading. :)

I hope that I will begin this series soon but right now I’m crunching through getting the rest of my Christmas shopping done and hopefully wrapped soon. I like my shopping done by USA Thanksgiving and my wrapping done by the end of the month but no later than the first week of December. I’ve had way too many late night wrapping sessions the night before gifts are opened and it is not enjoyable for anyone. :D

I’ll keep you updated as to when I will start. I hear they have a new pack out for 12 days of Zentangle again this year, so maybe that will be what I start with. You’ll have to stay tuned to find out. ;)

Until next time, God bless,

Michele ºÜº

Art Tidbit: How to Zentangle

While I am working on updating this website, I’ll only be posting tidbits each day (with maybe a bit more on Fridays) until the update is completed.

We have been fighting sickness here, so I have nothing created this week. So I thought I’d share some information about how to do a Zentangle. :) Here is a wikihow with info on how to do one. The thing about the wikihow though is that the pictures used a pencil and zentangles are done in ink.

Then you can go to someplace like tanglepatterns.com or pattern-collections.com for a multitude of tangles to use in your pieces.

I hope this is helpful to you and I hope I’ll be back next week with some actual art to share. :)

Until next time, God bless,

Michele ºÜº

Heartizen Day 1: Gotcha (Heart)

While I am working on updating this website, I’ll only be posting tidbits each day (with maybe a bit more on Fridays) until the update is completed.

There is a CZT who created a 14 day heart focused project called Heartizen. You can find the list of tangles by subscribing on her website or watch her fb live replays on here on her youtube channel. I won’t put pressure on myself to tangle every day right now. But I will do some of them.

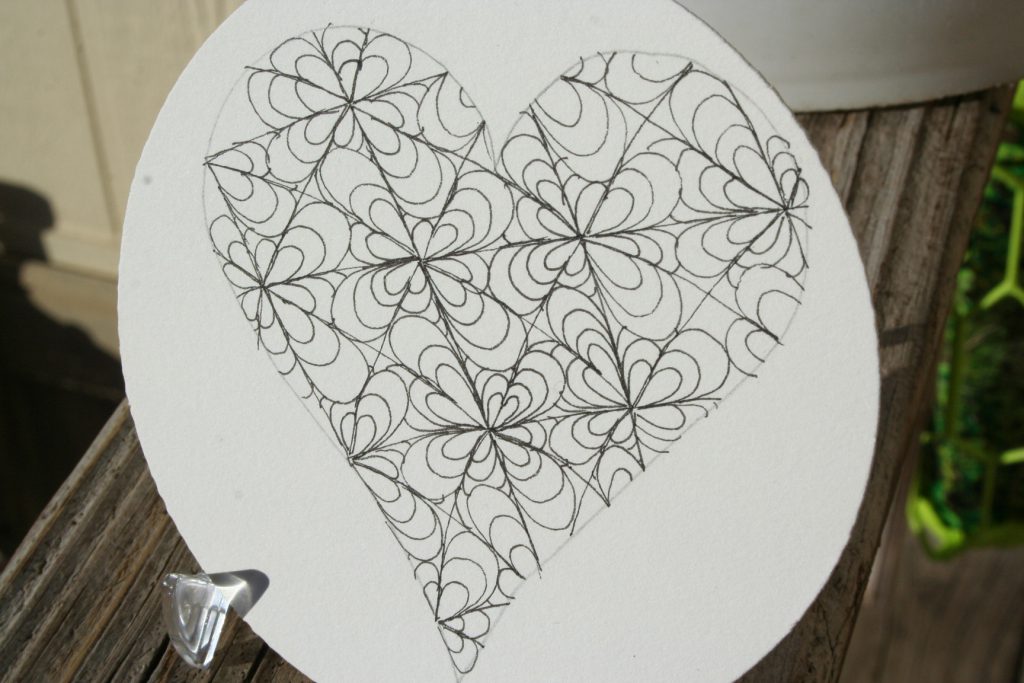
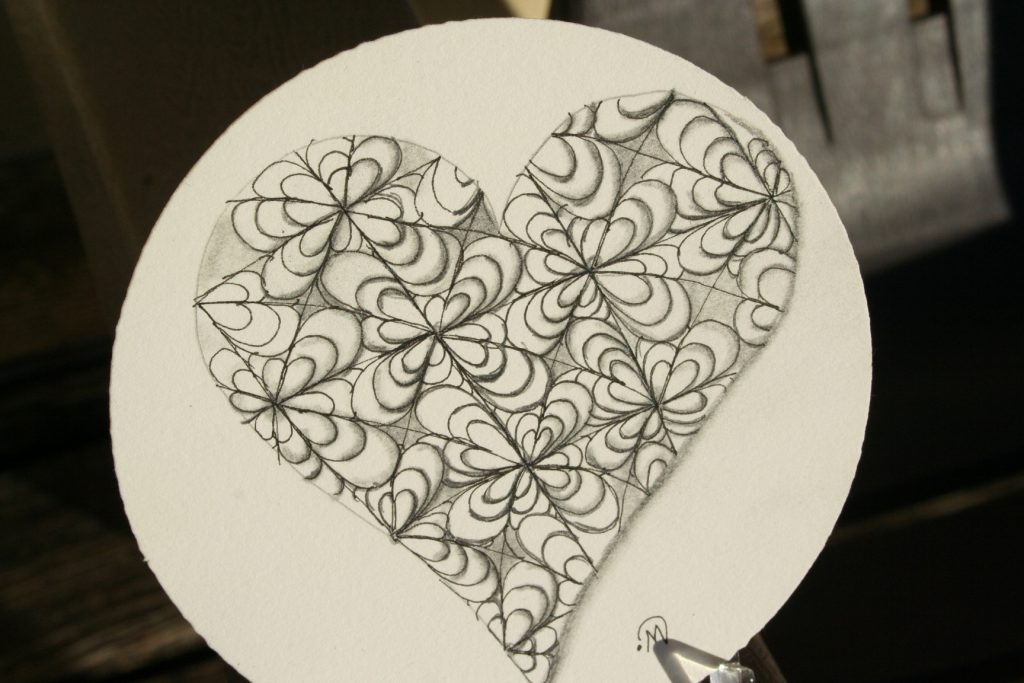
I wasn’t familiar with the tangle Gotcha. However looking it up afterwards I realized that Aishwarya Darbha modified it. I realized about midway through tangling that I wasn’t following the directions properly. :D So mine is a bit different but that is okay. :)

Oh! She has demonstrated this project on circle tiles rather than squares. It is a nice change. I actually have some of these official tiles that I got from an etsy shop for Christmas some years ago. The one I chose is a buff color, maybe a renaissance tile.

So here is my tile before I did any shading.

Here it is after I did some shading.

Since I didn’t use the right number of “petals” mine turned out a bit different than hers did.

I’m interested to hear if you are participating in Heartizen.

Until next time, God bless,

Michele ºÜº

Art Bit: Tangle Narfello

Beginning Jan.4th, while I am working on updating this website, I’ll only be posting tidbits each day (with maybe a bit more on Fridays) until the update is completed.

Zentangle released a new tangle recently. I tried my hand at it. I found my auraing of the original line needs a bit of work in the future. ;) Shading really is the key in this tangle; I’ll have to work on it more. But over all, not a bad first attempt.

It really looks better smaller. ;) You can’t see all my lines as much so it has a better overall look. See?

I hope you have a good day! Thanks for stopping by.

Until next time, God bless,

Michele ºÜº
Wednesday Tidbit: Keep It Simple

Beginning Jan.4th, while I am working on updating this website, I’ll only be posting tidbits each day (with maybe a bit more on Fridays) until the update is completed.

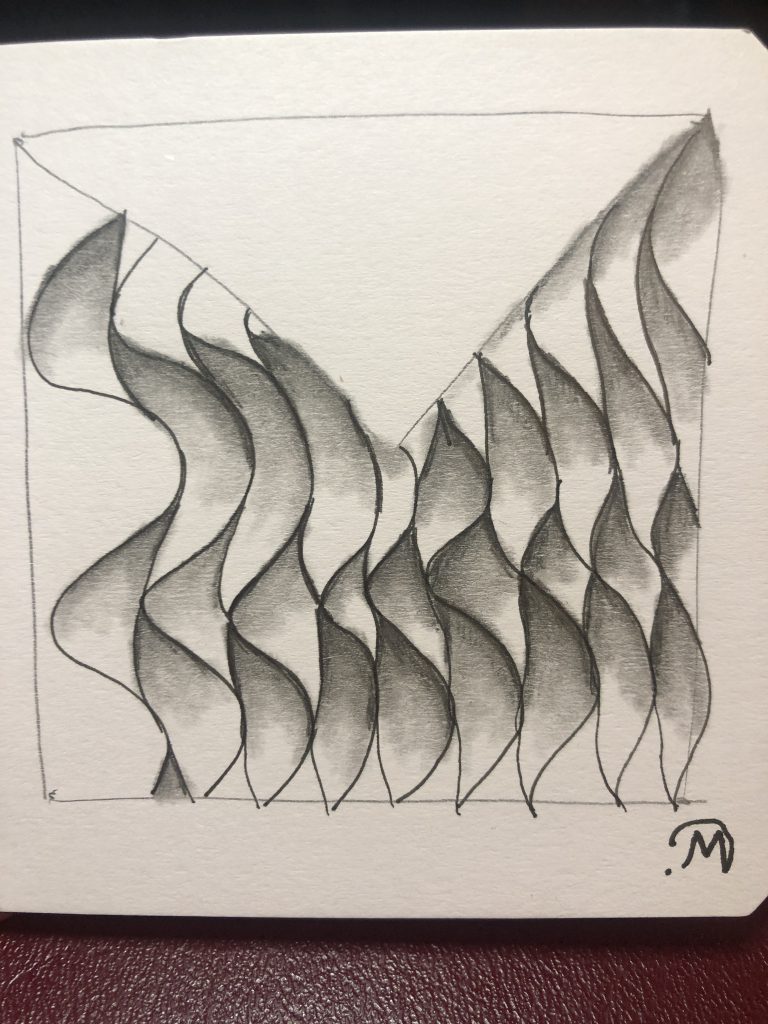
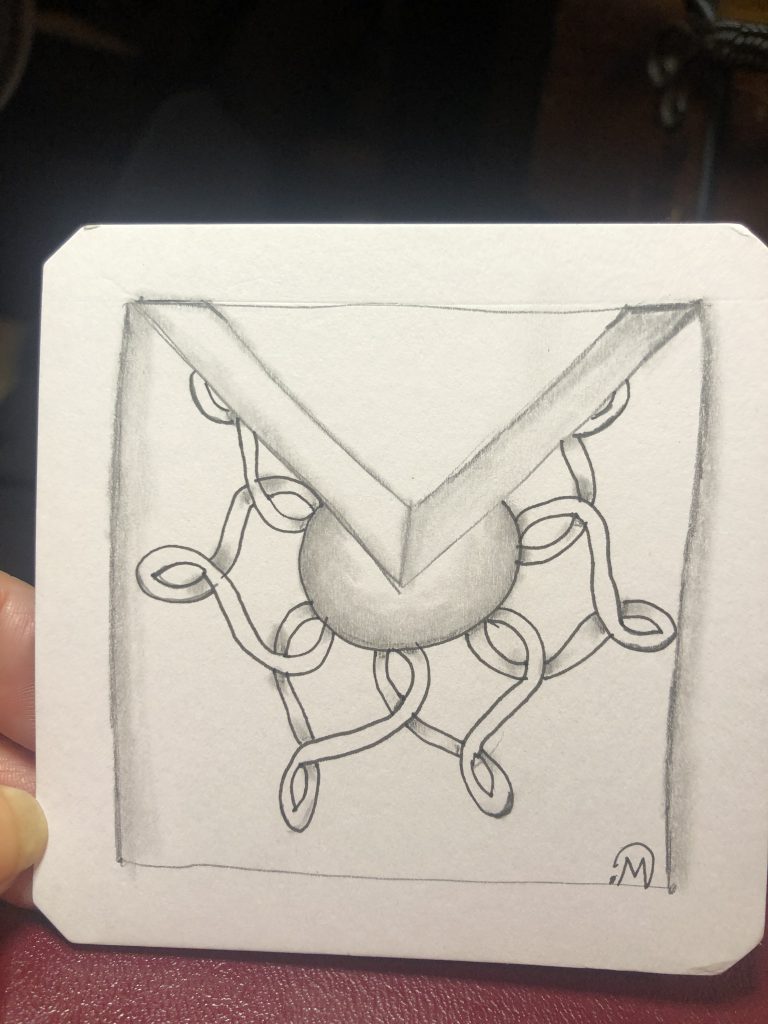
I found a tangling group on MeWe. I asked about a weekly “challenge” and they decided to do a “prompt”. So this week’s prompt is to use your initial as your string. Then someone else suggested using your favorite tangles.

It took a little thinking to figure out how to work Ratoon into a string of straight lines. But I did it and I definitely kept it simple. If you don’t feel like you have to create a masterpiece, it is easier to create something.

(Since this is a tidbit, I’m only including the one picture this week.)

I didn’t have my correct tortillon and was using an old one, so things aren’t as sharp as I’d like them but it’s the first tile of 2021. :)

Until next time, God bless,

Michele ºÜº
Art Tidbit: More Bujo Pages and the Make Art Every Day Book

Beginning Jan.4th, while I am working on updating this website, I’ll only be posting tidbits each day (with maybe a bit more on Fridays) until the update is completed.

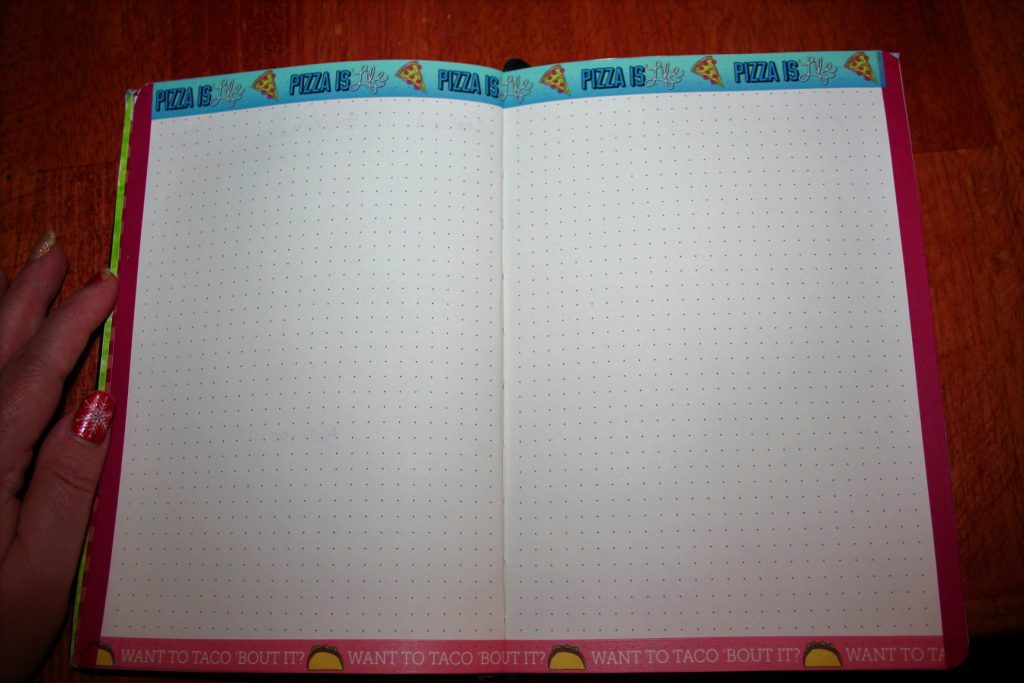
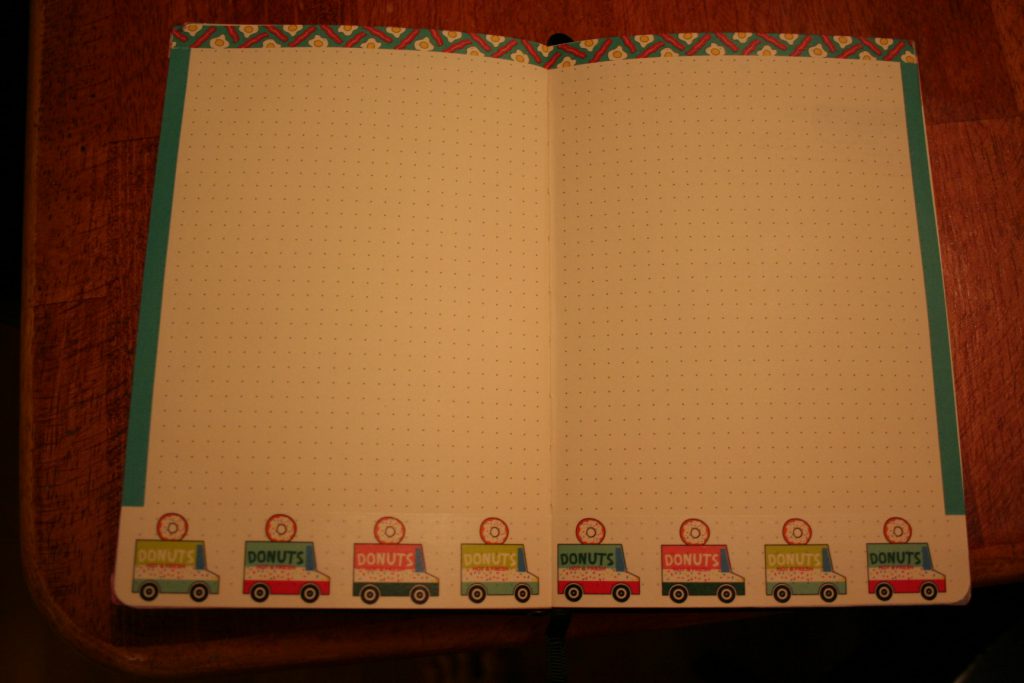
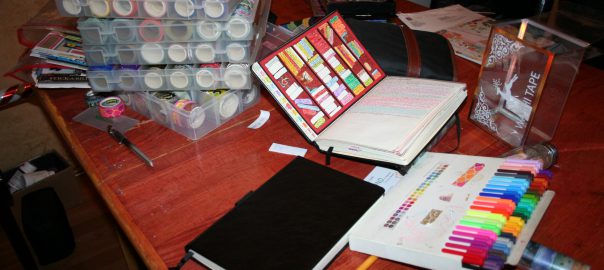
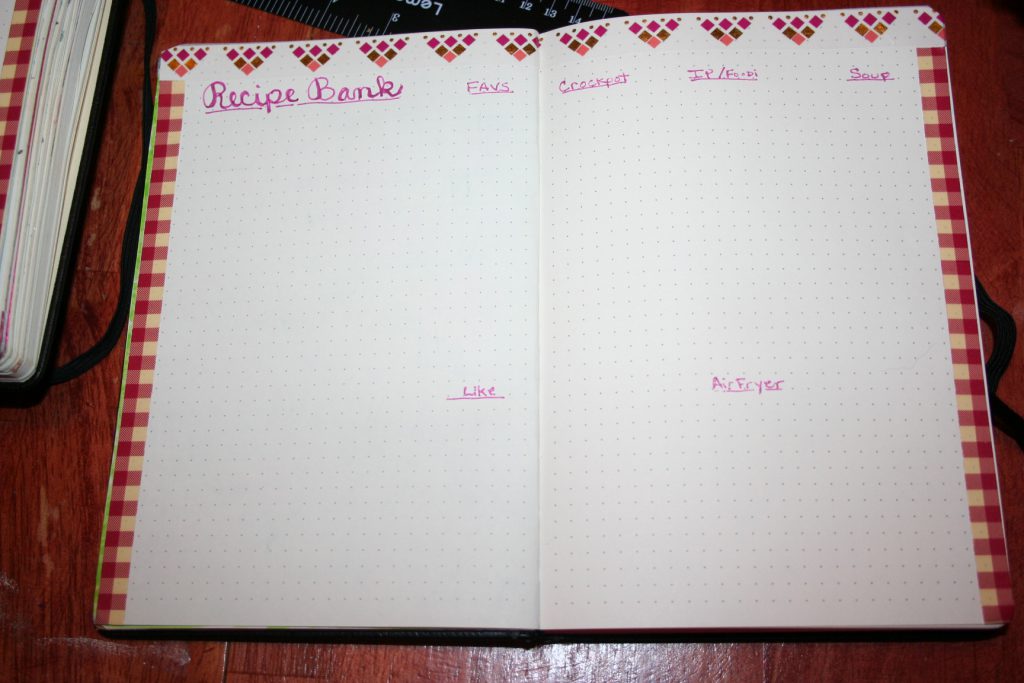
I did more of my easy peasy bujo pages this week and one a little less easy peasy. ;) I had gotten some food washi tapes some time ago and decided to use these for my food pages. I’ll use these to make note of recipes and ingredient substitutions and other food related notes, like dough sitting 7 hours on the counter or 72 hours in the refrigerator is necessary for it to be on plan if it isn’t a sprouted flour. ;)

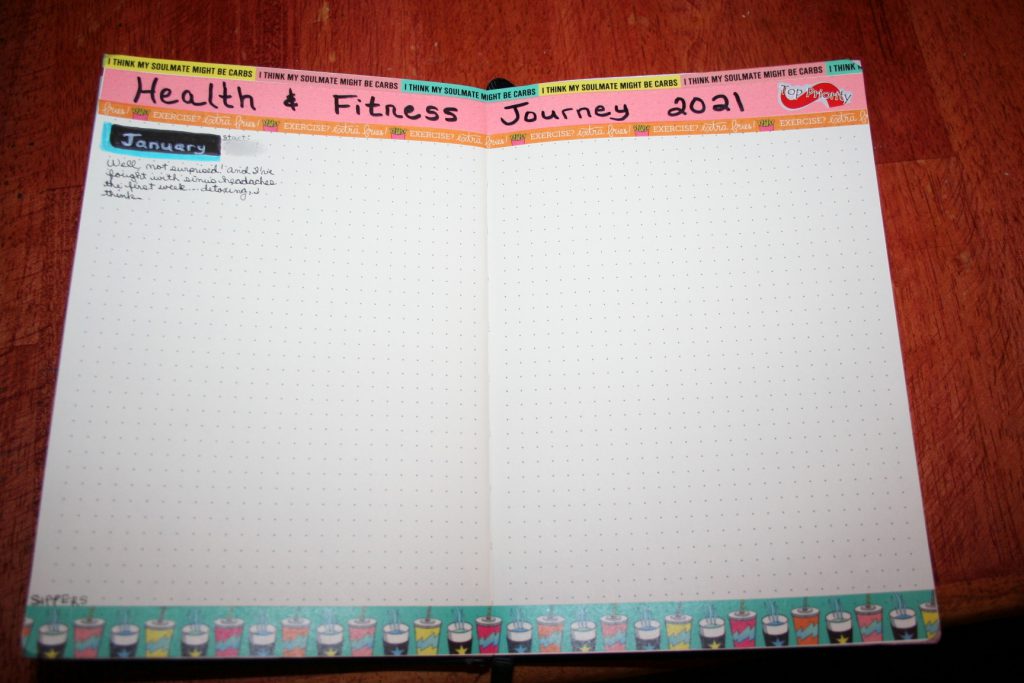
Last year I used this same donut tape but had a different one at the top. I like the eggs and bacon at the top a lot better. :)Mom gave me this citrus washi tape and I just love it! It is bright and cheery and makes me smile. :)I also made a Health and Fitness Journey page. I didn’t want to call it a Weight Loss page because I tend to try to find things I lose. ;) I’m releasing this weight and never want it back. So I’m changing the wording to help me focus properly on health and fitness.

I intend to make monthly notes and track my weight here as well.

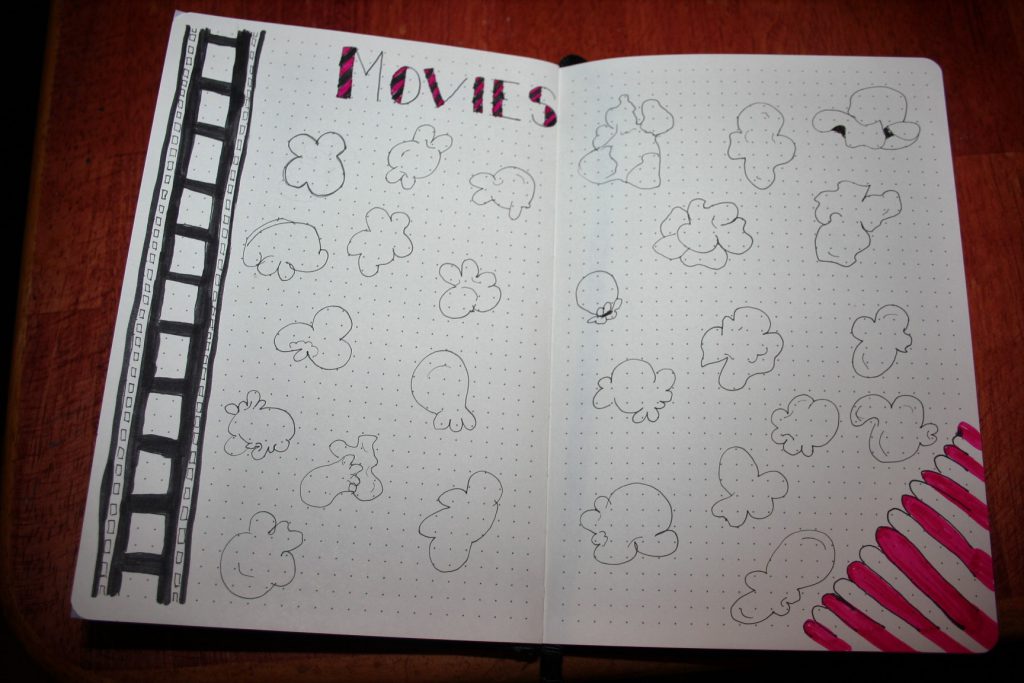
For the last several years I made large movie tracker with a film strip and other symbols. But Last year we only watched two movies on it. So this year I decided to try a different less time consuming to make tracker. Tiffany has an extensive list of movies we want to watch, so I don’t need to have as large of a tracker/to be watched page.

I’ll write a movie we watch on each kernel. :)

And that’s as far as I got this week. I finally had to put away my supplies because we just needed the table back. I’ll just have to clean the table off in the craft room to do individual pages from here on.

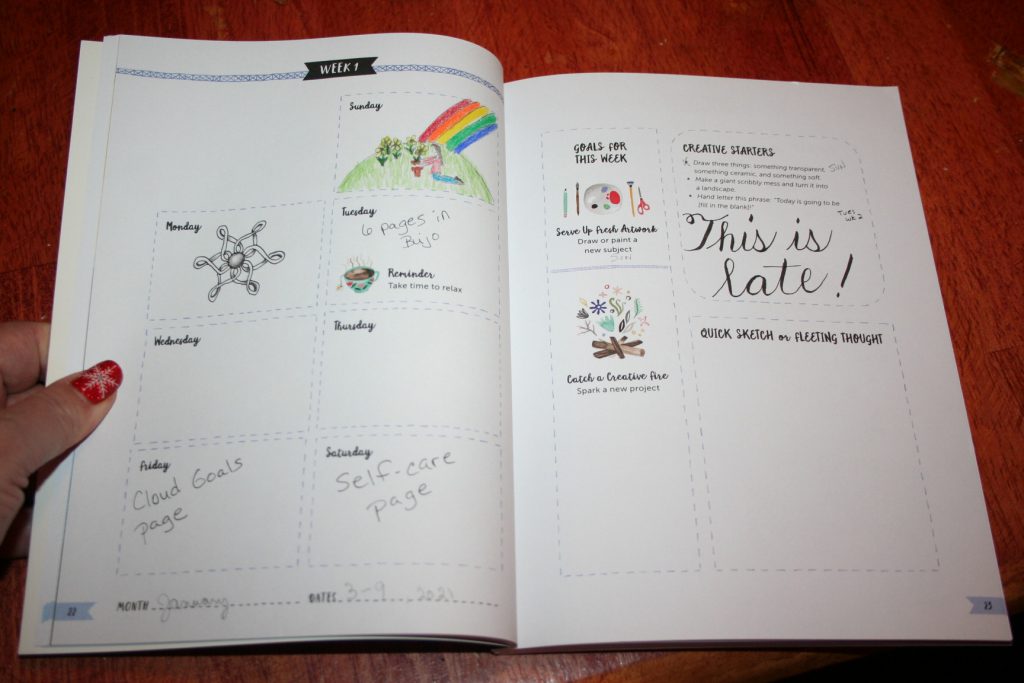
We started working on the Make Art Every Day book. I thought I’d start on the first of January and thus a Friday but I was busy making cinnamon rolls and donuts, and playing Immortals Fenyx Rising and completely forgot about this book. So then, since it has it broken into weeks, we decided to start on Sunday.

At one point I thought of gong back and catching up and even ensuring that I did art in this book every day but that just didn’t happen. I feel like it will be more motivational skip days if I don’t get it done on that day. I also decided to just note when I do art elsewhere, so I don’t feel like this is a chore.

I hope you have a good week and do something artsy. :)

Until next time, God bless,

Michele ºÜº
Art Tidbit: Do it Your Way

Beginning Jan.4th, while I am working on updating this website, I’ll only be posting tidbits each day (with maybe a bit more on Fridays) until the update is completed.

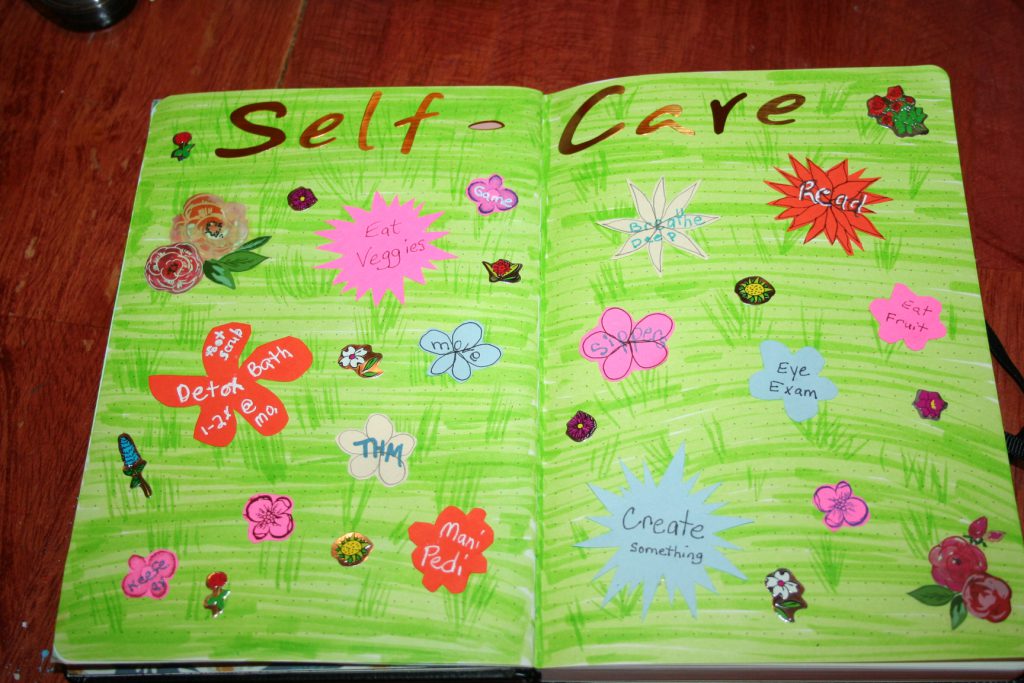
I use a bullet journal as a place to keep my many lists and notes. It is the place that I write my list of things to do and sometimes I even put sticky notes on the pages. I use stickers and washi tape and keep it very simple. Some would agree with me and others would look at it and see it as too much for them to do. Bullet journals are meant to be useful, first and foremost. If it isn’t pretty, I won’t use it. ;) So I do what I feel comfortable doing to make it something I enjoy using.

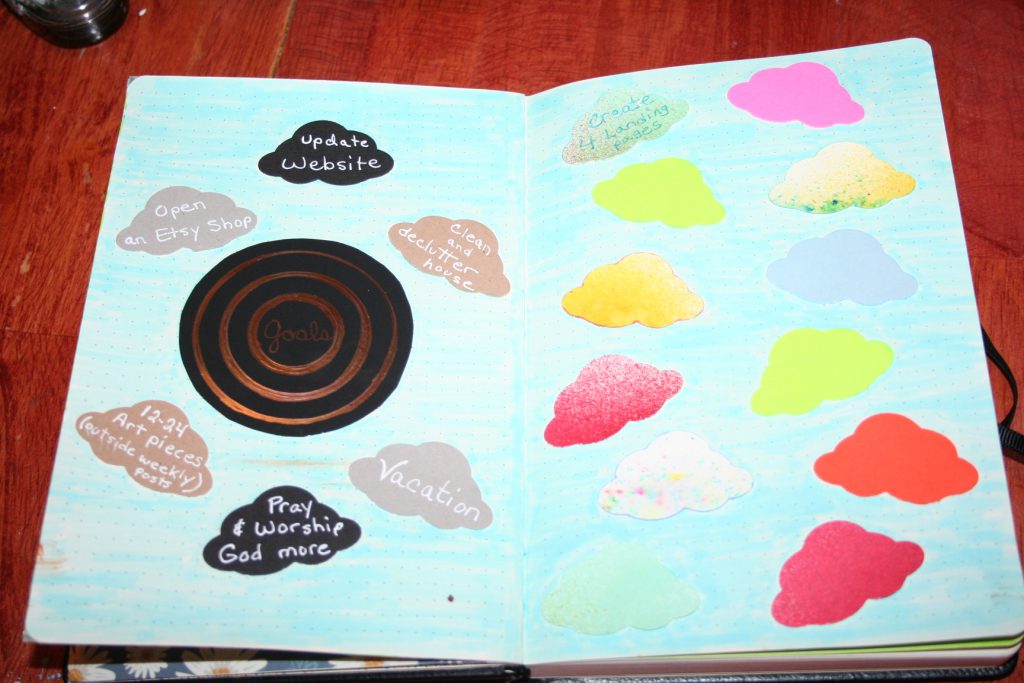
Here are some of the pages I set up so far; the two new ones are goals and self-care. The others are pages I loved in last year’s bujo.

I had a marker drop some odd dry-ish ink on my page after I’d finished it. But I choose not to dwell on that. ;)Do I love everything about these pages? No, but they will work just fine. And if I find that any of them bother me later, I can fix them then. :D

I hope you take some time to do something artsy/crafty this week.

Until next time, God bless,

Michele ºÜº
2021 Bullet Journal Setup

I have only used about 2/3 of my bullet journal for 2020. Part of me thinks it a waste to start a new journal but the other part of me thinks that it is a new year and it is good to start fresh. Besides, if I keep going in this one, I’ll surely run out before the year is over and then I’d have to get another one and that would be messy for me. ;) So I start a new year with a fresh journal. :)

Last year I decided to ditch the index. It just doesn’t work for me. I also decided to put collection pages in the front and skip back about 50 pages and begin my daily to do lists and such. This worked out great! I’m definitely doing this again. This year I decided to give myself another ten pages in the front. I had so many pages left in the back that having a few more in the front shouldn’t be a problem.

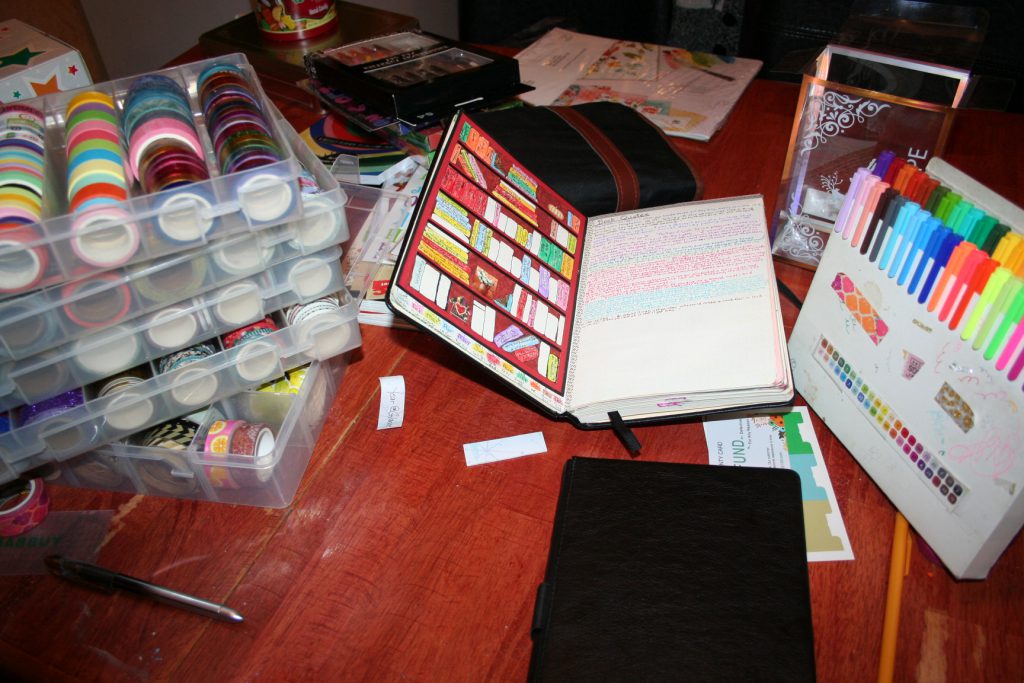
I start by looking through my current bujo and deciding which pages/spreads I want to do again. I write on my sticky flags the page title and move along. Then when I’ve gone through all the pages, I decide if there are any new ones I know I want to make and make sticky flags for them.

Then I place the sticky flags on the pages I want them. I do this so that I can easily move them around if I so desire, as I’m getting placement figured out.

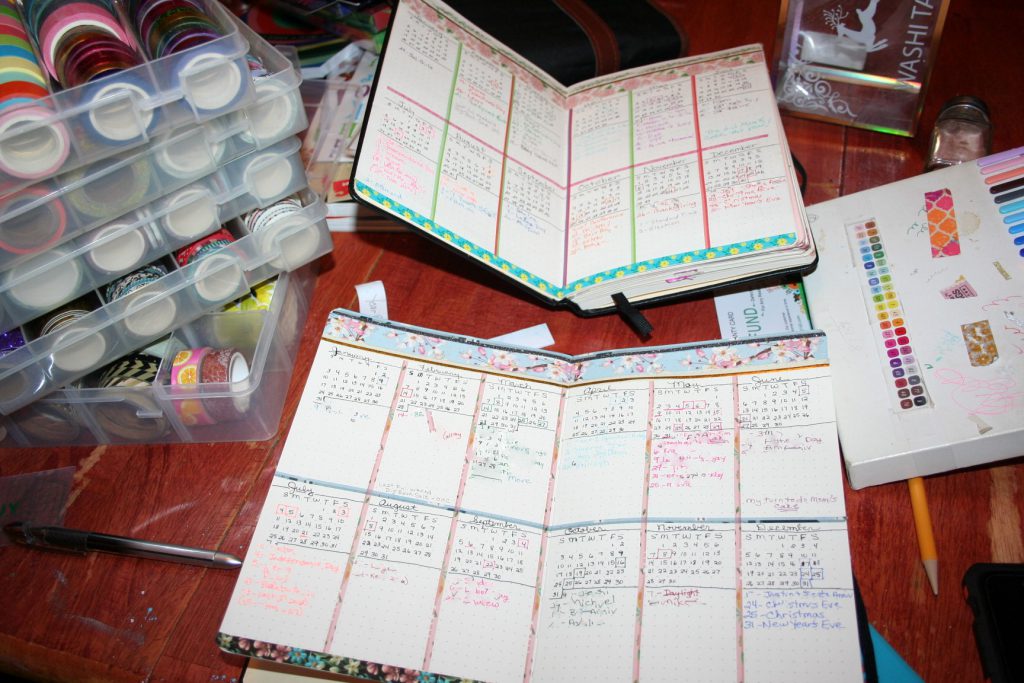
I usually start with a Year-at-a-Glance on the first two page spread. I don’t really use this very much but it is nice to have all the birthdays, anniversaries, and special days all in one place at a simple glance.

It is interesting to see the different feel I went with for each year’s bullet journal pages. The first year or two I was really into glittery/sparkly feel. However, last year I was more into florals. I use a lot of washi tape because it dresses up pages so nicely and so quickly.

The new one is on the bottom of the picture above. You can see that I’ve used similar washi tape this year as last year, with a floral design. However, the thin ones dividing the months are different. I didn’t like the ones I used last year because they seemed to stick to each other a bit when closed. I struggled to find thin tapes I wanted between months. I may use marker next year. ;) Or who knows, I may go back to glitter tapes next time. :D

I decided that the chore/focus page has served its purpose and I no longer need it in my bujo.

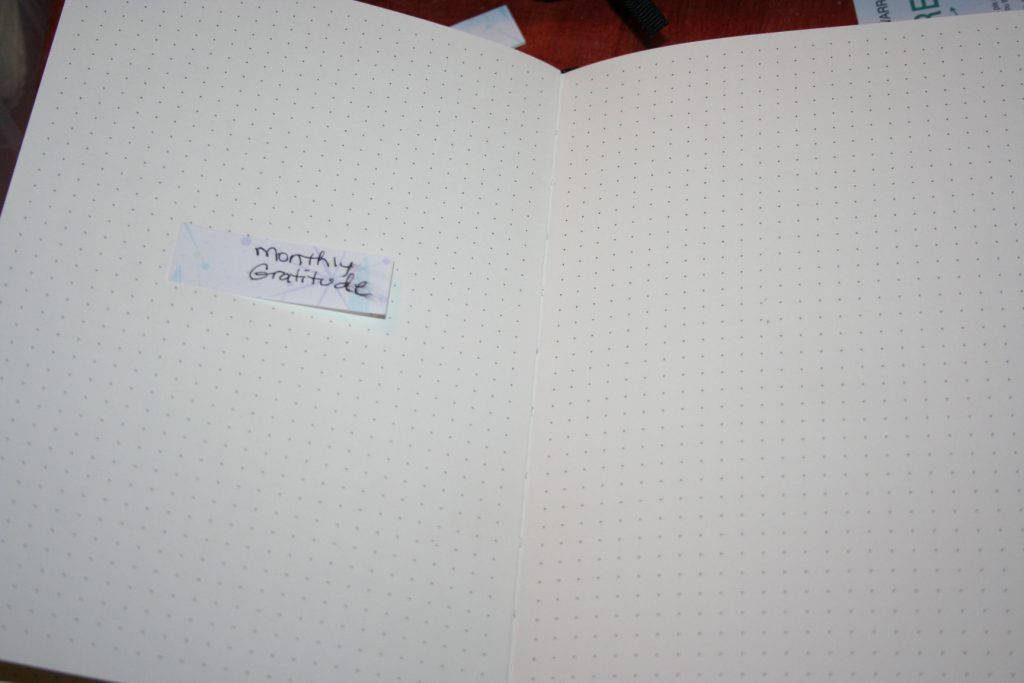
On the other hand, I saw that this one gal does a page for one thing for which she is grateful each month. I decided to add this to my pages and it will be the last page in the front section.

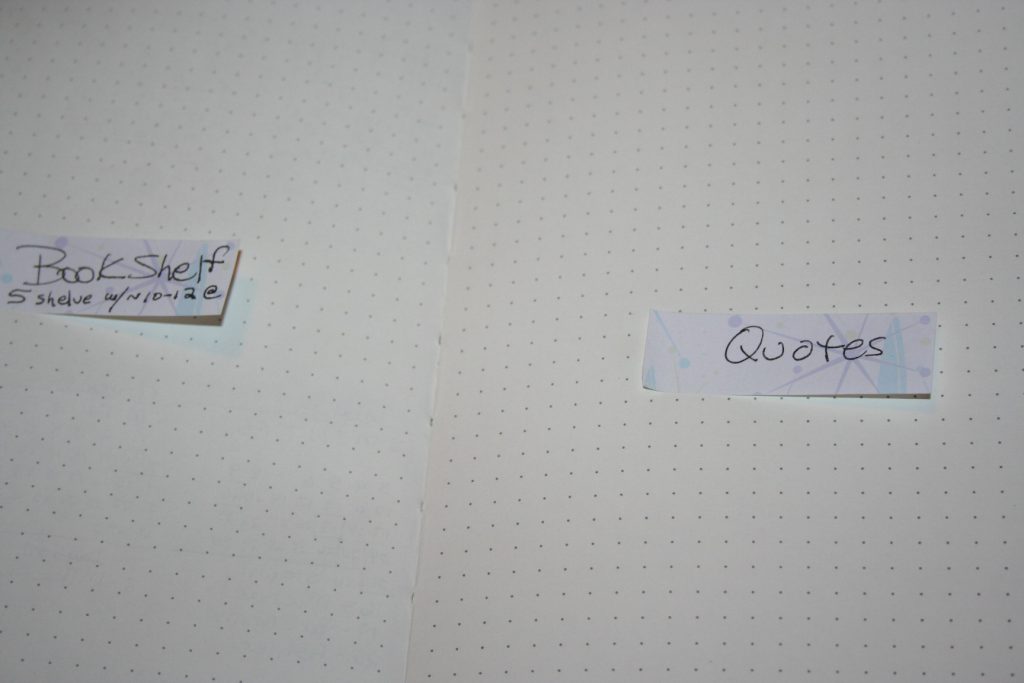
The right side will be the first page of the next section. I may do some art on this page or decorate it somehow or even put a quote or scripture on it. Clearly, I’m not that far yet. ;)

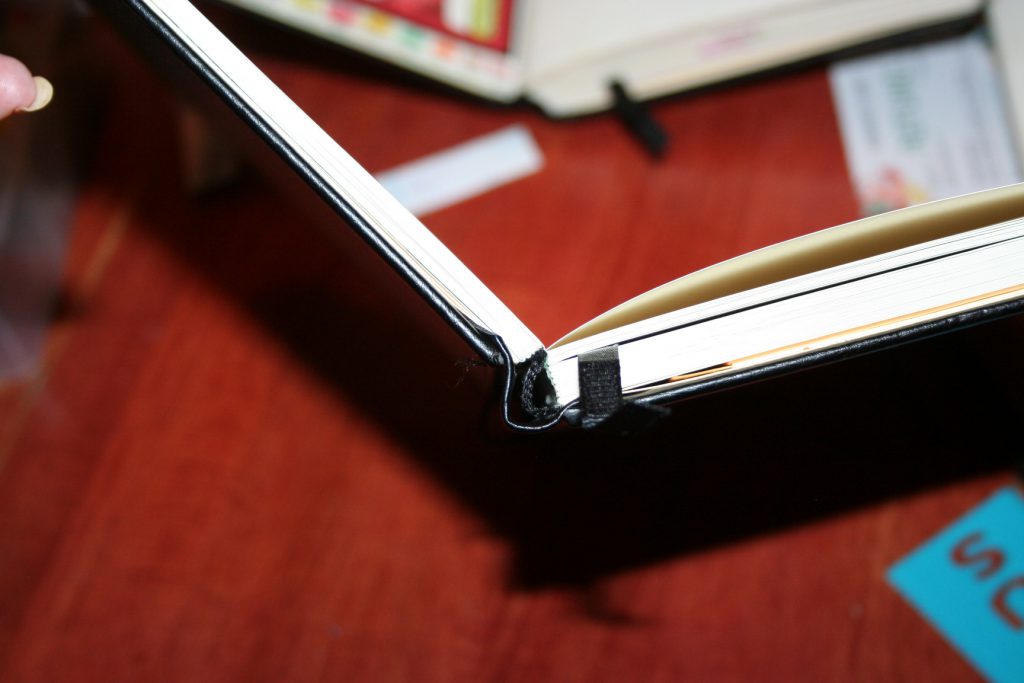
As you can see, the front section takes just a fraction of the pages and now I can flip through the easily to find what I’m looking for.

I hope you liked this look into how I set up my bujo. Some people get all crafty and scrapbooky with it but I use stickers and washi tape to make mine appeal to me. As you can see, there are many ways to use a bujo. I hope this helps you see some different ways.

Until next time, God bless,

Michele ºÜº
Long Lasting Nails the Quicker Way

Okay this is a real cheat for a post! But it is the only art I did this week other than wrapping gifts and I wouldn’t exactly call those a work of art either. :D

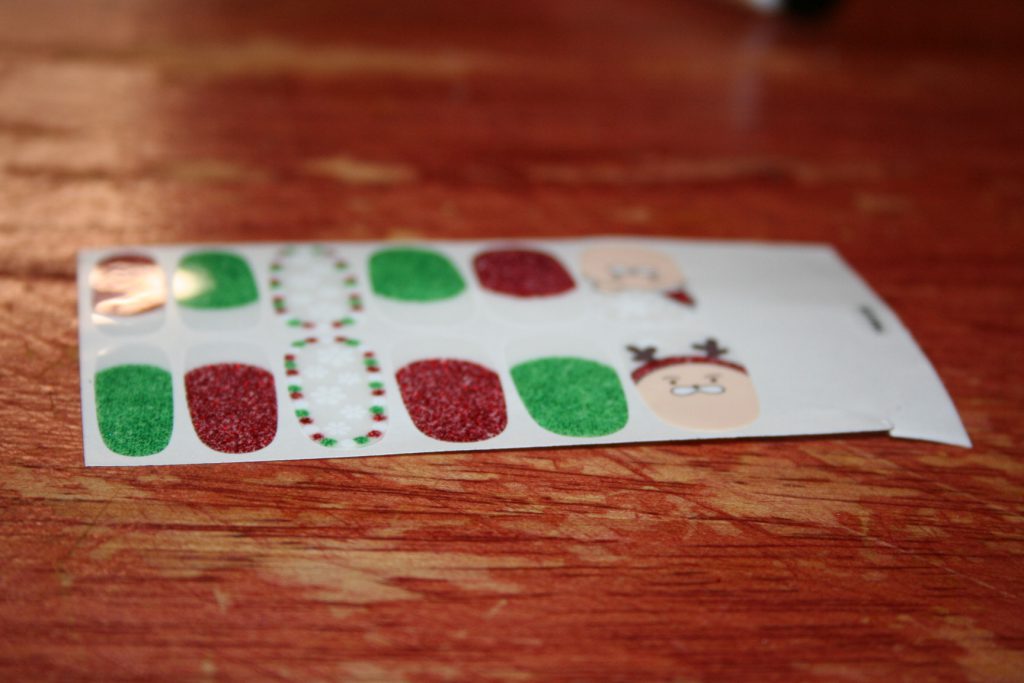
The week after Thanksgiving Lauren introduced me to the joys of nail stickers. She did them for me showing me how to do them.

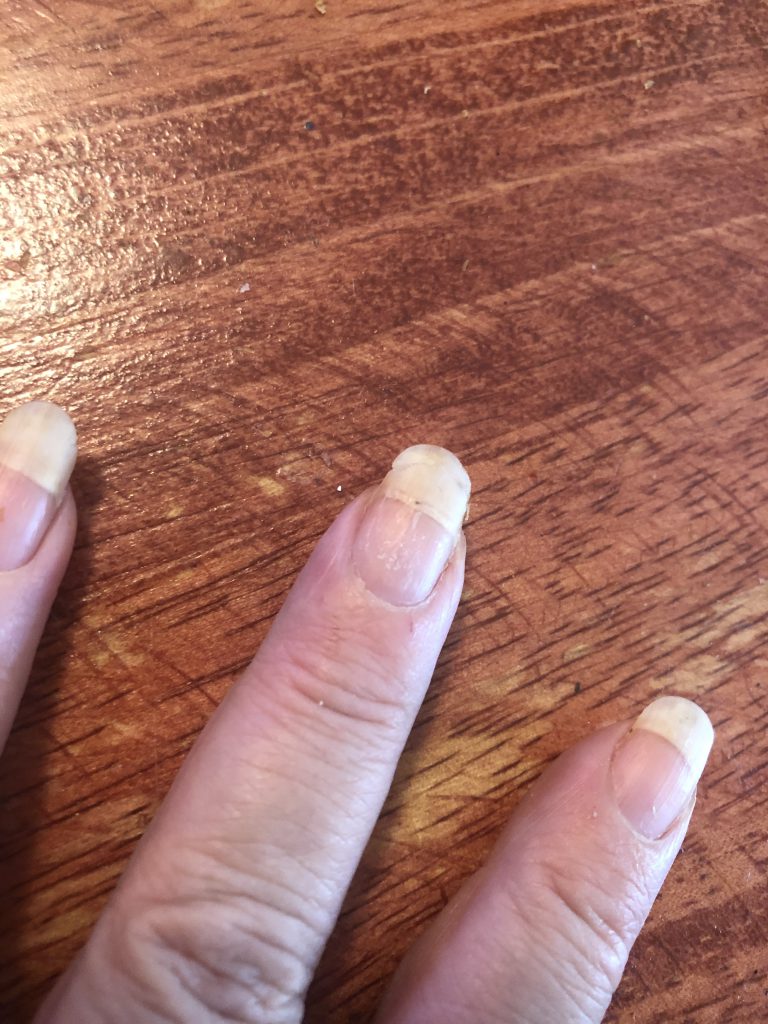
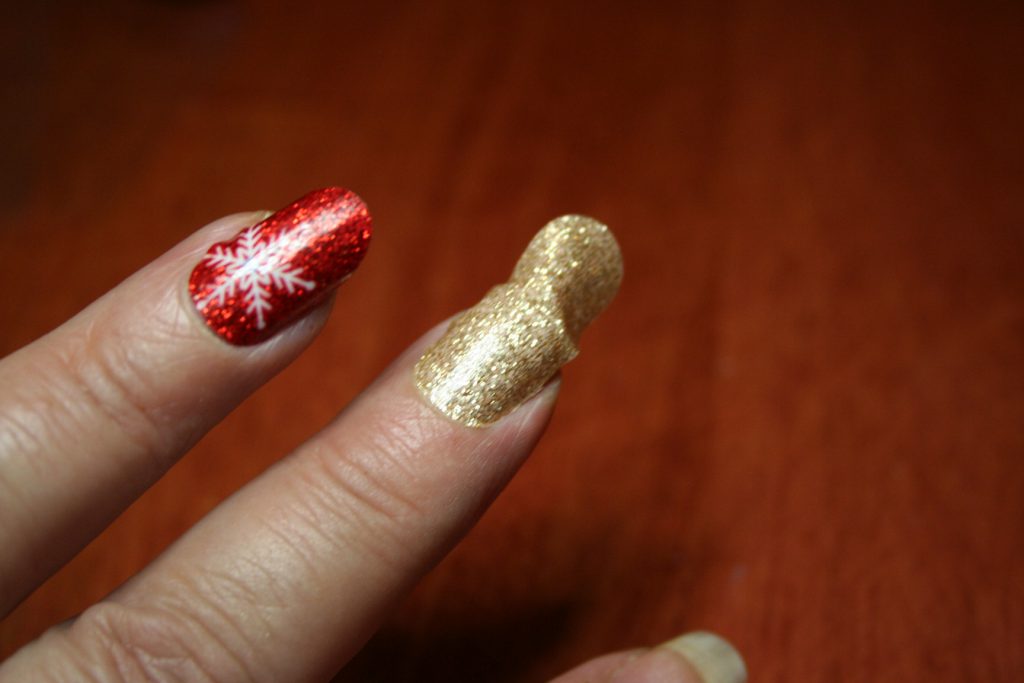
They lasted for about two weeks. I just peeled them off last Saturday because I had scratched some of them pretty badly near the end. On one day I bent back one of my nails and I was pretty sure it broke. However, thanks to the nail sticker, it stayed together. When I peeled off the stickers I left on that one sticker because I wasn’t sure how bad it was.

Well, I took it off this morning and found that it did break but it wasn’t as bad as I thought. ;) See?

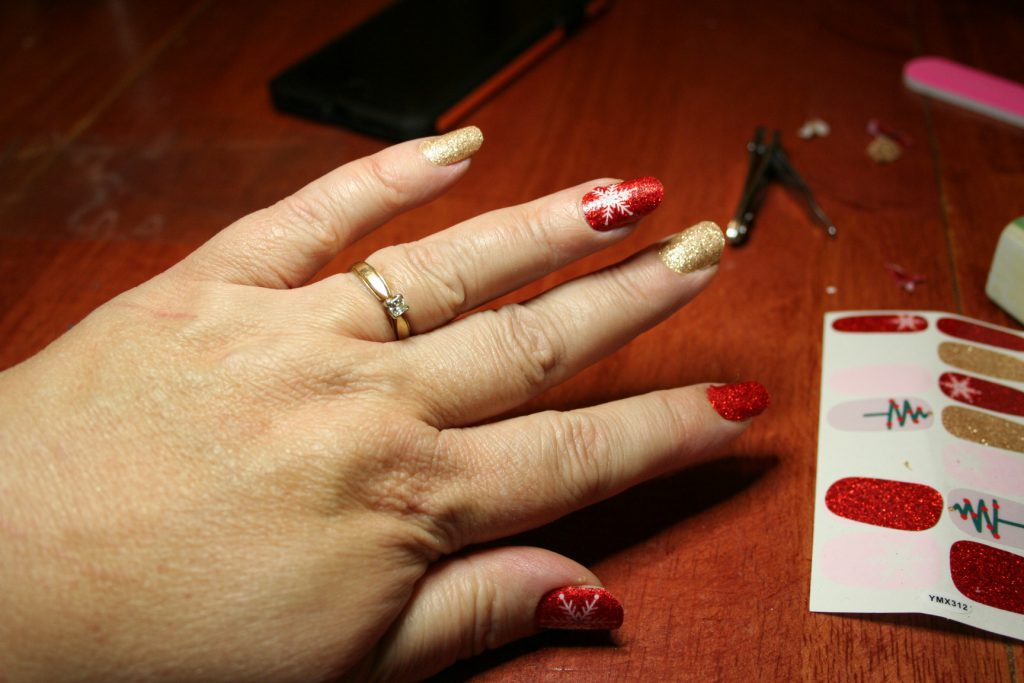
I’m struggling a bit with picking the right stickers for the right nails. Lauren started with the middle fingers, so that’s what I’m trying to do but I’m not finding a good match. So I’m switching to ring finger.

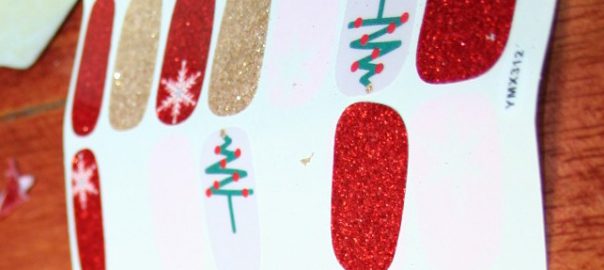
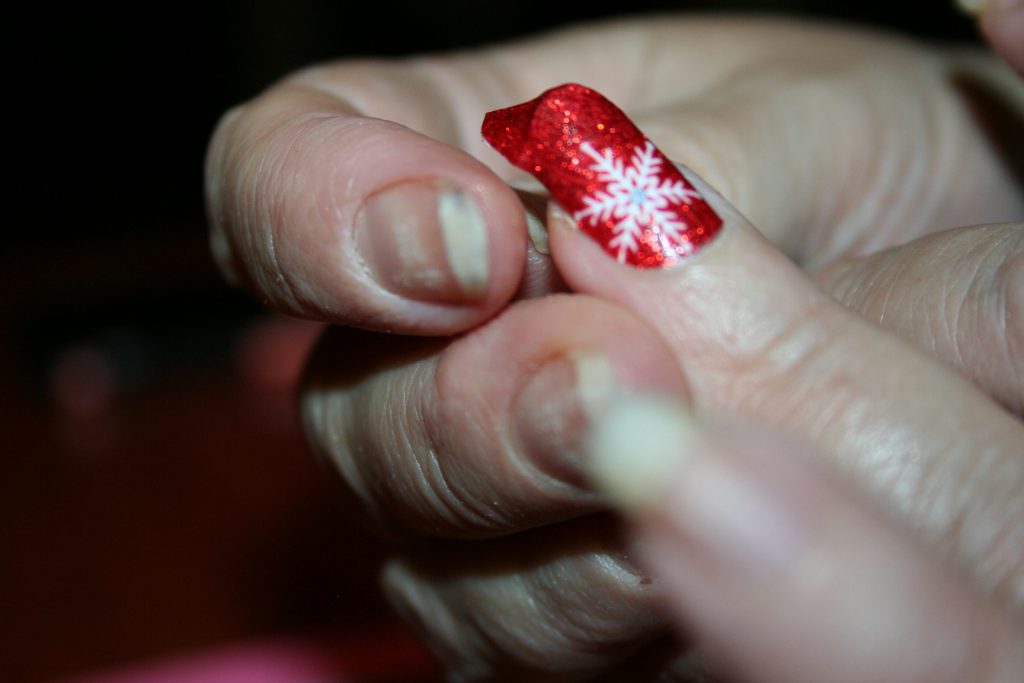
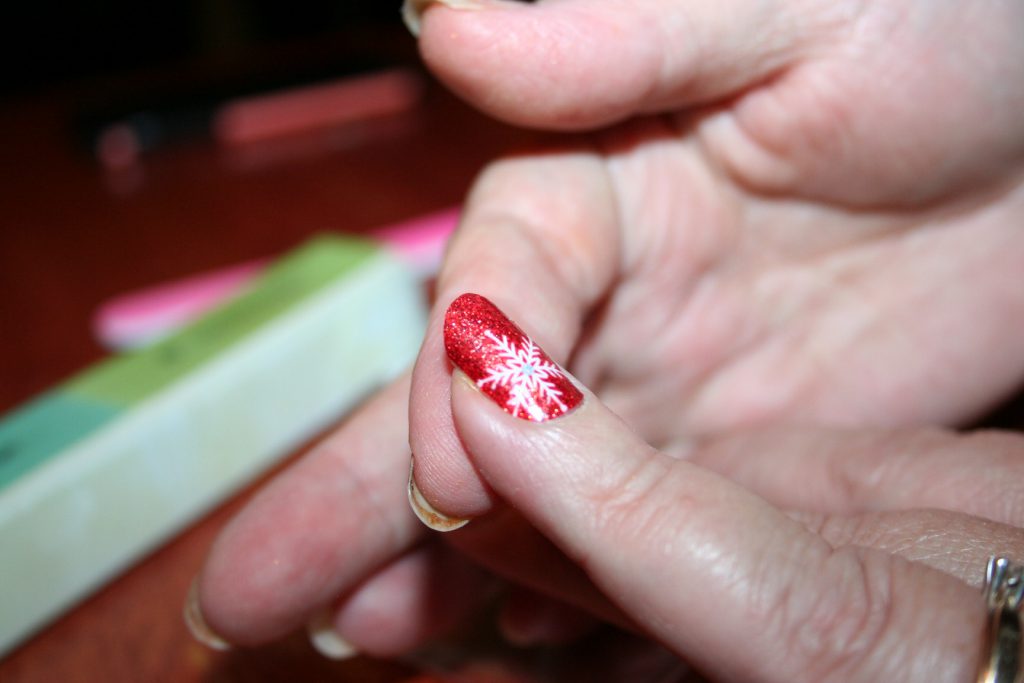
First you lightly sand all the nails, which I did already. Then you apply the sticker without getting it on your cuticle or the skin on the sides of the nail.

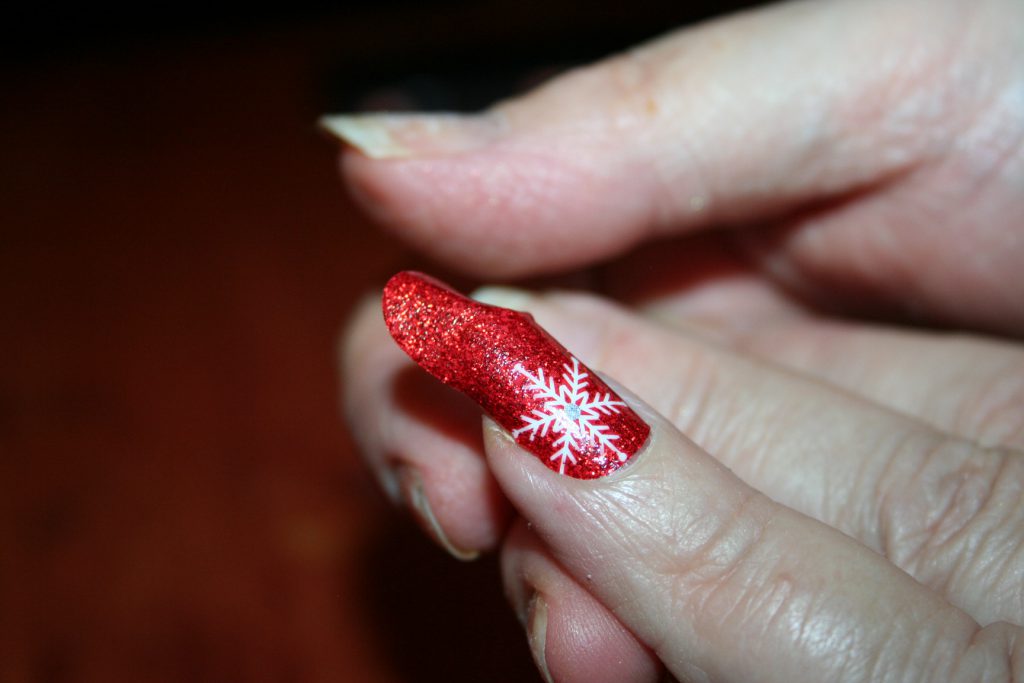
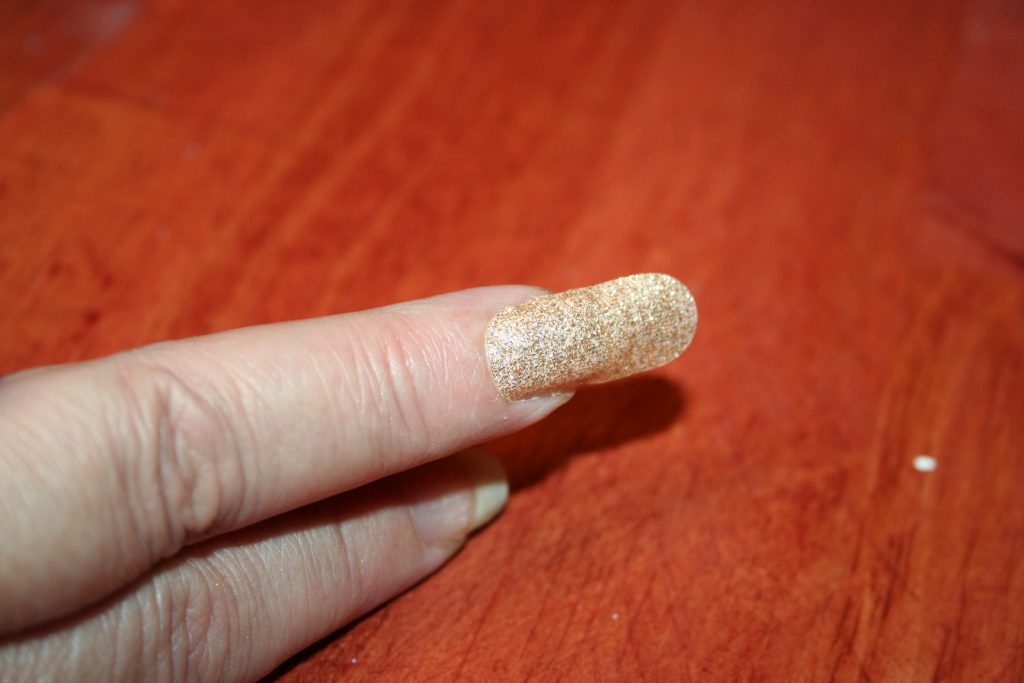
Then you stretch it over the end of the nail a bit.

Then use a course file on the edge to “cut” it off.

I really love the snowflake on the red glitter! So pretty.

Then I moved on to the middle finger.

Some of them I used upside down so that they fit my nails better. :)

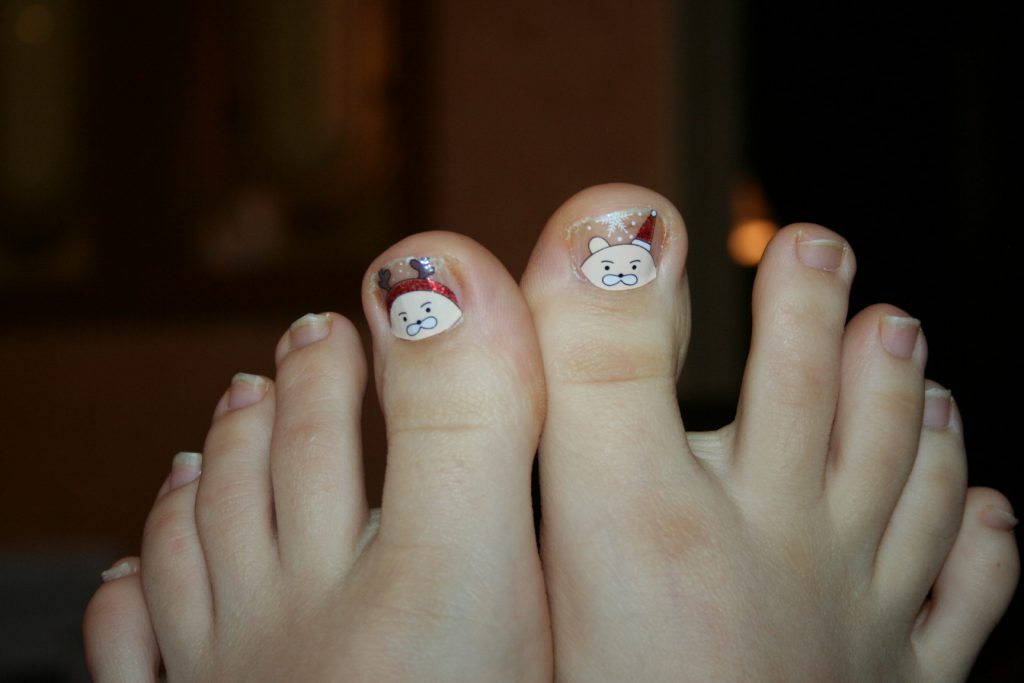
Tiffany’s nails are too short, so she just used nail polish but she did put the cute little yetis on her big toe nails.

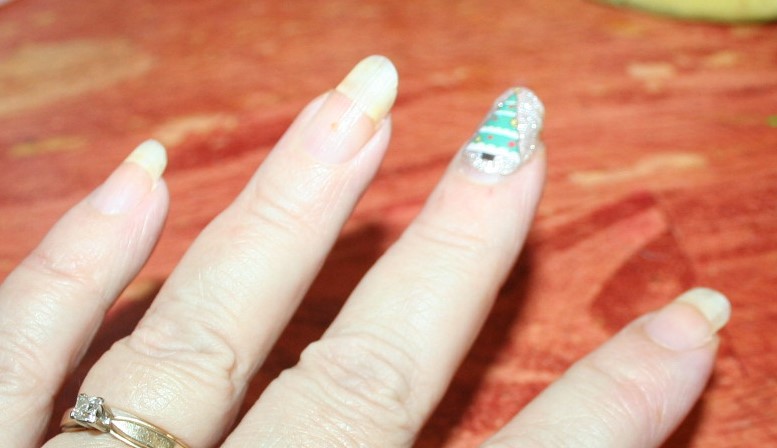
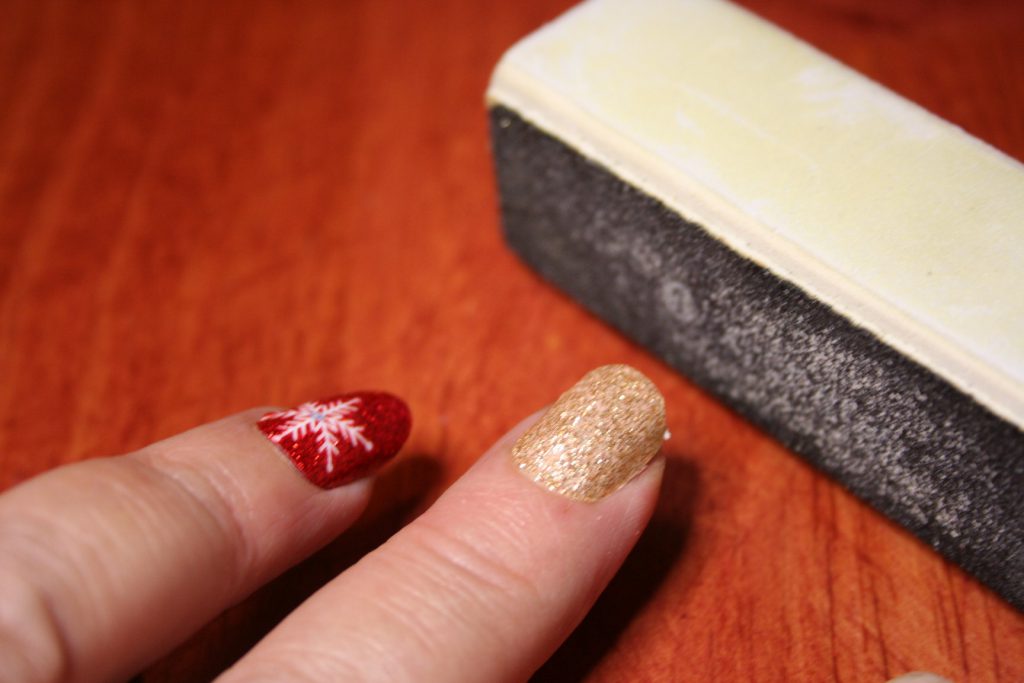
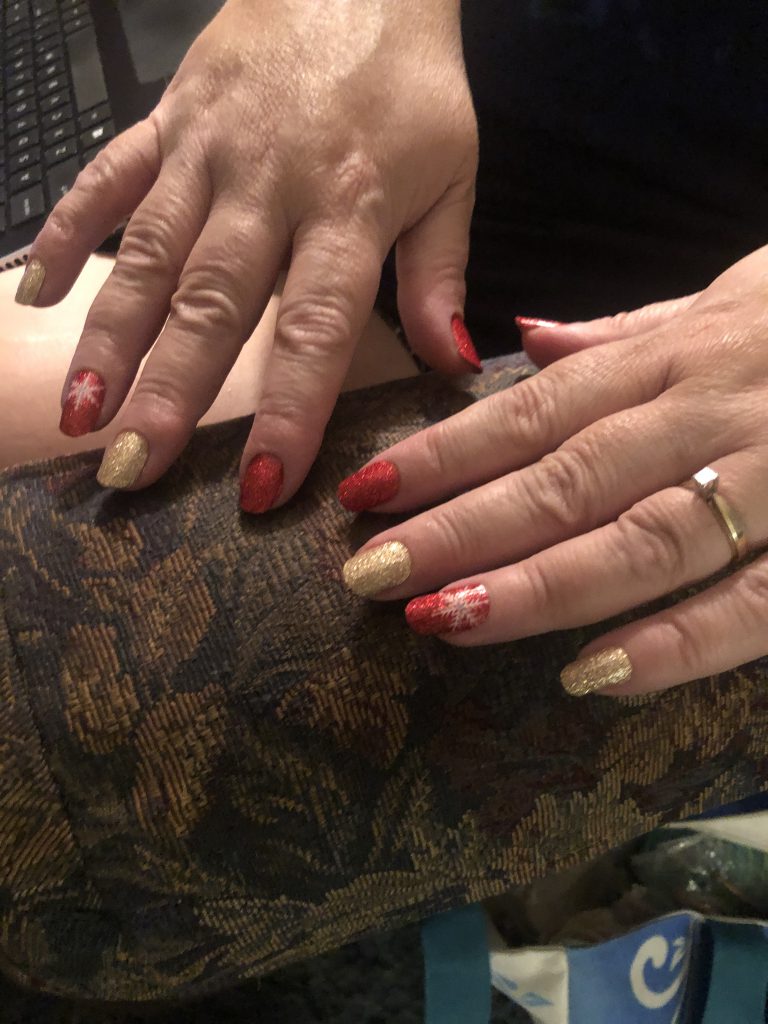
The final step is to put on a topcoat of clear polish.Here is the finished nails. One thumb has a snowflake and the other doesn’t.We watched this as we did our nails.

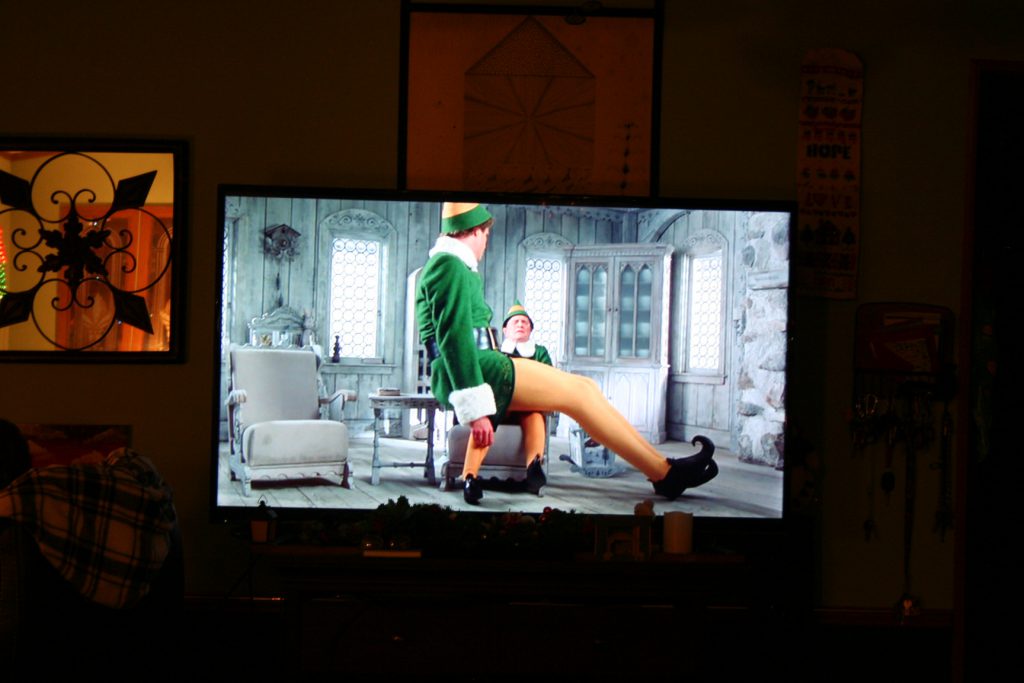
It’s the first time we’ve watched Elf this season. It has a few crass moments but it is a fun movie. :)

Well, that’s all for me today. Thanks for stopping by. I’ll get back to some Zentangle soon. I’ll be working on my bullet journal next week, so I don’t know if I’ll have a tile to share or will be sharing that instead.

I hope you have a very merry Christmas!

Until next time, God bless,

Michele ºÜº

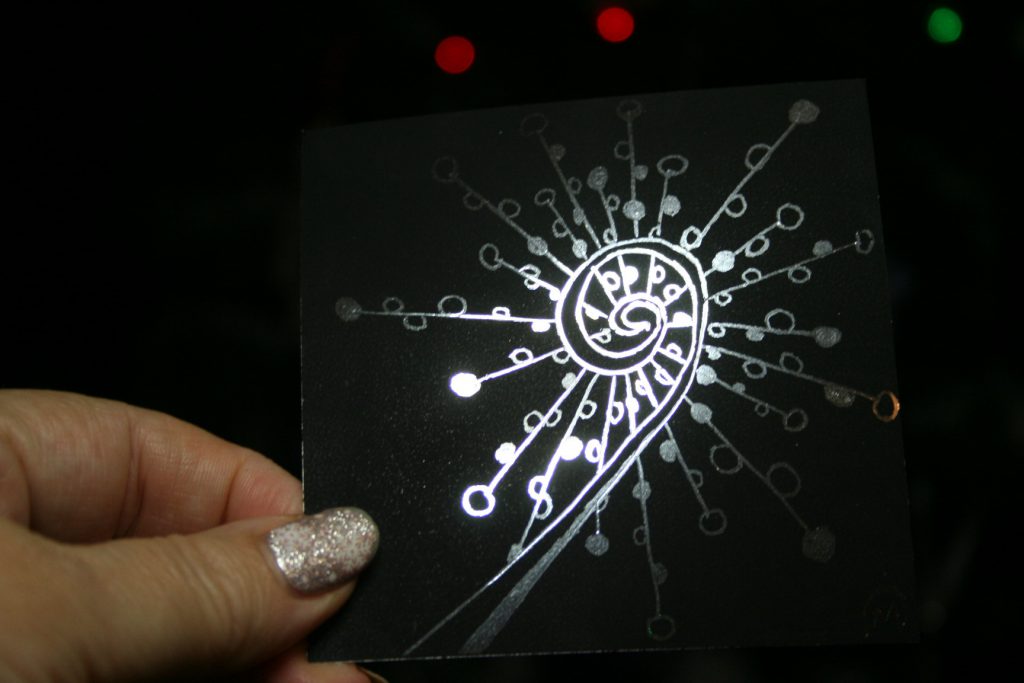
Silver Foil Cosmic Flower

I always like to use the scratch-off tiles when I’m not feeling much like doing any art or when I’m not feeling very creative.

I was tempted to try my hand at either the Frosty tangle or the gnomes I’ve been seeing around facebook. I looked at the suggested tangles in the Tangle All Around group and saw one that I have used before and enjoyed. :) So I gladly tangled away.

Of course, foil scratch-off tiles don’t photograph very well. So here are a few different shots.

The next one was taken without a flash and so it’s kind of blurry. ;) Thanks for stopping by. I hope you have a wonderful holiday.

Until next time, God bless,

Michele ºÜº