Category Archives: Side Dishes

Seasoned Green Beans ~ Lifeofjoy.me

Seasoned Green Beans

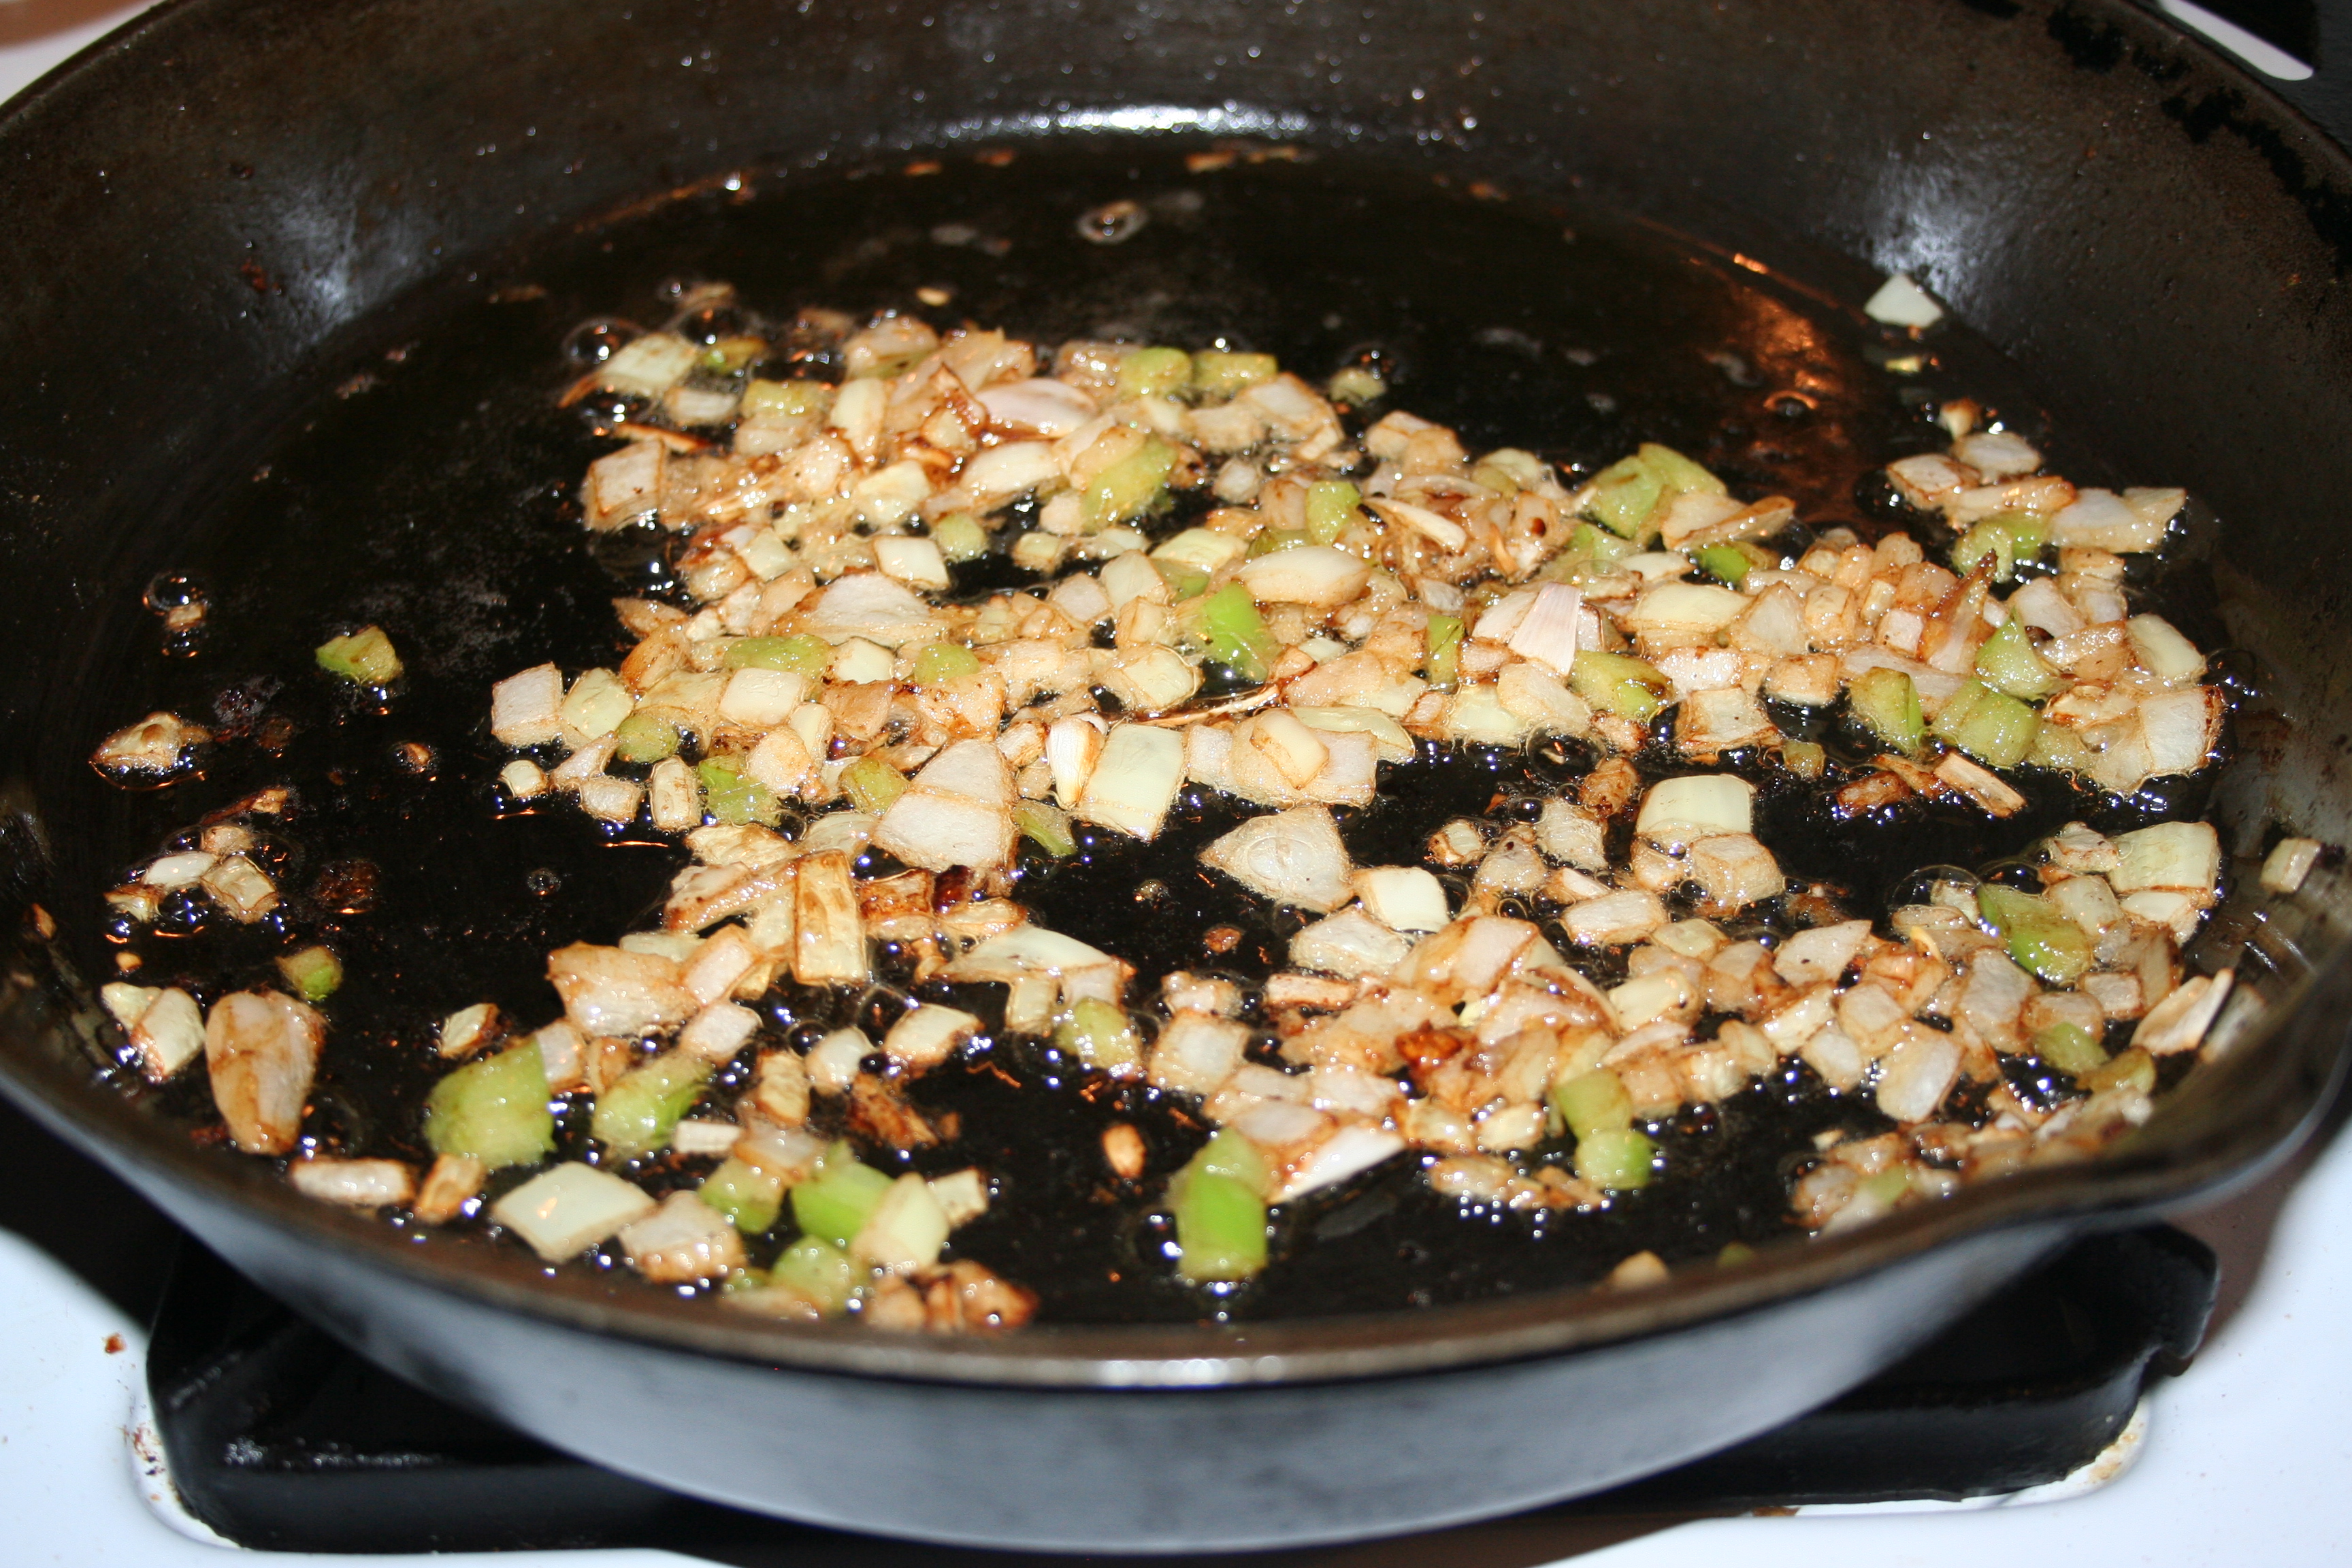
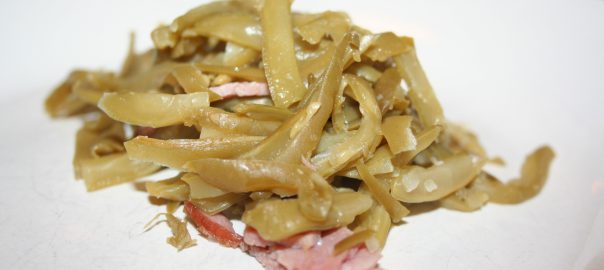
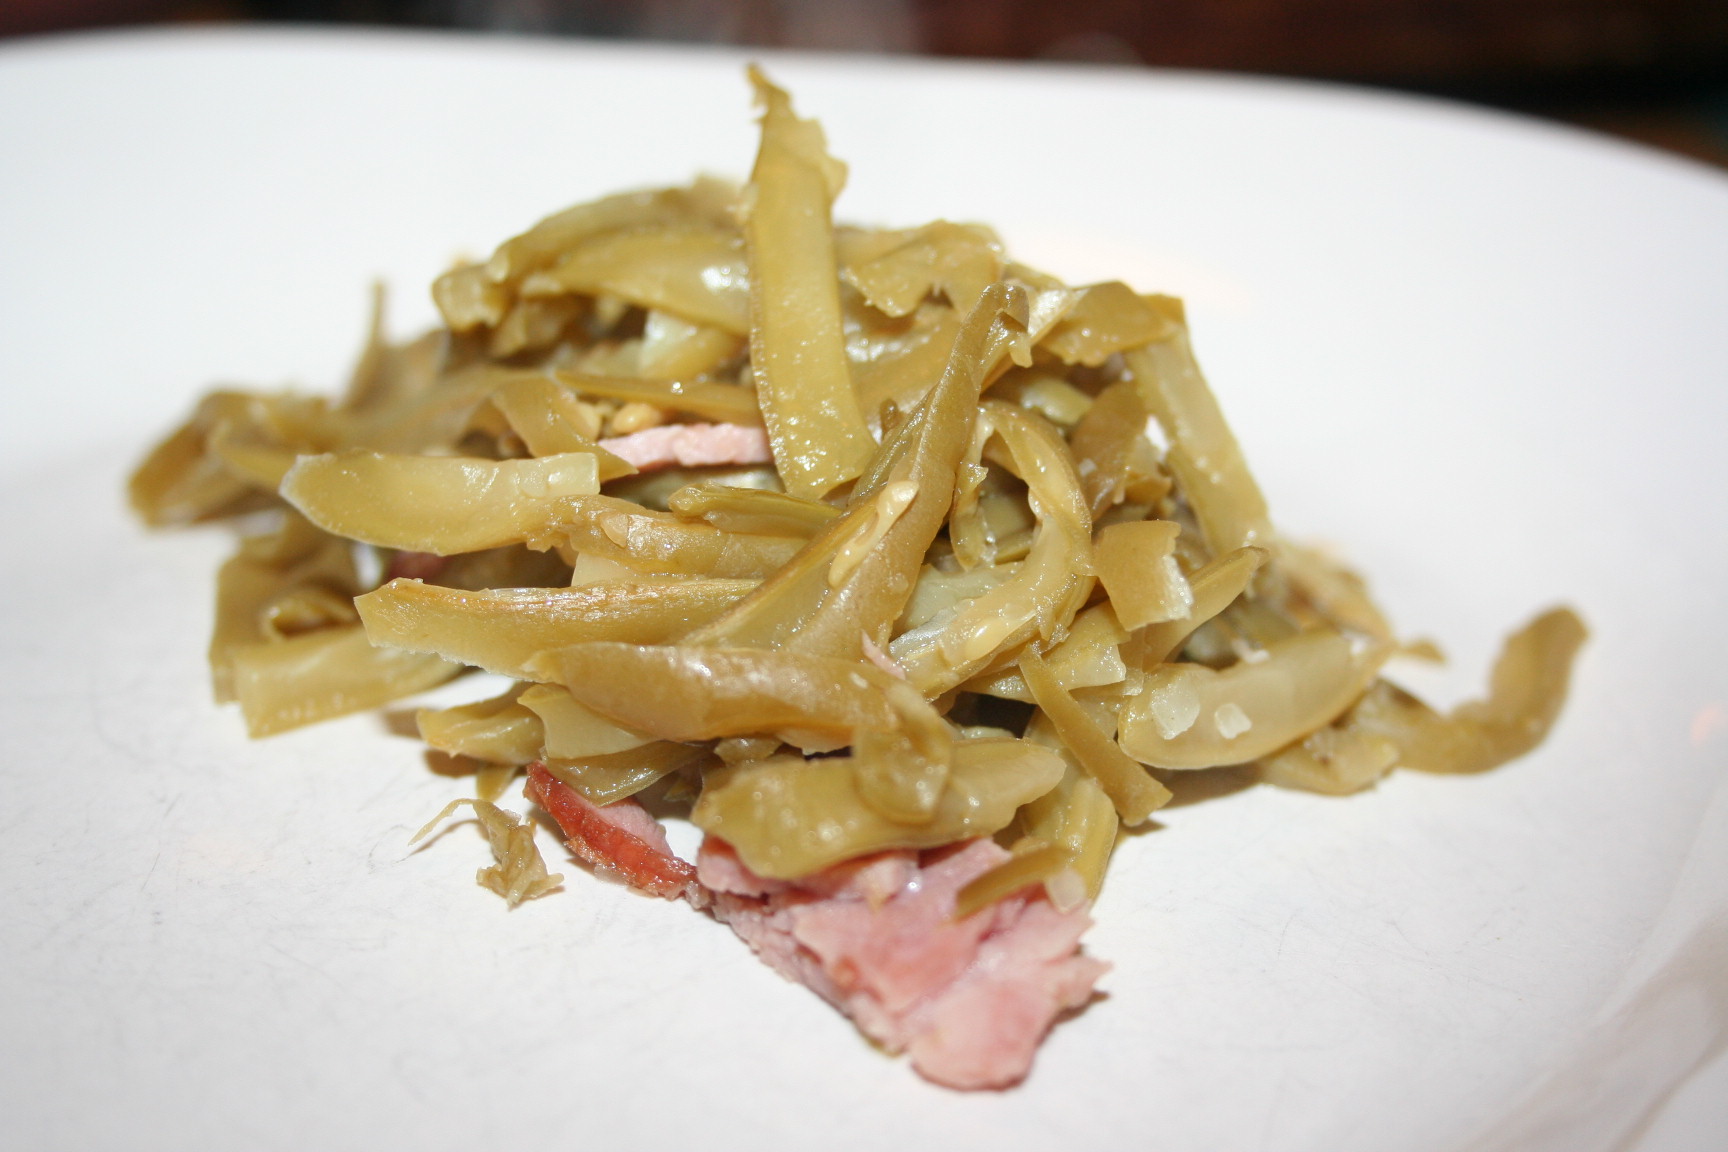
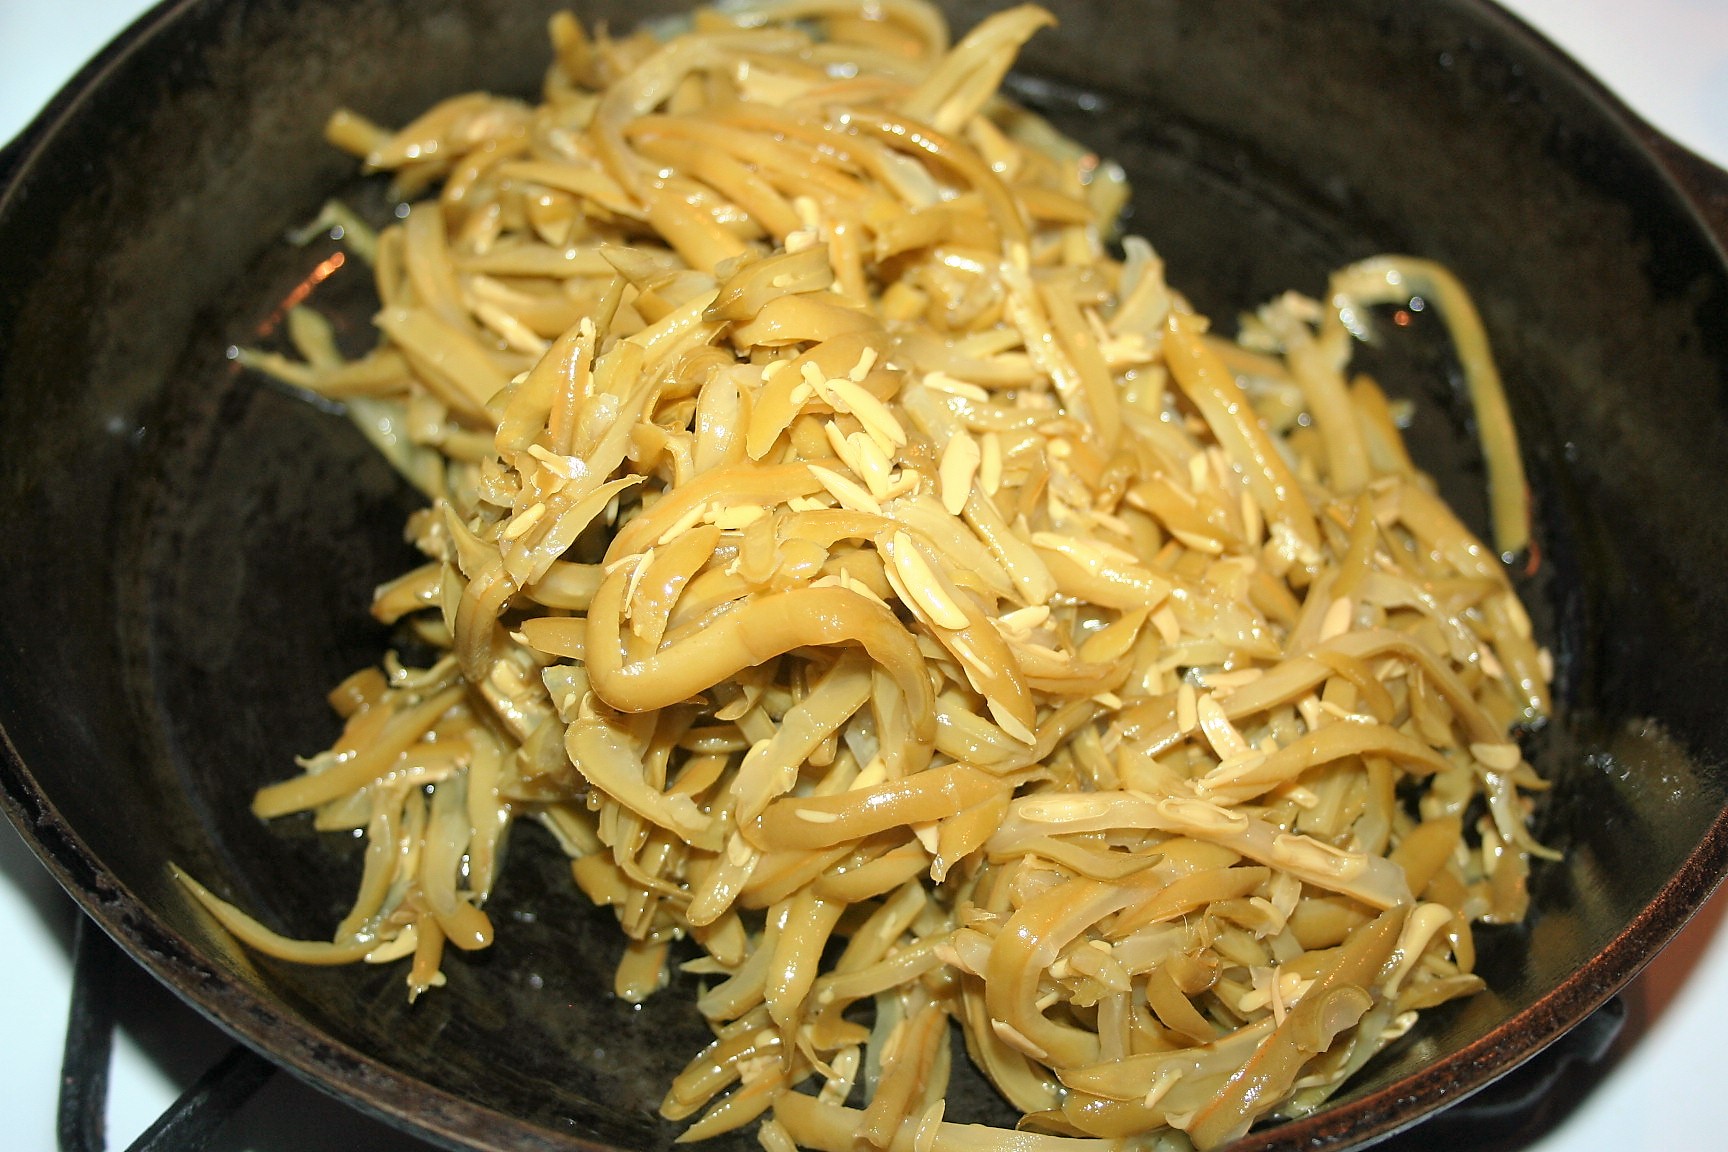
Green Beans, regular cut or french cut, seasoned with ham and minced onion. If slow cooked, you might even think they were from Cracker Barrel. ;)

Are your green beans boring? Here’s how to make delicious green beans. All it takes is some canned green beans, bacon or other ham pieces, onion powder or minced onion, salt and pepper. You could use fresh or frozen green beans but you’d have to cook them a LOT longer.

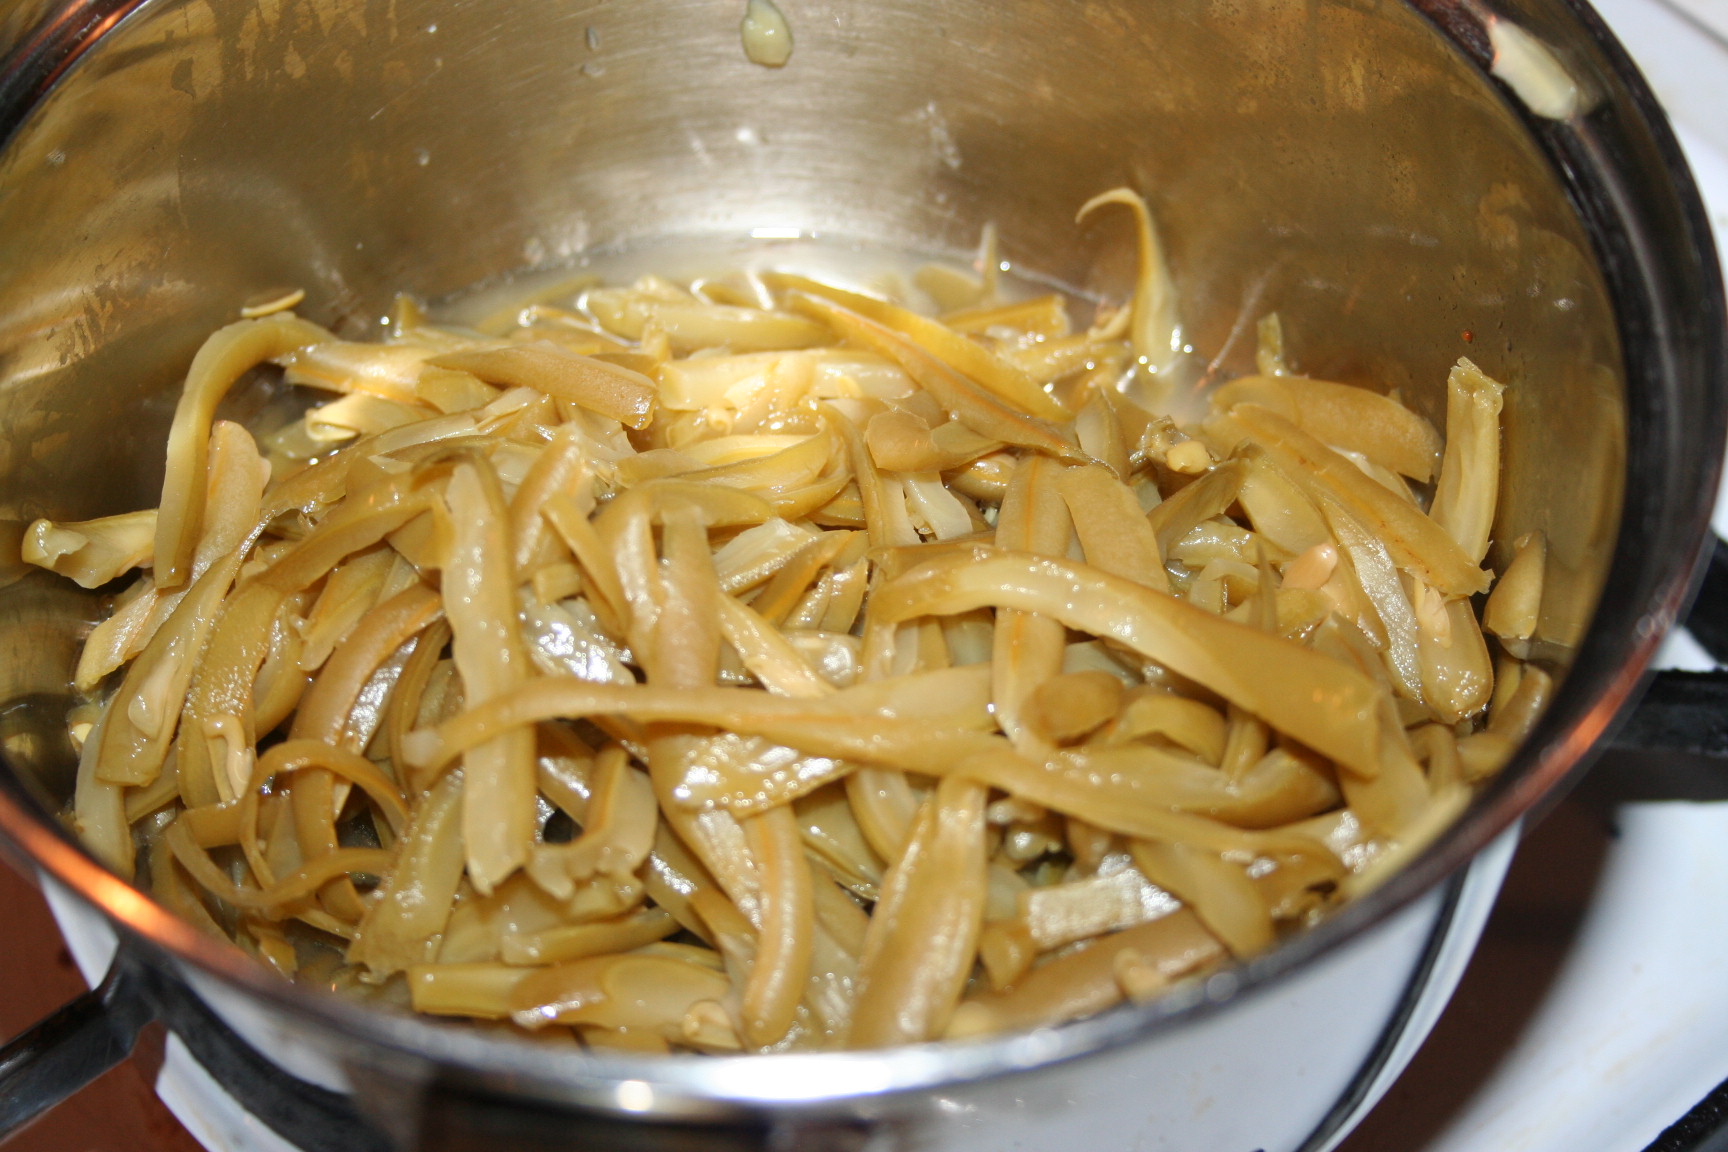
Empty a can of green beans into a pot, french cut style or regular cut style. Pour out some of the liquid, about half of what is in it.

Seasoned Green Beans ~ Lifeofjoy.me
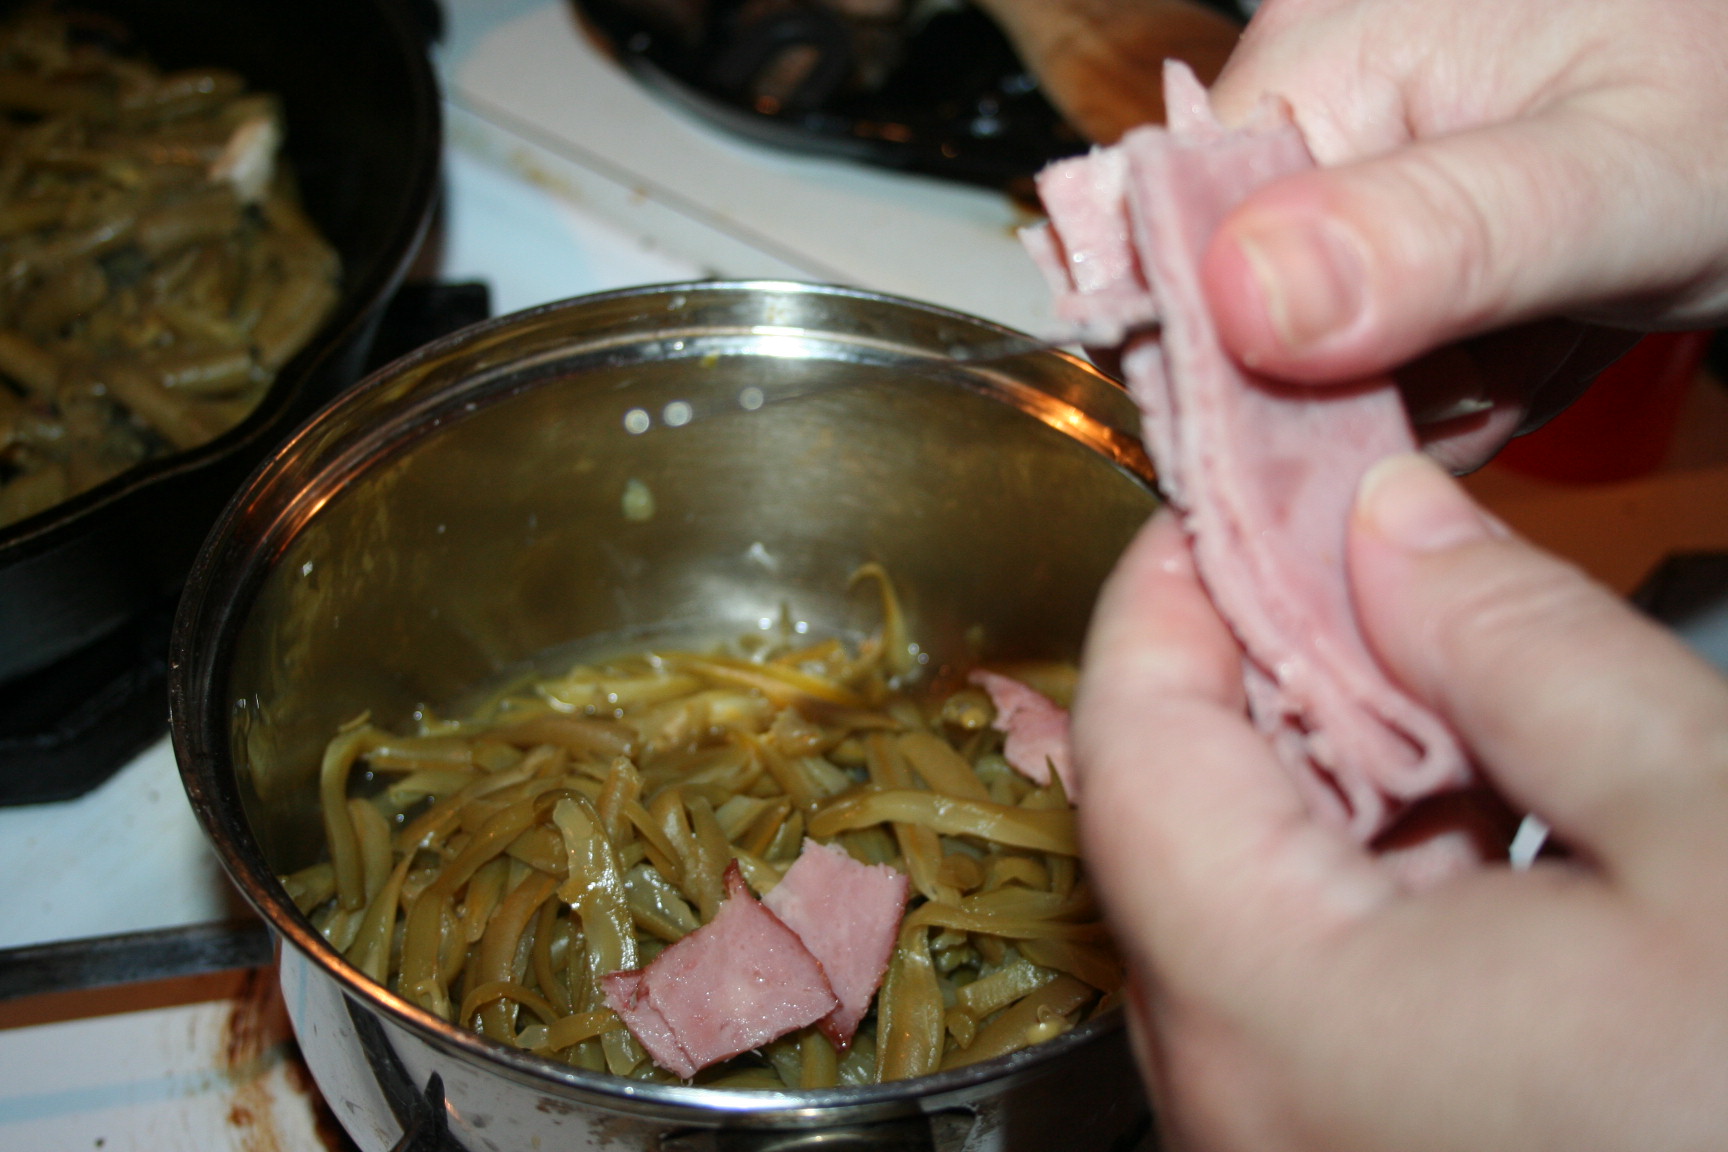
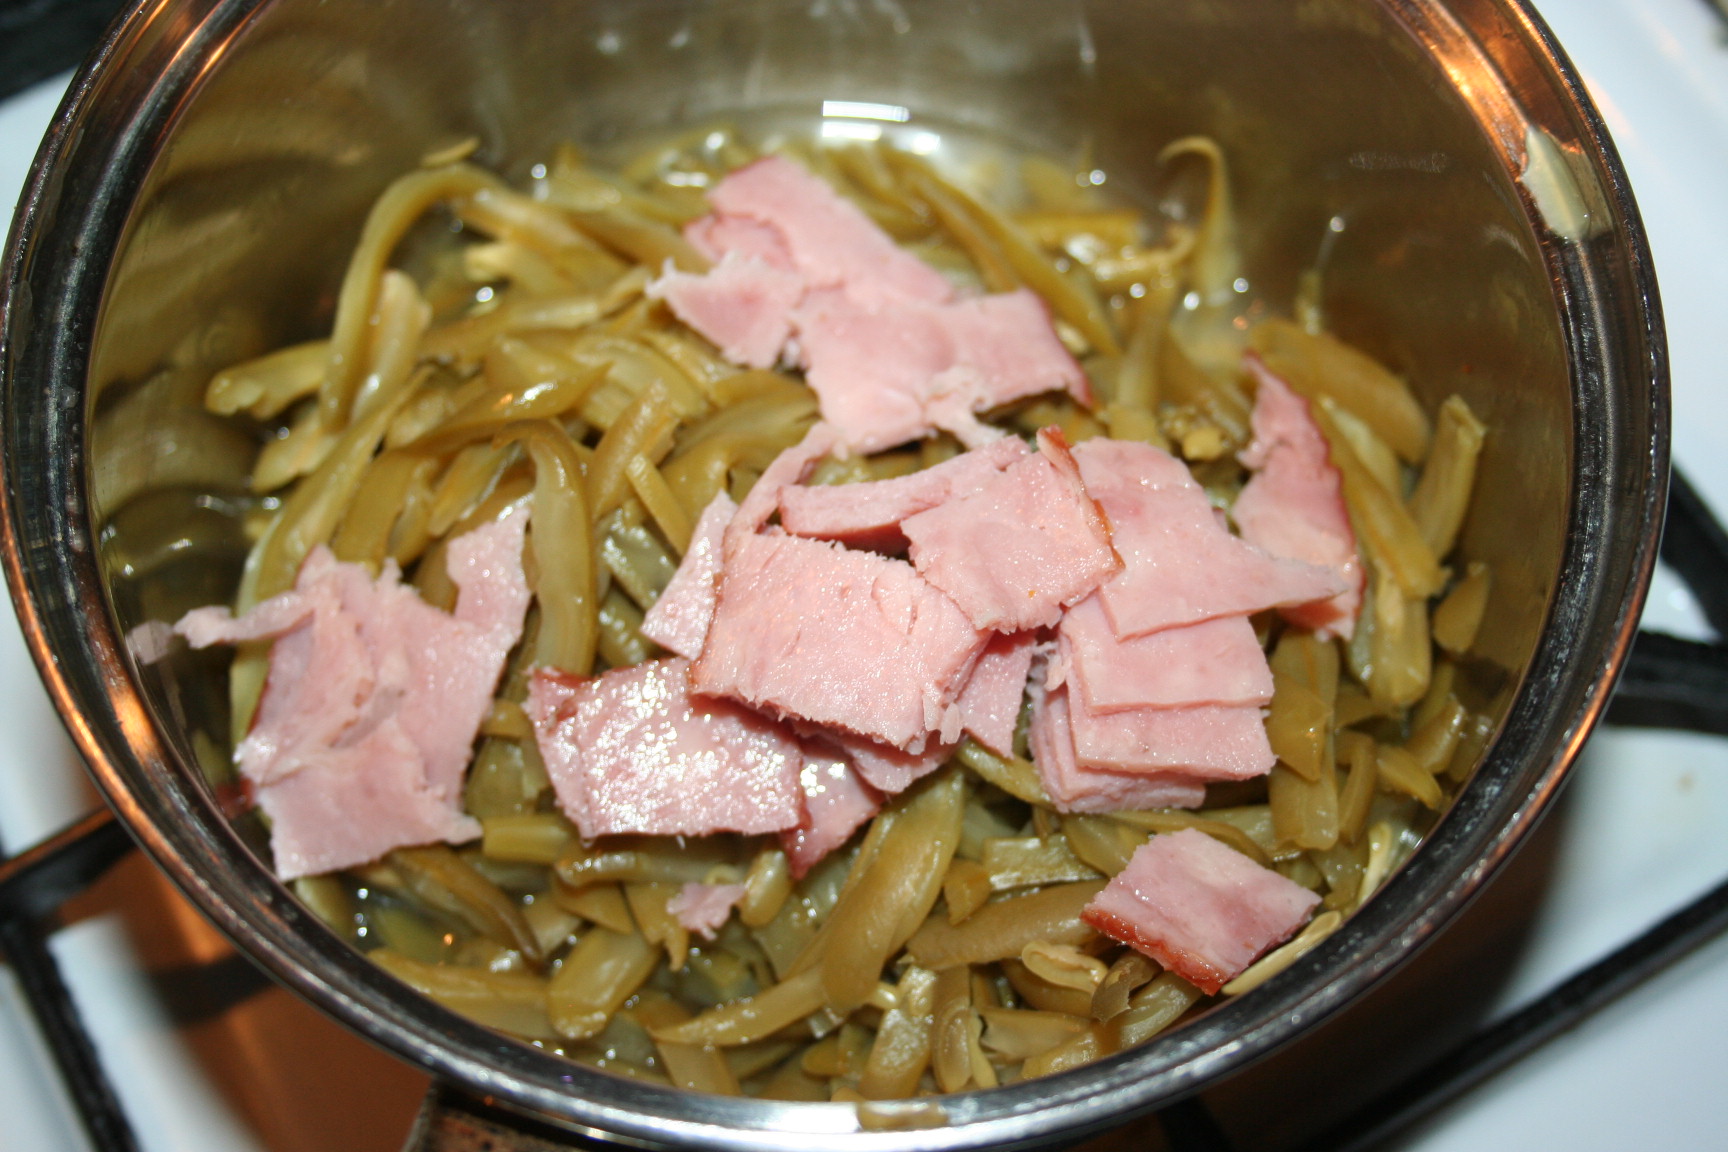
Then add a piece or two of bacon (or ham of some sort), depending on how thick it is. I used one piece of turkey bacon.

Seasoned Green Beans ~ Lifeofjoy.meSeasoned Green Beans ~ Lifeofjoy.me
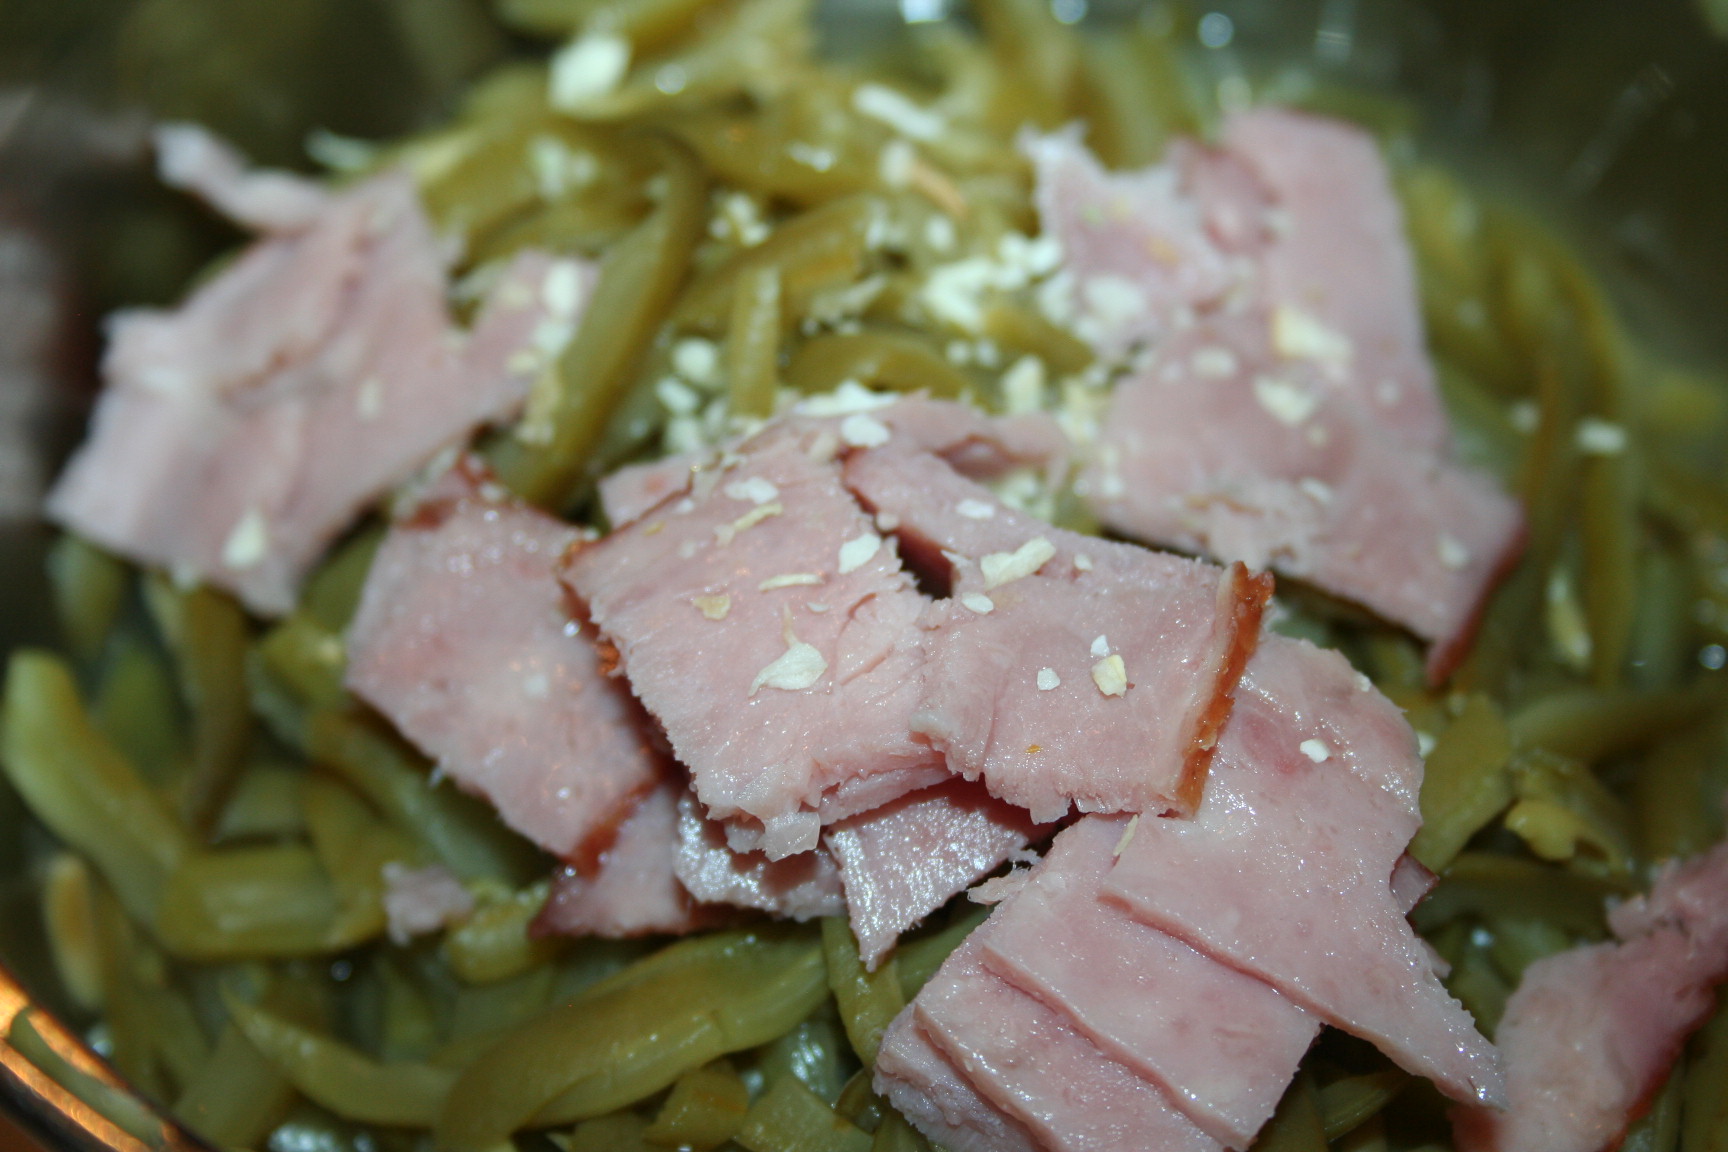
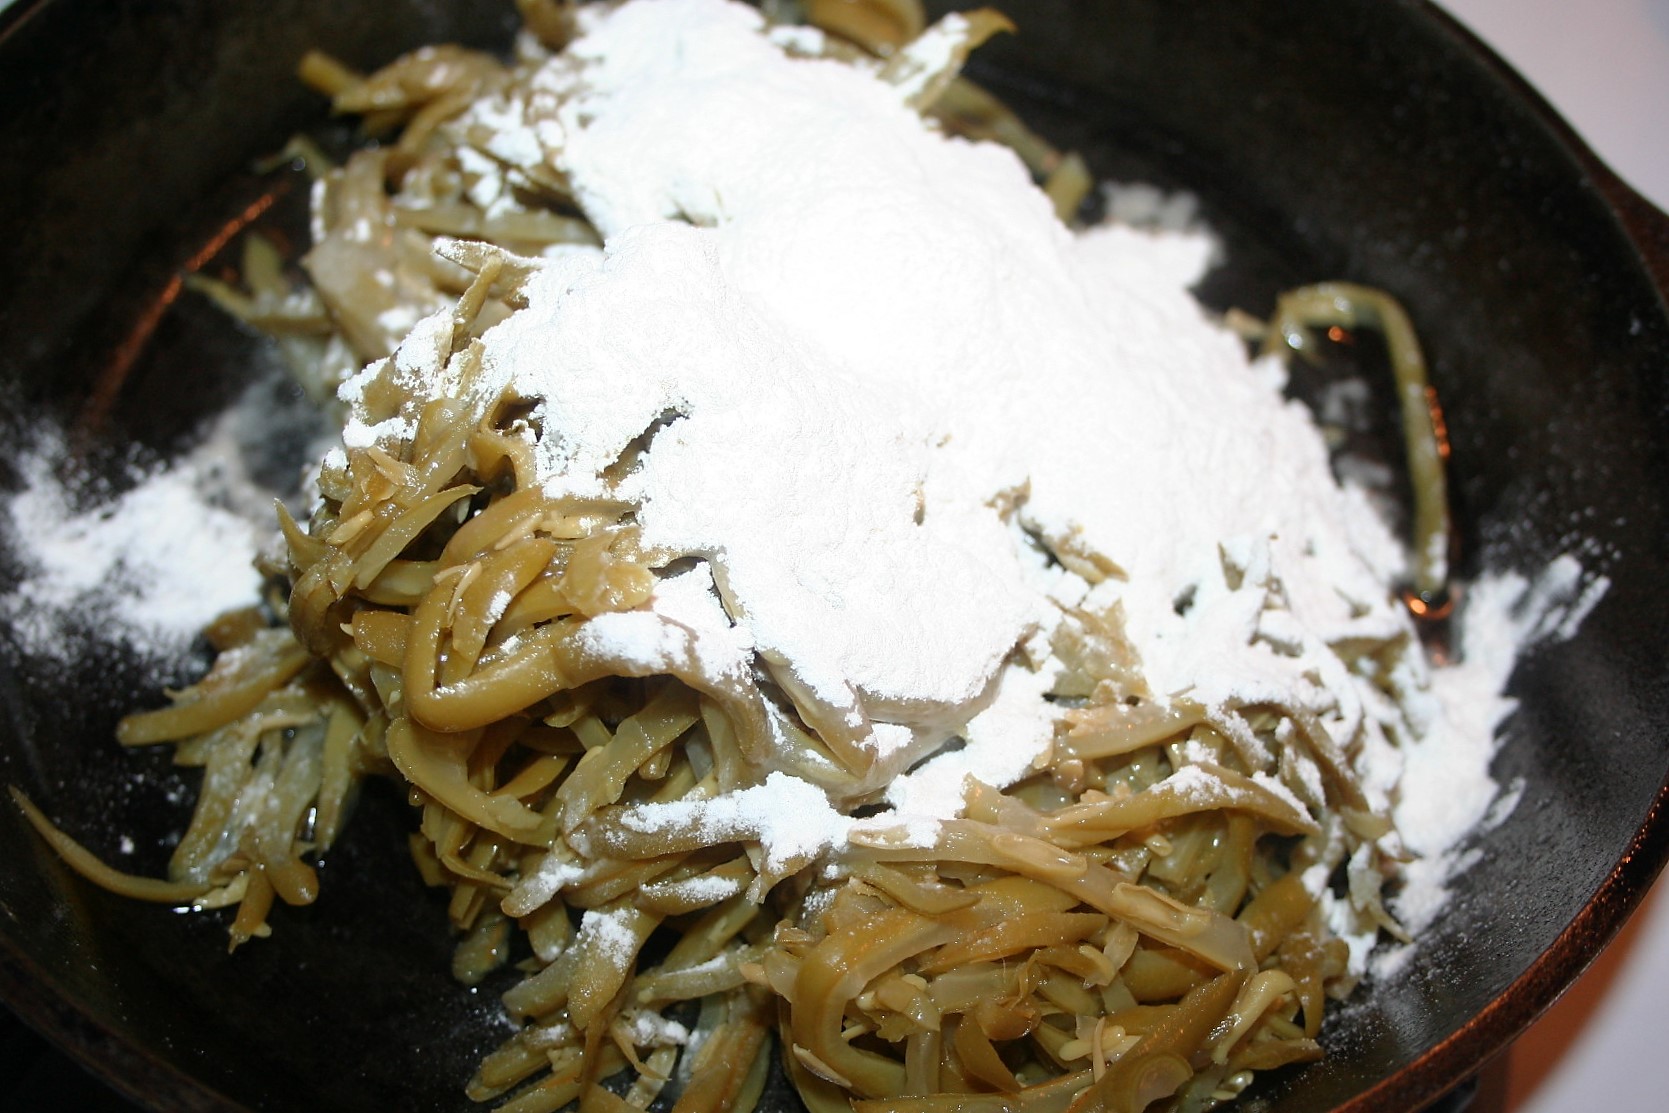
Add a sprinkling of dried minced onion, onion powder, or a bit of fresh minced onion. I used dried minced onion last night.

Seasoned Green Beans ~ Lifeofjoy.me
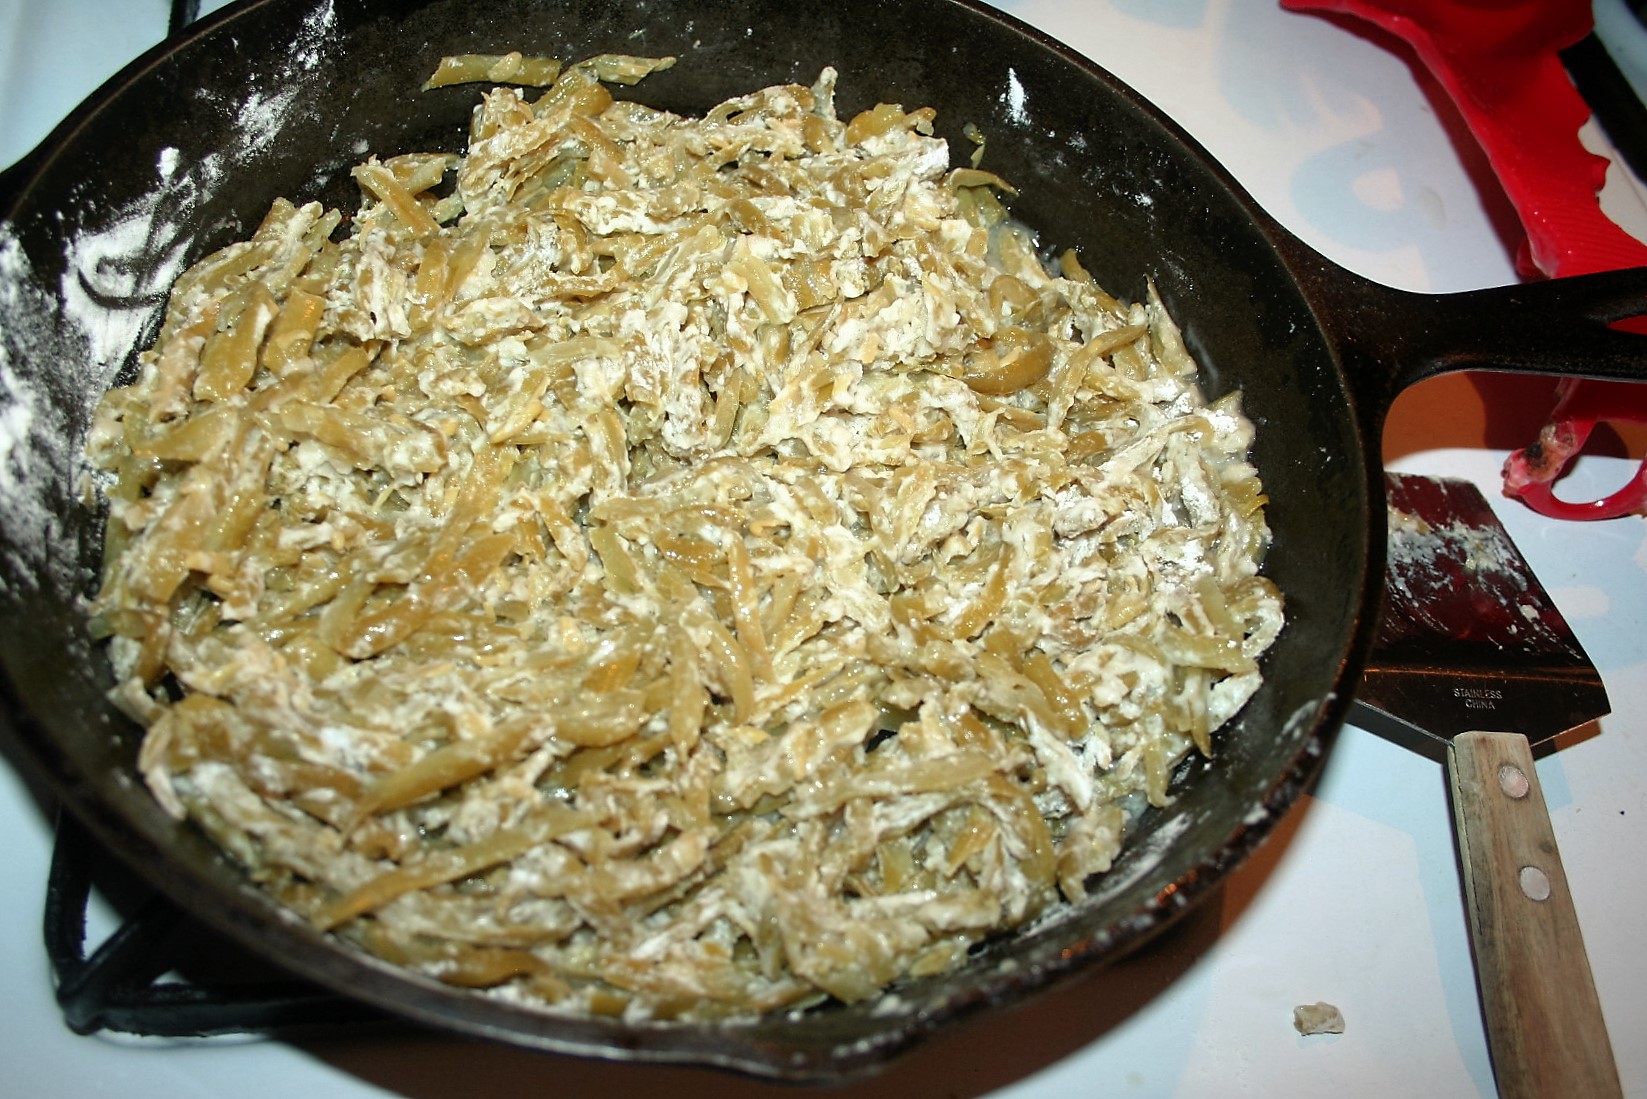
Bring it to a simmer and cover. Simmer for a bit. You can serve them as soon as they are hot, if you used onion powder. Otherwise, cook for about a half an hour. You can also put this in a slow cooker and cook for several hours.

Seasoned Green Beans ~ Lifeofjoy.me

Seasoned Green Beans

Ingredients

  • Canned green beans
  • minced onion
  • piece of turkey bacon
  • salt and pepper to taste

Instructions

  1. Combine all ingredients in pot or slow cooker.
  2. Simmer on stove for about 30 minutes or several hours in slow cooker.
https://lifeofjoy.me/seasoned-green-beans/

Until next time, God bless,

Michele ºÜº

Save

Zoodles ~ Lifeofjoy.me

Zoodles

Julienned strips of small zucchini, sautéed in oil or butter.

Today’s recipe is so simple that it isn’t really a recipe. ;)

This is made from zucchini but I think you could use yellow squash too.

I wish I had one of those spiral veggie slicers because it seems like it would be a bit easier than the julienne peeler I have.

Basically, all you need to do is wash the zucchini and then slice.

Zoodles ~ Lifeofjoy.meUnfortunately, I don’t have any pictures of the next steps. You could steam it or boil it, which I have tried and did not like. What we have found we do like though is to season it with salt and cook it in a skillet with butter or coconut oil, until it is done to your liking.

See? It’s that simple. Serve with your choice of sauce. We’ve had this with Meatballs Parmesan, Pesto Meatballs, and pictured here with Spaghetti sauce.

Zoodles ~ Lifeofjoy.me

We have found that we prefer to use the smaller, thinner zucchini rather than the larger, fatter ones. Michael had liked these every time I made them except this last time when I used the larger zucchini; he said it had a stronger taste that he did not like. So be forewarned. ;)

Zoodles

Ingredients

  • zucchini
  • tablespoon of oil or butter
  • salt

Instructions

  1. Julienne the zucchini.
  2. Heat a drizzle of oil into a skillet.
  3. Add zucchini
  4. Salt, as desired, (this helps it cook quicker)
  5. Serve in place of spaghetti.
https://lifeofjoy.me/zoodles/

Enjoy!

Until next time, God bless,

Michele ºÜº

Save

Save

Coleslaw

Creamy coleslaw with just the right amount of liquid and tang but won’t make you pucker.

Coleslaw ~lifeofjoy.meColeslaw is one of those things that I didn’t make much of in the past. In the last few months, I have learned that this is one of Mike’s favorite side dishes, especially when paired with hamburgers or hot dogs and baked beans.

I have bought more cabbage in the last few years, since learning to make egg rolls than I had in many of the previous years added together. But that means that I frequently have cabbage in my refrigerator. Making egg rolls takes a bit of time, so I procrastinate making them. One day I needed a quick side dish and decided to make coleslaw. I didn’t use any measurements, just did like I saw my mom do.

The other day when made this, I measured ingredients before adding them to the bowl so I could share it here.

I started by weighing the piece of cabbage that I had left from other uses. I shredded the 1-pound cabbage on the large grater. I used to slice it on my mandolin but found I preferred a more chopped texture. (Don’t grate the core.)

Coleslaw ~ Lifeofjoy.meGrate a medium carrot.

Coleslaw ~ Lifeofjoy.meAdd 1/2 cup mayo. (I’d prefer to use Miracle Whip because then I probably wouldn’t need the vinegar and sugar but Michael prefers mayonnaise, so that is what I used.)

Coleslaw ~ Lifeofjoy.meNext include 4 teaspoons – 2 tablespoons white vinegar (not apple cider vinegar), 1 -2 tablespoons sugar (or sugar substitute), and 2-3 tablespoons heavy cream or evaporated canned milk and combine. I almost forgot to take a picture of the finished dish. We ate half of it. :)

Coleslaw ~ Lifeofjoy.meThis is the first time I have made this and it didn’t turn out soupy. :)

Coleslaw

Ingredients

  • 1 pound cabbage
  • 1 medium carrot
  • 1/2 cup mayonnaise
  • 4 teaspoons - 2 Tablespoons vinegar
  • 1-2 Tablespoons sugar
  • 2-3 Tablespoons heavy cream or evaporated canned milk

Instructions

  1. Shred cabbage and carrot on large holes of box grater.
  2. Add remaining ingredients and combine well.
https://lifeofjoy.me/coleslaw/

Enjoy!

Until next time, God bless,

Michele ºÜº

Save

Save

Corn, Tomato, and Mozzarella Salad ~ Lifeofjoy.me

Corn, Tomato, and Mozzarella Salad

A different kind of salad, good in the summer when corn and tomatoes are fresh. Nice not to have lettuce for a change.

I tried this one a few weeks ago for the first time. I love fresh corn! Thus this salad looked pretty good to me. It is super simple to make as well.

The key here is fresh corn. The first two times I made it with really good sweet corn. This time, unfortunately, it wasn’t as good because the corn wasn’t as good. Oh well. ;)

It only takes a few simple ingredients: corn, tomatoes, mozzarella cheese, basil, lemon juice, olive oil, salt, and pepper.

IMG_3397I only made one-fourth of the original recipe today but I’ll give the measurements for the entire batch in the recipe.

First shuck the corn and cut the kernels off the cob. You can cook it first if you like. I recommend you cut a bit off and taste it to see how sweet it is. If it is bland, boil it in some water with some sweetener. I learned this the hard way!

Corn, Tomato, and Mozzarella Salad ~ Lifeofjoy.meI cut the kernels directly into the bowl I’m going to use to serve the salad.

Next cut the tomatoes. I like small bite-size pieces, so I do more than cut them in half, which is what the original recipe directed.

Corn, Tomato, and Mozzarella Salad ~ Lifeofjoy.meCut up the mozzarella cheese and then add the rest of the ingredients. I usually cheat and just use a sprinkling of garlic powder instead of the minced garlic. I sometimes use lemon juice from the bottle I keep in the refrigerator for emergencies. ;) (I have yet to make this with fresh basil though.)

Corn, Tomato, and Mozzarella Salad ~ Lifeofjoy.meStir and serve!

Corn, Tomato, and Mozzarella Salad ~ Lifeofjoy.me

This really is a nice refreshing salad and a nice change from the regular lettuce salads.

Corn, Tomato, and Mozzarella Salad

Ingredients

  • 4 ears of corn, shucked, cleaned, and washed
  • 1 10.5 oz package of grape tomatoes, cut into bite-size pieces
  • 8 oz fresh mozzarella, cut into small bite-size pieces
  • 10 leaves of fresh basil, sliced thinly or use a sprinkling of dried
  • 1/4 cup fresh lemon juice
  • 1/4 cup olive oil
  • 2 garlic cloves, minced
  • 1/2 teaspoon salt
  • 1/2 teaspoon freshly ground black pepper

Instructions

  1. Remove the corn kernels from the cob with a nice sharp knife.
  2. Place corn, cut tomatoes, and mozzarella pieces into serving bowl.
  3. Add the basil.
  4. Combine the rest of the ingredients in a jar and shake to combine. (or if you are lazy like me, simply add them to the bowl but it would probably taste better combined in the jar first 😉 )
  5. Pour over ingredients in the bowl, toss and serve.
https://lifeofjoy.me/corn-tomato-and-mozzarella-salad/

I hope you enjoy this one as much as Mike and I have. (Sean and Tiffany won’t even try it. ;) )

Until next time, God bless,

Michele ºÜº

Save

Save

Fried Green Beans ~ Lifeofjoy.me

Fried Green Beans

This is one of those recipes my grandmother made. Therefore it really doesn’t have a recipe.

I also admit that this doesn’t look very good either but you really should try it once. Of course, it is not a healthy recipe, so maybe you shouldn’t try it. ;)

It is easy but a little tricky because there are no real measurements but here goes.

Drain a can of french style green beans. Heat about a tablespoon of of oil of your preference in a skillet. When it’s hot, add the green beans.

Fried GReen Beans ~ Lifeofjoy.meSprinkle some flour (about 1/4 cup maybe) over the top of the green beans and then mix it in.

Fried Green Beans ~ Lifeofjoy.me Let it fry until browned on the bottom and then flip and brown the other side.

 Let it fry until browned on the bottom and then flip and brown the other side.Add more oil as needed to keep it browning. We have 3 cans in this 12″ skillet.

Fried Green Beans ~ Lifeofjoy.meThey really are quite good. We had it with scalloped potatoes and fried chicken.

Until next time, God bless,

Michele ºÜº

Save

Scalloped Potatoes

Scalloped Potatoes ~ LifeofJoy.meThis week I am sharing a family favorite. This is a recipe that my mom made when I was young. It is one of those recipes that is not really a recipe; it is one of those ‘watch how Grandma makes it’ recipes BUT don’t let that make you shy away! This is really VERY easy!

It is hard to say how much of anything to use here but free yourself from measurements and adapt as you re-make it in the future. ;)

Begin by peeling between 5 and 8 potatoes 9 or more, as needed.

Peeling Potatoes ~ LifeofJoy.meI like this y-peeler. It has a serrated blade and it grips well.

Next, slice the potatoes. I like to to use a mandolin slicer.

Mandolin Slice Potatoes ~ LIfeofJoy.me

I don’t recommend using a mandolin without the protective grip for the vegetable because you can slice your fingers VERY BADLY. Please use caution. You could use a food processor or even try to slice your potatoes very thinly by hand but be sure to keep all the slices uniform in thickness.

As you get a potato or two sliced, go ahead and lay a thin layer of potatoes into the bottom of your pan. Then lightly sprinkle on some onion powder and then the same with salt. Remember, keep it a light sprinkling across the layer of potatoes. Then put a few pats of butter around the layer of potatoes as well.

Layers ~ Lifeofjoy.me

Repeat layers (usually about 3 in total) until about 2/3 – 3/4 full. Sprinkle with flour.

Floured ~ LifeofJoy.me

Slowly pour milk over the flour, wetting the flour as you pour, until you see the milk near the top of the potatoes.

Ready for the oven ~ Lifeofjoy.me

Place in the oven and bake on 350º for 45 minutes to an hour.

Test the potatoes with a fork. They are done when the potatoes are soft/no longer hard. If the milk seems to be completely absorbed at any time during cooking, moisten them with more milk. Scalloped potatoes are supposed to be creamy when done.

I wish I had a single bite to show you. I’ll have to try to remember to take one next time I make this, which will be in a couple of weeks since Brian has chosen this and meatloaf as his birthday meal this year. :) I have already had to take pictures on two separate occasions because I keep forgetting to get pictures of the entire process and the finished product. :) Oh well, it is worth it!

Finished Scalloped Potatoes ~ LifeofJoy.me

Don’t be afraid of bits of flour, like this one; my kids like the floury bits. :D 
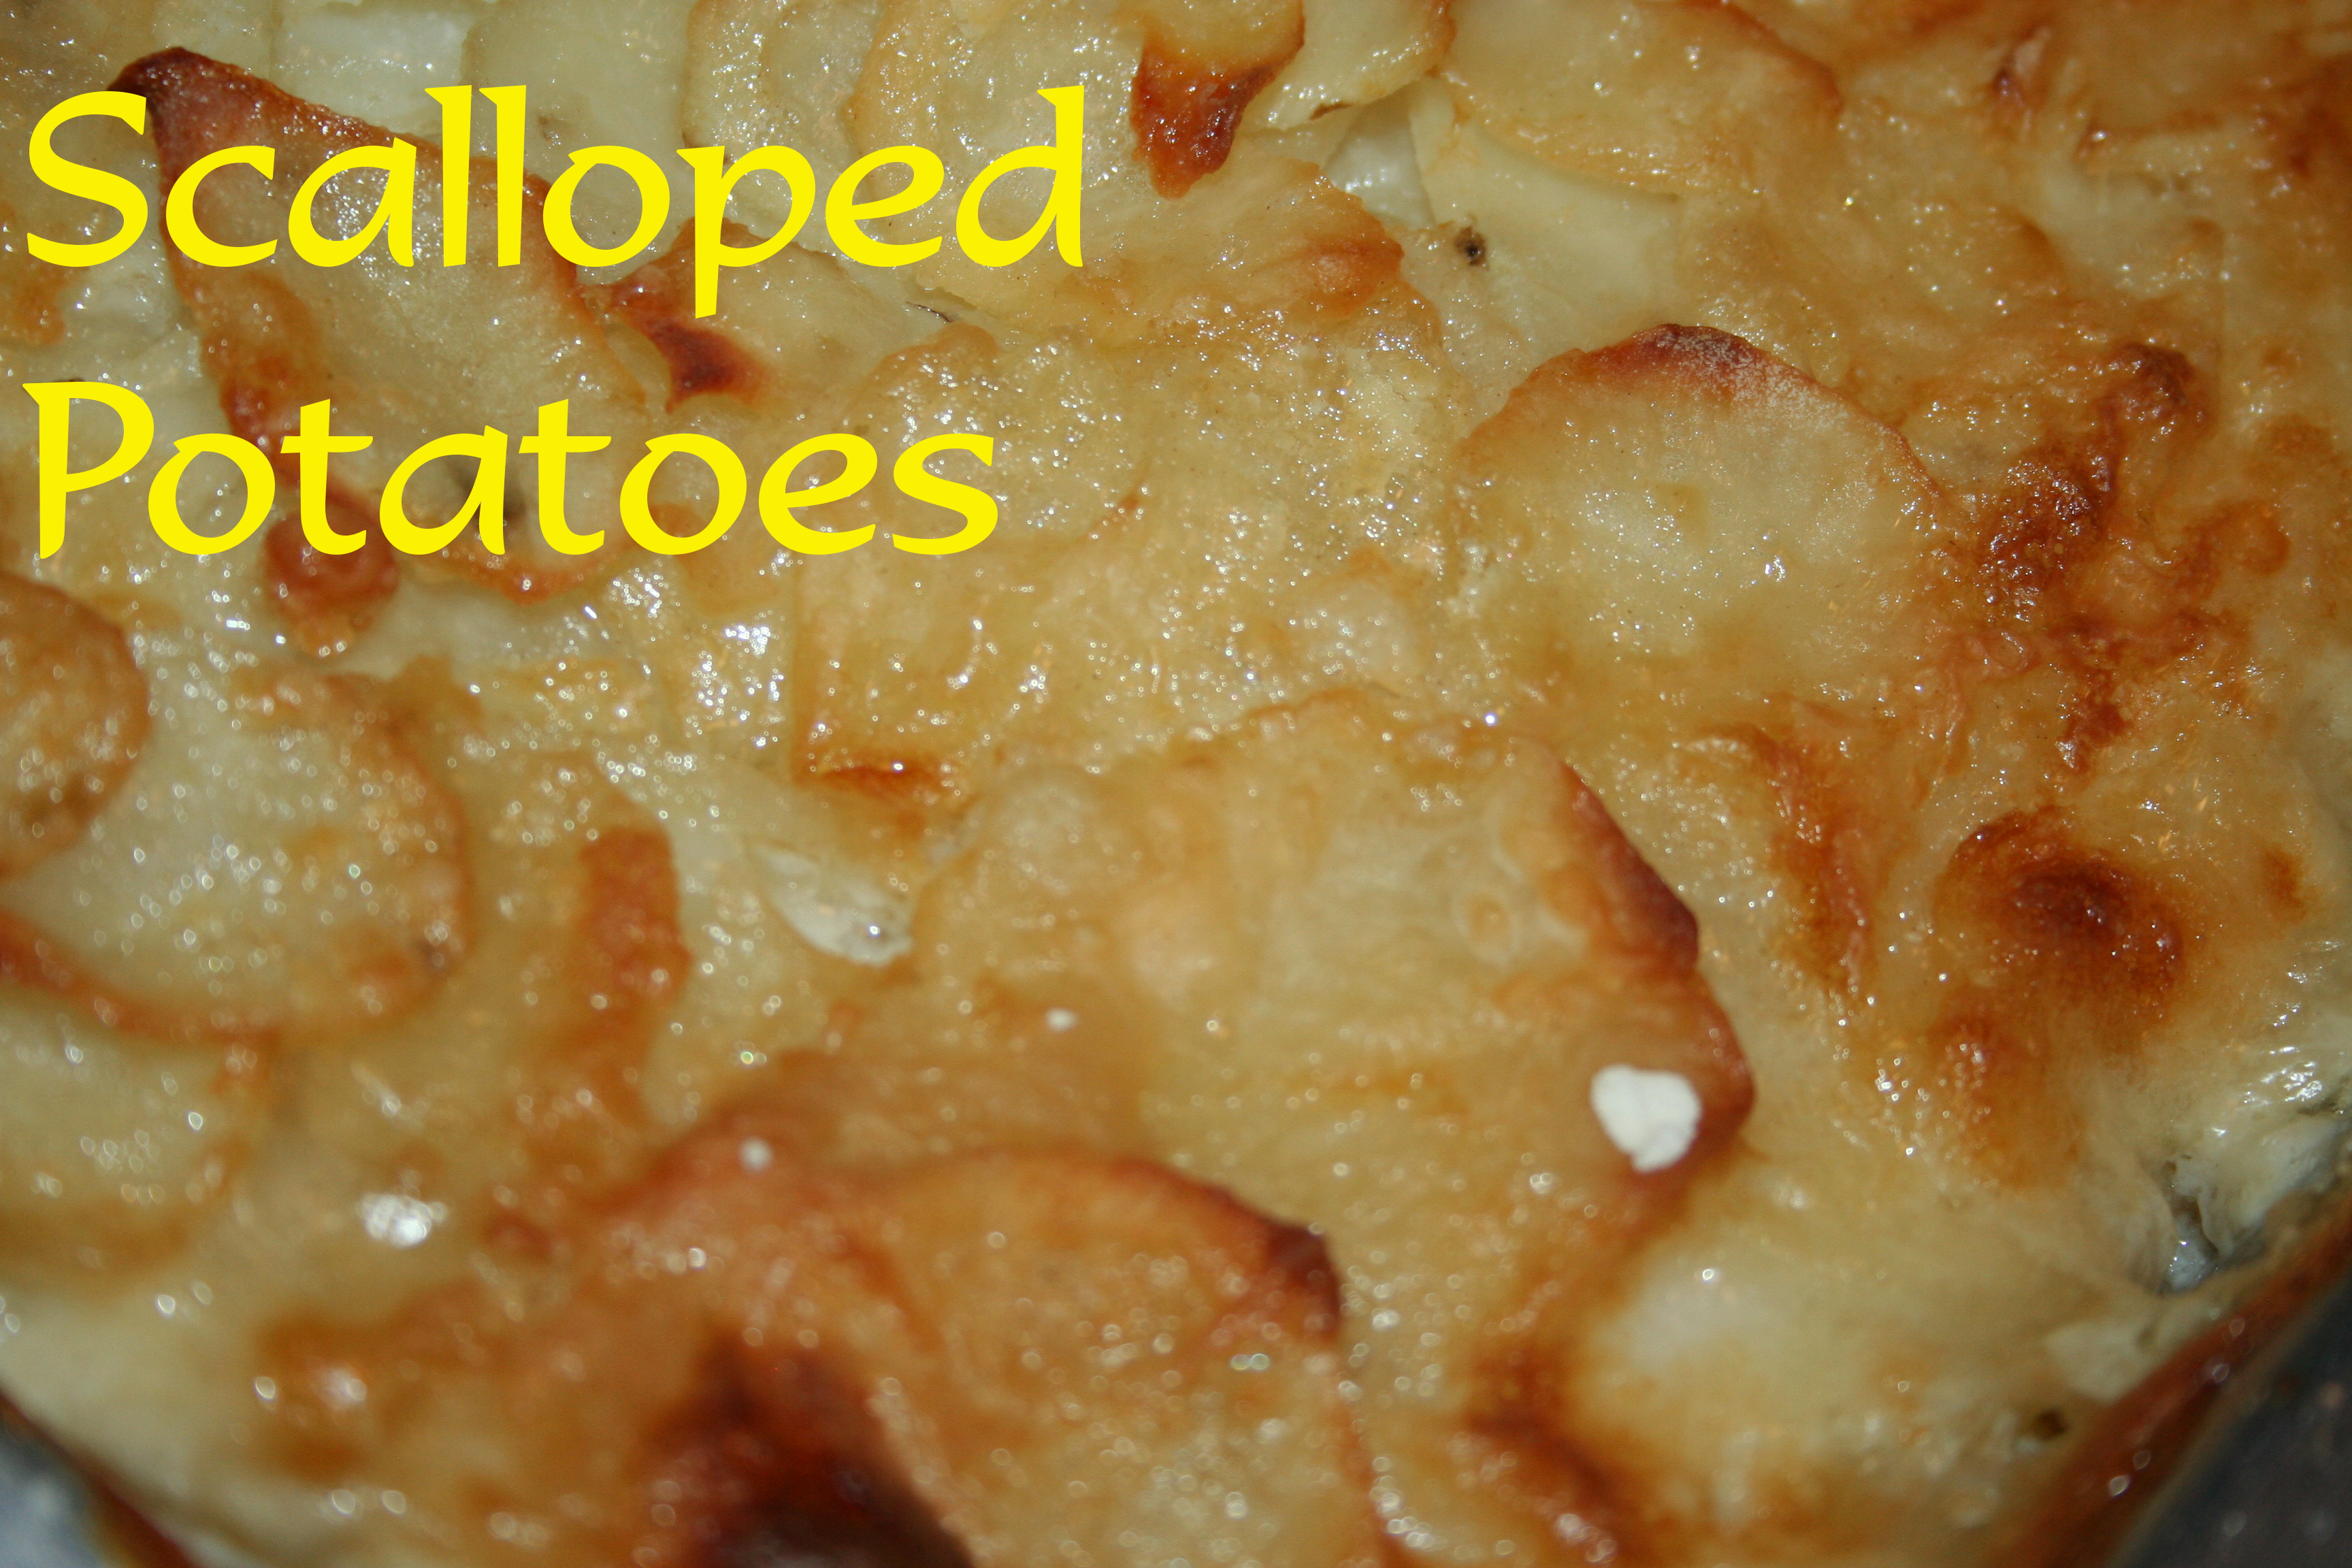
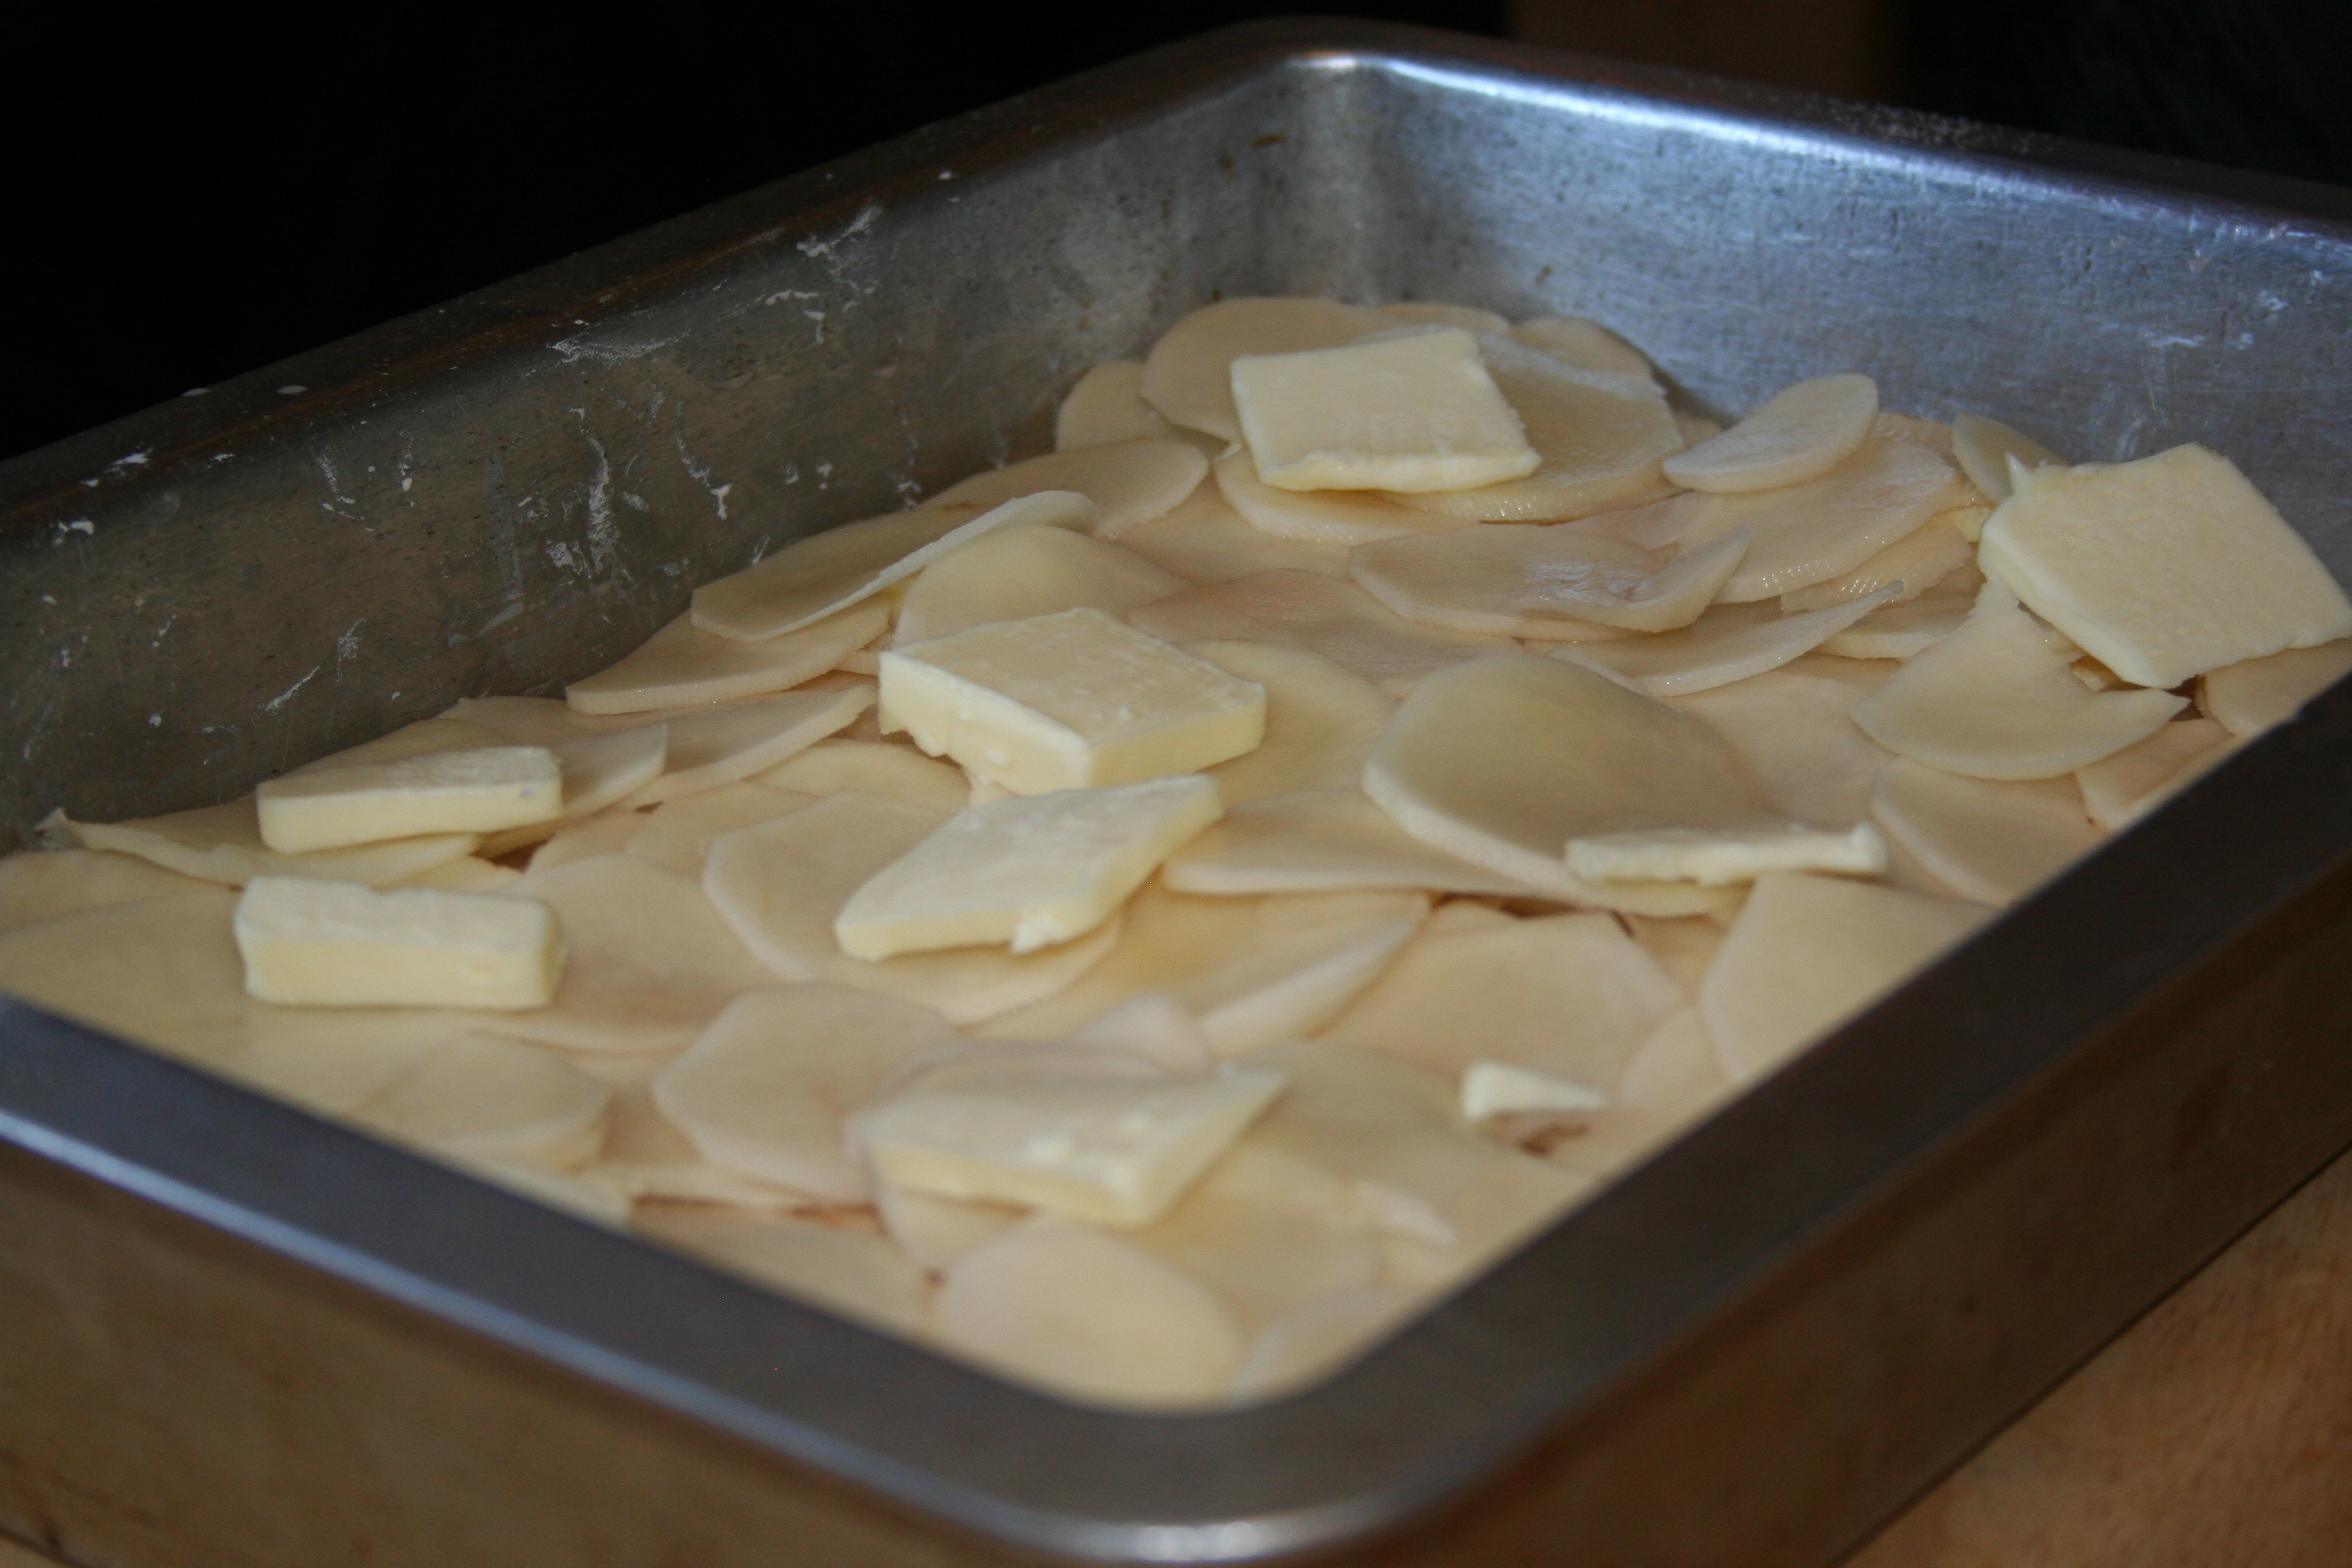
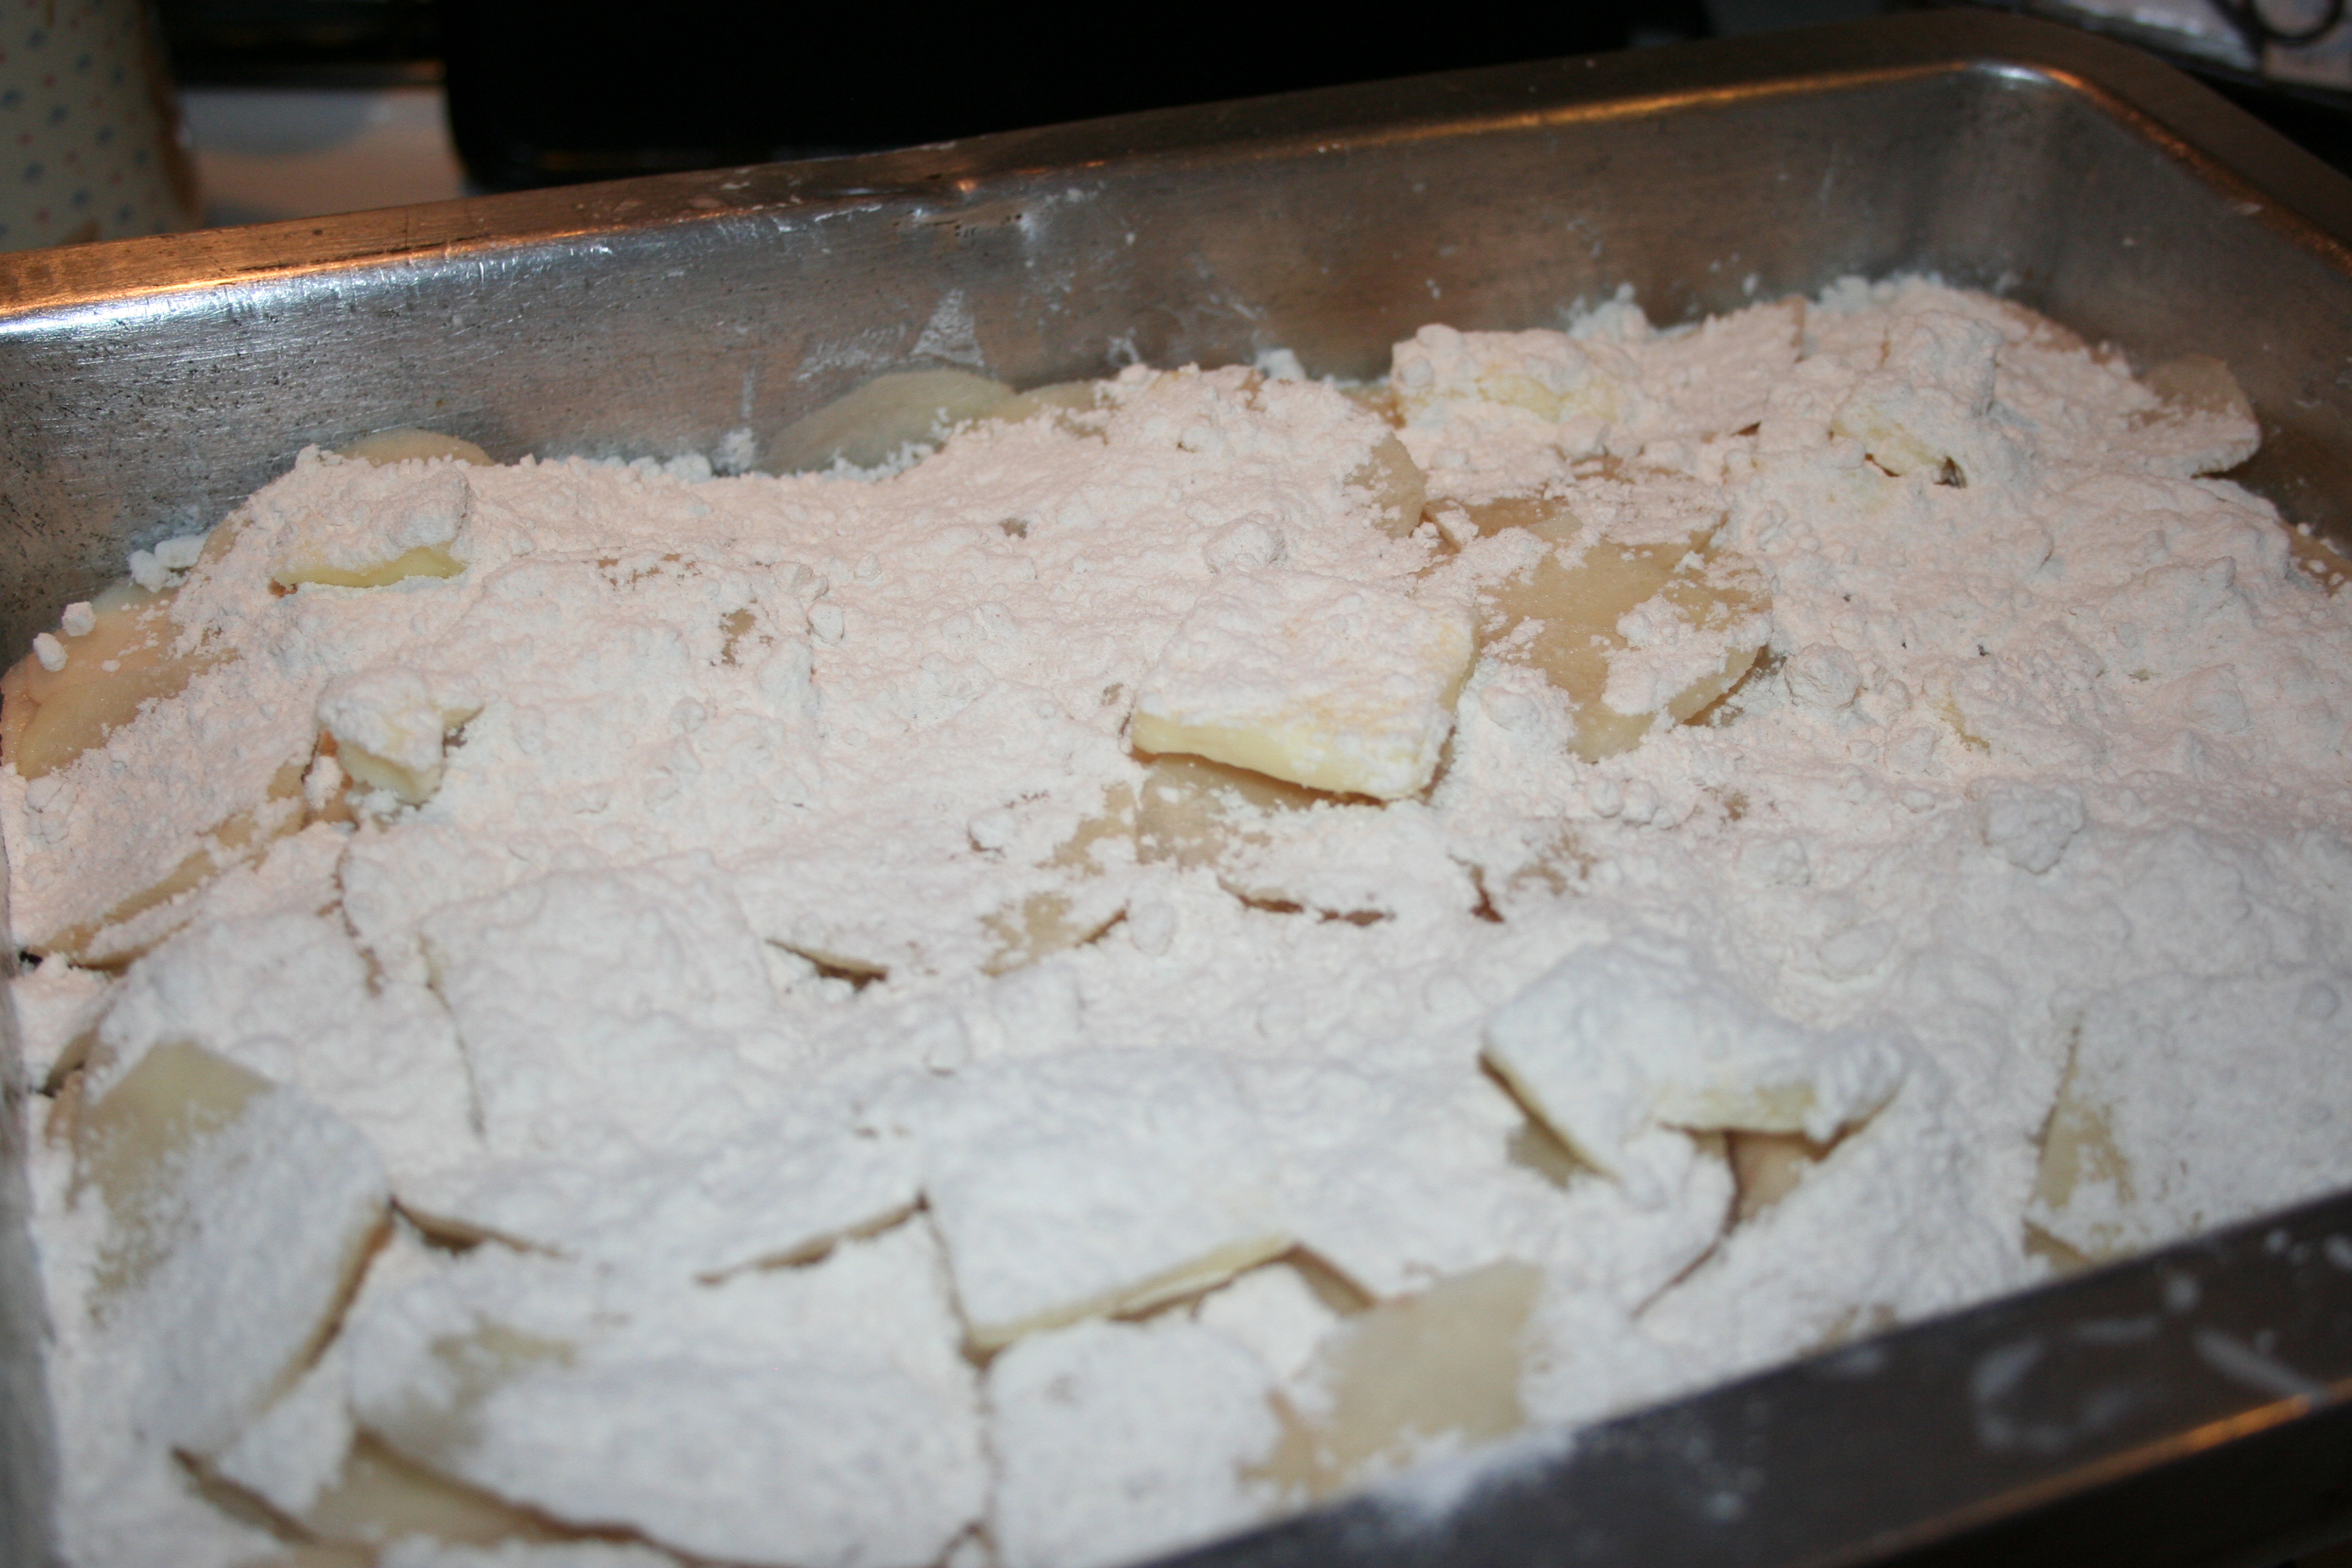
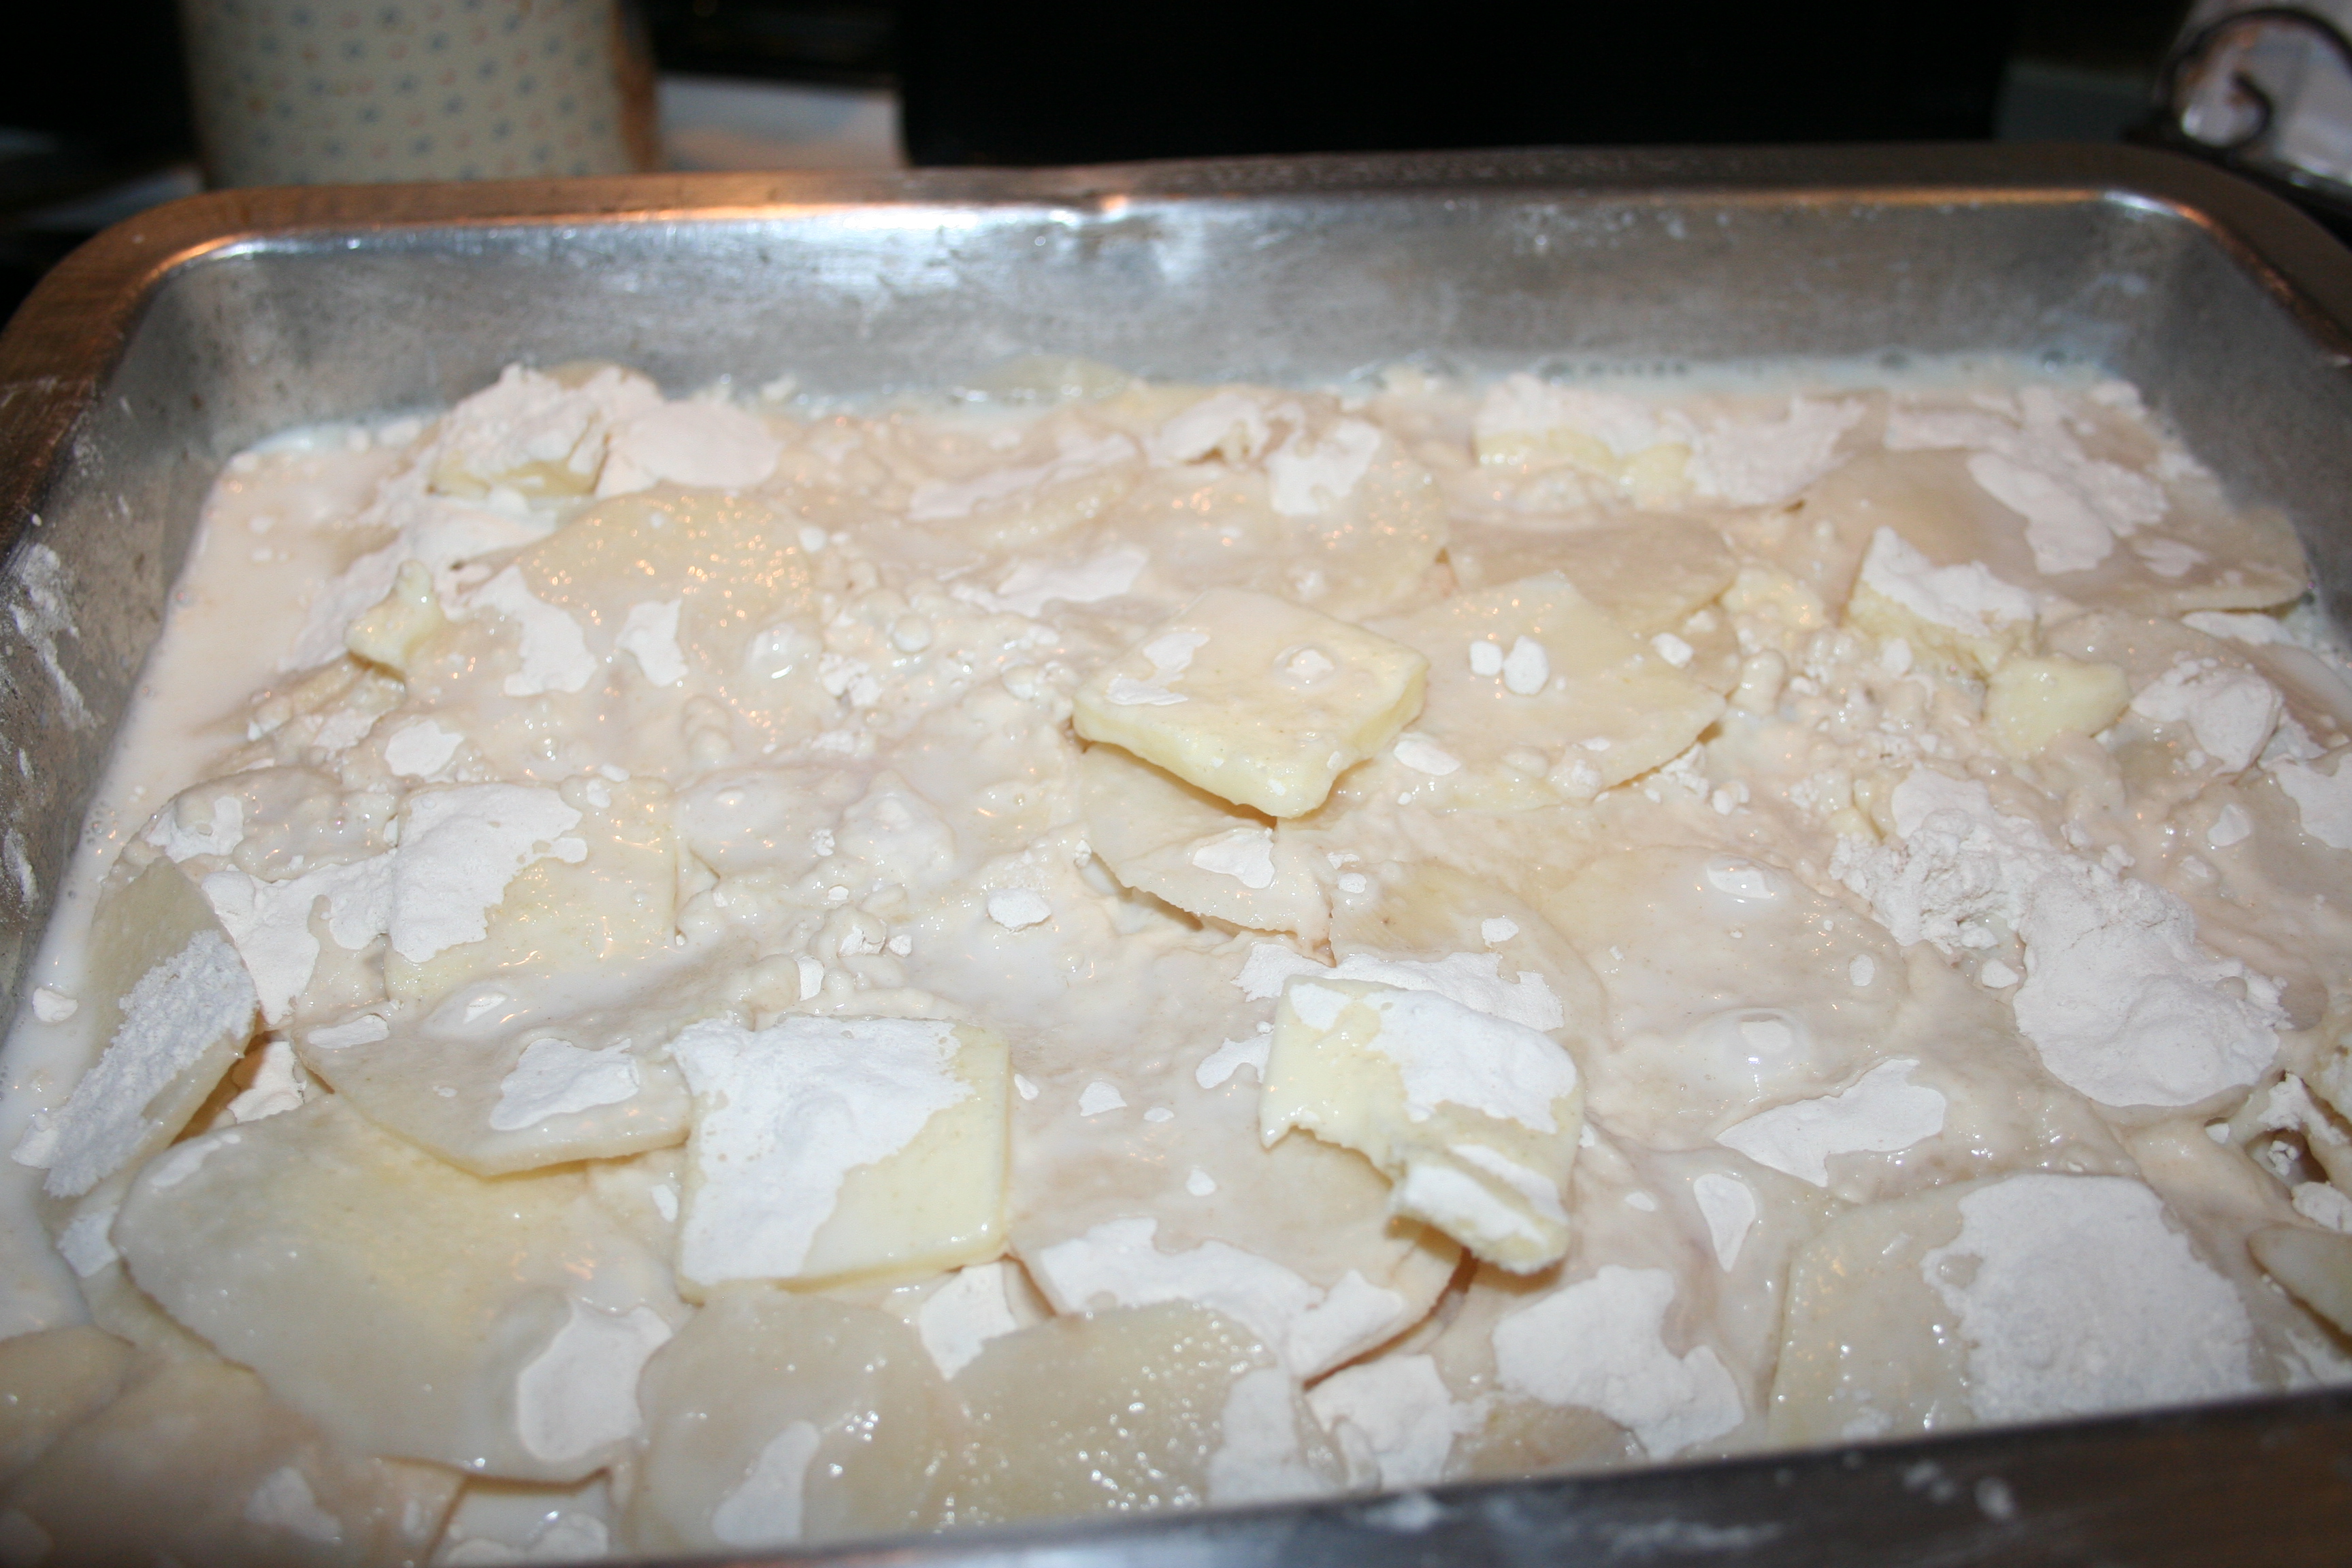
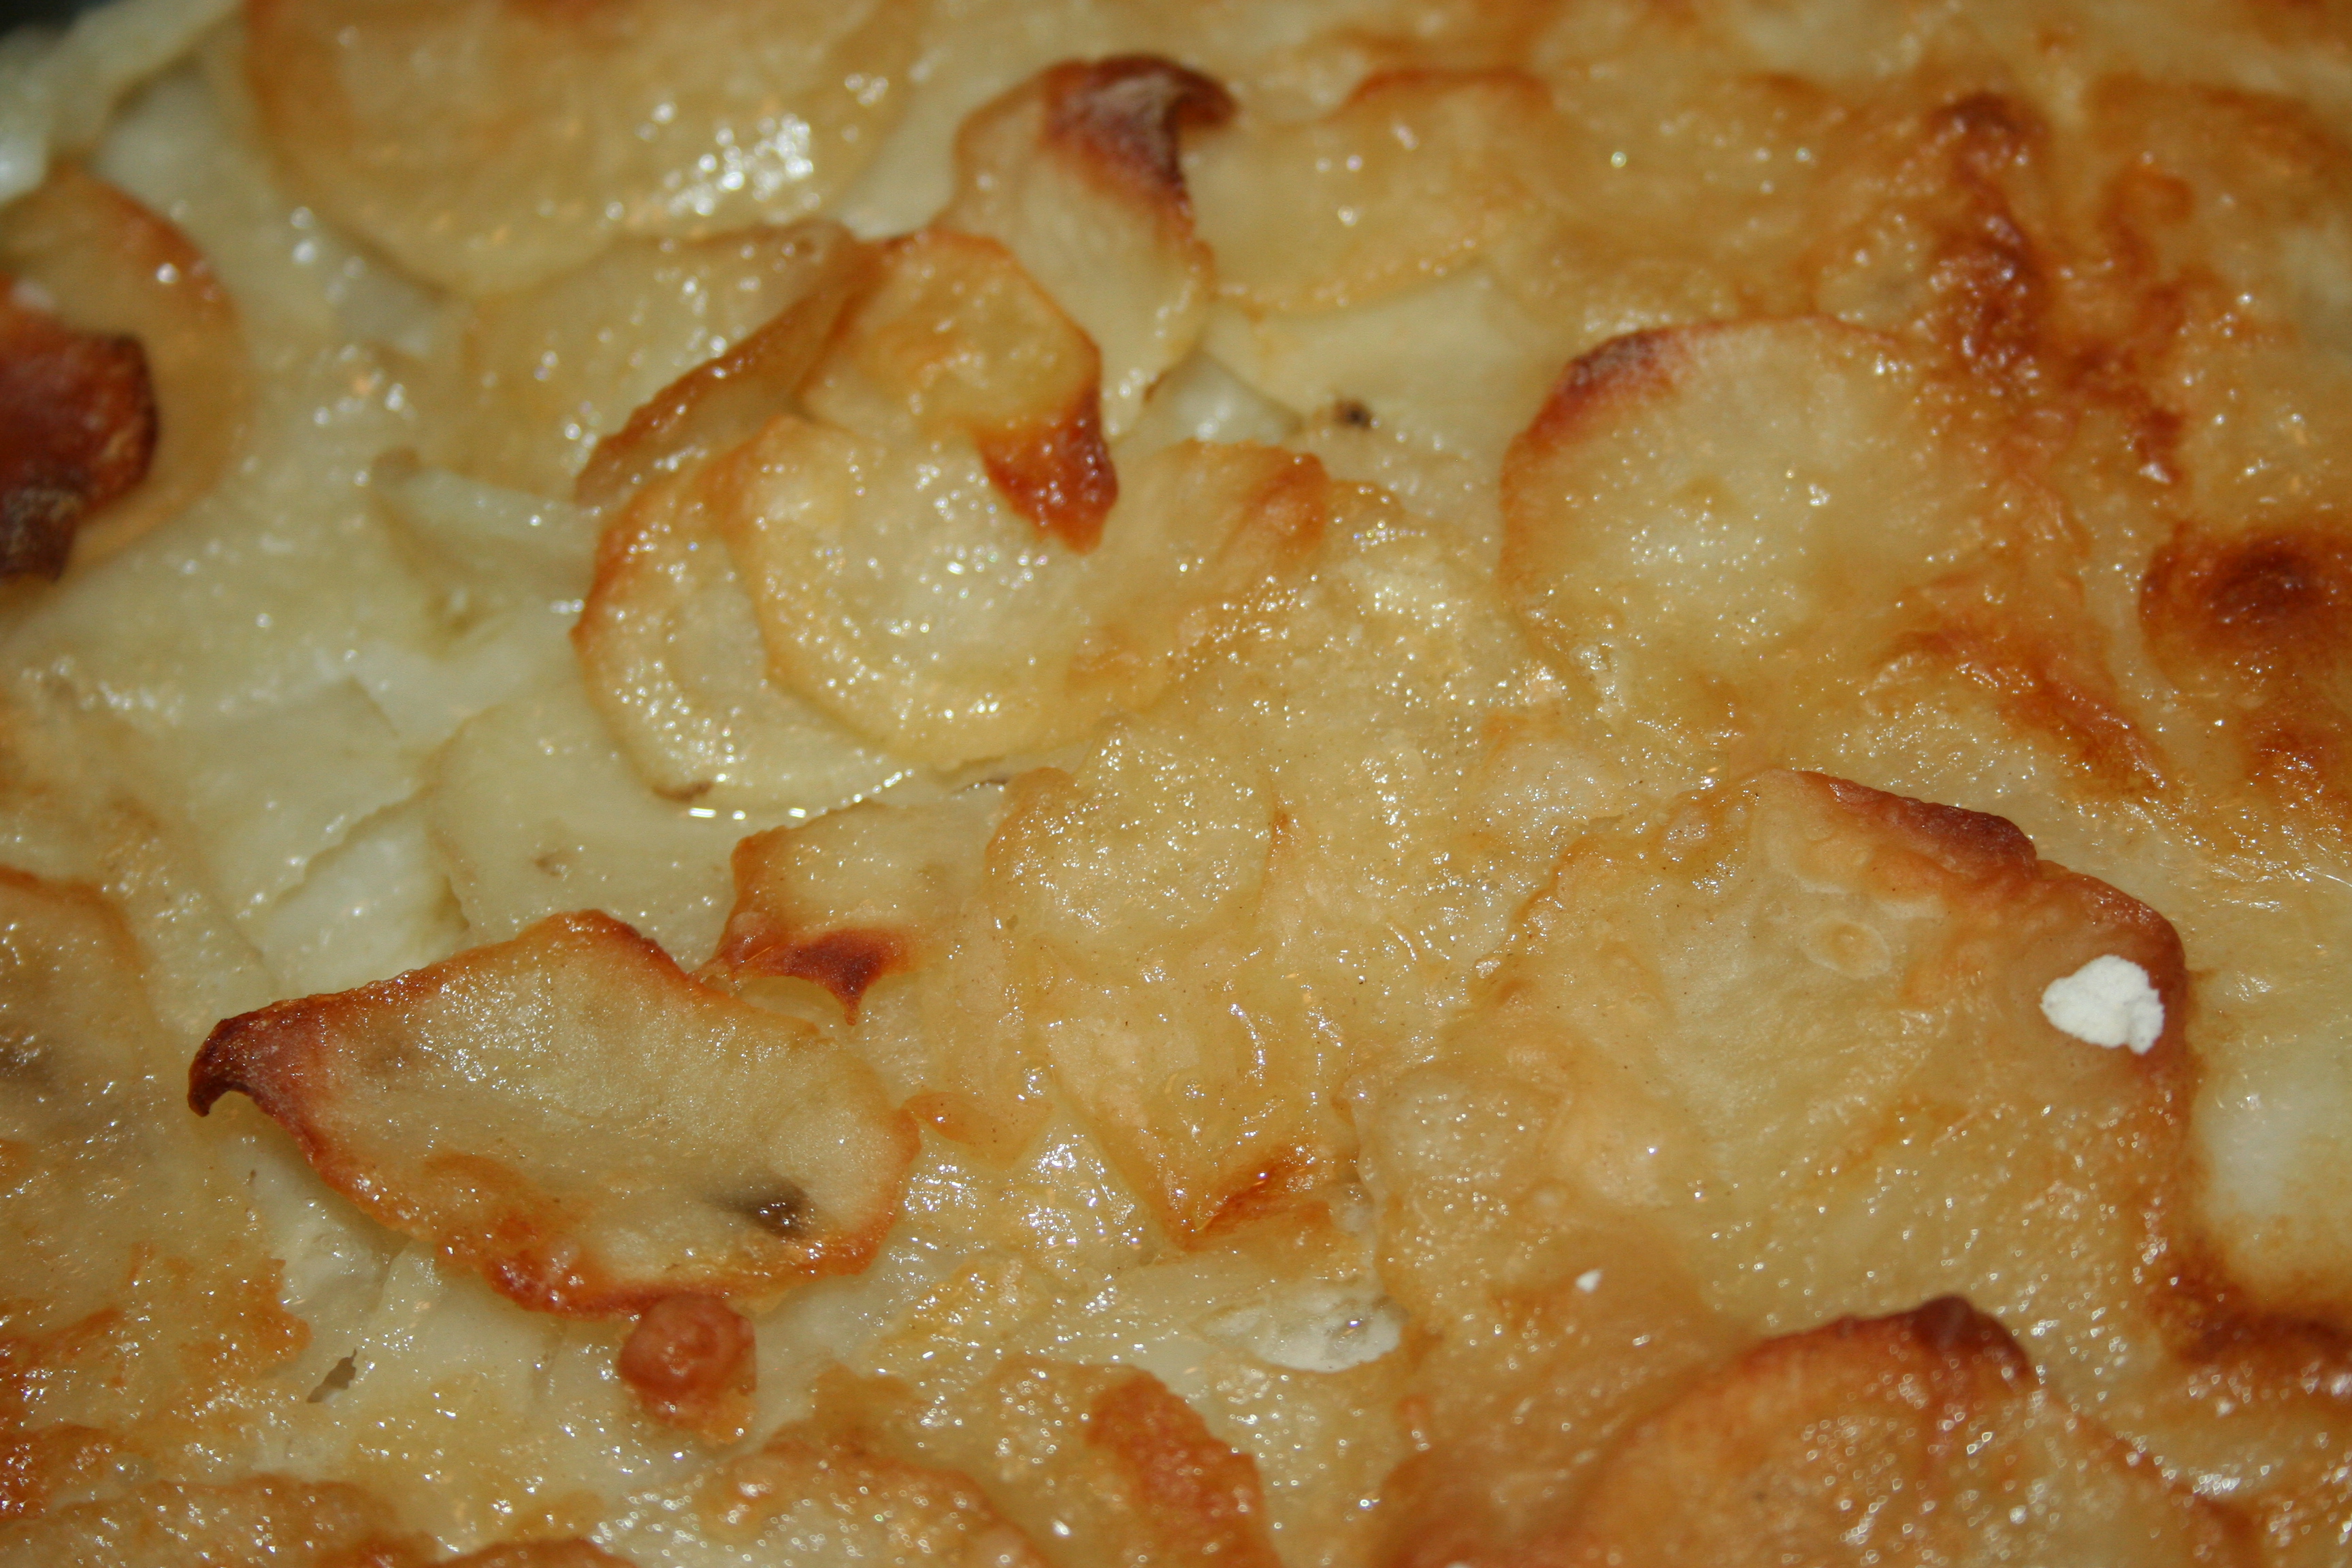
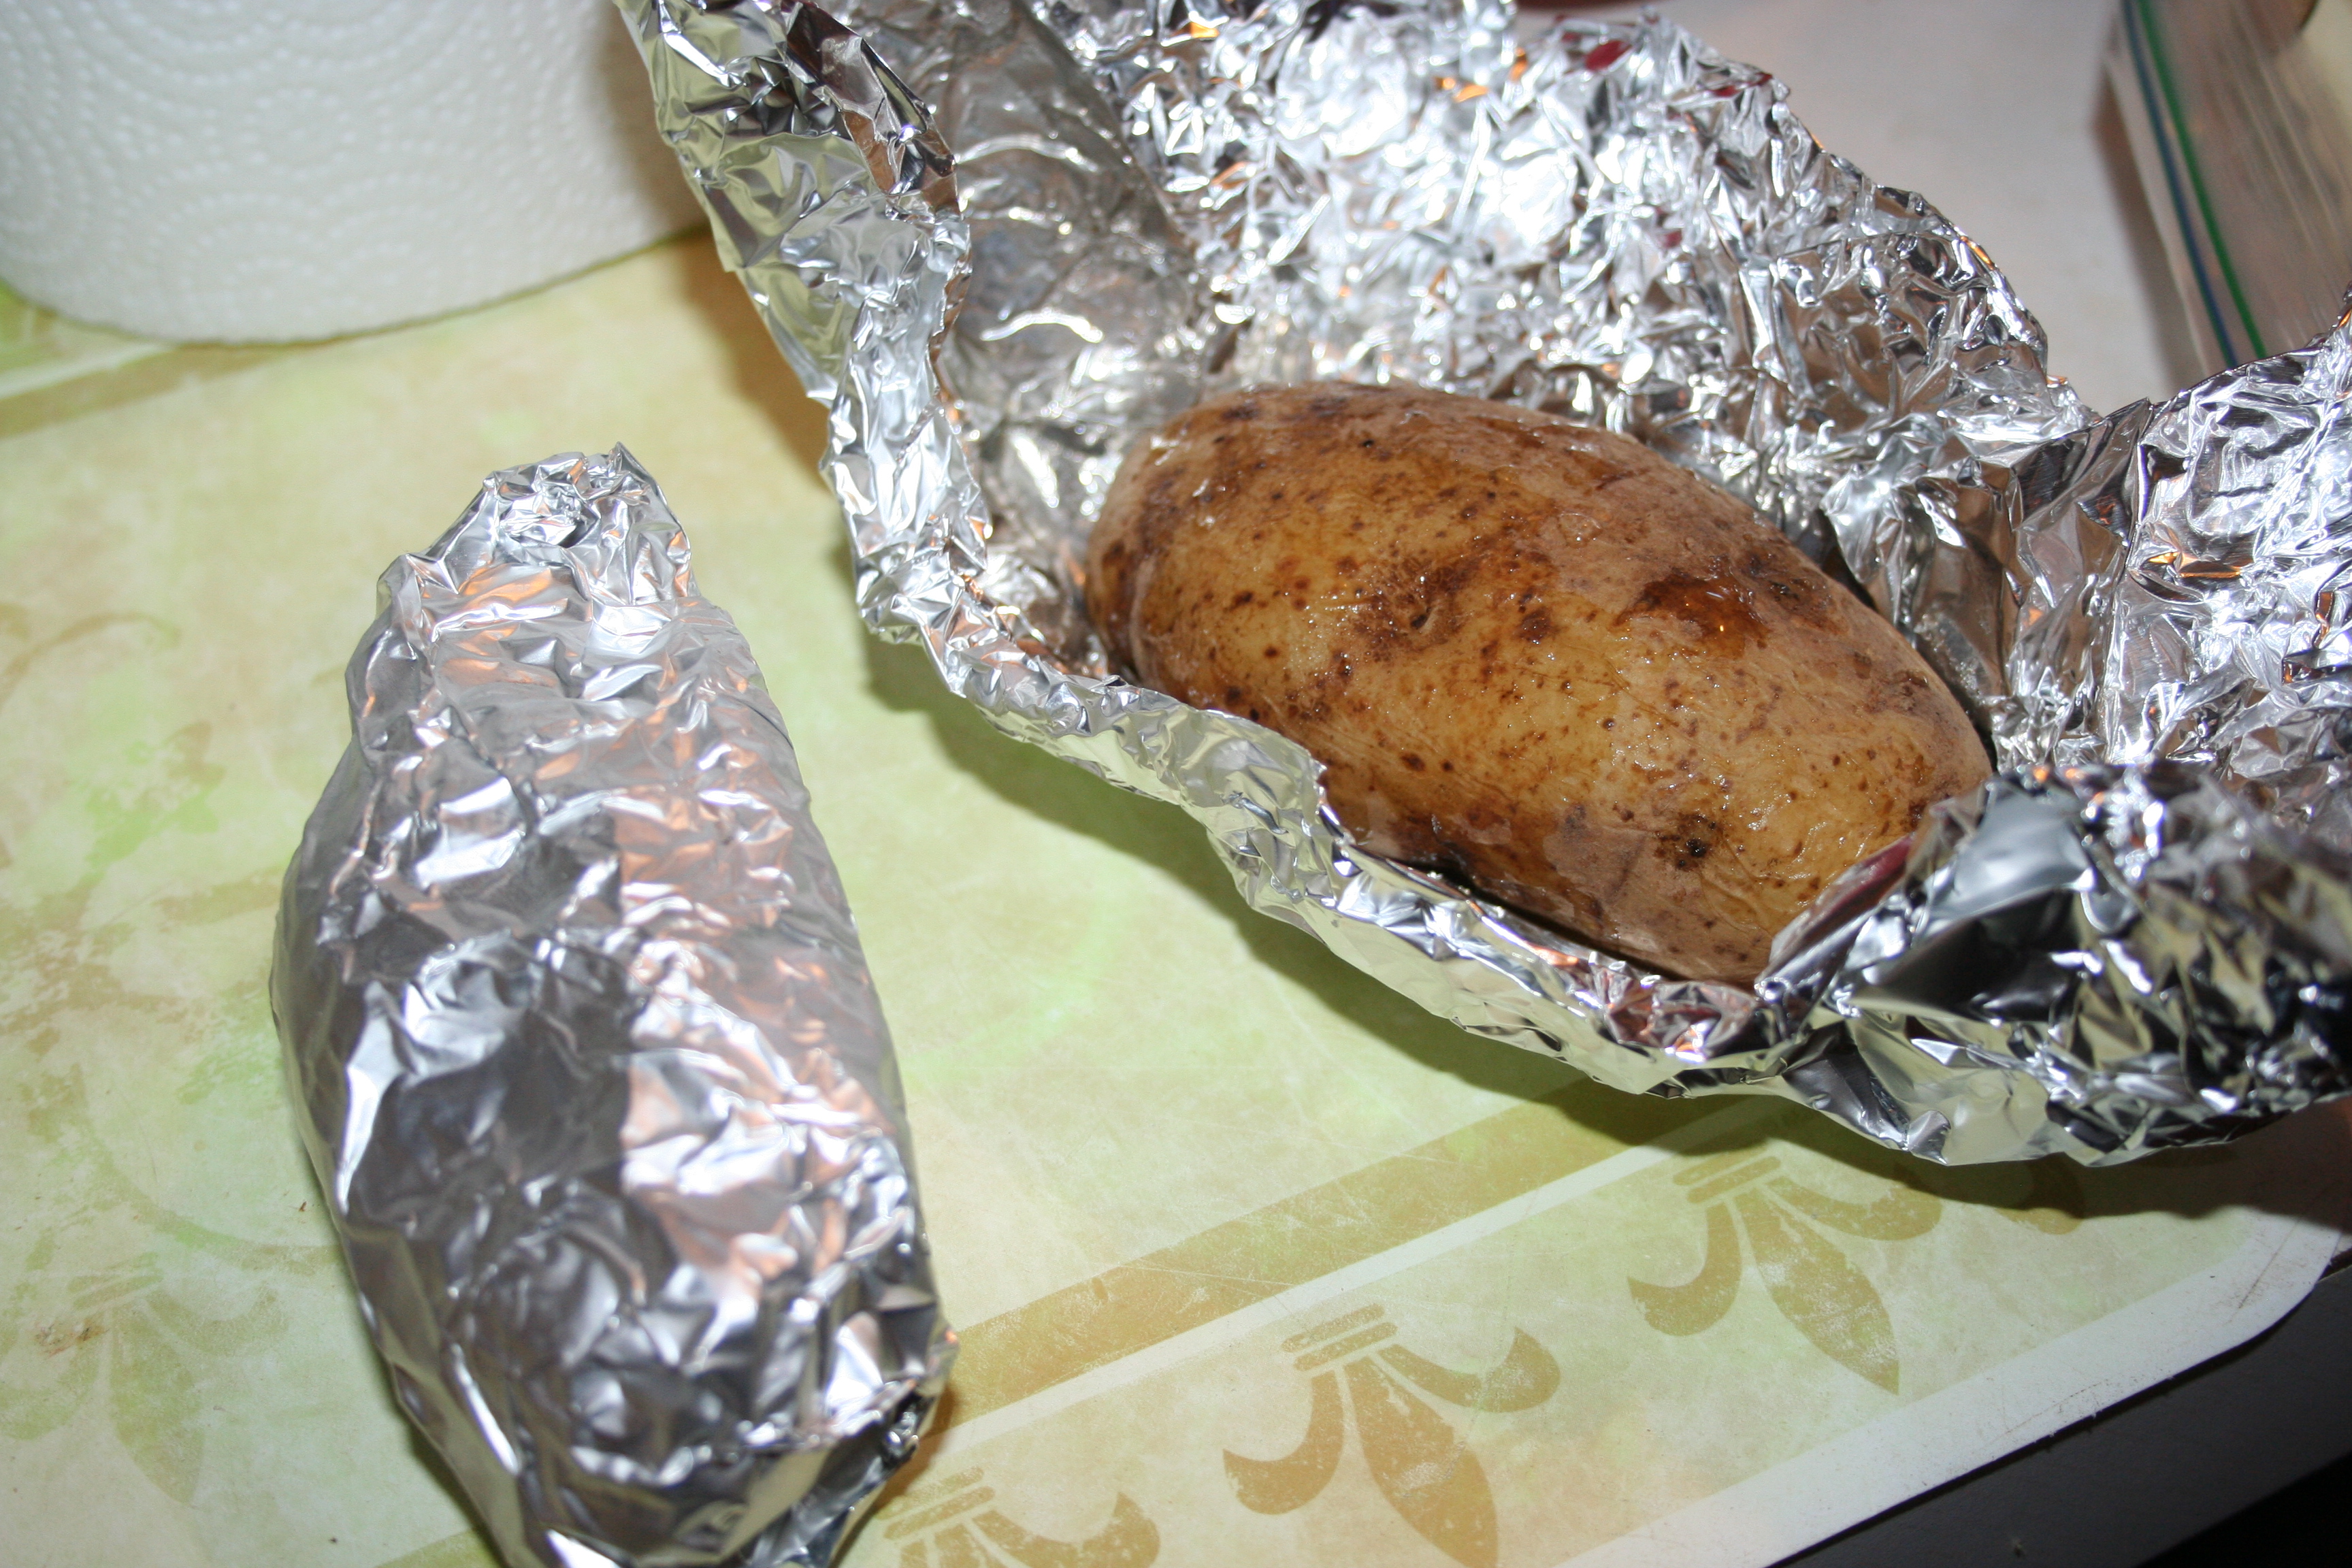
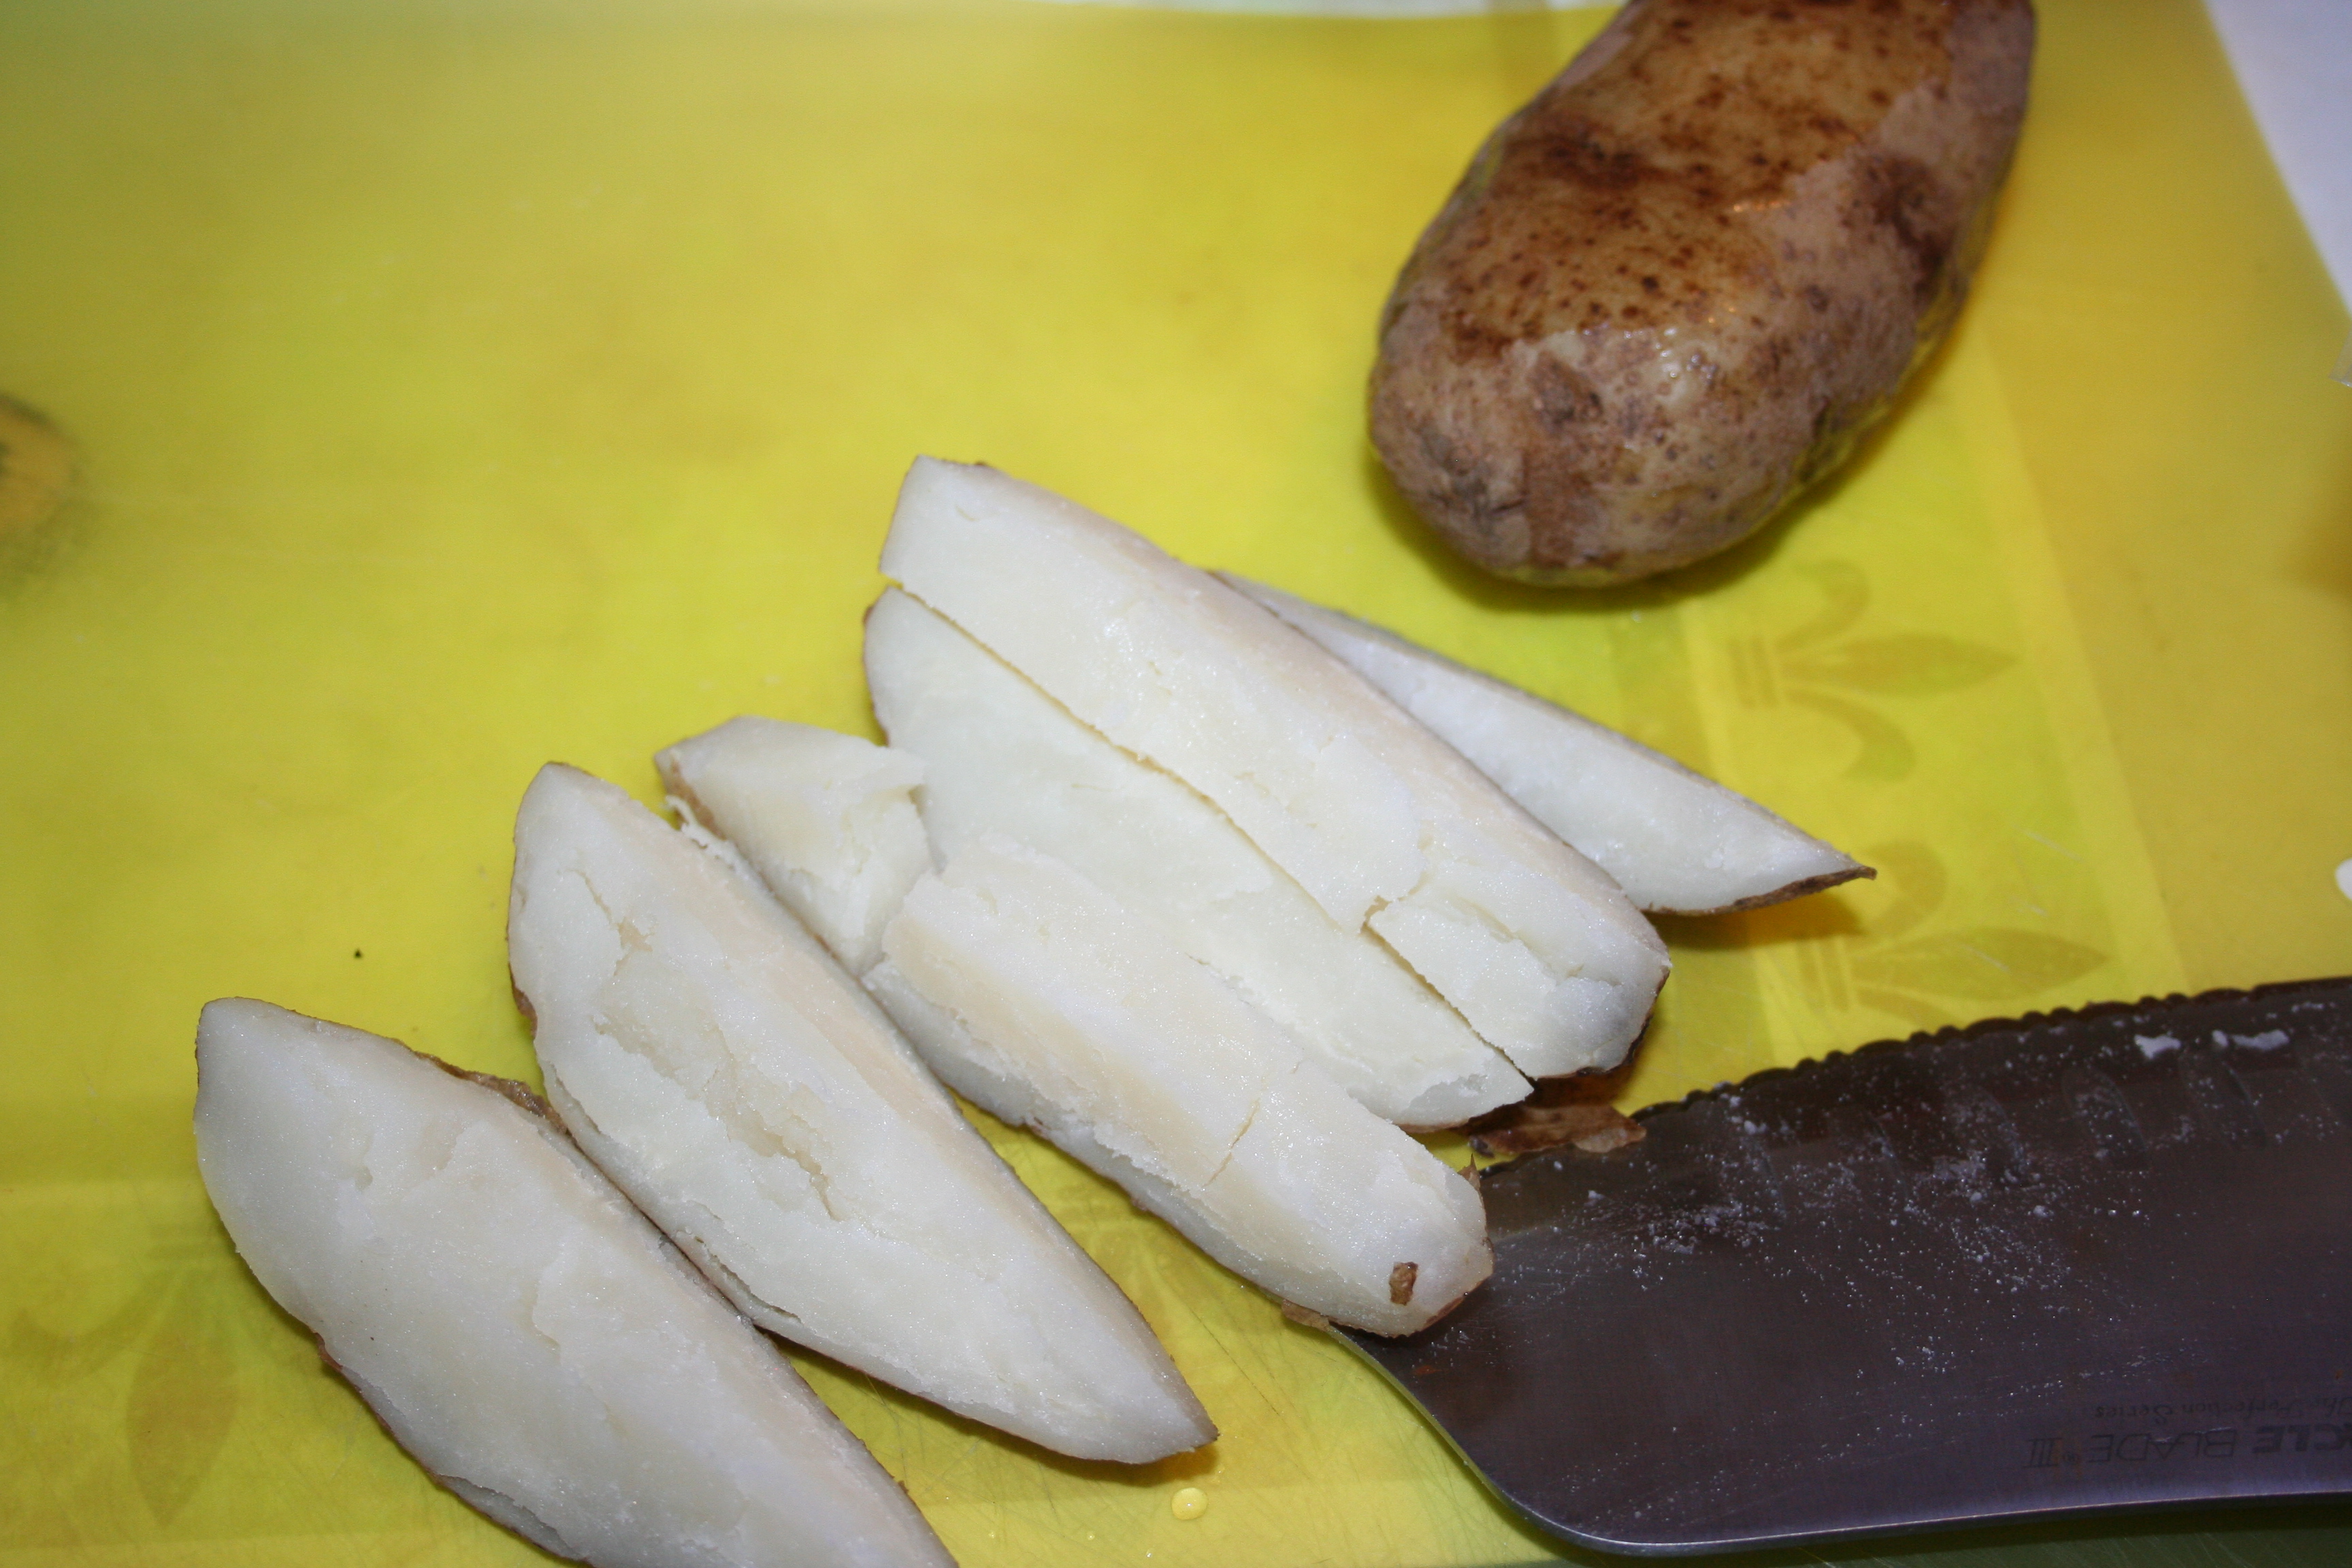
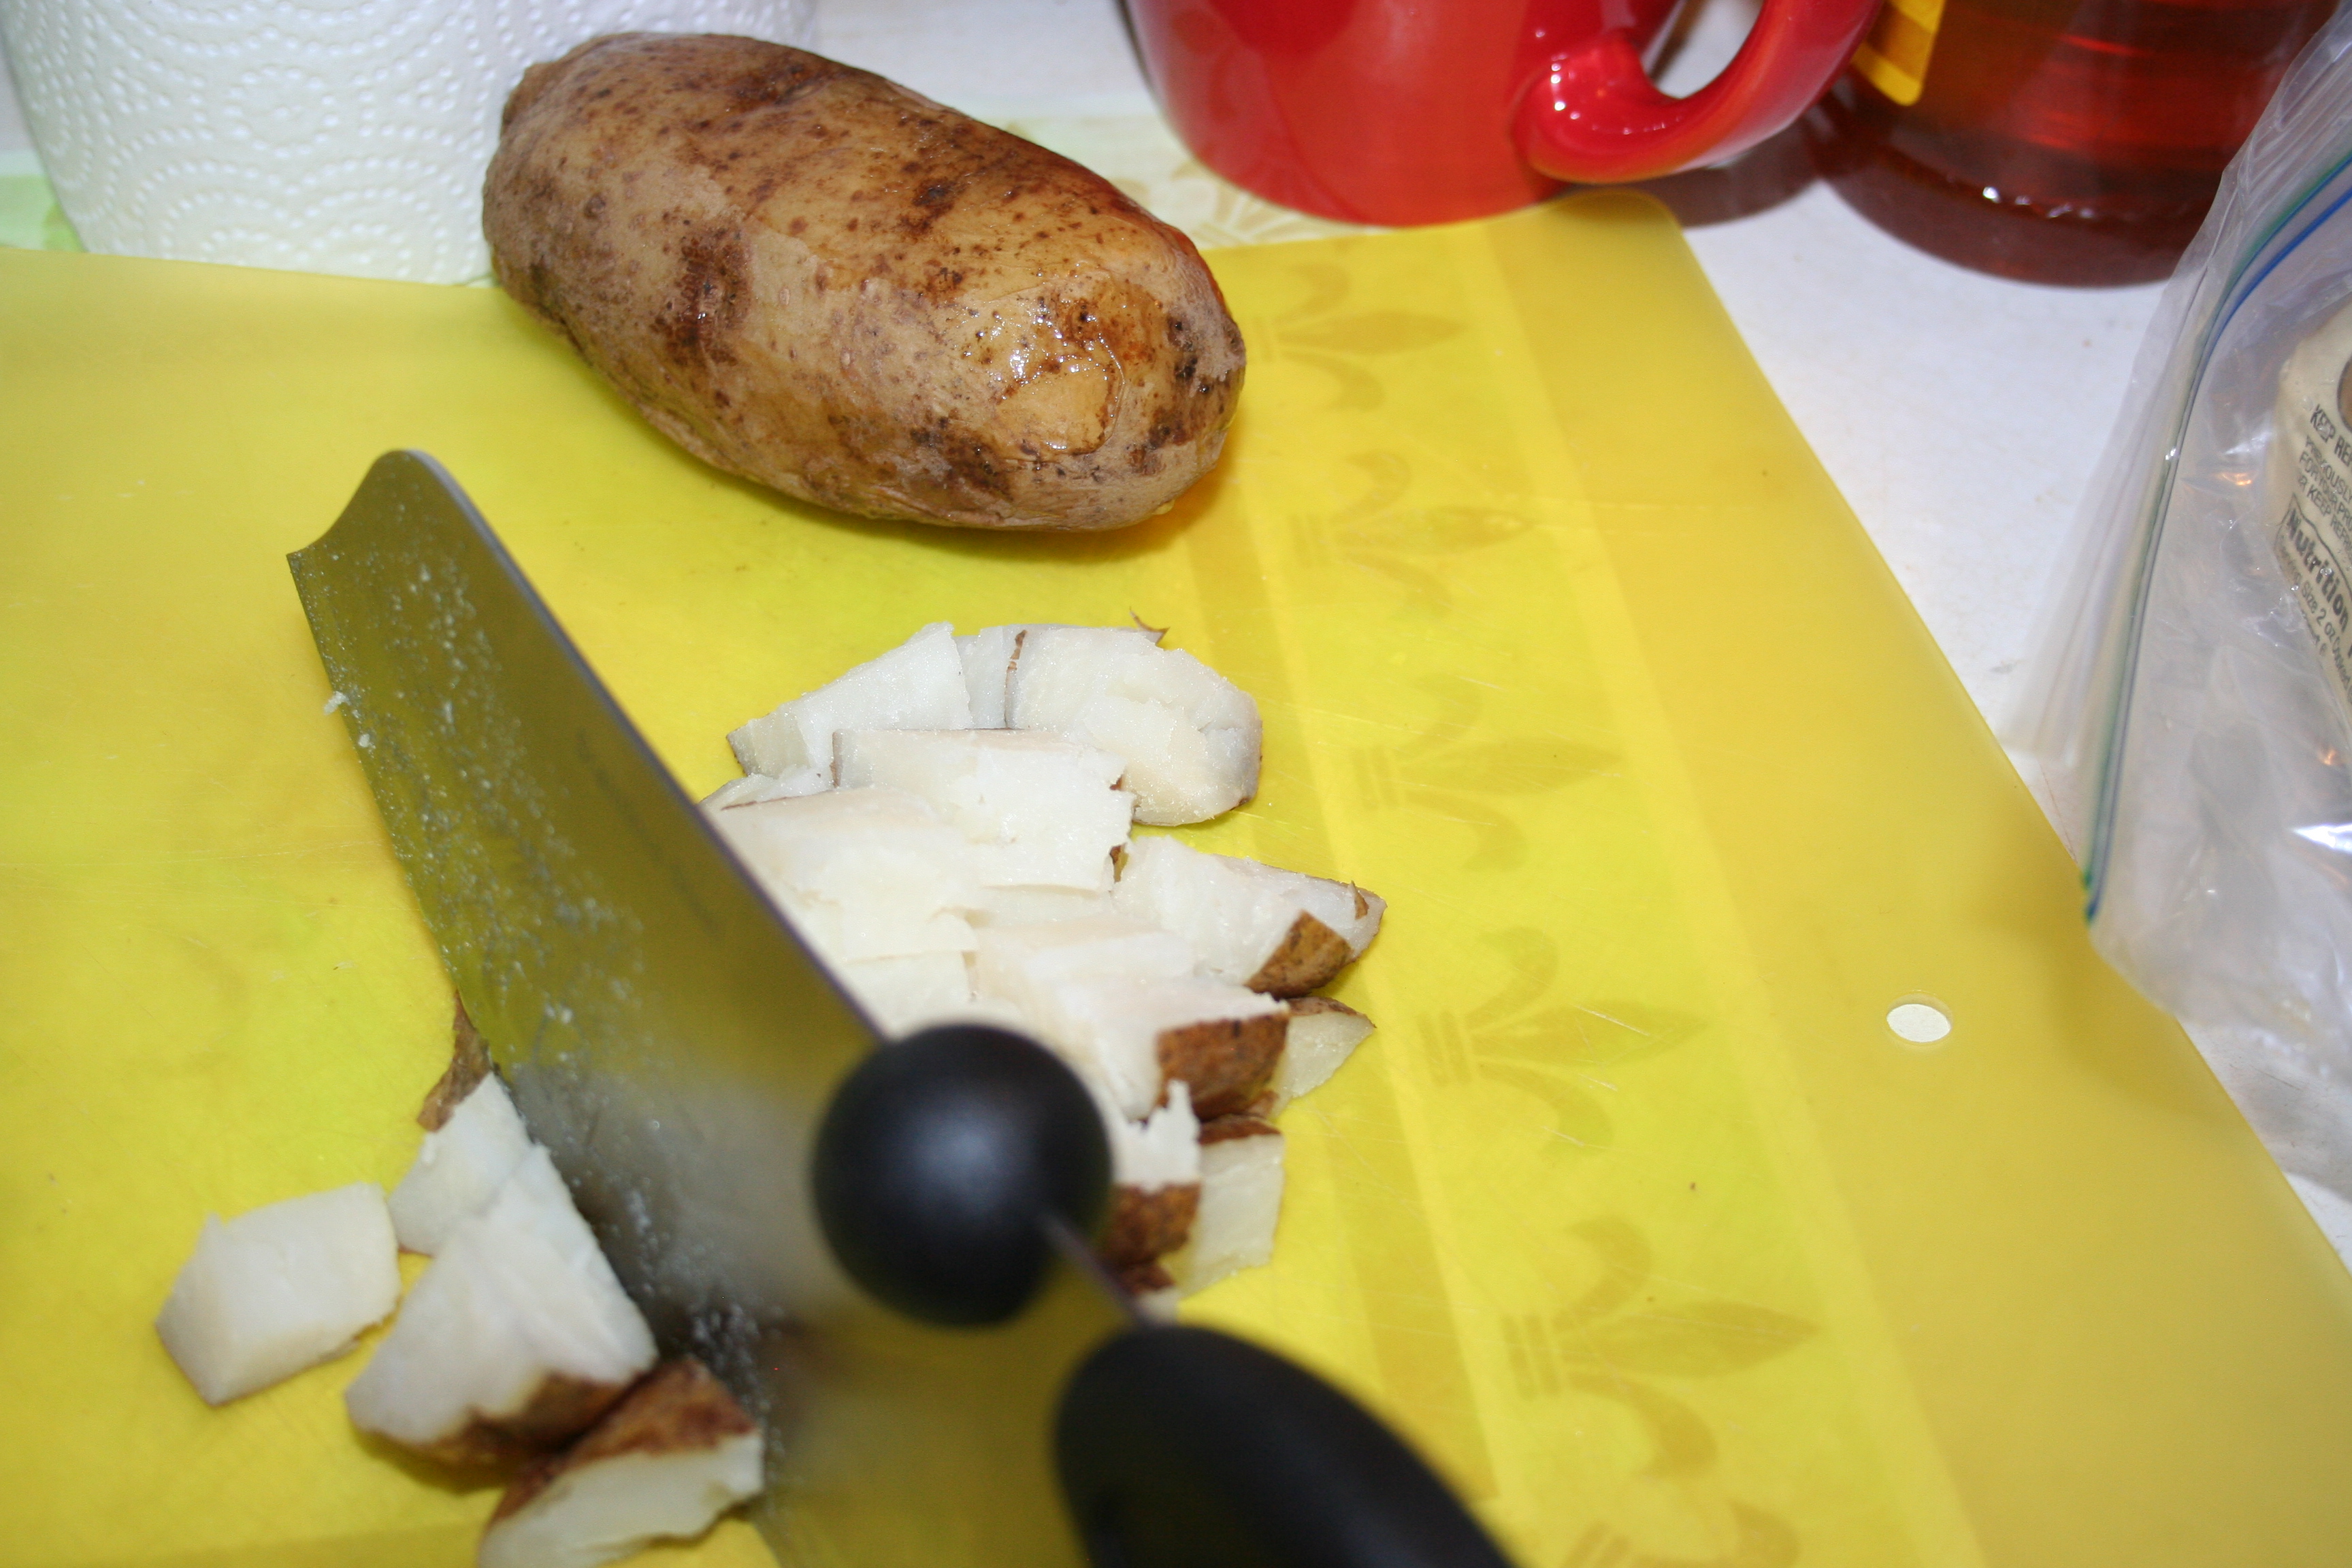
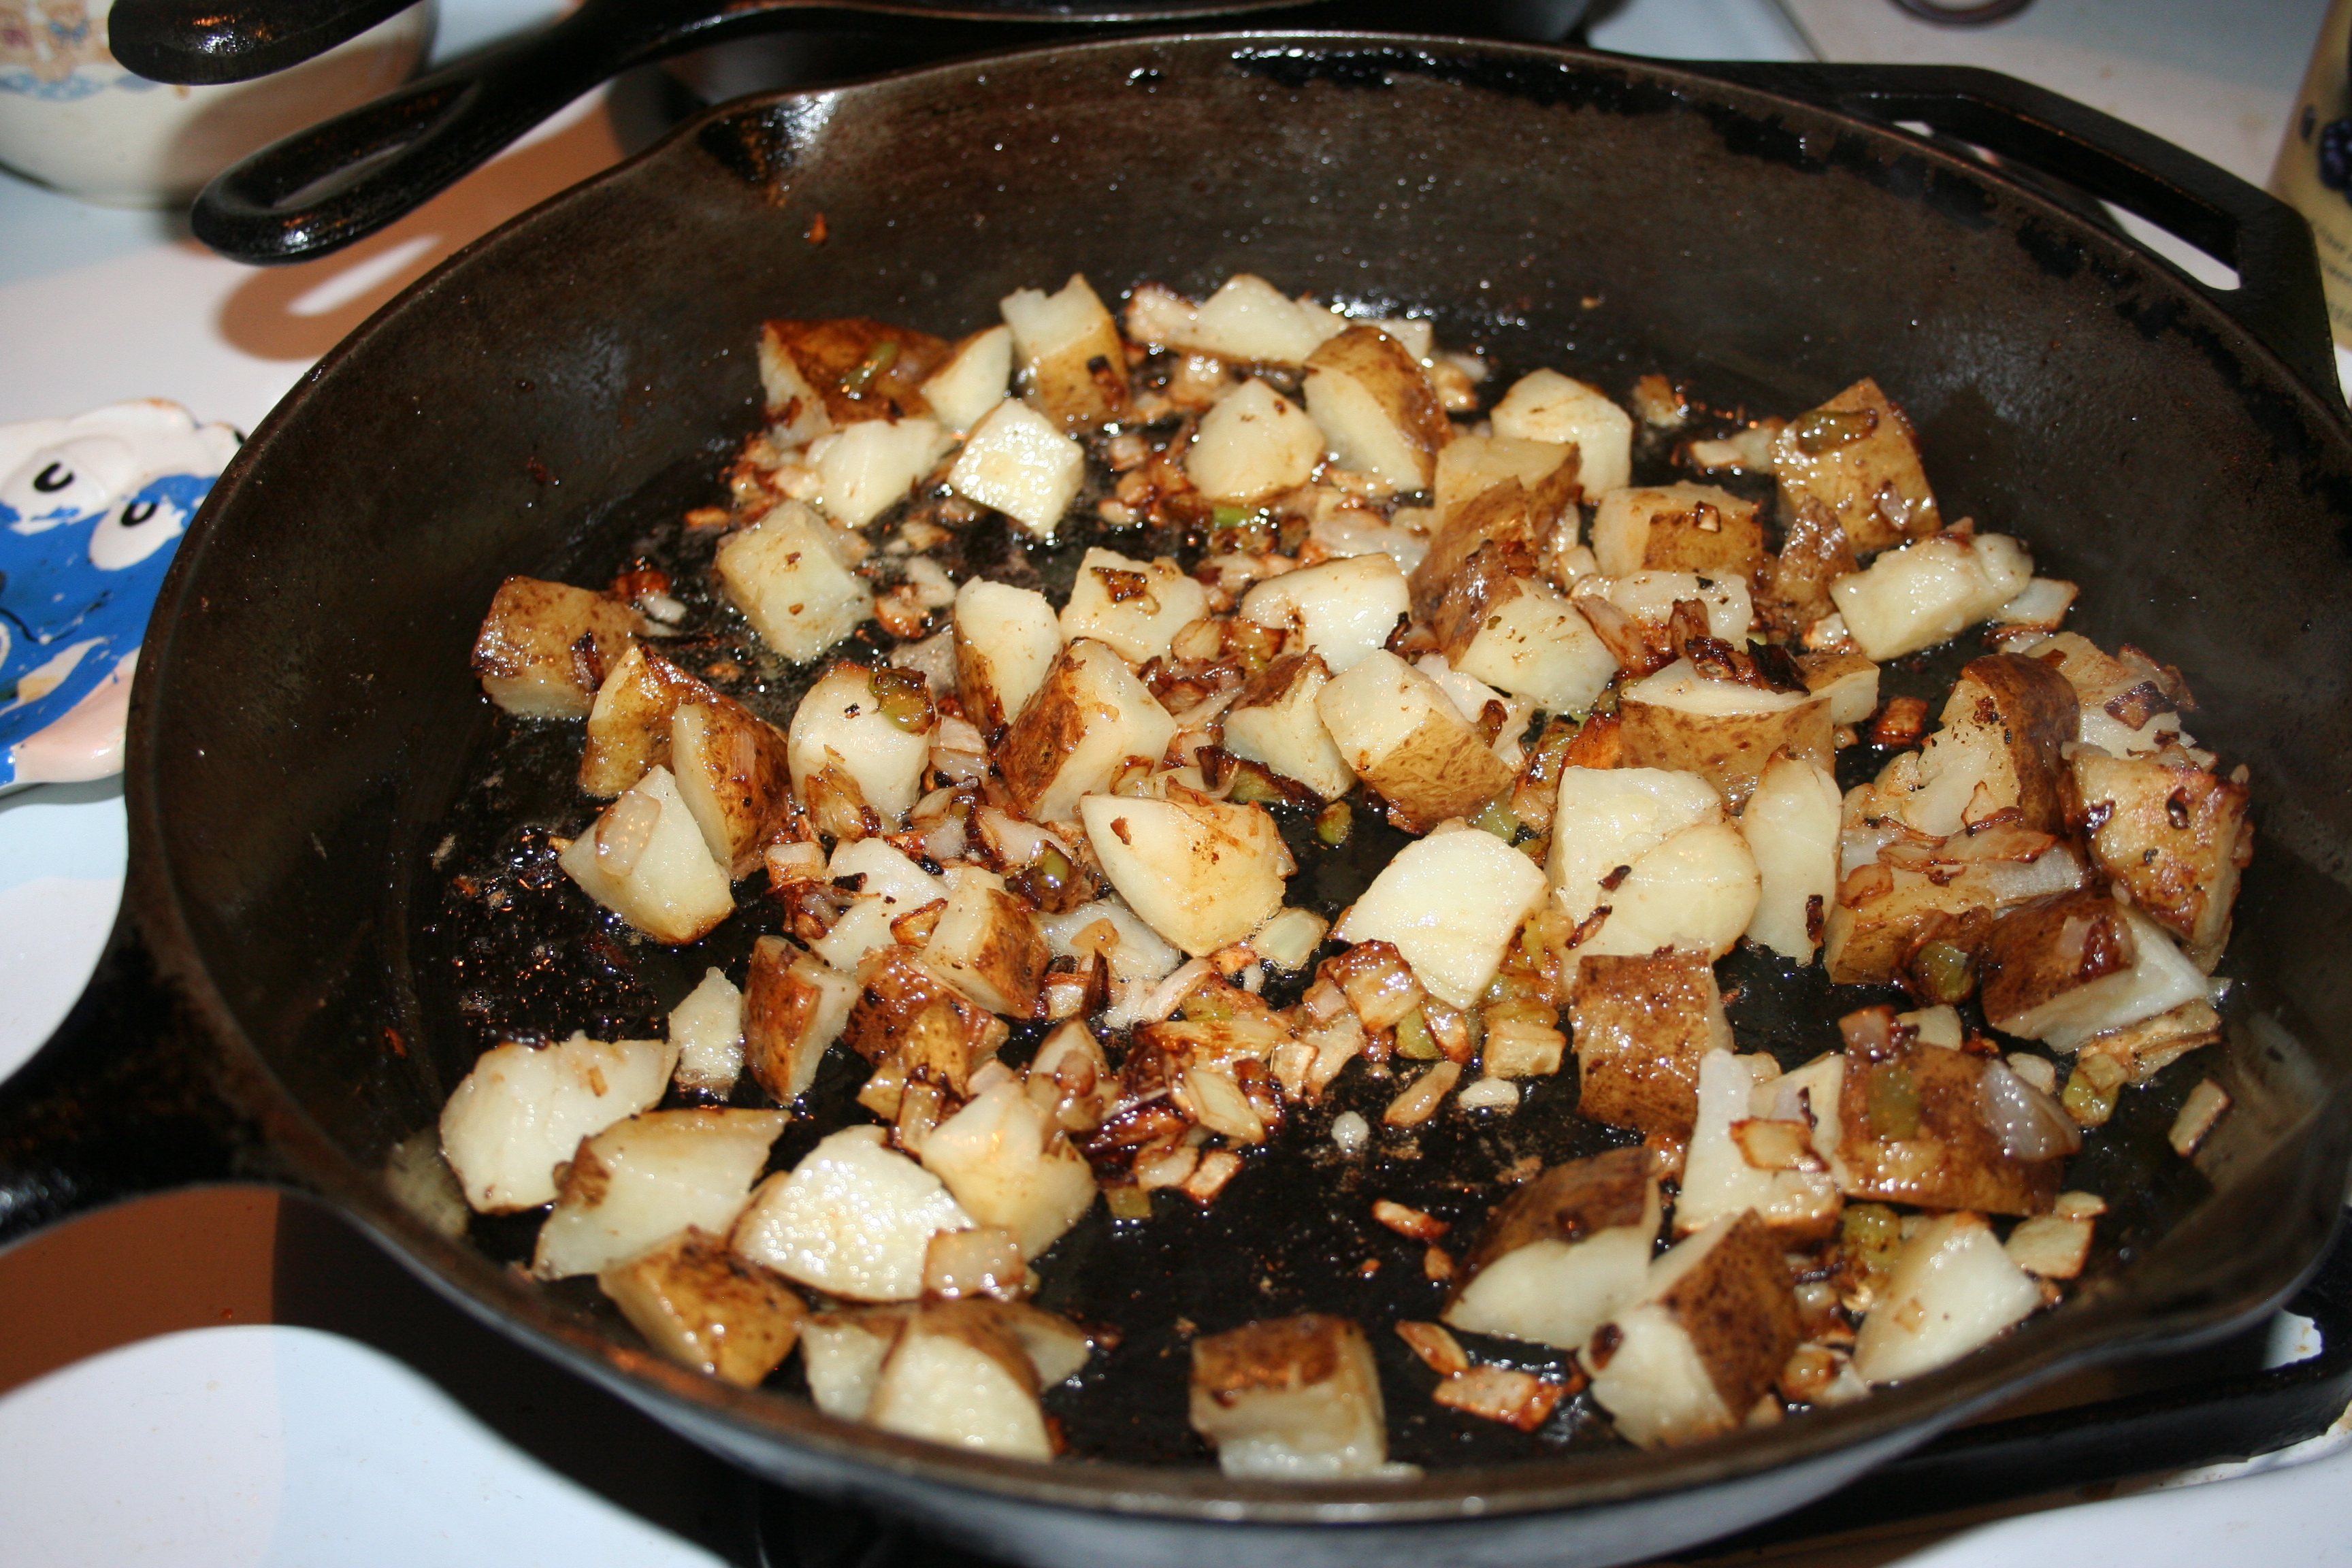
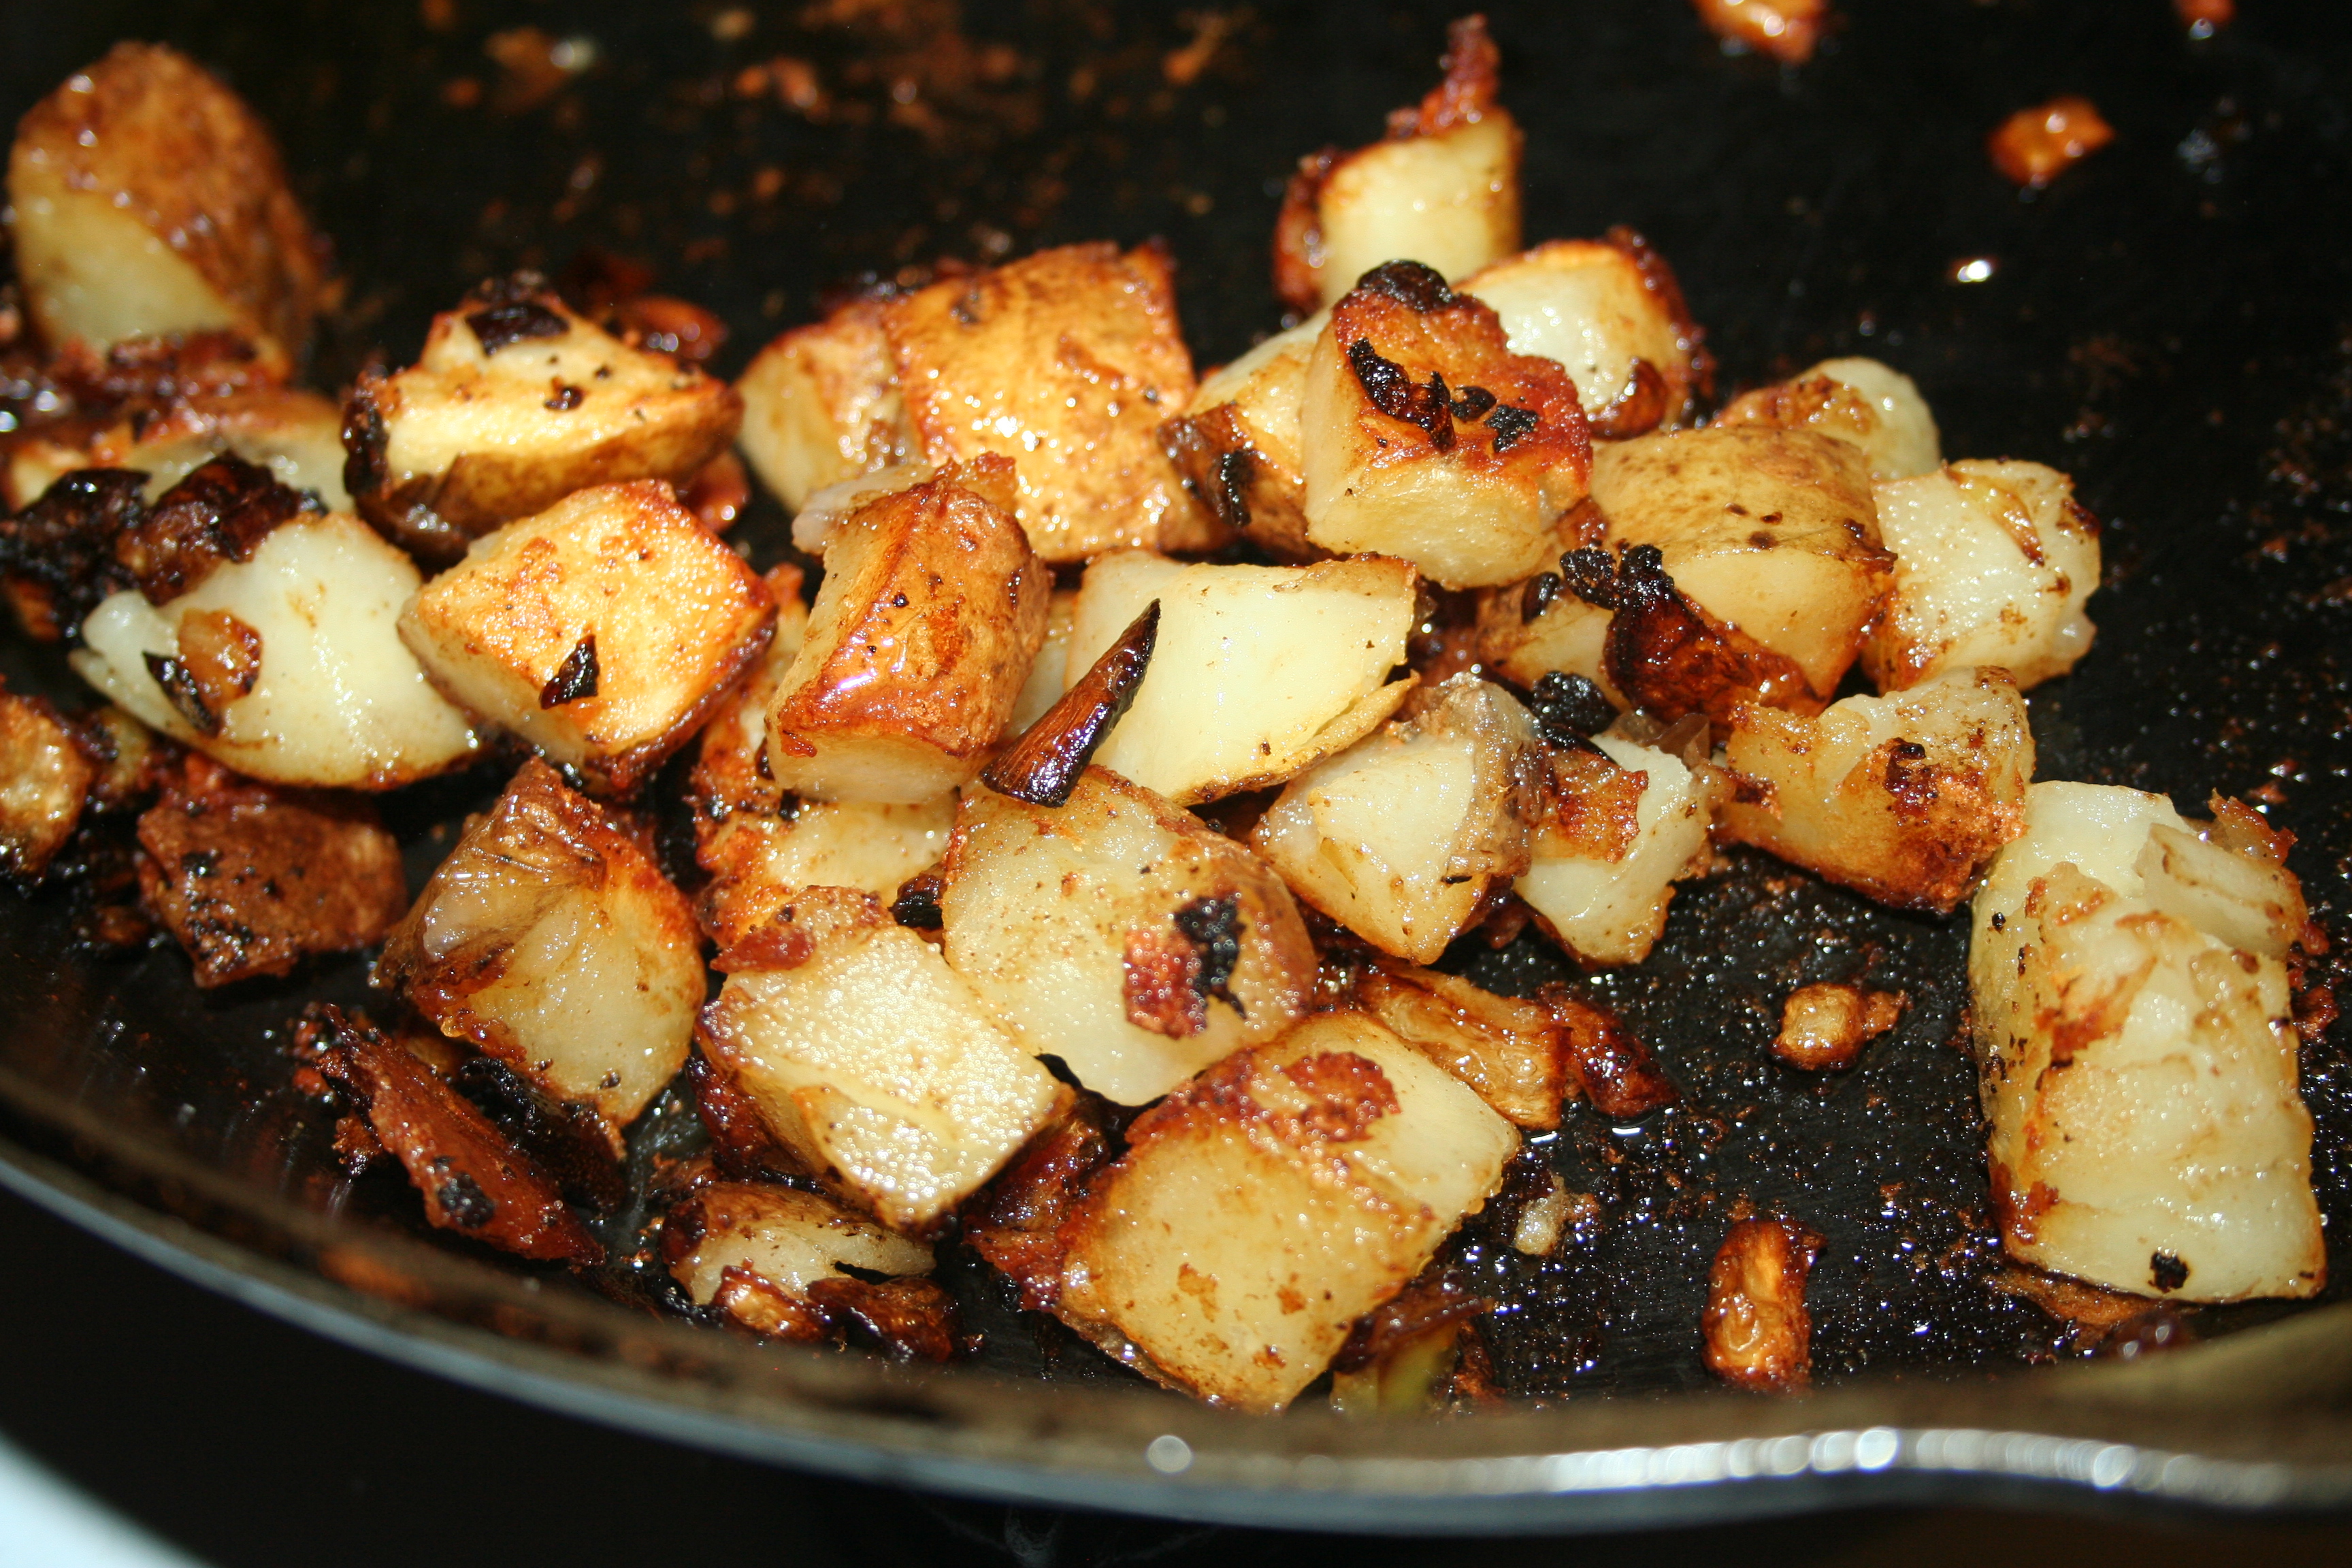
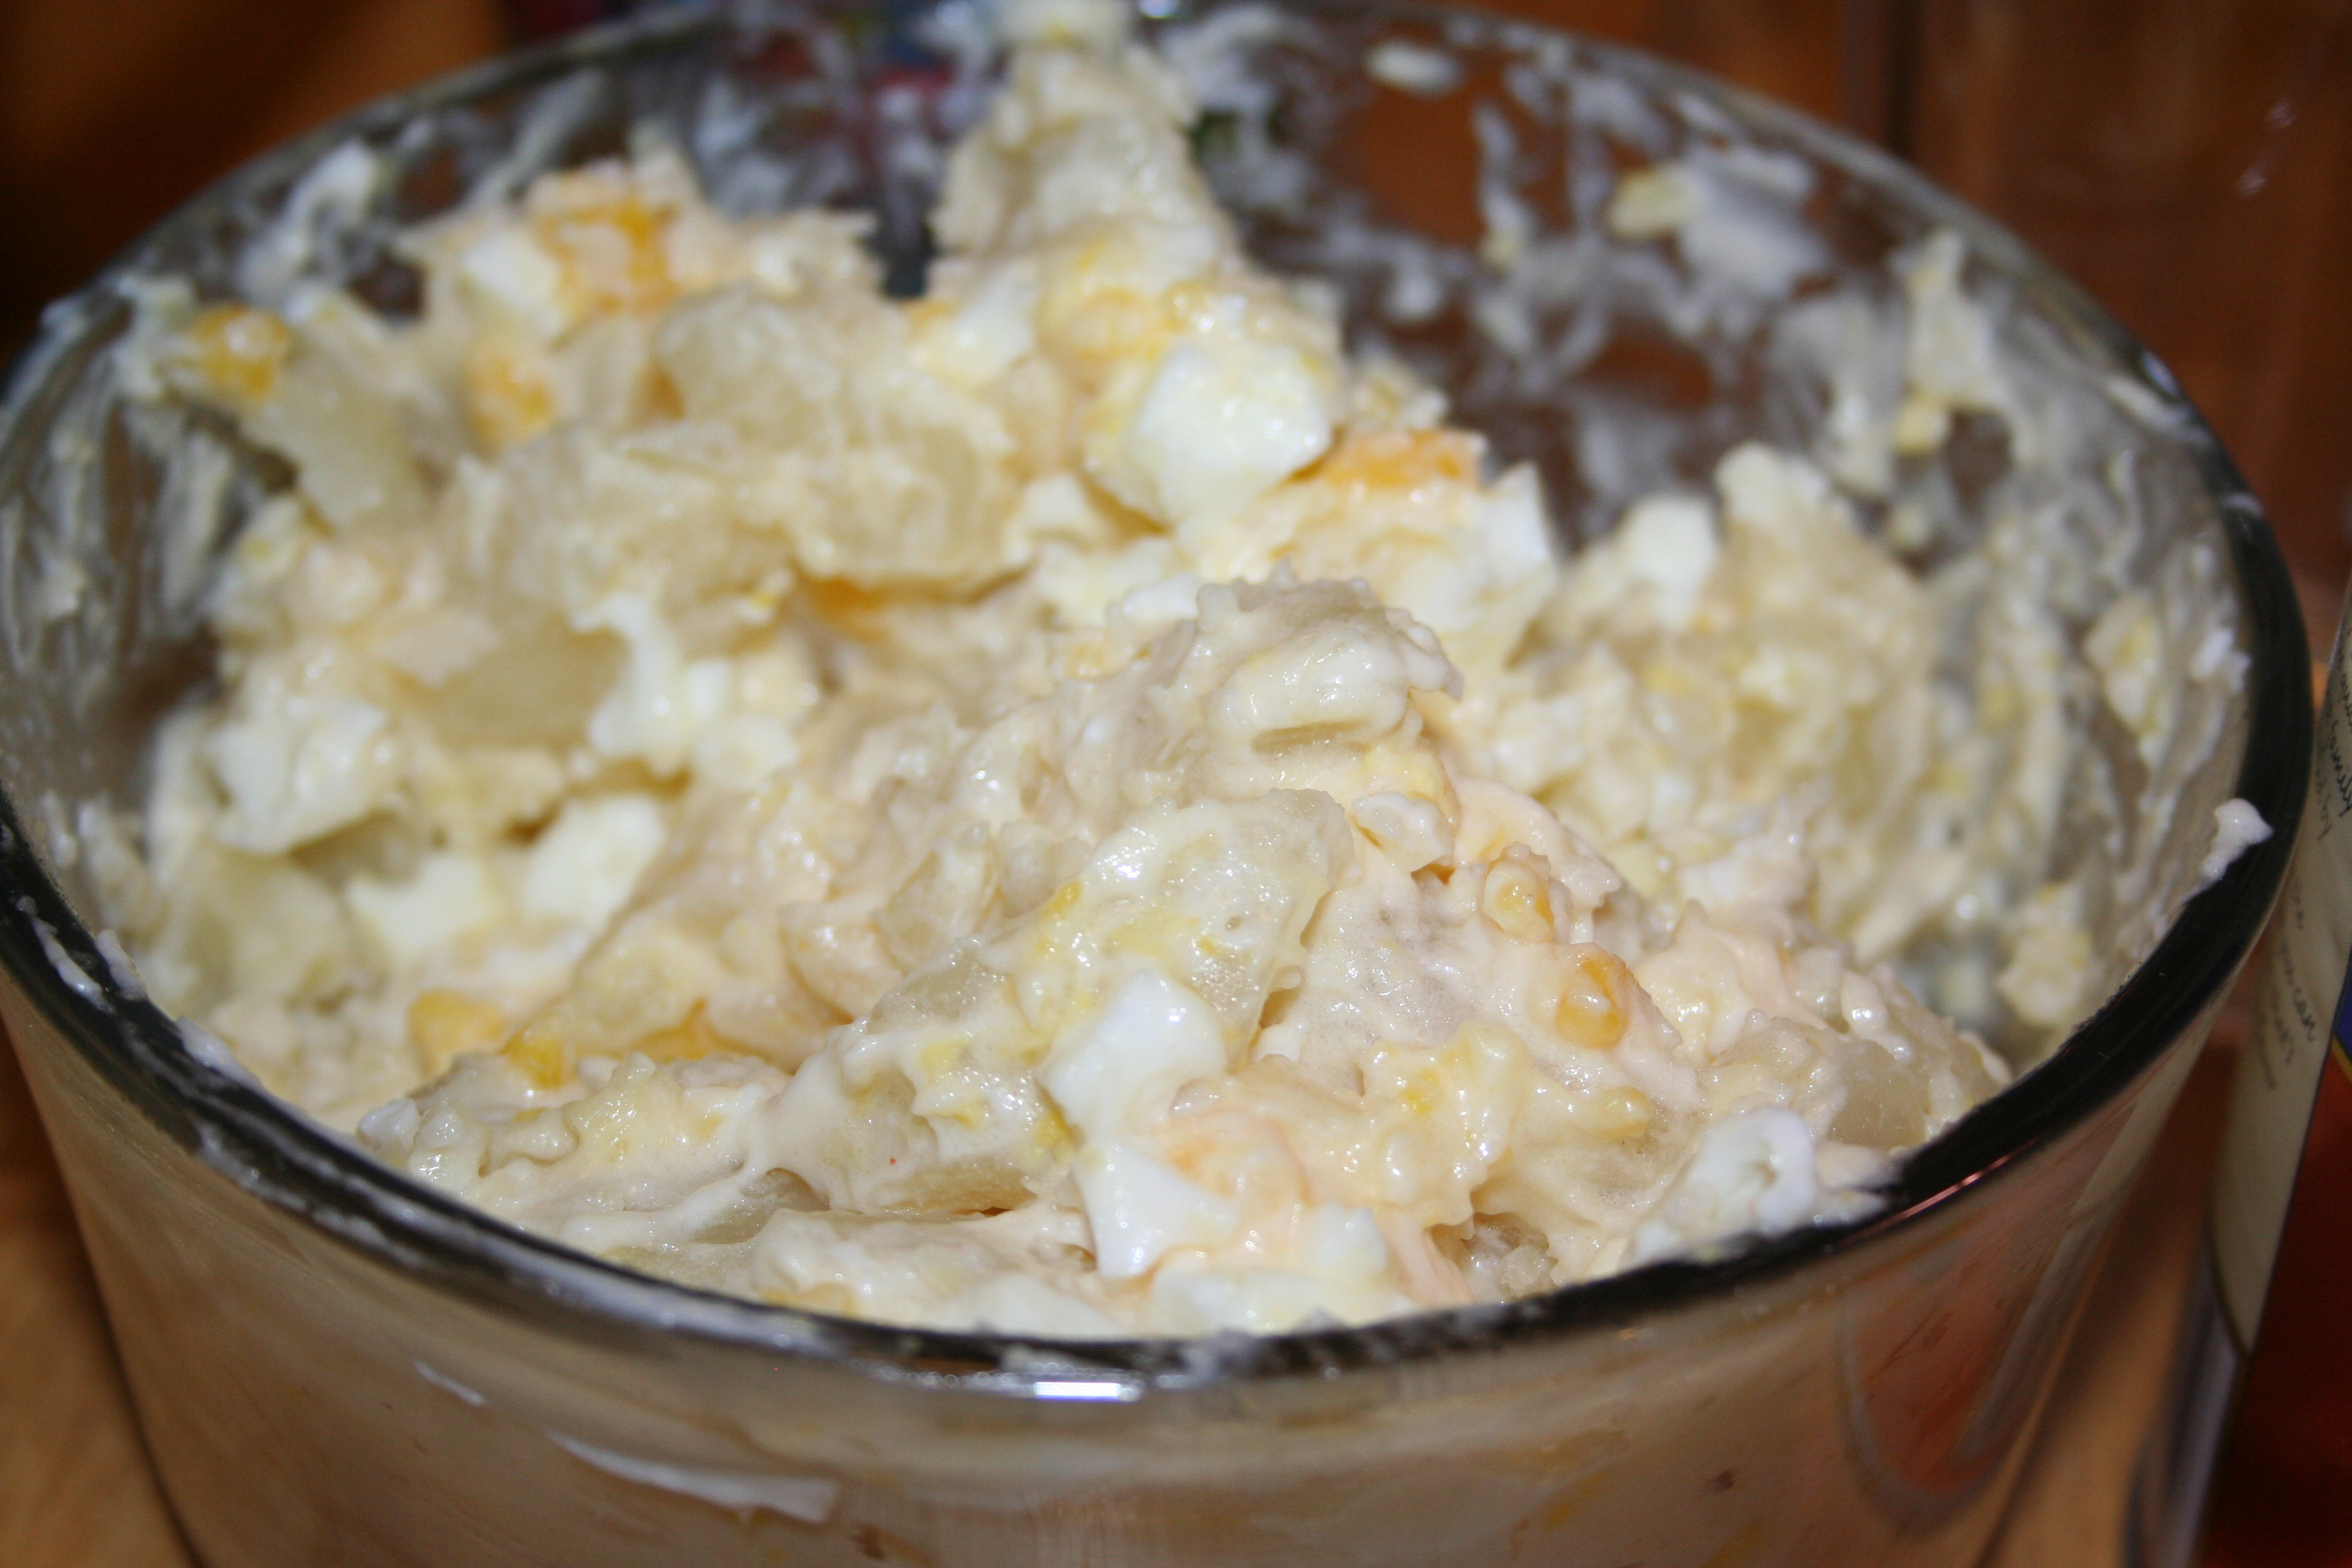
I don’t but they really do. The potatoes in the picture above could’ve used a bit more milk but we were hungry and ready to eat; if you add milk, you have to leave it in the oven long enough for it to heat and thicken.

Here is a list of the ingredients:

  • Potatoes
  • Onion Powder
  • Salt
  • Butter (1-2 STICKS depending on size of pan)
  • Milk (your choice of fat percentage)

Bake on 350º 45-60 minutes or so.

Until next time, God bless,

Michele ºÜº

Hash Browns Another Way

Hash Browns Diced ~ LifeofJoy.meLast February I shared how to make Crispy Hash Browns. Today I’m going to share a different method of making Hash Browns.

You start with baked potatoes. :) So this takes a little pre-planning or microwave your potato for 5-10 minutes or so. I made Hearty Sausage Sandwich last week and decided to serve it with baked potatoes. I made a few extra so that I could have these yummy hash browns the next morning. :)

Baked Potatoes ~ LifeofJoy.me

I cut the potatoes into about 6 strips.

Strips of Potato ~ LifeofJoy.me

And then cut them into bite size pieces.

Diced Potatoes ~ LifeofJoy.me

Saute finely diced onions and a little bit of green pepper because it adds soooo much flavor! Here I used about 1/4 cup diced onion and 1-2 tablespoons diced green pepper. Salt them so they release their water content faster and thus brown quicker.

Saute Veggies ~ LifeofJoy.me

When the veggies are nearly done as you desire, add in the diced potatoes.

Cook with Potatoes ~ LifeofJoy.meAdd more oil as you desire. The potatoes are already cooked so it is just a matter of cooking them to your desired crispness (and heated through if you did like me and pulled them out of the refrigerator).

Hash Browns ~ LifeofJoy.me
I like my veggies nearly burnt some times (and it’s a good thing because that is how I frequently end up cooking them). :D

There you have it . . . Hash Browns Another Way! Yum Yum!

I hope you try them and enjoy them.

Until next time, God bless,

Michele ºÜº

His and Hers Potato Salad

We are a house divided! No, I’m not talking about opposing football teams or anything like that. I like Miracle Whip and Mike likes mayonnaise. I use Miracle Whip for all kinds of salads potato, macaroni, tuna, chicken, ham, and even coleslaw. Mike has always eaten it the way I fix it but has lately gotten it into his head that he prefers it with mayonnaise, much to my dismay. I’ve never really understood why he prefers mayo because when it is used sugar and vinegar are added to make it more like Miracle Whip.

Yesterday I decided to make potato salad. I decided to be nice and make some his way and some my way. Thus the his and hers potato salad.

The pictures aren’t the greatest, actually a little blurry but the one on the left is mayo and Miracle Whip is on the right.

Potato Salads ~ LifeofJoy.me

I boiled six potatoes whole with the skins on. I’m pretty quick at peeling potatoes, so I’m not sure it really saved me any time. Although if I had put the cooked potatoes into ice water, they may have come off more easily . . . I forgot about that part of the directions.Potatoes ~ LifeofJoy.me

I also boiled 3 eggs and peeled them.

I cut 3 potatoes into bite-size pieces into each bowl and diced one and a half eggs into each bowl as well.

The next part is simple for mine; simply add several spoonfuls of Miracle Whip and a little salt and stir. :)

Mike’s is a little bit involved but even it is simple. I added several spoonfuls of mayonnaise, a squirt of mustard, some salt, and a couple of tablespoons of diced onion.

Mike's Potato Salad ~ LifeofJoy.me

The big thing with how much mayo or miracle whip to is is about taste. My grandmother told me that if you’ve put in all you need and it doesn’t seem moist enough, add a splash of evaporated milk and stir again.

Mike's Potato Salad ~ LifeofJoy.me
Mayo (with mustard and onion) Potato Salad
My Potato Salad ~ LifeofJoy.me
Miracle Whip Potato Salad

So there you have it . . . two versions of a simple potato salad. I love it. Now in the heat of summer I like to add some diced cucumber and diced tomato.

Until next time, God bless,
Michele ºÜº

White Cheese Dip

White Cheese Dip ~ LifeOfJoy.m3I love the white cheese dip in Mexican restaurants. It is so nice and thick and creamy. One time my sister asked her favorite Mexican restaurant about the cheese in their queso and they said it was White American cheese.

I found this recipe on the web somewhere. It is really easy to make. AND it uses White American cheese. So I thought, it just might be a winner. It could also be used as a sauce on Mexican dishes.

It really is simple. I make mine on the stove in a double boiler. You can use a special pan for it, set a smaller pan on top of a slightly larger pan, or even a bowl that can sit down partially into a pan.

Put some water in the bottom pan of your double boiler. Enough that it won’t evaporate too quickly but little enough that the water when boiling will not touch the bottom of your bowl or pan.

Dbl Boiler ~ LifeofJoy.meFull Dbl Boiler ~ LifeofJoy.meCombine 1½ pounds of White American Cheese, half  of a small can of green chiles (we puree them), 2 pickled jalapenos (chopped) plus 2 tablespoons of the juice, 2/3 cup whole milk, 1/2 cup cold water, and a pinch of cumin  in the upper portion of your double boiler. (My stores no longer carry the White American Cheese in the deli but there is some in the refrigerated section with the other cheeses; each slice is individually wrapped like regular American cheese.)

jalapenos ~ LifeofJoy.me

Turn the burner on medium high-high heat. Once the water comes to a boil, stir the ingredients until the cheese is completely melted and all ingredients are combined well.

Ready to Eat ~ Lifeofjoy.me

The original recipe was cooked in the microwave instead of using a double boiler.

White Cheese Dip

Ingredients

  • 1 1/4 pound White American Cheese
  • 1/2 can diced green chiles, pureed
  • Enough slices to equal about 2 pickled jalapenos, chopped
  • 2 tablespoons of the juice from the pickled jalapenos
  • 2/3 cup whole milk
  • 1/2 cup cold water
  • pinch of cumin

Instructions

  1. Combine all ingredients into the the upper portion of the double boiler.
  2. Put water in bottom pan of double boiler but not enough to touch the bottom of your upper pan and bring to a boil.
  3. Put the upper portion on top and stir.
  4. Serve immediately as a dip with tortilla chips or as a cheese sauce over your favorite Mexican dish.
https://lifeofjoy.me/white-cheese-dip/

Until next time, God bless,
Michele ºÜº

Crispy Hash Browns

Well, here I am again bright and early on Tuesday morning with no pictures of any food! Ugh! When will I learn?

I guess I’ll fix me some hash browns in a little while and take some pictures as I do. Is it hash browns or hashed browns?

I want to share a few tricks I have for getting them done AND crispy.  ;) My family likes the crispy part, like the ones you get in that famous fast food store.

Shred about one potato for each person. I use the large hole grater.

Hash Browns ~ LifeofJoy.me

Shredding Hash Browns ~ LifeofJoy.meHash browns ~ LifeofJoy.me

Heat oil of choice, I prefer coconut oil, over medium high heat in large skillet; I prefer cast iron. (Here I’m using my small 8″-ish skillet so I can show you how to get them crispy when they are piled in the pan but usually I would use my 10″-ish skillet, so they get done quicker.)

Heating Oil ~ LifeofJoy.me

Spread shredded potatoes in the skillet evenly. Season with salt and pepper as desired.

Hash Browns in pan ~ LifeofJoy.me

Cover with lid. This is one of the secrets to getting them done without taking forever. Check in about 5-7 minutes. You want them to be golden brown on the bottom. When they are crispy, remove the lid, and flip so that the crispy side is up and the soft side is on the bottom of the pan. If the skillet has become dry, add another teaspoon or two of oil.

Hash Browns cooking ~ LifeOfJoy.me
These could have stayed on the other side for another 30 seconds or so but it’s all good.

Cook this side with the lid removed! This keeps the crispy side that is up, crispy but if you put the lid on, it will soften the crispiness of the potatoes. Cook for about 4 minutes or so, until the bottom is nice and golden crispy.

Now for the tricky. If you have a LOT of potatoes in the pan and there are not enough crispy parts, put your spatula under the crispy top hash browns and move them to the side, exposing the soft potatoes underneath.

Getting more crispy potatoes ~ LifeofJoy.meSecret to Crispy Hash Browns ~ LifeofJoy.me

Now, flip the potatoes crispy bottom over allowing those soft potatoes exposure to the hot skillet – again, adding more oil if needed.

More Crispy Hash Browns ~ LifeOfJoy.me

Crisp this side now too. Continue this process until your potatoes are desired crispiness.

Crisping the final side ~ LifeofJoy.me

I hope the pictures help you follow what I was saying. Now that I’ve created this method for getting nice and crispy hash browns my challenge is not crisping all of them and actually having some soft potatoes left between all the nice crispness. :)

Single Serving Crispy Hash Browns ~ LifeofJoy.meI know, not the best picture and the plate is chipped, but hey, I’m just being real here. ;)

Until next time, God bless,

Michele ºÜº