Category Archives: Main Dishes

Sprouted Spelt Pizza

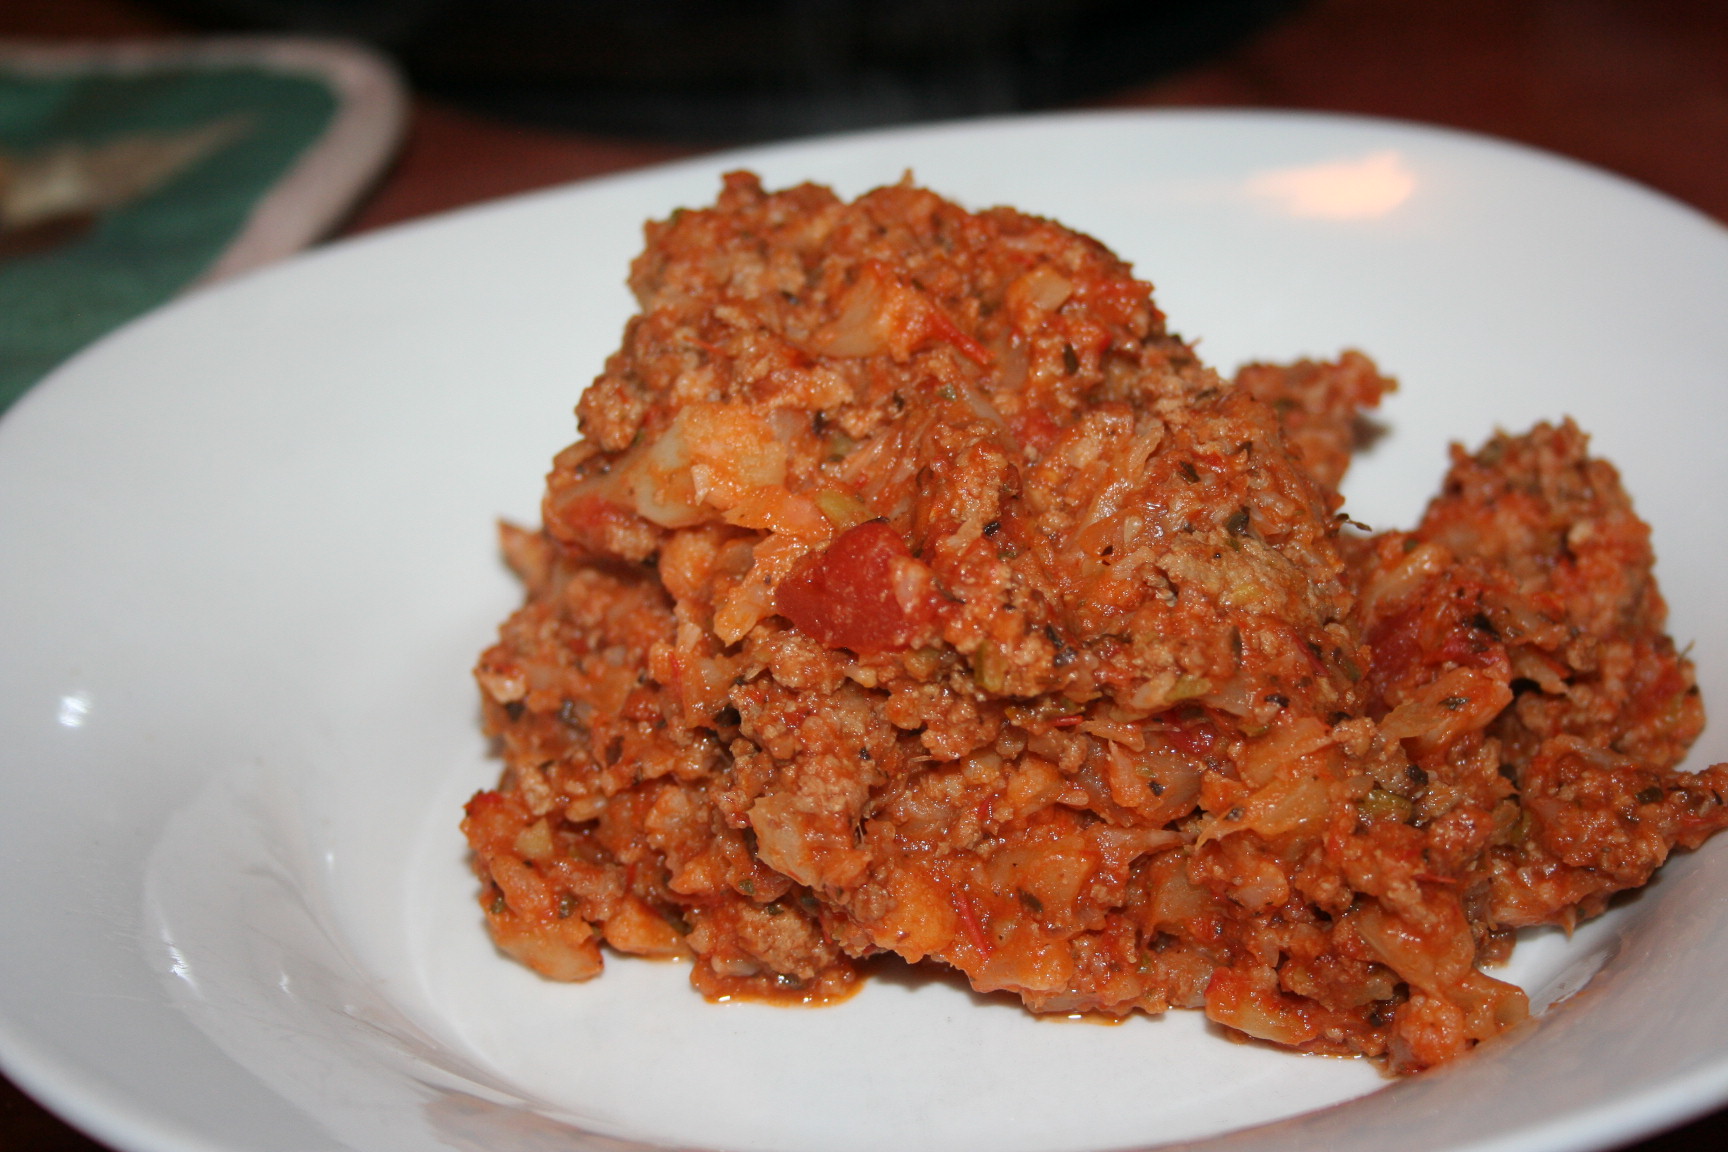
I love pizza!!! It has been a family favorite since my childhood.

My grandmother had seven children and could not afford to make Chef Boyardee pizzas for her large family. So she looked at the ingredients and created her own version. She taught her girls how to make it and my mom taught me. :) I in turn have taught my daughter, Tiffany, how to make it.

Well, I decided I wanted to make it over to use sprouted spelt flour. It needed adjusting because spelt flour requires less liquid. I love the sourdough one but I have to be sure to get it mixed in the morning because it has to sit for at least 7 hours. But since sprouted spelt is sprouted flour, it can be used right away. :)

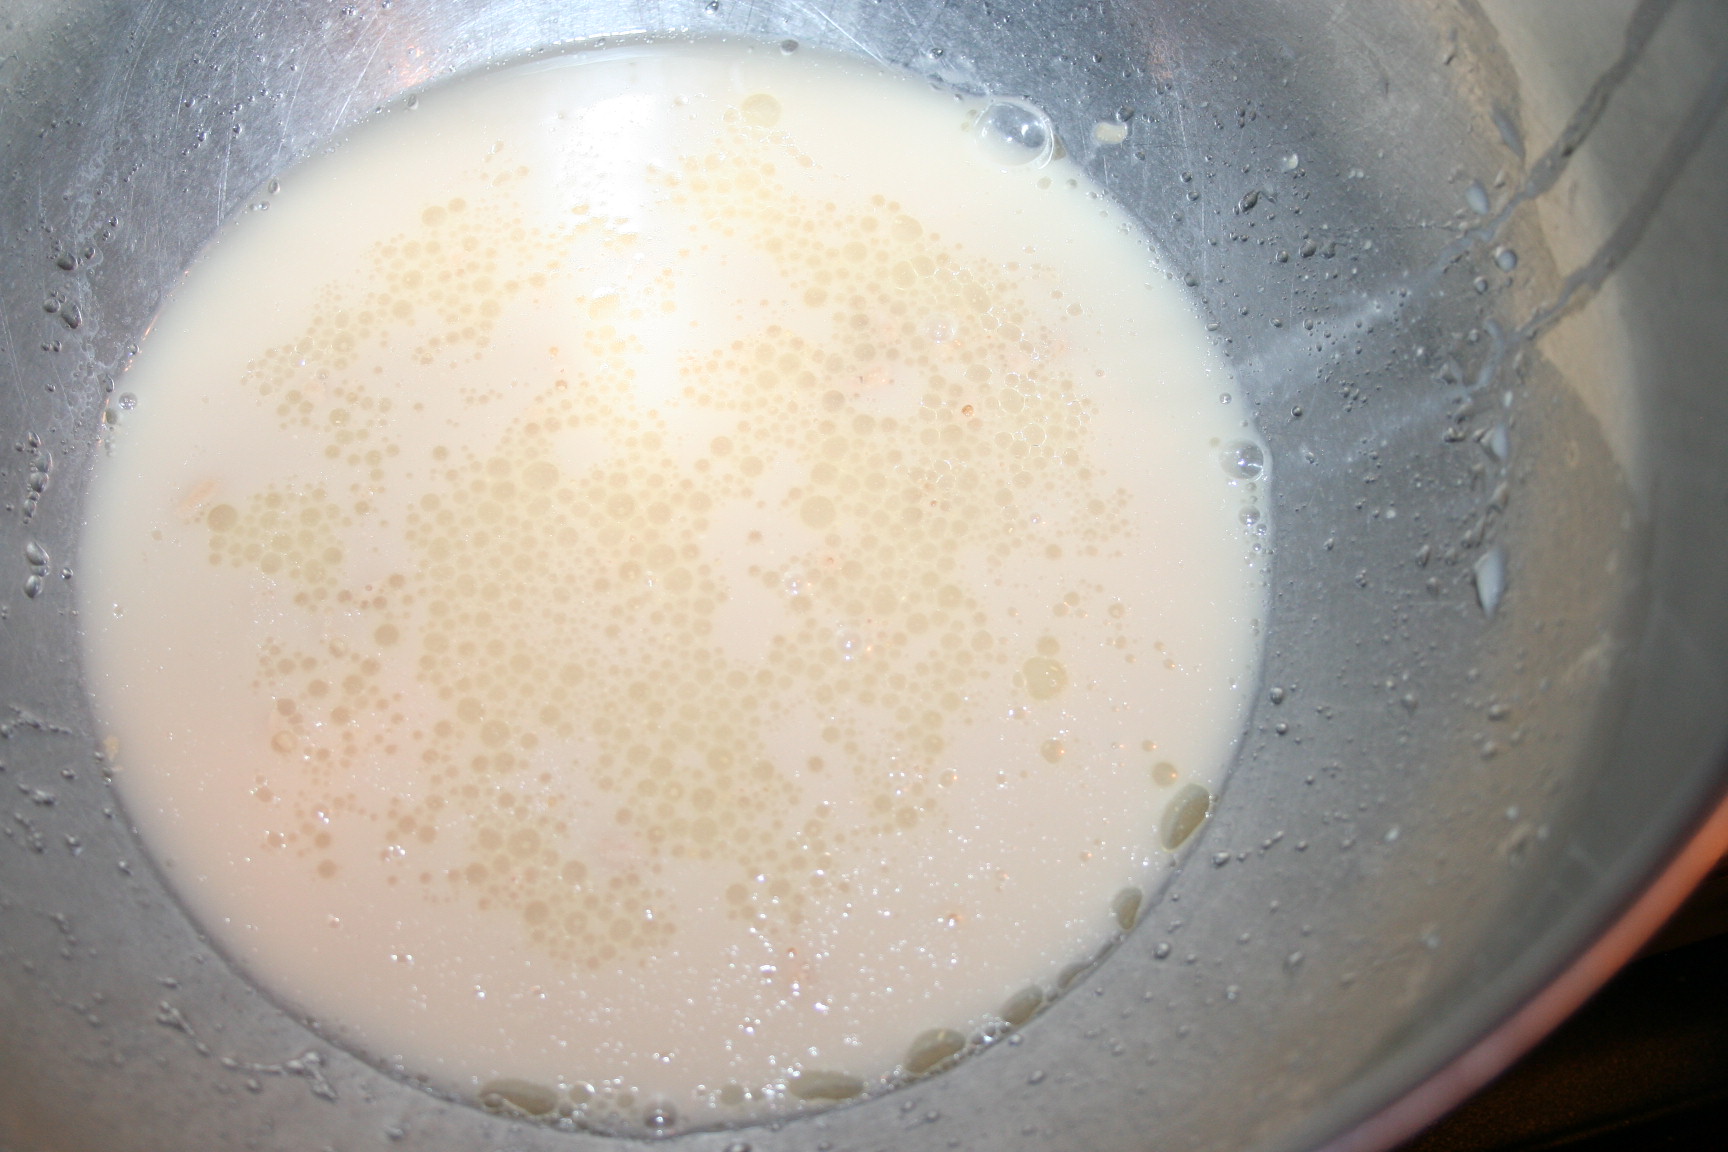
So you start with 1 cup of warm water, 1-2 teaspoons of oil, and 2 1/4 teaspoons yeast. Mom never added any sugar or honey, so I don’t. We’ve never had any problem with it.

Stir to combine and dissolve the yeast.

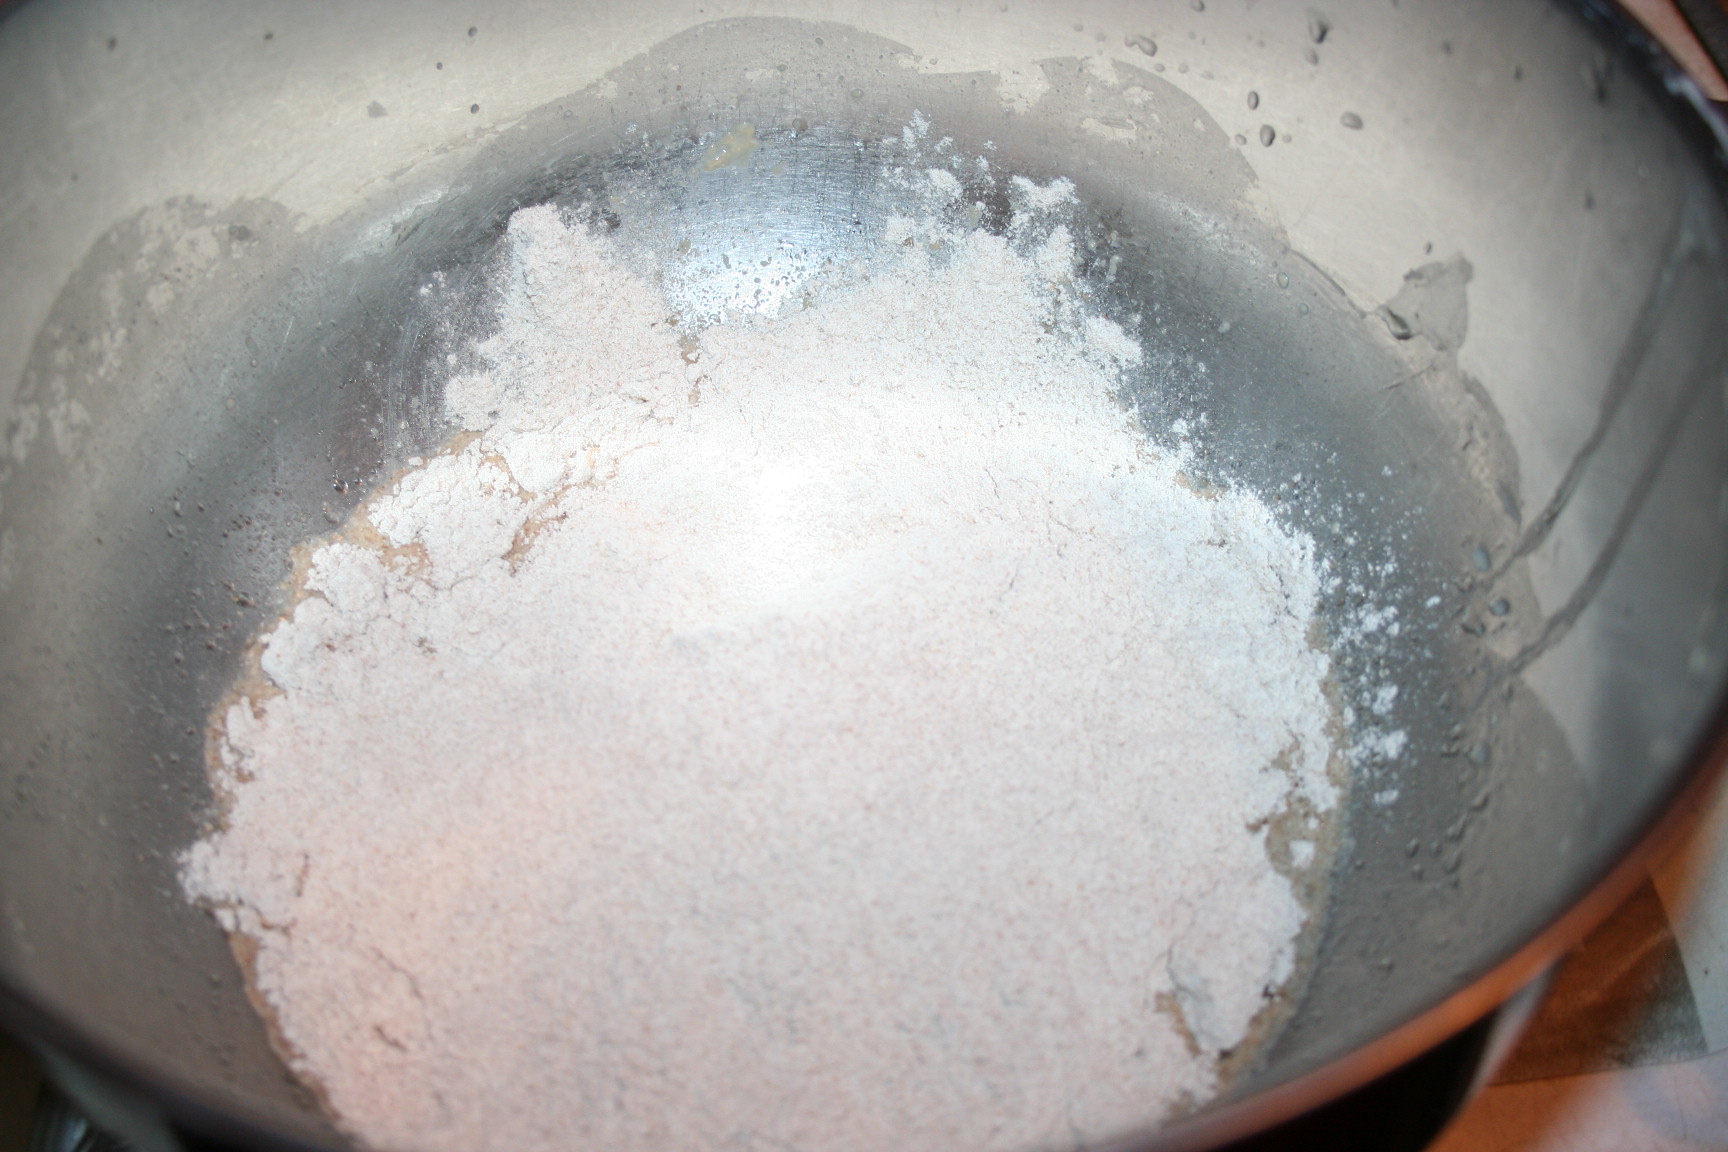
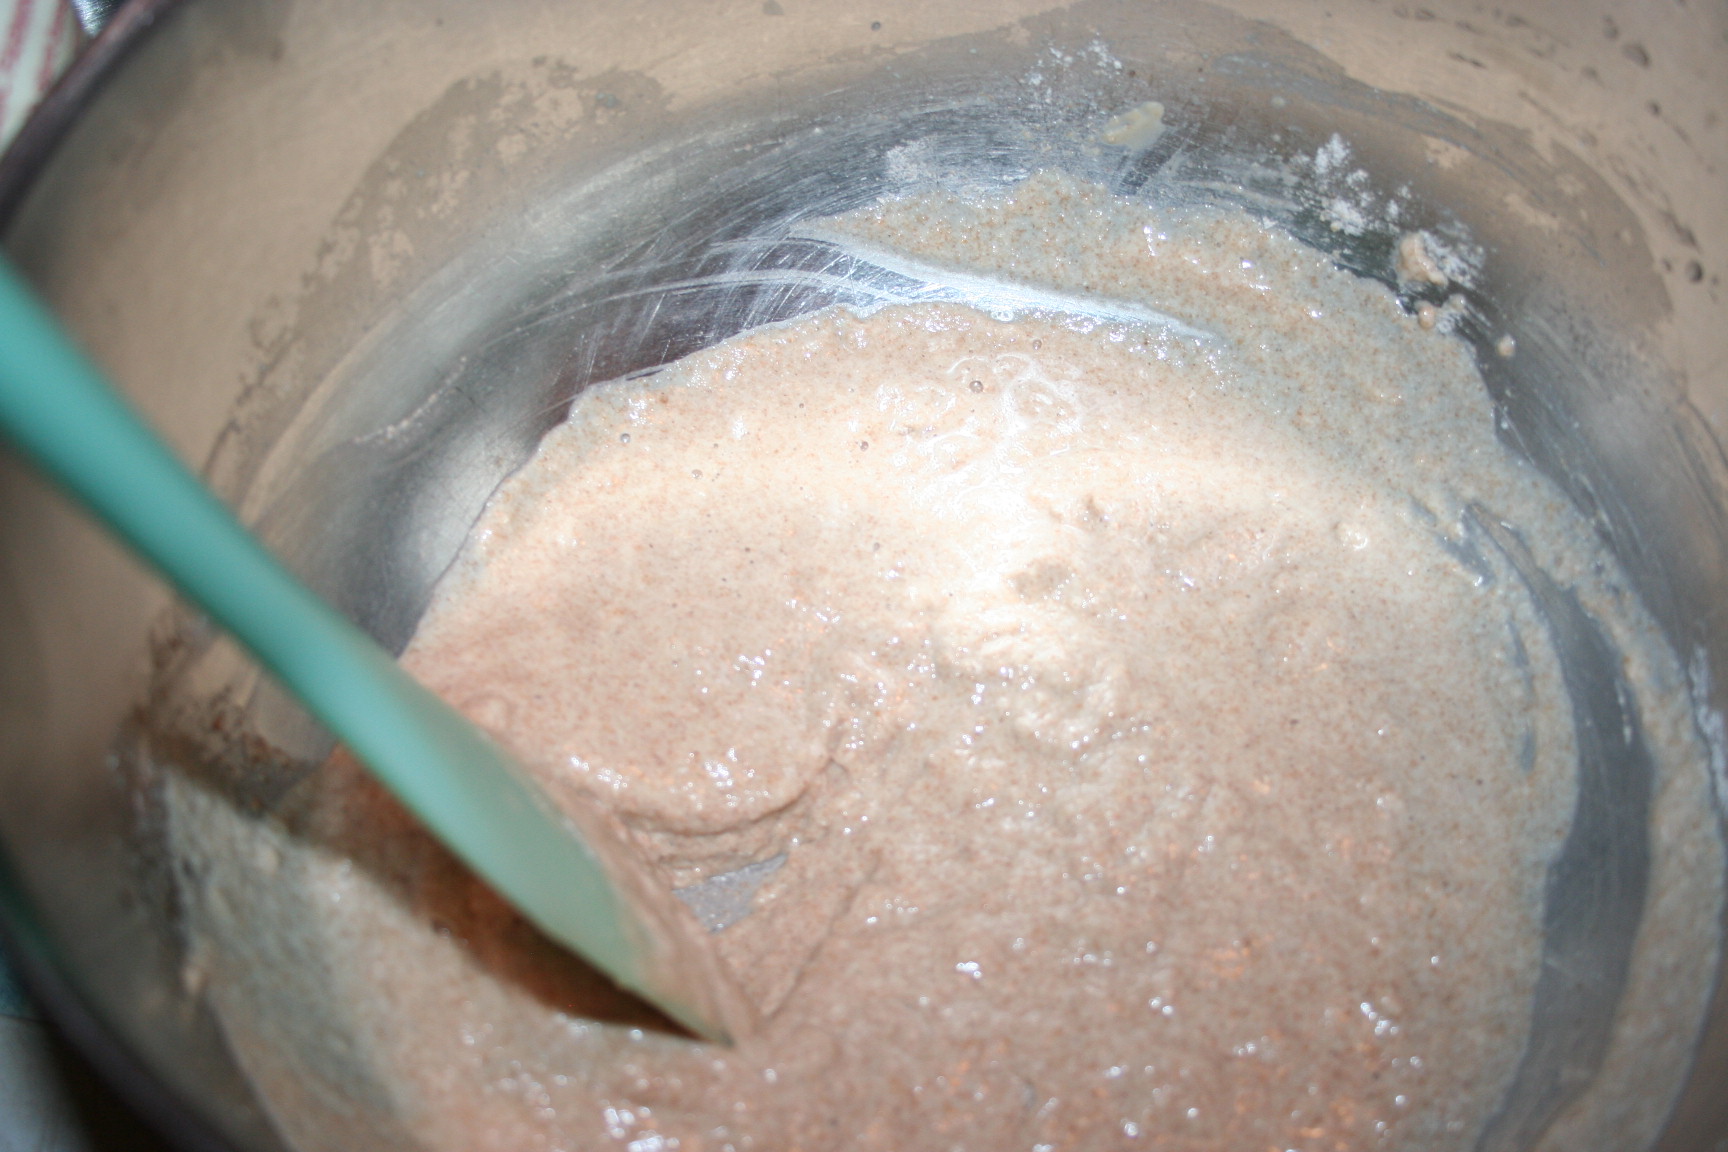
Stir in one cup of sprouted spelt flour. and then work in the second cup.

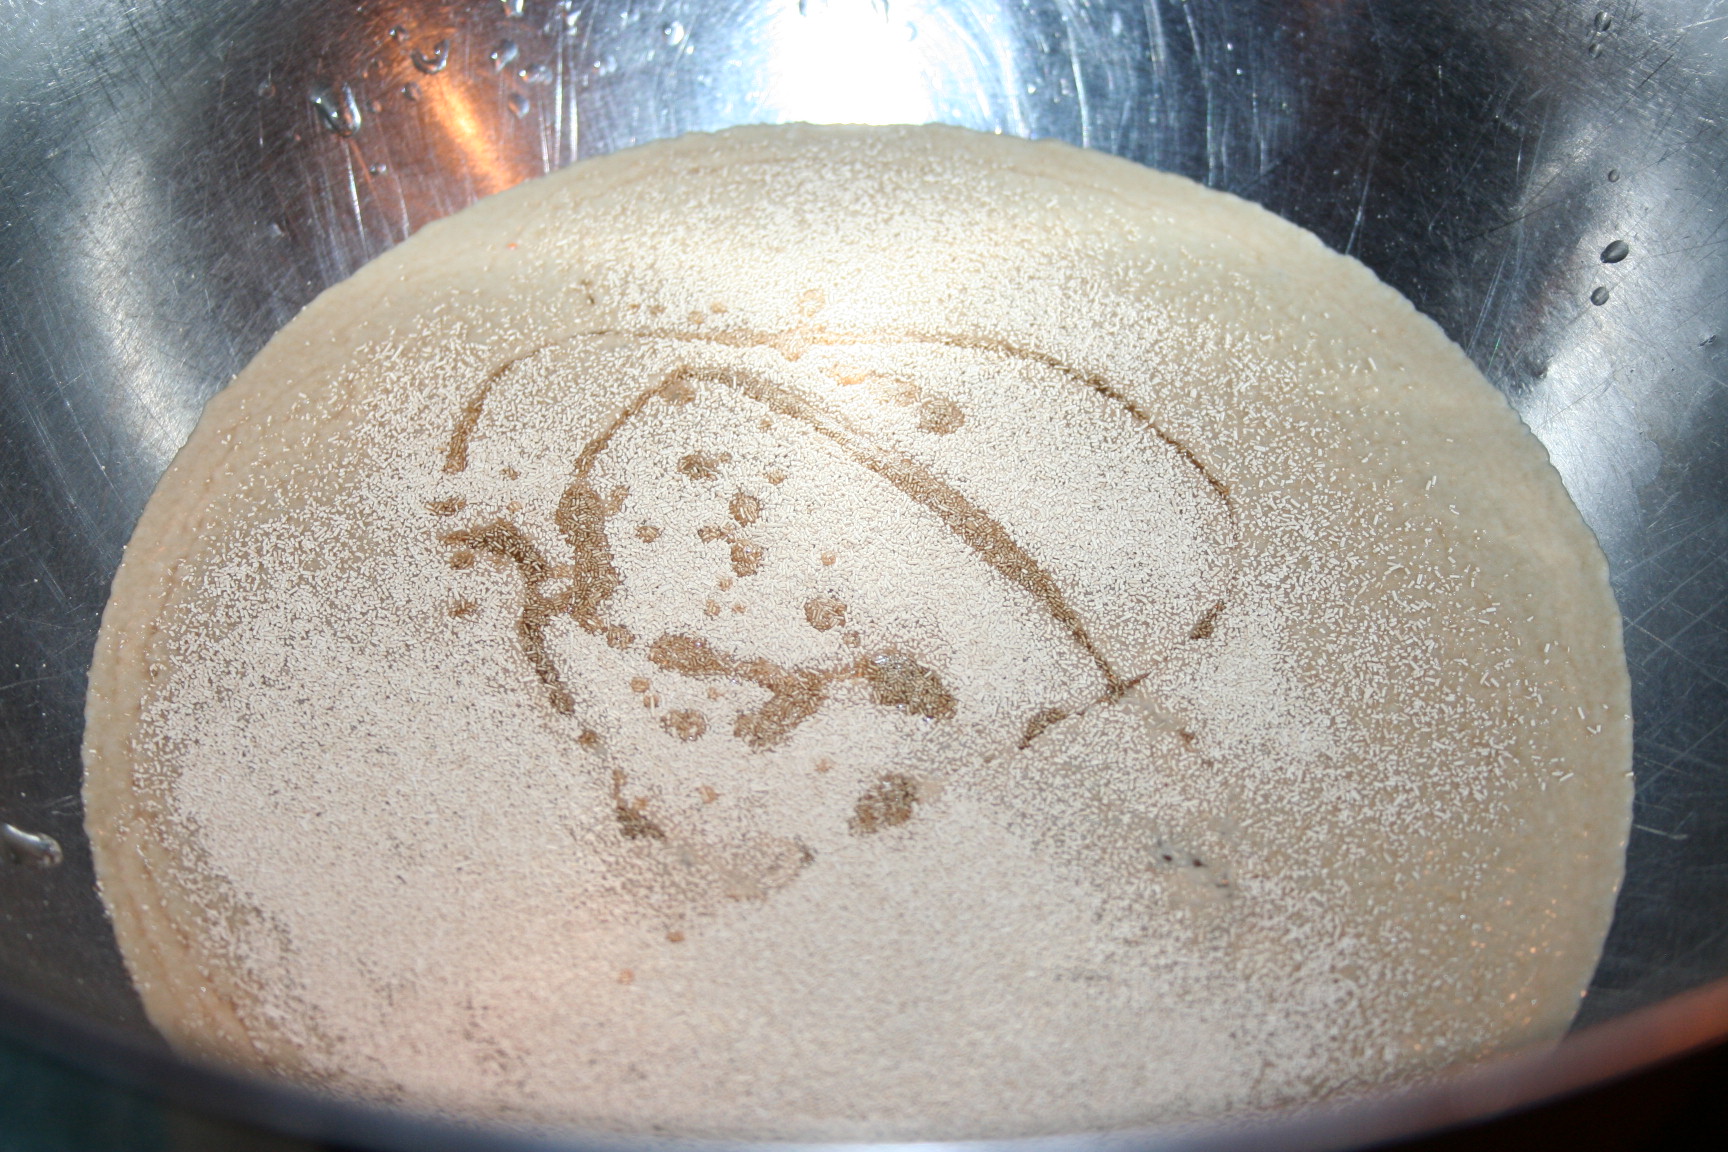
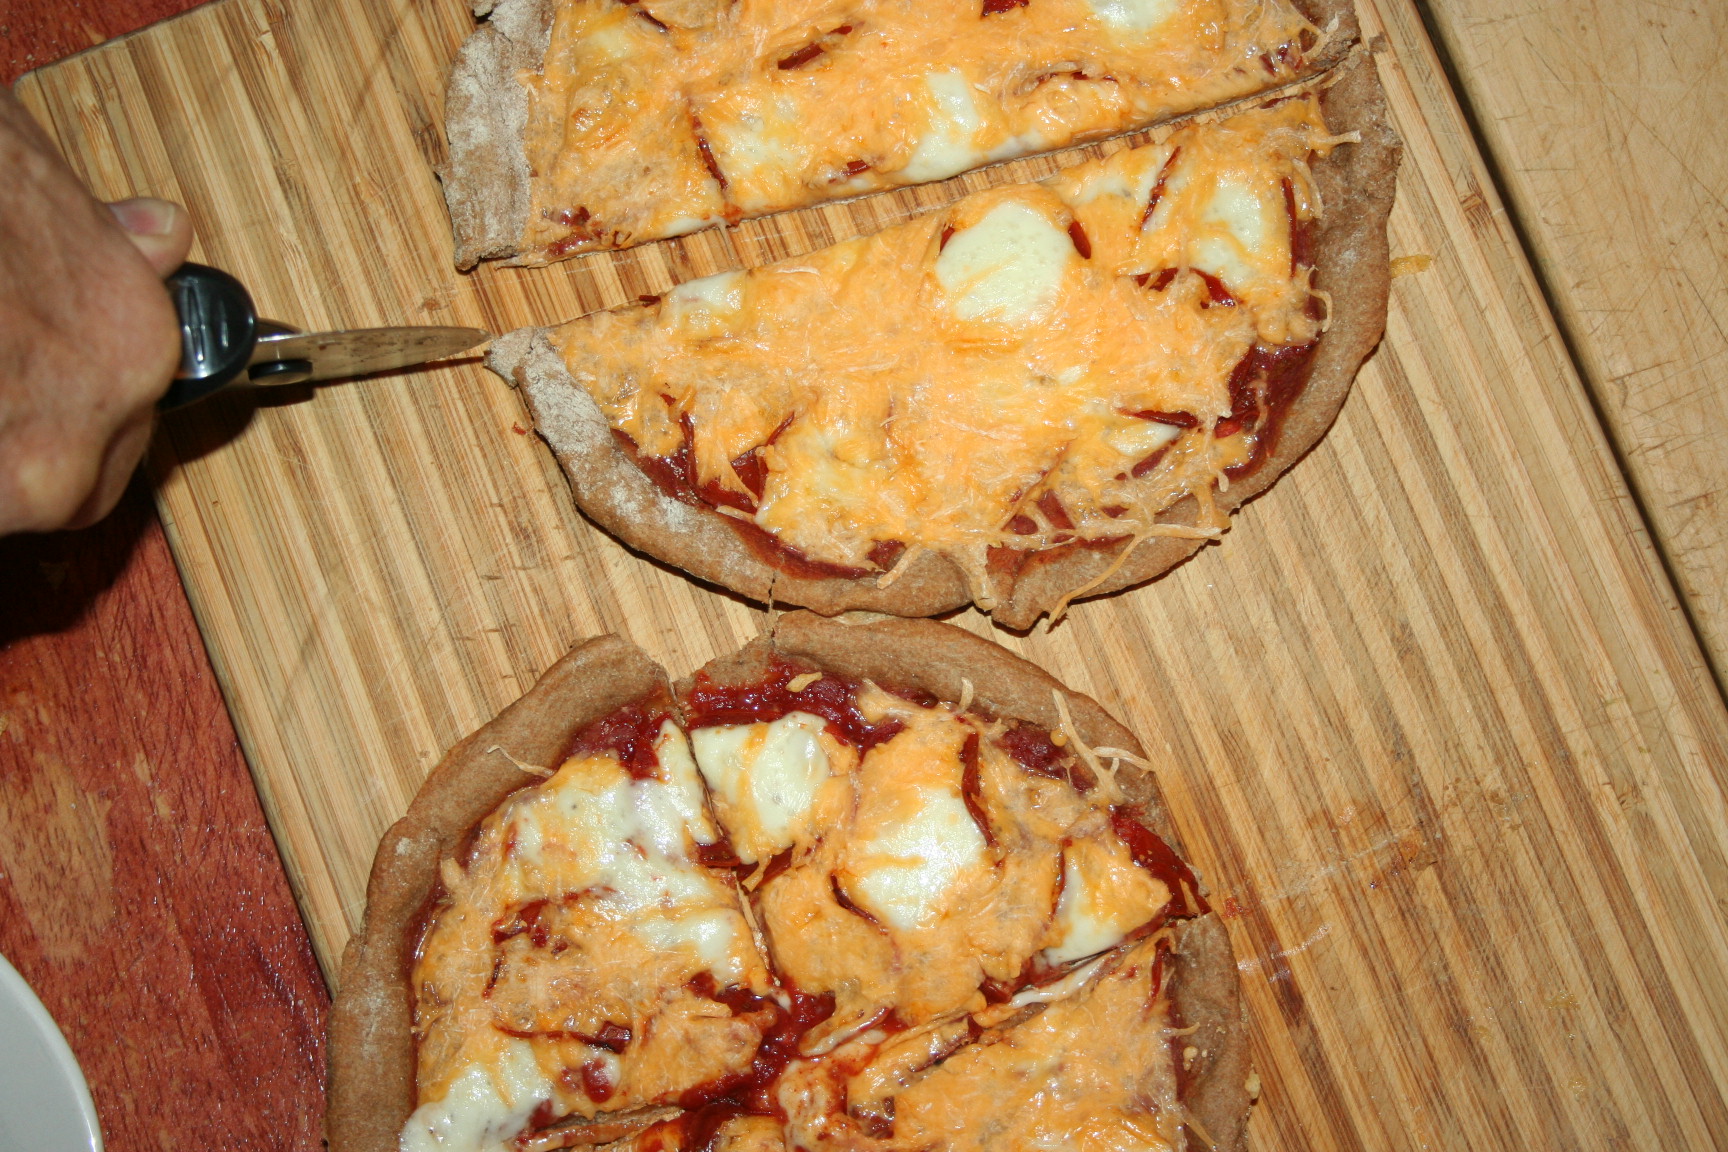
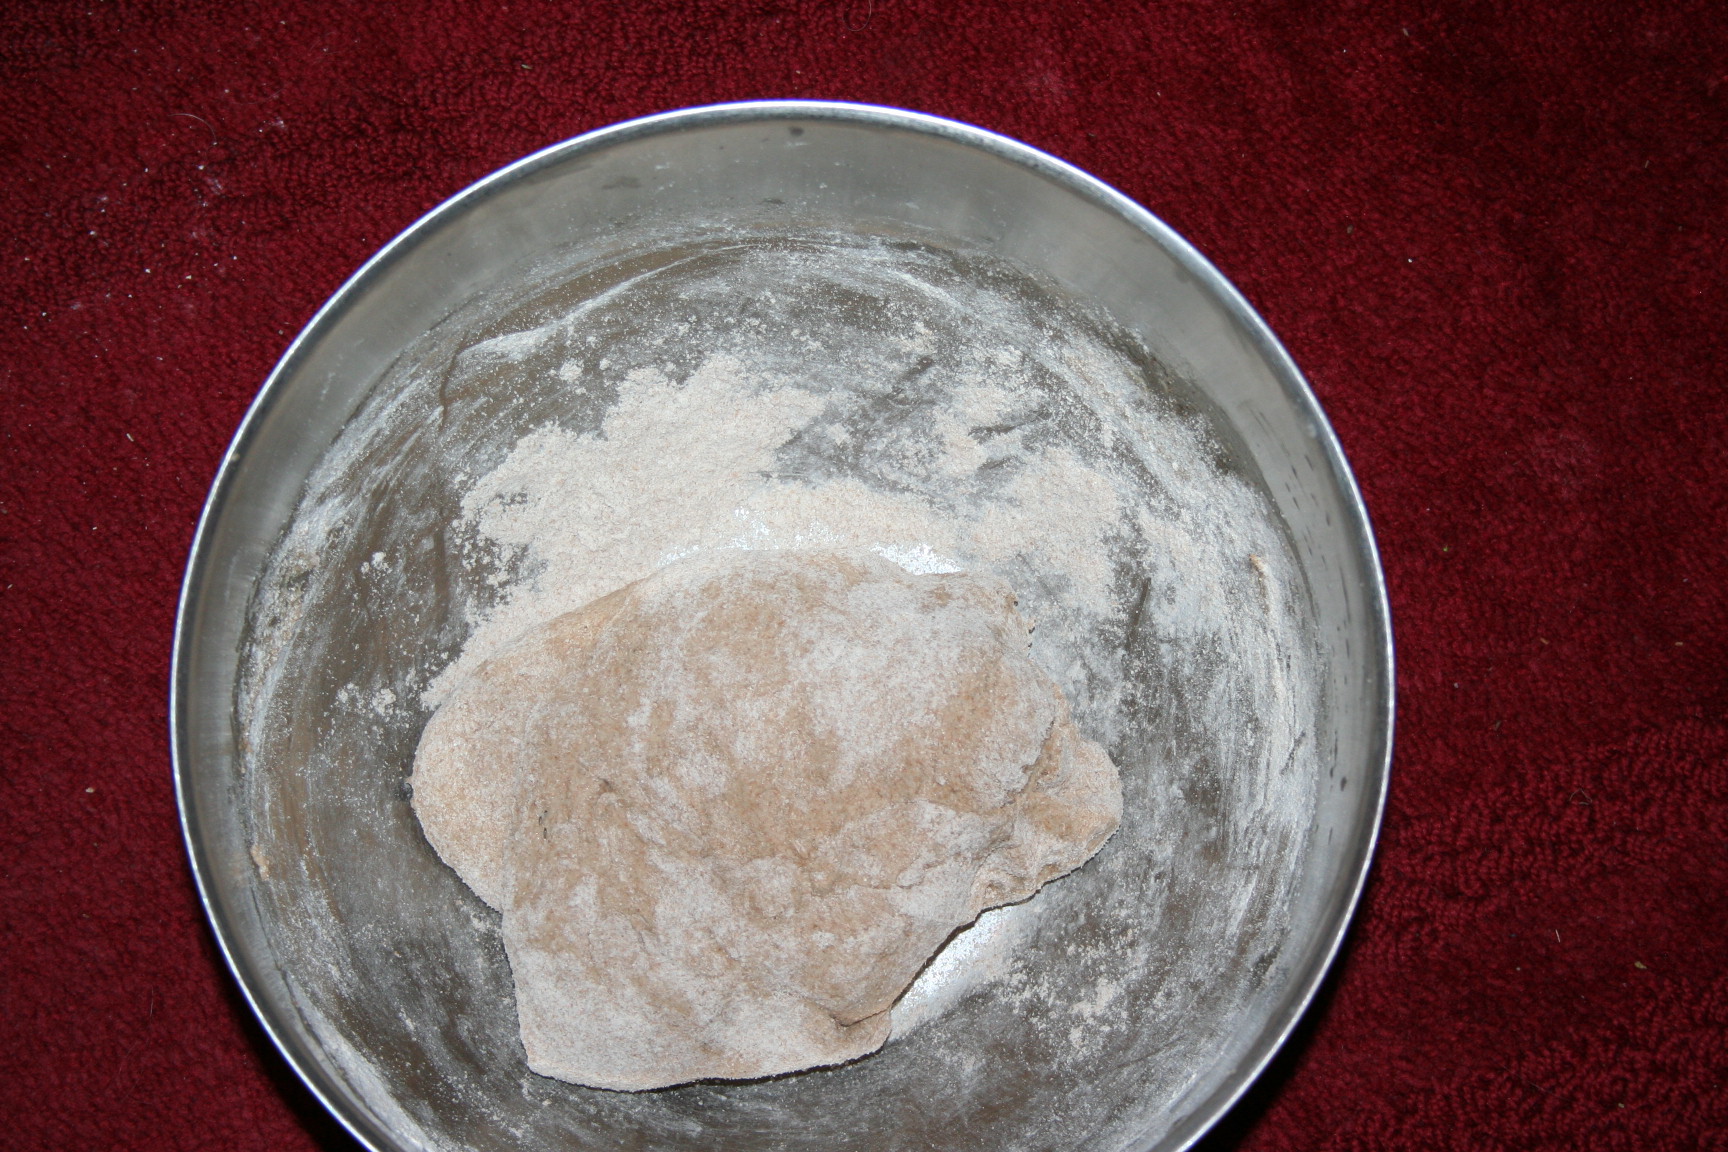
I cover it with a clean towel and keep it in a warm place. In about an hour or so, it can be put onto the pizza pans. I used to use two 12-inch pans but I love using four 6-inch personal size pans now.

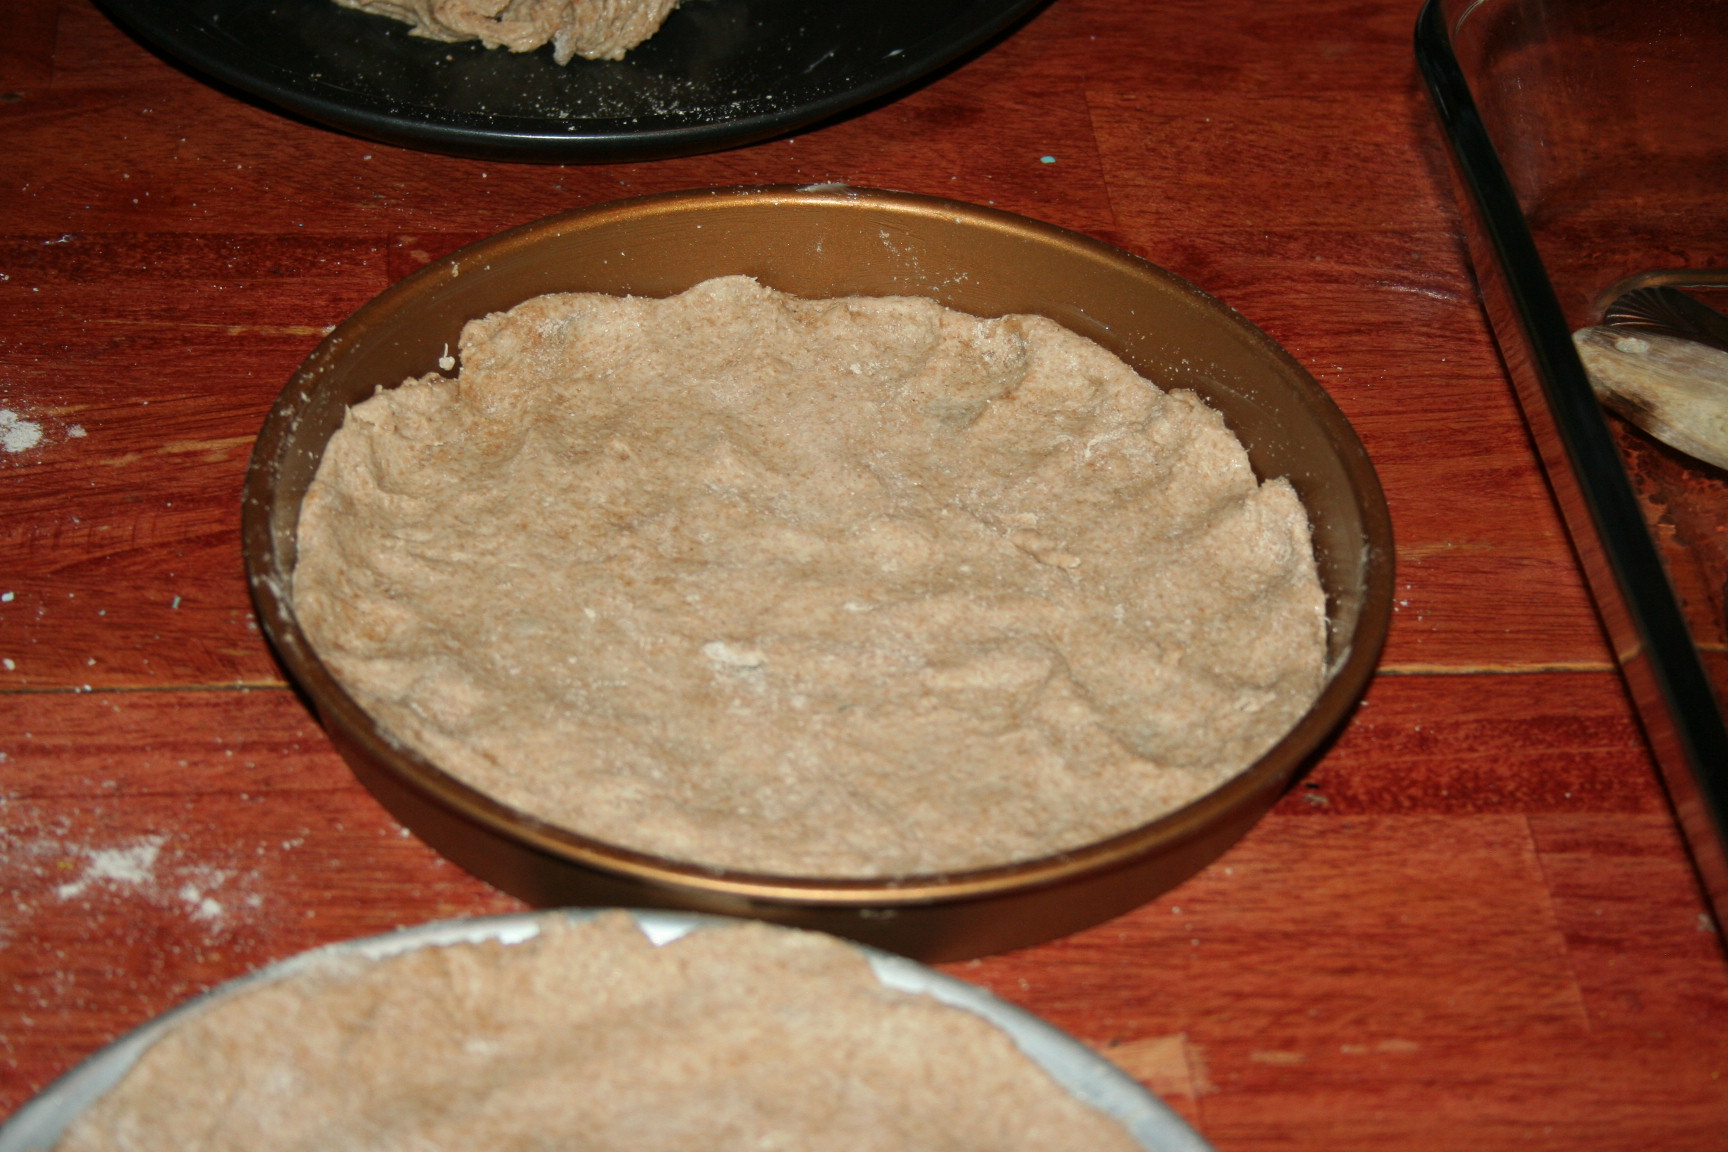
Divide the risen dough into equal parts. Lightly grease the pans and press one part one each pan.

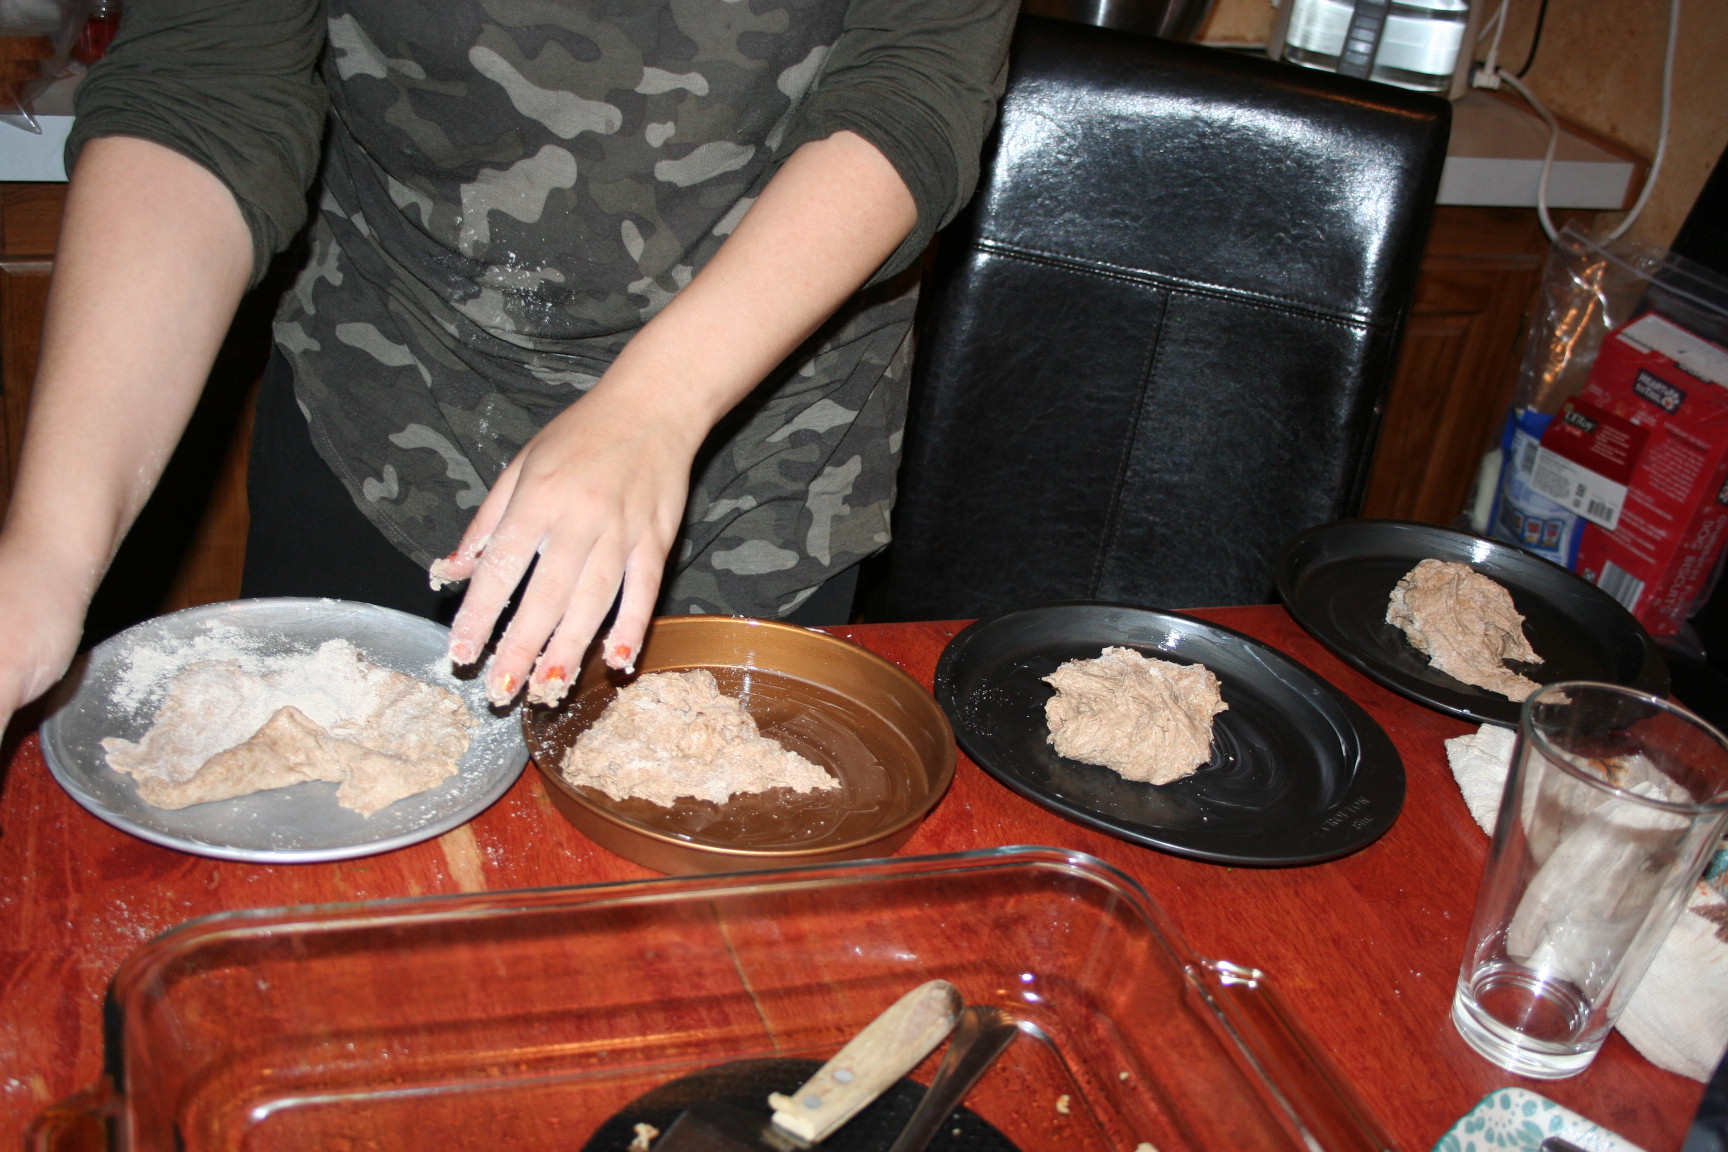
Tiffany put the dough in the pans this night.

Once it is in the pans, it is good to let it rise again for a little bit. Then add the sauce and toppings, except the cheese.

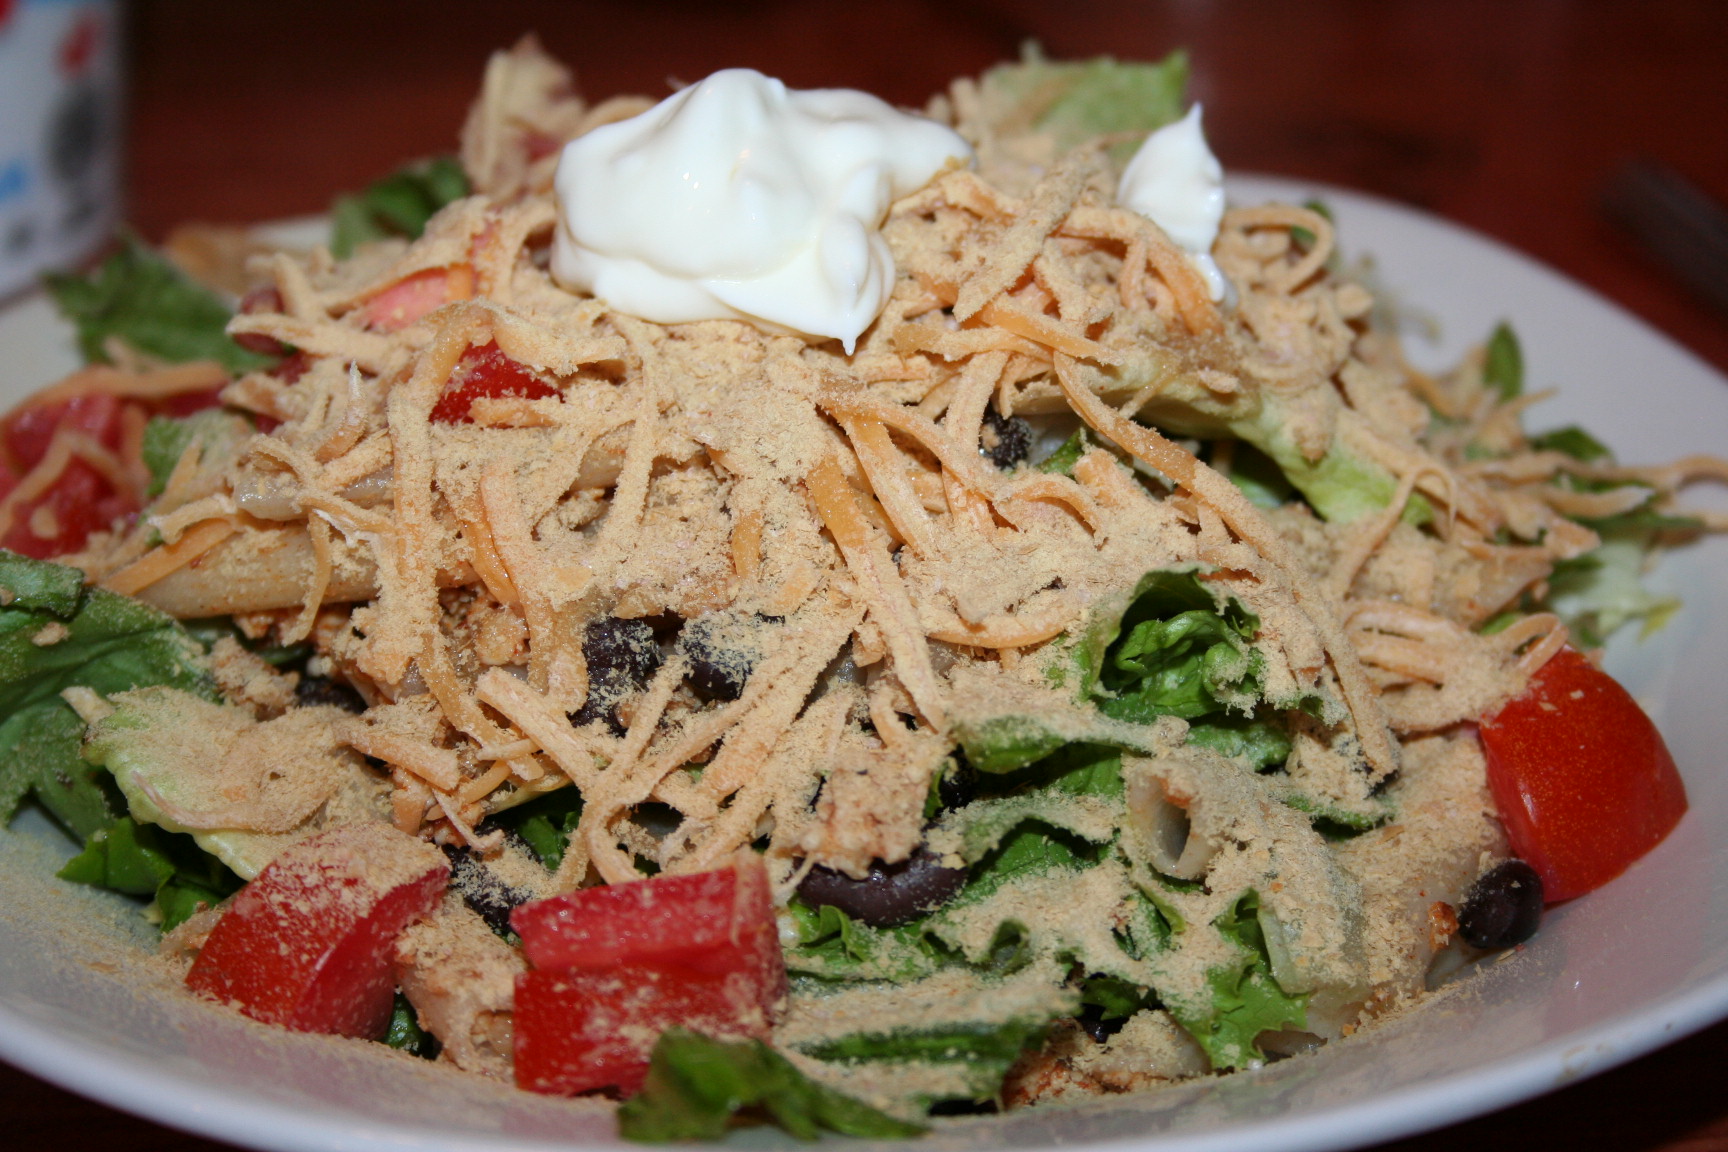
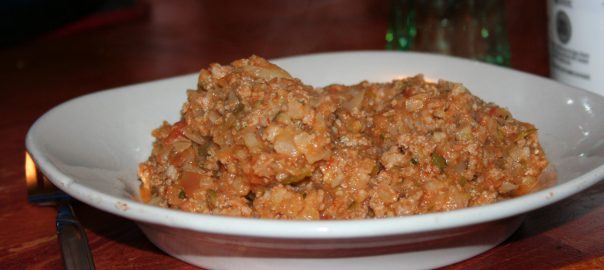
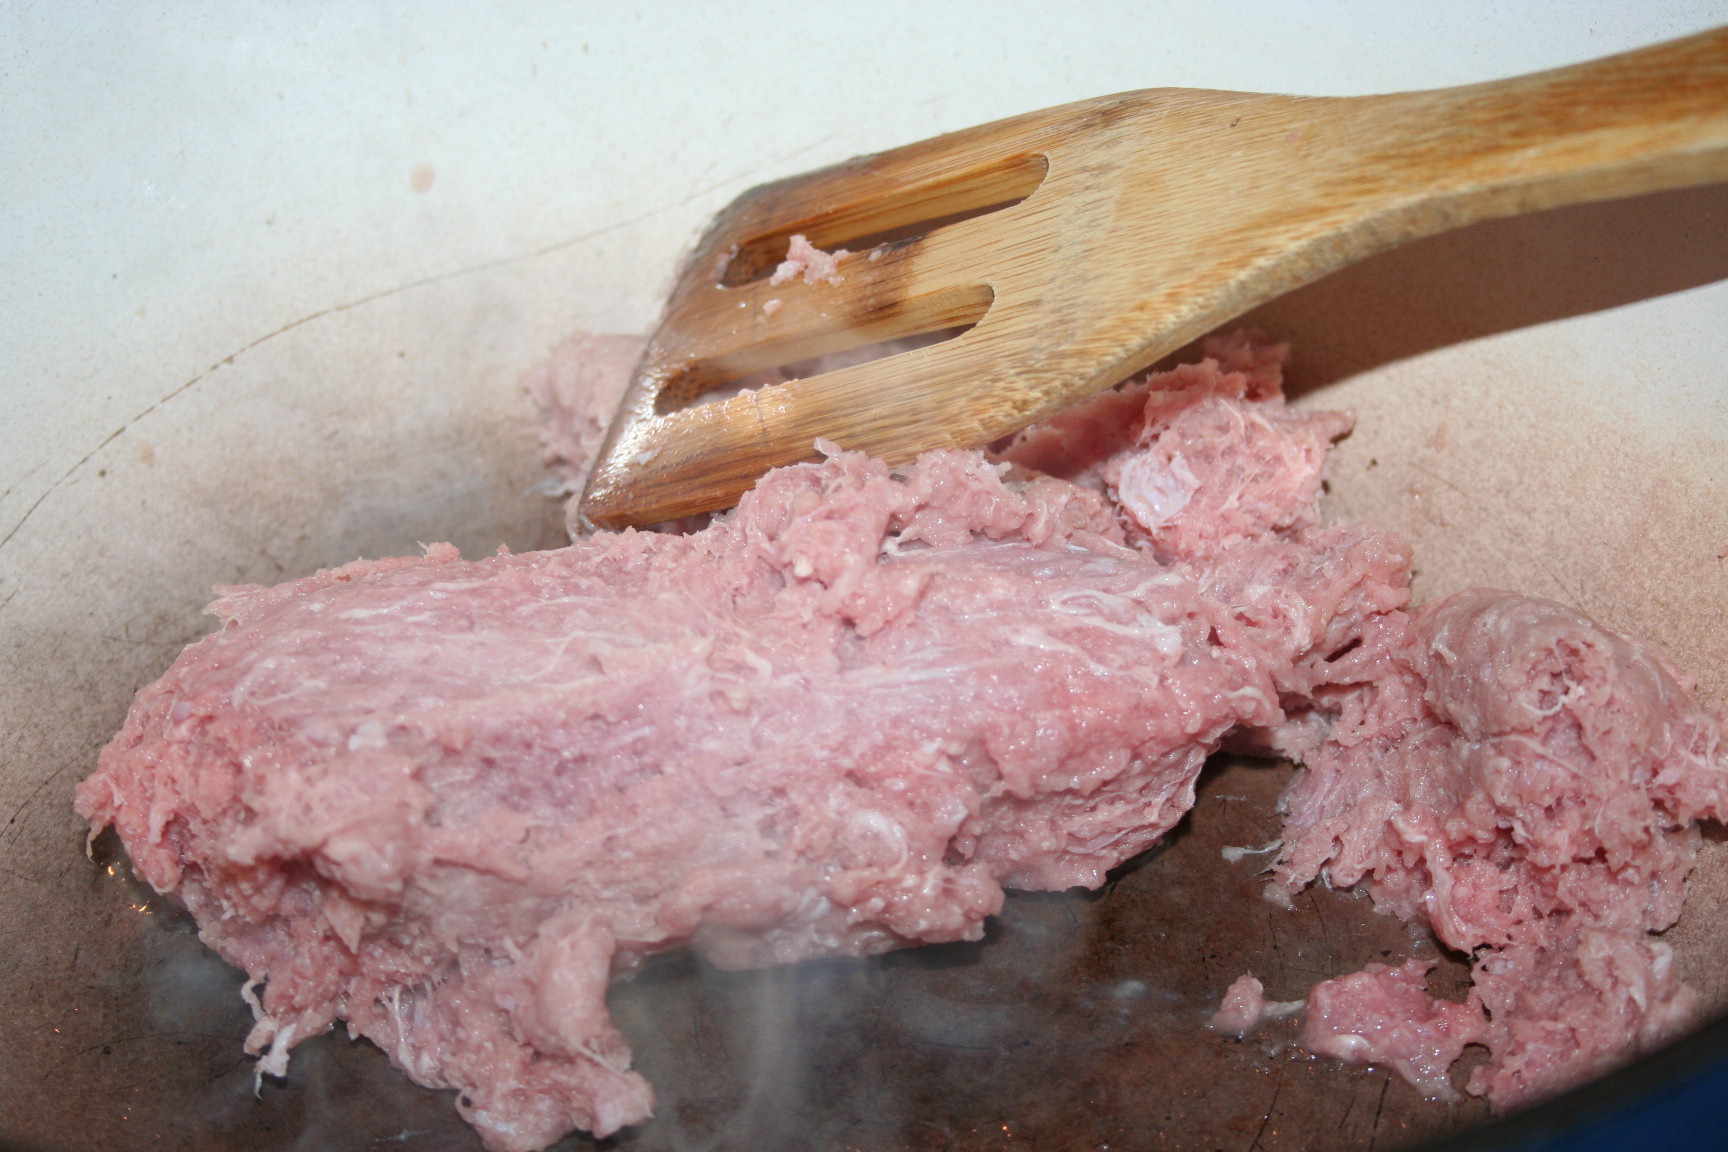
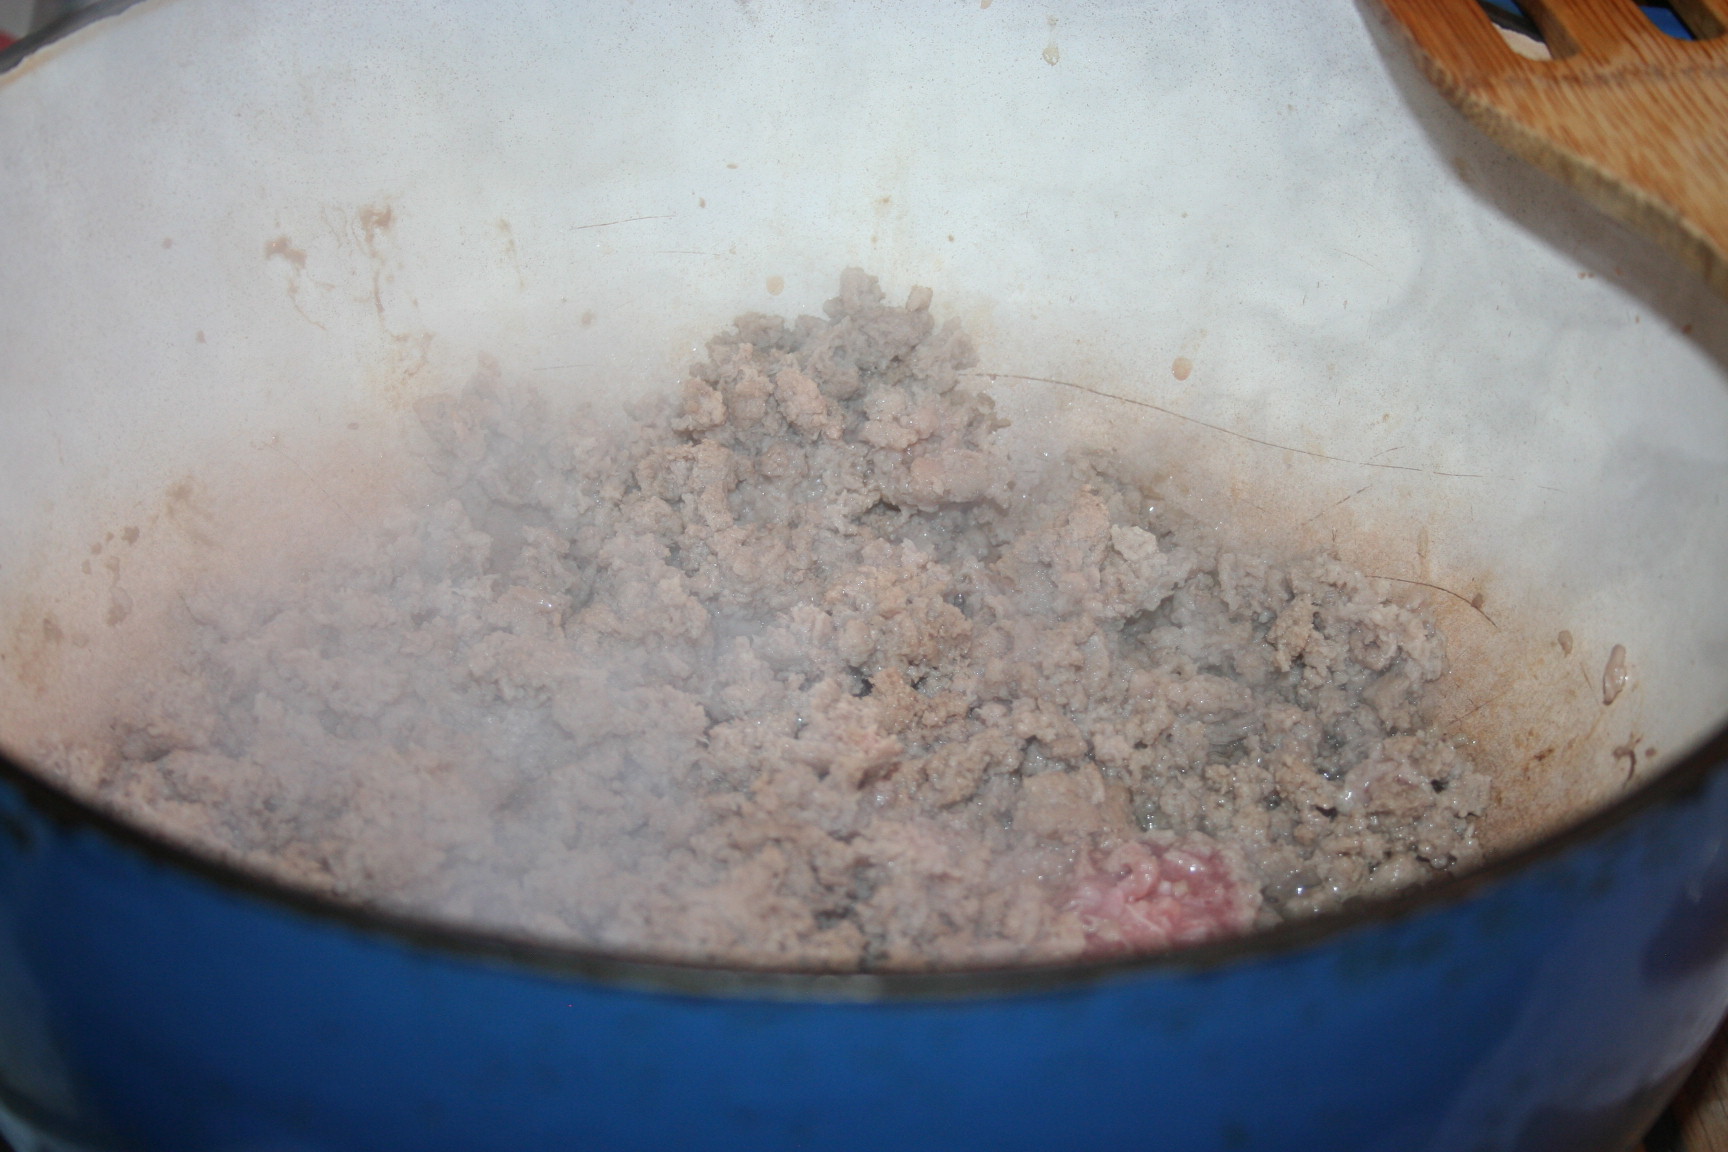
This night we used turkey pepperoni. But other nights we’ve added a slice of turkey bacon, canned mushrooms, diced onions, and diced bell pepper.

Bake it for about 15 minutes, until the crust is starting to brown. Then add one grated cheese stick (and we use fat free cheddar too) and cottage cheese, which is surprisingly good.

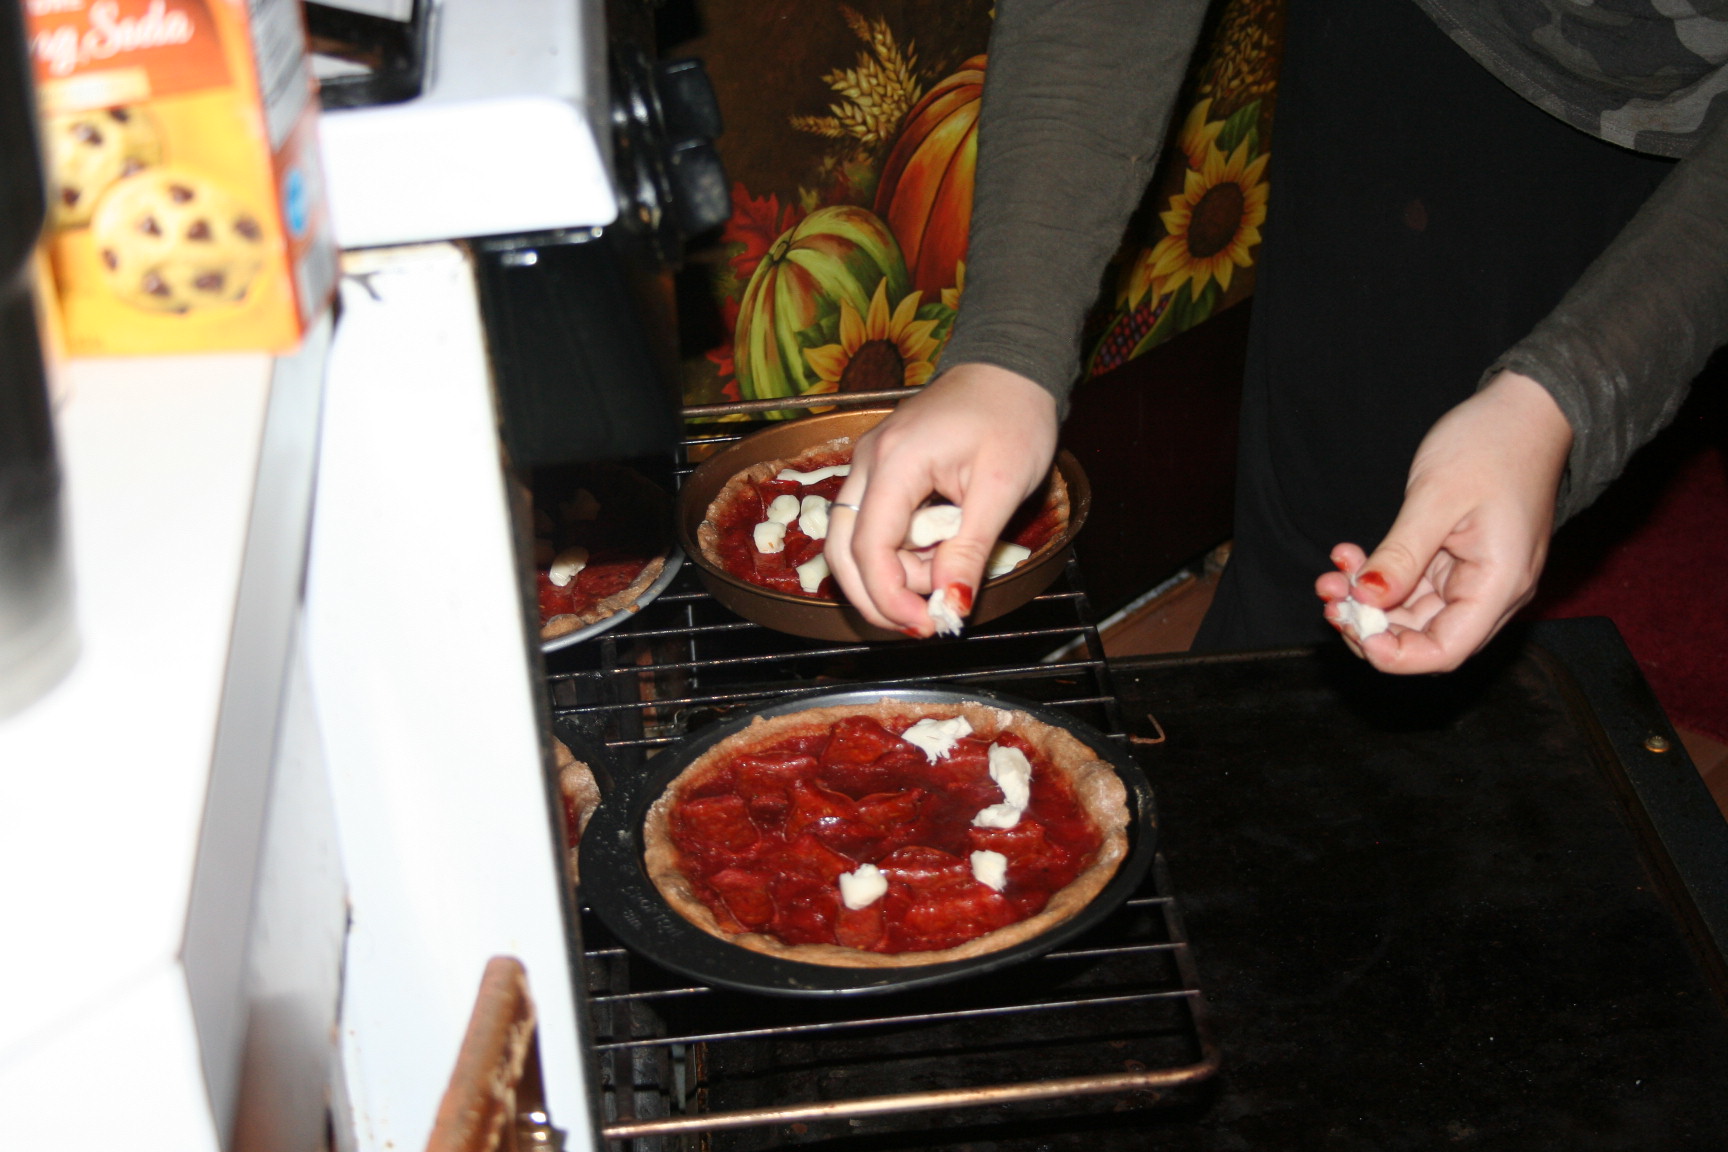
Tiffany didn’t feel like grating it. Pop it back in the oven to melt the cheese.

We eat this as a THM-E meal. It might be a very small crossover but if you are careful with your greasing of the pan and toppings, you’ll keep it in E territory, especially if you only use the 1 teaspoon of oil in the dough.

Sprouted Spelt Pizza

Ingredients

  • 1 cup warm water (NOT HOT OR COLD)
  • 2 1/4 teaspoon rapid rise or SAF yeast
  • 1-2 teaspoons oil
  • 2 cups sprouted spelt flour

Instructions

  1. Make the water warm to the wrist but not hot. Put 1 cup into a bowl.
  2. Add the yeast and oil.
  3. Stir in 1 cup of the flour.
  4. Work in as much of the other cup as needed. (I usually use all of it but don't use too much so that it gets too dry).
  5. Cover with a towel and let rise for about an hour in a warm place.
  6. Lightly grease pizza pans. Spread the dough evenly on them.
  7. Let it rest again for about 20 minutes or up to an hour.
  8. Add sauce and toppings (NOT THE CHEESE YET)
  9. Bake 425º for about 15 minutes.
  10. Add cheese and bake to melt the cheese, about another 5 minutes or so.
https://lifeofjoy.me/sprouted-spelt-pizza/

Until next time, God bless,

Michele ºÜº

Italian Hamburger Helper

About a month ago I shared a “hamburger helper” recipe I found on Robin Brookshire’s website, Mamashire. She has two versions: Italian and Taco. We love both versions. Today I’m sharing the Italian version.

Robin uses shredded cabbage in her original recipe but Michael isn’t doing well with cabbage right now, and thus he’s not wanting to eat cabbage. Also, I happen to be one of those people that does not lose weight with cabbage–seriously, I stall with it (or at least I have in the past). But the cabbage adds some good bulk and veggies, so I felt another veggie was needed. I went with ‘riced’ cauliflower.

I put the 1/4 onion and zucchini in the food processor to chop them up finely and quickly.

Then I put it in the pot and start it to cooking because we like our veggies really cooked. Once those are started cooking, add the ground meat (we use ground turkey).

(Sorry about the really bad lighting on the picture…it was either that very whited out one or a very yellowed out one.) Brown the meat. Meanwhile, I steam one to two bags of cauliflower.

Then I use a hand chopper and “rice” the cauliflower.

When the meat is browned, add the seasonings, cauliflower, and tomato sauce.

Combine, cover, and simmer for 20 minutes.

We really enjoy this recipe. And with just a few spices: garlic powder, oregano, basil, salt, pepper, and nutritional yeast, it’s super simple to throw together.

Pop over to Robin’s site for the full recipe.

I hope you enjoy the recipe as much as we do.

Until next time, God bless,

Michele ºÜº

Taco Hamburger Helper

Some time ago I came across this “hamburger helper” recipe on Robin Brookshire’s website Mamashire. She has two versions: Italian and Taco. We love both versions. I’m sharing the taco version today.

Her version uses shredded cabbage but Michael isn’t doing well with cabbage right now, and thus not wanting to eat cabbage. But cabbage adds some good bulk and veggies, so I felt another veggie was needed. I went with ‘riced’ cauliflower.

Start by browning ground meat. We use ground turkey because Michael cannot have beef.

Meanwhile put 1/4 of an onion and a zucchini cut into chunks in the food processor and pulse cut them to small bits but not pureed.

Add it to the meat and saute until softened. I steam a bag of cauliflower, pulse it in the food processor. Then add it with the spices, salsa, and water, cover and simmer for 20 minutes.

Serve with a dollop of greek yogurt (nonfat is good if you need to make it a bit lighter) or sour cream and more nutritional yeast, if desired.

Pop over to Robin’s site for the full recipe.

I hope you enjoy the recipe as much as we do.

Until next time, God bless,

Michele ºÜº

Instant Pot Taco Rice

Several months ago I was looking for recipes using my Instant Pot or Ninja Foodi. I came across this recipe from My Table of Three.

It is a very simple recipe and quite yummy. :) Also this meal feeds our family of 4 adults dinner, twice. So I make it in full and then freeze the other half. Then on the night we eat the leftovers, I thaw it and steam it.

We serve it with salad and a very small drizzle of oil (about 1/2 a teaspoon) or some canned green beans.

It’s really a simple process, add all the ingredients to the pot and pressure cook on high for 22 minutes with a quick pressure release.

Combine and cook.

Meanwhile, I put about two pounds of boneless skinless chicken breast in the food processor to grind it up and cook up.

Cook quickly in skillet, seasoned slightly.

When it is cooked and the rice is done, add it to the remainder of the dish and stir to combine.We serve with some fat free greek yogurt (and some fat free cheddar cheese, which is our own personal choice item).

Head on over to MyTableofThree for the full recipe and her notes on the recipe.

Salmon Filet: My Favorite Way

My favorite way to have salmon is cooked with maple syrup and soy sauce. But on the Trim Healthy Mama lifestyle plan, maple syrup is not conducive to weight loss. So I used the maple syrup that we make for use on pancakes (from the THM Cookbook). You can use soy sauce but I used coconut aminos because it has a bit of sweetness to it.

I know these pictures aren’t the best of the finished dish but it was still good and very good for me. :)

I got this 4 ounce salmon filet at Dollar Tree for a buck . . . not bad.

I recommend thawing it first, as it cooks more evenly and quicker too.

Put the filet into a small skillet and add one tablespoon each of soy sauce or coconut aminos and sugar-free maple syrup.

Cook over medium – medium high heat for about 5-8 minutes. :)

Mine was still frozen so I put a lid on it.

But when I took off the lid there was too much moisture in the pan and it took a while for the liquid to boil down. :(

But it turned out okay in the end. ;)

Salmon Filet: My Favorite Way

Ingredients

  • 4 oz. salmon filet
  • 1 tablespoon coconut aminos or soy sauce
  • 1 tablespoon sugar-free maple syrup

Instructions

  1. Place fish in pan
  2. Add coconut aminos and syrup
  3. Cook for about 10 minutes. It's done when you can flake it with a fork and it is cooked through.
https://lifeofjoy.me/salmon-filet-my-favorite-way/

Pork Carnitas Meat

After the first of the year I bought a Ninja Foodi with some Christmas money I had left over from my Christmas fund/budget. I’m enjoying learning to use it.

One of the things I made in my Instant Pot was carnita meat. I don’t say carnitas because we don’t serve it in tortillas. We just eat this delicious meat with caulirice and a salad.

I would get one of those huge pork butt roasts at $1.49 a pound (which I thought was a good deal until I found it nearly fifty cents cheaper a pound later); when I say huge, I mean it was about 10 pounds. I’d pressure cook the sucker for four hours or more. Then I’d shred the meat and package it into about three or four baggies and freeze it. When I fixed it for dinner, I’d thaw the meat and then heat it in a cast iron skillet with some oil and make one side very crispy . . . LOVE that crispy meat.

I went to Cox Costsaver and got one for around $1.00 a pound or so. I couldn’t fit that sucker in a gallon size baggie, so I cut it up to make it fit. :) When I first started shopping at WinCo they had that meat for like 99¢ or such, so I bought another one. But this time it was two roasts in one combined package. I asked them to cut it into three or four smaller pieces for me. That was a wonderful decision. I didn’t have to cut it myself and they have the ability to cut through the bone, when there is one.

Since I had this meat in a more manageable size I looked online to find a recipe in the Ninja Foodi. Oh my! I hit the jackpot. :)

Here’s basically how to make it:

Cut the approximately two pound roast into 2″ cubes and place it into the insert

Add 1/2 cup broth, an onion, and 6 crushed garlic cloves ( I just gave them a good whack with the side of my knife), salt, cumin, and oregano, and pressure cook on high for 20 minutes, then do a quick pressure release. Turn it on saute and simmer to reduce the juices for about 15 minutes.

I was concerned this time that I didn’t let it simmer long enough but turns out that I let it go a little too long. ;)

The next step is to lower the crisper lid and broil for 8 minutes.

Now would be the time to shred the meat if desired but we just like the cubes. :)

Head on over to the original website where she has a video of it too. She includes an orange but I don’t use it but then again, I’ve never had carnitas before fixing this at home either, so I don’t know what I’m missing. ;)

Pork Carnita Meat

Ingredients

  • 2 pound pork butt cut into 2" cubes
  • one onion cut in half or onion powder
  • 6 garlic cloves, crushed or garlic powder
  • salt
  • cumin
  • 1/2 cup chicken broth

Instructions

  1. Place the meat cubes, broth, and seasonings into the ninja foodi insert.
  2. Place on the pressure lid, vent closed, on high for 20 minutes, quick pressure release
  3. Remove lid, saute on md:high for 15 minutes to reduce liquid.
  4. Close crisper lid and broil for 8 minutes.
https://lifeofjoy.me/pork-carnitas-meat/

I hope you enjoy this. Next time I make it, I’ll share how I make my husband some with other meat. :)

Until next time, God bless,

Michele ºÜº

Cajun Sausage, Rice, and Beans

I have made this recipe from Briana Thomas’ newest cookbook, Convenient Foods, several times. The first couple of times I made it we enjoyed it but the last several times we have loved it. :)

Start by water sauteing a chopped onion in your skillet or dutch oven. :)

I like my onions very soft and starting to brown before I add the next group of ingredients: cooked brown rice, drained canned kidney beans, 6.5 ounces of sliced turkey kielbasi, 1/4 cup water, smoked paprika, oregano, garlic powder, salt, pepper, and cayenne.

It is very important to stir this all together, cover it, and let it simmer for 15 minutes.

Then add the optional 1/2 tablespoon of apple cider vinegar and 1/8 teaspoon THM Super Sweet. Cover and simmer 5 more minutes. This too is very important. It just really gives it a great flavor.

A couple times when I made this, I was out of smoked paprika but had plenty of plain paprika. So I added 1/2 tablespoon of paprika and then added a splash of liquid smoke. :) Yum!!!

Oh My! This is sooo good. It is making my mouth water and I’m full from eating my meal. :D

I also love her Hearty Barbecue Soup recipe. And I just saw that she has a birthday cake ice cream recipe. Birthday cake flavored ice cream is a new favorite flavor around here, so we’re going to have to give it a try.

Cajun Sausage, Rice, and Beans

Ingredients

  • 1 medium onion, chopped
  • 2 Tablespoons water
  • 3 cups cooked brown rice
  • 15 ounce can dark red kidney beans, drained, rinsed
  • 6.5 ounce smoked lean turkey sausage (kielbasi), sliced
  • 1/4 cup water
  • 1/2 Tablespoon smoked paprika
  • 1 teaspoon oregano
  • 1/2 teaspoon garlic powder
  • 1/2 teaspoon salt
  • 1/2 teaspoon black pepper
  • dash cayenne pepper
  • 1/2 tablespoon apple cider vinegar (optional)
  • 1/8 teaspoon THM Super Sweet Blend (optional)

Instructions

  1. Saute chopped onion in couple tablespoons of water until desired tenderness/color obtained, adding more water as needed.
  2. Add cooked brown rice, drained beans, sausage, water, smoked paprika, oregano, garlic powder, salt, pepper, and cayenne. Stir, cover, and simmer 15 minutes. (Add more water if it begins sticking.)
  3. Add vinegar and sweetener, stir, cover, and simmer another 5 minutes.
  4. Devour! 🙂
https://lifeofjoy.me/cajun-sausage-rice-and-beans/

If you haven’t gotten Briana’s cookbook, you really should. She has some great recipes in it. :) I make this one every couple of weeks. It is inexpensive and delicious. (The package of kielbasi from Aldi makes two batches. So I freeze half the sausage for use later in the month.)

I hope you enjoy this recipe as much as we do.

Until next time, God bless,

Michele ºÜº

Split Pea Soup (Pork free)

This recipe was touted as being cheap/inexpensive and thus great for people on a tight budget. So naturally I was expecting the split peas to be around 50¢-75¢ a pound but unfortunately they were about double that and the recipe calls for two pounds. :o 
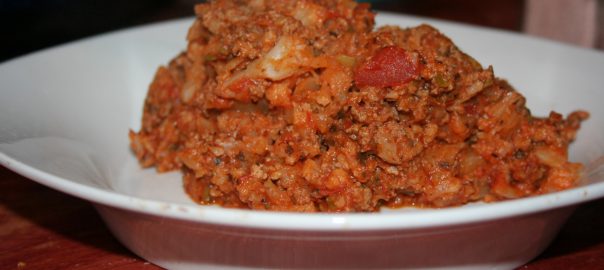
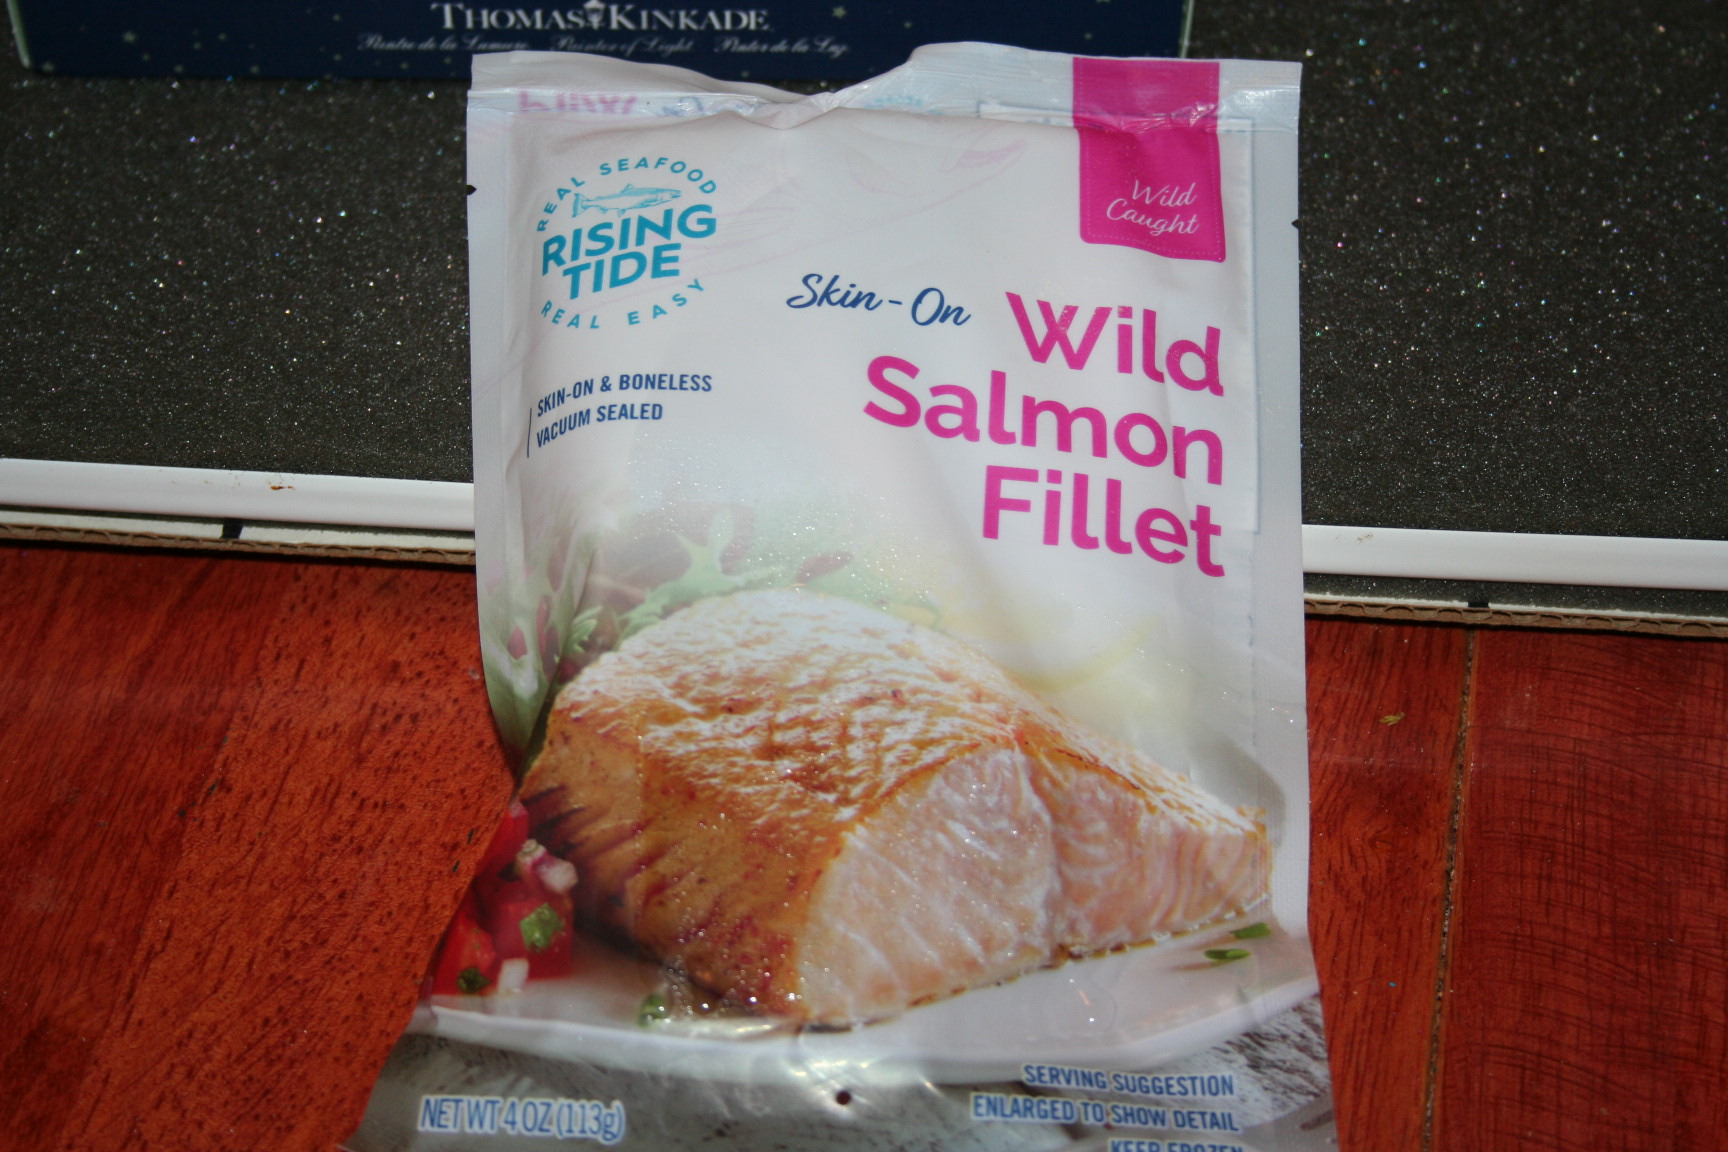
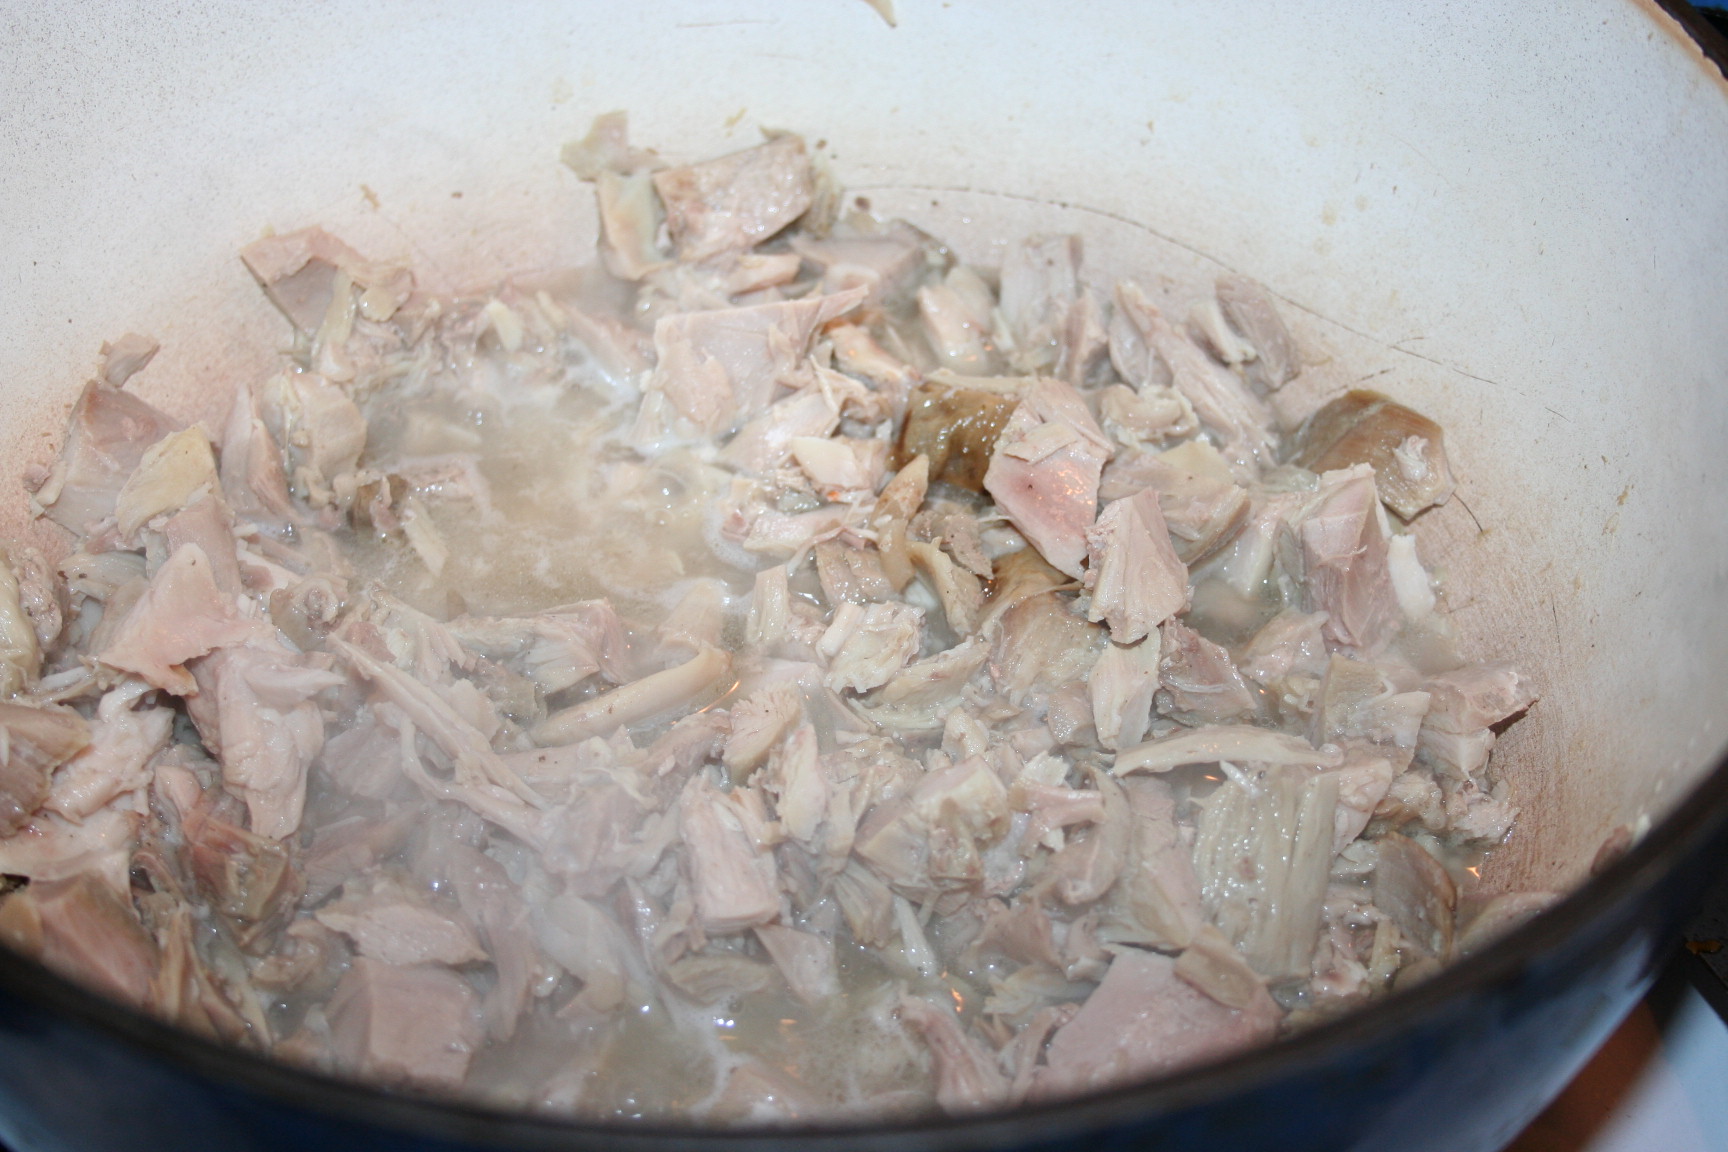
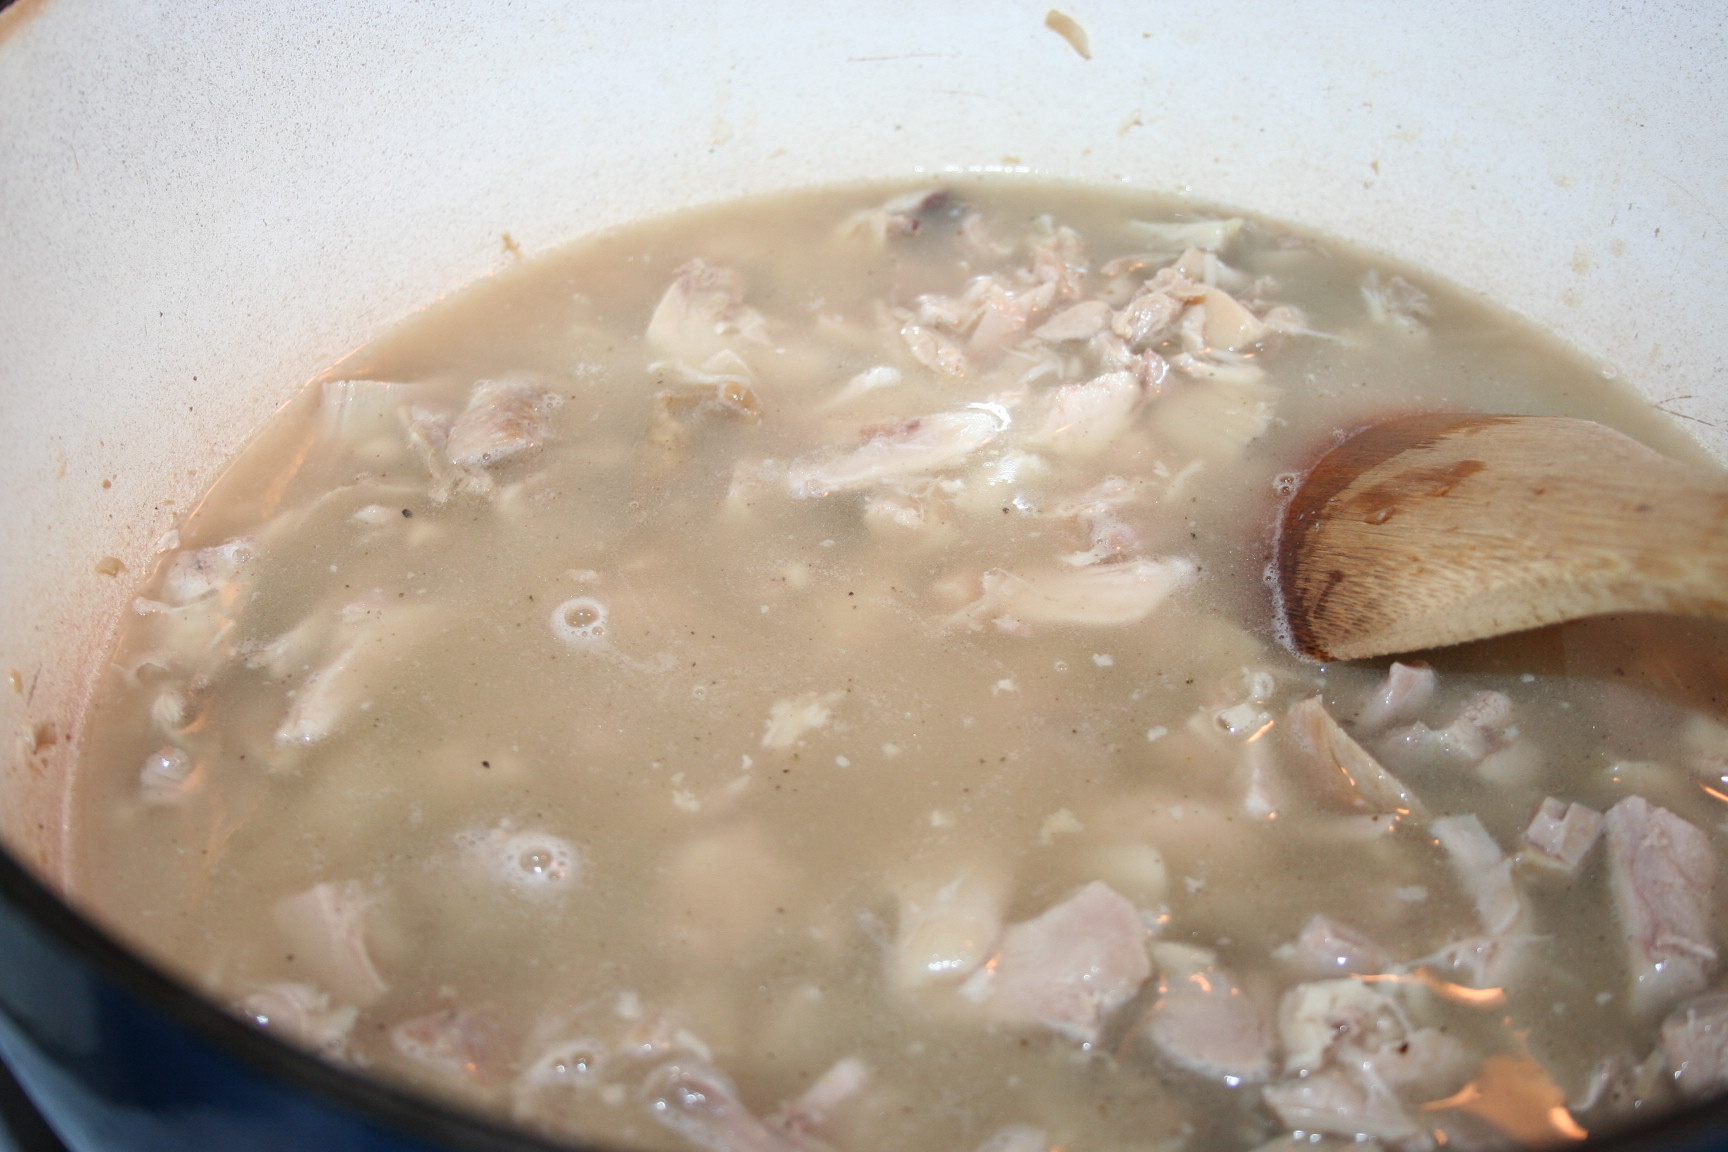
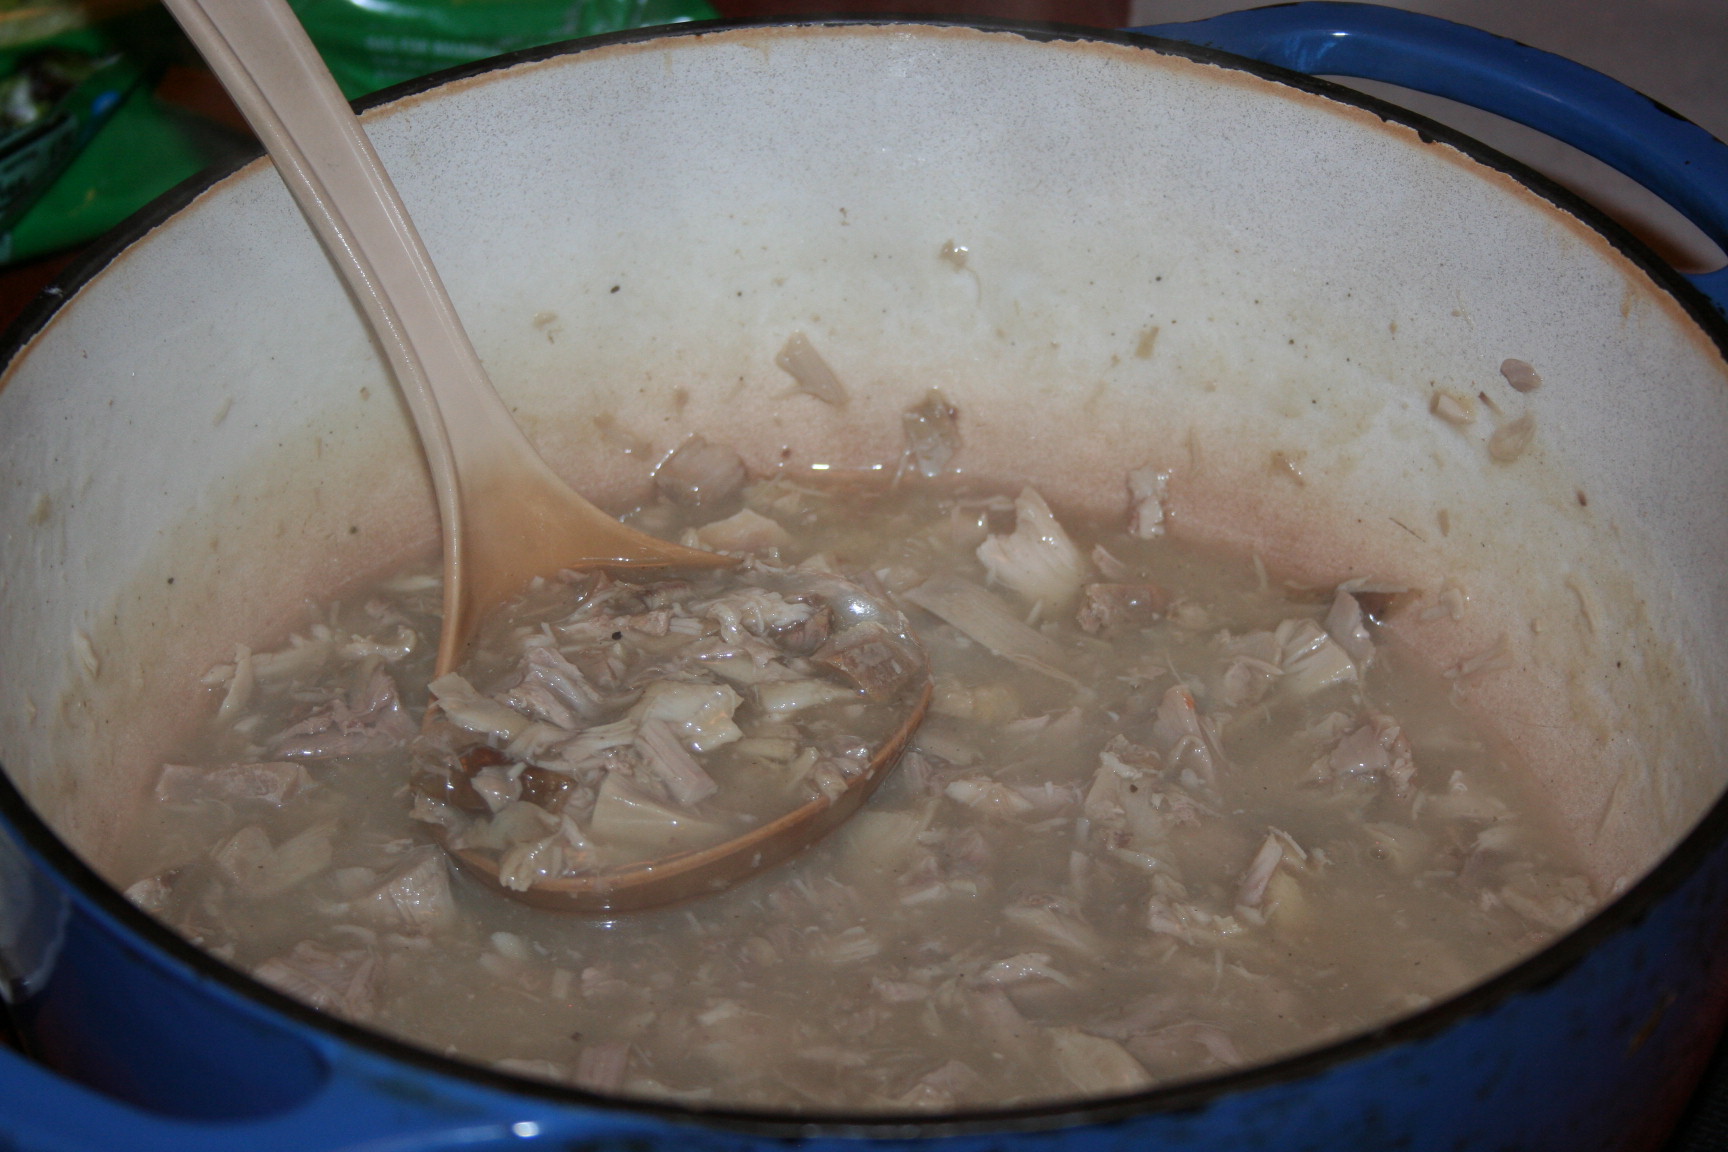
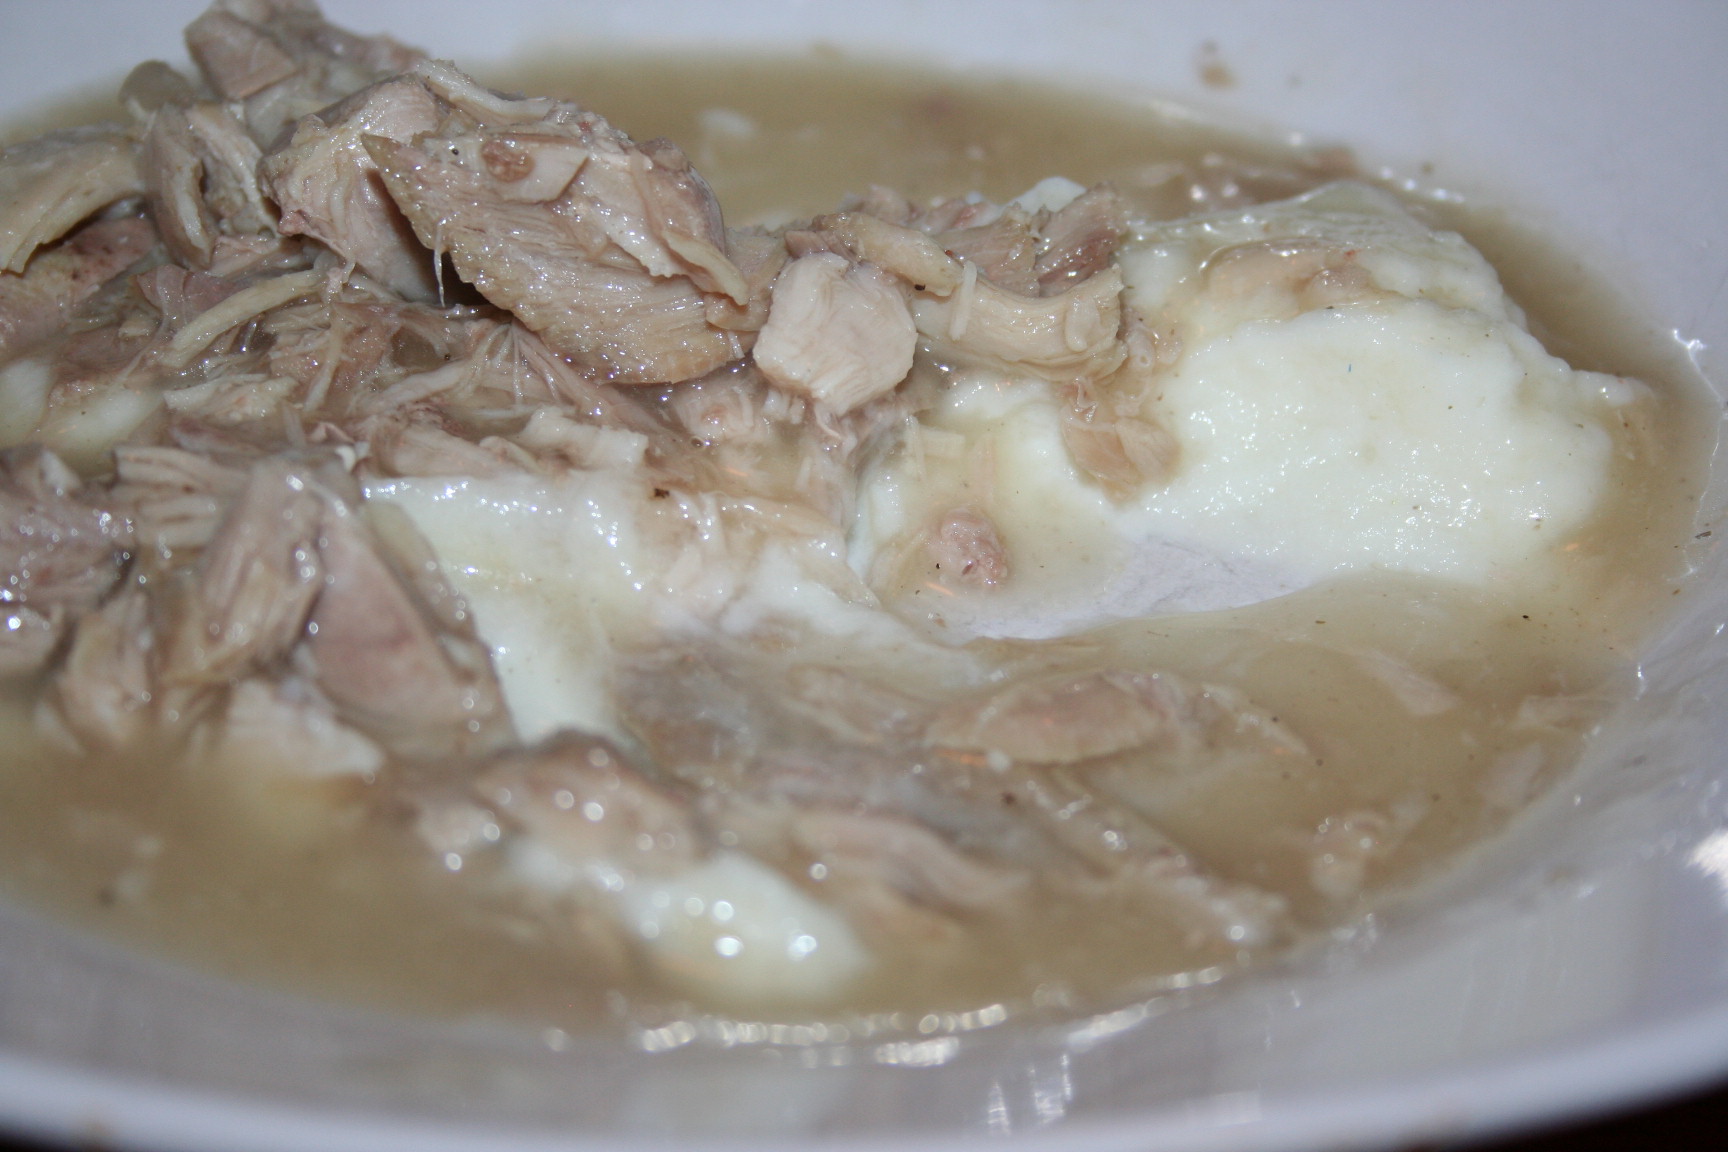
So for this inexpensive dinner, I was going to have to pay close to $3 and I can get chicken breast for cheaper than that! But I wasn’t just fixing it for being budget friendly, I was fixing it for being healthy and a lighter dinner.

Well, when I started going to WinCo, they had the split peas for less than 70¢ a pound, if I remember correctly. So, I it made it more budget friendly.

Some people don’t eat pork and split pea soup is usually made with a ham bone and chunks of ham. But to eat these carbohydrates and still lose weight, I need to eat them with very little fat, so no ham bone nor ham.

You may wonder how to make it taste good if you don’t use a ham bone. Liquid smoke and Bragg’s Liquid Aminos. I’ve never had split pea soup before so I had no taste that this recipe had to live up to. Sean even took one look at it and told me that he’d taste it but that he was probably going to eat something else. :D He ate his whole bowl and got seconds, if I remember correctly. ;)

So you start by soaking the dried split peas in water first thing in the morning. Then early afternoon drain and rinse them.

Next begin sauteing some finely diced onion in a soup pot or dutch oven. Add a bit of water for moisture as it cooks to keep it from sticking to the bottom of the pot or add up to 1 tablespoon of butter.

Then you simply add the water, peas and just a few seasonings. Cover and simmer for several hours. It can be cooked in the crock pot too, just soak the peas overnight.

I like to cook mine for about 4 hours. Really it is about how it tastes to you, when to stop cooking and eat.

Split Pea Soup (Pork free)

Ingredients

  • 2 pounds dried split peas, soaked about 8 hours in warm water with 1 Tablespoon apple cider vinegar
  • 1 onion, diced
  • up to 1 Tablespoon butter
  • 12 cups of water
  • 4 teaspoons liquid smoke
  • 3 ½ teaspoons salt
  • 3/4 teaspoon pepper
  • 3 teaspoons onion powder
  • 1-2 squirts Bragg's Liquid Aminos
  • 2 Tablespoons nutritional yeast
  • several slices of turkey bacon, cooked and crumbled (I do one slice per person)

Instructions

  1. drain and rinse the soaked peas
  2. saute onion in water or up to 1 Tablespoon butter for a few minutes
  3. Add peas, water and seasonings.
  4. Cover and bring to a boil.
  5. Simmer for several hours on low.
  6. Serve with some turkey bacon bits on top and a sprinkling of nutritional yeast, if desired. 🙂
https://lifeofjoy.me/split-pea-soup-pork-free/

Until next time, God bless,

Michele ºÜº

Taco Mac Salad (THM E- low fat version)

Taco Mac Salad is one of our favorite salads, if not meals. I have remade this as a healthy fats meal before using dreamfields pasta. But since this is a favorite meal, I looked for a way to make this without using that pasta.

The next solution I had was to use brown rice pasta or brown rice & quinoa pasta. You could use any alternative pasta like lentil, black bean, chickpea, or other such pasta. This night we used brown rice pasta from WinCo.

I took about a pounds worth of thawed boneless skinless chicken bread and put it in the food processor. I then ground it up, cooked it in a fry pan, and seasoned it with taco seasoning.

Meanwhile, I boiled the pasta and chopped up some vegetables. It’s important to measure the pasta so as not to overdo the carbs.

It is probably best to only 40g weight instead of 52-68g worth of pasta to give some space for some beans.

Tear the lettuce and chop the green pepper. I serve the diced tomatoes separately because the kids don’t like them. Drain, rinse, and heat up a can of black beans (it can be added to the meat).

Combine the drained, cooked pasta, beans, salad, and a cheese stick or two (sliced) in a salad bowl.

Serve with low fat/low carb dressing, low fat/fat free sour cream or yogurt and any other veggies you desire. I do choose to use some fat free cheddar cheese as well.

If you used a low enough carb pasta, you can probably add a tostada to it. :)

I added some nutritional yeast. :)

I hope you like it as much as we do.

Taco Mac Salad (THM E- low fat version)

Ingredients

  • brown rice pasta (or other alternative pasta, such as brown rice & quinoa, black bean, chickpea, lentil, etc)
  • boneless skinless chicken breast
  • lettuce
  • green pepper
  • tomato
  • low fat mozzarella cheese stick
  • fat free yogurt or fat free/low fat sour cream
  • taco seasoning (chili powder, onion powder, garlic powder, paprika, cumin, salt, and pepper)
  • black beans, drained and rinsed
  • tostada (corn, lime treated) optional

Instructions

  1. process chicken breast into ground chicken in a food processor
  2. cook chicken and add taco seasoning
  3. boil pasta
  4. chop veggies
  5. add beans to meat
  6. add meat, beans, and drained pasta to the chopped veggies
  7. serve with toppings desired
https://lifeofjoy.me/taco-mac-salad-thm-e-low-fat-version/

Until next time, God bless,

Michele ºÜº

Creamed Turkey (low carb)

Creamed turkey is one of those things that my mom made with the Thanksgiving turkey carcass. Recently I’ve started making it with the leftover dark meat and my family has been loving it.

I was concerned about how to make it without using a flour rue and that gluccie (glucomannan) would end up being slimy but it turned out great. The key is to sprinkle it in  very finely as the broth is simmering.

I got this salt shaker from Dollar Tree and keep some gluccie (pronounced glue-key) in it with one of the little silica gel packets in vitamins, to keep it from getting moisture in it and making it clump up.

So here’s how to make the creamed turkey.

Chop the turkey into bite-size pieces and place into a pot.

Add enough water or broth to cover and give you enough gravy. I use chicken broth because it is more flavorful. You can use water and bouillon or broth made from the turkey carcass. Once it comes to a slight simmer, sprinkle in the gluccie and stir.Keep adding and stirring until it thickens slightly. Add just a bit at a time. The shaker makes it easy not to get clumps. I added about 4 shakes at a time and stirred for a little before adding more shakes. I added shakes about 3 or 4 times, stirring well between additions.

Then we served it with creamed cauliflower.

I assure you this did not have the slightest fishy/slimy taste at all. It was delicious and was the comfort food we love. :)

I hope you enjoy this as much as we do. I know it is hard to have a “recipe” without exact measurements but this really is easy and customizable to whatever amounts you have. :)

Until next time, God bless,

Michele ºÜº