It’s conference time at our church, so I’m preparing this post ahead of time and thus there is no diva challenge for me to do. So, I thought I’d share a project my daughter Tiffany recently did.
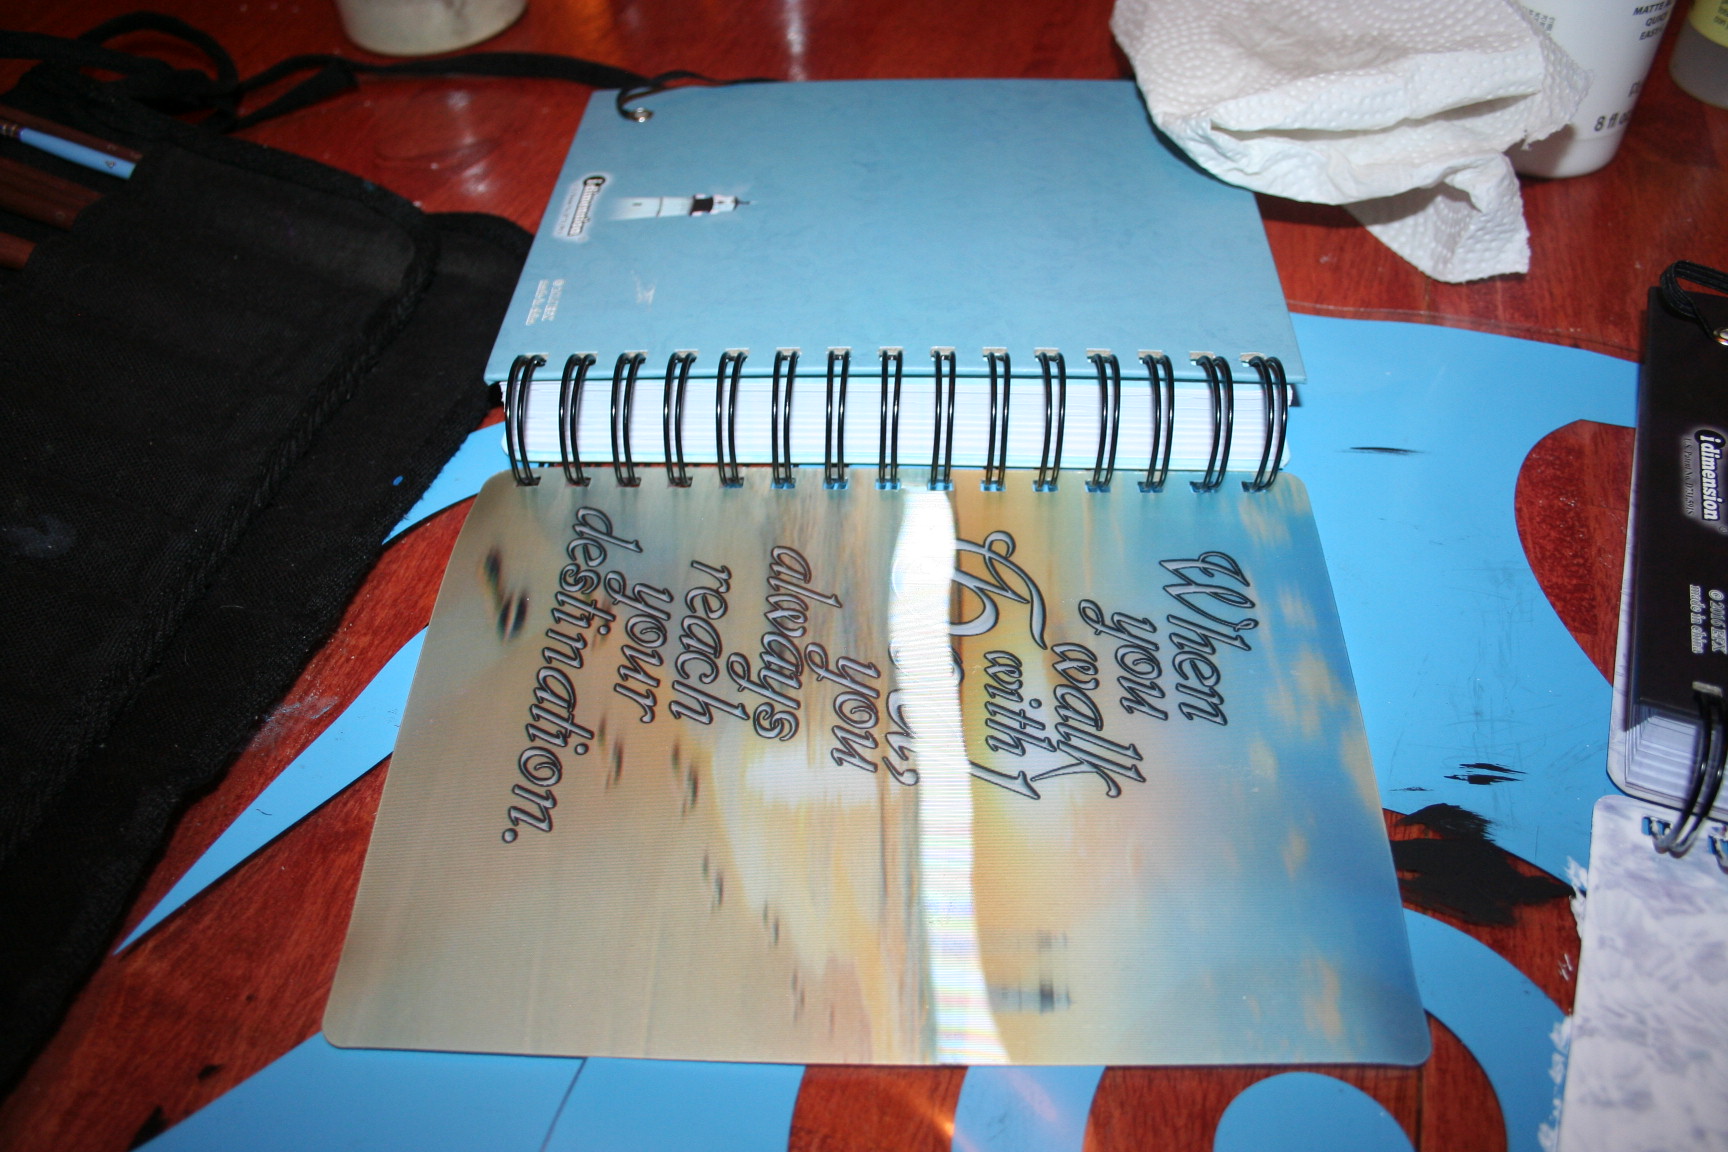
She has received some really pretty journals with holographic covers. Unfortunately the holographs make her nauseous. However, she needed the journals for her new book notes and didn’t really feel like buying new ones (which gets expensive) and she felt she needed to use what she had. Plus the pages are pretty.
So, last year I suggested that she paint the covers on some others that she had. She wasn’t sure it would work and, quite frankly, neither was I, but it did and it has held up pretty well.
So, here’s how to paint holographic covers, just in case you ever are in the need to do so yourself.
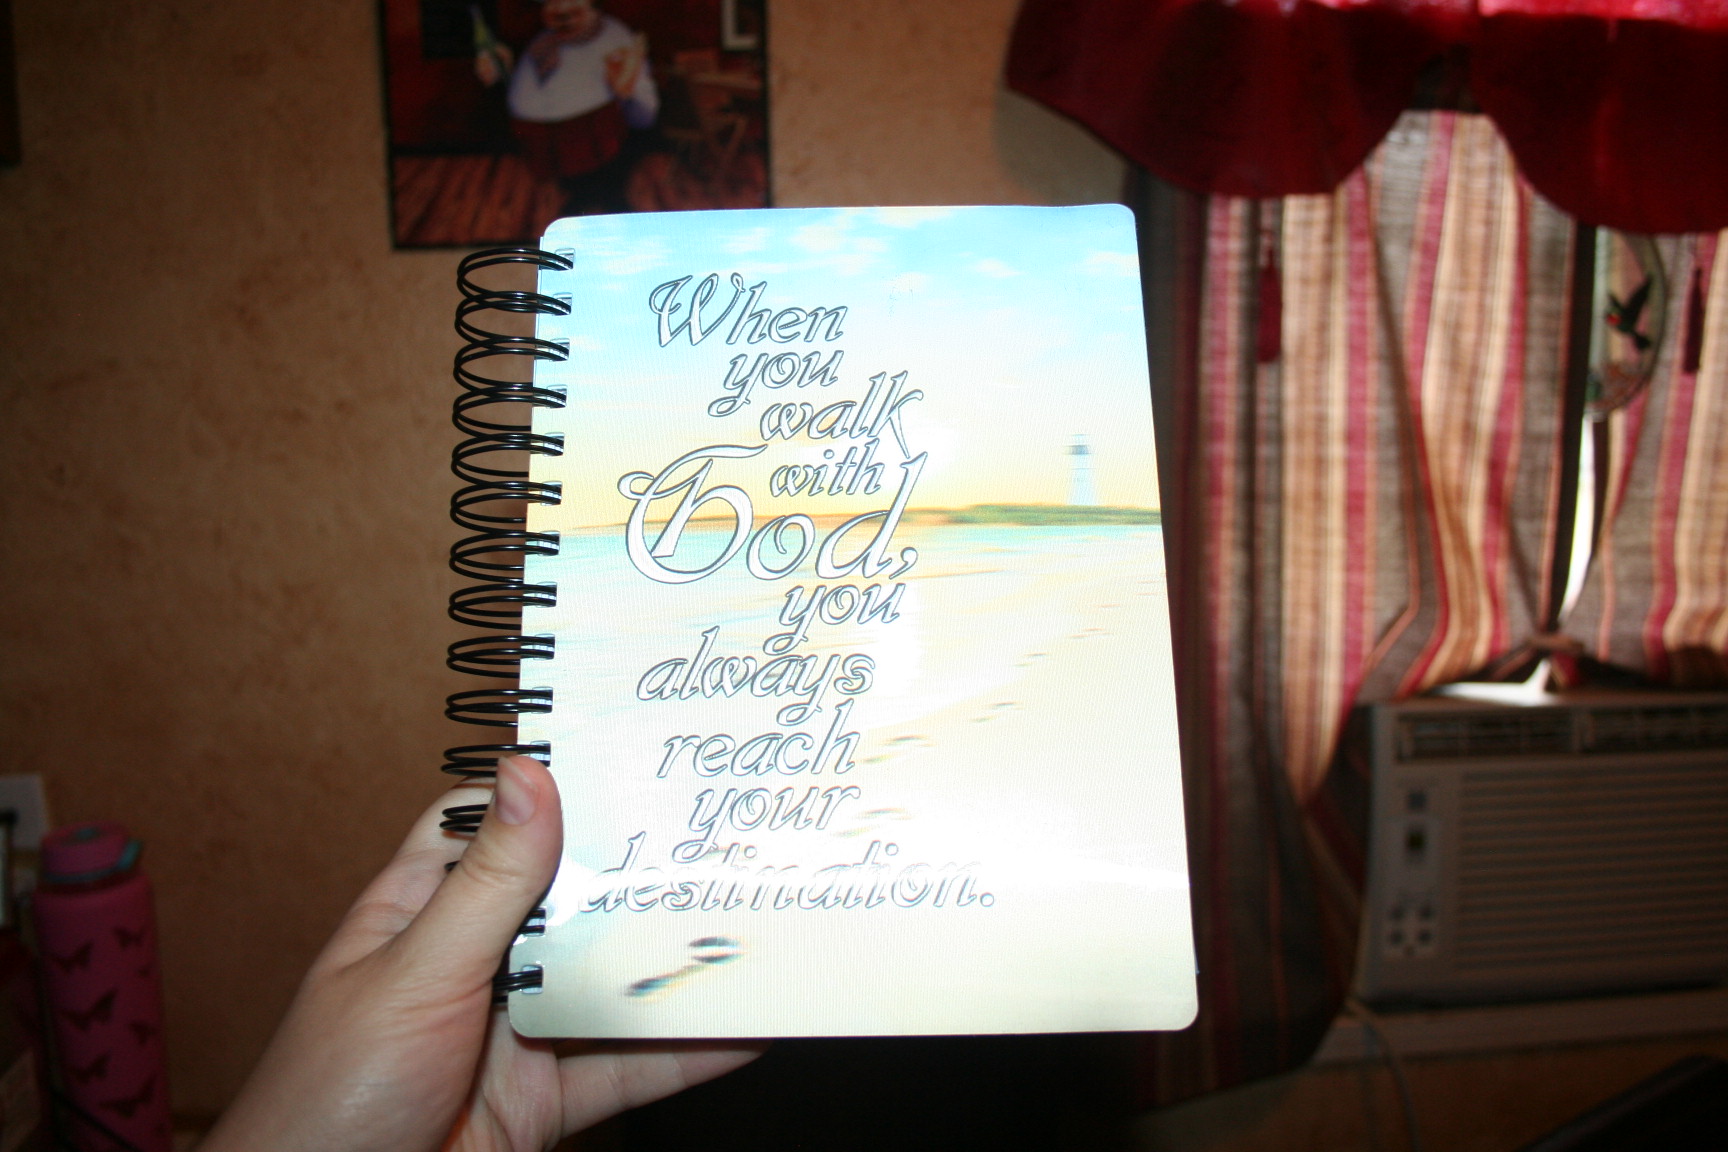 It really is very pretty. It’s a shame that looking at it makes her stomach upset. Oh well . . . here we go.
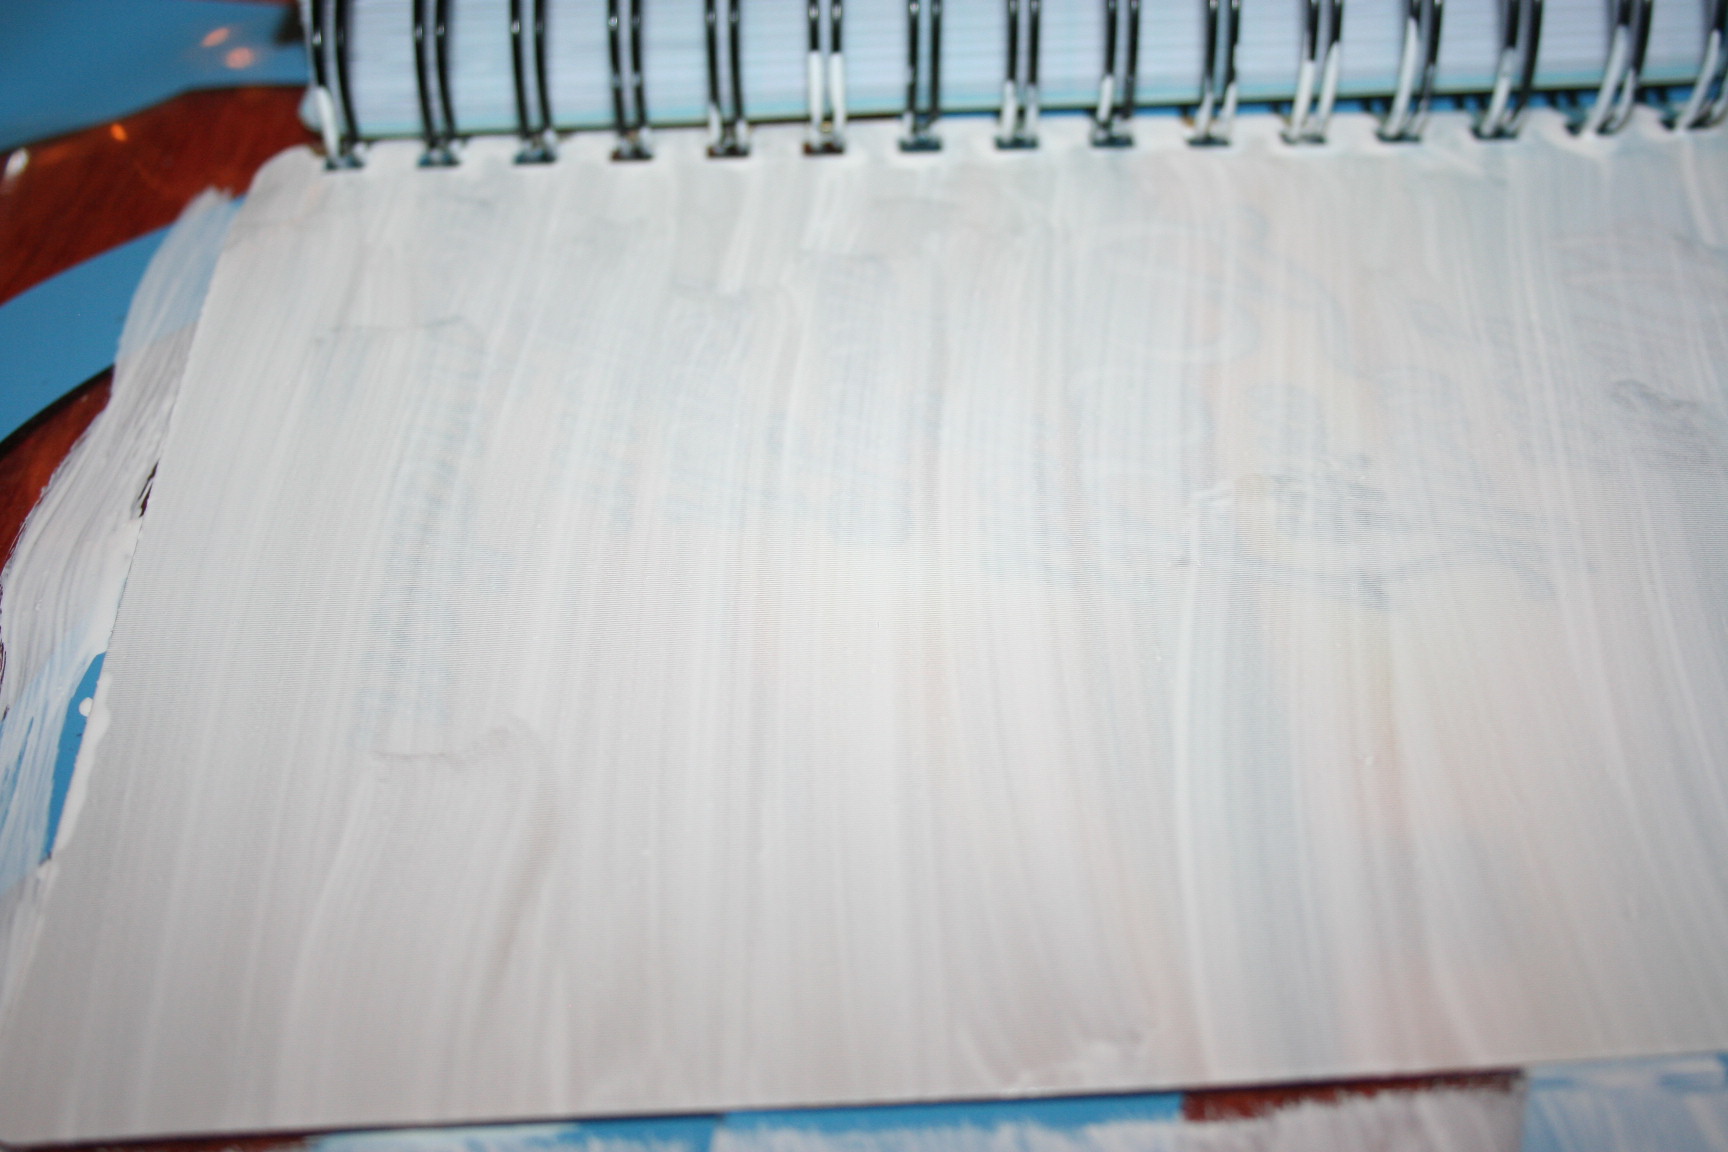
 She uses a white acrylic paint with some clear floating medium. She mixes about 1/3-1/2 as much clear floating medium as she has white acrylic paint. and brushes it on. Now she gets different looks by how she brushes it on. So since she had three she was doing at once, she decided to stroke each one differently. This one she applied the paint in straight lines across. Of course, she blended it as well as she could.
 This one she used a scruffy brush and pounced it.
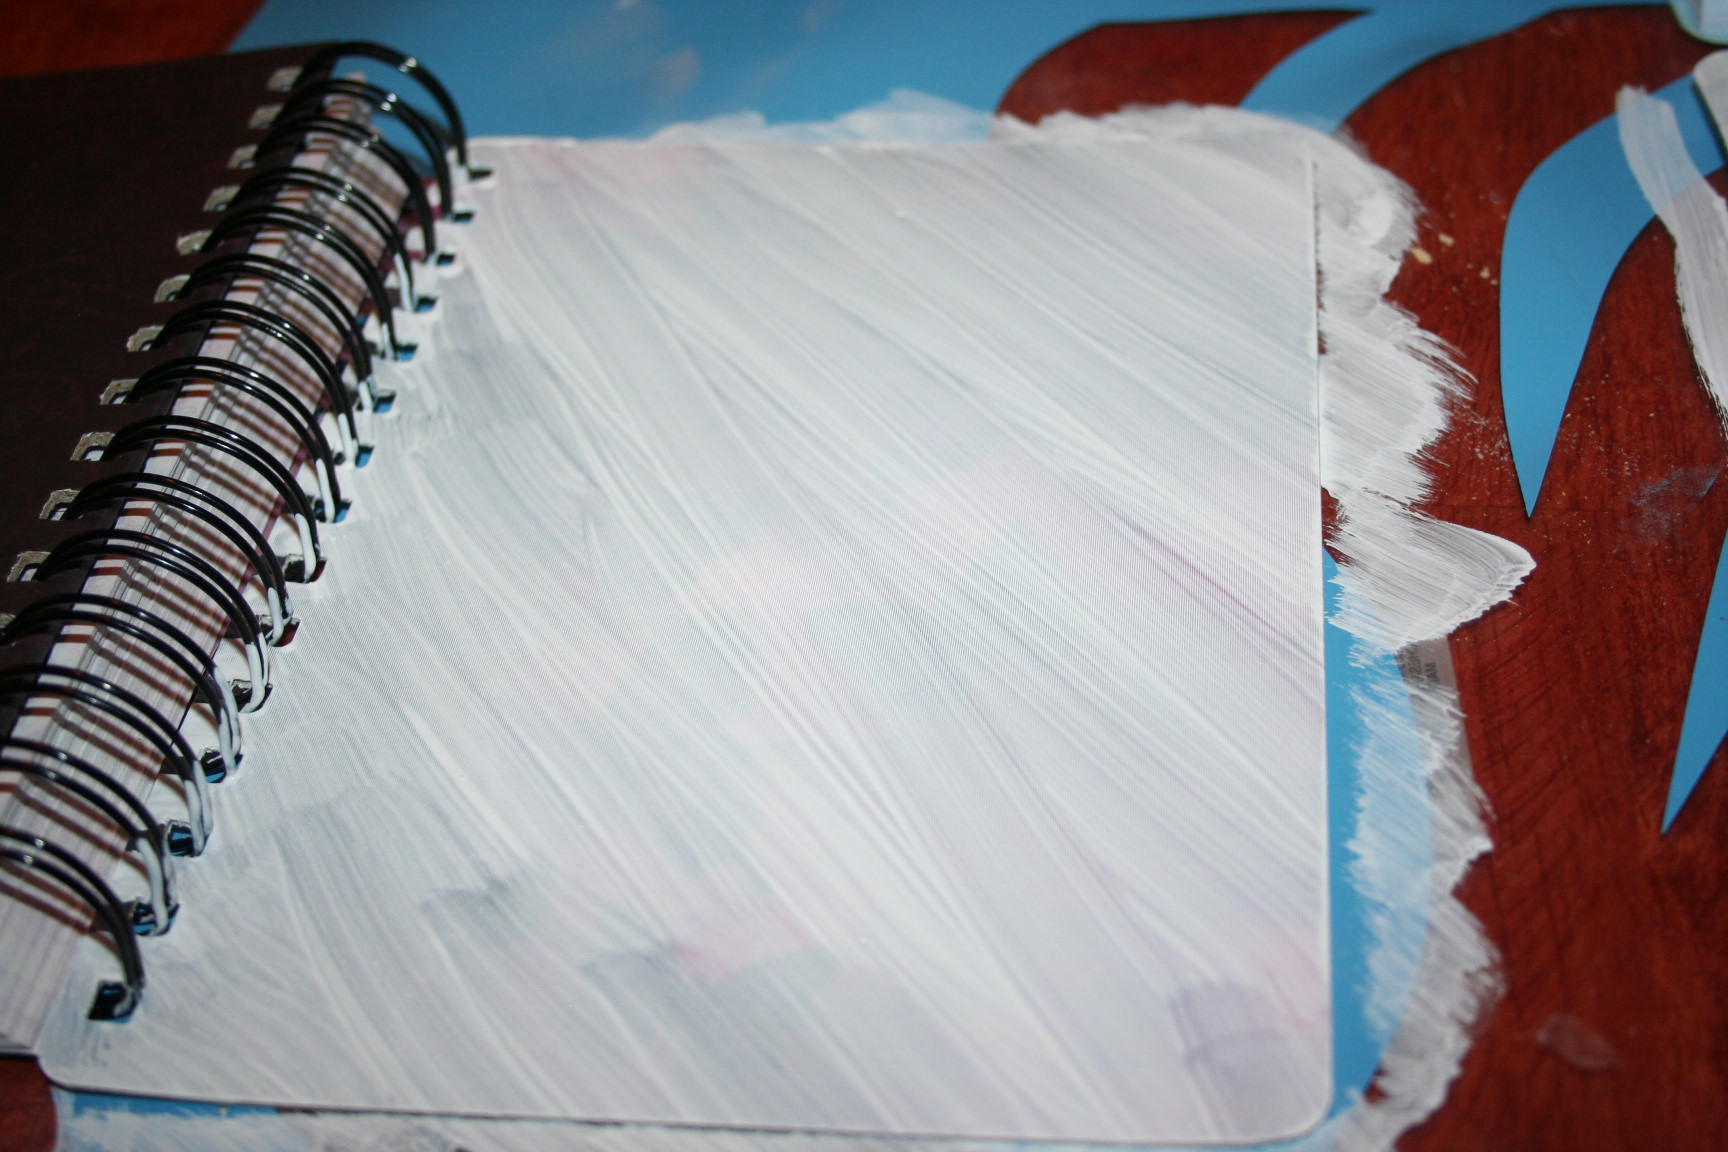
 And this one she did diagonally.
 Then from there she has a blank canvas of sorts and can paint whatever she likes.
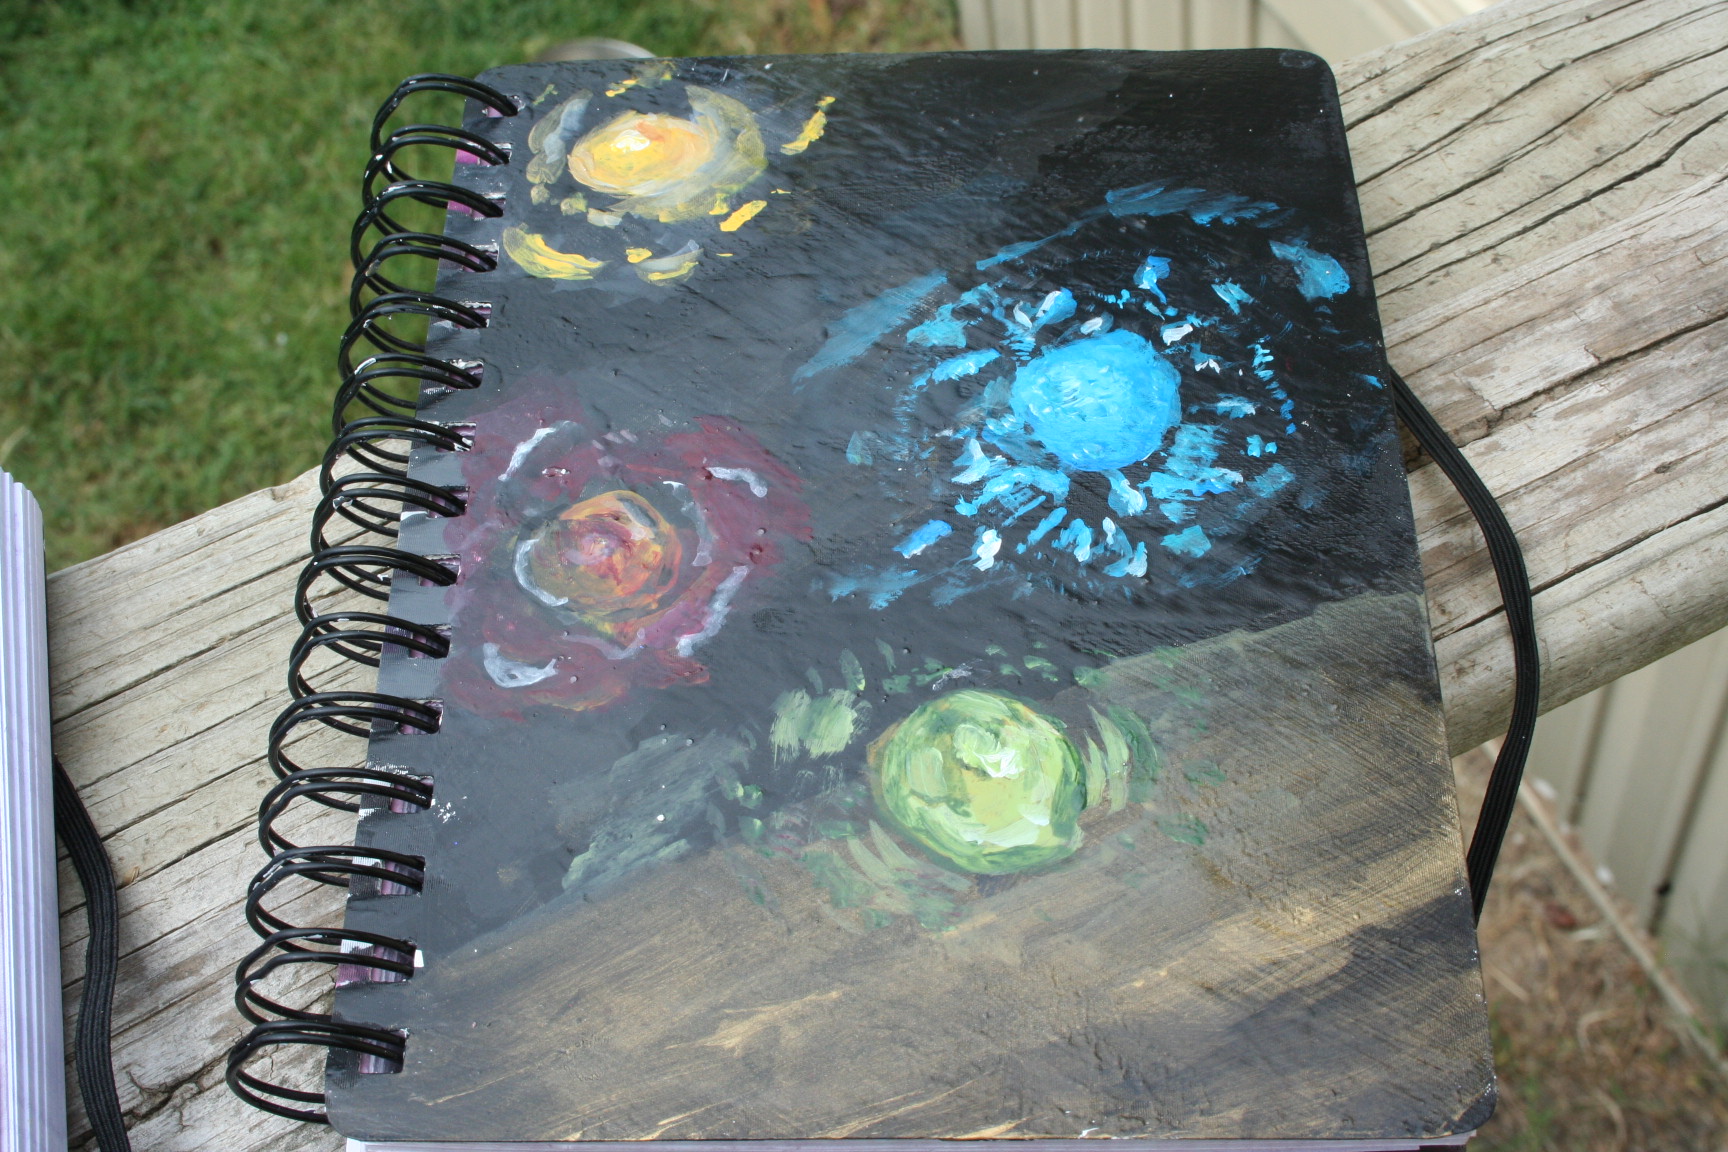
 Here’s one that she painted orbs on.
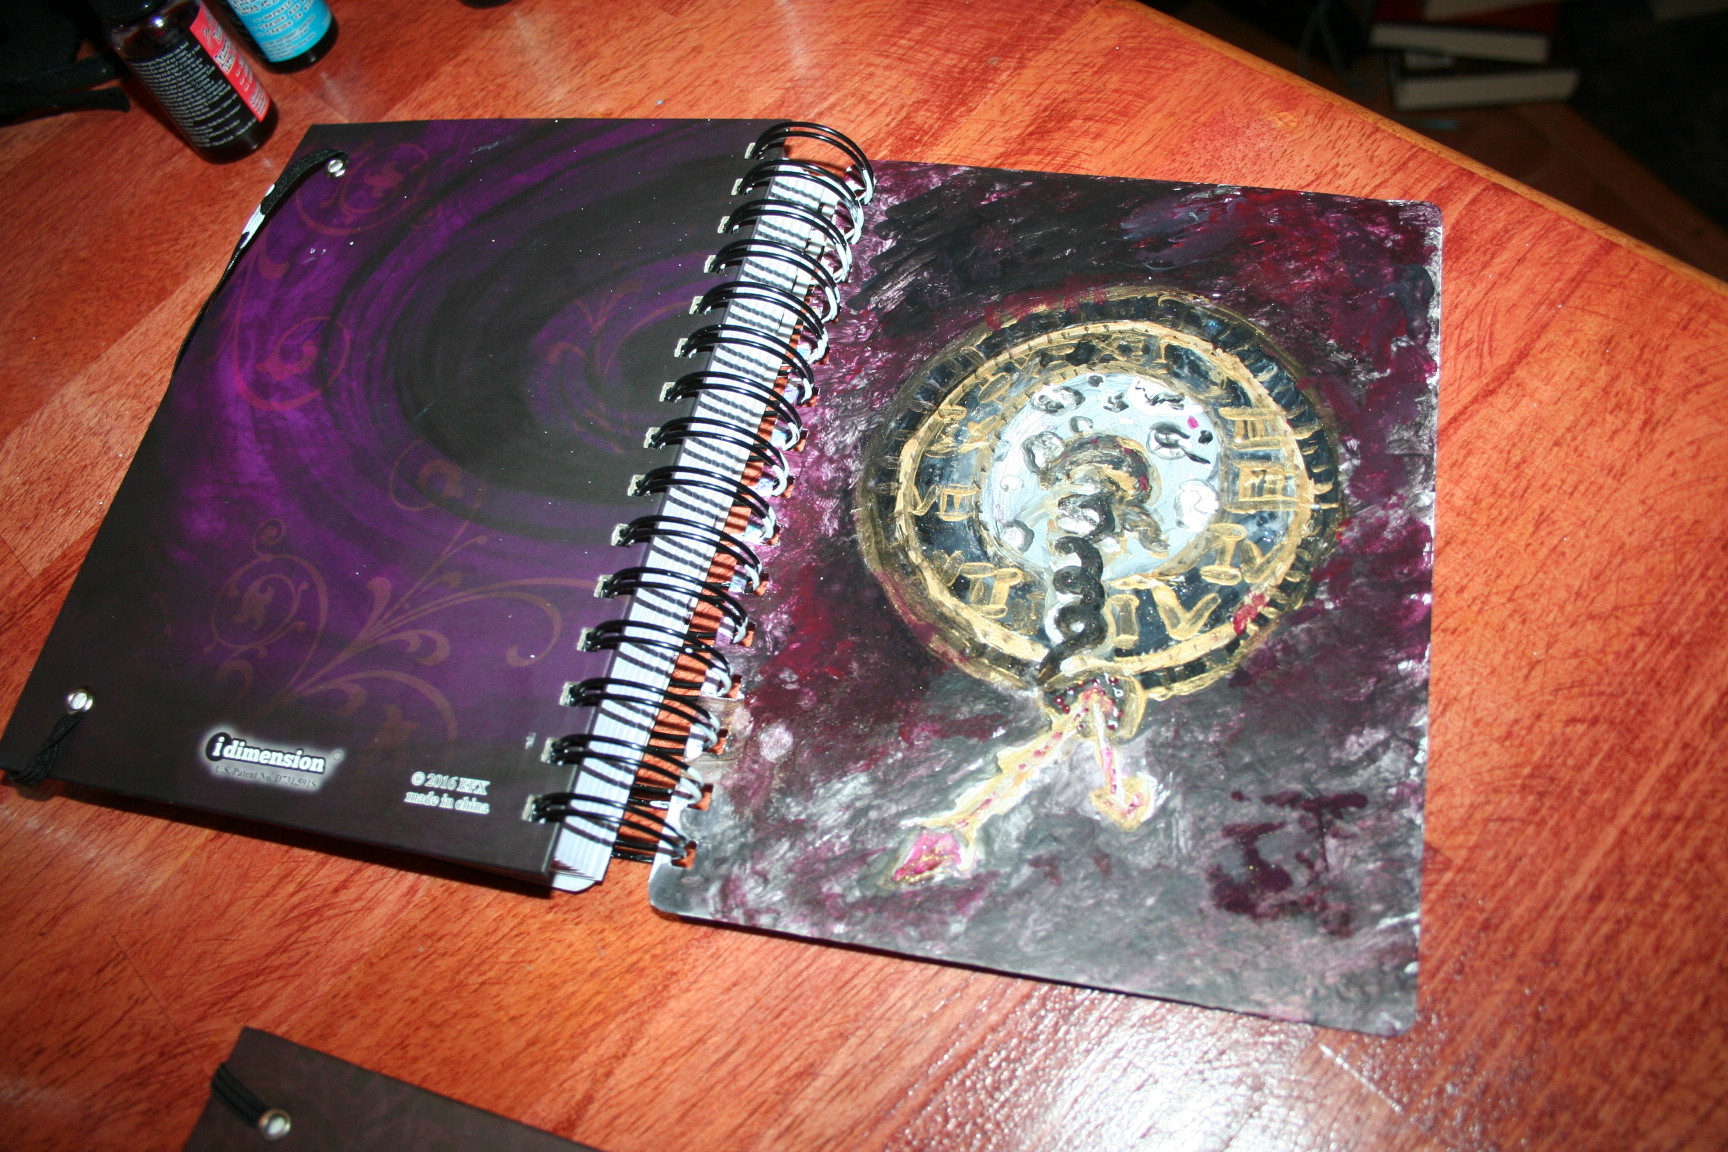
 On the last one, Michael showed her how to do a faux marble look because she was out of ideas. Unfortunately, it was too bright for her desired effect for this particular book. She used the techniques he taught her and made it darker. Here’s how it looked when he was done.
 There was a bit on the bottom that she didn’t like so much and chose to cover it up with a piece of black construction paper with writing on it. But she still didn’t like it. And here is how it looked after she repainted it.
 Okay, so after she has the cover how she likes it, she applies a coat of Mod Podge for durability.
 This is a very old bottle but it still works.
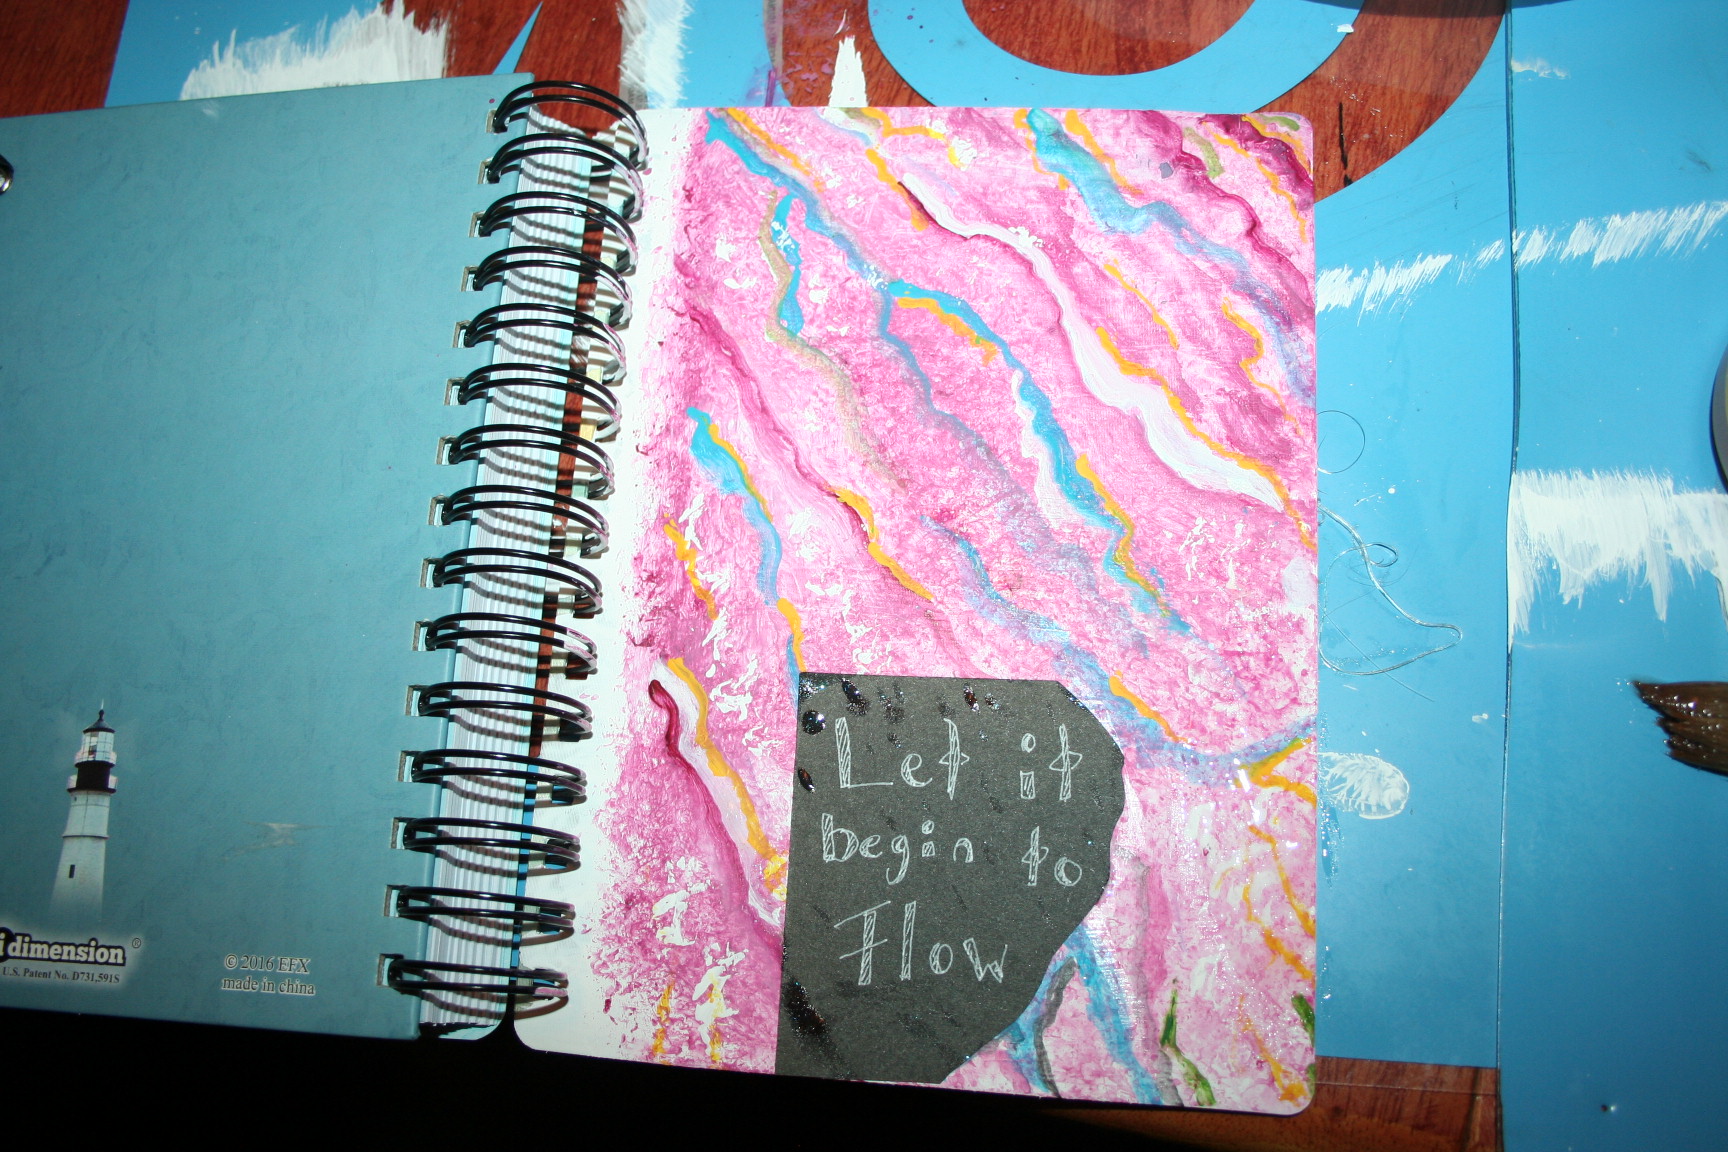
She’d covered that pink marble one with the Mod Podge already before she admitted that she didn’t really like it. I told her to go ahead repaint it. She did but was concerned about the outcome. However we both think it turned out really nice.
It kind of has a crackle effect, which we like but we aren’t sure if it was because she painted over Mod Podge or if it just wasn’t cured enough first or what. But thankfully she likes the result.
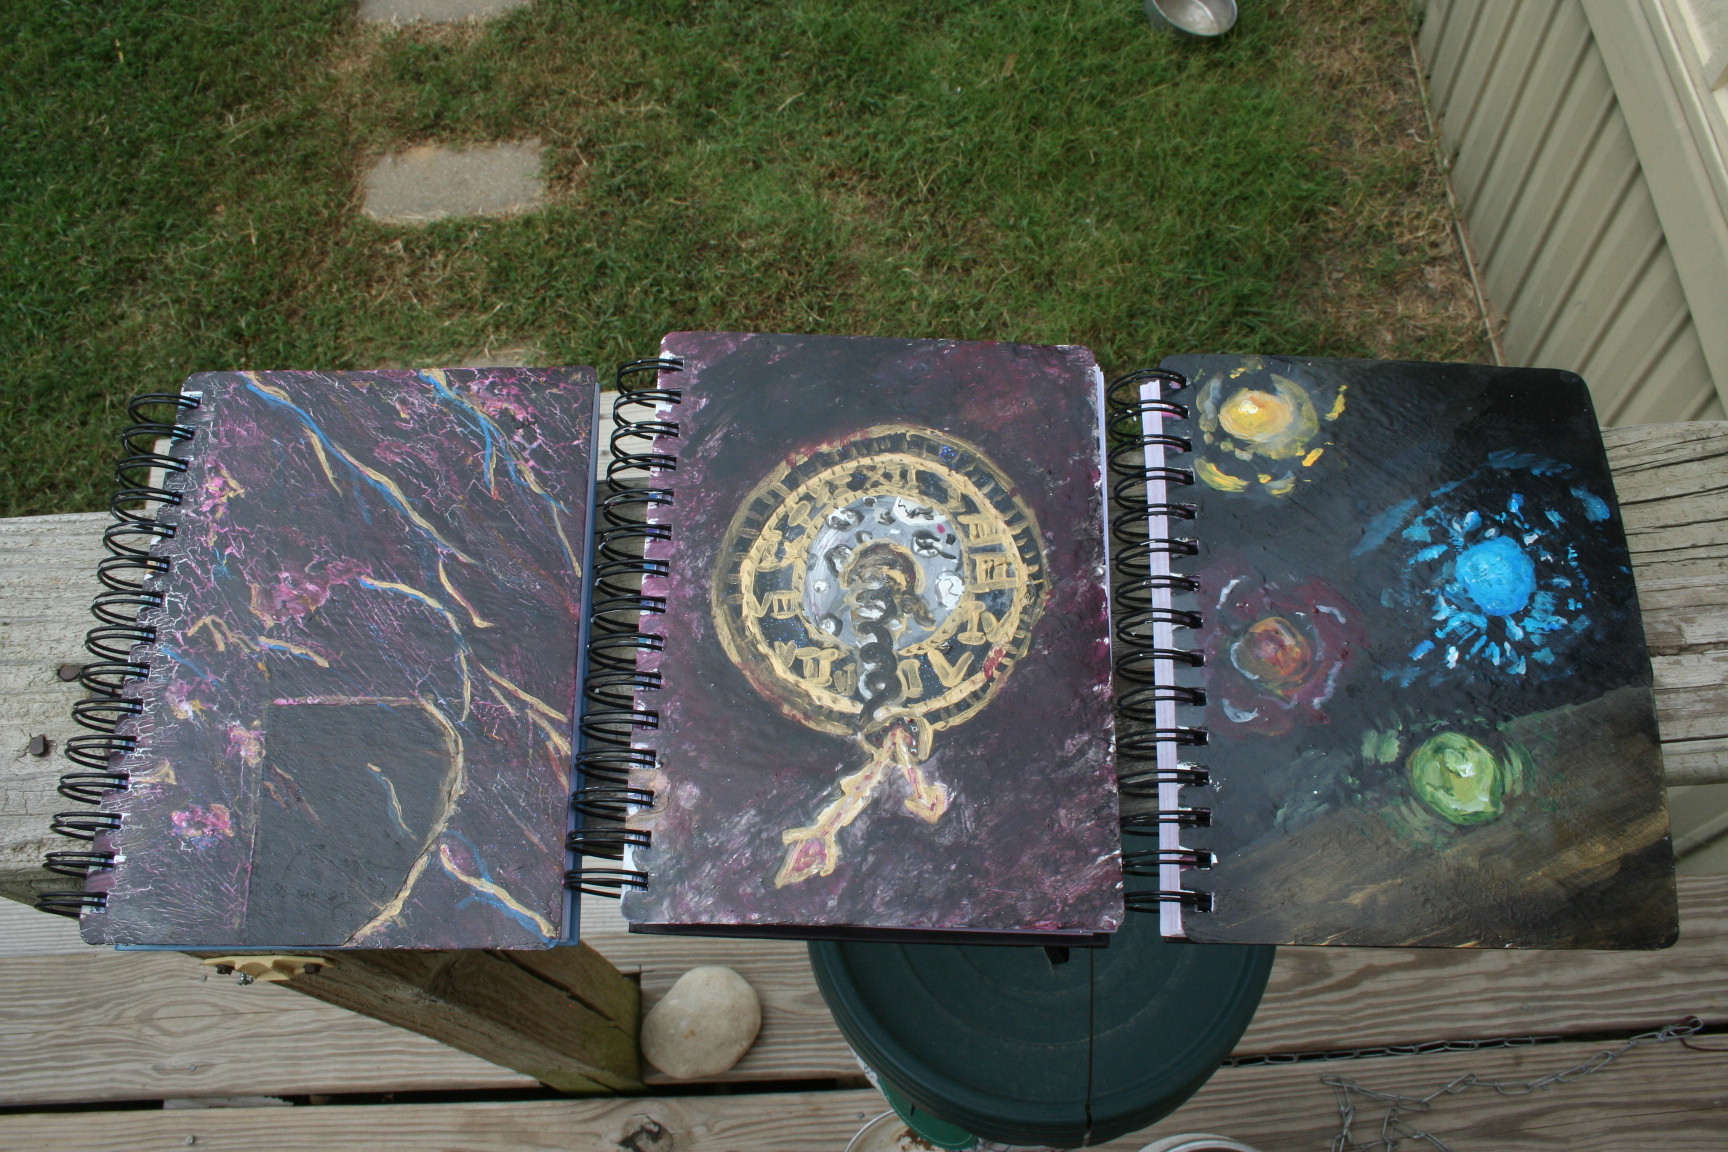
Here they are all together.
 Well there you go. The steps are simple:
- Paint the cover with acrylic paint mixed with 1/2-1/3 as much floating medium.
- Let dry.
- Paint whatever you like on the new white background.
- Let dry.
- Cover with a coat of Mod Podge.
- Let dry.
- Use a “magic eraser” sponge to get any paint off the spiral binder.
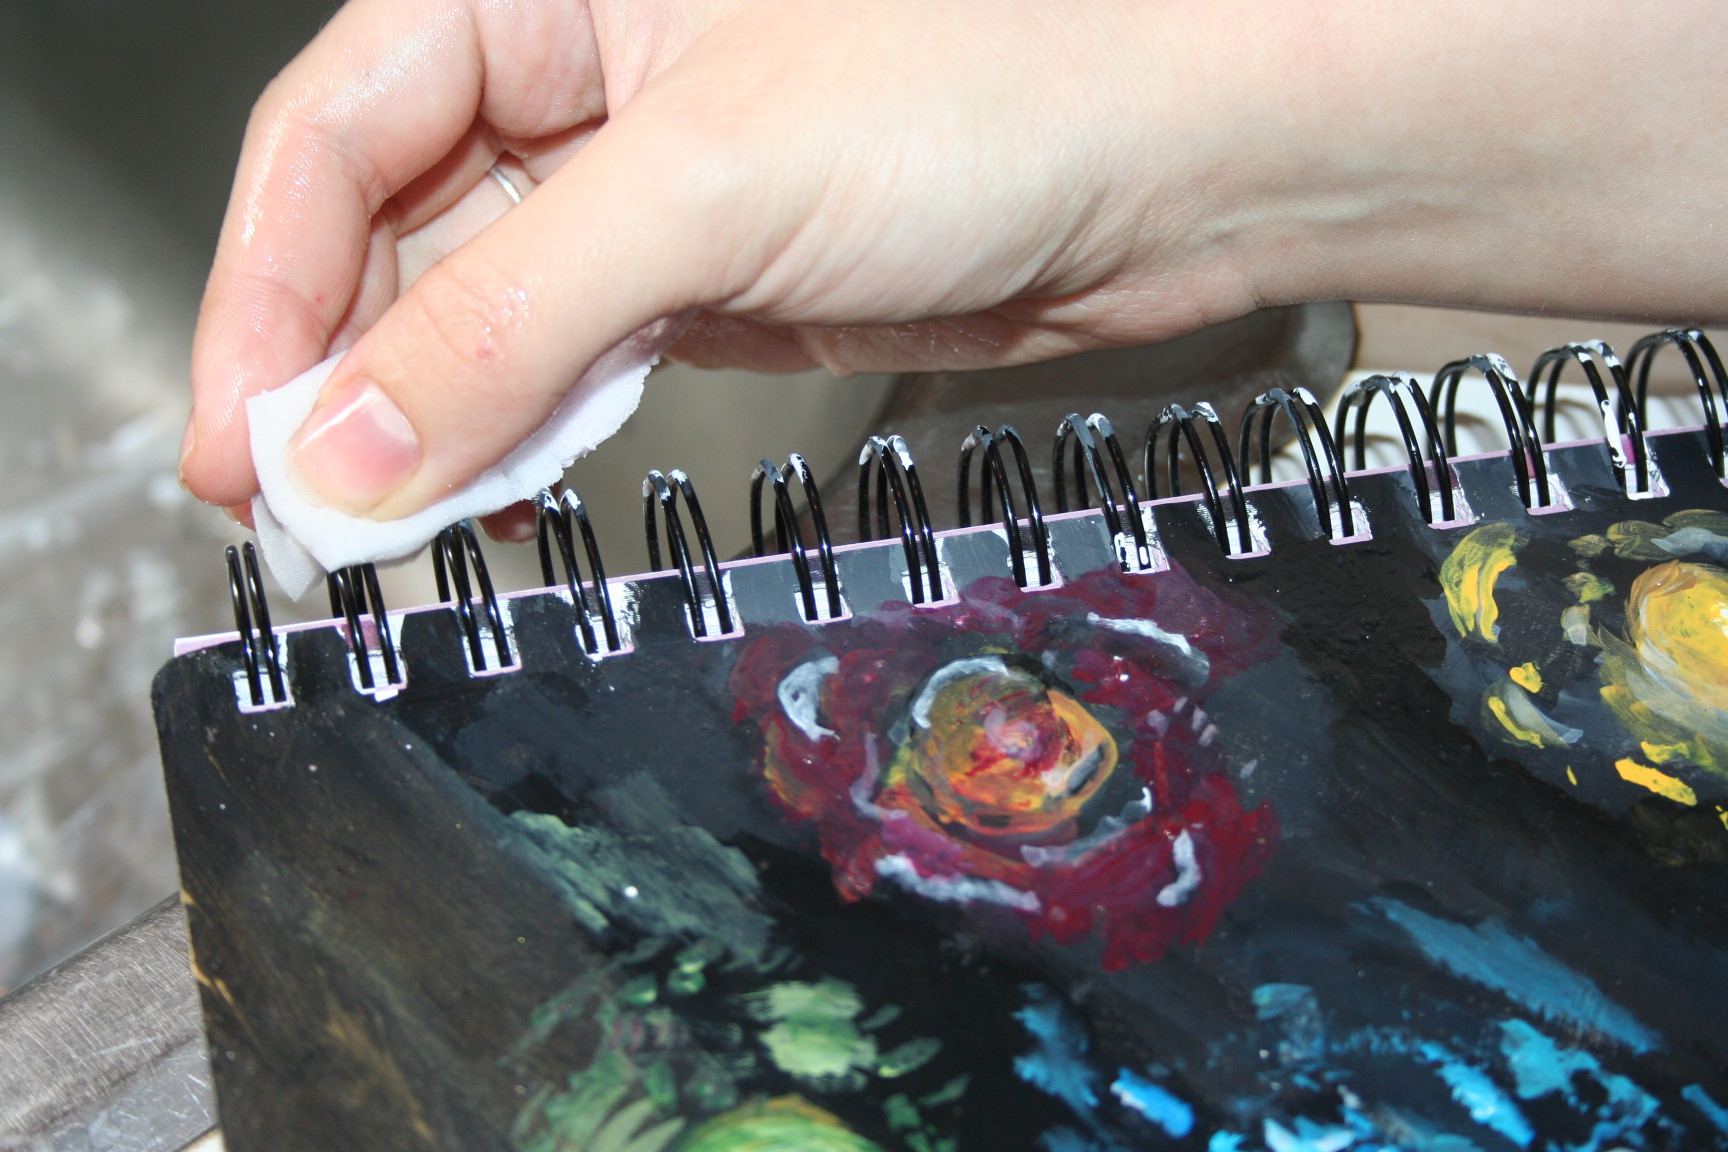 Tiffany does everything in a super fast speed, so she gets some white paint on the binding coil. She just uses a “magic eraser” to remove it.
Well, I hope this is helpful to you.
Until next time, God bless,
Michele ºÜº