Category Archives: Tips

How to Find Meat Deals

The last couple of weeks I have been really getting some great meat deals! I thought I’d share with you how I found them.

So first up was a deal on chicken breasts at Aldi. The cheapest I’ve seen them is $1.49 a pound but then that was only like once or twice ever. $1.69 is the low I usually see. Well two weeks ago I saw that there were two $1 off stickers on some of the large packages of chicken breasts AND they were already at $1.49 a pound pricing.

Now the way you get the best deal per pound on the meat like that is to find the smallest packages because the $2 will be taken off the total. So if there were 5 pounds of chicken you’d be saving forty cents a pound but if there were only 4 pounds of meat then you are saving fifty cents a pound.

When I shop in our stores, I do a quick walk through the meat department looking for any sales or price reductions. I have found that Walmart has miscalculated the price per unit before, so if it doesn’t seem right, do the math yourself. ;)

Two weeks ago at Sprouts they had BOGO rump roasts and they were $4.99 a pound. So that meant that if I found two roasts the same weight (or very close to the same weight) they’d be $2.49 a pound but since Michael cannot eat beef right now and he didn’t have any work for nearly a month, that I should not spend that much money on meat he couldn’t eat. (Sorry for the incredibly long sentence!) Anyway, I checked it out again last week when we went and they’d raised the price per pound to $7.99! Uh yeah, that’s no bueno. :o Glad I didn’t want to buy any. :D

Last week I was on the Flipp app and clicked the grocery tab. I looked at my Sprouts, Aldi, and Walmart ads and saw Cash Saver. Now Cash Saver is a tricky store because they say they sell everything at cost + 10% added at the register. I personally don’t believe that is the case with every item in the store but believe that is the case with their sale items because each one of those has it listed on the price signs.

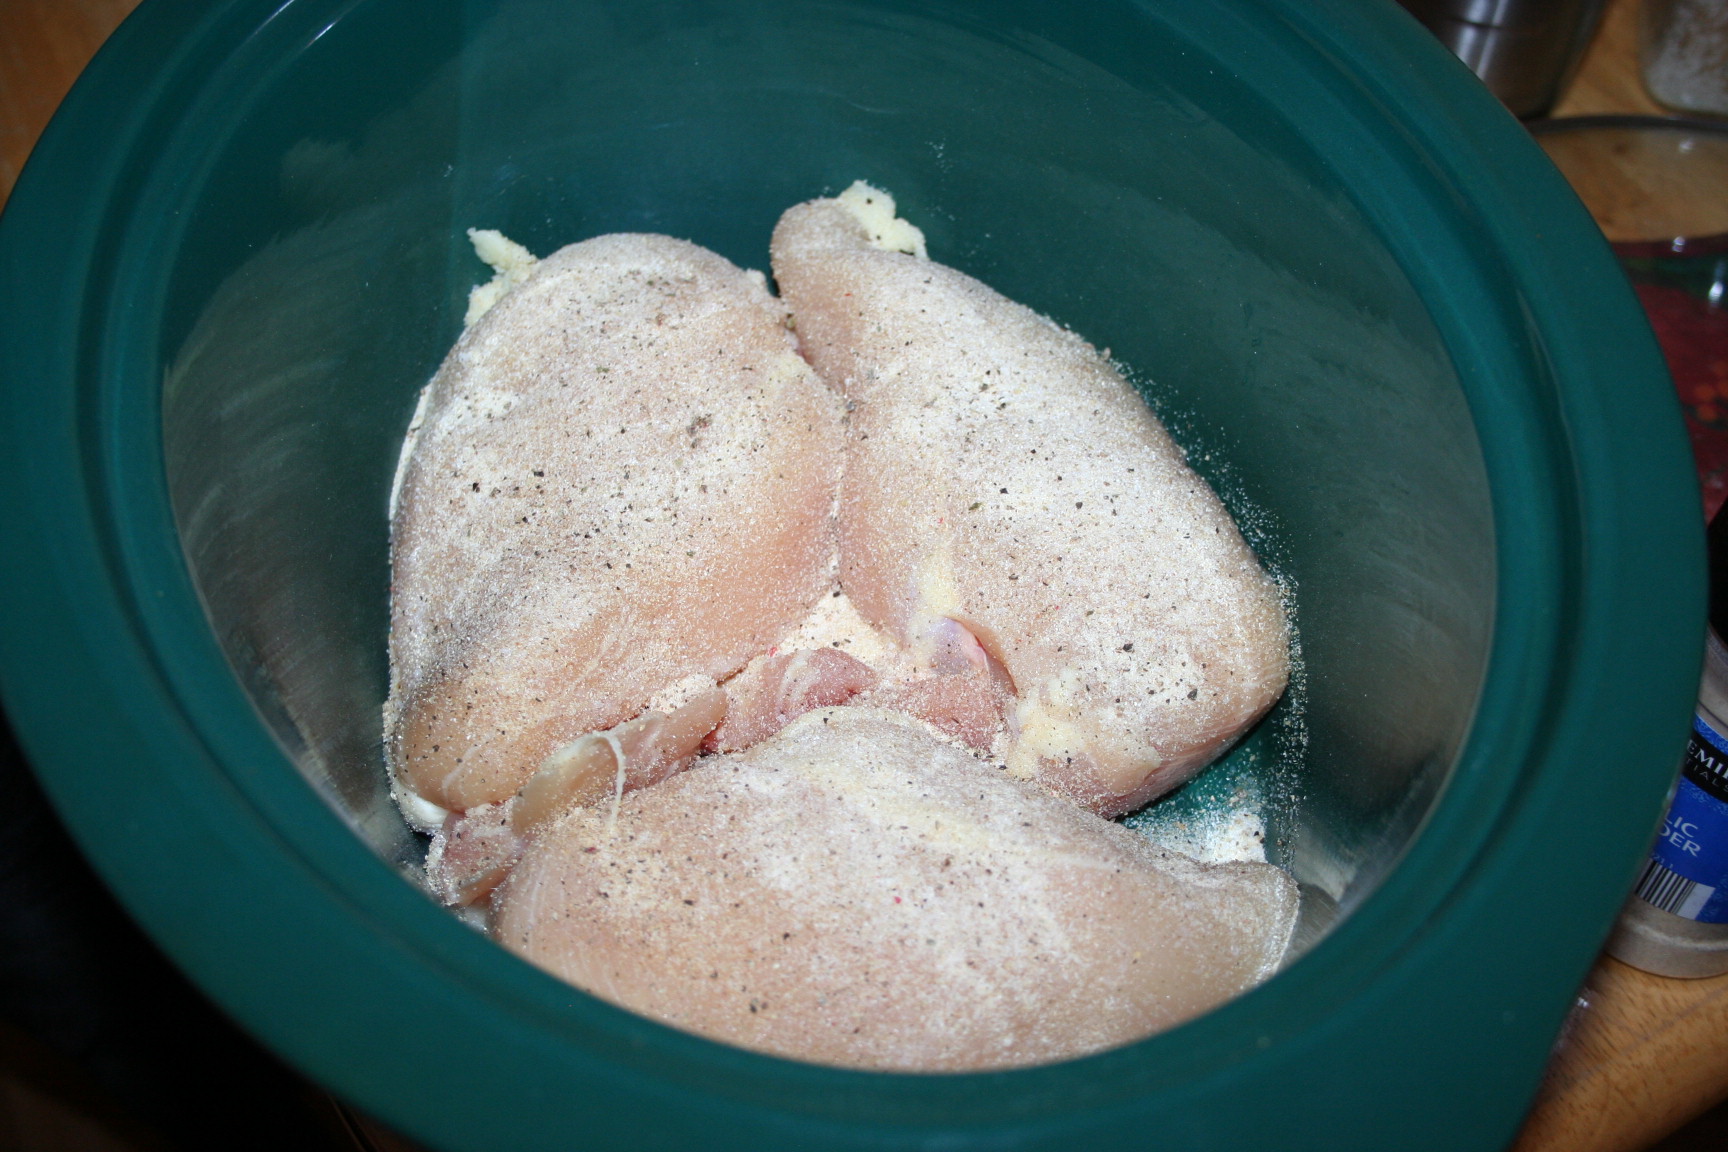
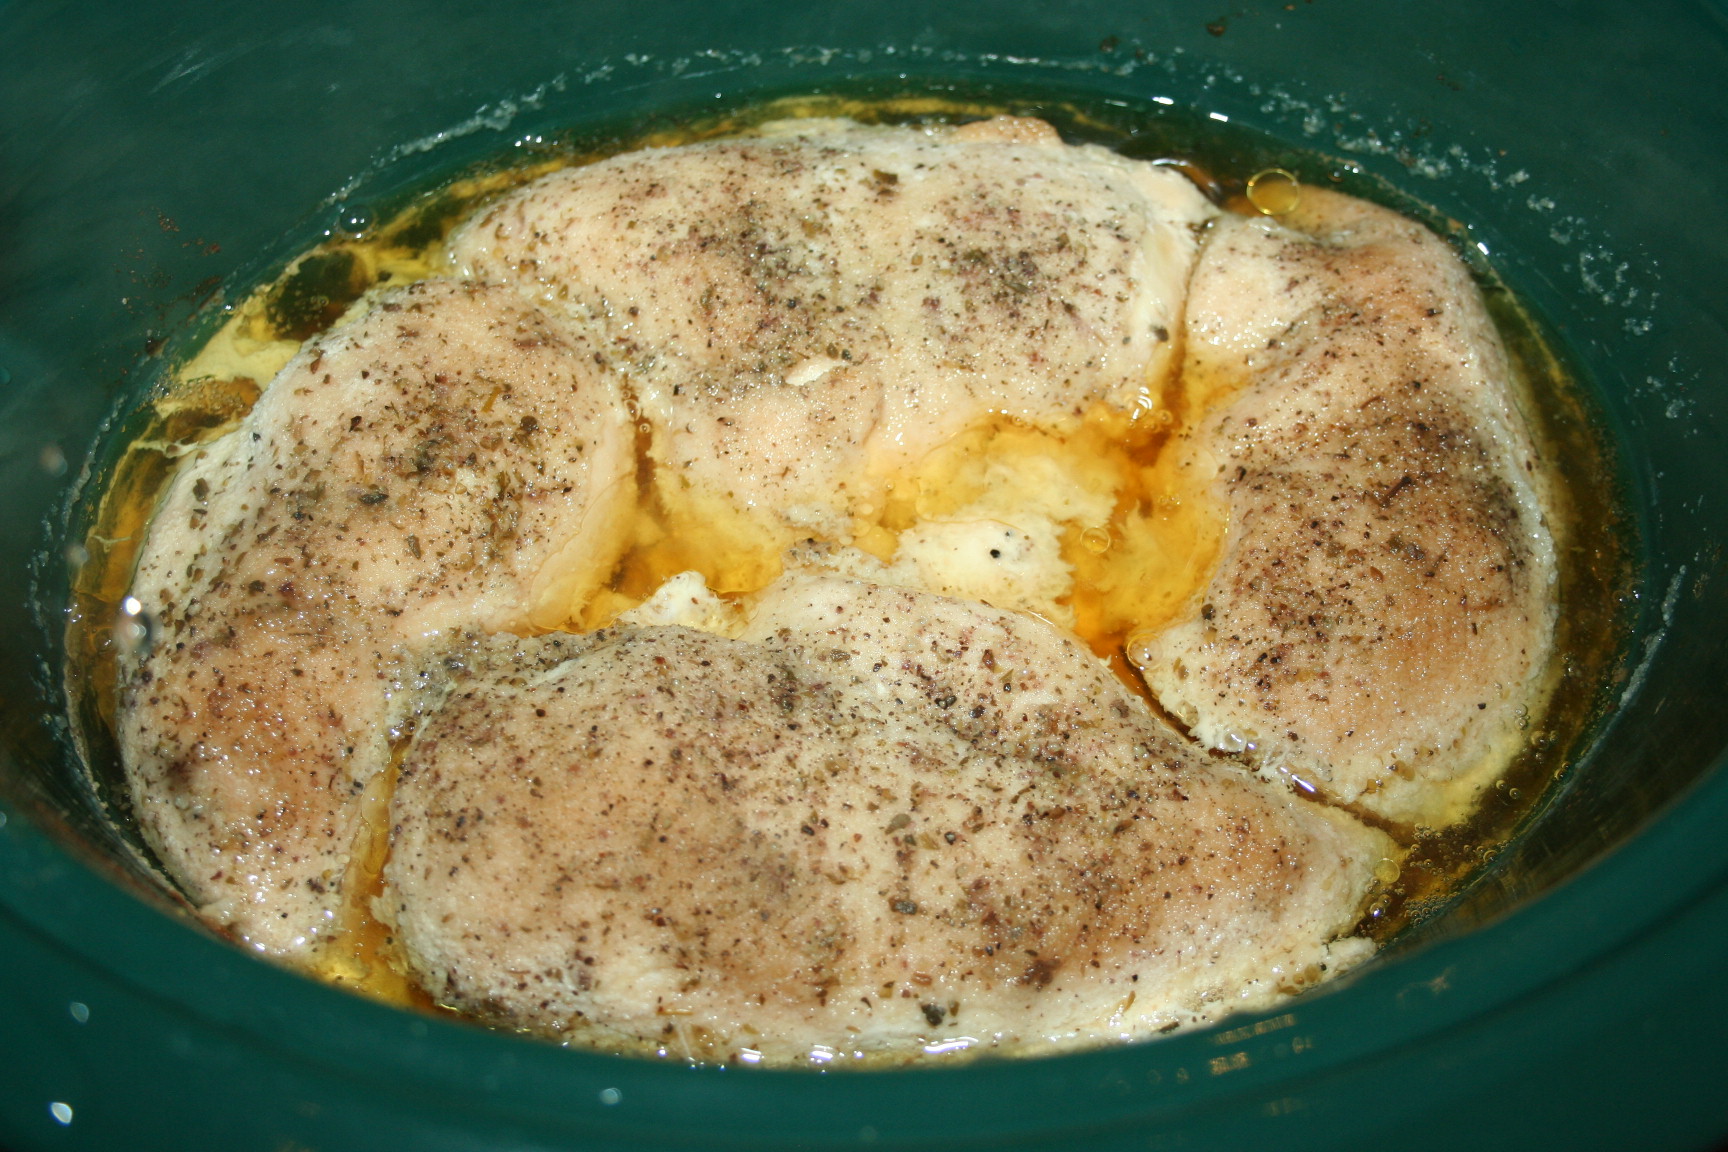
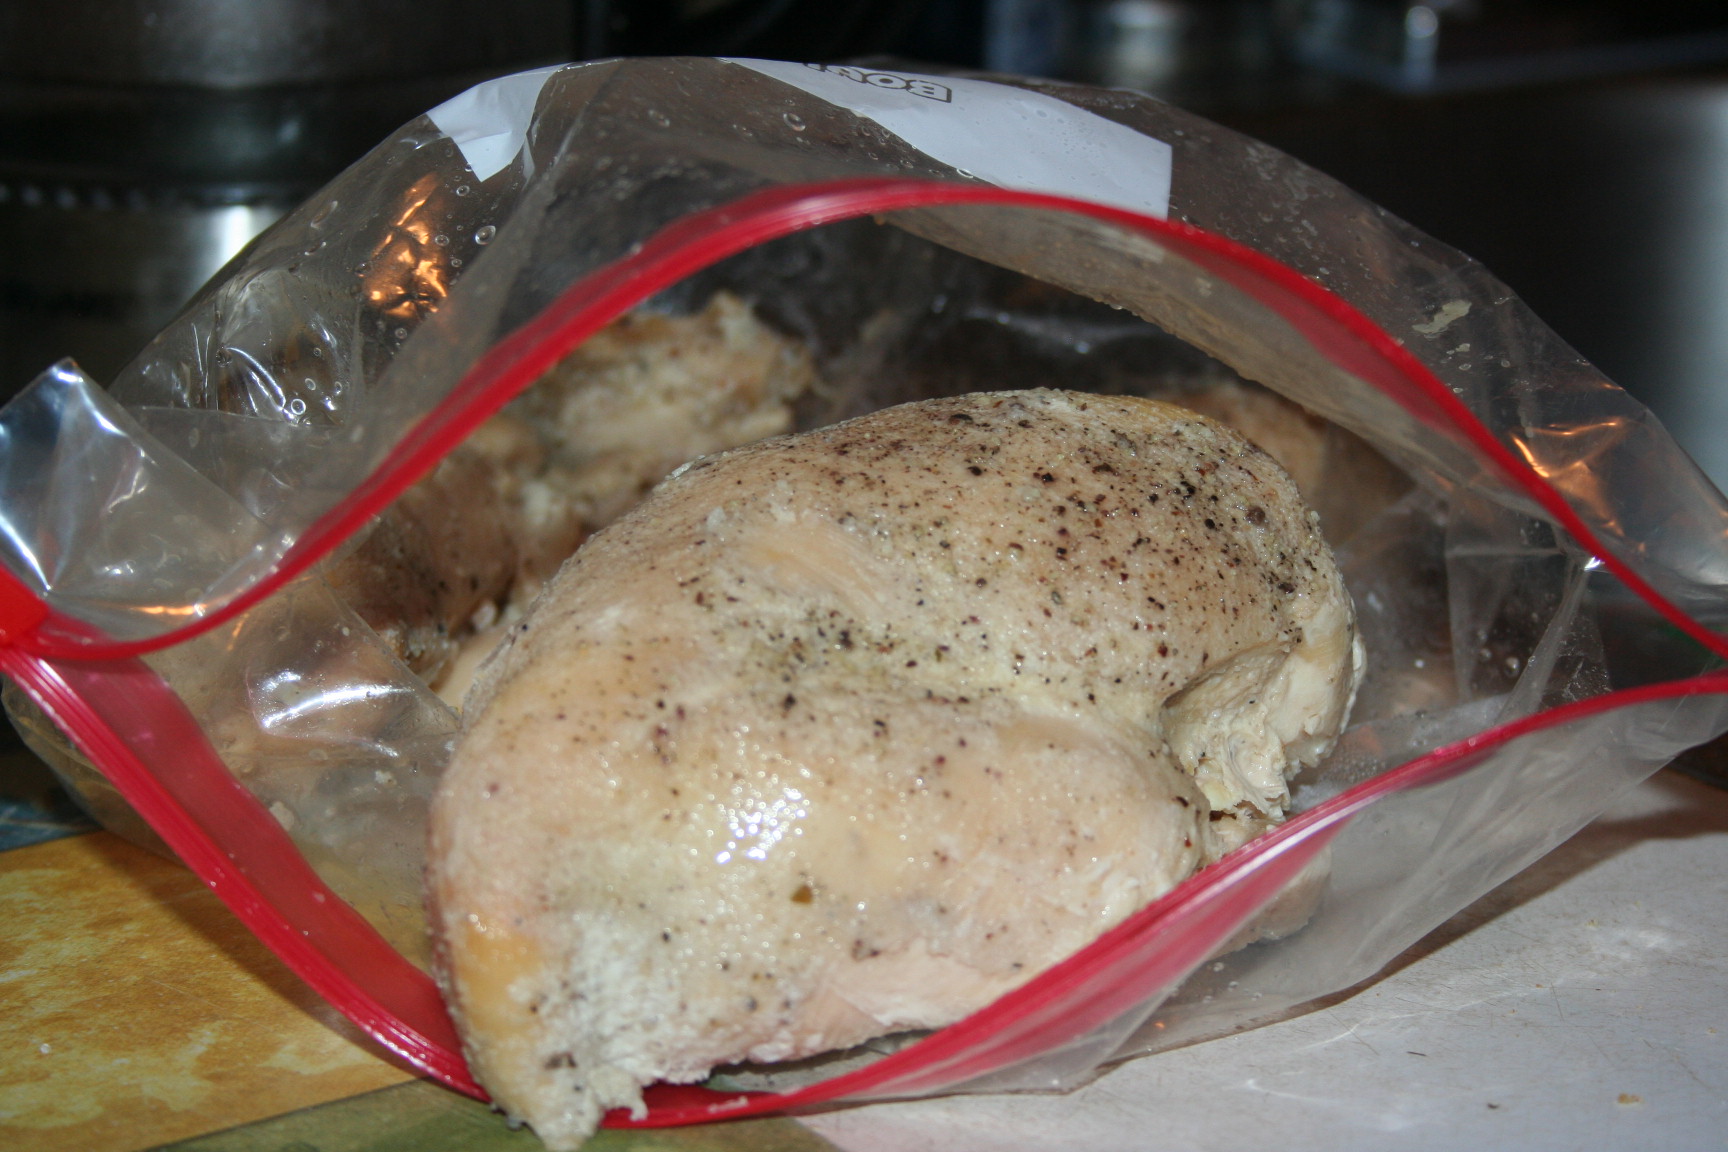
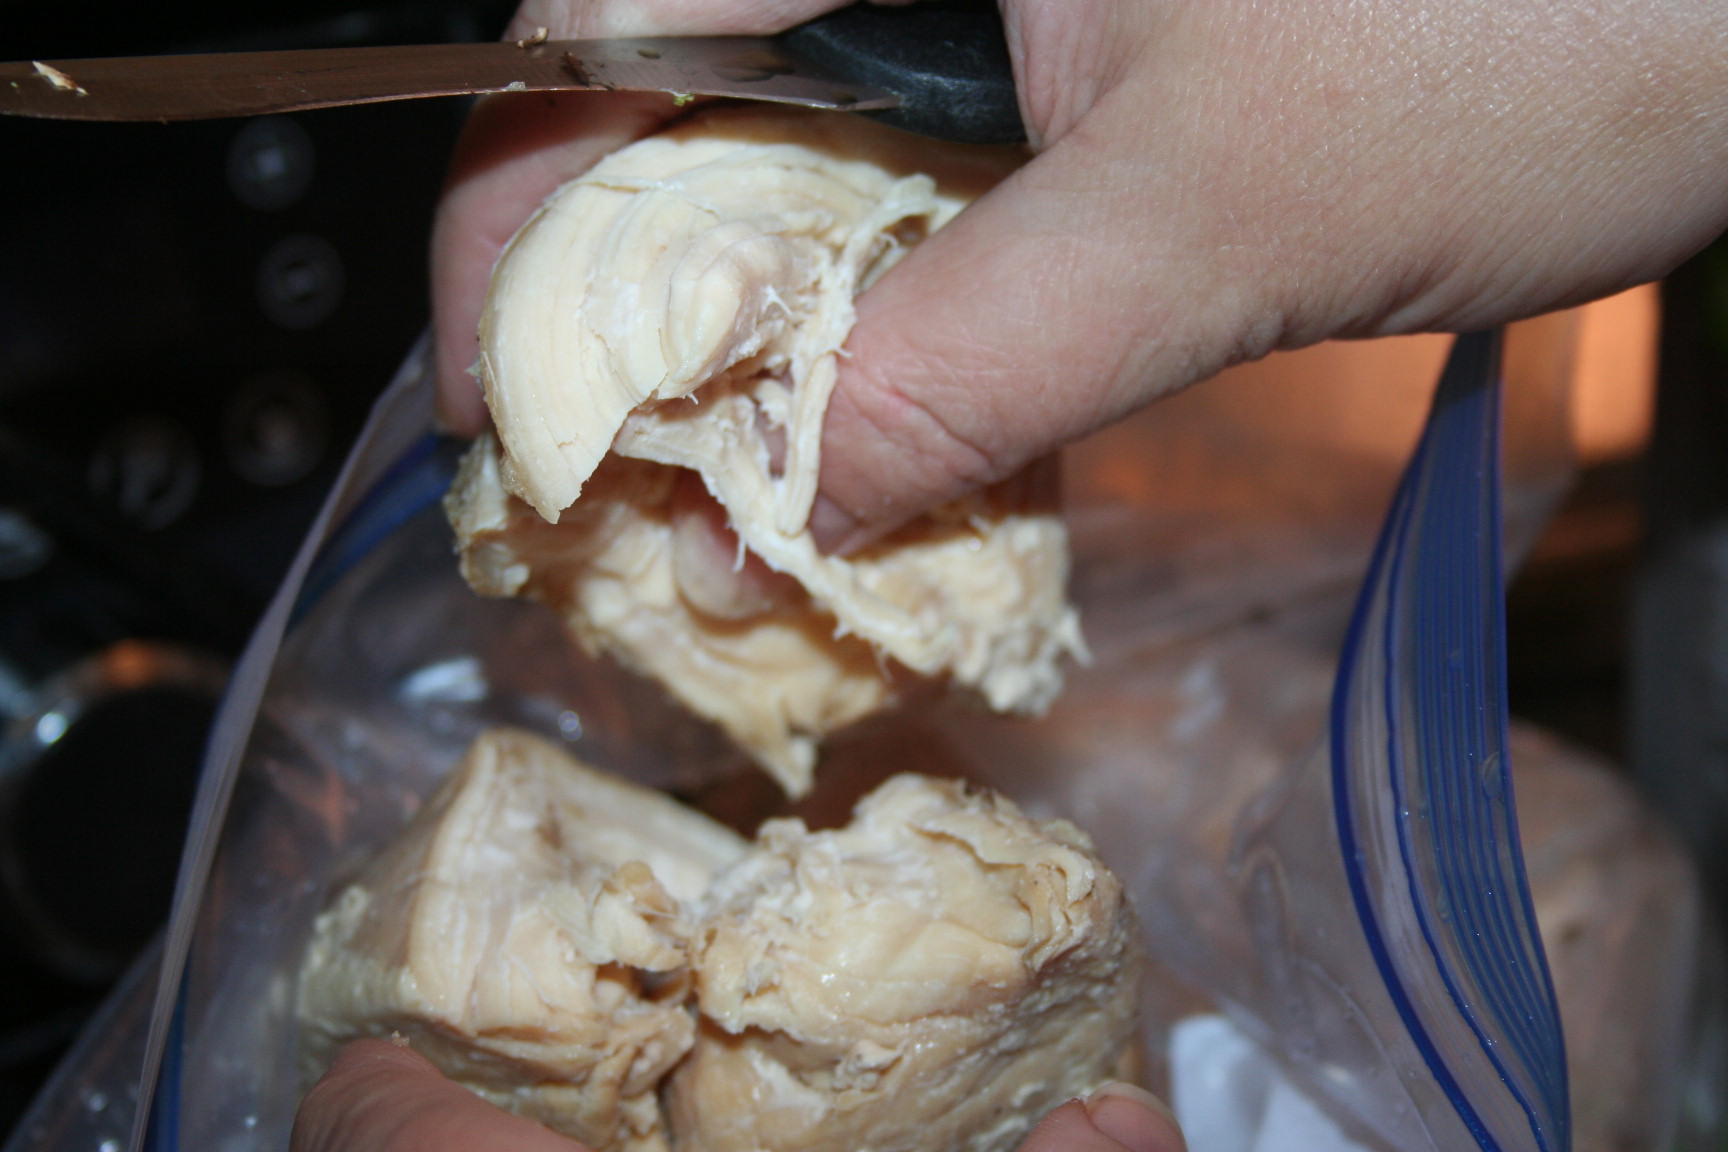
At any rate, they had chicken breast at 97¢ a pound, so that makes it $1.06 a pound which is the cheapest I can get it. We got 4 of their largest packages and had about twenty pounds of meat. Now those were frozen but frozen touching each other, so I had to put the in my refrigerator for them to thaw a bit so that I could separate them into individual breasts. (I place one in either a freezer or storage quart baggie and then put several of those into a gallon size bag so they don’t get lost in the freezer.

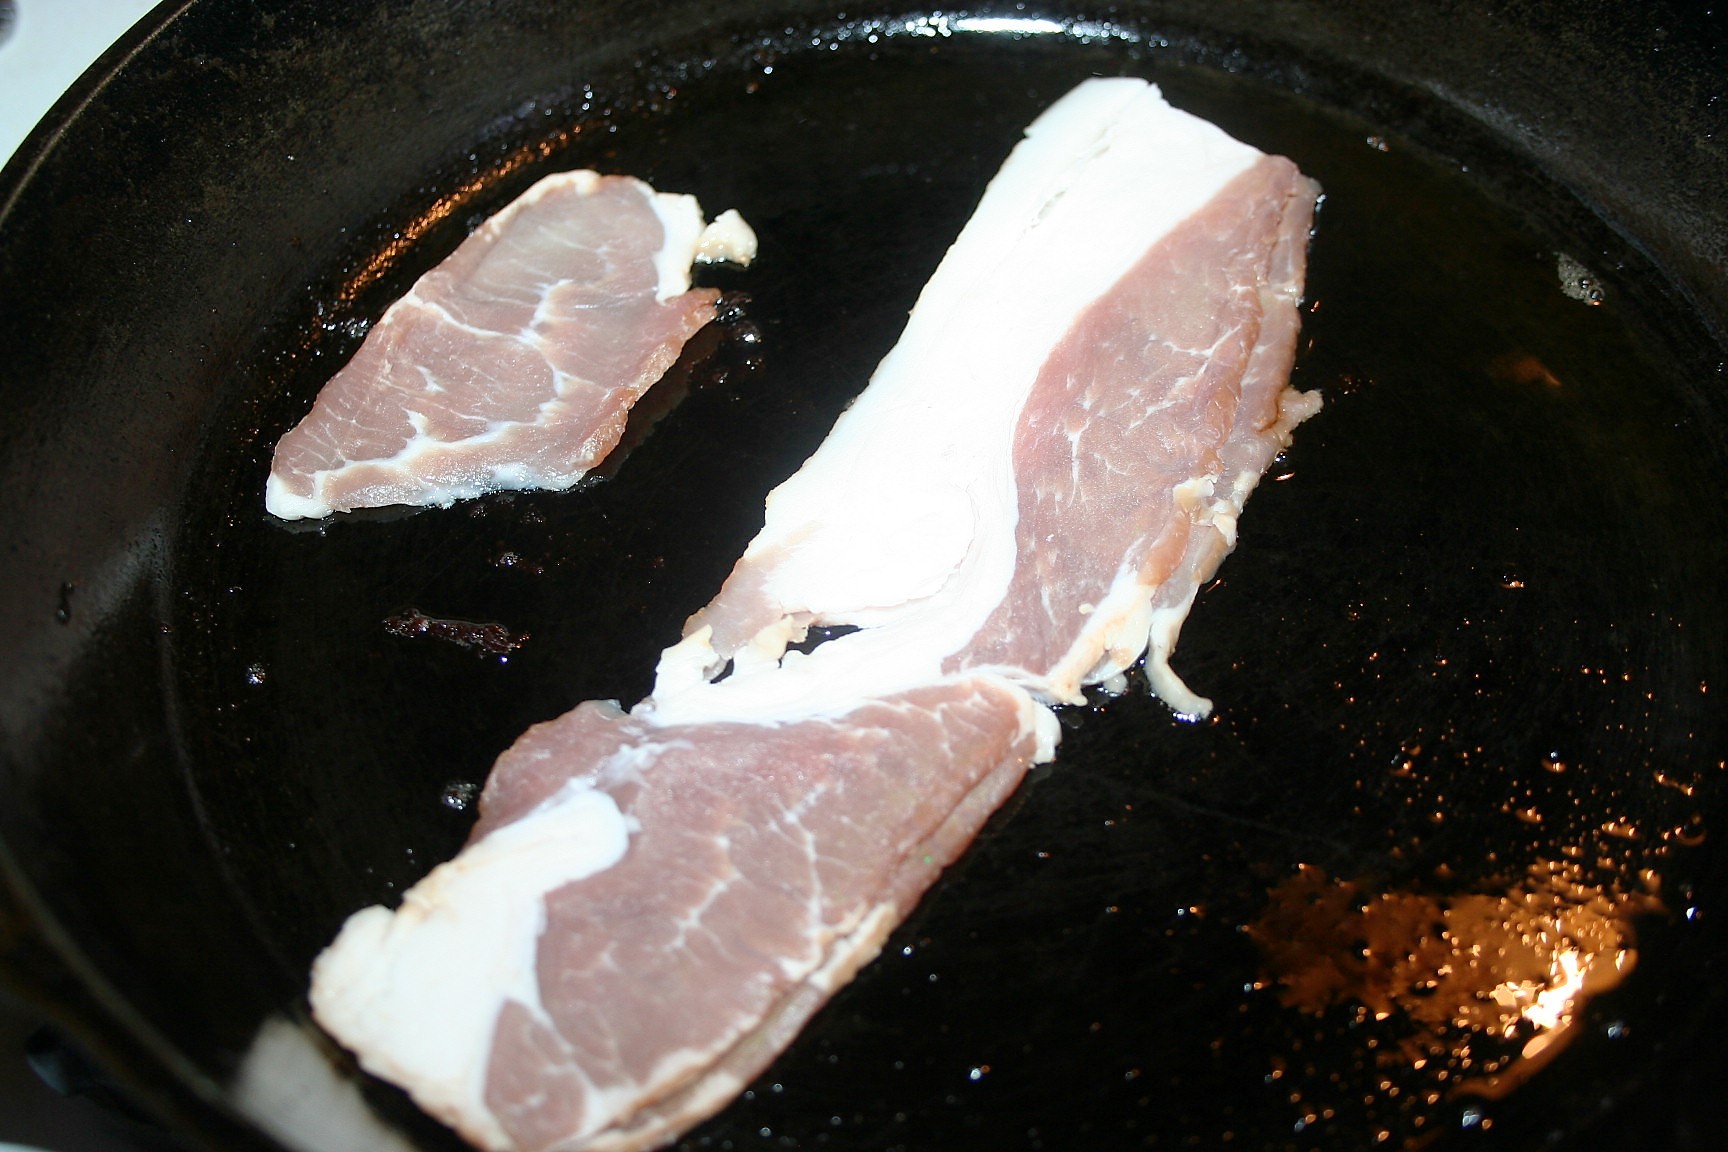
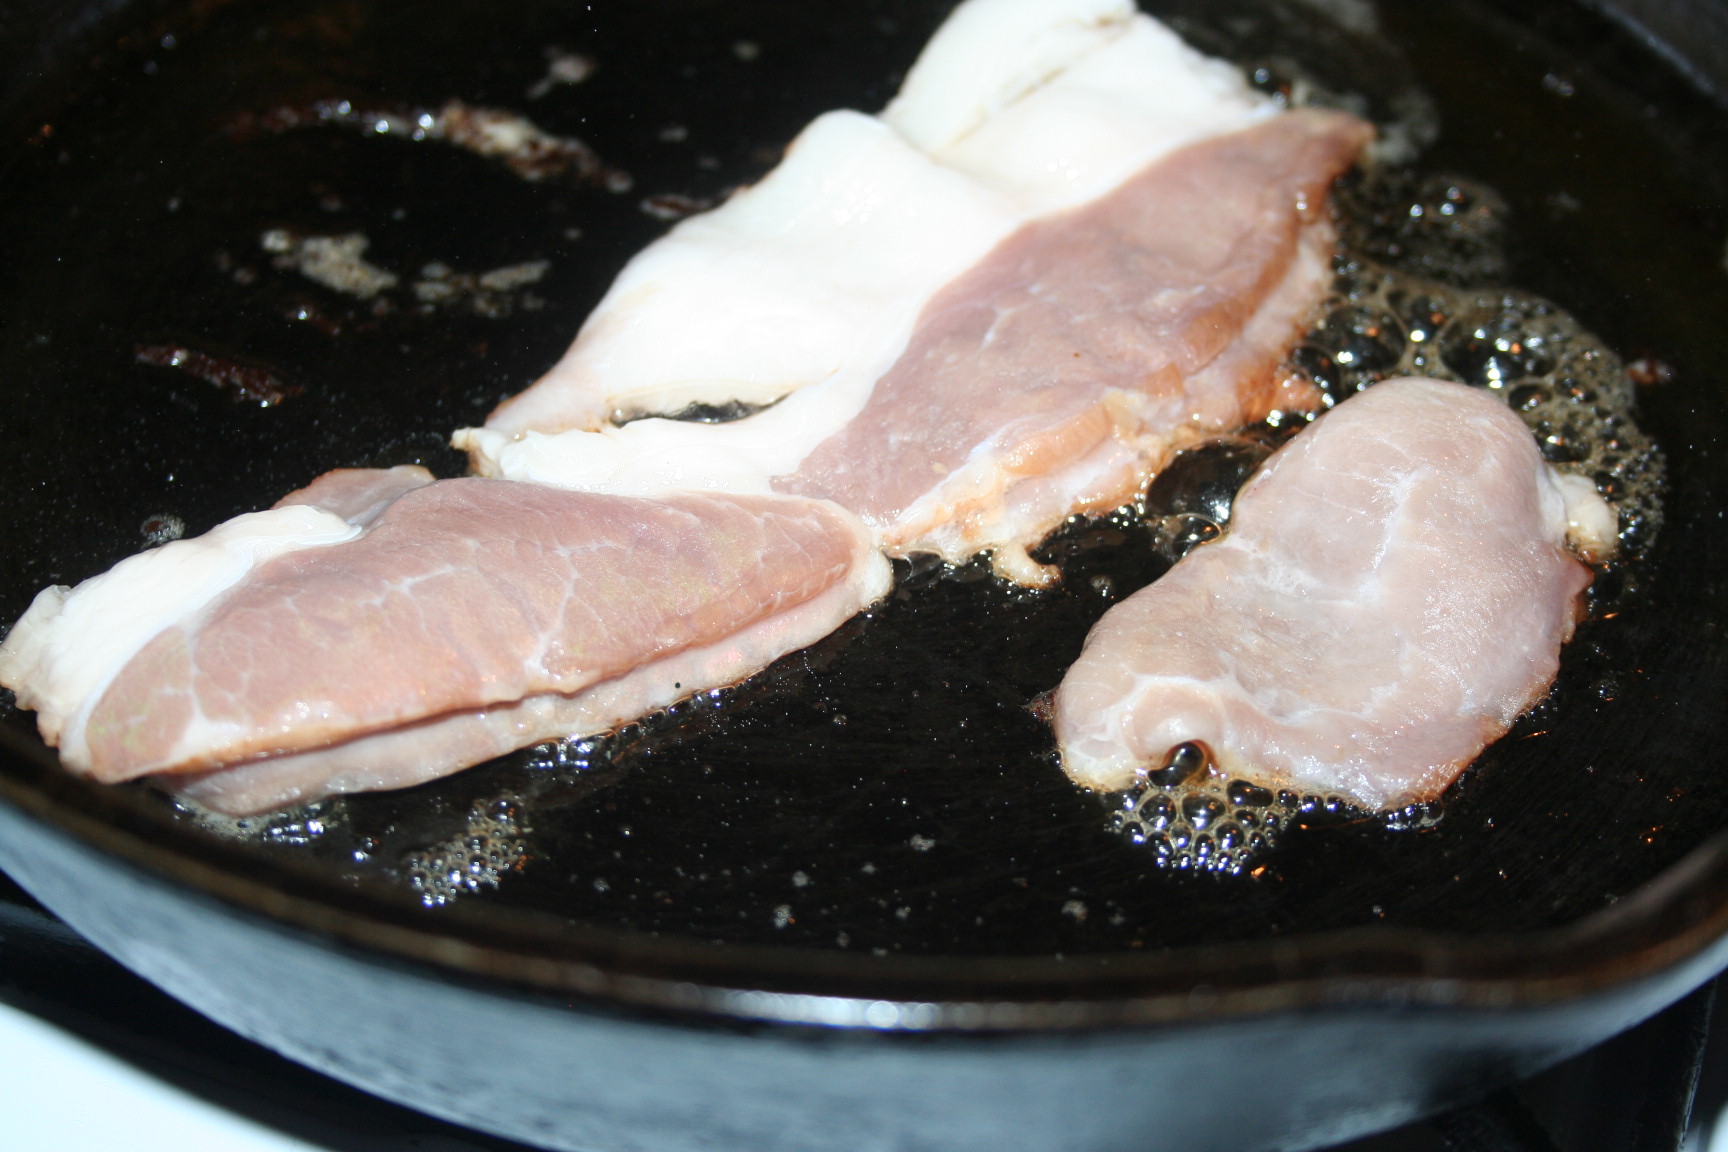
They also had whole pork butts on sale for $1.05 so that made it $1.15, which is also the cheapest I can get those. My low price has been $1.49 a pound so far. Now these were not frozen and came two to a package. So I individually wrapped them and froze them. I like to use freezer baggies. However, the one was too big, so I had to cut it and put it into two baggies but labeled them part a and b because one part had the bone and wouldn’t be a lot of meat all by itself. When I cook these up, we will have some for dinner but then I will bag the rest up for several more meals that will only require reheating/crisping. :)

Oh, to finish about Cash Saver, it is not a store I’ve ever gone to before. I did send Michael one time to a different one before because we get a flyer from a store in our county, but we don’t ever go to it. Since the store listed in the Flipp app ad was on the side of town and only a couple miles from Gardners (our used book store), I decided it would be good to check it out.

While at Cash Saver, I saw they had sausage for 89¢ pound, so it was only 97¢ a pound. Now here is where impulse buying is not good. This was meat and I didn’t even think to read the ingredient label. :p When I was filming a video for my meat bargains I saw that it had some things added for preserving flavor and later saw it also has MSG. SO…I probably won’t be buying that again but it did taste good. ;)

When I found turkeys at Walmart a few weeks ago at only 50¢ a pound, it was from just wandering through the meat department and actually looking at the turkey tags. I did this because I remembered one year overhearing a lady asking about turkey breasts that were just 30¢ or so a pound. So now I check around and after holidays for clearances. :)

So those are my tips:

  • check the local sale papers
  • check Flipp app and other such apps
  • walk through the meat department  looking for sales and reduced prices but be aware that when an item is marked down, the price per unit may not be accurate

I hope this post helps you find some meat bargains. I find meat is one of the most expensive things in my grocery budget, so finding bargains can really help lower the grocery bill.

Until next time,

Michele ºÜº

Preschool at Home

It’s hard to believe our grandson is now three years old. I think he’s adorable.

This post is in an effort to help any mom new to homeschooling. I’m going to include some online preschool resources to help you. But first I need to say,

Don’t go crazy.

Make sure you give them plenty of time to explore things on their own. Don’t get them so structured that you suck the fun out of learning and play time. ;)

Make it fun.

Little ones learn so much through play. If you can make it a game, as in something they like, they are going to be so much more engaged. Don’t insist that they do everything your way. Allow them to play and explore things.

Have a schedule.

I know this one kind of goes against the previous ones but many children thrive on schedules, as do most adults. ;) Find a way to convey your schedule to your little one. They will pick up on things like after lunch we go outside and play or after we play we come in and eat a snack and take a nap or after dinner we take a bath, read a story, and go to bed. Children do well, generally speaking, with routines.

Get them outdoors.

When the weather is not dangerous, get them outside to work off some energy. I know my grandson has a boundless supply of energy. Getting him outside helps to wear him out a bit.

I suggest getting him outside to run, climb, and play before nap time and before time to make dinner to help him be tired enough to take a nap or have quiet time quietly. ;) And also be ready to go to bed at night.

If it isn’t tornadic, sweltering, or storming, it is even good to let them outside in the rain and jump in puddles, when dressed appropriately. ;) Of course, that might just be the grandma in me and not the cool mom. :D

Read books with and to them.

It’s good to run your finger under the words as you read, so they can see a correlation between the words you are saying and what is on the page. You don’t need to do any instruction with this, just simply run your finger under the words as you read them. :)

Books are so important!!! Reading is a fundamental milestone that everyone needs to attain in their lives–but there is no age when they MUST learn; it’s about when they are ready. The important thing is to read to them and to read on your own, showing them that you read too helps them see it is important.

If your stuck with some ideas of some good book choices, here are some lists to consult.

  • Ambleside Online – be sure to scroll down the page for the book titles. I’m sure you’ll see some familiar ones. :)
  • Simply Charlotte Mason – has a good list too
  • 1000 Good Books List – Note that this link is for up to 3rd grade, so some of them will be too much for your little one to sit and listen to. Don’t force long periods. Choose books the right length for your child’s attention span.
  • What is Twaddle? – with a short list of preschool book suggestions.
  • Scribing Life – This lady combined books she found on some of the lists I’ve mentioned above and made a comprehensive list.

Seriously though, once you get a feel for the kind of books on the list and that your child enjoys, you can just pick books from the library.

Curriculum

  • Mama Hustle Repeat has some good preschool homeschool ideas. :) And more on this page.
  • Brightly Beaming Resources! – This is one my sister used with her children. This preparatory set of lessons is good for ages 2-4 and covers just 26 weeks. It focuses on a theme of the week but introduces them to a letter each week too. Utilizing a Learning Poster, changing the focus each week (completely described on the website and very simple to do). This can be made easily with a presentation board from Dollar Tree or simply a poster board.  * The first week covers the theme Cows with the vocabulary word calf, shape square (shapes alternate with colors), letter A, and number 1. It gives some book suggestions, some poems, and songs that relate to the theme. Then it also offers a gross motor skill activity, a fine motor skill activity, and a nursery rhyme. * The focus is not on the alphabet but does simply expose them to the alphabet in this 26 lesson period since the next step focuses on a letter a week. :)
  • Easy Peasy Getting Ready 1 (for 4 year olds – similar to Letter of the Week by Brightly Beaming). I only include this so you are aware that there are options but I do not recommend it for 3 year olds.

I’m sure you can see that I highly recommend Brightly Beaming Resources Step 1. They have more curricula for older ages as well. So if your child is a bit older and is already familiar with the alphabet, check out Step 2 or whichever step is appropriate for your child’s level; better to start lower and it be too easy than to be too challenging and frustrate your precious one. :)

I hope this is of help to you and that you have fun as you continue to teach your child. Remember, you’ve already taught them a lot. You’re just helping them explore more ideas and things. :)

Until next time,

Michele ºÜº

Ingredient Substitutions

I am the type of person that follows a recipe the first time I make it. For most recipes, that even includes ingredients we don’t generally like. That is, until recently.

In the past it was just dill. I’d made some things that should have been delicious and I loved all the other ingredients but realized that the dill was ruining it for me. So for a long time, if a recipe had dill in it, I would not make it. Then I realized that I could make it and just skip the dill. For a long time, that is what I did. Then one day I got the recipe for something that I had tried before and enjoyed and found out it had dill!

Not long ago, we were invited to dinner at a couple’s home one Sunday after church. He made some herbed baked sweet potatoes. These too had dill and yet we liked them. So either our aversion to dill has dissipated or a little dill is okay now. I don’t know yet. ;)

Cilantro has landed itself on our do not like list. However with that I will either use a tiny bit of dried cilantro or parsley. Then at one time cumin was on that list as well. I learned to substitute with either oregano or chili powder depending on the recipe. I found this by searching what I could substitute for cumin. So if there is something you don’t have or don’t want to use, do a search and use something you do have or like. :)

This all resurfaced again because last weekend I made an apple pie flavored breakfast dish that called for ground cloves, which happens to be a seasoning that is a bit strong for our liking. As a matter of fact, I don’t add it in my apple pie at all. Once we had a ham with cloves stuck all over it, which made for a pretty dish but the flavor was off. I even decreased the amount of ground cloves it called for by about half and still it was too strong for us but otherwise we liked the dish. I’m making a note on the recipe to omit it in the future. ;)

Then it was another interesting turn of events when Michael became allergic to beef and pork. Wow, this really limited my options. I learned to substitute ground turkey for ground beef and thankfully it was less expensive too. :) But this experience has taught me that you can substitute meat in a dish as needed.

Recently I made a beef stroganoff from the Trim Healthy Mama Cookbook (page 44). It calls for beef or venison. I happened to have some boneless skinless chicken thighs in my freezer, so I opted to use that instead. I really enjoyed it. Now my son prefers ground meat in his stroganoff, so next time I will use ground turkey. As a matter of fact, we’re having it for dinner tonight; so the picture may appear a bit later than this post does. ;)

Anyway, all that to say, don’t be afraid to substitute a meat you do have or one that is on sale for a meat in a recipe that you don’t have. Of course, you generally want to go with something similar in cut but even then, like in the case of the ground turkey instead of beef strips, it can be done with a little textural difference. So do be sure to consider that when you make your substitutions. For many recipes calling for some form of beef, I use chicken breast instead. Of course there are limitations to this when it is a very specific recipe like fish but I have even used chicken breast in a fish recipe. :p

I even cook Michael some chicken breast in the crockpot seasoned like pork roast for carnitas. Oh, I’ll have to try it with boneless skinless thighs next time; it’ll give him more fat content in his meat.

I hope this post gives you the confidence to make substitutions as needed.

Michele ºÜº

Tips and Activities for Young Children

I had a sweet young mama call me this week and I was honored to share with her. One of the things I shared was some ideas on how to get things done with a little one under foot.

It is a good idea have some things you do at different points of the day; here are some ideas to get you started.

  • Bible story and talk about Jesus time
  • Cuddle time reading books
  • Music/Dance time
  • Outside Play/Nature Time
  • Blocks, play dough, finger paint, or coloring time

I also want to remind you of a couple of posts I’ve done in the past because there are two important things to keep in mind:

I hope these ideas are helpful and/or encouraging to you.

Until next time, God bless,

 
Michele ºÜº

Beginning Trim Healthy Mama

Healthy food ~ Lifeofjoy.meI’m writing this post, not as an authority in the Trim Healthy Mama (THM) community but more for those of my friends who are interested in beginning this eating lifestyle.

Here are my tips for beginning:

  • I recommend you get the Trim Helthy Mama Plan book either from the library system, new or used online or in a bookstore. You can just get the Trim Healthy Table cookbook which came out recently and has a summary of the plan in the first 3 chapters but for a better understanding, I recommend the plan book. If you cannot get that, here is an online resource you can use.
  • You want to eat your fats separate from your carbs. So although you can have brown rice or sweet potatoes you cannot have them with steak but you could have it with chicken breast. You want to have lean meats with your carbs. It is important to have all your meals anchored with protein; this doesn’t mean you need six ounces of protein but definitely some. Protein slows the rise of blood sugar from eating carbs.
  • You want to have three hours between eating. Don’t eat sooner, even if hungry. If you are hungry prior to 3 hours, note what you ate last and increase amounts next time or drink a sipper, cup of tea, or water. It is actually good to be hungry because that means the body has run through the fuel you gave it and is now ready for more (and should get it from your fat stores). You can change your fuel source after three hours, so you can have a meal with nice healthy fats and three hours later a meal with yummy sweet potatoes.
  • You will need lots of non-starchy vegetables. I suggest lettuce, onions, zucchini, cauliflower, broccoli, green beans, and frozen okra. These are our basics.
  • Did I mention eggs? Yeah, we use lots of eggs. I really like eggs. I bake a lot with eggs.
  • Find a sugar alternative that you like. If you want to only get yours from a local store, I’d look for Swerve or Pyure (be sure it is only erythritol and stevia, they have some with extra ingredients that are not on plan). I also like stevia glycerite. But if you can order online, I recommend getting Gentle Sweet and Pure Stevia Extract Powder from THM. Here is my post on sugar alternatives.
  • You will also need a flour alternative, since on THM you do not use things made of regular flour. I highly recommend Baking Blend from THM.  I also like to have coconut flour, blanched almond flour, whey protein isolate powder, flax meal, and oat fiber on hand to make baked goods. I get coconut flour and blanched almond flour from my local Wal-mart. The flax meal from either Walmart or Sprouts. Whey protein isolate powder I get from Sprouts as well, from their bulk section. However the oat fiber must be ordered online. I prefer LifeSource 500 brand which I get from Netrition.com; I’d stocked up and have not yet tried the THM oat fiber. Nili’s Blend is a good alternative but you need collagen and I get my collagen from THM, so might as well buy the baking blend. However, having said that, I do keep this recipe on hand for if I run out THM Baking Blend.
  • Some items we have decided we love using are THM collagen, nutritional yeast, and sunflower lecithin. We also get sprouted wheat flour and/or spelt flour for making homemade bread for use in a carb meal.

Well, I think that is enough for today. If you have questions, let me know and I’ll see if I can help.

Until next time, God bless,

Michele ºÜº

Chicken ~ Lifeofjoy.me

Prep Chicken

Tender, moist chicken for easy lunches or to make dinner quicker.

I heard Trim Healthy Mama co-author, Pearl Barrett, mention at some point that she super prepared chicken. I didn’t know exactly what she meant, but I immediately thought about prepping by cooking some chicken breast in the crock pot.

This produces a great source of lean meat that can be used in any meal. It can be used in an “S”/keto meal, an “E” or “FP” /low fat meals. If it is used in an “S”/keto meal, simply add healthy fats. I have found that I need to have more fuel pull meals when I desire to lose weight.

I use this meat in Michael’s daily lunches. I get chicken breast for $1.89 a pound at Aldi which is significantly less than price of deli meat and even less than prepackaged lunch meat. Plus there’s the added benefit of having meat already cooked for addition to a casserole, soup, salad, or wrap.

I use a general seasoning but you could change it up if you desired, giving it a Mexican, Italian, Asian, or even Indian. The decision need only be based on the how you decide to use the meat. I keep it very basic, so that I can use it in any meal and just change the seasonings at the time I use it.

It is uber simple. You simply place the chicken breasts in the crock pot and season with salt, pepper, onion powder, and garlic powder. There are really no measurements, just sprinkle it on as you deem fit. You can always add more when you use it.

Prepped Chicken ~ Lifeofjoy.meSeasoning ~ Lifeofjoy.mePrepped Chicken ~ Lifeofjoy.meCook it on low for about 6 hours or on high for about 4. (I didn’t get pictures of the finished product last week, so I took them this week and that is why you will see more breasts and more seasonings in the following pictures.)

Chicken ~ Lifeofjoy.meWhen it is cooked and cooled, bag the meat and put the small amount of broth in a jar. Before you use the broth, remove the fat, if you are using it in and E or FP (low fat) meal, there won’t be much.

Bag Chicken ~ Lifeofjoy.meJust pull it out of the refrigerator and break off the amount you want to use.Bagged Chicken ~ Lifeofjoy.meI just break it apart to add it to Michael’s wraps for lunch or cut it up and add to a soup or casserole.

Yesterday I added it to konjac noodles for a nice stir fry.

Prepped Chicken ~ Lifeofjoy.me

I sincerely doubt this even needs a “recipe” but I’ll add it for ease of seeing the seasonings I add. ;)

Prep Chicken

Ingredients

  • 4-5 pounds chicken breast
  • salt
  • pepper
  • onion powder
  • garlic powder

Instructions

  1. Place chicken in crockpot in a single layer (or if you are doing more than fits in a single layer, season each layer of chicken breasts)
  2. Season as desired
  3. Cook on low for about 6 hours or high for about 4.
  4. Cool, bag, and refrigerate until needed. If it isn't used within a week, I'd recommend freezing it and use it in a soup or casserole upon thawing.
https://lifeofjoy.me/prep-chicken/

When I get home from running errands, I throw it in the crock pot and before bed be sure to bag and refrigerate it. And even though there is only about one to two cups of broth, save it! It is very flavorful.

I have found this so helpful and time saving. I recently made a dinner and was able to get it done more quickly because I already had my meat cooked.

Until next time, God bless,

Michele ºÜº

P.S. I have since found out that she super preps by roasting/baking three whole chickens in the oven. I think my way is easier and leaner. ;)


Bacon Hack ~ Lifeofjoy.me

Thick Bacon Hack

Make the less expensive thin bacon into thick bacon, with this tip.

My family has gotten spoiled with the thick cut bacon I’ve been buying at Sprouts lately. It truly is delicious. But it is a tad bit expensive. So I buy the cheaper thin bacon to add to what I buy of the thicker bacon.

However, nobody really cares for the thinner bacon. Although I do have to admit, sometimes it is so nice and thin and crispy that I call it a bacon chip. ;) But  most of the time, we don’t prefer this cut.

Well last weekend when I was baking up some of the bacon for the week, I had run out of space and still had half a package of thin cut bacon left. Then it hit me . . . I can put two pieces together and make it a thicker piece of bacon. And that is just what I did and it turned out nice.

So for today, I thought I’d show you how to do it in a skillet but the same technique applies to putting it on sheet pans and baking it.

Place two pieces on the skillet together. The big ones on the right are two pieces and the little piece on the left is just one.

Bacon Hack ~ Lifeofjoy.meThey may separate some as they cook but this is okay. :)

Bacon Hack ~ Lifeofjoy.meJust turn the two-piece piece over as one piece.

Bacon Hack ~ Lifeofjoy.meI actually prefer it baked in the oven but this was okay too. Now, I’ll admit that this is not as good as thick bacon but it makes it a bit tastier this way.

Until next time, God bless,

Michele ºÜº

Baked Pancakes

An unconventional, easy, time saving way to make pancakes.

Being on a low-carb diet, sometimes means that you need to incorporate more fiber. Sukrin has a fiber syrup that we like to use on pancakes – yes, low-carb pancakes. :) Yummo! Anyway, I decided that maybe Sean might want to have some on a daily basis but making pancakes every day is NOT going to happen.

Then I remembered reading on a fellow Oklahoman’s blog, that she made pancakes in the oven. She said it works for any batter that has two cups of flower in it. I wondered if this would work for these low-carb pancakes I’ve been making. (Well, actually, I’ve been using the recipe in her cookbook: Cooking Keto With Kristie: A Journey Worth Taking and it is slightly different than the one in her video, which is slightly different than the one she references on the video.)I decided to give it a try when I wasn’t under pressure; so I attempted it for my breakfast yesterday. It Worked! :) I use her recipe but substitute coconut flower for the pork rinds right now, since Michael cannot have them.

So, here’s how to do it.

Prepare you batter.

Baked Pancakes ~ Lifeofjoy.meGrease your sheet pan. Mine is about 15″x11″ in size. I used coconut oil.

Baked Pancakes ~ Lifeofjoy.meSpread batter into pan.

Baked Pancakes ~ Lifeofjoy.meSorry about the bad pictures today!

Put in the oven and bake on 375º for 12-15 minutes.

Baked Pancakes ~ Lifeofjoy.meI cut it into 16 pieces because this recipe is for 8 servings.

Baked Pancakes ~ Lifeofjoy.meOne serving. :)

Baked Pancakes ~ Lifeofjoy.meTiffany was in the mood for some chocolate, so she added some Lily’s chocolate chips (they’re sweetened with stevia).

You cannot see my pancake very good but it was delicious.

Baked Pancakes ~ Lifeofjoy.me

Baked Pancakes

Ingredients

  • Pancake batter that has 2 cups dry ingredients.

Instructions

  1. Prepare batter.
  2. Grease sheet pan/jelly roll pan.
  3. Pour batter into pan and spread out evenly.
  4. Bake at 375º for 12-15 minutes.
https://lifeofjoy.me/baked-pancakes/

I hope this makes your life easier. I believe it will mine.

Until next time, God bless,

Michele ºÜº

Weekly Menu Planning

Menu ~ Lifeofjoy.meI don’t know about you but when it comes time to make a menu I frequently have the same meals pop into my mind. I find that every so often I need to remind myself of other things I have previously made and enjoyed or ones I saw and wanted to try. I currently have no schedule for this but am thinking I should do this at least once each season.

Usually when the weather changes I know which recipes I am eager to have once again but after the first couple of weeks, it is a good idea to go through my recipes for menu inspiration.

Fall is approaching and we’ve already had a few cooler weathered days. I never used to be one that cared much for soup but in the past couple of years I have found some soups that I really like. I look forward to sharing those with you over the next several months.

Occasionally I go through my cookbooks and my Pinterest pins to find new recipes to try. It is always fun to make something new but it usually takes longer to make a recipe the first time I make it, I make sure to plan accordingly.

Each week, usually the day before I head to the grocery store, I make a list of what I will make over the next week. From this list or menu if you will, I create my grocery list checking the recipes against what is in my refrigerator/freezer and cabinets. I also keep a small dry erase board on my refrigerator to write down things as we run out of them.

I usually just write down either things I am hungry for or a favorite of a family member. I have read that others make their menu planning easier by having a certain type of food on certain days of the week like Mondays is Chinese food, Tuesdays is Italian and so on; others put a certain type of meat on specific days. I just find it easier to go with what I’m hungry for. Have I mentioned that I love food? I can usually come up with 4 or 5 meals without much struggle. It is usually the last two or three I struggle with. That is when I rely on either something I know a family member likes or browse through my recipes.

Here is the menu I created for this week:
Pizza
Meatloaf and Scalloped Potatoes
Hamburgers and Baked Beans
San Francisco Chicken and Noodles
Chicken Parmesan, Noodles, and Brussel Sprouts
Chicken Enchiladas

I had planned for us to eat out on Sunday but I wasn’t feeling good so we didn’t leave the house. I had a back-up plan of Waffles, Turkey Bacon, and Sausage. I always keep some breakfast meat in the freezer for either a special Saturday breakfast or breakfast for dinner, like we had Sunday.

I hope this gives you an idea of how to plan a menu and make your weekly grocery list.

Until next time, God bless,

Michele ºÜº

Save

Frozen Meat Tips

I have no idea how food bloggers blog several recipes a week. Do you realize that at just one a week that is 52 a year and over a hundred every two year? How in the world do they do that? Well, clearly I am a newb!

Do you have those days when you forgot to defrost the meat you were supposed to use for dinner? I sure do. Years ago I found a way around this dilemma, other than remembering to get the meat out ahead of time. ;) I had purchased a Turbo Cooker on clearance at Walmart and read the directions. I found out that if you put frozen meat in the pan and the lid on the pan, it would cook the meat — all the way through. It was amazing! I loved it and it saved my behind many times.

Well, we had this pan for years and it finally was so scratched that I was very concerned about the negative side effects of the non-stick surface being scratched, as I had heard that it can be so bad the fumes could kill birds. So, I sadly got rid of the pan. I replaced it with a cast iron skillet. I really missed cooking meat from frozen, so one day I tried it. Do you know what? It worked!

So here’s what you do: Put your chicken breast, pork chop, or other similar piece of meat in a skillet that has a lid over medium to medium high heat. I like to spray my skillet with oil spray first. Place the lid on the skillet and cook for about 5 minutes, length of time depends on the thickness of the meat. When the meat is gray and some of the blood is on the top of the meat, flip it over; what was on the bottom should be nicely browned. At this point you can choose weather or not to put the lid back on because it is nearly done. As soon as this side is browned. If at any point it seems to be burning or smoking a lot, add a tablespoon of water or so to release the meat from the skillet. It will take a few minutes longer than if the meat was thawed first.

Cutting Frozen Chicken ~ LifeOfJoy.meIf you have a strong knife with a serrated edge or a sharp edge, you can cut slightly thawed meat by putting pressure on the knife and pushing it through the meat, if you need your meat cubed. It will cook faster in small pieces but it might take a while to cut it depending just how frozen it is.

Cut Frozen Chicken ~ LifeOfJoy.me

My favorite is frozen ground meat because all you do is get it out of the package and put the frozen block of meat in the skillet with the lid on top. Every few minutes, rotate the meat and scrape off whatever part has browned and/or is soft, letting it cook on another side. Since the lid is on the skillet, meat on top of the frozen block will soften. It can be scraped off into the pan to brown. It is a great dinner saver! :)

Until  next time, God bless,

Michele ºÜº