Category Archives: Main Dishes

Delicious Tender Simple Ribs

These ribs are delicious, tender, relatively quick, and simple to make.

Glenda Goff of Around the Family Table blog talked about how much she loves her Ninja Foodi. Then she shared that the model she loves was on sale, direct from the company. I happened to have some money left over from my Christmas budget, so I was tempted to purchase it.

We had a Cruisinart Toaster Oven/Air Fryer and I was never pleased with how it air fried things. Things either didn’t get crispy enough or got burnt. I was not impressed with air frying. Then several months ago it died. We’d had it about a year and a half–not good.

So I’ve been wanting an air fryer. This Ninja Foodi is an air fryer but I have an 8 quart Instant Pot. Thus I didn’t think that I needed another pressure cooker, which the Foodi is also. BUT it is also a dehydrator and I’d love a dehydrator. I have a very old one but the lid is cracked and parts are broken and melted. (Hey, it was a great deal MANY years ago, at only $3 at a garage sale . . . awesome stocking stuffer from my sister and hubby.)

The foodi is a 6.5 quart machine, which is something I’ve been wanting too. As I mentioned, my IP is an 8 quart and I didn’t realize when I got it that things would take longer to cook in it than a 6 quart machine. I’ll keep my 8qt IP but I think this Foodi is going to be used a lot more.

So . . . I’d gotten a decent deal on the ribs and did a quick internet search to see how best to make them. Foodi to the stage!

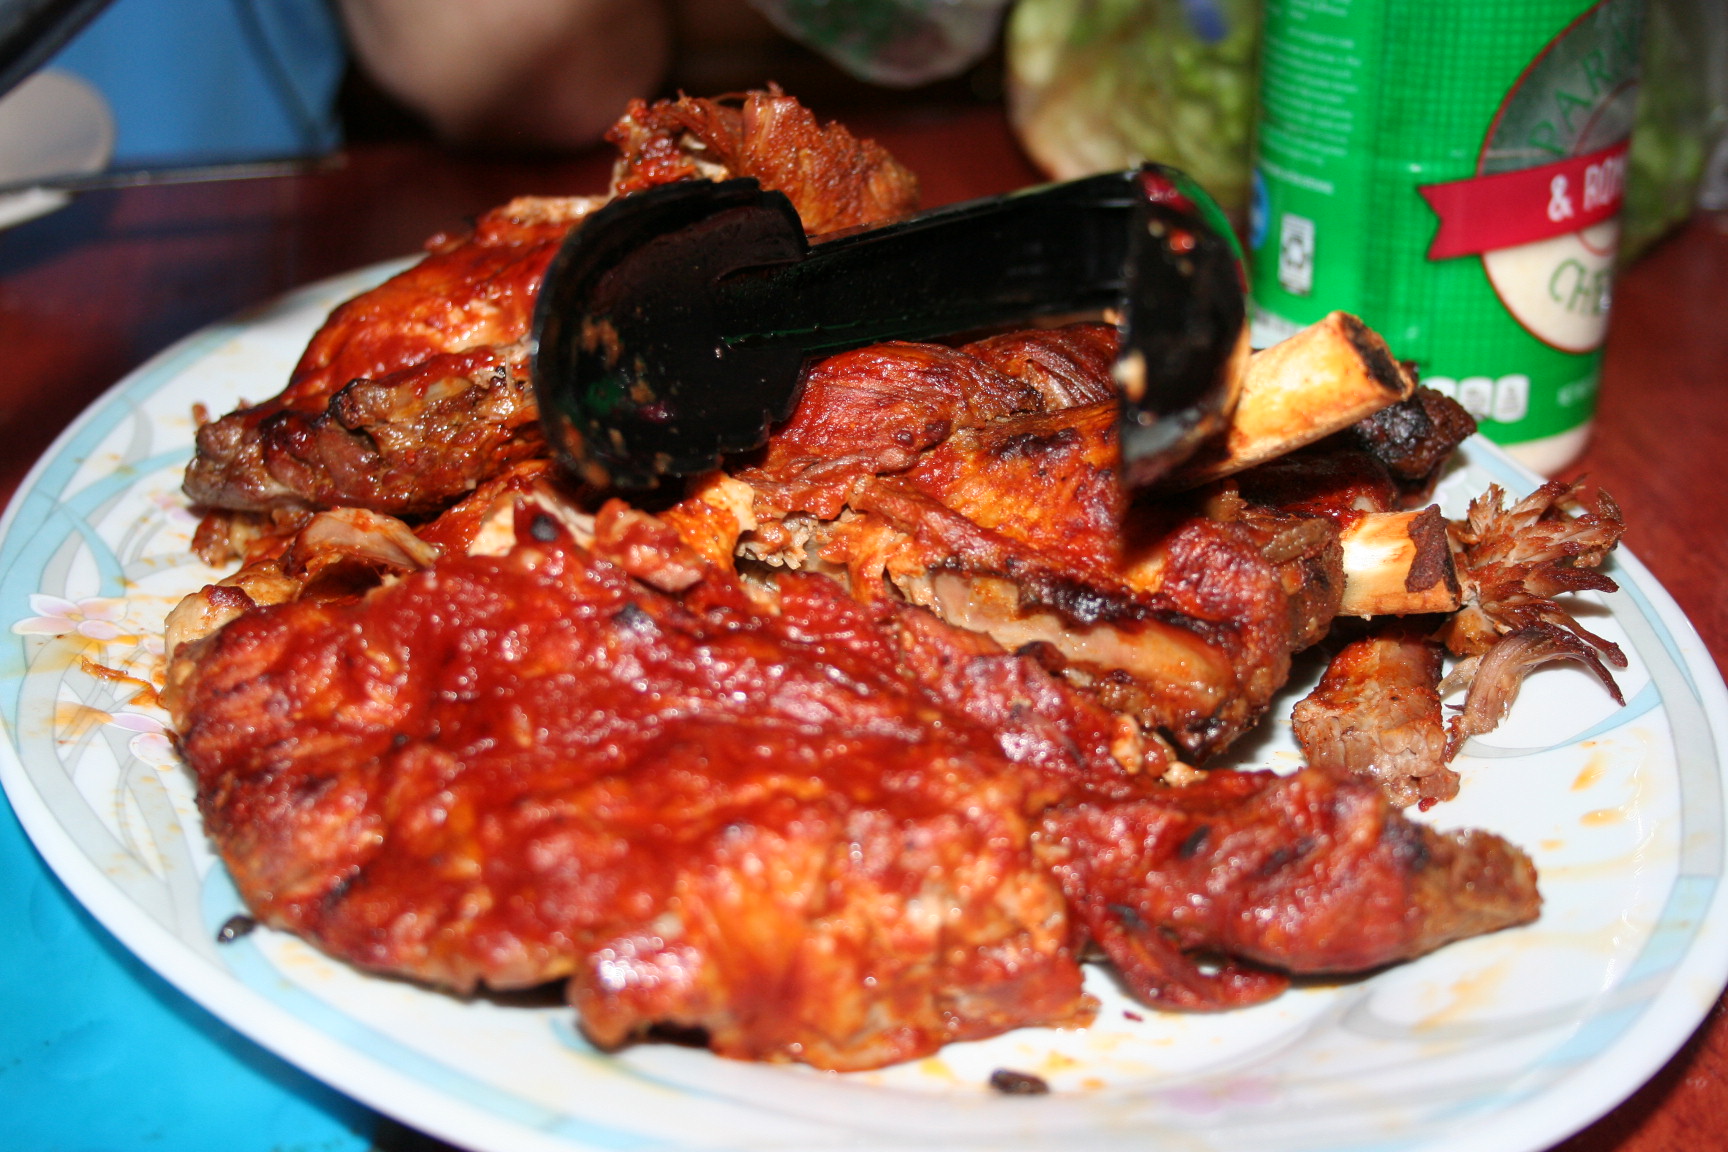
So according to the recipe I found, the first step was to remove the membrane on the one side of the ribs. This proved to take longer expected. Also, my ribs were about 5 pounds and the recipe used about 3 pounds, if I remember correctly.

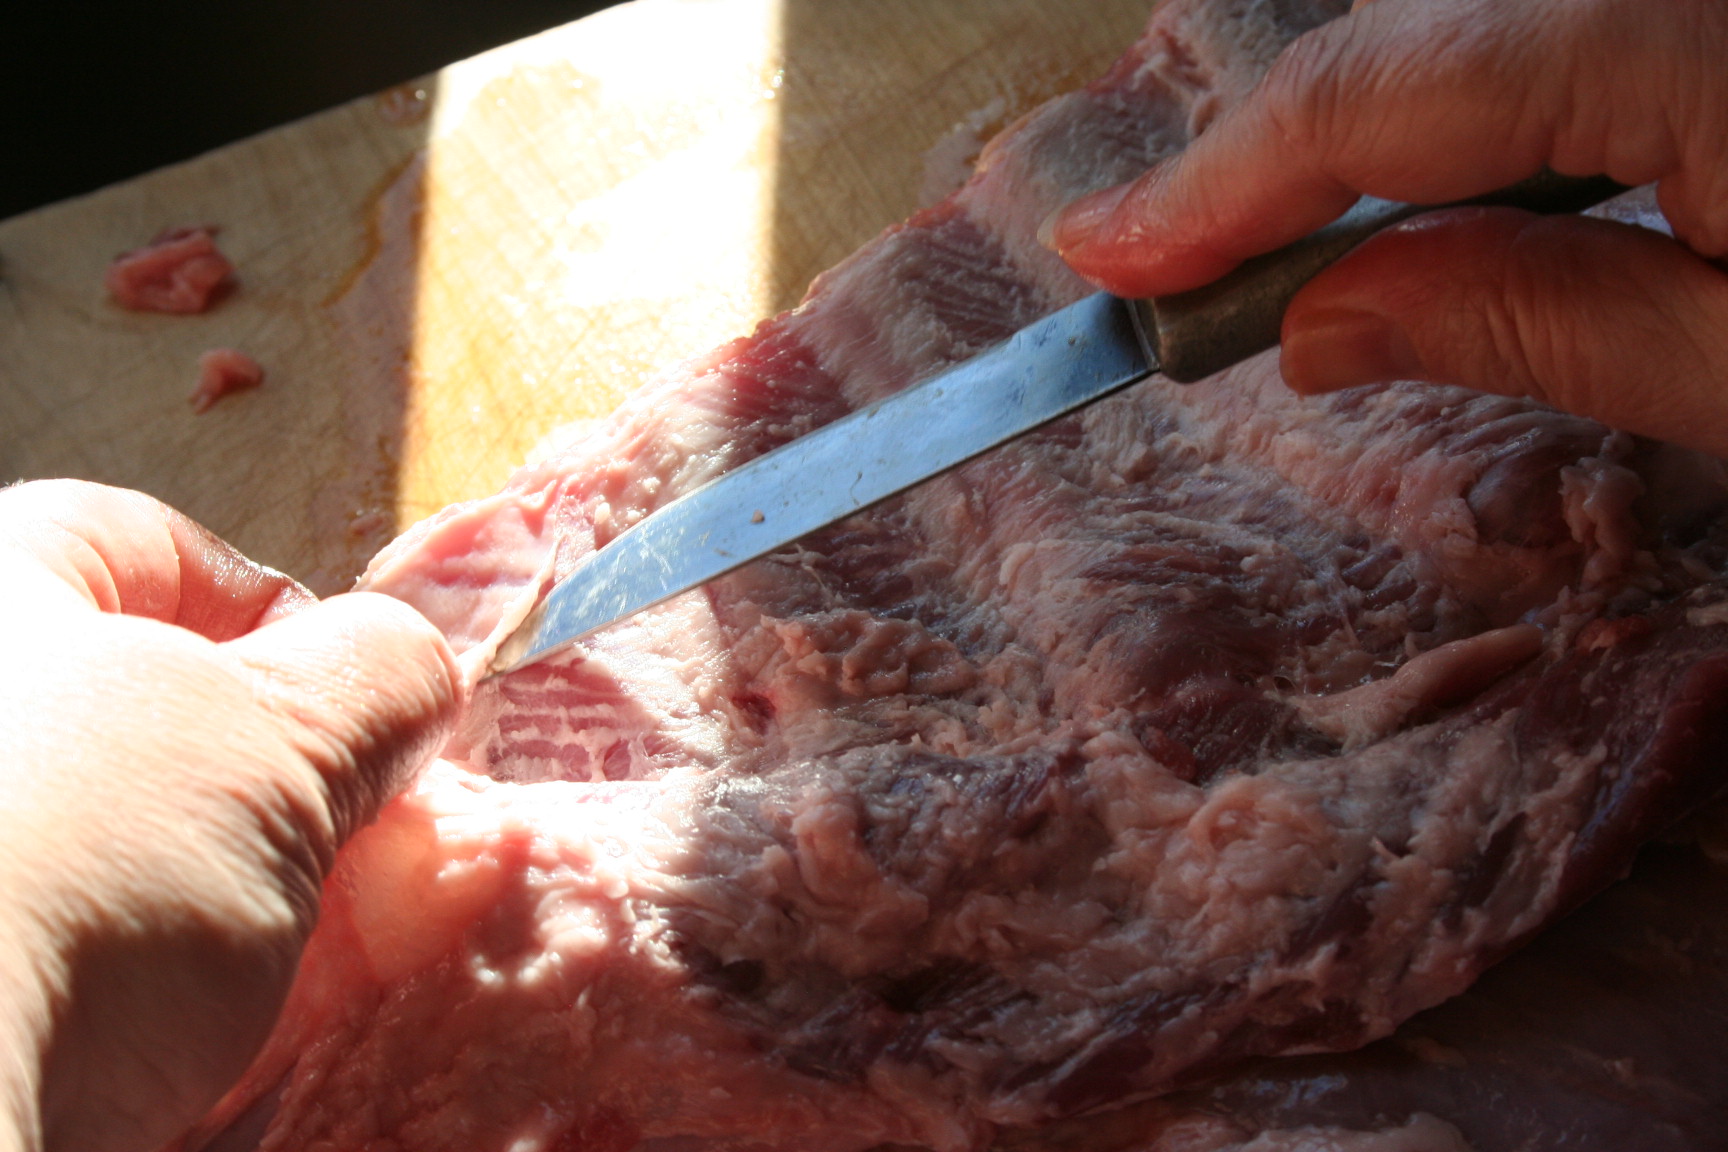
I’d gotten it off of all the meat on the right and was working on this part when I asked Tiffany to get some pictures for me.

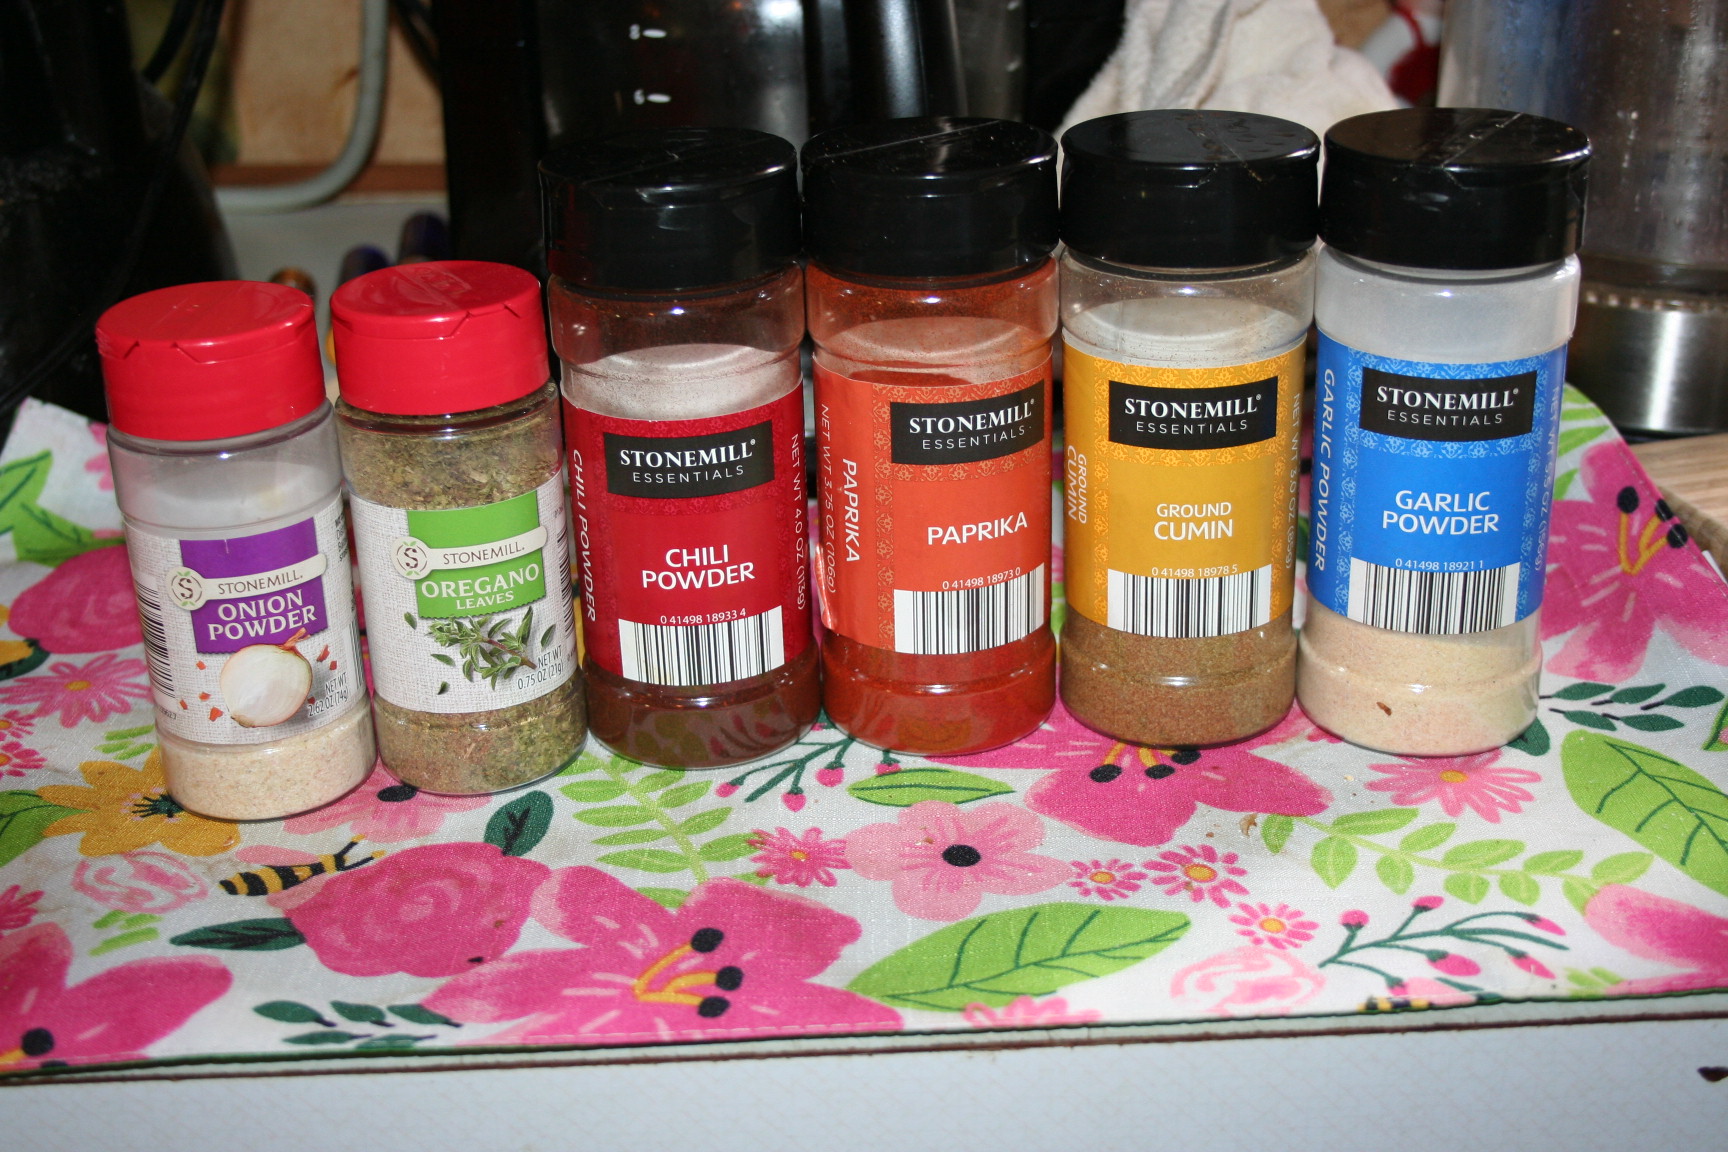
She made up the rub for me to put on it. I decided to use a rub instead of a lot of barbecue sauce, which I didn’t have at the time.

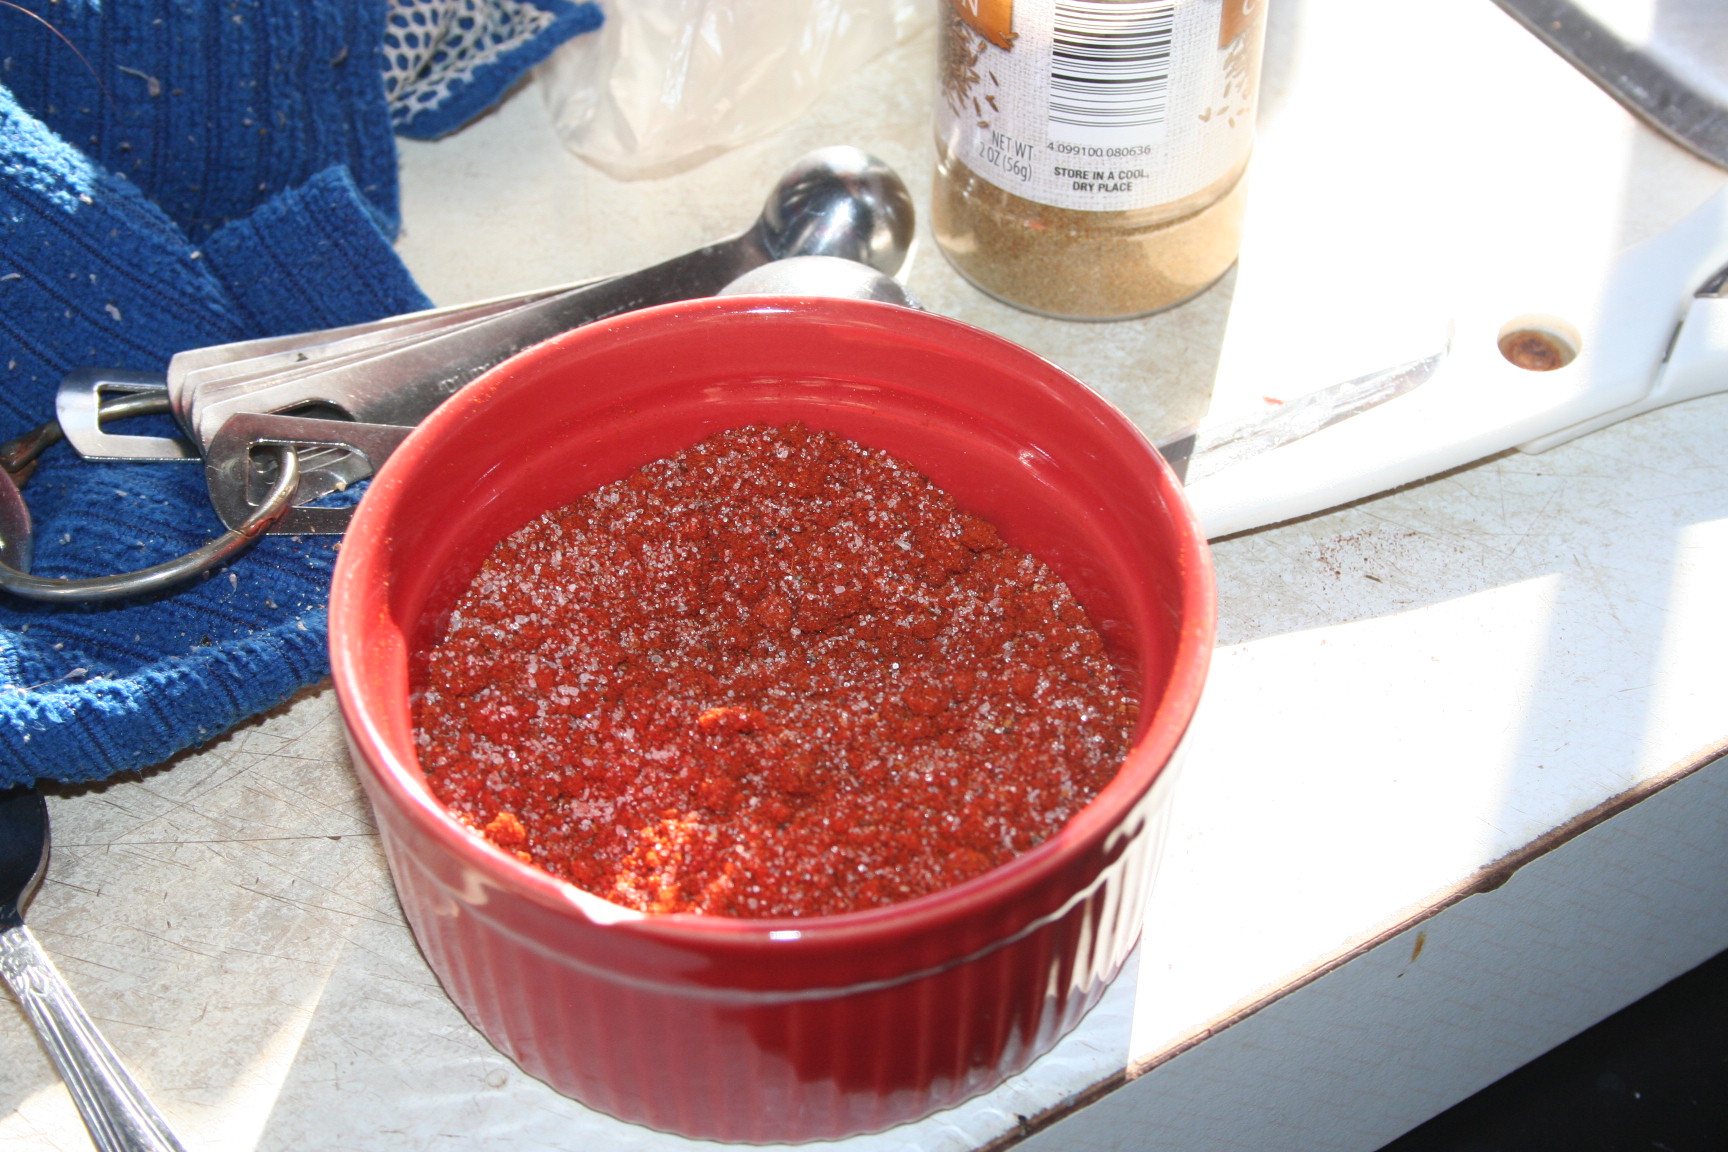
I used this recipe for the spice rub. I’ve used it before and liked it, so it was Tried and True. :)

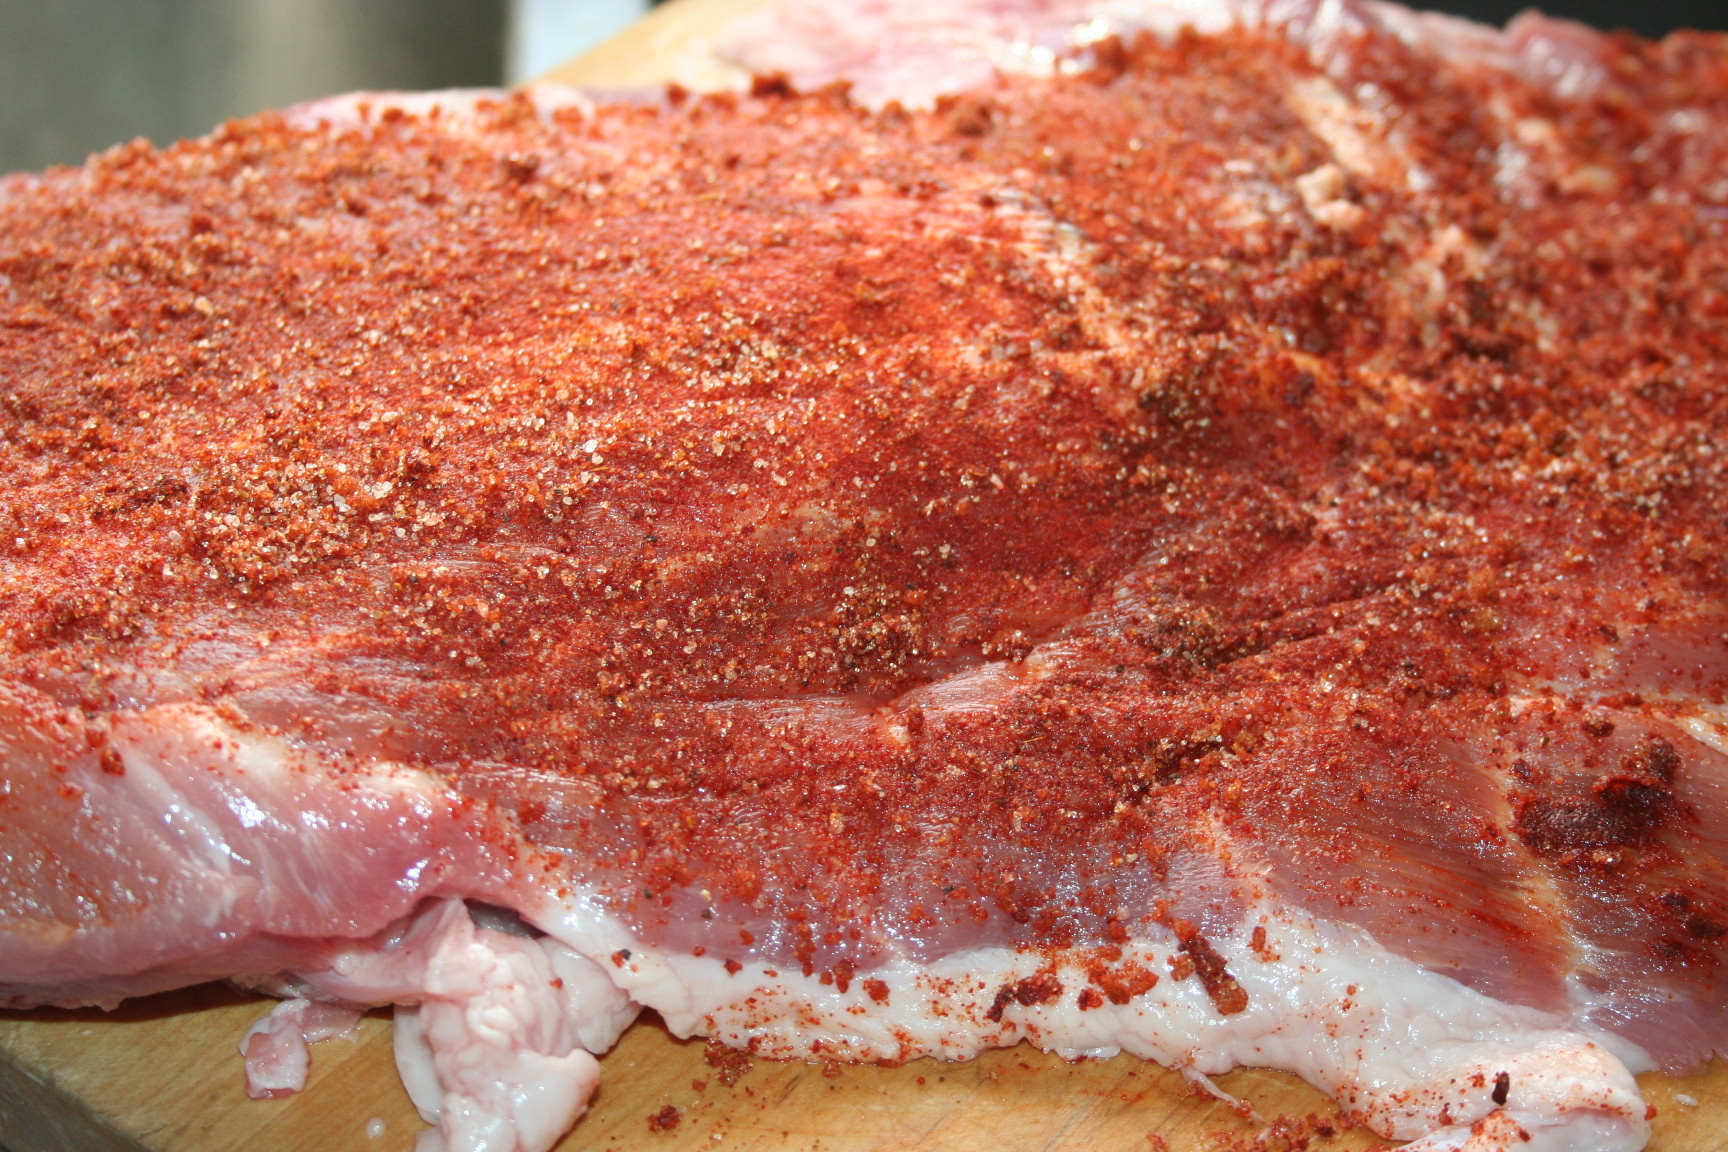
Once I got off the membrane and rubbed the spice mix on it I realized mine was bigger and it wasn’t going to stand in the foodi the way they did on the recipe I was following. I decided to just let it fall over on itself.

Now, I am not one for sour things and usually reduce vinegar when called for but I knew that without the barbecue sauce for liquid in the pressure cooker (Foodi), I would NEED the the whole amount of vinegar. I hoped I’d just make up for it later in the sauce I was going to create. So I added the 1/2 cup of ACV (apple cider vinegar).

The recipe called for pressure cooking it for 30 minutes for 3-4 pounds of ribs, so I set mine for 40 minutes. They were super tender.

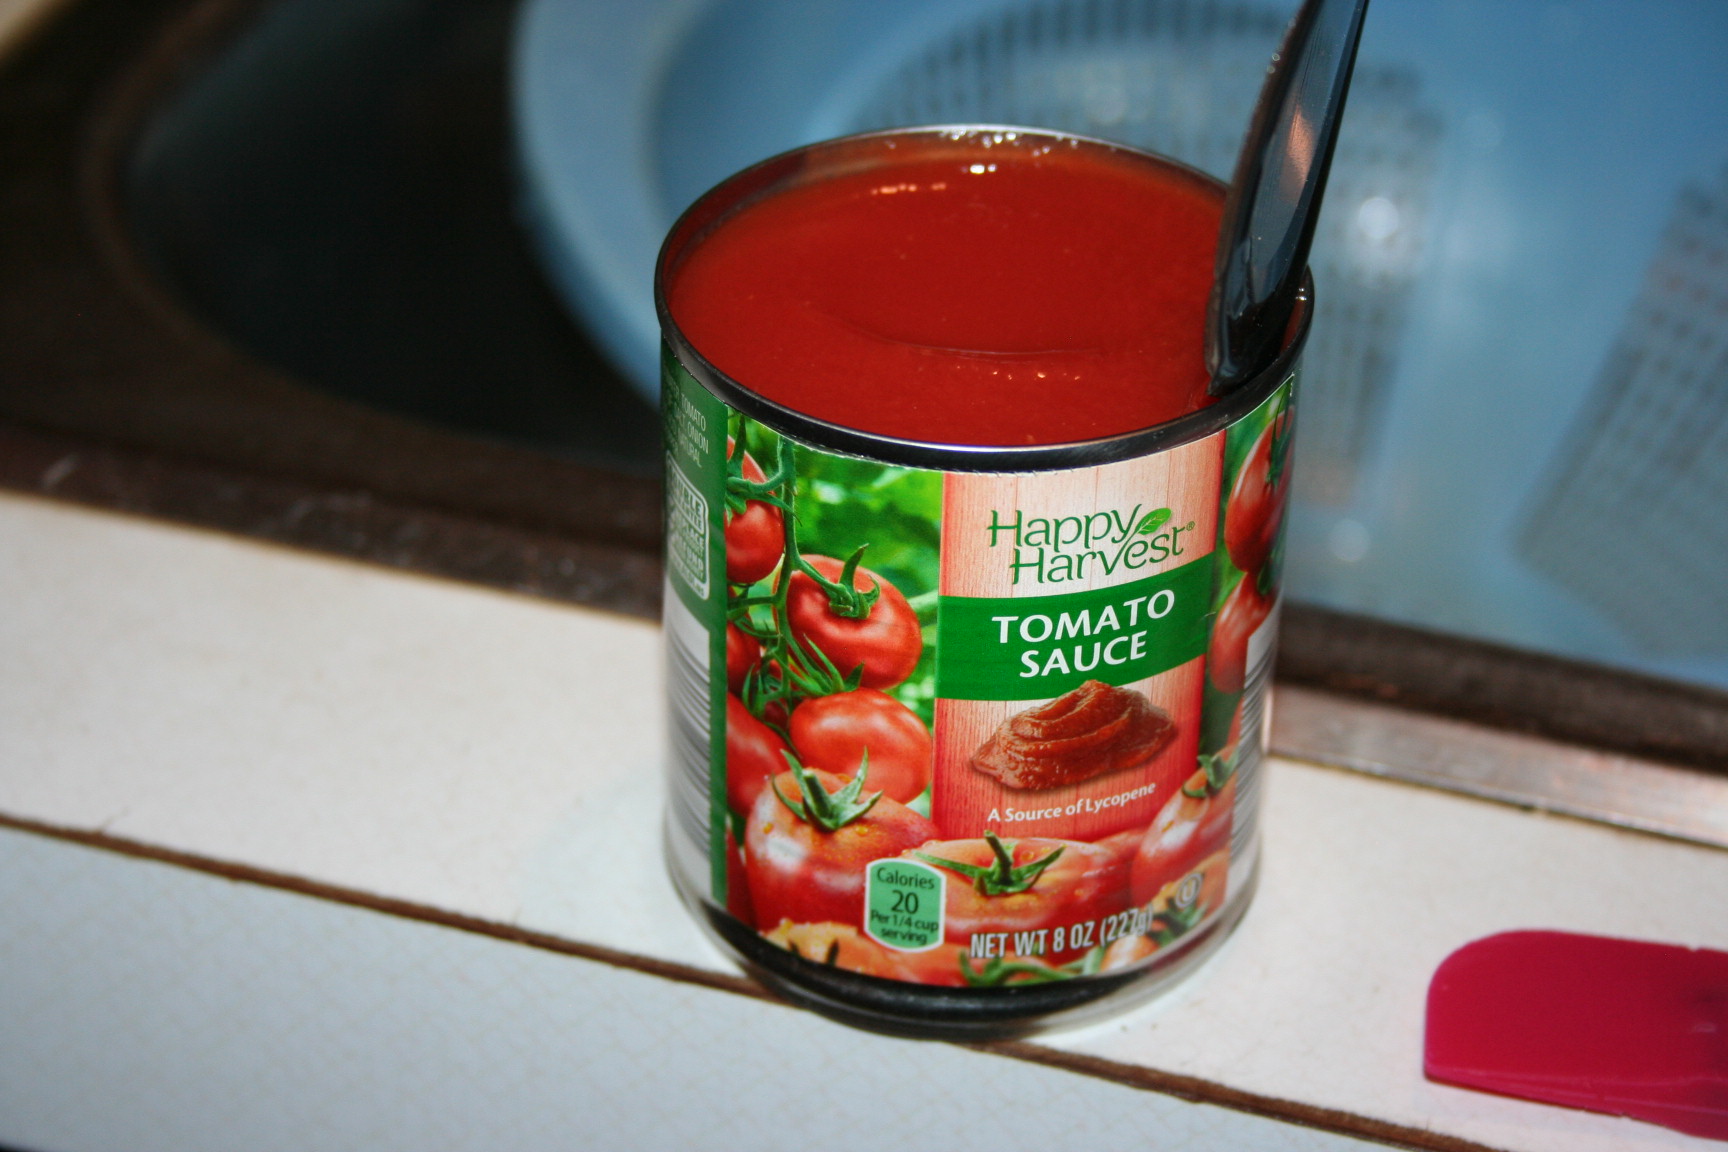
While it was cooking I whipped up a barbecue sauce with some tomato sauce I had–it turned out pretty good. I’ll share it after I make it again, so I can get the measurements right. I just put a bit of this and a bit of that and a bit more of this and mixed them all together. ;)

When they were done, I did as the recipe stated and poured out the juices from the pot and cleaned it out. Added the rack, placed some of the ribs on it with some bbq sauce and let the air crisper do its thing!

Here’s the recipe I followed: https://temeculablogs.com/ninja-foodi-ribs/ She has a ton of other Ninja Foodi recipes there. I’m looking forward to trying them out. :)

Tiffany and I had leftovers for lunch the next day and I had the little bit that was left on Tuesday. Yummo!

If you’ve thought about getting the Ninja Foodi, go ahead–I’m loving mine. It’s earned its place on the counter. I heated up my bit of ribs with the fryer function and added some seasoned cauliflower. Tasty in a fraction of the time it takes to make in the oven and quite a bit cooler too.

Until next time, God bless,

Michele ºÜº

Pasta Again :) (Goulash)

So at this point I guess I’ll admit that when there is a meal scheduled that we don’t feel we have the energy to make or time to make, we switch it up. And a lot of those times we end up with a pasta dish of some sort. We love pasta.

Yesterday I started painting late in the afternoon and didn’t get it finished until after five. At that point I was too hungry to wait to cook the spicy sausage and butternut squash dish, so we went for “hamburger helper” which is what we call pasta dishes. ;)

So like other pasta dishes, we diced some onion, mushroom, and bell pepper and cooked them in an oil-sprayed frying pan and added water to keep them from sticking. ;)

cooked onions and mushrooms ~ Lifeofjoy.me
We actually had diced green pepper too but I didn’t get a picture of it. :(

Meanwhile, we cook up the ground meat; we use cheap ground turkey. Brown it and then rinse it.

Taco Mac Salad ~ Lifeofjoy.meAnd also boil the pasta. :) This time we used the brown rice macaroni noodles. I really love these! Be sure to measure out the proper serving amounts. We actually use a scale and weigh in grams to get every gram we have coming to us.

Season with salt and pepper. I also used some oregano. Oh, and a little nutritional yeast (don’t add it if you don’t want to ;) ).

When the macaroni is done, drain it and add it to the meat and cooked veggies,

along with an eight ounce can of tomato sauce.

Stir to combine. Taste and adjust seasonings as desired.

Those in wanting a crossover, can add some cheese but it is fine without it. We add nutritional yeast and more salt individually. We also serve with a side salad.

Pasta Again 🙂 (Goulash)

Ingredients

  • ground meat
  • ~ 1/2 onion, diced
  • ~ 1/4 bell pepper, diced
  • ~ 2-4 mushrooms, diced
  • brown rice macaroni (248 grams which is about half the bag)
  • 8 oz tomato sauce
  • salt and pepper to taste
  • sprinkling of oregano
  • spray oil

Instructions

  1. Boil pasta and drain.
  2. Brown meat and rinse with very hot water.
  3. Spray skillet with a little oil (we use olive oil spray) and cook diced veggies until desired doneness. 🙂 Add a few splashes of water as needed to keep them from sticking to the pan as they cook.
  4. Add rinsed meat and seasonings of choice.
  5. Add drained macaroni and tomato sauce.
  6. Stir to combine.
  7. Serves 4
https://lifeofjoy.me/pasta-again-goulash/

This is an easy and tasty THM-E meal. I hope it helps you include a few more healthy carbs in your menu.

Until next time,

Michele ºÜº

Cowboy Grub Taco

I made Cowboy Grub from Trim Health Mama Cookbook page 59, last week. I used the canned tomatoes that have the green chilies in it. Either I’ve never made this correctly before or my tastes have changed because this was delicious!

As you can see I used chicken breast instead of ground meat because I don’t like to rinse my meat and lean ground meat is a bit pricey for frequent use. I also used the par-boiled brown rice from Aldi to make my life simpler. I also used the frozen seasoning blend (albeit the chunkier version) which I broke up a bit with my mix-and-chop hand-held gadget. I served it with canned green beans with a bit of onion powder and liquid smoke in them. I might have served a bagged salad too, for ease.

When I served the leftovers, I followed the suggestion of stuffing it into tortillas with cheese (and sour cream).  I used a sprouted grain tortilla and used a light laughing cow cheese wedge. This really changed the taste, making it seem like a different meal completely.

At lunch the next day I used up the rest of the leftovers and added a bit of fat free cheddar–my personal choice item. I only used half of a tortilla because we have the huge ones and they are 28g of carbs for one and I knew that would put it a bit too many carbs but a half of one worked nicely. I’ll pick up some of the smaller ones next time. I’m trying to only use the Mission low carb tortillas once a week or less, so that wasn’t an option for me this time around.

I heated it up on the flame of the burner. :) I love my gas range.

Yes, I used an entire wedge and it made it nice and cheesy. :)

It was yummo! I ate the bit that didn’t fit on the tortilla with a spoon. :)

Do you have meals that you’ve found a way to make the leftovers seem like a completely different meal? Please share in the comments, if you do. I love easy meals.

Until next time,

Michele ºÜº

Low Carb Wraps Expectations

A few months ago I saw an ad for a “free” book of keto “carb” recipes. I’m normally enticed to get more keto recipes as they are generally higher in calories than what my body can handle. But it included recipes for noodles, ravioli, buns, wraps, and even croissants.

It was the croissants that got me. I caved and spent the $6.95, supposedly for shipping and handling. I denied all other offers they tried to push on me when I did so. It granted me immediate access to the recipes in pdf format. I looked through them and was looking forward to the small book of recipes arriving. It took several weeks before it did so.

Tiffany has not been able to eat a lot of almond flour and definitely not flax or chia, which currently cause her stomach distress. The first thing we made was some naan. It looked nothing like the pictures in the cookbook but my daughter liked it well enough.

I was intrigued by the wraps. They looked so white and so much like regular white flour tortillas. These used pork rinds ground to a powder. I thought this might lend a nice flavor to the wraps. So I tried them.

I ask you, does that look anything like the picture? See how white/pale the ones in the picture are? Mine have a very yellow look, although you cannot see it well in this picture. It was tasty enough but I think it is more caloric than other low carb wraps I’ve tried.

It is pretty sturdy but as you can see, nothing as white as what is pictured. This was the last of my prepared wraps, so I’ll be needing to make up a batch of wraps soon. I don’t think I’ll make this one again because of the pork rinds. I’ll work on finding a new recipe. I may try the THM one again. (The one from the Trim Healthy Table Cookbook.) The problem with the THM one is it uses baking blend but it has flax in it, so Tiffany can’t have them. So I’ll be looking for one she can have or maybe modify one of these.

I’ll post again when I find a wrap recipe that is sturdy and lower in calories. Yeah, I know, we don’t worry about calories but since I’m menopausal I need all the help I can get and the higher calorie intake of keto recipes is not conducive to me losing weight. ;)

Until next time,

Michele ºÜº

Another Pasta Skillet

We love Aldi’s brown rice & quinoa pasta. This pasta is a THM E meal, which means it is a healthy carbs and low fat meal. We like to weigh the pasta to ensure that we get the right amounts cooked for each of us. :) Measuring by cup doesn’t usually yield the correct amount of food.

So, bring the measured amount of pasta to boil. Be sure to check the serving size because it can vary per type of pasta.

Meanwhile saute your chosen vegetables. Seriously, pick whatever veggies you like. It is best to stick with non-starchy veggies since you’re having the carby pasta. Only spray your pan with a light coating of oil of your choosing (we either us olive or coconut spray). Then if your veggies need a bit more moisture, add a bit of water to the pan to help keep them from sticking.

This time we chose onions, mushrooms, tomatoes, and zucchini.

Tiffany has discovered that although she does not like raw tomatoes, she does like them cooked. :)

We added some minced garlic and stirred it in.

I just used the jarred variety this time. You don’t have to add garlic if you don’t prefer it.

When the pasta is cooked, drain it and then add it to the cooked veggies.

We had some chicken breast that we’d cooked up a few days prior in the crock pot. This is what we used but you could use any low fat meat. Canned chicken breast or canned tuna ( or fish from a pouch) would work well too.

This night Tiffany decided to add one wedge of Light Laughing Cow Cheese to add a bit more creaminess, but we’ve done it without it and it is just fine too. :)

Stir it in and serve. Of course add whatever seasonings you like.

This had me saying “Mmmm” with the first several bites and declaring how much I was enjoying it throughout the meal. The serving size of pasta is quite filling, so we didn’t serve it with anything else but a side salad would be good. Just keep it low fat to stay in E mode. :)

I hope you like this “recipe”. I’ll include what we used below but know that you can use whatever non-starchy veggies you like (and even a bit of the starchy ones, since it is an E).

Another Pasta Skillet

Ingredients

  • Brown Rice & Quinoa Pasta
  • Veggies of your choice: onions, mushrooms, tomatoes, zucchini were our picks this time
  • You could add some carrot or peas or a bit of corn if you like
  • Seasonings of choice: garlic, salt, and pepper were ours
  • Optional light laughing cow cheese wedge (1)
  • Protein: cooked chicken breast was ours

Instructions

  1. Boil measured pasta until done, and drain.
  2. Spray pan with cooking oil, lightly.
  3. Saute diced/sliced veggies.
  4. Add seasonings, drained pasta, and protein.
  5. Serve
https://lifeofjoy.me/another-pasta-skillet/

I hope you enjoy this “recipe;” we sure have.

Michele ºÜº

Quick and Easy Pasta Skillet

A couple of weeks ago Tiffany and I were stumped with what to make for dinner. For whatever reason, I didn’t have anything planned for dinner that night or didn’t want to make what I had planned. This  meal is what we came up with and we absolutely loved it!!!!

It’s very simple. Just use whatever you have on hand. We browned some ground turkey with some onions and peppers. Then we added some cut fresh tomatoes that we had on hand and needed to use. (You could use any meat of choice, including chicken breast, raw or pre-cooked.)

The night of this picture we didn’t have any peppers, so it was just onions and tomatoes.


While the meat and veggies were cooking, I boiled four servings of Dreamsfield Pasta. To be honest, I didn’t think that the amount stated as a serving (dry measurement) was going to be very much when cooked but went with it anyway. It was plenty!Once the veggies and meat were cooked, we added the cooked and drained pasta.

As you can see, the pasta we had this night was spaghetti. We made it with macaroni the first time and were concerned that we wouldn’t like it as much with this shape of pasta but thankfully, it was delicious as well. :)

We added extra virgin olive oil before eating. Yum!

The first time we made it we added a garnish amount of cheese but to be honest it wasn’t needed.

Quick and Easy Pasta Skillet

Ingredients

  • 1 pound meat of choosing (I used ground turkey)
  • Veggies of choice: I used
  • Onion
  • Pepper
  • Grape Tomatoes
  • salt and pepper to taste
  • Extra virgin olive oil or whatever you choose
  • Dreamfield Pasta
  • Any herbs desired (we sprinkled with a bit of basil)

Instructions

  1. Prepare pasta as directed and drain
  2. Cook the meat and veggies with salt and pepper
  3. Add drained pasta, add any herbs desired, and combine.
  4. Drizzle with oil of choice.
https://lifeofjoy.me/quick-and-easy-pasta-skillet/

I hope this simple meal is as helpful to you as it is to us. :)

Until next time,

Michele ºÜº

Pasta Salad Healthy Carb, Low Fat

I made this pasta salad last week and we devoured it. I like to make salads when it is blooming hot outside so that it doesn’t get quite so hot inside.

This salad is a THM E(nergetic) salad because I used pasta made from quinoa and brown rice that I get at Aldi. A serving is only 1/4 cup of the dry pasta so I added some lettuce to it as well. I had intended to make a different salad but this one turned out good.

So, here’s what I did:

Bring water to a boil and then add the pasta and cook as directed, drain, and rinse with cold water.

I steamed one bunch of broccoli, just so it wasn’t raw and rinsed it in cool water too.

I added 5 cups of chopped red leaf lettuce, 1 carrot shredded, about 1/4 cup diced green pepper, and a garnish amount of shredded parmesan cheese.

Then I took a piece of chicken breast, cut it thinly, seasoned it with salt and pepper and cooked it in a skillet sprayed with coconut oil.

I also added about 1/3-1/2 cup of the fuel pull 1000 Island dressing because it is very low fat (because I used even less that the recipe calls for so I don’t have to think about how much I’m using) and it needs some kind of flavoring. You could use any low fat healthy dressing but even my daughter liked it and she doesn’t care for dressings. :D

I added some grape tomatoes and some fat free cheddar cheese to my serving. :) (I view the fat free cheese as a personal choice item and try not to eat too much of it but I love cheese so this is helpful to me.)

Pasta Salad Low Carb

Ingredients

  • 8 ounces dry penne quinoa and brown rice pasta, cooked, drained, and rinsed with cold water
  • 1 bunch of broccoli, steamed, and rinsed in cold water
  • 1 carrot, shredded
  • 5 cups of chopped red leaf lettuce or leafy greens of choice
  • about 1/4 cup diced green pepper
  • garnish amount of shredded Parmesan cheese
  • 1# chicken breast
  • 1/3-1/2 cup low fat dressing (fuel pull creamy 1000 island)

Instructions

  1. Cook pasta as directed on package
  2. Steam broccoli
  3. Season chicken breast with salt and pepper, cook, and slice (I slice the meat first, season and then cook when I'm in a hurry and don't have some already cooked.)
  4. Combine all the ingredients in a bowl and serve.
  5. Serves 4
https://lifeofjoy.me/pasta-salad-healthy-carb-low-fat/

I hope you enjoy this pasta salad.

Until next time,

Michele ºÜº

Low Carb Taco Mac Salad ~ Lifeofjoy.me

Taco Mac Salad Low Carb Version

We have really missed this meal since going keto, low carb, and THM but last night I Trim Healthy Mama-fied it. :) I made it as an “s” meal, which is a healthy fats, low carb meal, because I wanted me some cheese. :) If you are not on a low carb or low fat diet, you can find the original recipe here.

Here are the changes I made:

  • used Dreamfields pasta
  • eliminated the tortilla chips but did have pork rinds on the table for any that wanted them
  • added some finely chopped mushrooms to the meat to boost the health benefits
  • Michael and I used the FP 1000 Island dressing instead of catalina or ranch

Start by boiling water for your pasta.

Low carb pasta ~ lifeofjoy.meChop up your lettuce and place it in the bowl.

Salad ~ Lifeofjoy.meShred or cube the cheese. Unfortunately we used our cheddar cheese because I forgot and used it earlier in the week, so we had to use mozzarella. :(

Cubed Mozzarella ~ Lifeofjoy.meTiff added some diced red pepper. It wasn’t enough but it was what we had.

salad ~ Lifeofjoy.meBrown the ground meat; we used ground turkey.

browning ground meat ~ Lifeofjoy.meQuickly chop mushrooms in a food processor.

chopped mushrooms ~ Lifeofjoy.meWhen most of the liquid is evaporated, season it however you like your taco meat seasoned. I used these with salt and pepper.

taco seasonings ~ Lifeofjoy.meVery light on the cumin, oregano, and garlic powder. Heavier on the paprika, onion powder, salt, and pepper. And a bit heavier with the chili powder, unless you don’t prefer it. ;)

When the pasta is done, drain and rinse with cool water. Then combine with the lettuce and meat.

Serving Taco Mac Salad ~ Lifeofjoy.meSometimes we keep the cheese cubes out for each to include themselves as sometimes they sink to the bottom of the bowl and they are not evenly distributed through the salad. ;) The kids don’t prefer the tomatoes either.

Taco mac salad ~ Lifeofjoy.meThen I add my dressing.

Dressing on Taco Mac Salad ~ Lifeofjoy.meYUM!!!

Taco Mac Salad Low Carb Version

Ingredients

  • 1 box Dreamfields rotini, cooked, drained, and rinsed
  • 1/2-1 cup diced green pepper
  • head of lettuce, broken into bite-size pieces
  • 8 oz. cheese, shredded (We've used cheddar, colby-jack, and pepper jack cheeses.)
  • 1 pound ground meat
  • 8 ounces of chopped mushrooms (for added health benefits)
  • 1 packet taco seasoning (or onion powder, garlic powder, salt, pepper, cumin, paprika, oregano, and chili powder)
  • other items as desired: tomato, onion or green pepper, avocado, et cetera
  • dressing of your choosing

Instructions

  1. Brown the ground meat.
  2. Add chopped mushrooms.
  3. Add seasonings of choice.
  4. Combine all ingredients and serve with dressing of choice.
https://lifeofjoy.me/taco-mac-salad-low-carb-version/

Hope you like it as much as we did last night. :)

Michele ºÜº

crock pot chicken and sprouted spelt no fat noodles ~ Lifeofjoy.me

Crock Pot Chicken and Noodles (Soup)

I got this simple and cost effective recipe from something I got from the Money Saving Mom years and years ago. I shared it with my homeschool support group and I’m sharing it here today. This recipe has stood the test of time in our house and is an easy one to throw together. :)

Start by putting enough chicken breast in the crockpot for your family. We are a family of four so one large chicken breast (one pound) works for us. Then add some carrot. We like our carrot with zero crunch in the end, so I slice them up on my mandolin.

Crockpot Chicken and noodles ~ Lifeofjoy.meI forgot to add a dice onion this night, so I added onion powder later but generally, you’d add the onion now too. :)

Next add about 3-6 cups of water or broth. I started with 3 cups this day. It’d been a while since I’d made this and forgot how much water/broth I usually use.

Add Liquid ~ Lifeofjoy.meFinally add seasonings: salt, pepper, and basil.

Add seasonings ~ Lifeofjoy.meAdd the lid and you’re ready to go. Cook on high for about 3 hours or so, until you can shred your chicken. I used a frozen breast and cooked it about 4 hours I think.

Shredding chicken ~ Lifeofjoy.meWhen the chicken is done and shredded.

I used my sprouted spelt drop biscuit dough and cut it thinner for the noodles. :)

spelt noodles ~ Lifeofjoy.meadd noodles ~ Lifeofjoy.meAdd your noodles and cook for another 30-60 minutes, until the noodles are as done as you like them. :) You can use Reemes frozen noodles, as that is what the original recipe called for. When we went to serve the dish, I realized that we wanted it more of a soup and quickly heated up a can of chicken broth (about 2 cups) and added it to the pot.

Crock Pot Chicken and Noodles ~ Lifeofjoy.meI made half a batch of my sprouted spelt drop biscuit dough and ended up only using about 2/3 of it in the soup. I sprinkled some garlic salt on the rest and baked in the oven  for a few minutes. :)

Crock Pot Chicken and Noodles

Ingredients

  • 1# chicken breast (I used frozen)
  • 2 carrots, sliced
  • 3 cups water
  • 1/2 teaspoon salt
  • 1/2 teaspoon basil
  • 1/4 teaspoon black pepper
  • 1/3 batch of sprouted spelt drop biscuit dough or a bag of frozen Reemes noodles

Instructions

  1. Place all ingredients in the crock pot except the noodles.
  2. Cook on high for about 3-4 hours, until the chicken can be shredded easily.
  3. Add the noodles and cook for another 30-60 minutes on high, until noodles are done.
https://lifeofjoy.me/crock-pot-chicken-and-noodles-soup/

I hope you enjoy this one as much as we do.

Until next time, God bless,

Michele ºÜº

IP Creamy Chicken Broccoli Rice

Although this dish is not pretty by any means, it is very good. I cooked the broccoli in the instant pot with the raw rice and frozen chicken breast and all the other ingredients because we like our vegetables really well done. Well, the broccoli totally disintegrated. I mean, no lumps at all, which was good for Sean ;) but not good if you actually want to chew broccoli. In which case, I recommend steaming the broccoli separately and mixing it into the finished dish. :)

One other ‘mistake’ I made was with the amount of chicken for the amount of rice, so I’m adjusting it here. This is basically a dump and go recipe that could be done in the crock pot, I would think.

So here goes: Place two pounds of frozen chicken breast in the instant pot. Then add rice, broth or water, broccoli, mushrooms, almond milk, and spices. Place the lid on the pot, close the vent, and press pressure cooker, high, for 25 minutes with keep it warm for an additional 10 minutes.

IP Chicken Broccoli Rice ~ Lifeofjoy.meI used water and some homemade (THM) bouillon.

water ~ Lifeofjoy.meReady to go ~ Lifeofjoy.meWe had one bunch of broccoli and knew it wouldn’t be enough, so added a bag of broccoli florets. Did you know that some Dollar Tree stores carry a pound of frozen broccoli florets for only a dollar? That’s awesome because it is more for less at most other stores; I think it is because the bags I can find are “steamable”.

When it is done, break up the chicken breasts. I use a potato masher or a meat “chopper” similar to the Mix and Chop by Pampered Chef.

IP Creamy Chicken Rice and Broccoli ~ Lifeofjoy.me

IP Creamy Chicken Broccoli Rice

Ingredients

  • about 2 pounds chicken breast
  • 2 cups brown rice
  • 3 cups water or broth (I used 3 tablespoons of homemade THM Bouillon)
  • about 1 1/2 - 2 pounds broccoli florets
  • 1/2 cup mushrooms, chopped
  • 1/4 teaspoon dried basil
  • 1/8 teaspoon each onion powder, garlic powder, salt, and parsley
  • dash of each black pepper and paprika
  • 3/4 cup almond milk
  • 1/4 teaspoon glucomannan powder

Instructions

  1. Put all ingredients (except broccoli if you so desire) in the instant pot, vent closed. High manual pressure for 25 minutes then keep warm for 10 minutes.
  2. Release pressure, removed lid, and break up the meat.
  3. Enjoy!
  4. I believe you could do the same thing in the crock pot 6-8 hours on low.
https://lifeofjoy.me/ip-creamy-chicken-broccoli-rice/

IP Creamy Chicken Rice and Broccoli ~ Lifeofjoy.meFYI: It really does look a bit more green in person. I modified this THM Cream of Mushroom Soup recipe.

I hope you like this. We’ll make it again and even put the broccoli in it (but will probably steam some on the side too).

Oh, by the way, we eat this as an E meal on the THM program. (Watch the amount of rice.) Best to add a salad to eat with it, keeping the fats on the salad in E limits, as there are added fats in the dish itself. :)

Until next time, God bless,

Michele ºÜº