Category Archives: Desserts

Chocolate Chip Cookies

Well, here it is, Tuesday and again I don’t have any pictures for a recipe to share today. I thought I’d share the chocolate chip cookie recipe that we use, so we set out to make the cookies.

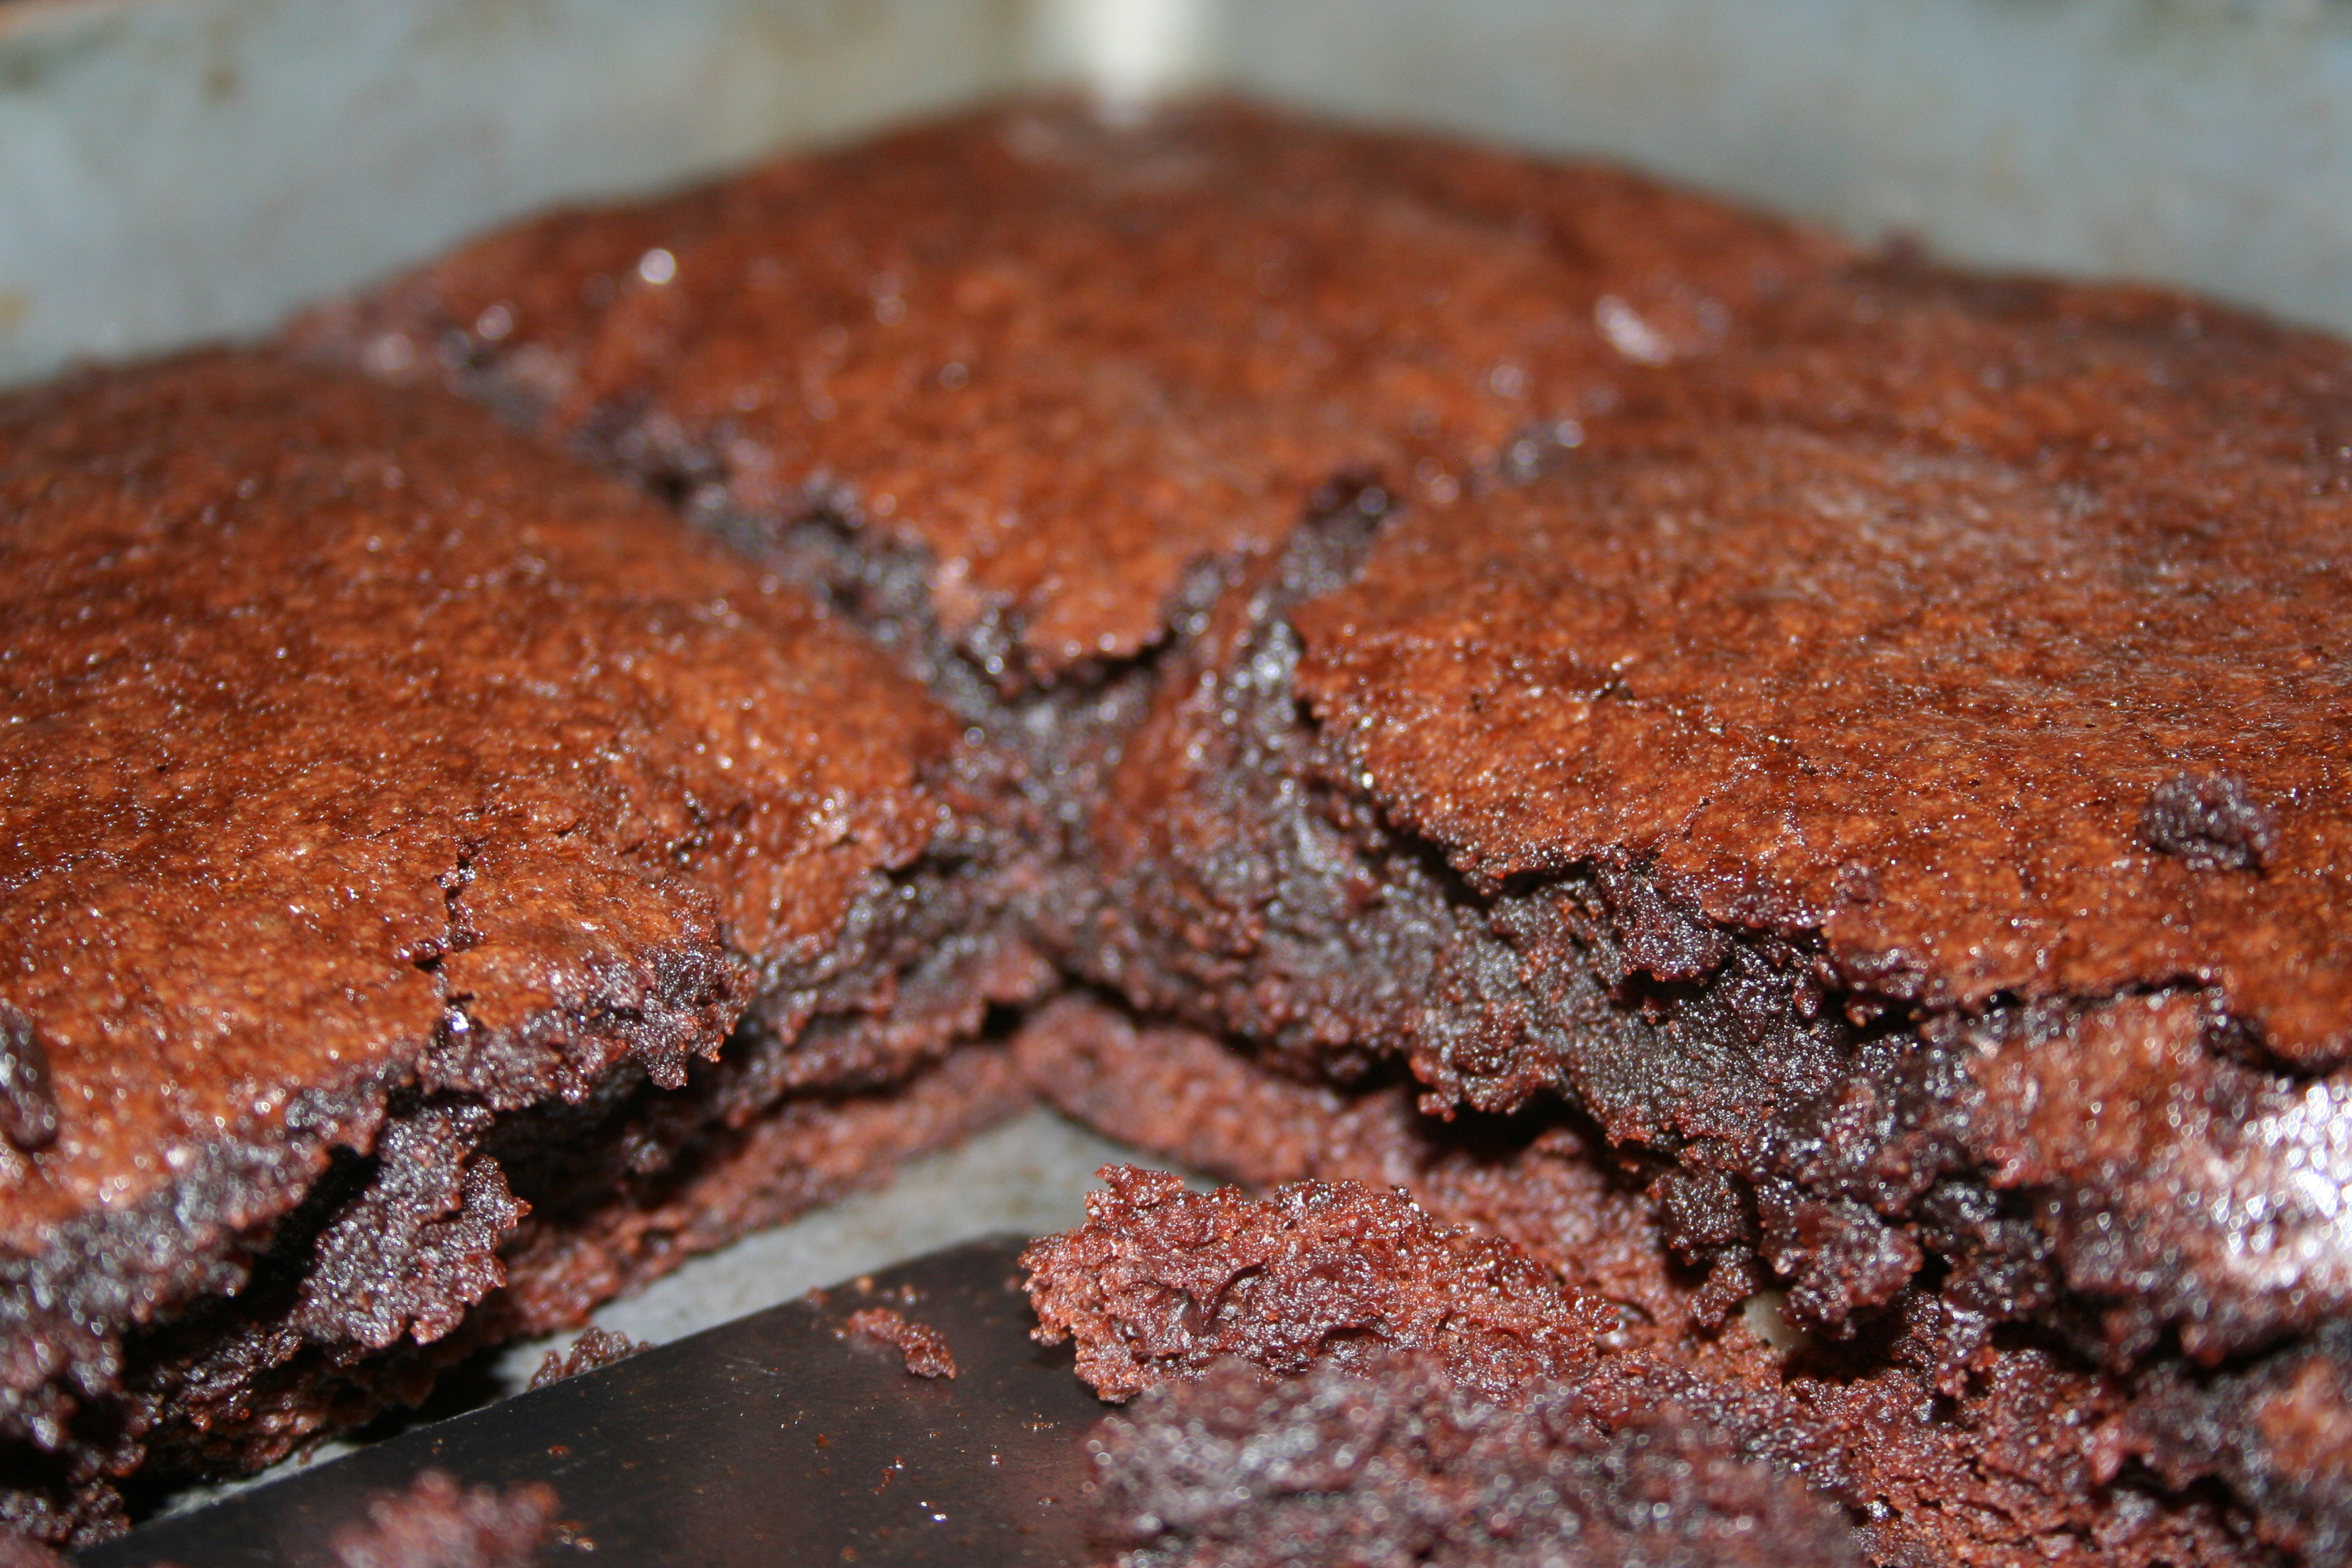
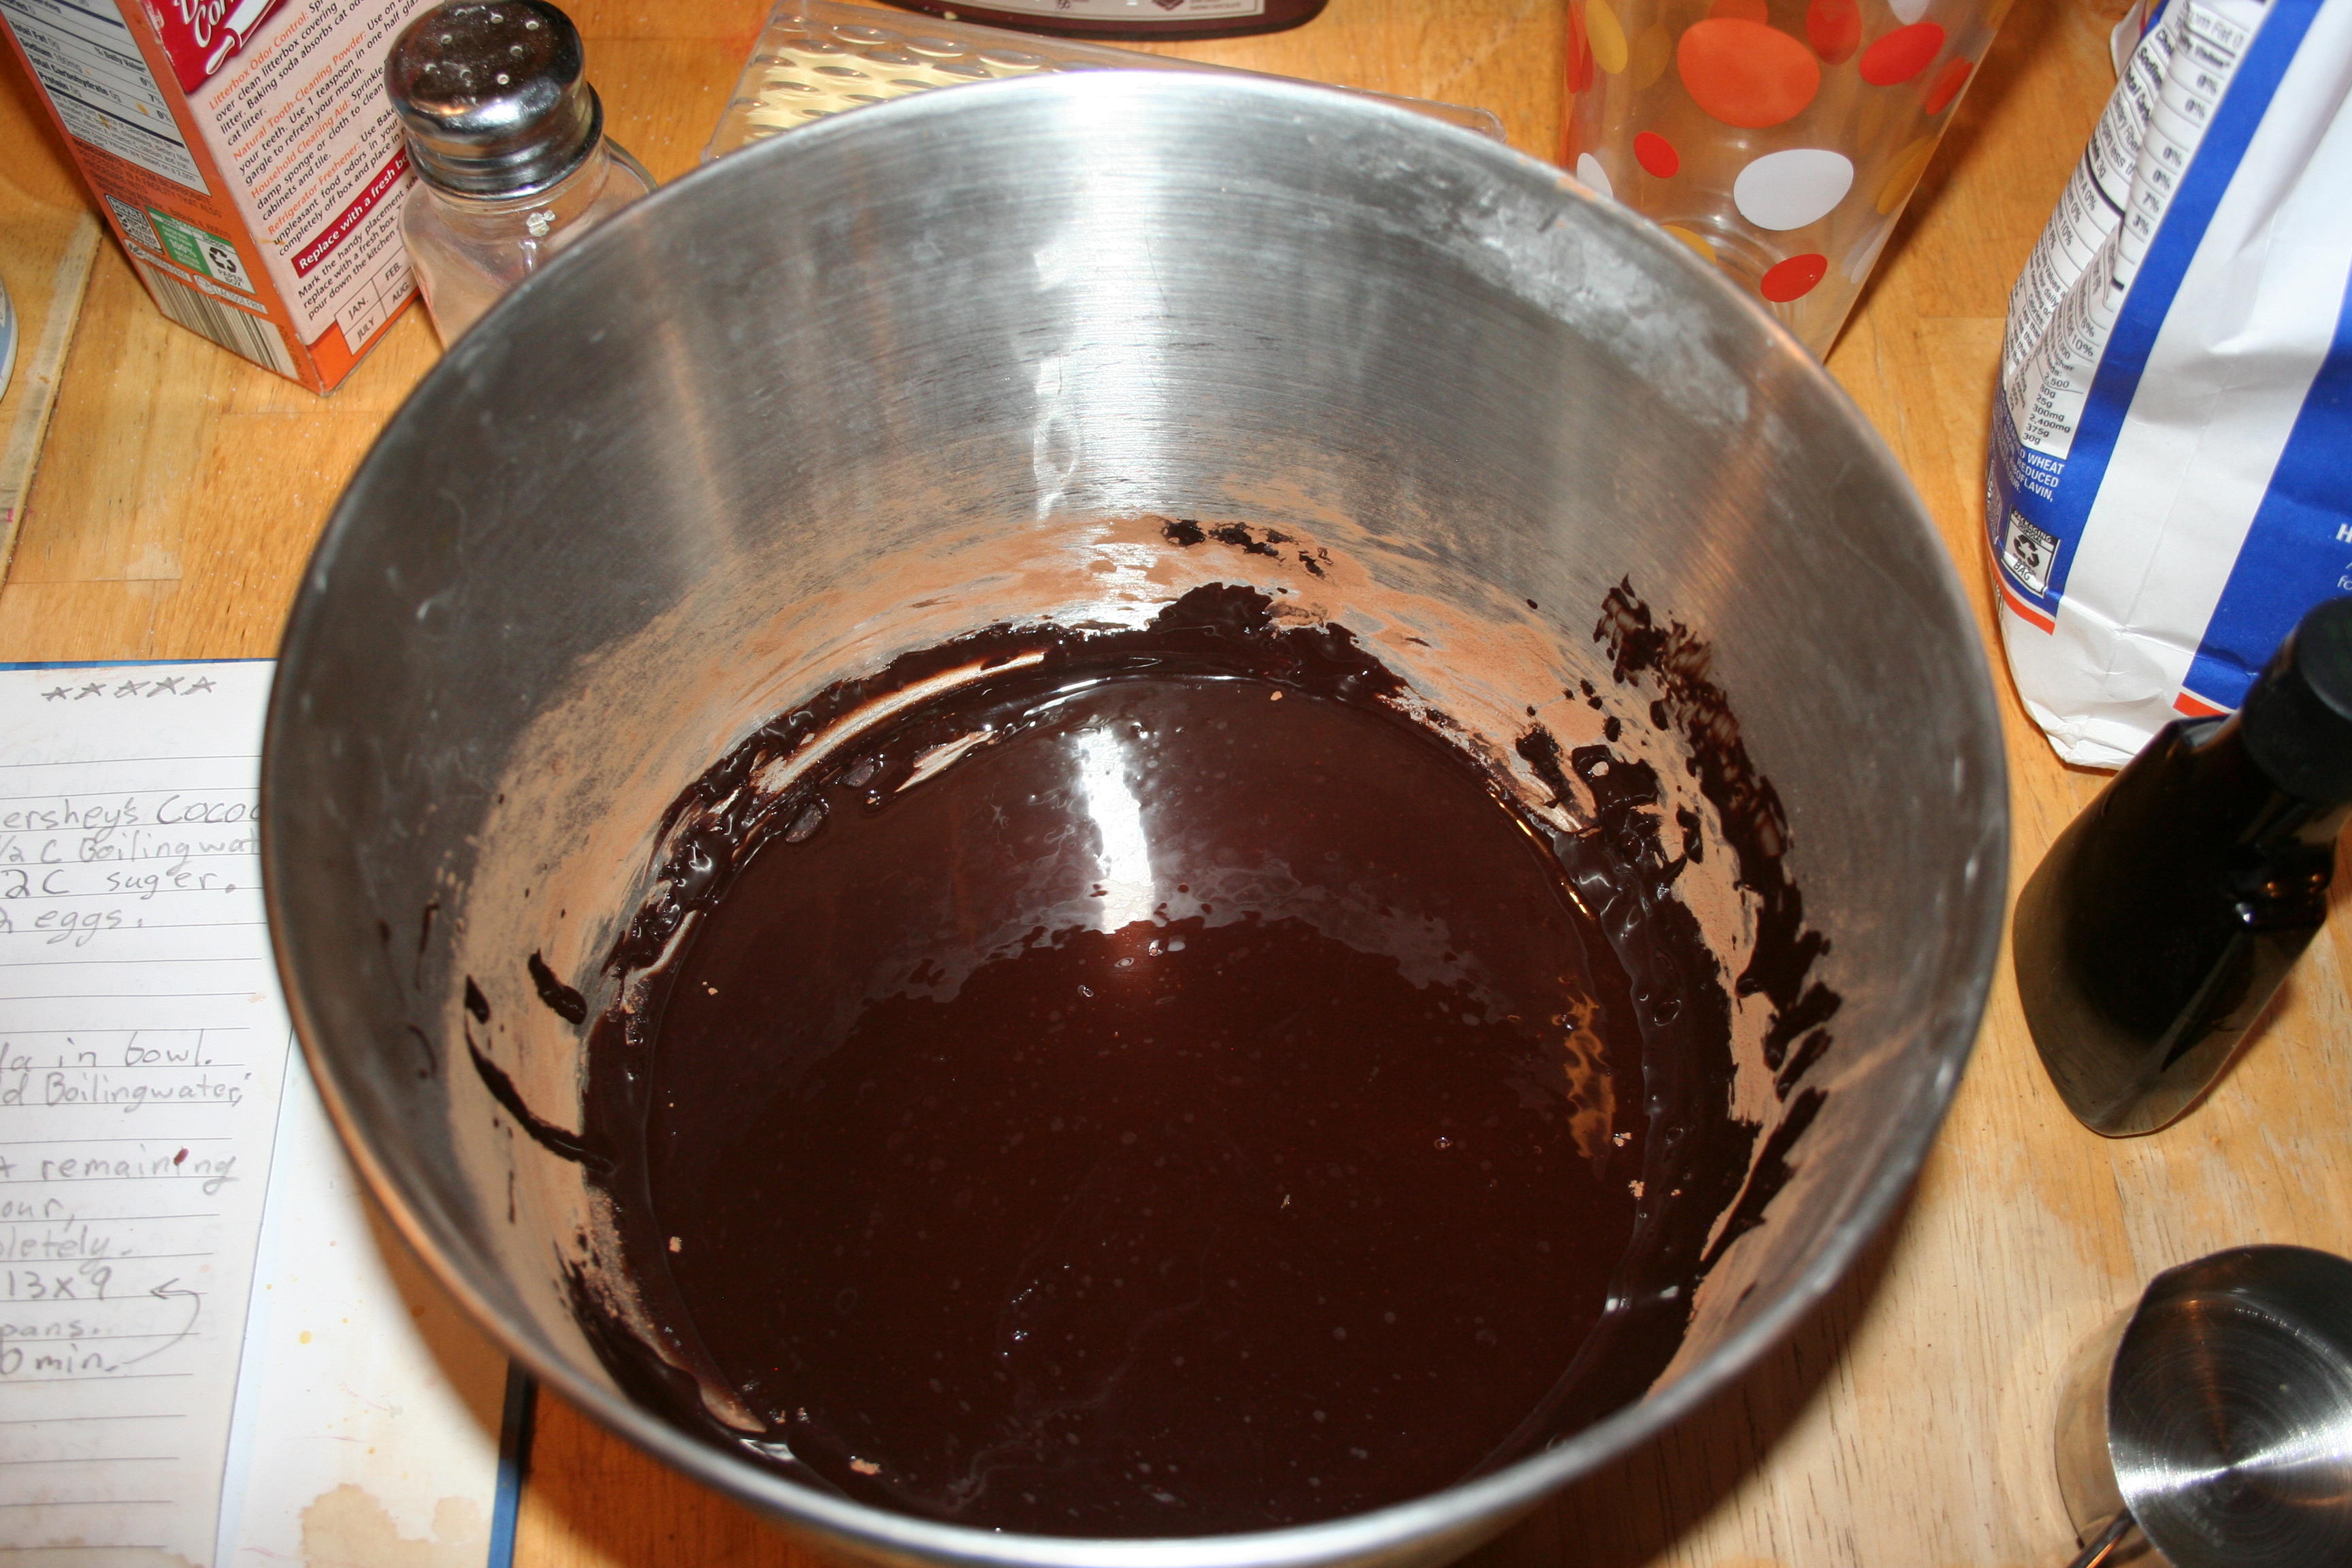
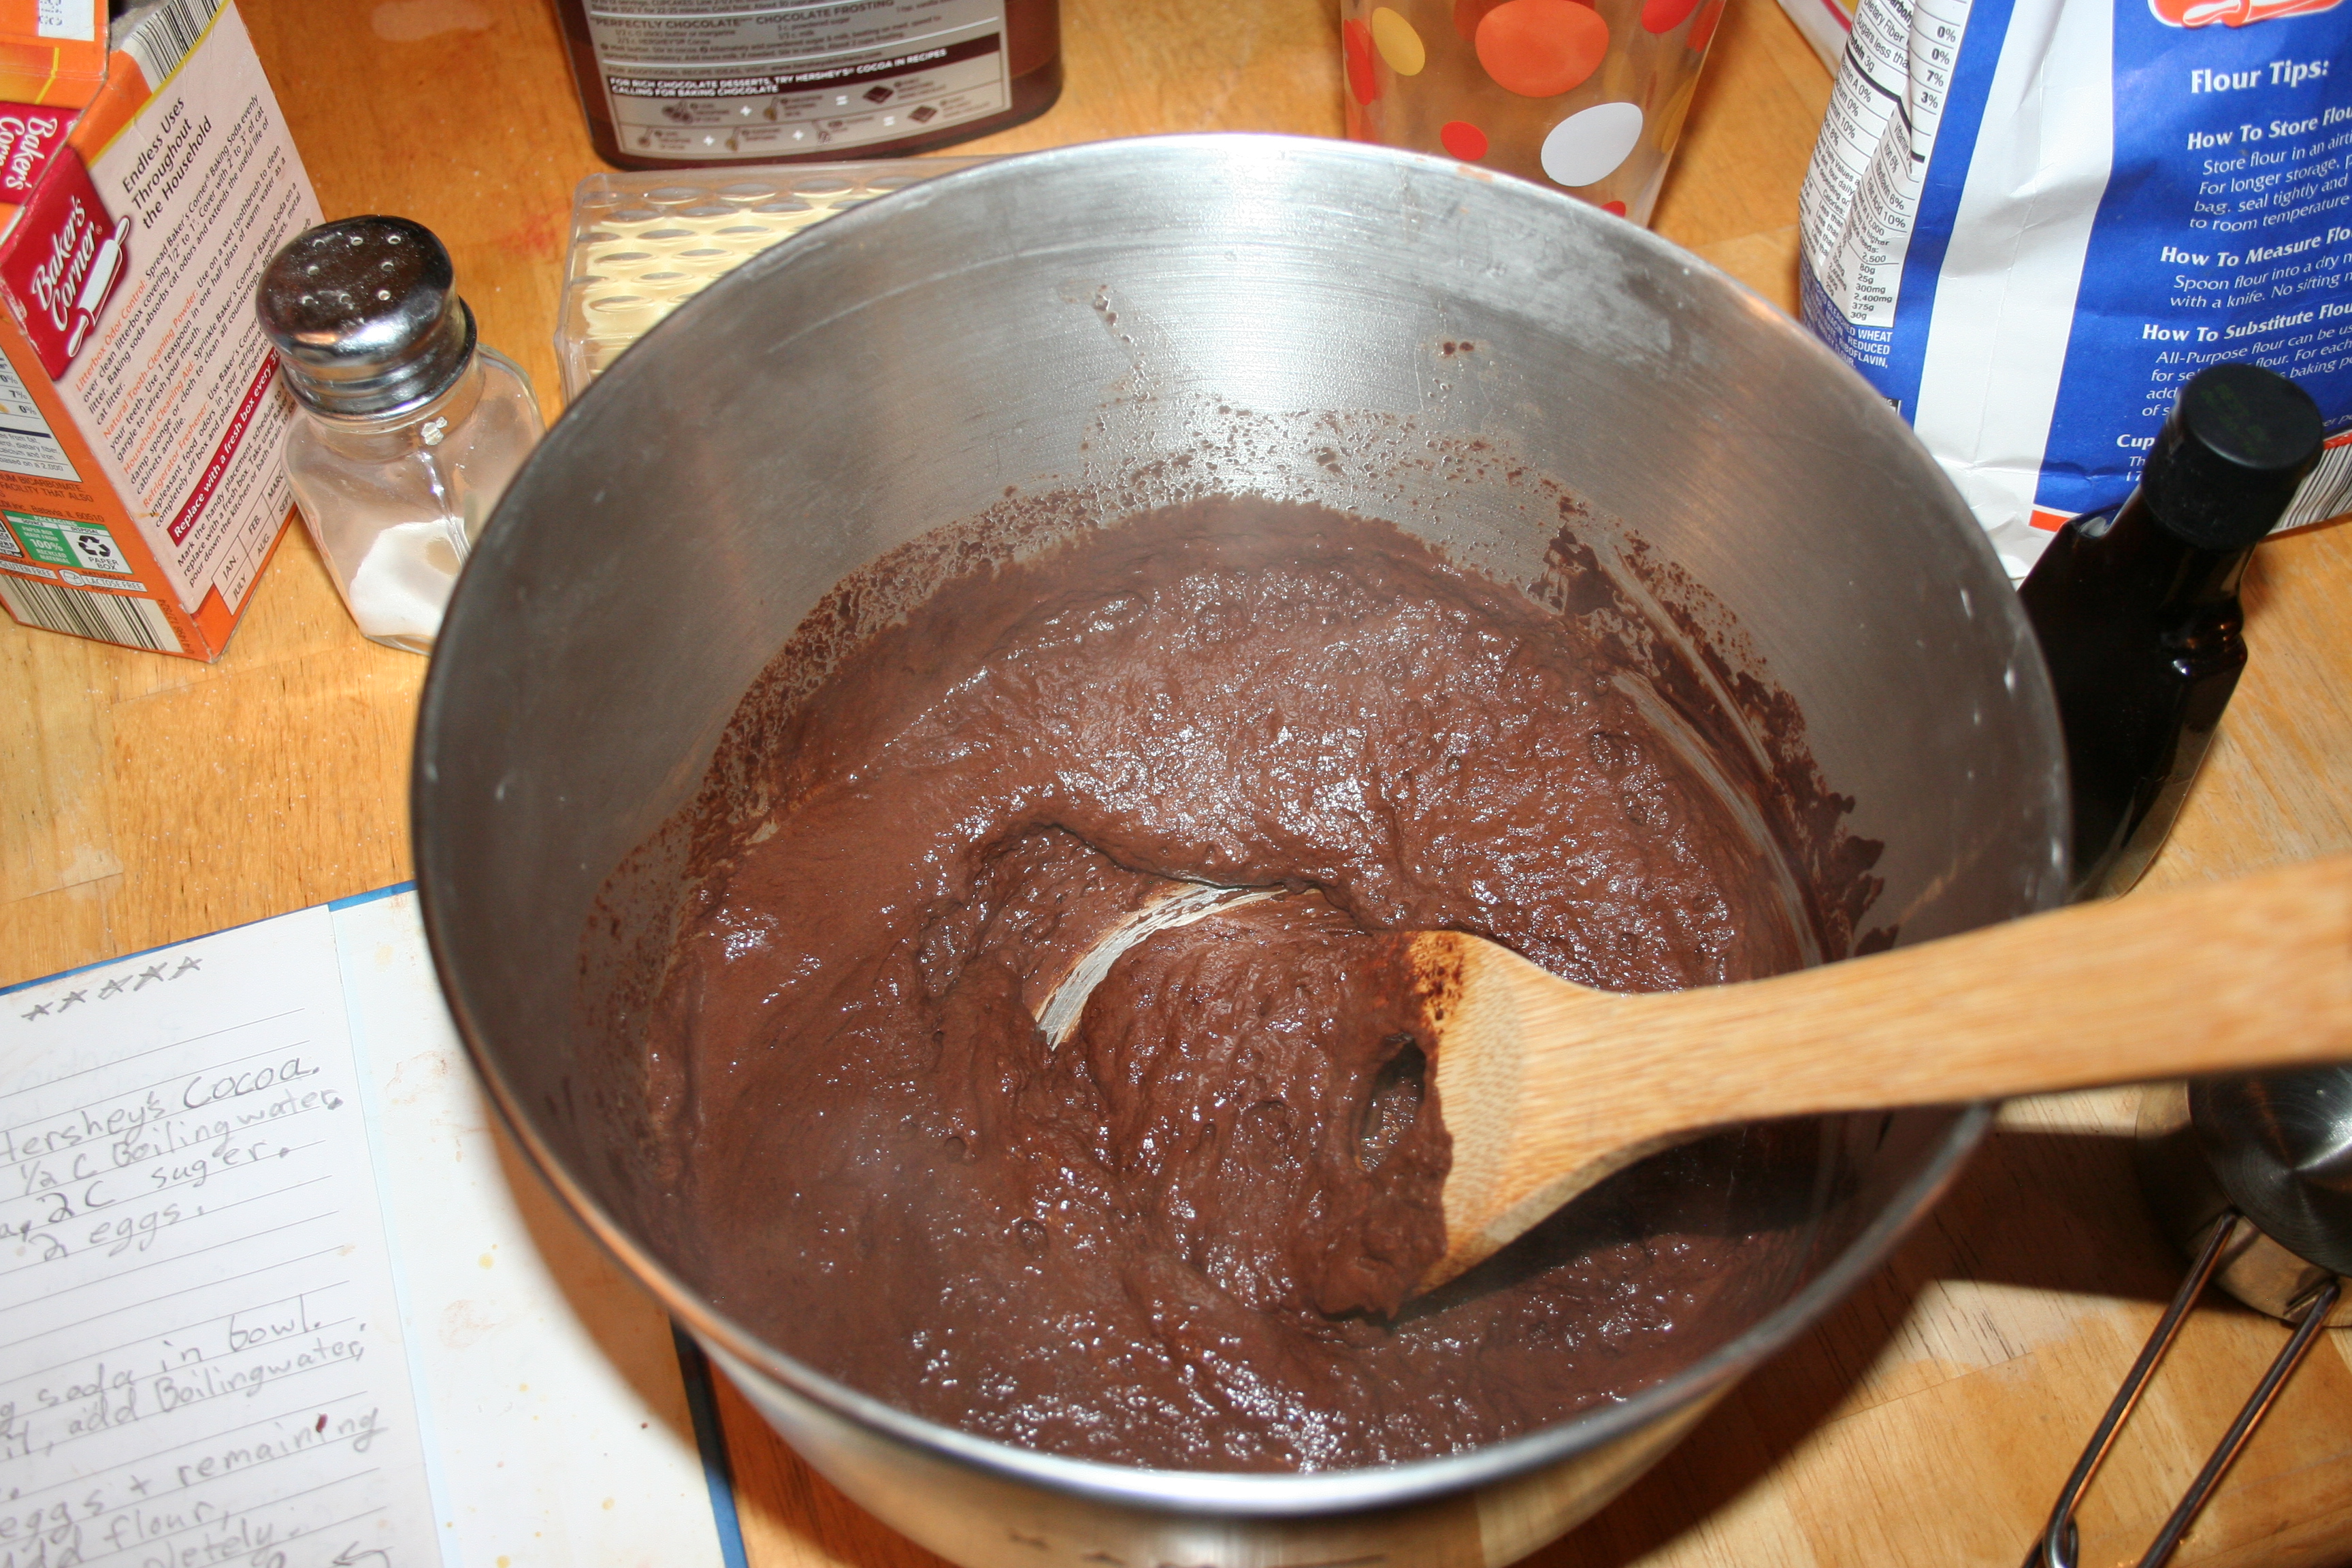
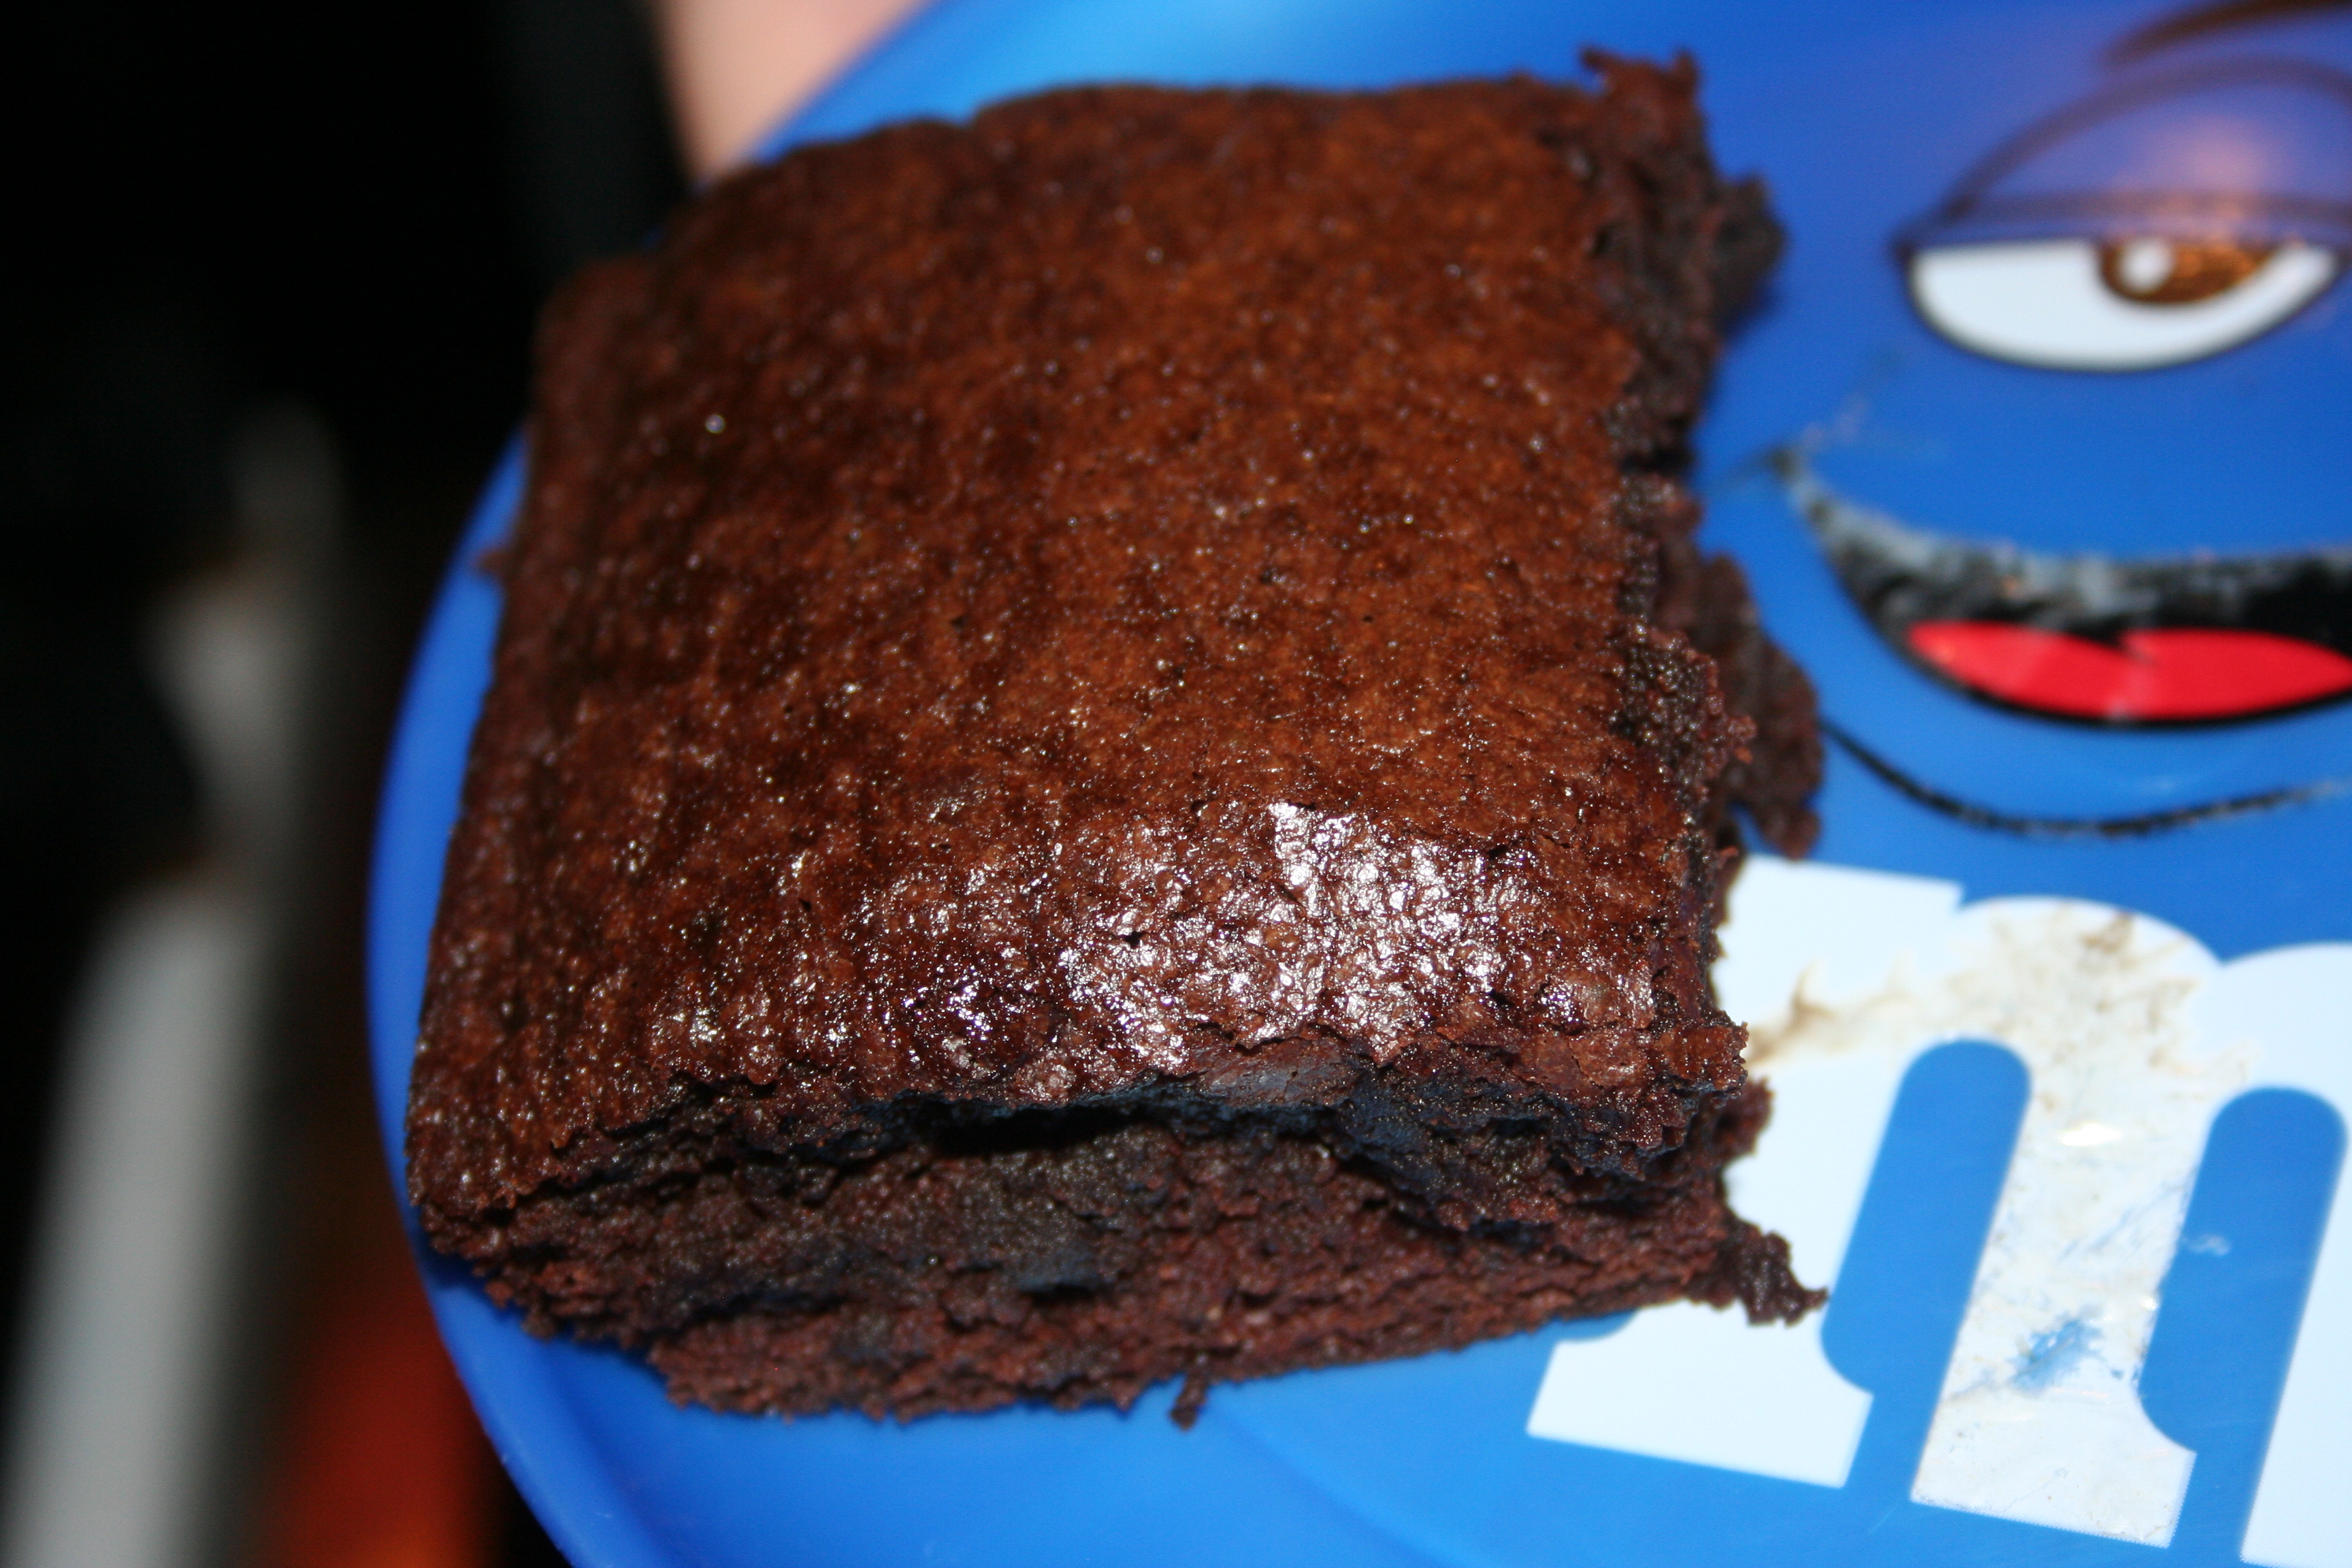
I don’t purchase desserts at the store, generally speaking. So my kids learned to bake. I told them they could have dessert but I wasn’t making it. I’d just made dinner and thus if they wanted dessert, they’d have to make it. Their go-to desserts have been chocolate chip cookies and the brownies I shared before.

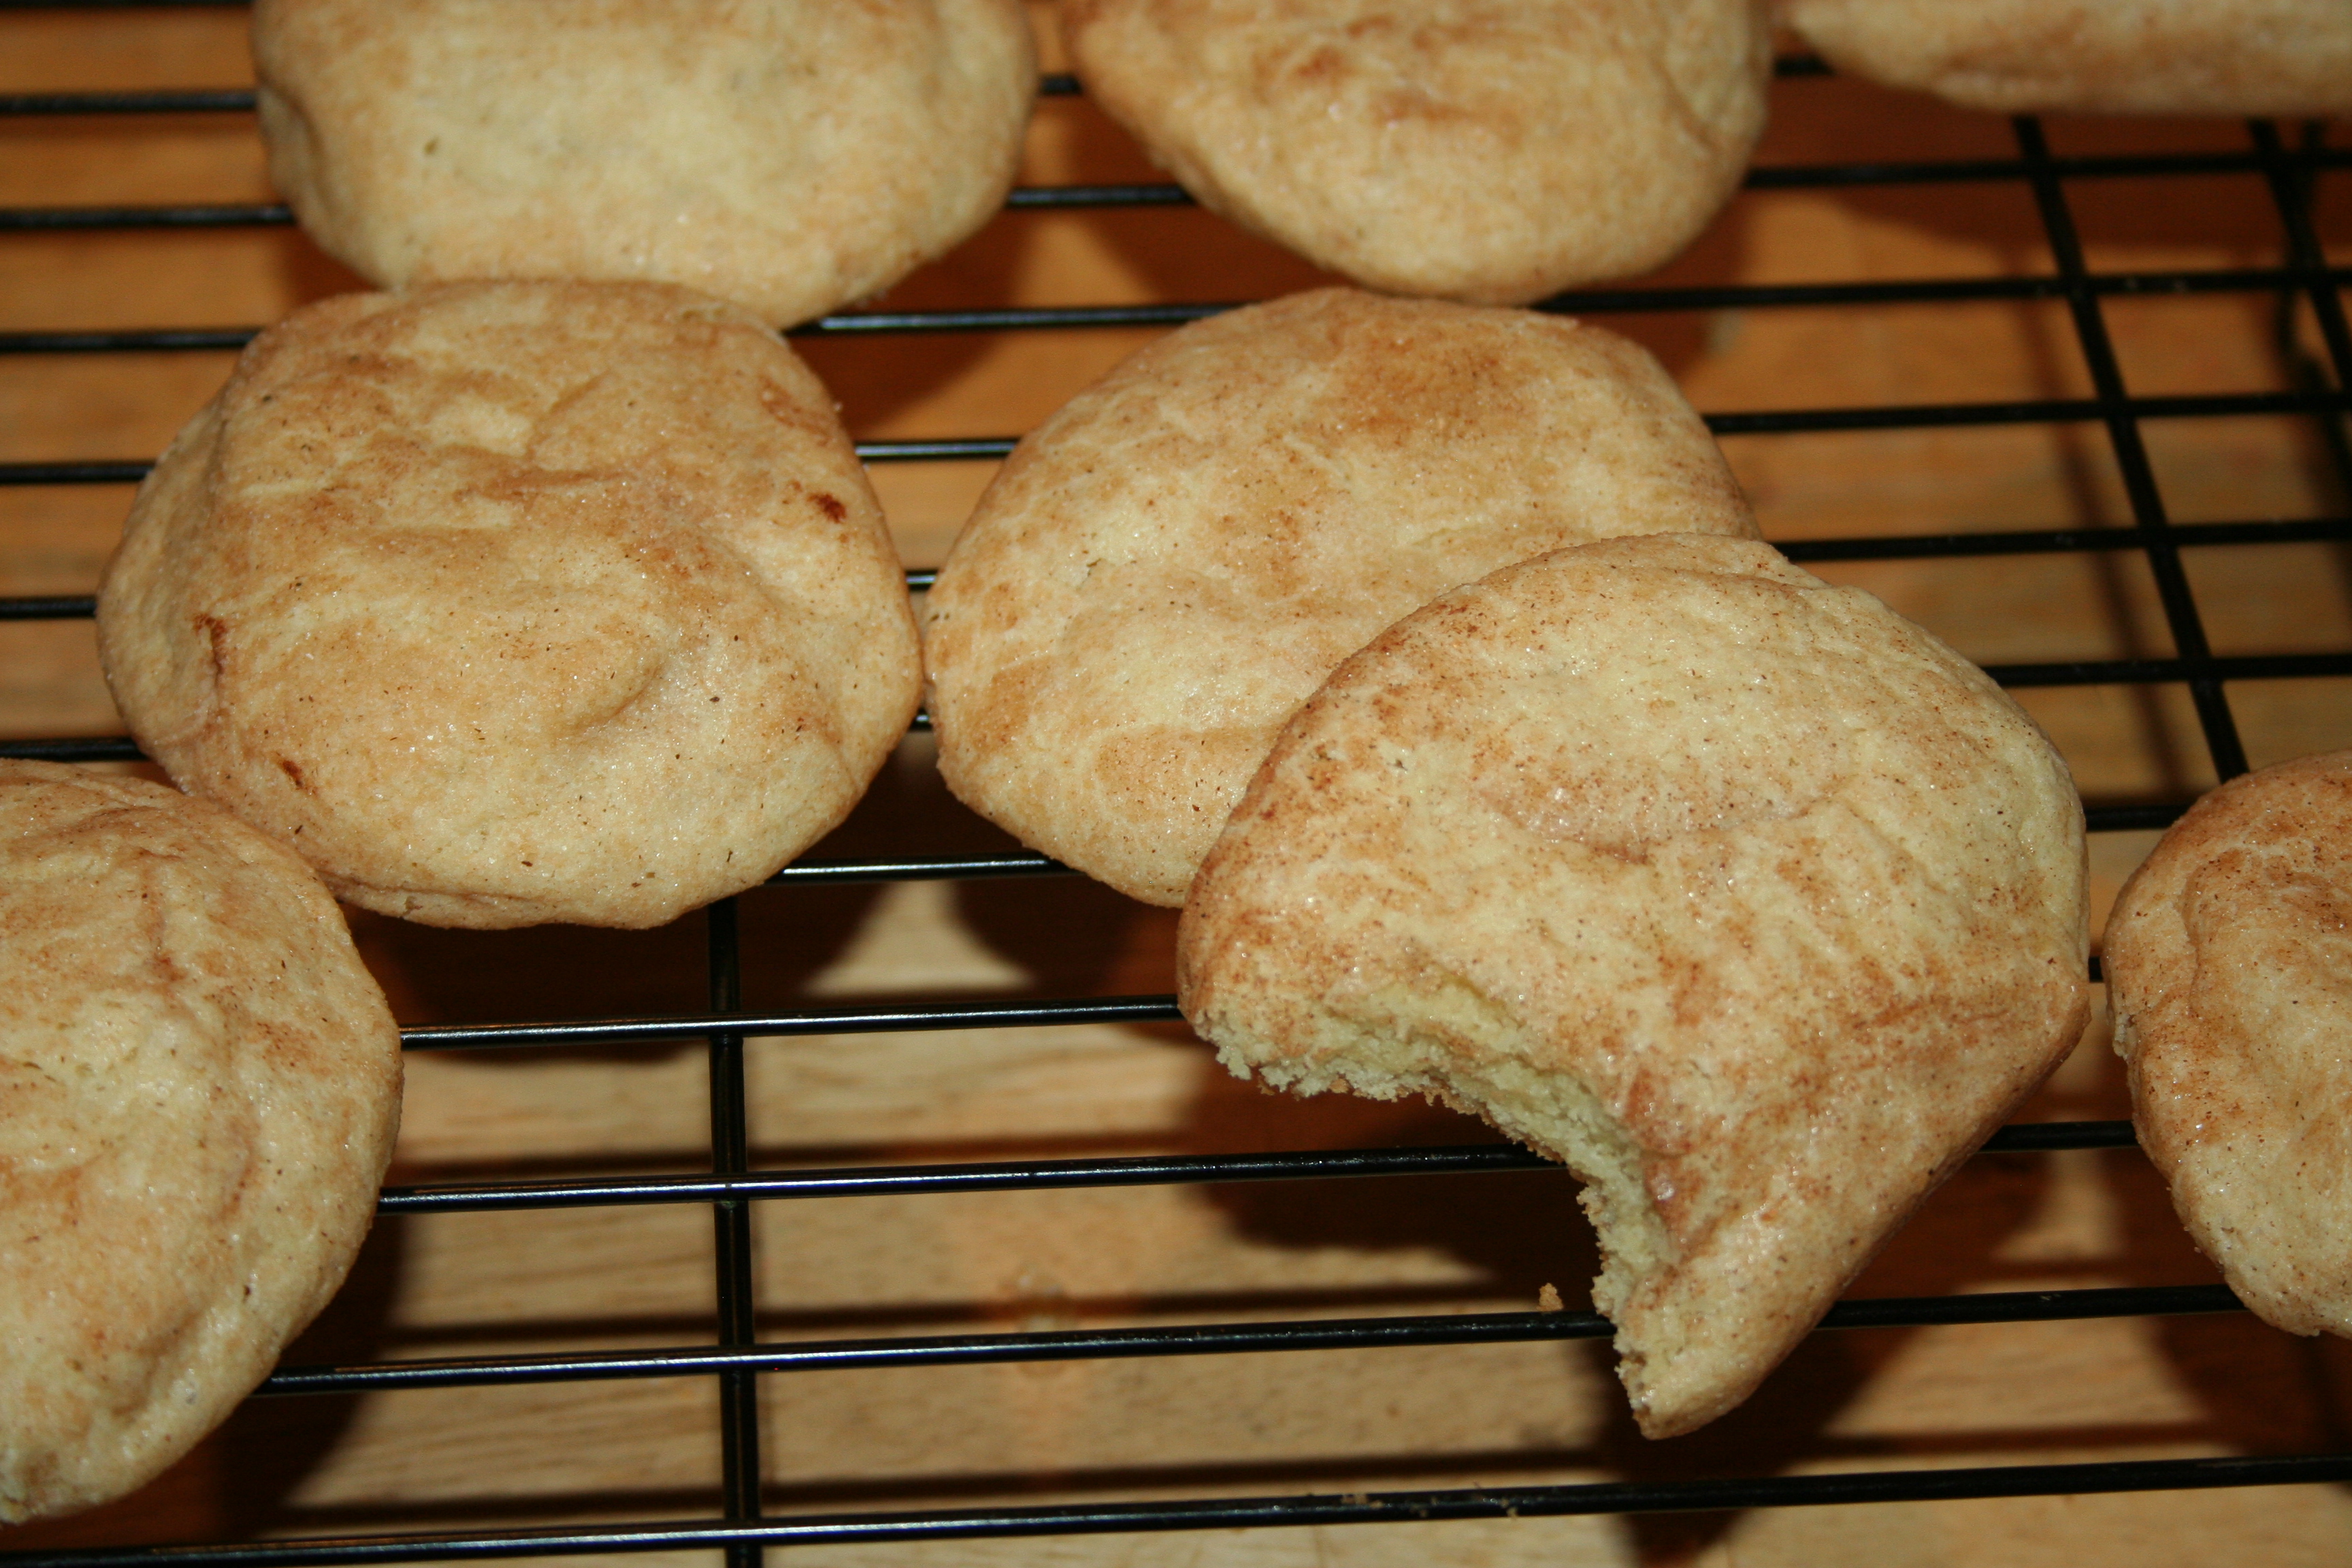
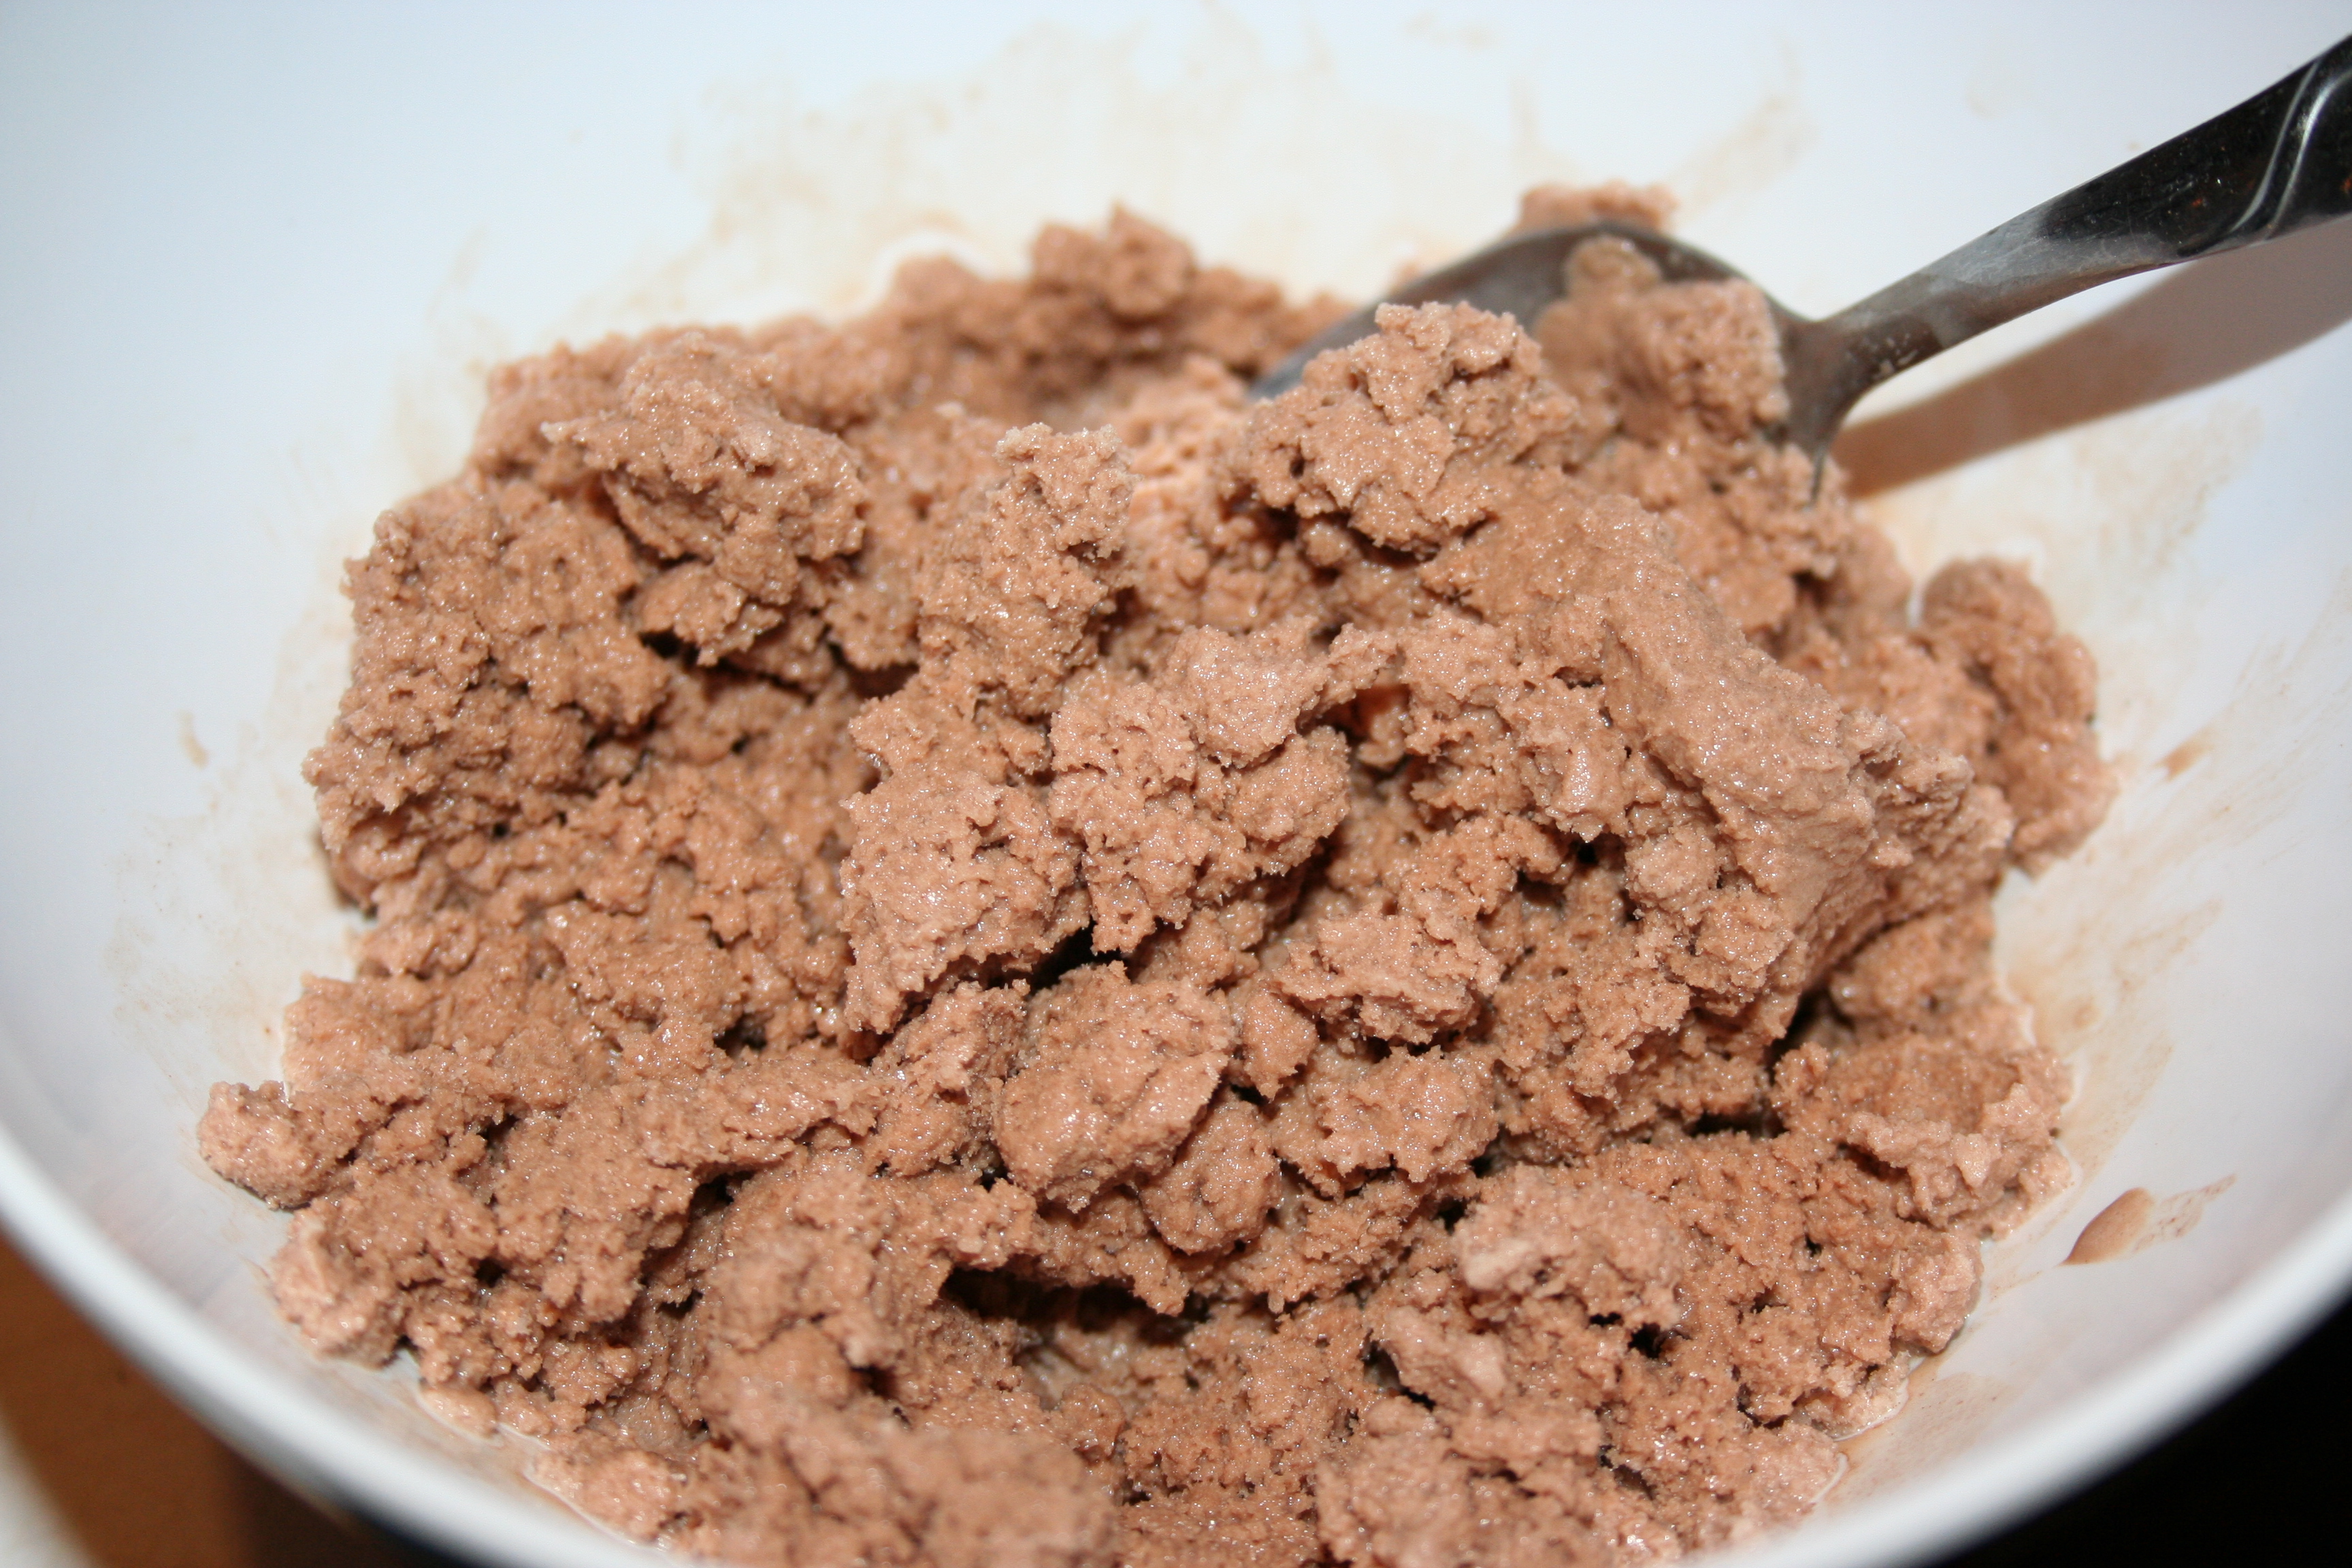
Over the years, we have had flat, super thin cookies and nice full puffy cookies. Both are good but the full puffy ones are nicer. Well, unfortunately, tonight, Tiffany made the flat thin cookies. We still are not sure how this happens except that she didn’t think they were done and baked them longer than the recipe stated.Chocolate Chip Cookies ~ LifeofJoy.me

I have decided to go ahead and share the recipe because it is delicious. I will definitely change out the picture the next time we make these cookies. :)

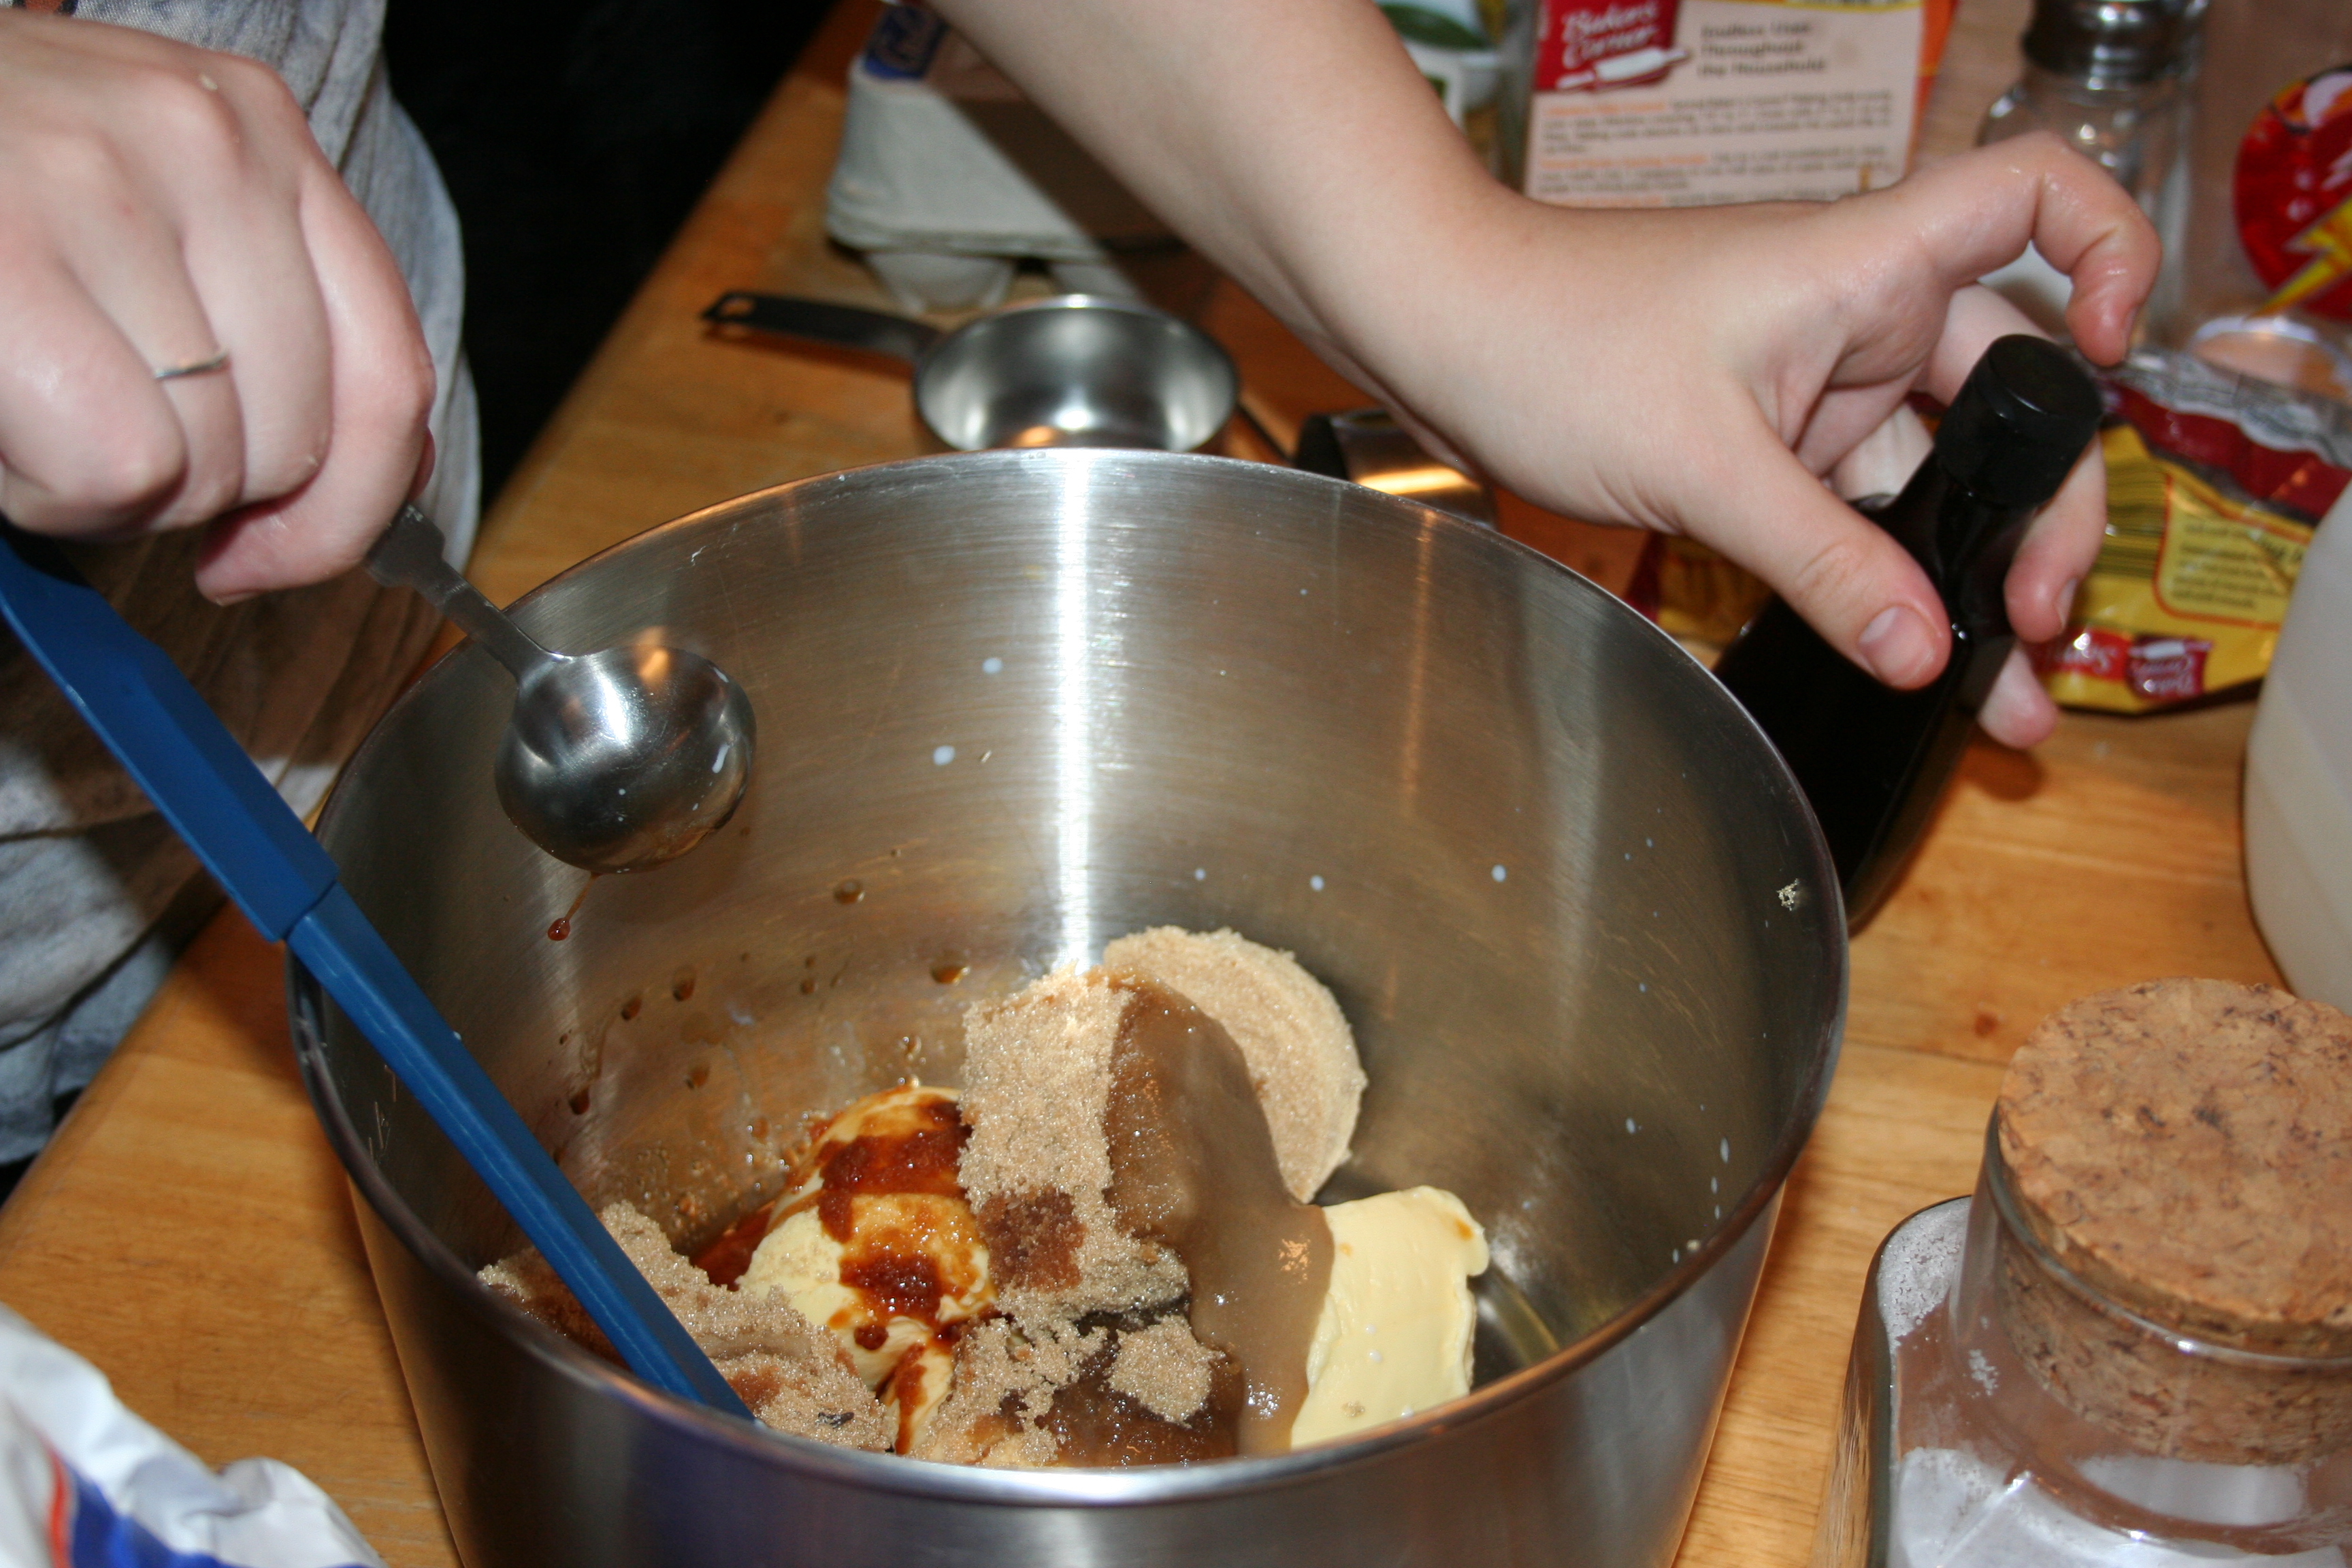
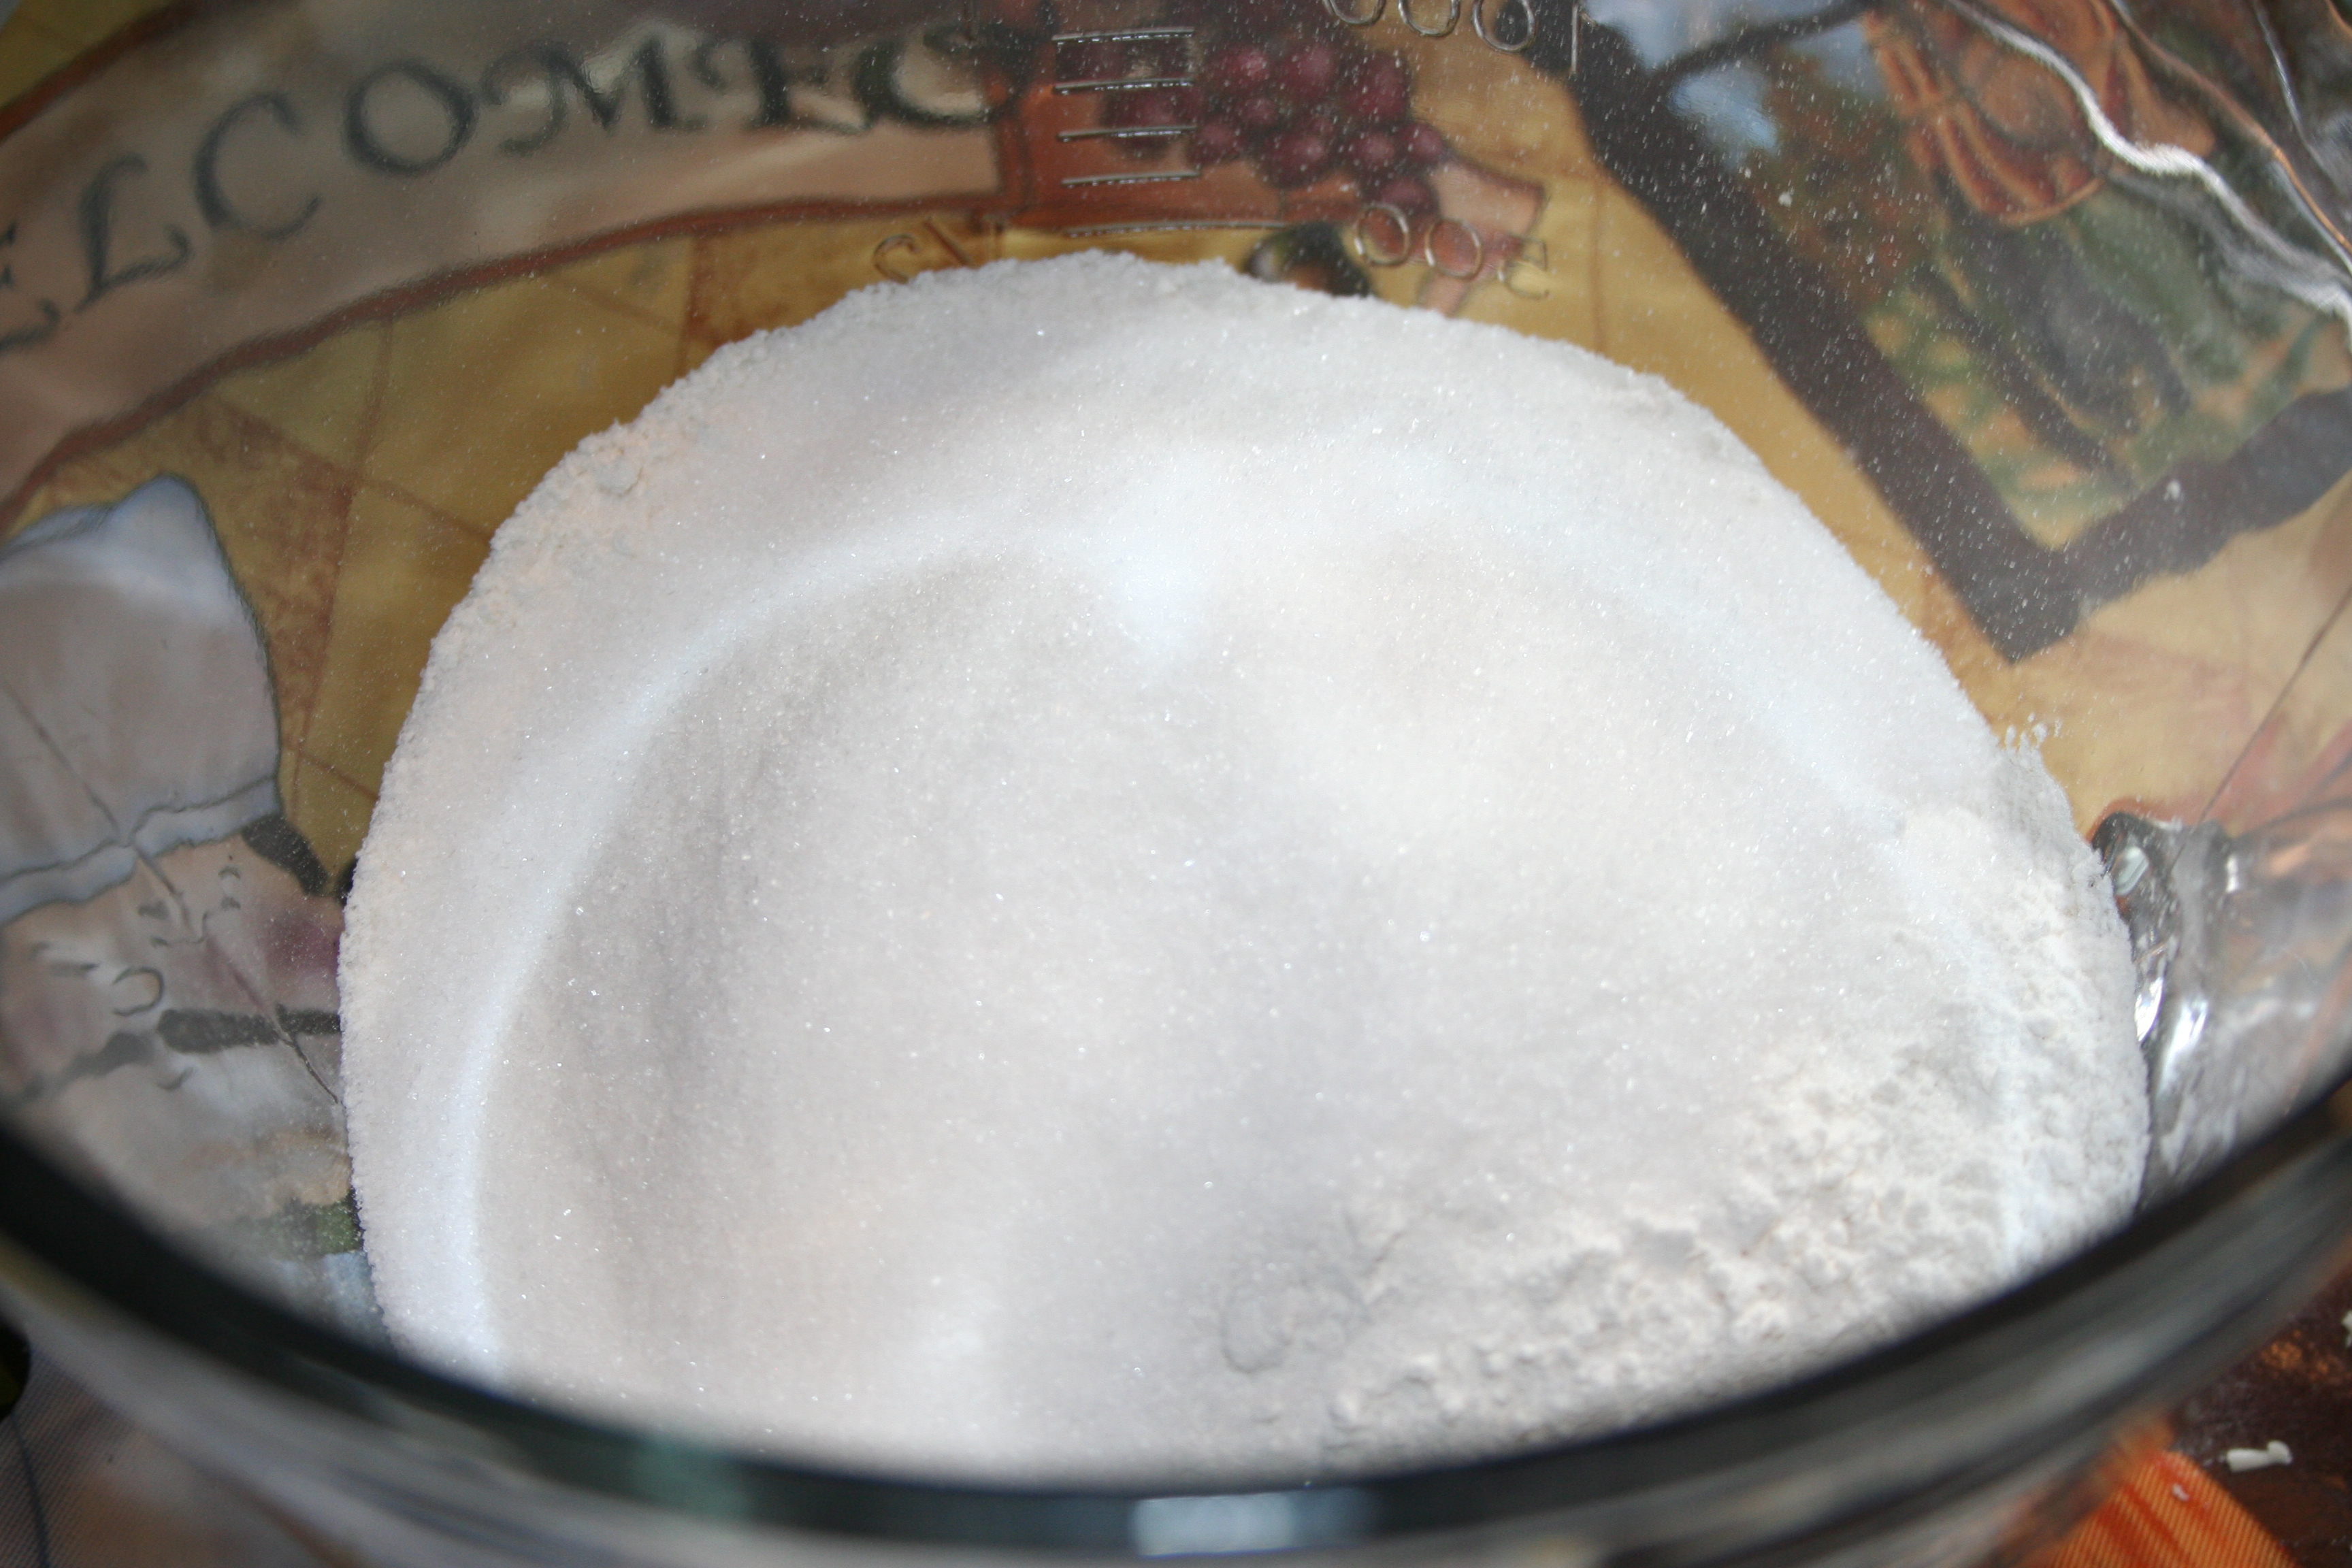
Combine Crisco, brown sugar, milk, and vanilla.

Choc Chip Cookie Step 1 ~ LifeofJoy.me

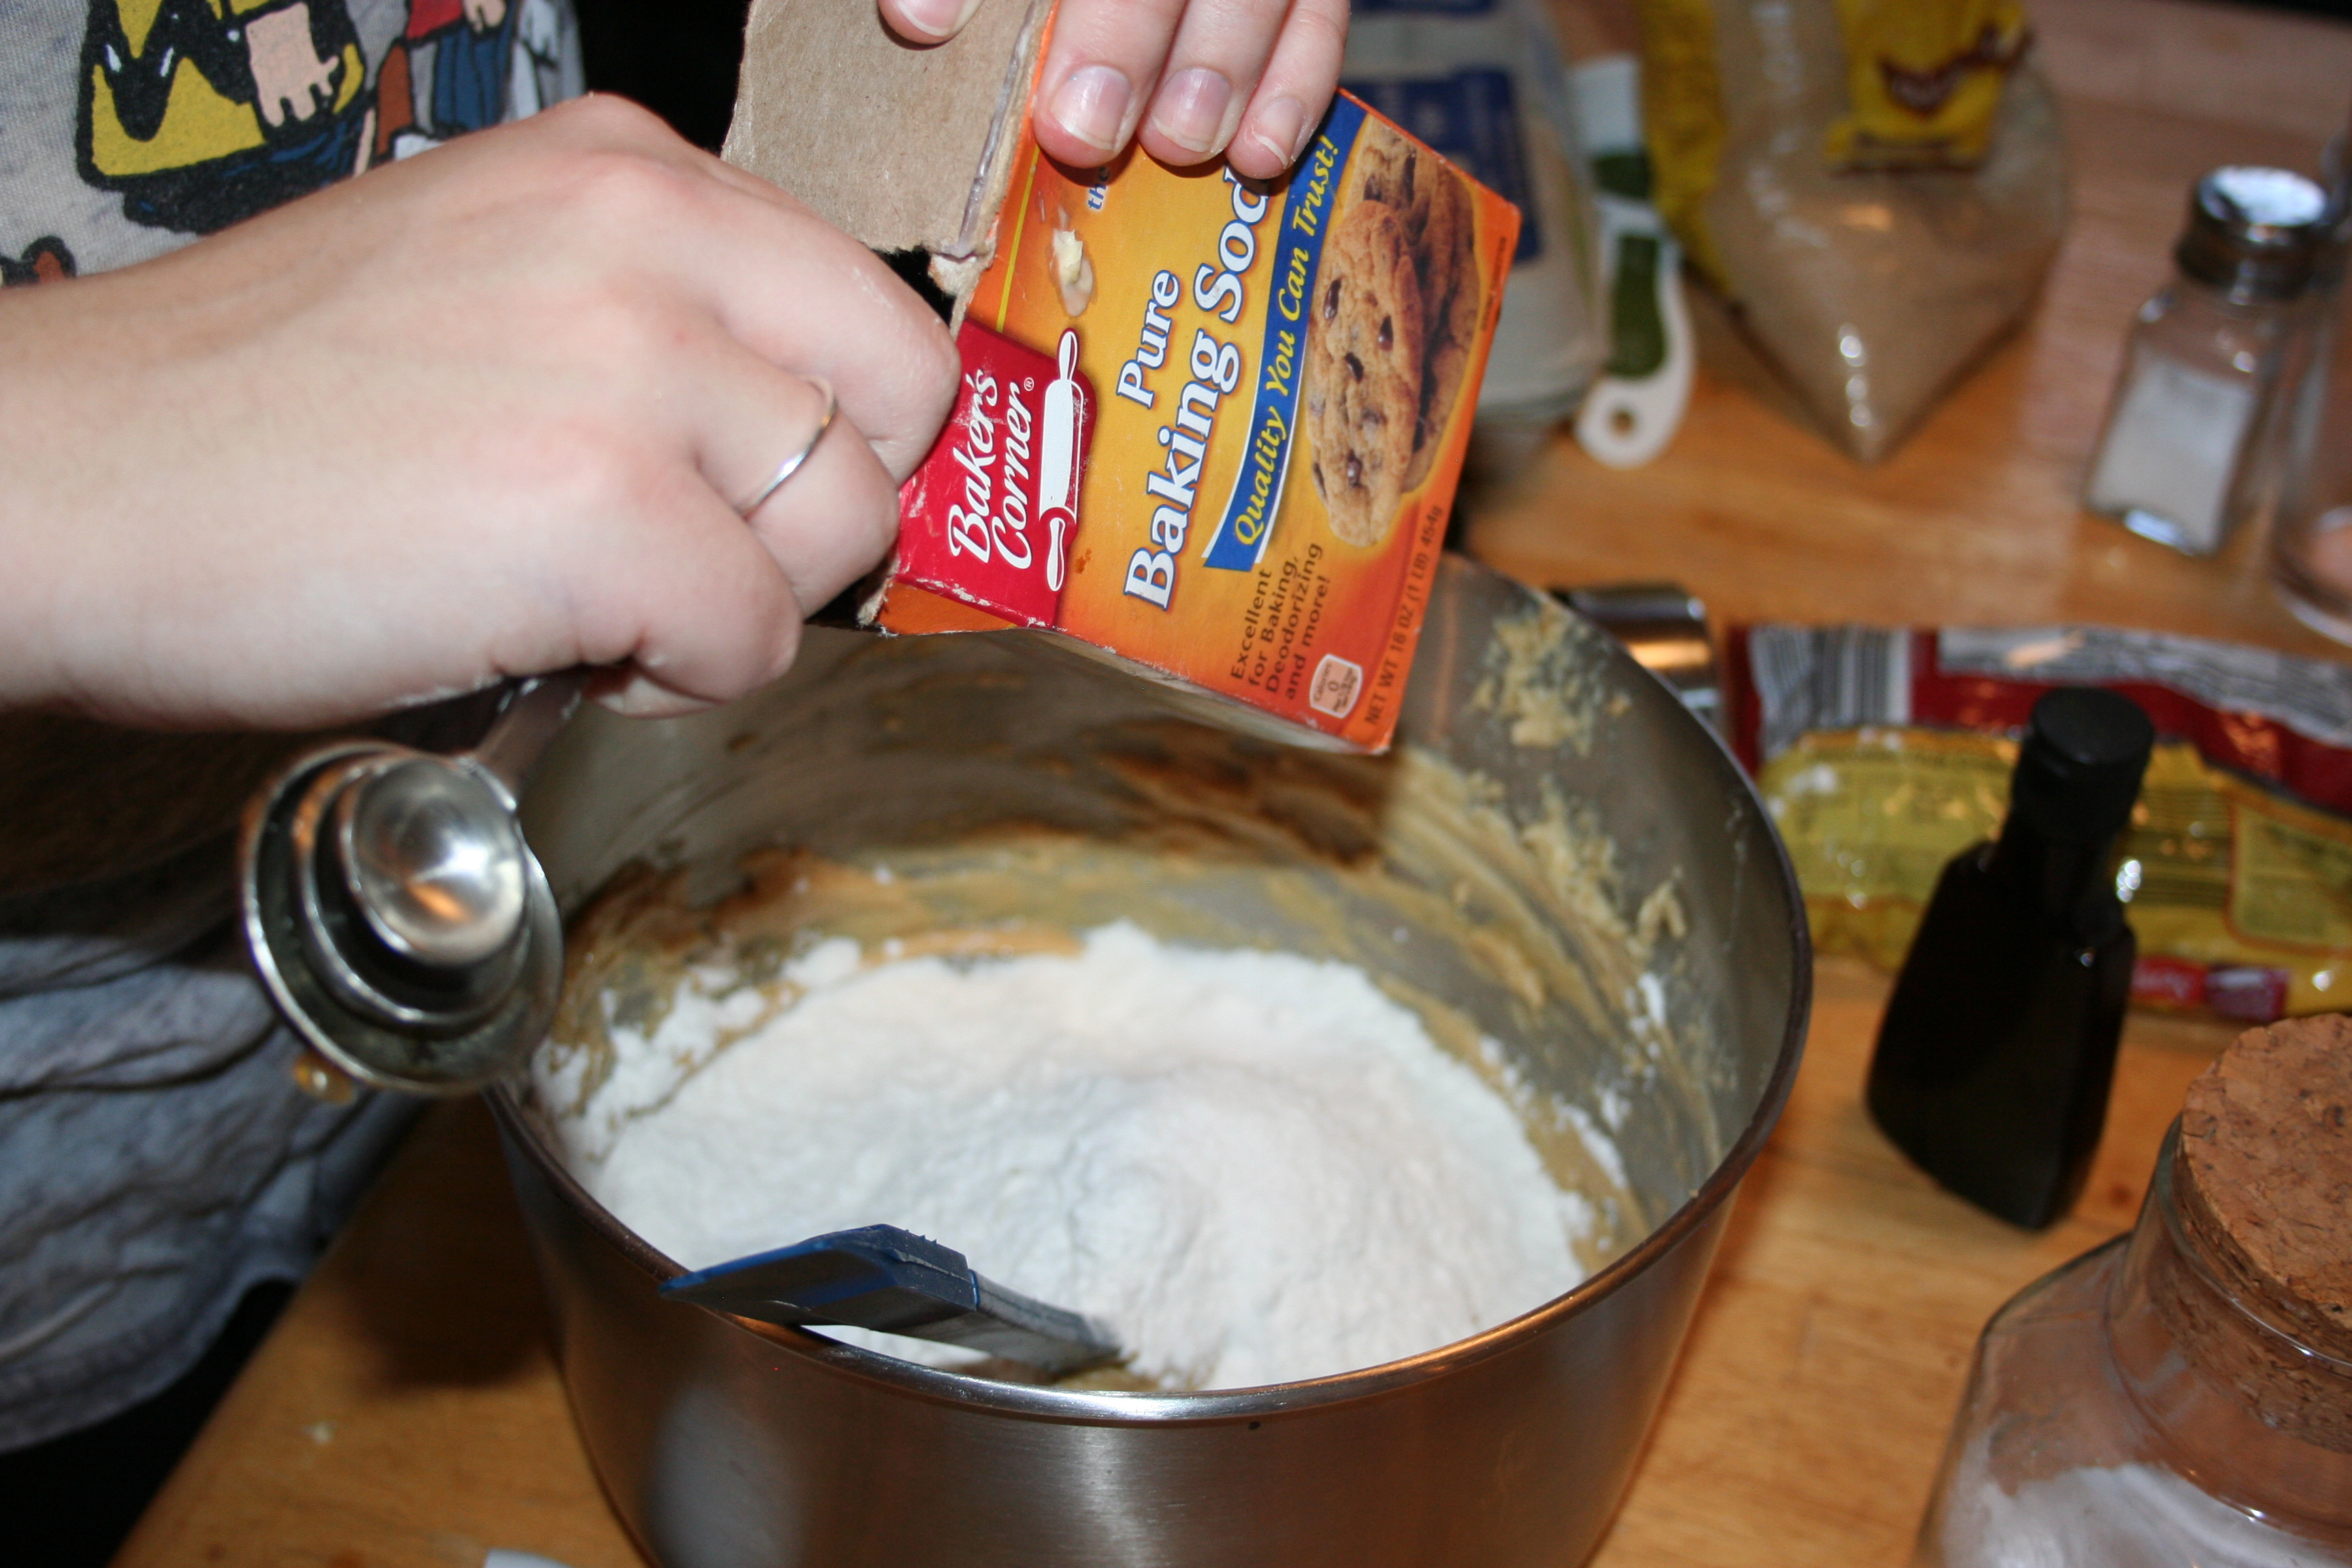
Add egg and combine. Add dry ingredients and blend.

Choc Chip Cookies Step 2 ~ LifeofJoy.me

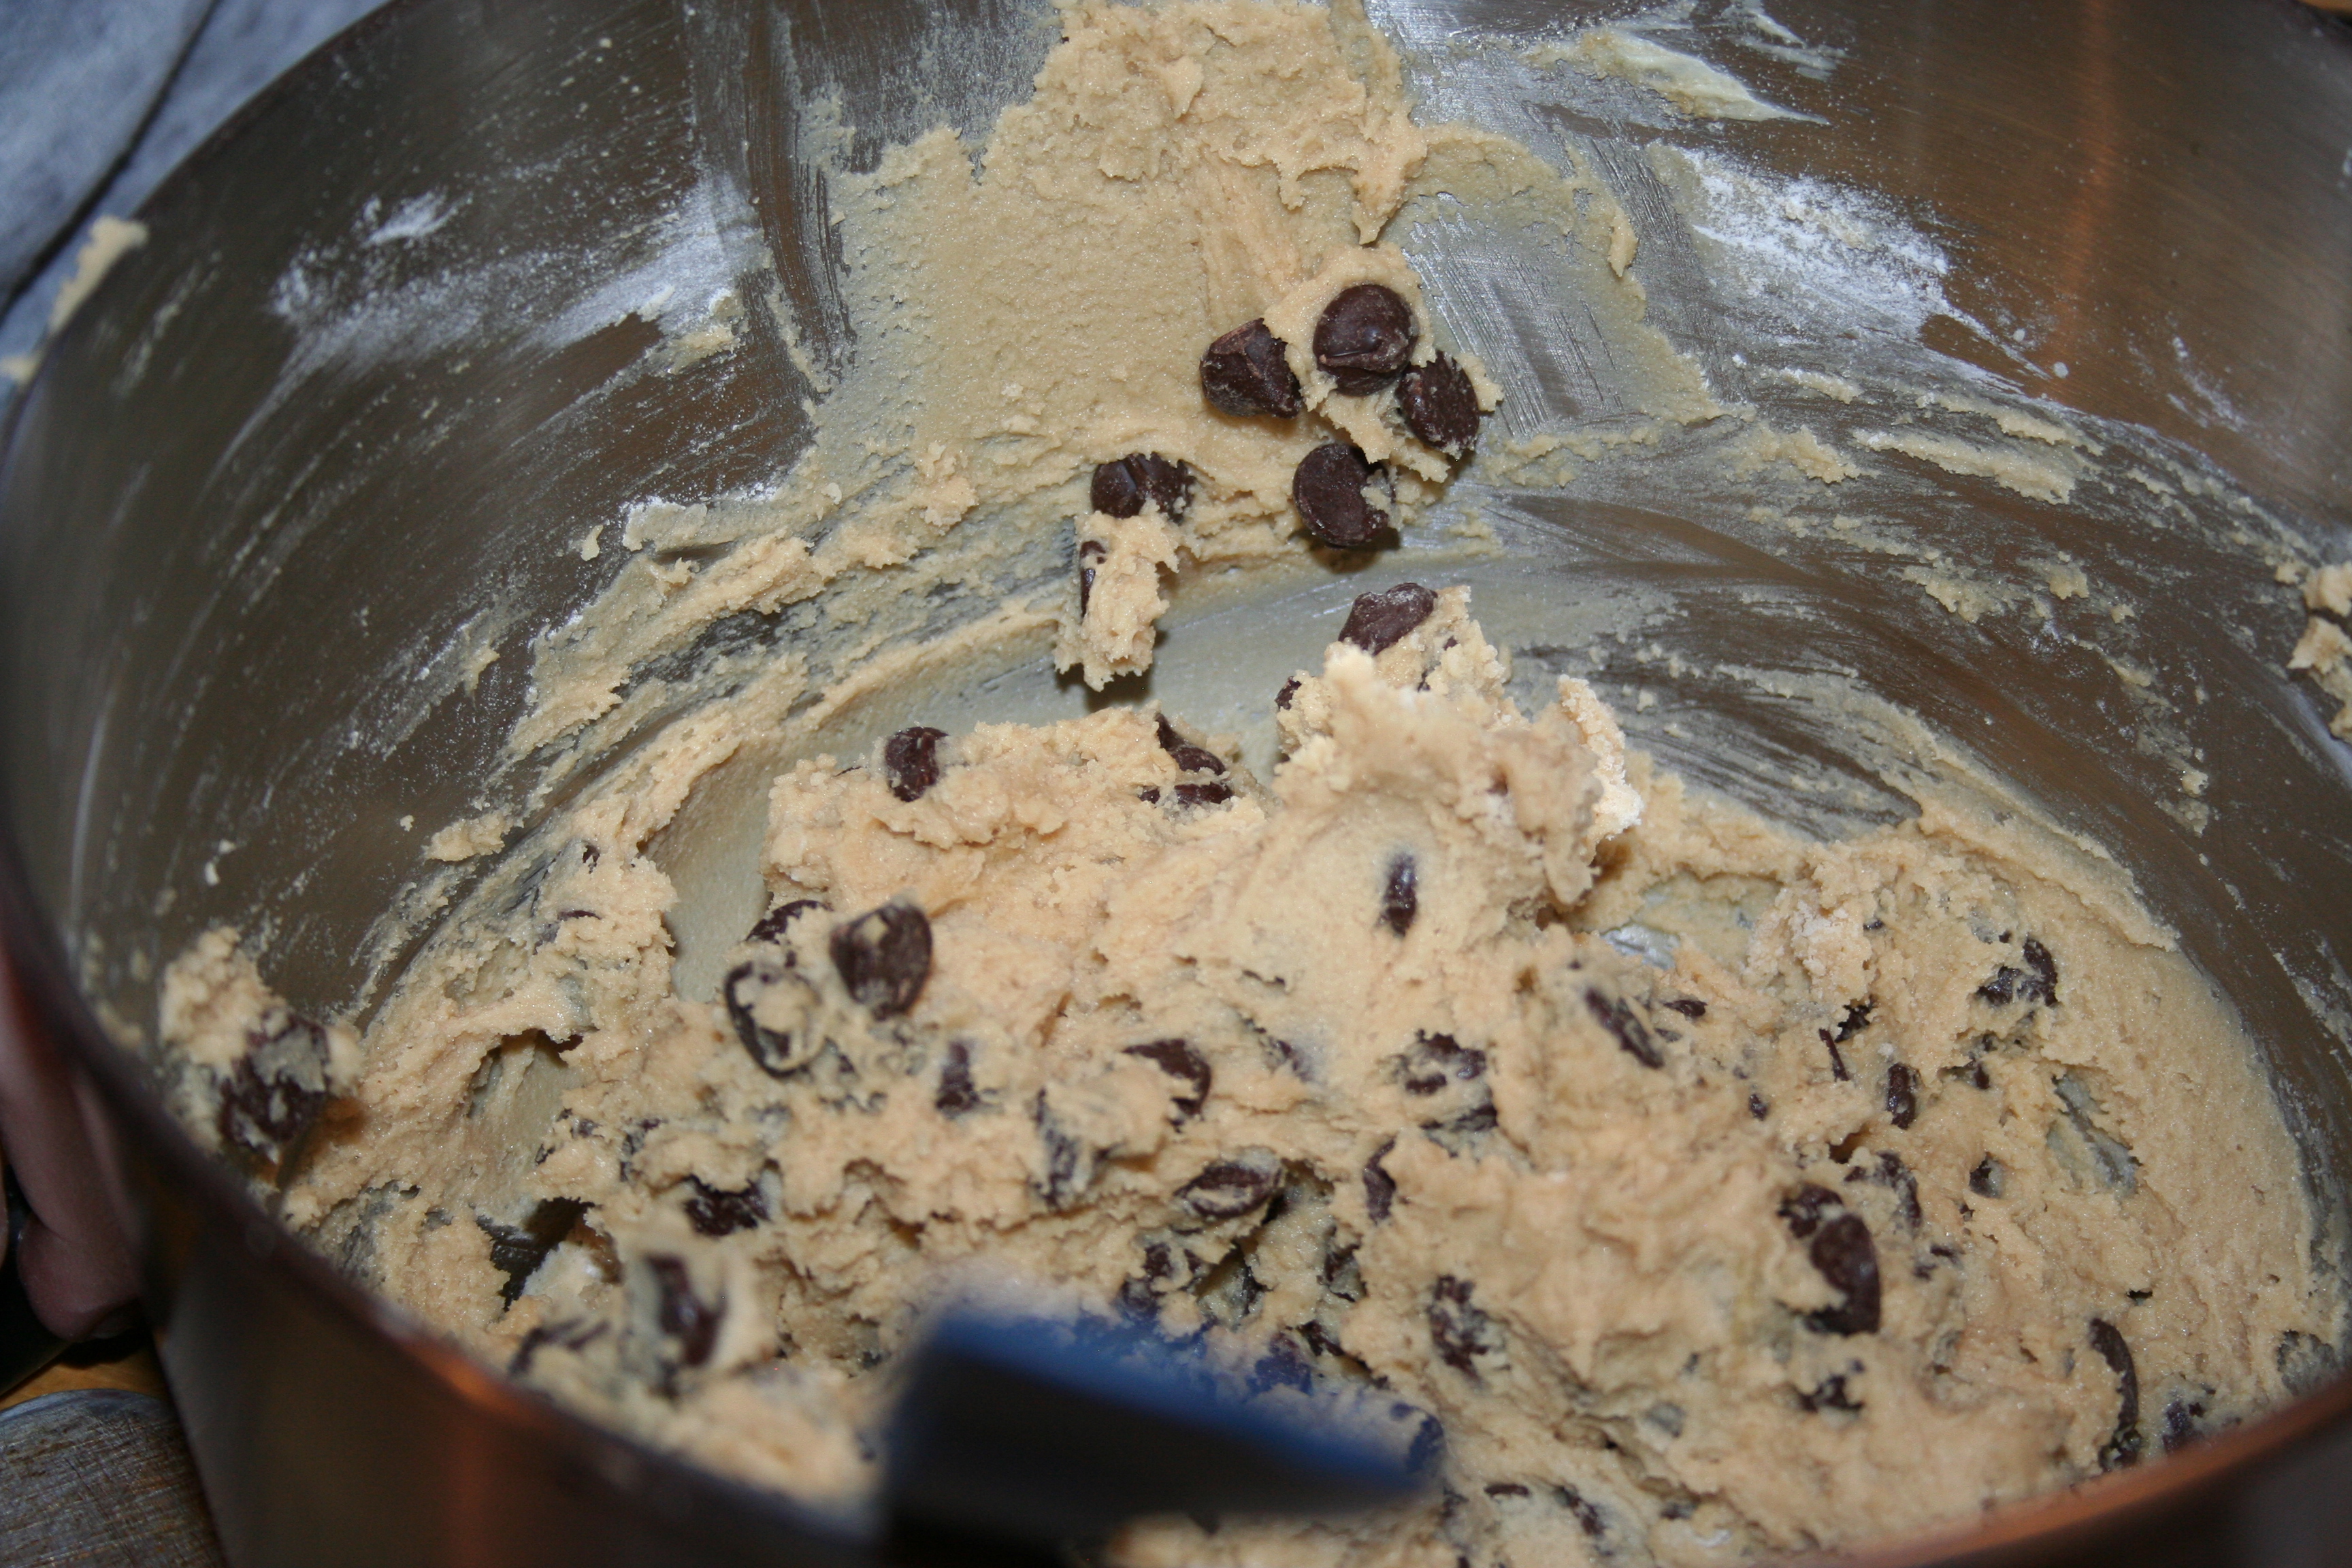
Add in chocolate chips and nuts if desired. (Mike doesn’t really care for the chocolate chips in his, so we take out a few cookies worth for him before we add them. (I know, that’s just weird!) :D

Choc Chip Cookies Batter is done ~ LifeofJoy.me

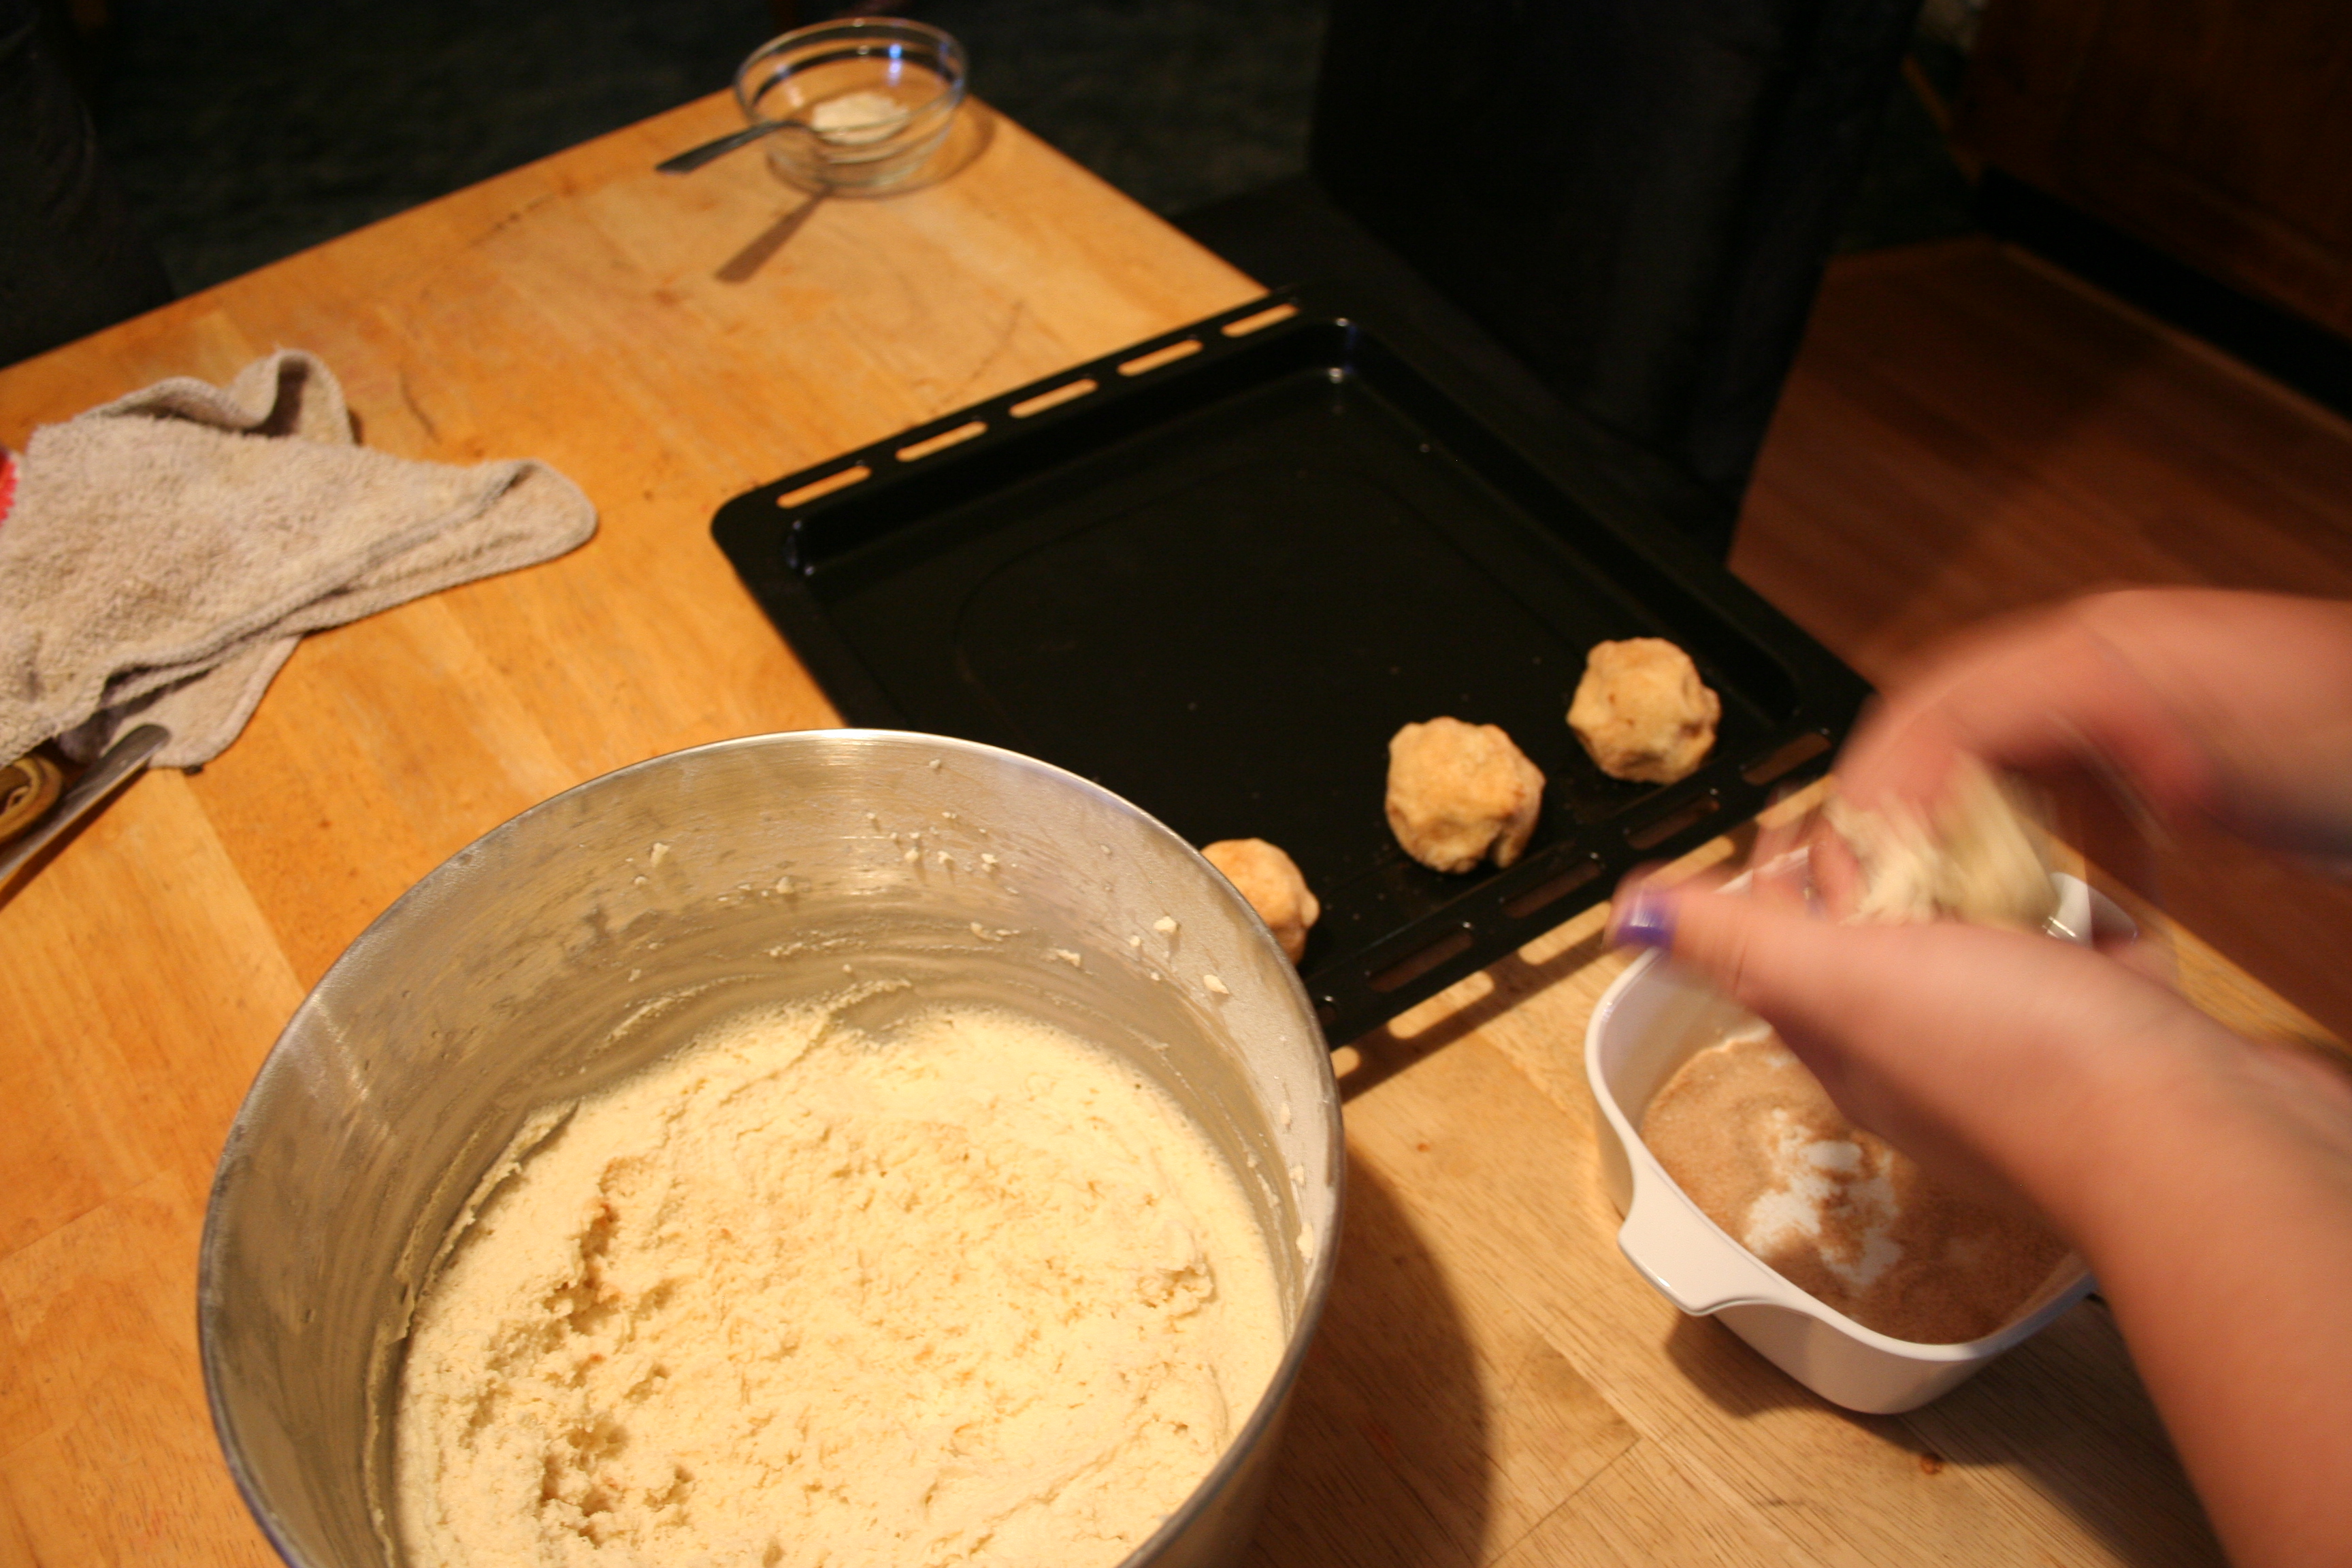
Then spoon out onto cookie sheet. We use a cookie dropper to make the process go quickly.

Choc Chip Cookies Ready to Bake ~ LifeofJoy.me

Please follow the directions and only bake them 8-10 minutes. They will be moist! I believe this is the reason we had flat cookies.

Choc Chip Cookie Done ~ LifeofJoy.me

Chocolate Chip Cookies

Ingredients

  • 3/4 cup butter flavor Crisco
  • 1¼ cup firmly packed light brown sugar
  • 2 Tablespoons milk
  • 1 Tablespoon vanilla
  • 1 egg
  • 1¾ cup all-purpose flour
  • 1 teaspoon salt
  • ¾ teaspoon baking soda
  • 1 cup semi-sweet chocolate chips (1½ cups in not using nuts)
  • 1 cup chopped pecans (optional)

Instructions

  1. Heat oven to 370º
  2. Combine Crisco, brown sugar, milk, and vanilla in a large bowl. Beat on medium speed of mixer until well blended.
  3. Beat egg into creamed mixture
  4. Combine flour, salt, and baking soda. Mix into creamed mixture, just until blended
  5. Stir in chocolate chips and nuts.
  6. Drop by rounded tablespoons, 3 inches apart onto UNGREASED cookie sheet
  7. Bake one sheet at a time for 8-10 minutes (COOKIES WILL APPEAR MOIST. DON'T OVERBAKE)
  8. Cool 2 minutes on baking sheet
  9. Place on foil on countertop to finish cooling and firm up.
https://lifeofjoy.me/chocolate-chip-cookies/

This recipe is from Crisco Butter Sticks package and are called Ultimate Chocolate Chip Cookies.

Until next time, God bless,

Michele ºÜº

Chocolate Snow Cream

Yay!!! We finally got some decent snow!!!! See!

Snow on Pond ~ LifeofJoy.md

But as of the taking of this picture, it wasn’t good enough to go sledding yet. See the rocks?

Still seeing rocks ~ LifeofJoy.meNice Big Flakes ~ LifeofJoy.me

It snowed until around 7 or 7:30 last night, so there may be enough snow now. But last night we had enough fresh snow to make some chocolate snow cream! We haven’t had any in a couple of years because although we did get some snow, it wasn’t enough clean snow to make snow cream.

I’ve made snow cream a few different ways but this is my favorite because it isn’t gritty.

First get a big bowl of clean snow.

Snow Cream ~ LifeofJoy.meNext add a can of sweetened condensed milk and 3-4 tablespoons cocoa powder.

Snow Cream ~ LifeofJoy.me

Now use the mixer and blend! If it looks too wet, add some more snow.

Chocolate Snow Cream ~ LifeofJoy.meOh! You could add a little vanilla extract if you wanted but I forgot tonight and it was still good. :)

I hope you enjoy the dessert of the season! :)

Until next time, God bless,

Michele ºÜº

Brownies!!!

Brownies from Scratch ~ LifeOfJoy.me

Mmmmm, mmmmm! Homemade brownies . . . from scratch, not a box.

This has been my go-to brownie recipe for years and years! I tend to under bake them a bit so that they are fudgey, not cakey.

First combine the cocoa, baking soda, and 1/3 cup of oil. This is how it looks now.

Making Brownies step 1 ~ LifeofJoy.me

This next step always amazes me. Add 1/2 cup of boiling water.

Brownies step 2 ~ LifeOfJoy.me
Wait for it . . .

Keep stirring . . .

Thickened Batter ~ LifeofJoy.me
Wha la!

Now it is thickened, like magic!

At this point you add in the other 1/3 cup of oil, sugar, and eggs and stir. Then add the flour, vanilla, and salt. Then pour into greased pan.

I used to make this in a 13×9 pan but that makes the brownies a bit thinner and we’d each eat two anyway. So now I make it in a 9×9 pan and they turn out thicker, like this.

Single Brownie ~ LifeOfJoy.me

Brownies

Ingredients

  • 3/4 cup Hershey Cocoa (I don't care for these made with any other)
  • 1/2 teaspoon baking soda
  • 2/3 cup oil (divided)
  • 1/2 cup boiling water
  • 2 cups sugar
  • 2 eggs
  • 1 1/3 cups flour
  • 1 teaspoon real vanilla extract
  • 1/4 teaspoon salt

Instructions

  1. Combine cocoa, baking soda, and 1/3 cup oil.
  2. Add 1/2 cup boiling water and stir until it thickens.
  3. Add sugar, eggs, and remaining 1/3 cup oil and stir.
  4. Add in the flour, salt, and vanilla and combine.
  5. Pour into lightly greased pan.
  6. Bake at 350º for 35-40 minutes if in a 9x9 pan or 25-35 minutes if in 13x9 pan.
  7. If you wait to remove it from the oven when there is no batter left on the toothpick when checking it, you will have cakey brownies instead of fudgey brownies. Check 5 minutes early and keep checking until desired doneness.
https://lifeofjoy.me/brownies/

I hope you enjoy these as much as we do.

Until next time, God bless,

Michele ºÜº

Peach (or whatever) Cobbler

Peach Cobbler ~ LifeofJoy.meI invited two sweet ladies over for lunch last Friday. We had a delightful time. I fixed Minestrone, Cat Head Biscuits, and then Peach Cobbler for dessert. I love this peach cobbler recipe. Actually it is whatever you want it to be cobbler.  It is so very simple that I can whip it up while visiting with company and generally less than an hour later we have a fresh hot dessert.

Begin by preheating the oven to 325º. Place one stick of butter in a 13 x 9 pan and put it in the preheating oven.

Combine flour, sugar, salt, and baking powder in a medium size bowl.

Cobbler Dry Ingredients ~ LifeOfJoy.me

Stir in 3/4 cup of milk.

Cobbler Batter ~ LifeOfJoy.me

Remove pan with melted butter from the oven before the butter begins to brown at all.Melted Butter in Cobbler Pan ~ LifeOfJoy.me

Pour batter into pan with the melted butter.

Cobbler Batter ~ LifeOfJoy.me

Pour fruit over batter, spreading it evenly over the batter. I moved a few peaches around to make it more even. Pour in the syrup and all. You also have the option of using fresh fruit.

Fruit Cobbler ~ LifeOfJoy.me

The recipe says to bake for 50-60 minutes. I set my timer for about 40 or 45 minutes so that I check it then. Remove it from the oven when it is golden brown.

Cooked Peach Cobbler ~ LifeOfJoy.meI probably could have left it in a little bit longer but we were ready for dessert. ;)

Cobbler with Whipped Cream ~ LifeOfJoy.me325

Peach (or whatever) Cobbler

Ingredients

  • 1 stick of butter (1/2 cup)
  • 1 cup flour
  • 1 cup sugar
  • 1/4 tsp salt
  • 1 1/2 tsp baking powder
  • 3/4 cup milk
  • One of the following:
  • 3-4 fresh peaches, cut
  • 2 cups fresh berries
  • Regular size can (16 oz?) blueberries
  • Large can fruit of choice

Instructions

  1. Preheat oven to 325º.
  2. Place butter in 9x13 pan and put in oven to melt the butter.
  3. Combine dry ingredients.
  4. Stir in milk.
  5. Remove pan with melted butter from oven.
  6. Pour batter in pan and level out a bit. Do not mix in butter, just even out the batter a bit.
  7. Spread fruit evenly over batter, don't stir it in. If using canned fruit, include the syrup.
  8. Bake for 50-60 minutes (but check it in 40-45 minutes).
  9. Remove when golden brown on top.
  10. Serve with a scoop of ice cream or whipped cream, if desired.
https://lifeofjoy.me/peach-or-whatever-cobbler/

I have to admit that I prefer this with frozen blueberries (and sometimes add in just a bit more than 2 cups).

I hope you like this recipe.

Until next time, God bless,

Michele ºÜº

Still New & Bubble Bread

Well, I’ve done it again. It sure is a good thing that I don’t only blog about food or I’d be in big trouble! ;) Here it is Tuesday and I didn’t have anything photographed to blog about. Fortunately I remembered that I did take a picture of my Christmas Eve Morning breakfast and although I already shared the Breakfast Burrito Bake recipe, I have yet to share the Bubble Bread recipe.

Breakfast Burrito Bake ~ LifeOfJoy.me
Bubble Bread and Breakfast Burrito Bake

For the six of us, with the breakfast burrito bake, we fixed a triple batch. Also this time, instead of baking it in a bundt pan, I decided we should try it in muffin tins and maybe cut down on the cook time.

As always, delicious!!! :)

First we cut the biscuits. I use kitchen scissors to cut them in half and then each half in half. Then mix the butter, sugar, cinnamon, water, and optional nuts in a pan and heat until bubbly.

Pour the sauce over the biscuits and stir to coat completely.

Pour into greased pan and bake on 350º for 20-25 minutes.

Eat but be very careful, it is HOT!

Large Muffin Cup Bubble Bread ~ LifeofJoy.me

Bubble Bread

Ingredients

  • 1/2 stick Butter
  • 1 Tablespoon water
  • 1/2 cup sugar
  • 1 teaspoon cinnamon
  • 1/4-1/2 cup walnuts or pecans (optional)
  • 1 can regular size biscuits, cut each into quarters

Instructions

  1. Mix first five ingredients together and cook until it bubbles.
  2. Pour over cut biscuits and mix well
  3. Pour into greased pan
  4. Cook 20-25 minutes at 350º
https://lifeofjoy.me/still-new-bubble-bread/

Until next time, God bless,

Michele ºÜº

Save

Cookie Tradition

Plain Sugar Cookies ~ LifeOfJoy.me
They aren’t very pretty but it will be fun.

It is wonderful to have traditions. It is fun to enjoy the familiar long standing traditions and yet it is awesome when you create a new tradition and didn’t even intend to. The latter happened to me several years ago. I decided to make sugar cookies with Tiffany about three years ago. We chose to decorate them after we baked them.

I’ll have to check with Lauren but I think it happened by chance that it was the same night she and Brian were coming out. I mixed up some powdered sugar ‘frosting’ in different colors. Then I went and dug out some new cheap kids paint brushes and invited everyone to come paint the cookies. To my surprise, everyone, including Mike, came and we had a blast painting them. We all voted to do it again the next year. Last Saturday was the third time we’ve decorated sugar cookies and all look forward to doing it again next year. :)

I just use the Sugar Cookie Recipe from my Better Homes and Gardens New Cook Book. The first few pages are missing from my book (I wonder where I lost them.) so I’m not sure what the copyright date is but it appears to be an older one . . . my guess would be the 70’s. I like that this recipe is not as sweet as other cookies, since we are painting them with sugar ‘frosting’.

Warning: This dough needs to be refrigerated for at least an  hour !
Sugar Cookie

Ingredients

  • 2/3 cup shortening
  • 3/4 cup granulated sugar
  • 1 teaspoon vanilla
  • 1 egg
  • 4 teaspoons milk
  • 2 cups sifted all-purpose flour
  • 1 1/2 teaspoons baking powder
  • 1/4 teaspoon salt

Instructions

  1. Thoroughly cream shortening, sugar and vanilla.
  2. Add egg and milk; beat until light and fluffy.
  3. Sift together dry ingredients; blend into creamed mixture.
  4. Divide dough in half. Cover and chill at least one hour.
  5. On lightly floured surface, roll to 1/8 inch thickness (keep other half chilling until ready to use).
  6. Cut out desired shapes with cutters.
  7. Bake on UNgreased cookie sheet at 375º about 8 to 10 minutes.
  8. Cool slightly; remove.
  9. Makes about 3 dozen.
https://lifeofjoy.me/cookie-tradition/

Over the years, I have learned that we like our cookies to be very soft so I stand guard and remove them before they get any signs of color at all.

I pour some powdered sugar in a small bowl or ramekin and add milk a teaspoon at a time until it is thin enough to use a paint brush but thick enough that it won’t all drip off the cookie or make a runny mess, which I’m not always good at doing.

Powdered Sugar Frosting "Paint" ~ LifeOf Joy.meSee that broken gingerbread man? Brian, my 23 year old son, broke his head off on purpose and started to eat him before he ever got painted. I told him I wanted to see him painted before he ate him. ;)

Decapitated Gingerbread Man ~ LifeOfJoy.me

Here are the finished cookies before being eaten. ;)

IMG_2822IMG_2824It always amazes me what they turn some of the shapes into.

Well, I’m off . . . I have a lot to accomplish today! Until next time, God bless,

Michele ºÜº

Save

Pumpkin Pie


Pumpkin Pies ~ LifeOfJoy.me

Years ago Mom asked my sisters and I to make the desserts for Thanksgiving and Christmas; she and Dad supplied the main meal. Of course, everyone wanted pumpkin pie, so I took on the challenge. At the time, I did not use the internet for things like this. I asked Mom how to make it and she told me she just used the recipe on the Libby’s Pumpin Pie can. Of course, she made her own pie crust but I wasn’t going to attempt that then.

I bought the can of pumpkin and frozen pie crust and set off to baking. It was a hit and I continue to make the same pie to this day, although I have tried other pie crusts throughout the years.

This year I used the refrigerated pie crust, like I did for the Apple Crumble Pie I shared last week.

Sugar Cinn Ginger Ground Cloves ~ LifeOfJoy.me

Start by mixing the sugar, salt, cinnamon, ginger, and ground cloves in a small bowl. I don’t know why they say to do that in the directions except that the spices are then completely mixed and won’t accidentally end up all in one spot.

Beaten Eggs for Pumpkin Pie ~ LifeOfJoy.me Beat the eggs in a large bowl.

Pumpkin Pie step 3 ~ LifeOfJoy.meNow add the pumpkin and dry ingredients and combine.

Pumpkin Pie nearly ready ~ LifeOfJoy.meNearly ready.

Last step ~ LifeOfJoy.meGradually add in the evaporated milk as you mix. This is a new mixer for me. Although the switch says it has about 4 or 5 speeds it really only has two – high and HIGHER. I was making a double batch so the bowl was rather full and kept spitting everywhere. I have the evidence on my recipe in my recipe book, which is in need of replacing yet again, but that is a story for another time.

Ready to bake ~ LifeOfJoy.mePour in pie shell. I place my pie pans on pizza pans to catch any spill-over.

Bake in a preheated 425º oven for 15 minutes and then reduce the temperature to 350º and continue baking for 40-50 minutes or until sticking a butter knife point first into the center and removing, comes out clean.

Cool on a wire rack for 2 hours. Best served cold with whipped cream. :)

Until next time, God bless,

Michele ºÜº

Pumpkin Pie

Ingredients

  • 3/4 cup sugar
  • 1/2 tsp salt
  • 1 tsp cinnamon
  • 1/2 tsp ground ginger
  • 1/4 tsp ground cloves
  • 2 large eggs
  • 15 oz can pumpkin (just pumpkin NOT pumpkin pie filling)
  • 12 oz can evaporated milk (found in the baking aisle in most stores)
  • Unbaked 9" pie shell

Instructions

  1. Preheat oven to 425º.
  2. Mix sugar, salt, cinnamon, ground ginger, and ground cinnamon in a small bowl.
  3. Beat eggs in a large bowl.
  4. Add pumpkin and dry ingredients from small bowl.
  5. Gradually add in the evaporated milk.
  6. Pour into pie shell. (If using refrigerator pie shells place in 9" pie pan.)
  7. Bake in preheated 425º oven for 15 minutes.
  8. Reduce heat to 350º bake 40-50 minutes or until knife comes out clean.
  9. Cool on a wire rack for 2 hours.
  10. Serve cold with whipped cream on top.
https://lifeofjoy.me/pumpkin-pie/

P.S. Once again, this recipe is from Thanksgiving and I forgot to take individual serving pictures. :(  I’ll be doing it again in a few weeks and will try to remember to take the pictures then and update. Thanks for bearing with me!

Apple Crumble Pie

When I first started making the pies for the holidays, I made it simple and bought frozen pie crusts in an aluminum pan. After many years, I decided I’d try making homemade pie crust for my pies. I tried a few different recipes and just found that it didn’t really make any difference in the final product.

I’ve tried the No-Fail Pie Crust, the one with vinegar in it, and the one that you just mix together in the pan. I actually liked the one that you mix directly in the pie pan, but it really wasn’t worth the extra effort and money necessary to make it. I do buy the refrigerator crusts now because they don’t crumble or break apart, they are easy to use.

Apple Crumble Pie ~ LifeOfJoy.me

The first step is to peel, core, and cut five cups of apples. I use the same method to do this as I demonstrated for the Waldorf Salad. I like to use Red Delicious or Gala apples for baking. Frequently I use older apples because my family does not like any crunch in their apple pie, so this is a good way to use up older apples. Actually, I have prepped the apples for my Christmas pie already. They will turn brown in the freezer and be liquidy when they are thawed but I dump it all in and add the other ingredients anyway and it turns out great!

Apple Crumble Pie Filling ~ LifeOfJoy.me

Stir this together and pour into pie crust in pie pan.

Apple Crumble Pie ~ LifeOfJoy.me

Now for the crumble topping. Flour, Sugar, and Butter are mixed together with a pastry blender. This year my butter was a bit too soft and so its consistency was a little off but still tasty.

Ready to Bake ~ LifeOfJoy.me

Unfortunately I did not get a picture of an individual slice. :(  At least I got a picture of the baked pie. :) I’ll try to remember to get a picture at Christmas.

Yummy Apple Crumble Pie ~ LifeOfJoy.me

I hope you will try this pie and enjoy it as much as we do.

Until next time, God bless,

Michele ºÜº

Apple Crumble Pie

Ingredients

  • 5 cups peeled, cored, and cubed apples
  • 1/2 cup sugar
  • 2 Tablespoons all purpose flour
  • 1 teaspoon ground cinnamon
  • 1/2 teaspoon ground nutmeg
  • 1 Unbaked pie crust (I use refrigerated)
  • Topping:
  • 1/2 cup flour
  • 1/2 cup sugar
  • 1/2 cup butter

Instructions

  1. In a bowl, combine first five ingredients.
  2. Spoon into pie shell.
  3. For the topping, combine sugar and flour; cut in butter until mixture resembles course crumbs.
  4. Sprinkle over pie
  5. Bake at 400º for 10 minutes.
  6. REDUCE heat to 375º and bake for 40-45 minutes or until topping is browned and apples are tender.
  7. Cover crust edge with foil during the last 15 minutes if it is getting too brown. I use glass pie pans and don't have a problem with this, although I should have baked it a few minutes longer this year.
  8. Cool completely before cutting.
https://lifeofjoy.me/apple-crumble-pie/

Snickerdoodle Cookies

Snickerdoodle Cookies ~ LifeOfJoy.me

When I was young we made once that I can remember. I am from a family that licks the bowl and beaters when we bake pretty much anything, so of course, we tasted the batter. I must admit that I preferred the batter to the baked cookies but then I don’t remember rolling ours in cinnamon sugar before baking either.

True Confession: I remember liking this batter so much that when I had a sweet tooth and there was nothing sweet in the house, I would make a fourth of this recipe and just eat it plain. ;) I know. I’m sad.

Rolling Cookie Batter ~ LifeOfJoy.meFast forward many years. I had long since forgotten the recipe for the snickerdoodles. My dear neighbor and friend Joyce, who made multiple batches of cookies at one time in order to have enough to share, made some of these cookies and shared them with us. She is such a sweet friend that she gave me some of the batter too. :)  She rolls hers in cinnamon sugar and that made a huge difference in the taste of the finished cookies.

I baked these in our toaster oven, and thus could only bake nine at a time but it was worth it since it didn’t heat up the house the way using the oven does.

I recommend softening the butter only enough to allow the mixer beaters to cream butter and sugar but not too soft. I let mine get too soft today and ended up having to refrigerate the batter for a bit and it was still a bit too soft to shape into balls to roll into the cinnamon sugar. I do have to say that the batter was super light and creamy – delicious!

Baking Snickerodles ~ LifeOfJoy.me


Also, Tiffany rolled these for me but she made them a bit large. The recipe directs them to be rolled into one inch balls. Tiffany made these about twice as big, which made nice big cookies. :)


Snickerdoodle Cookies

Ingredients

  • 3 3/4 cups flour
  • 1/2 tsp baking soda
  • 1/2 tsp cream of tartar
  • 1/2 tsp salt
  • 1 cup butter (or margarine, if you must), softened
  • 2 cups sugar
  • 2 eggs
  • 1/4 cup milk
  • 1 tsp vanilla
  • about 3 tablespoons sugar (we used more)
  • ground cinnamon

Instructions

  1. Cream butter and sugar.
  2. Mix in eggs, milk, and vanilla.
  3. Add in flour, baking soda, cream of tartar, and salt.
  4. Form into balls and roll in cinnamon sugar.
  5. Place two inches apart on cookie sheet. (The directions say to flatten slightly but we didn't.)
  6. Bake at 375º for about 8 minutes.
https://lifeofjoy.me/snickerdoodle-cookies/

Half a cookie ~ LifeOfJoy.me

Until next time, God bless,

Michele ºÜº

What to Do with an Angel Food Cake Mix

Angel Food Cake ~ LifeOfJoy.meI had never made an angel food cake, as it always seemed difficult and it needed a special pan. I remember reading somewhere that you could use a bundt pan that has a hole in the center of the pan, in place of the angel food cake pan. Until just a few years ago I didn’t have one of those either, as I usually make my cakes in a 9×13 pan, when I actually make a cake. That is, until I got the recipe for Apple Cake, which is absolutely delicious, from my fellow homeschool mom (Thanks Kay!) and it requires a bundt pan. Consequently I bought one because I loved this moist yummy cake and didn’t want to take any chances that the pan may have been important to it turning out right. ;) Besides, I wanted a bundt cake pan.

We frequently have LOTS of eggs around here because of our chickens but they are molting and not providing many eggs right now (at least I hope that is the reason we aren’t getting many eggs at the moment). At any rate, I was hungry for Angel Food Cake with strawberries. I didn’t have enough fresh eggs to make one from scratch. Did you know it takes a full dozen eggs to make an angel food cake? That’s crazy! Thankfully I had a box of angel food cake mix on had. A year or so ago I had found this recipe, and I use the term lightly, for 3-2-1 cake, which uses angel food cake mix to make a single serving dessert. Well, that was all gone, so I thought I’d get another angel food cake mix to have on hand, in case I felt the urge to make that again. So I decided to give it a try since I had some strawberries in the refrigerator that desperately needed to be eaten.

So here is the super difficult ‘recipe’.

Angel Food Cake with Strawberries

  1. Buy Angel Food Cake Mix from store.
  2. Find some bottle to fit in the hole of your bundt cake pan.
  3. Slice strawberries and sprinkle with enough sugar to coat them nicely and refrigerate.
  4. Follow package directions (which usually involves simply adding water and mixing, in my case it was for 30 seconds on low and 60 seconds on medium. Put it in a clean angel food or bundt cake pan. Bake as directed. And cool as directed, which for me involved putting the pan upside down on a bottle.)
  5. When it cooled I used a rubber spatula to loosen the cake from the pan.
  6. Slice and serve with strawberries and its juice, and whipped cream.

Wow! I really stretched out those directions. HaHaHa

Oh, I’ll give you a bonus ‘recipe’:

3-2-1 Cake

Buy one angel food cake mix and any other cake mix you like. Combine both cake mixes and store. When you are ready for a single serving dessert, combine 3 tablespoons of the mix and 2 tablespoons of water in a microwave safe bowl, ramekin, or cup and microwave for about 1 minute. Eat!

Until next time, God bless,

Michele ºÜº