Category Archives: Desserts

Amish Cinnamon Bread ~ Lifeofjoy.me

Amish Cinnamon Bread

I first received this wonderful bread when Michael and I had only been married about three or four years. A dear lady in the church brought us a loaf one day. I loved it so much that I asked her for the recipe. She happily agreed, as she informed me that this bread uses a starter and told me how easy it was to make. She also told me that if I wasn’t going to make the bread for a while, I could freeze the starters. This was good news, because the recipe says it makes three large loaves of bread.

Here’s the deal, you use a one cup starter, stirring it once each day. On the fifth day you add flour, milk, and sugar to it and stir for two more days. Then let it rest for two days.

Day 10 is the baking day but first you add another cup of flour, milk, and sugar. Then before mixing up the batter, you remove three starters, one cup each. These starters can be given away to friends or even frozen.

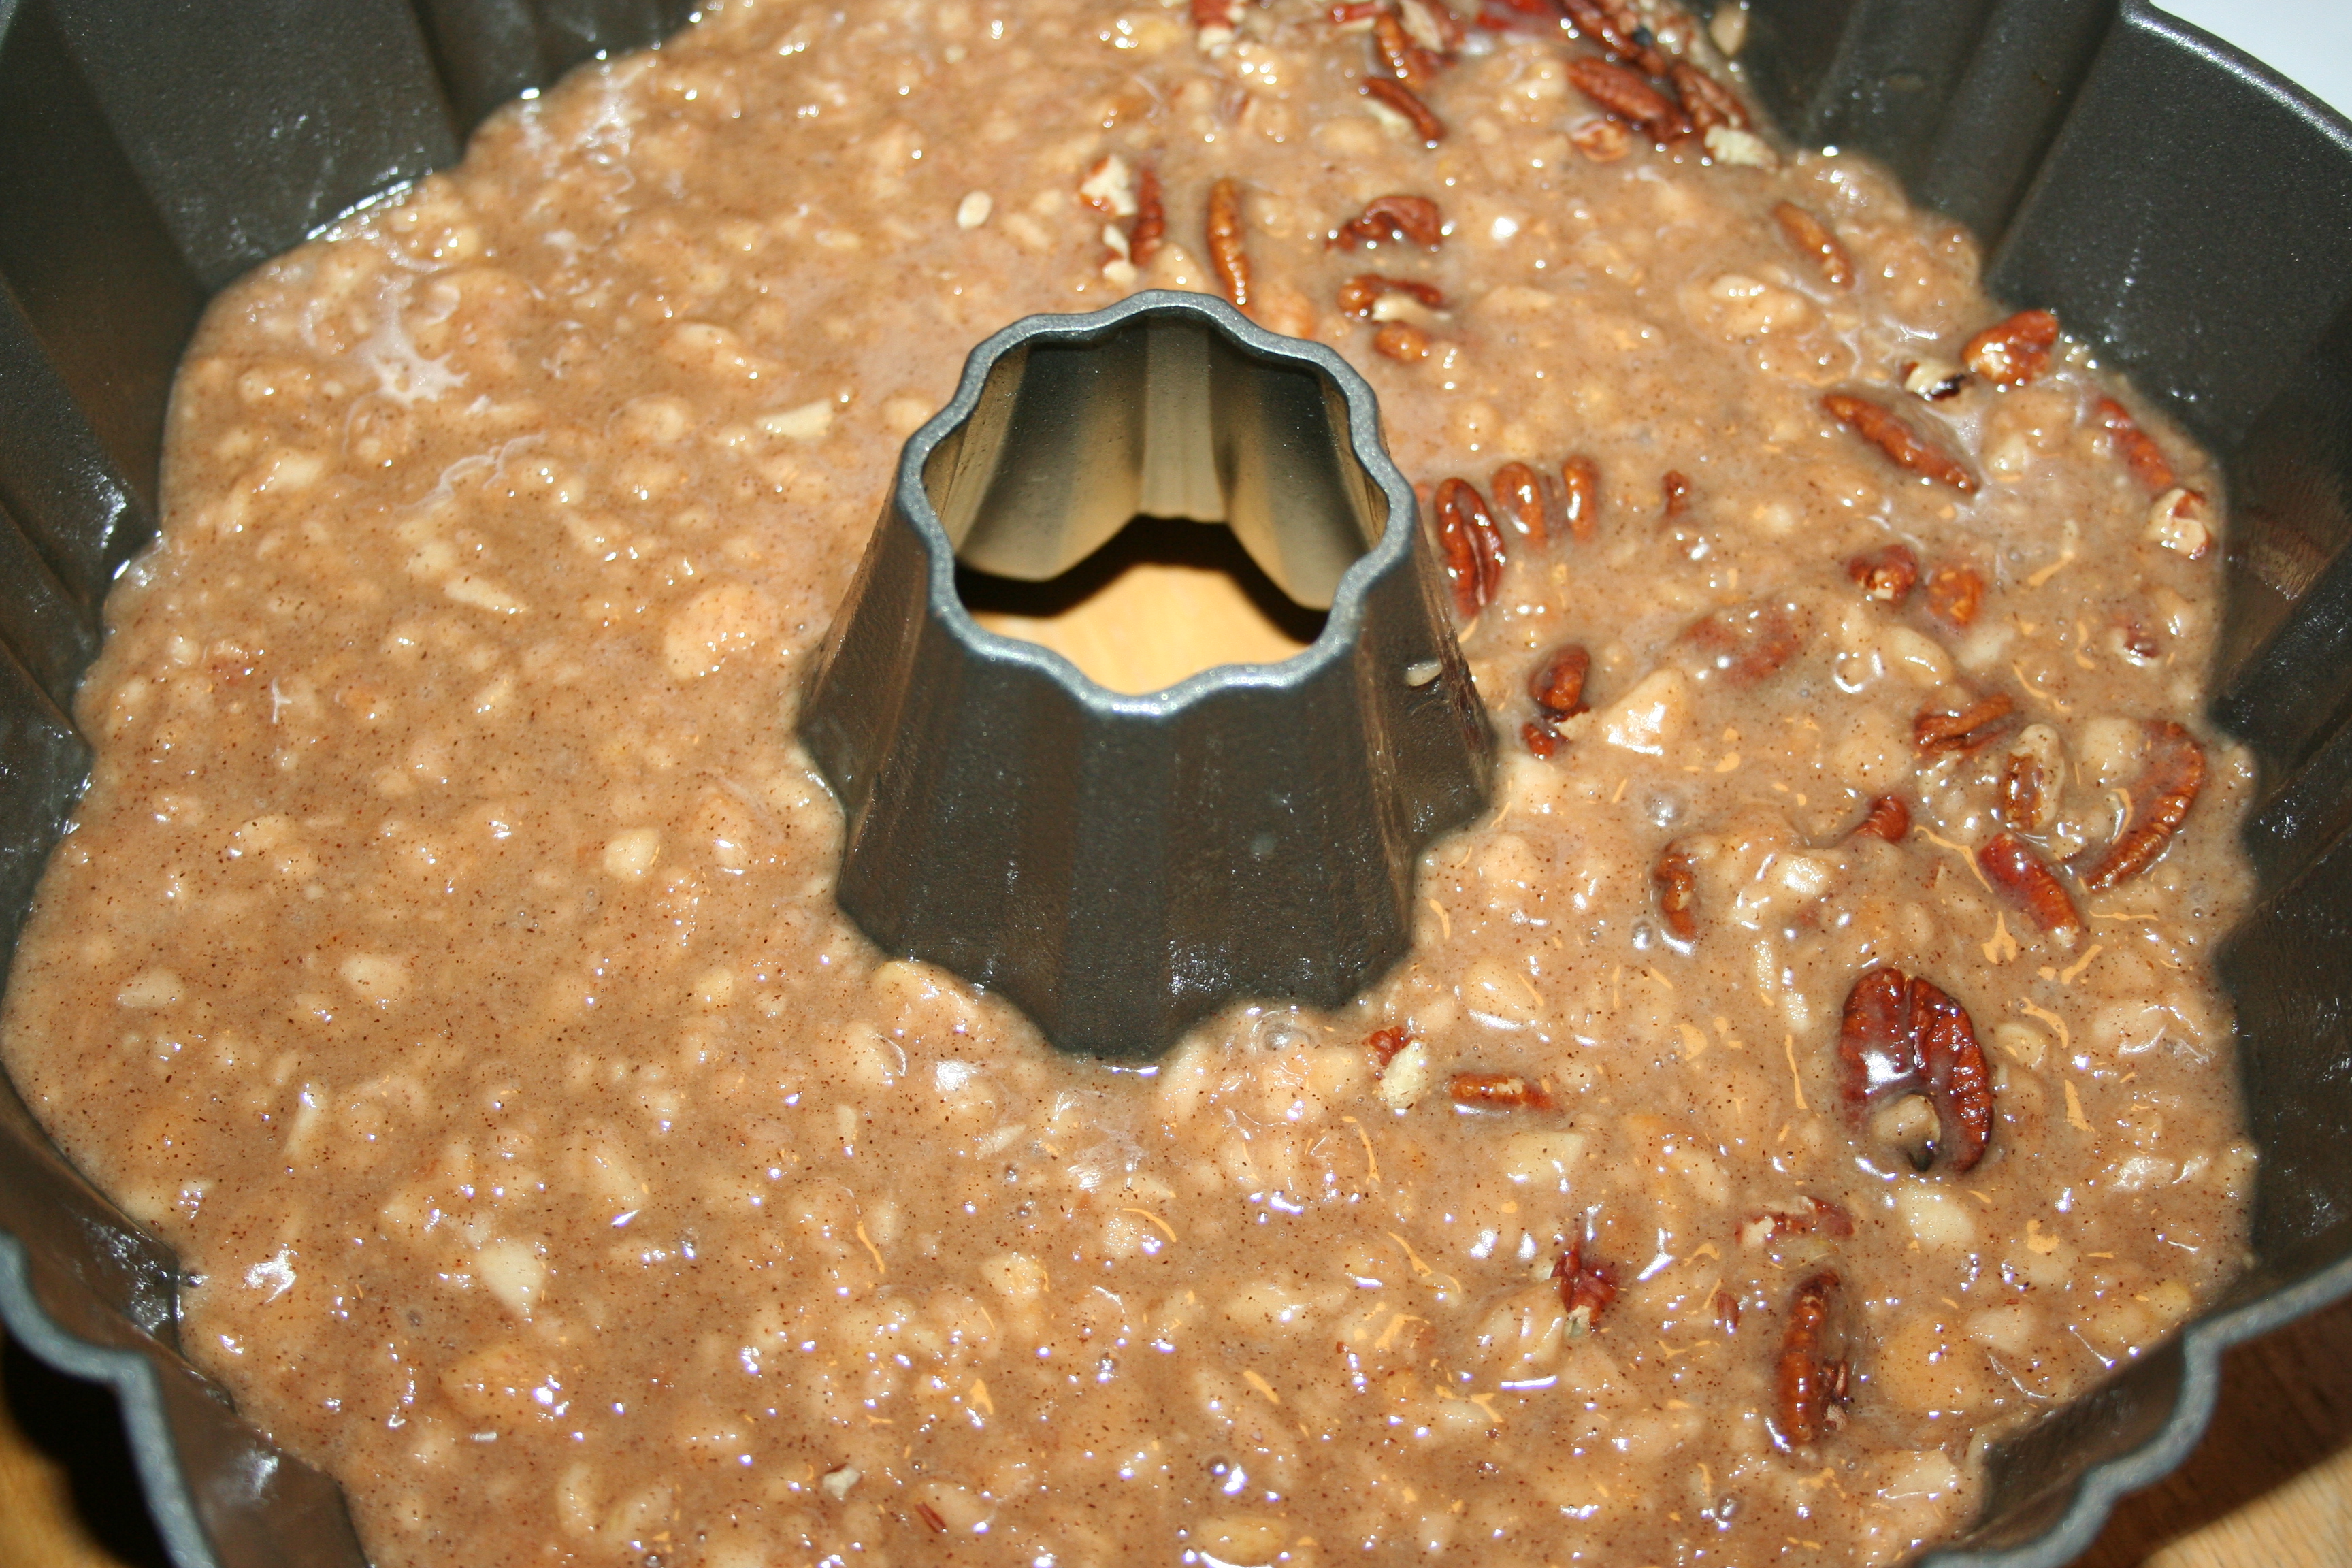
So here’s the deal, although the recipe says it makes 3 large loaves ours doesn’t because my family doesn’t like the raisins added and only likes the nuts on occasion. As you can guess, this means there is less bulk in the batter reducing the number of loaves it produces.

Years ago, I shared this recipe (and a starter) with a friend. One Christmas she decided she wanted to make a double batch to give as gifts. She did the math and measurements and found that if you take out just one starter, you have two batches worth of starter left and could double the recipe, which is what we do every time.

Amish Cinnamon Bread ~ Lifeofjoy.me

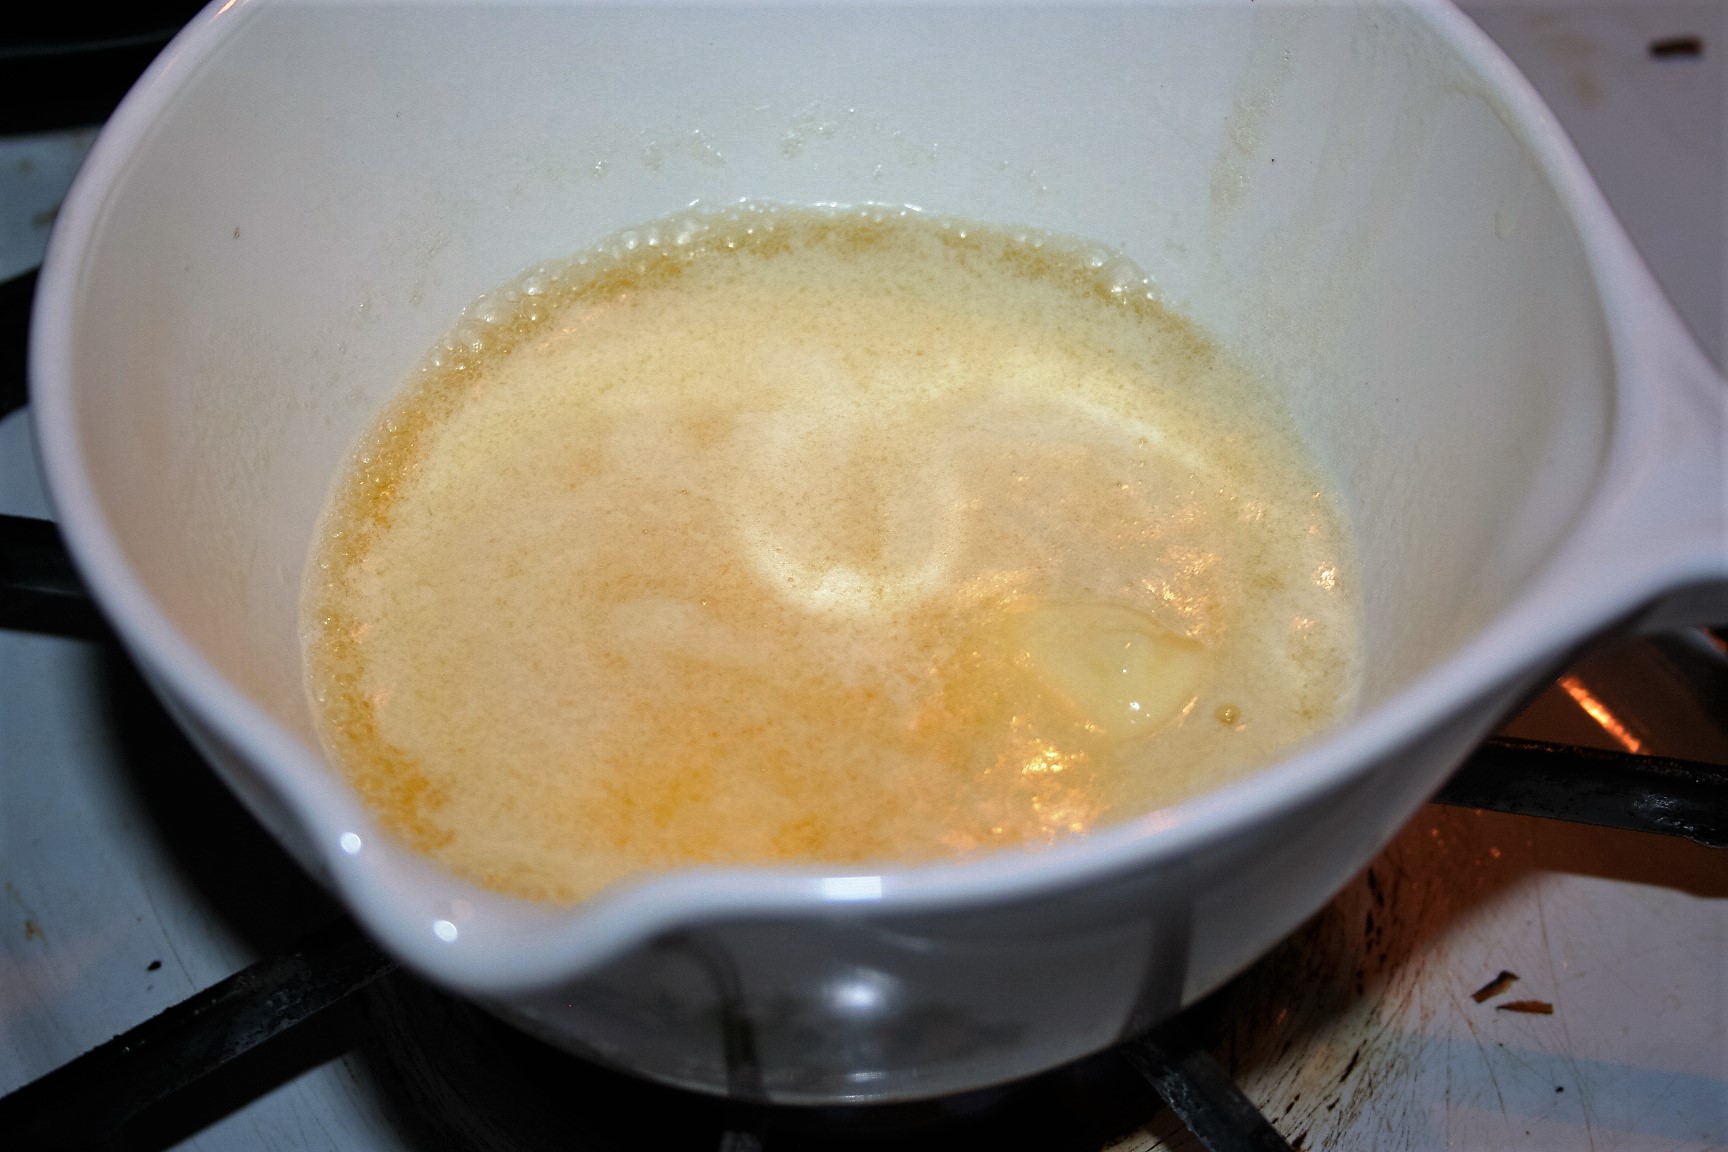
I believe you could create your own starter by combining 1/3 cup each flour, milk, and sugar in a container, loosely covered, and leave it out on the counter for a couple of days.

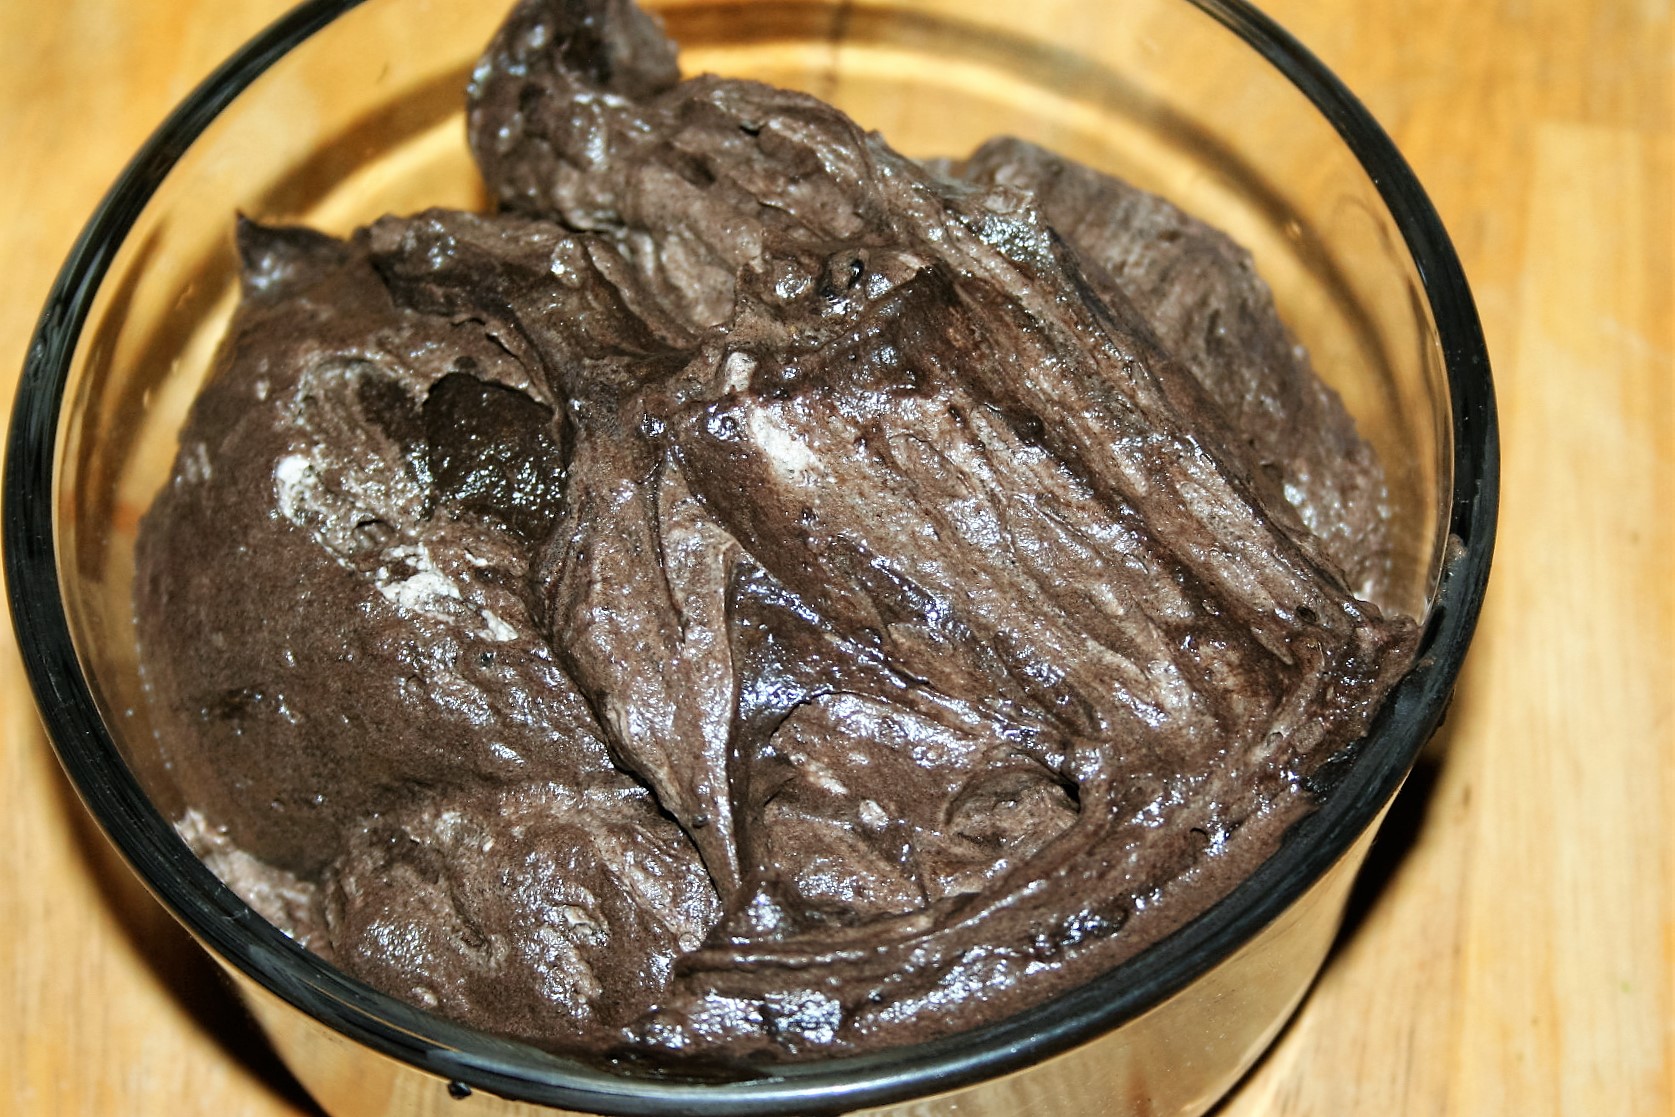
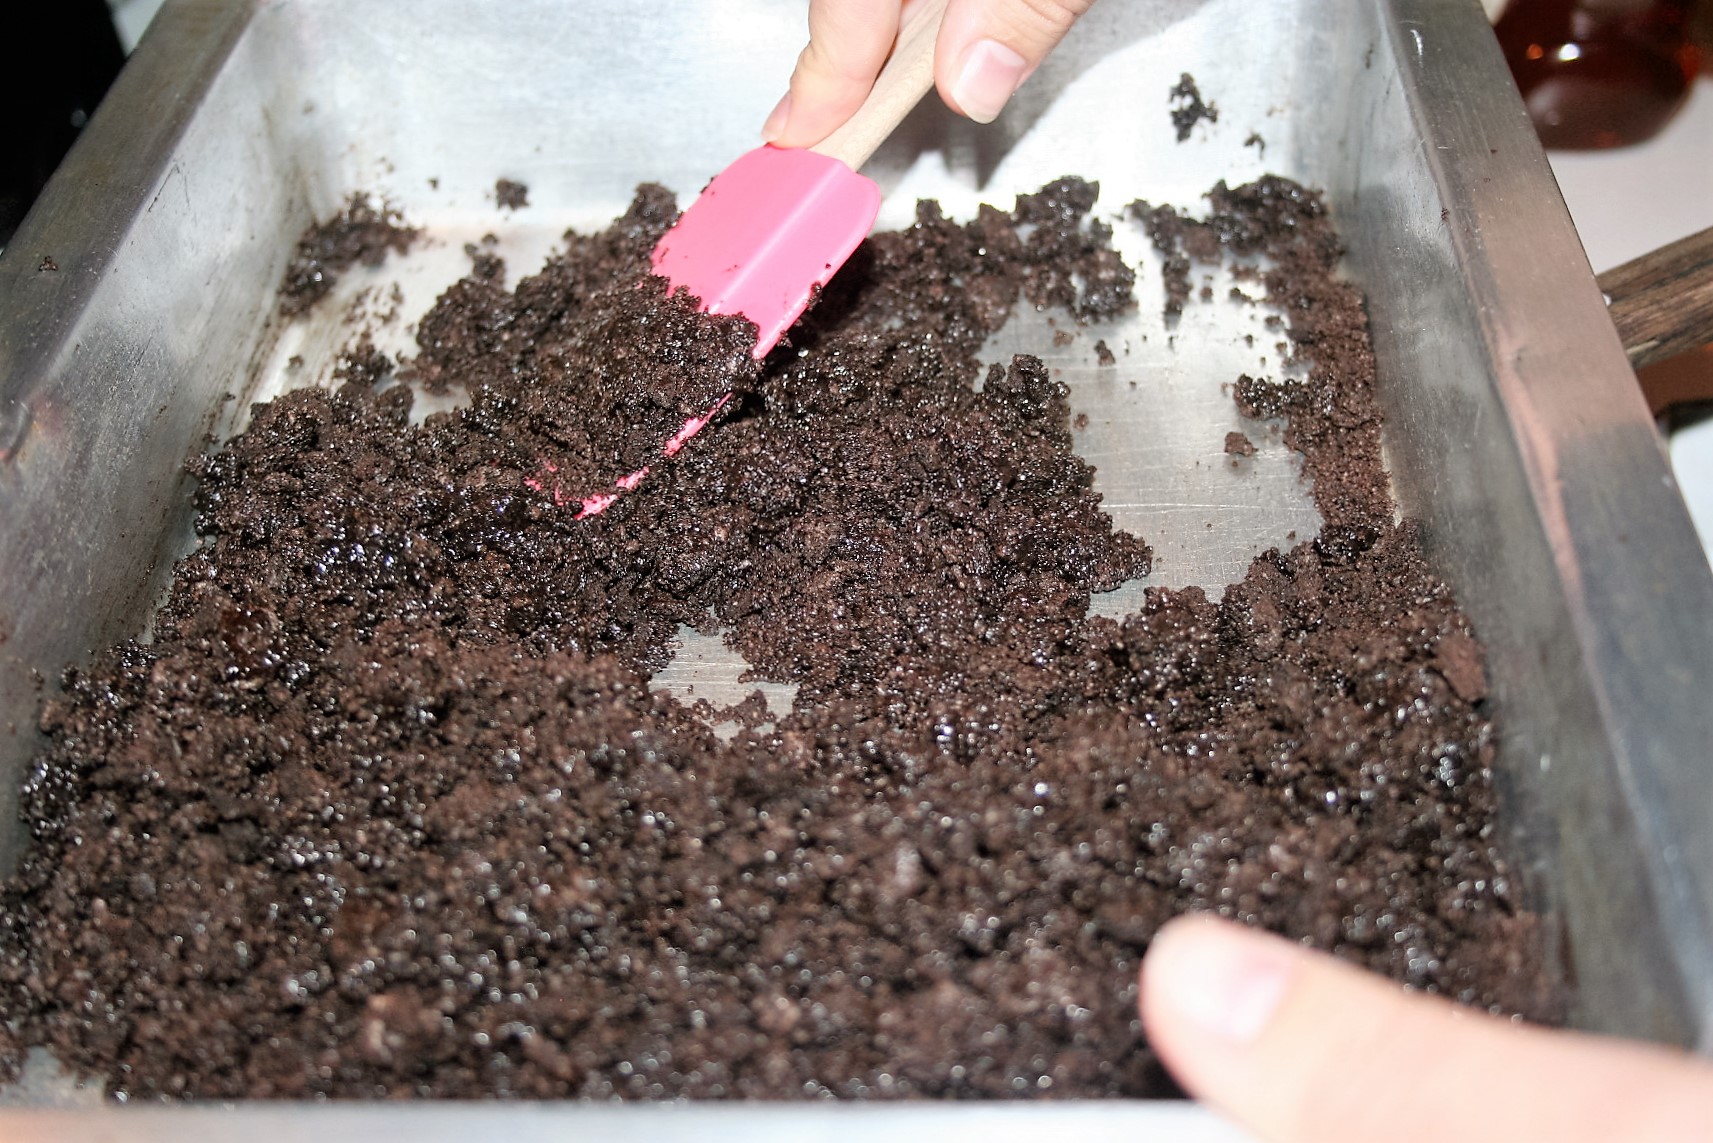
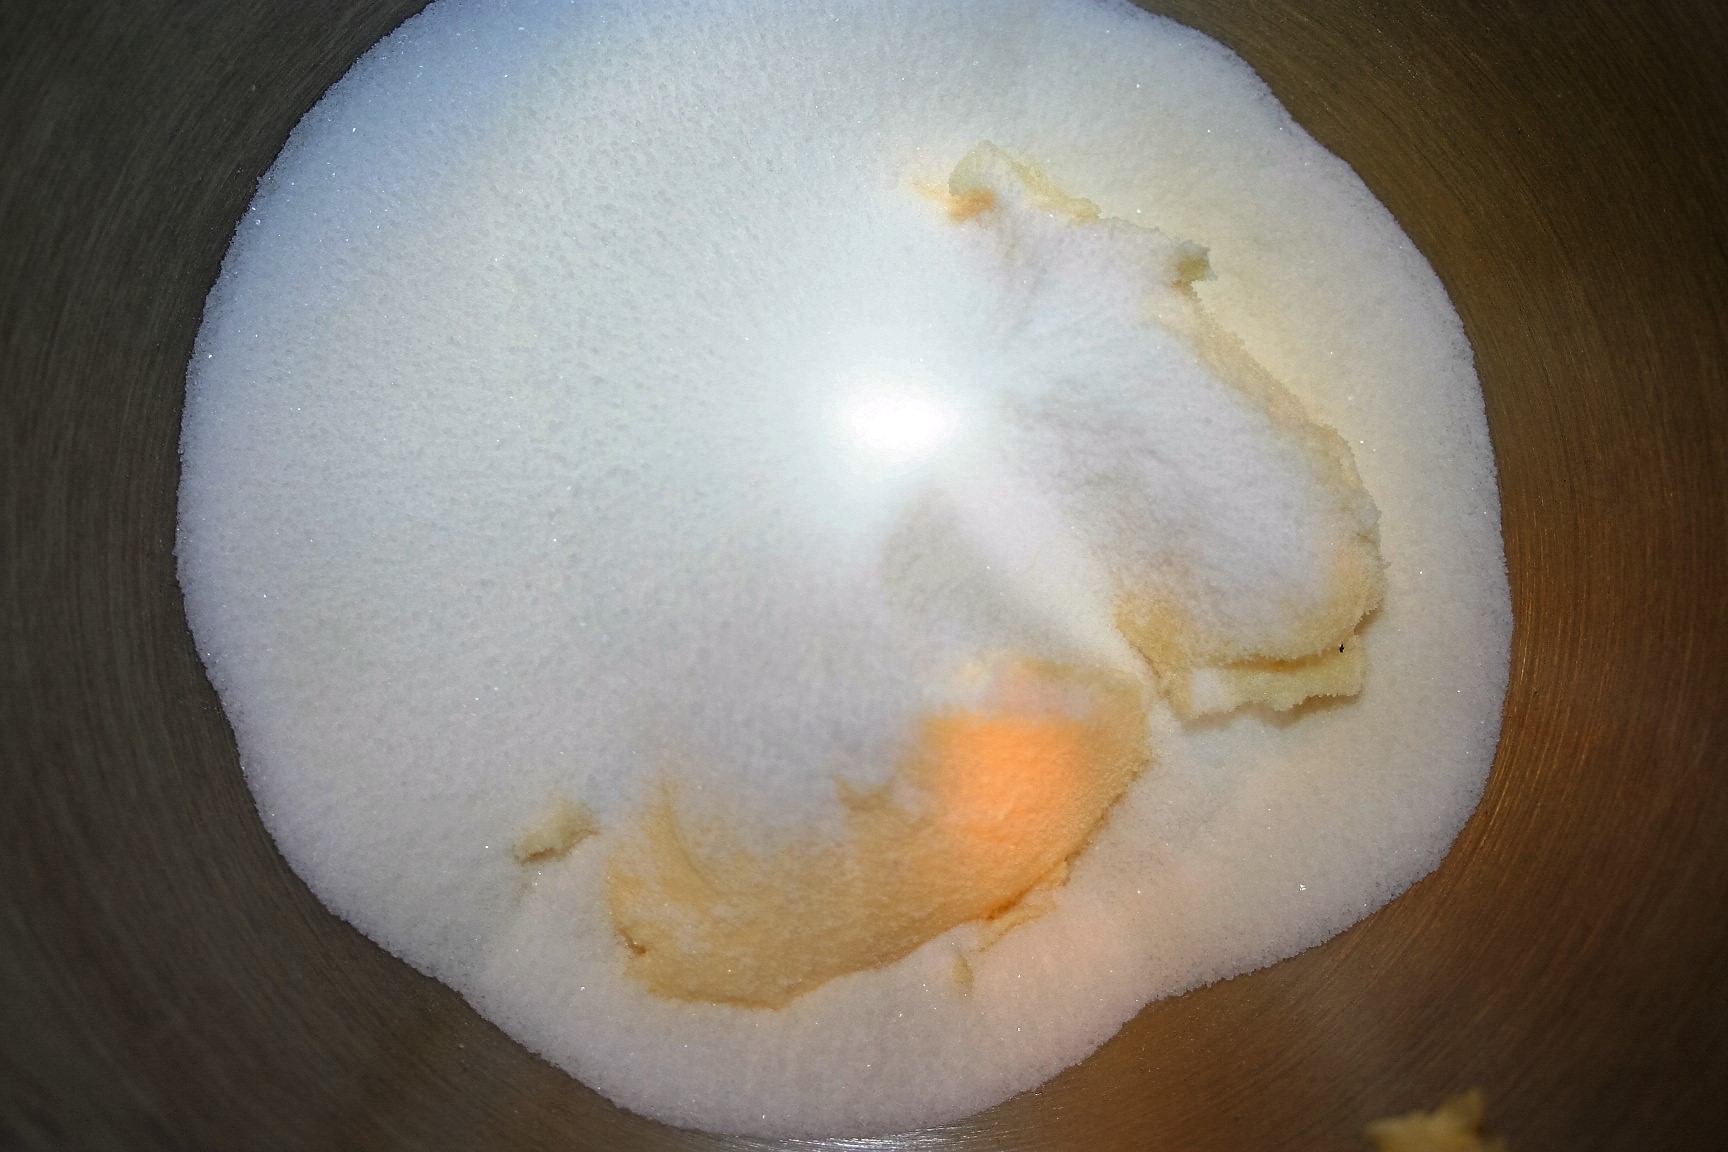
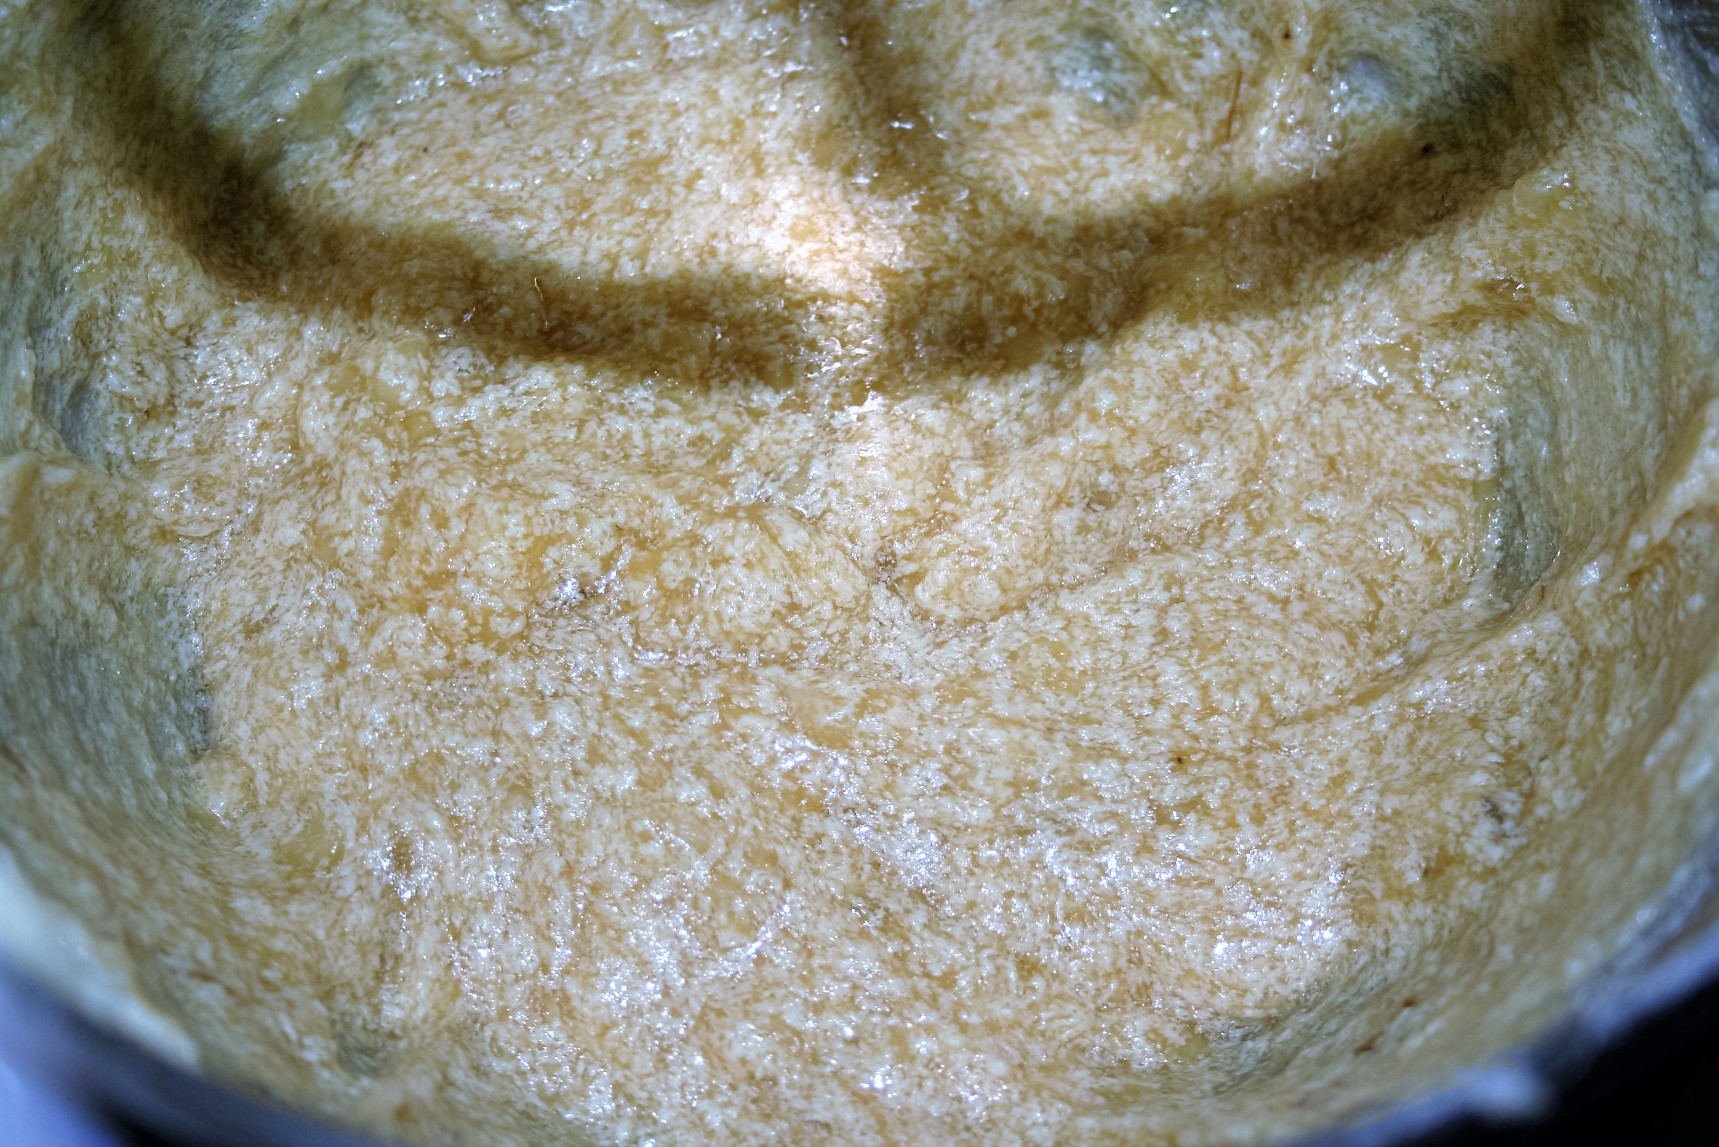
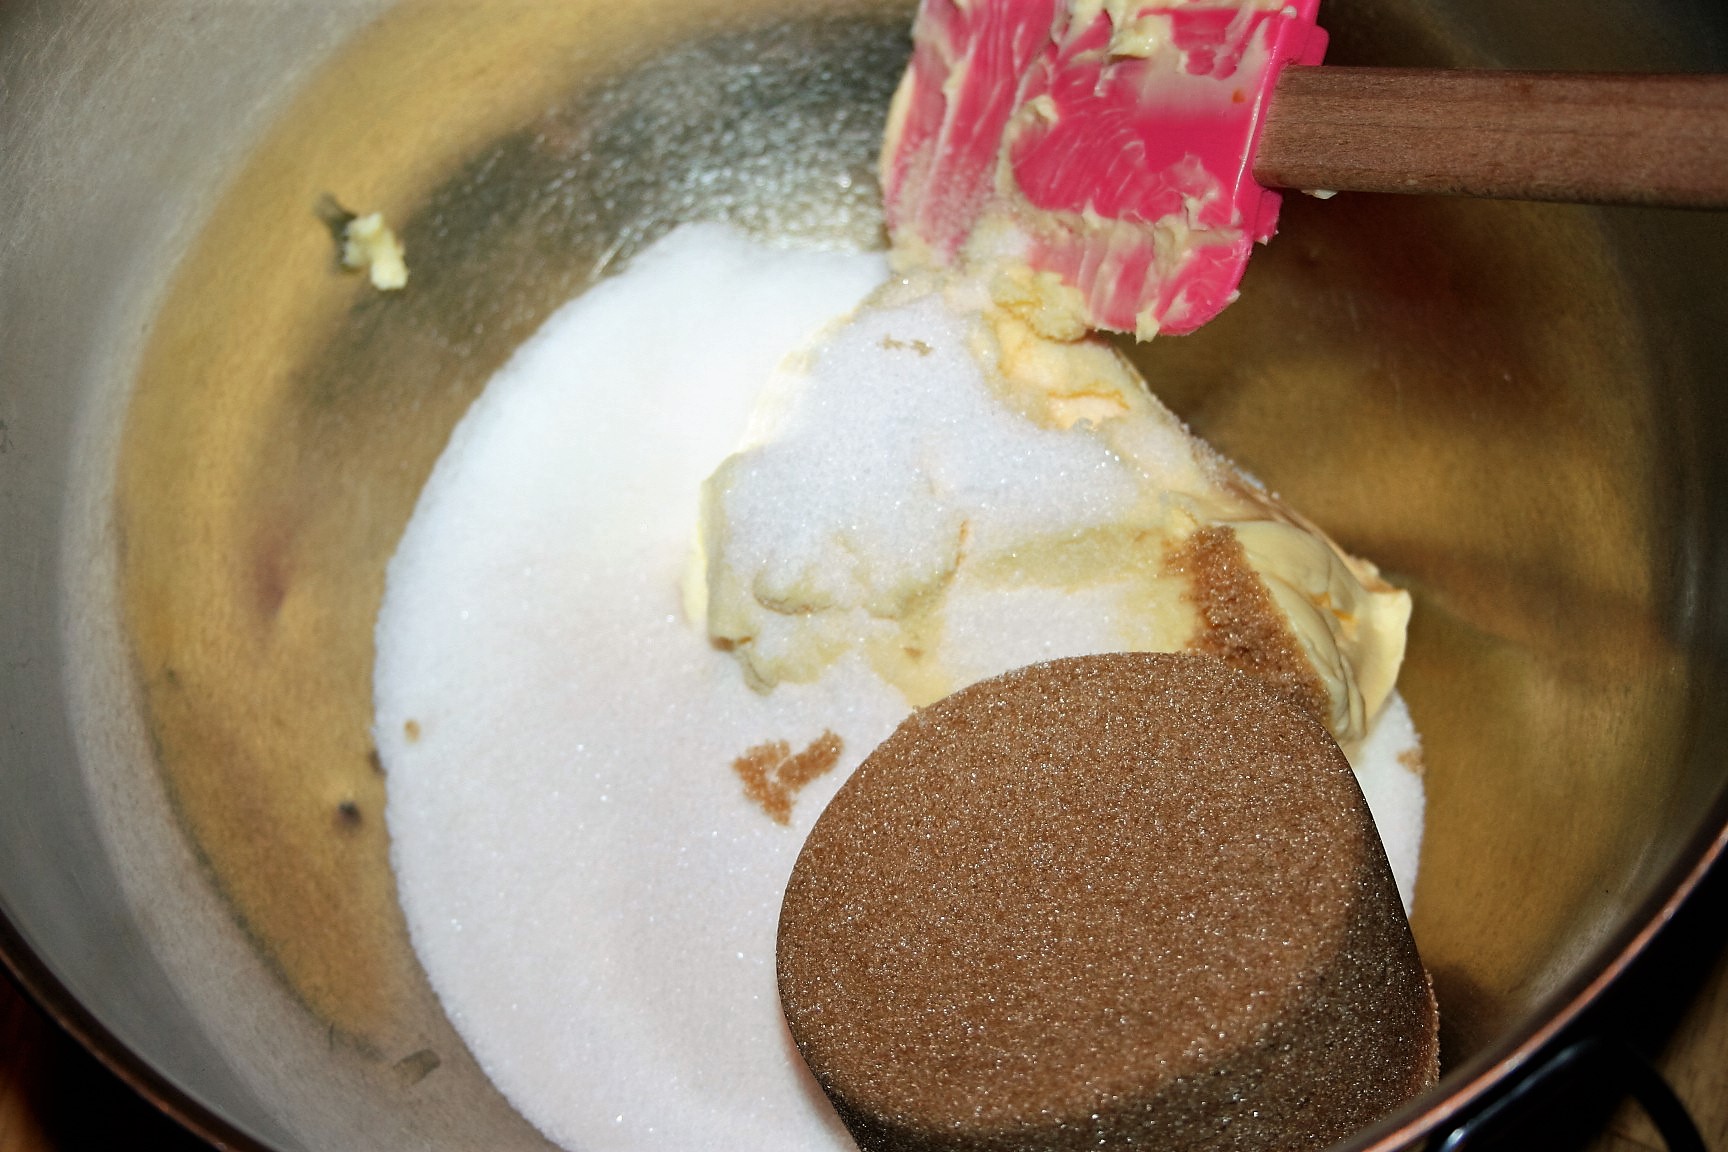
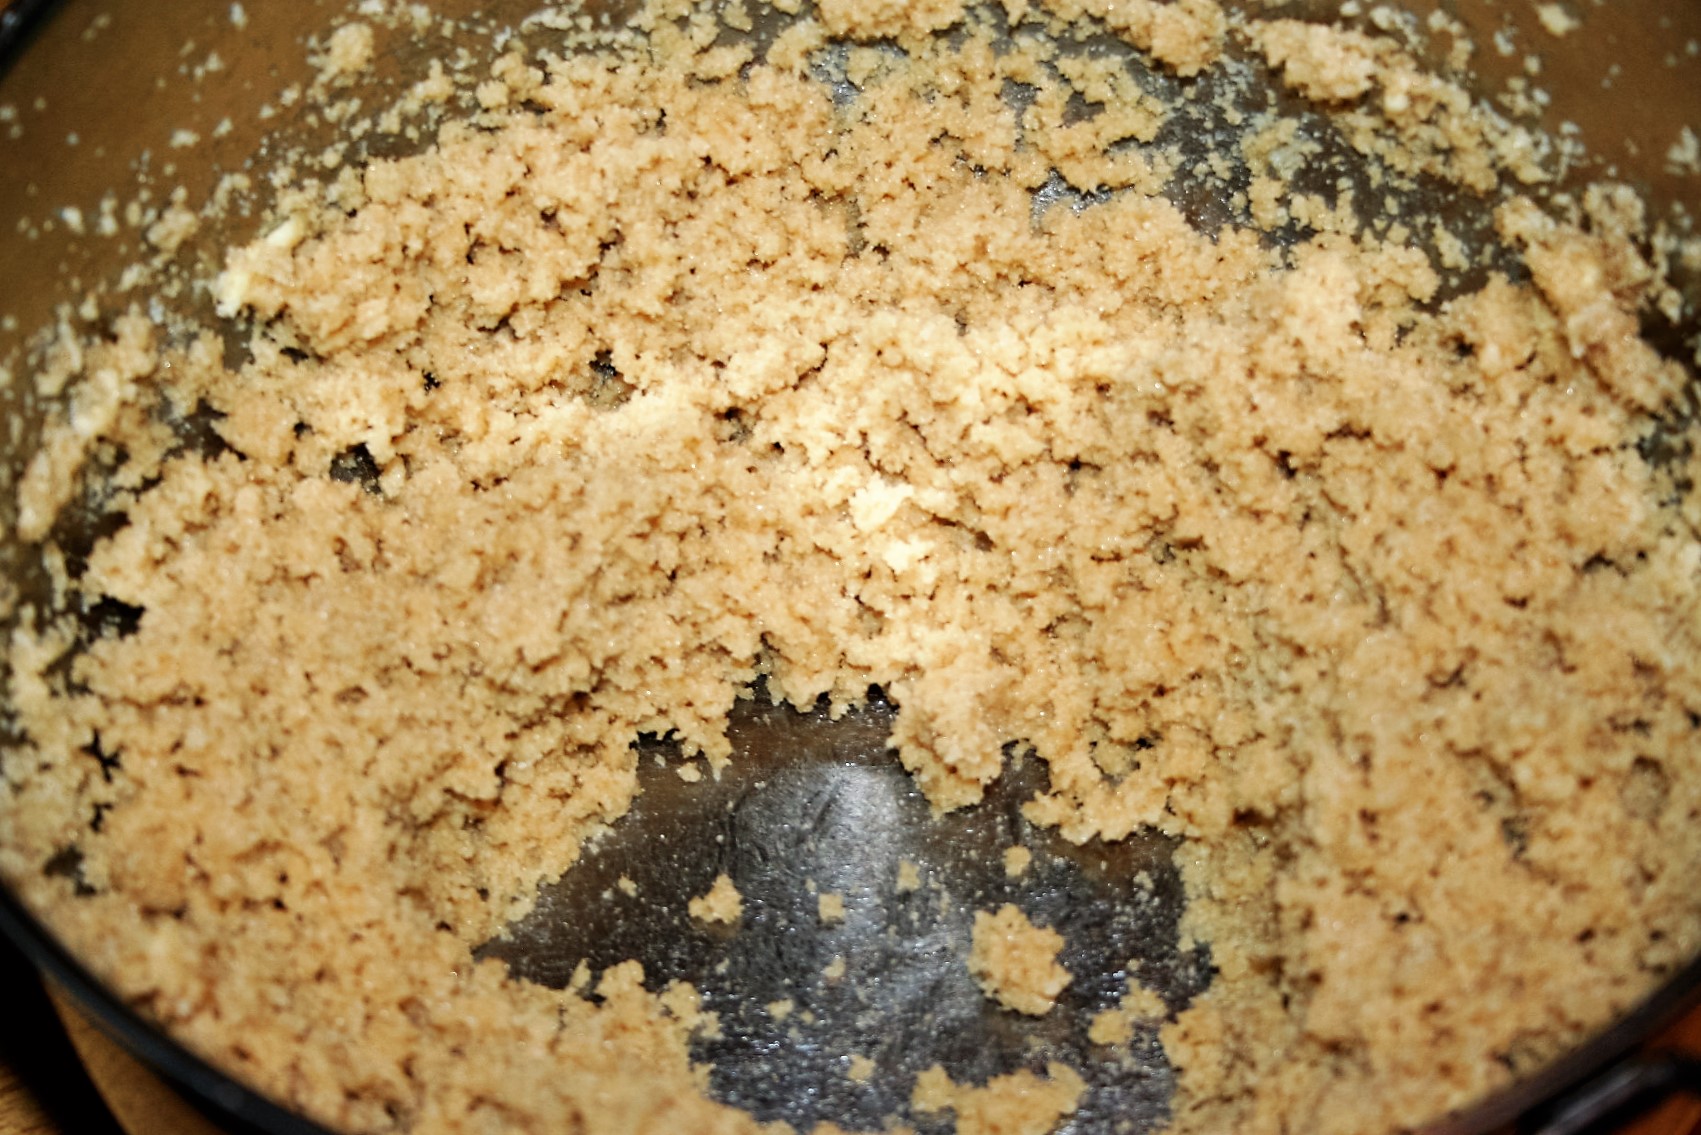
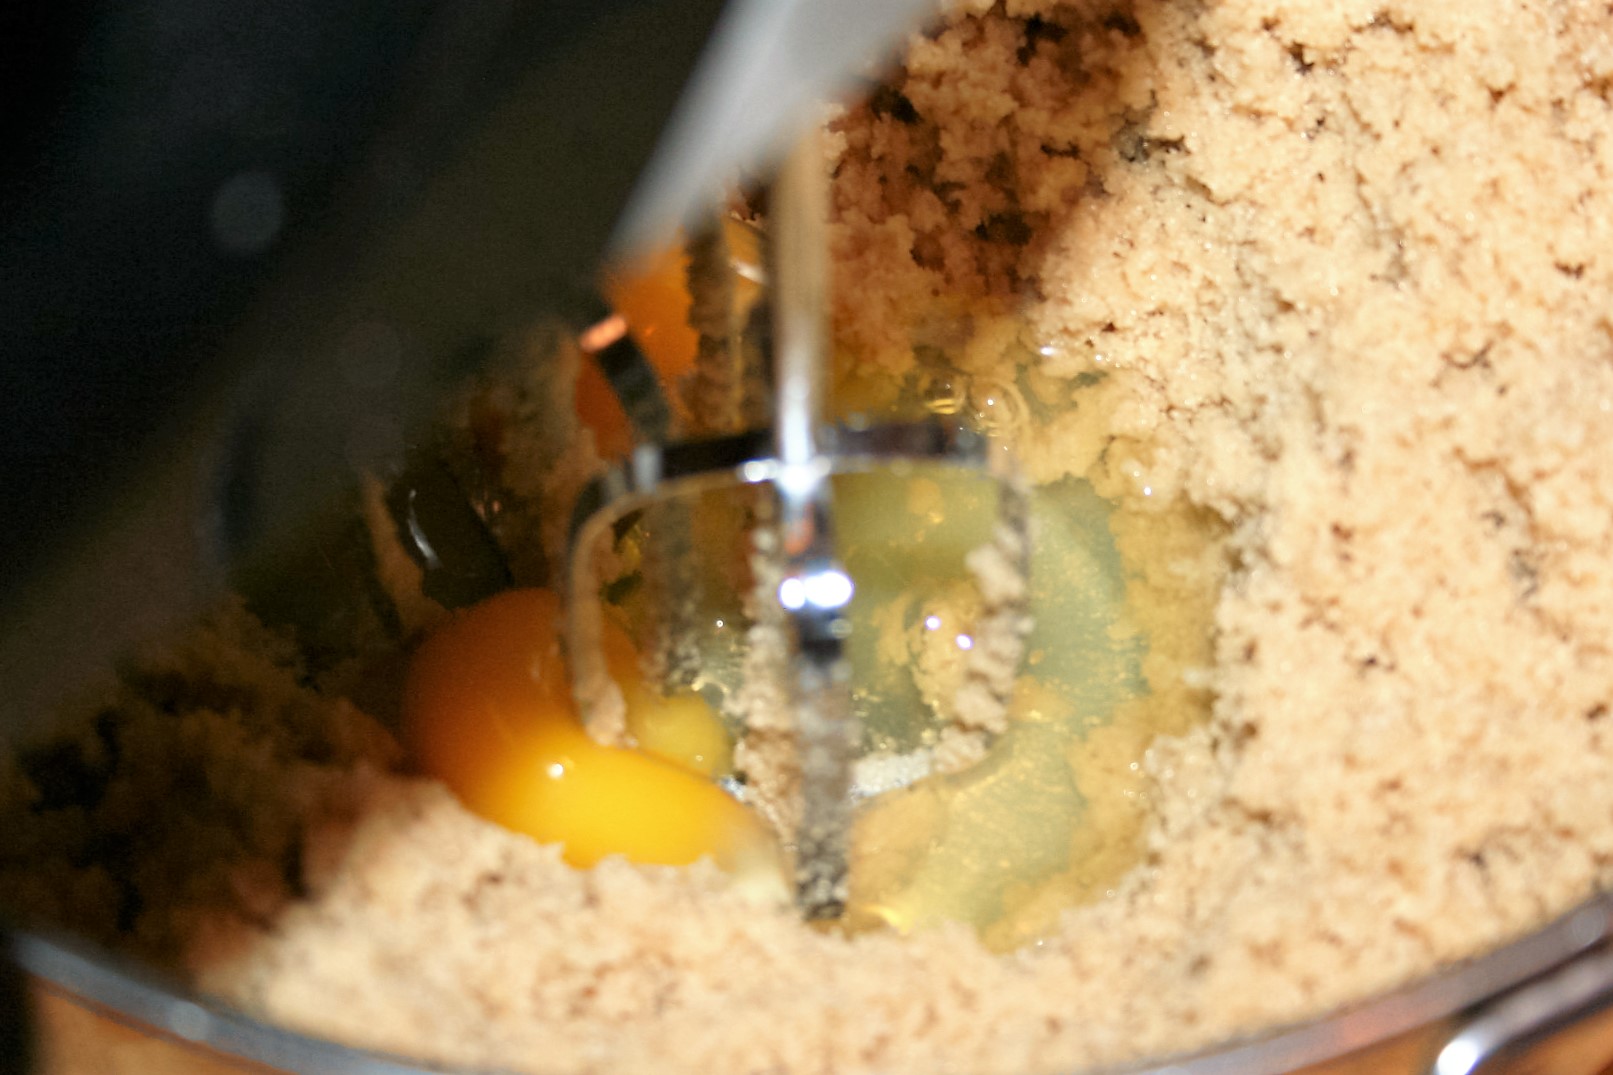
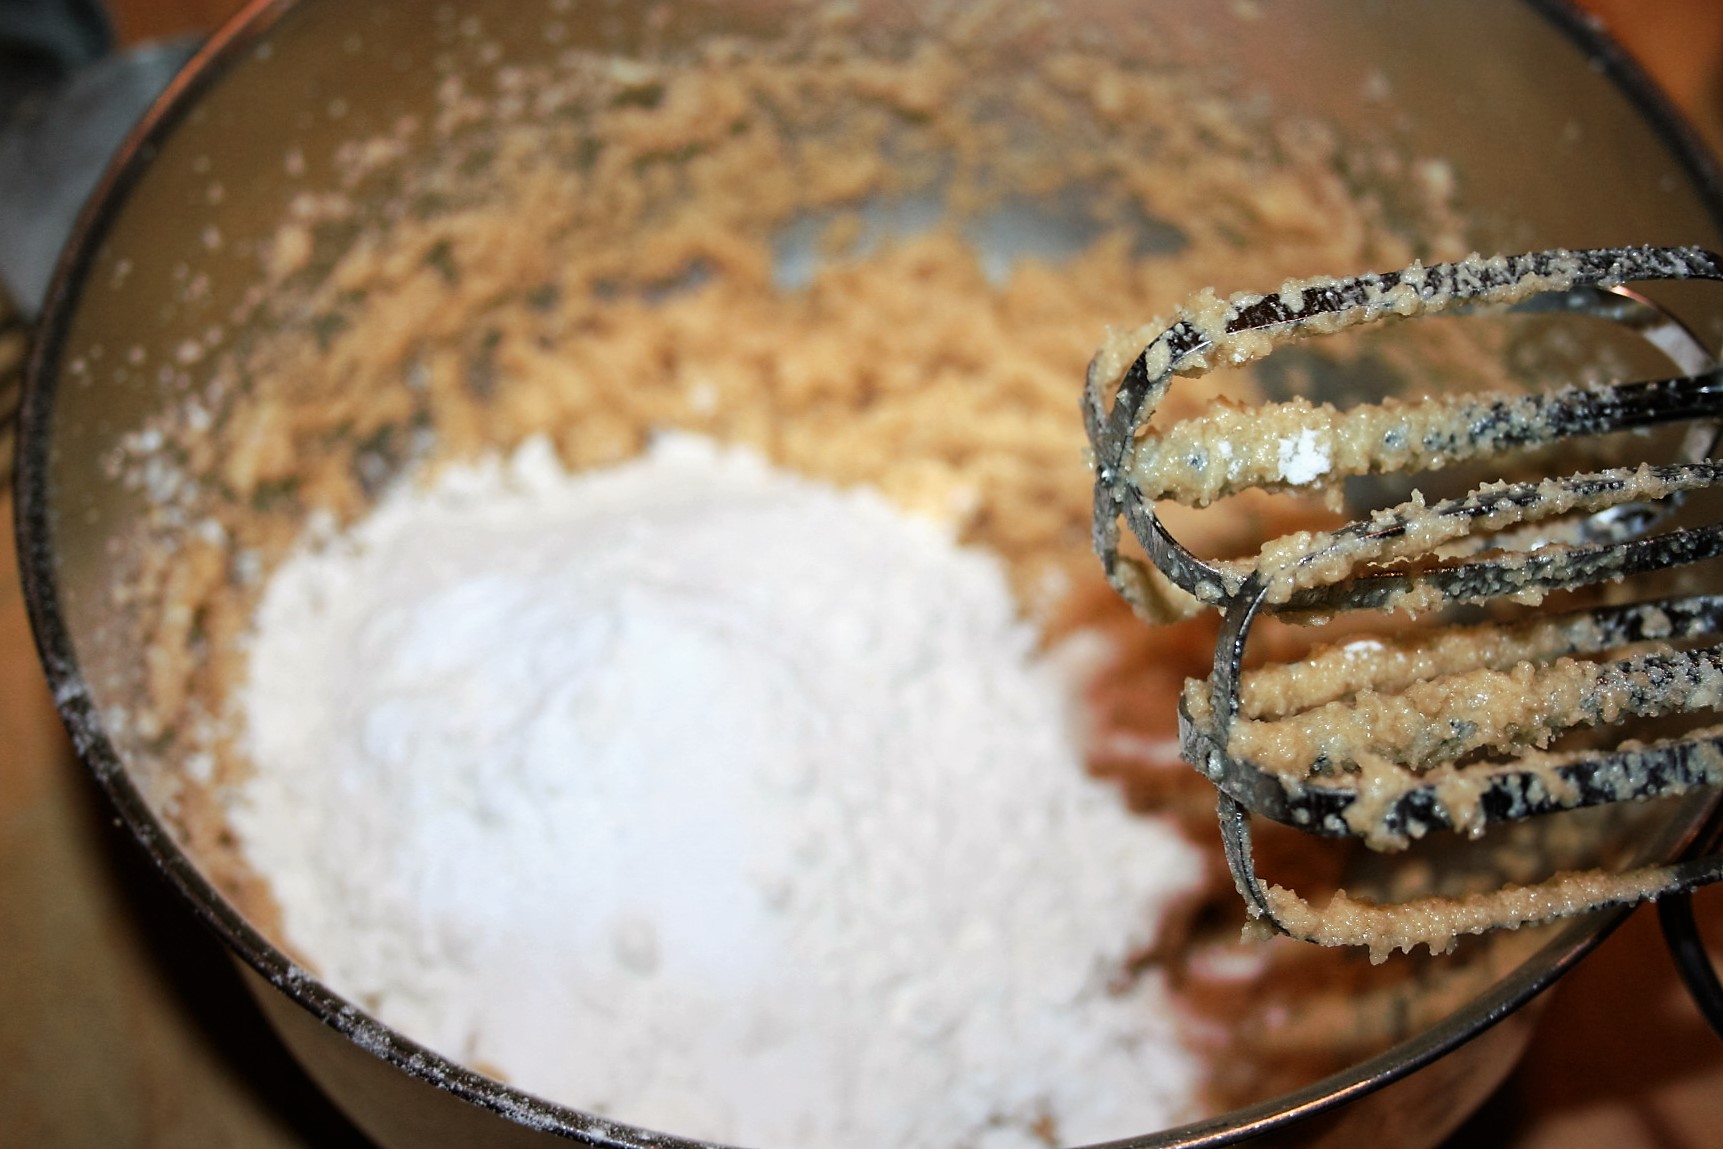
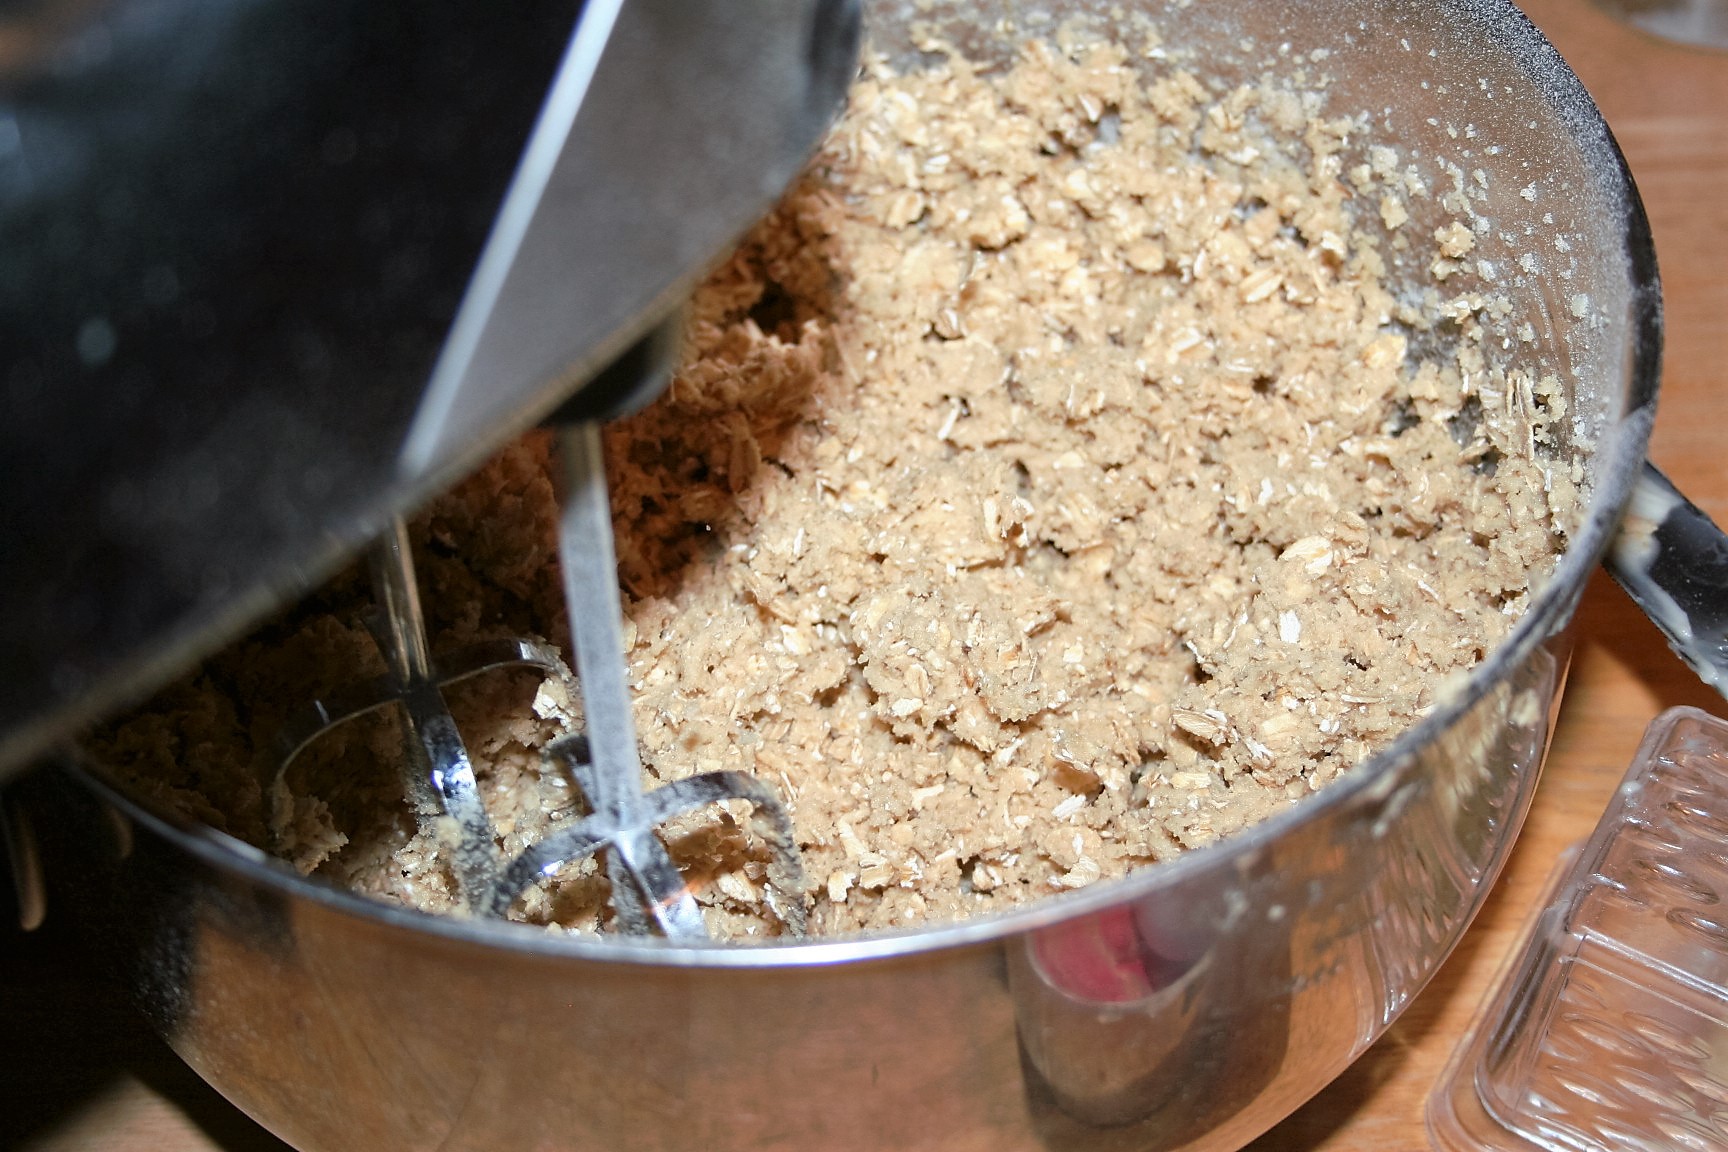
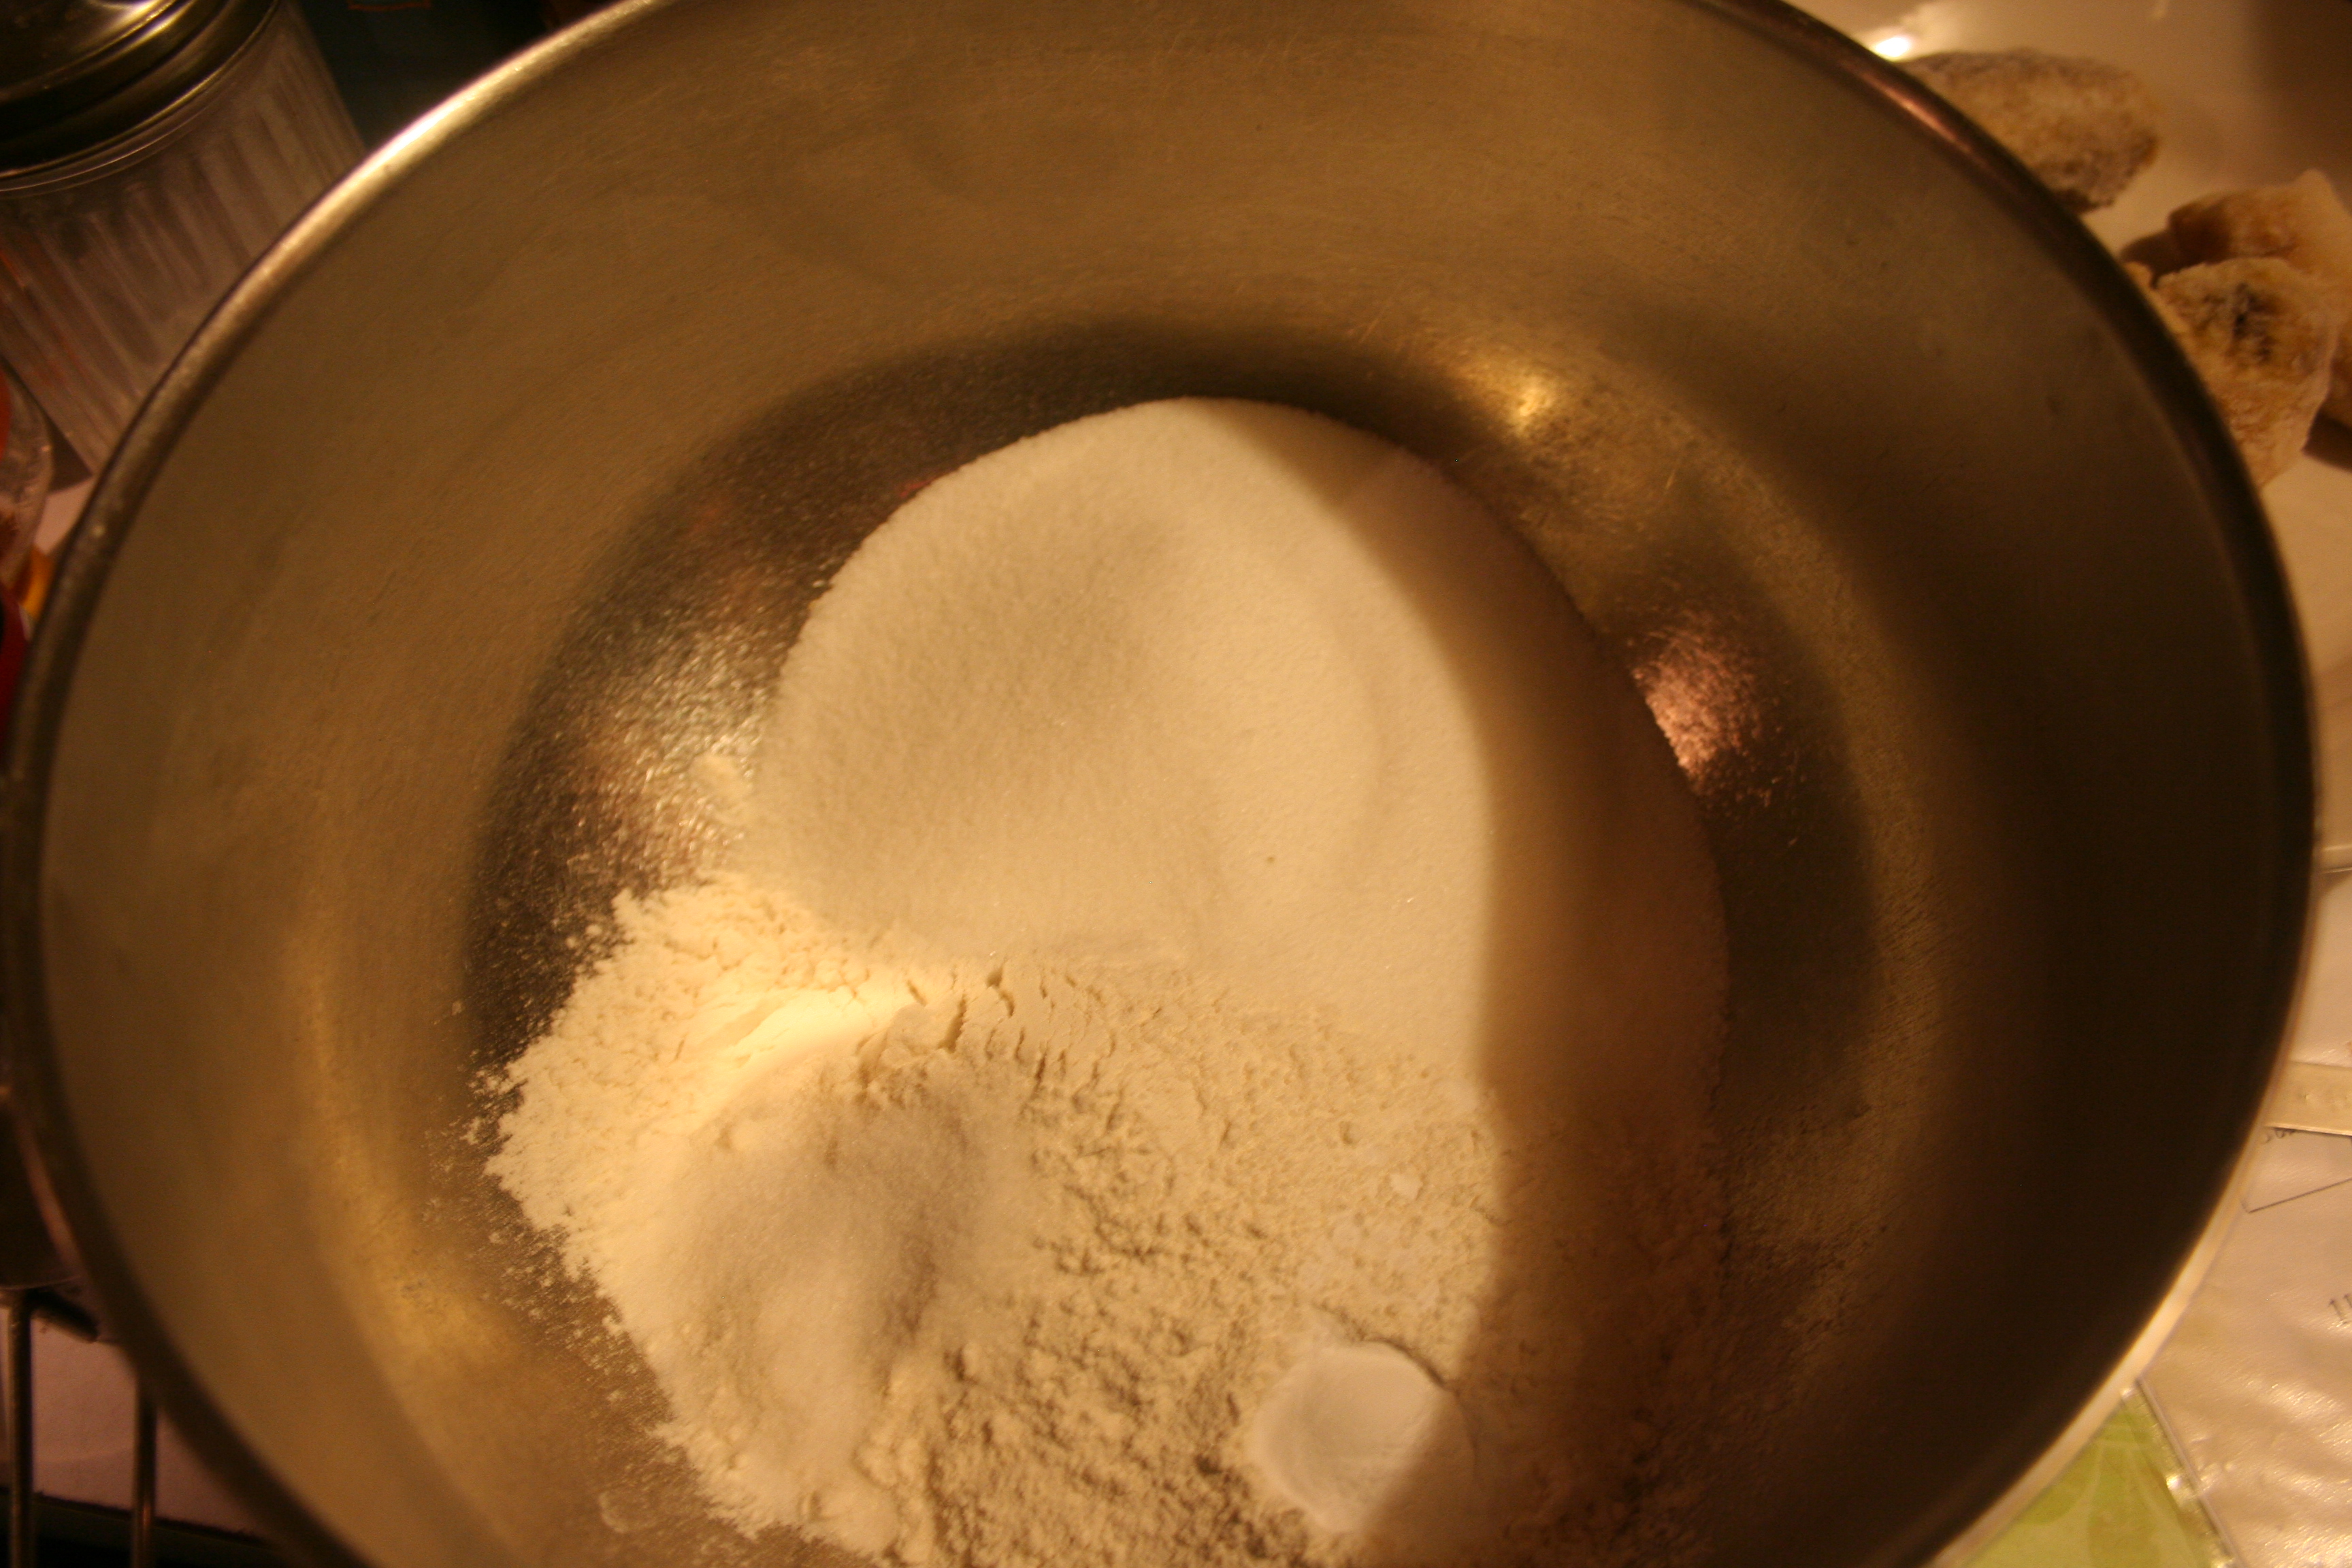
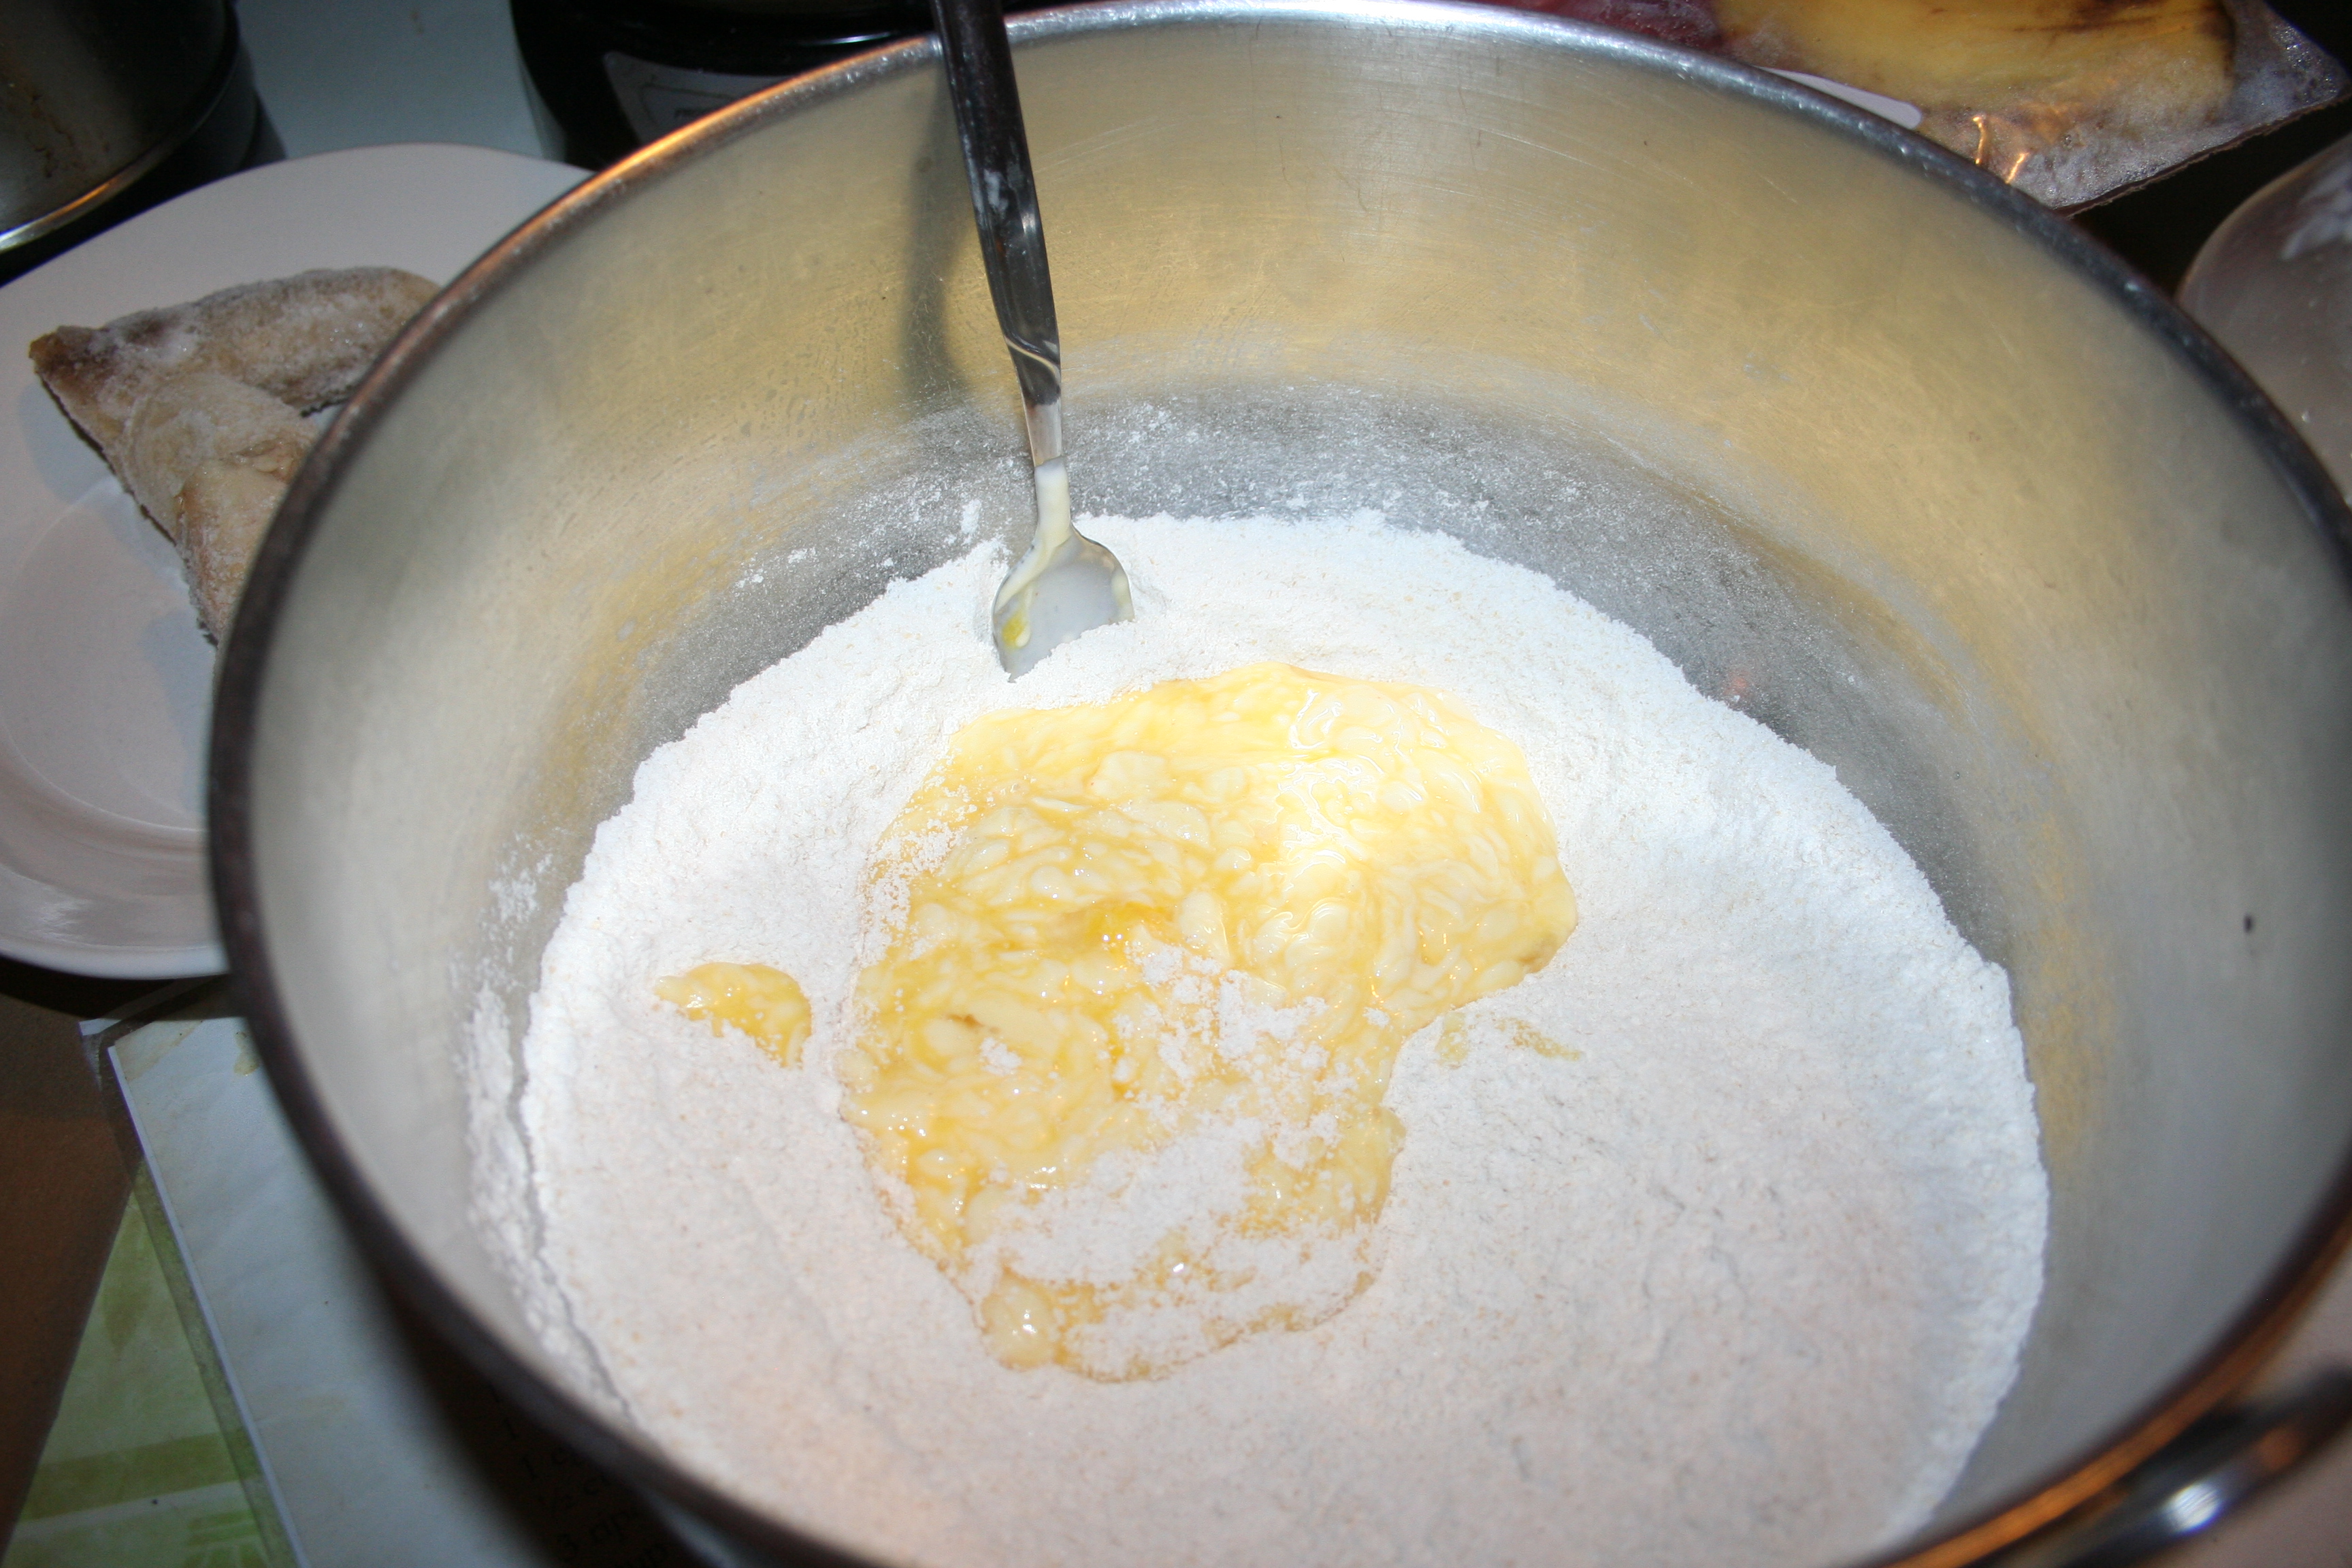
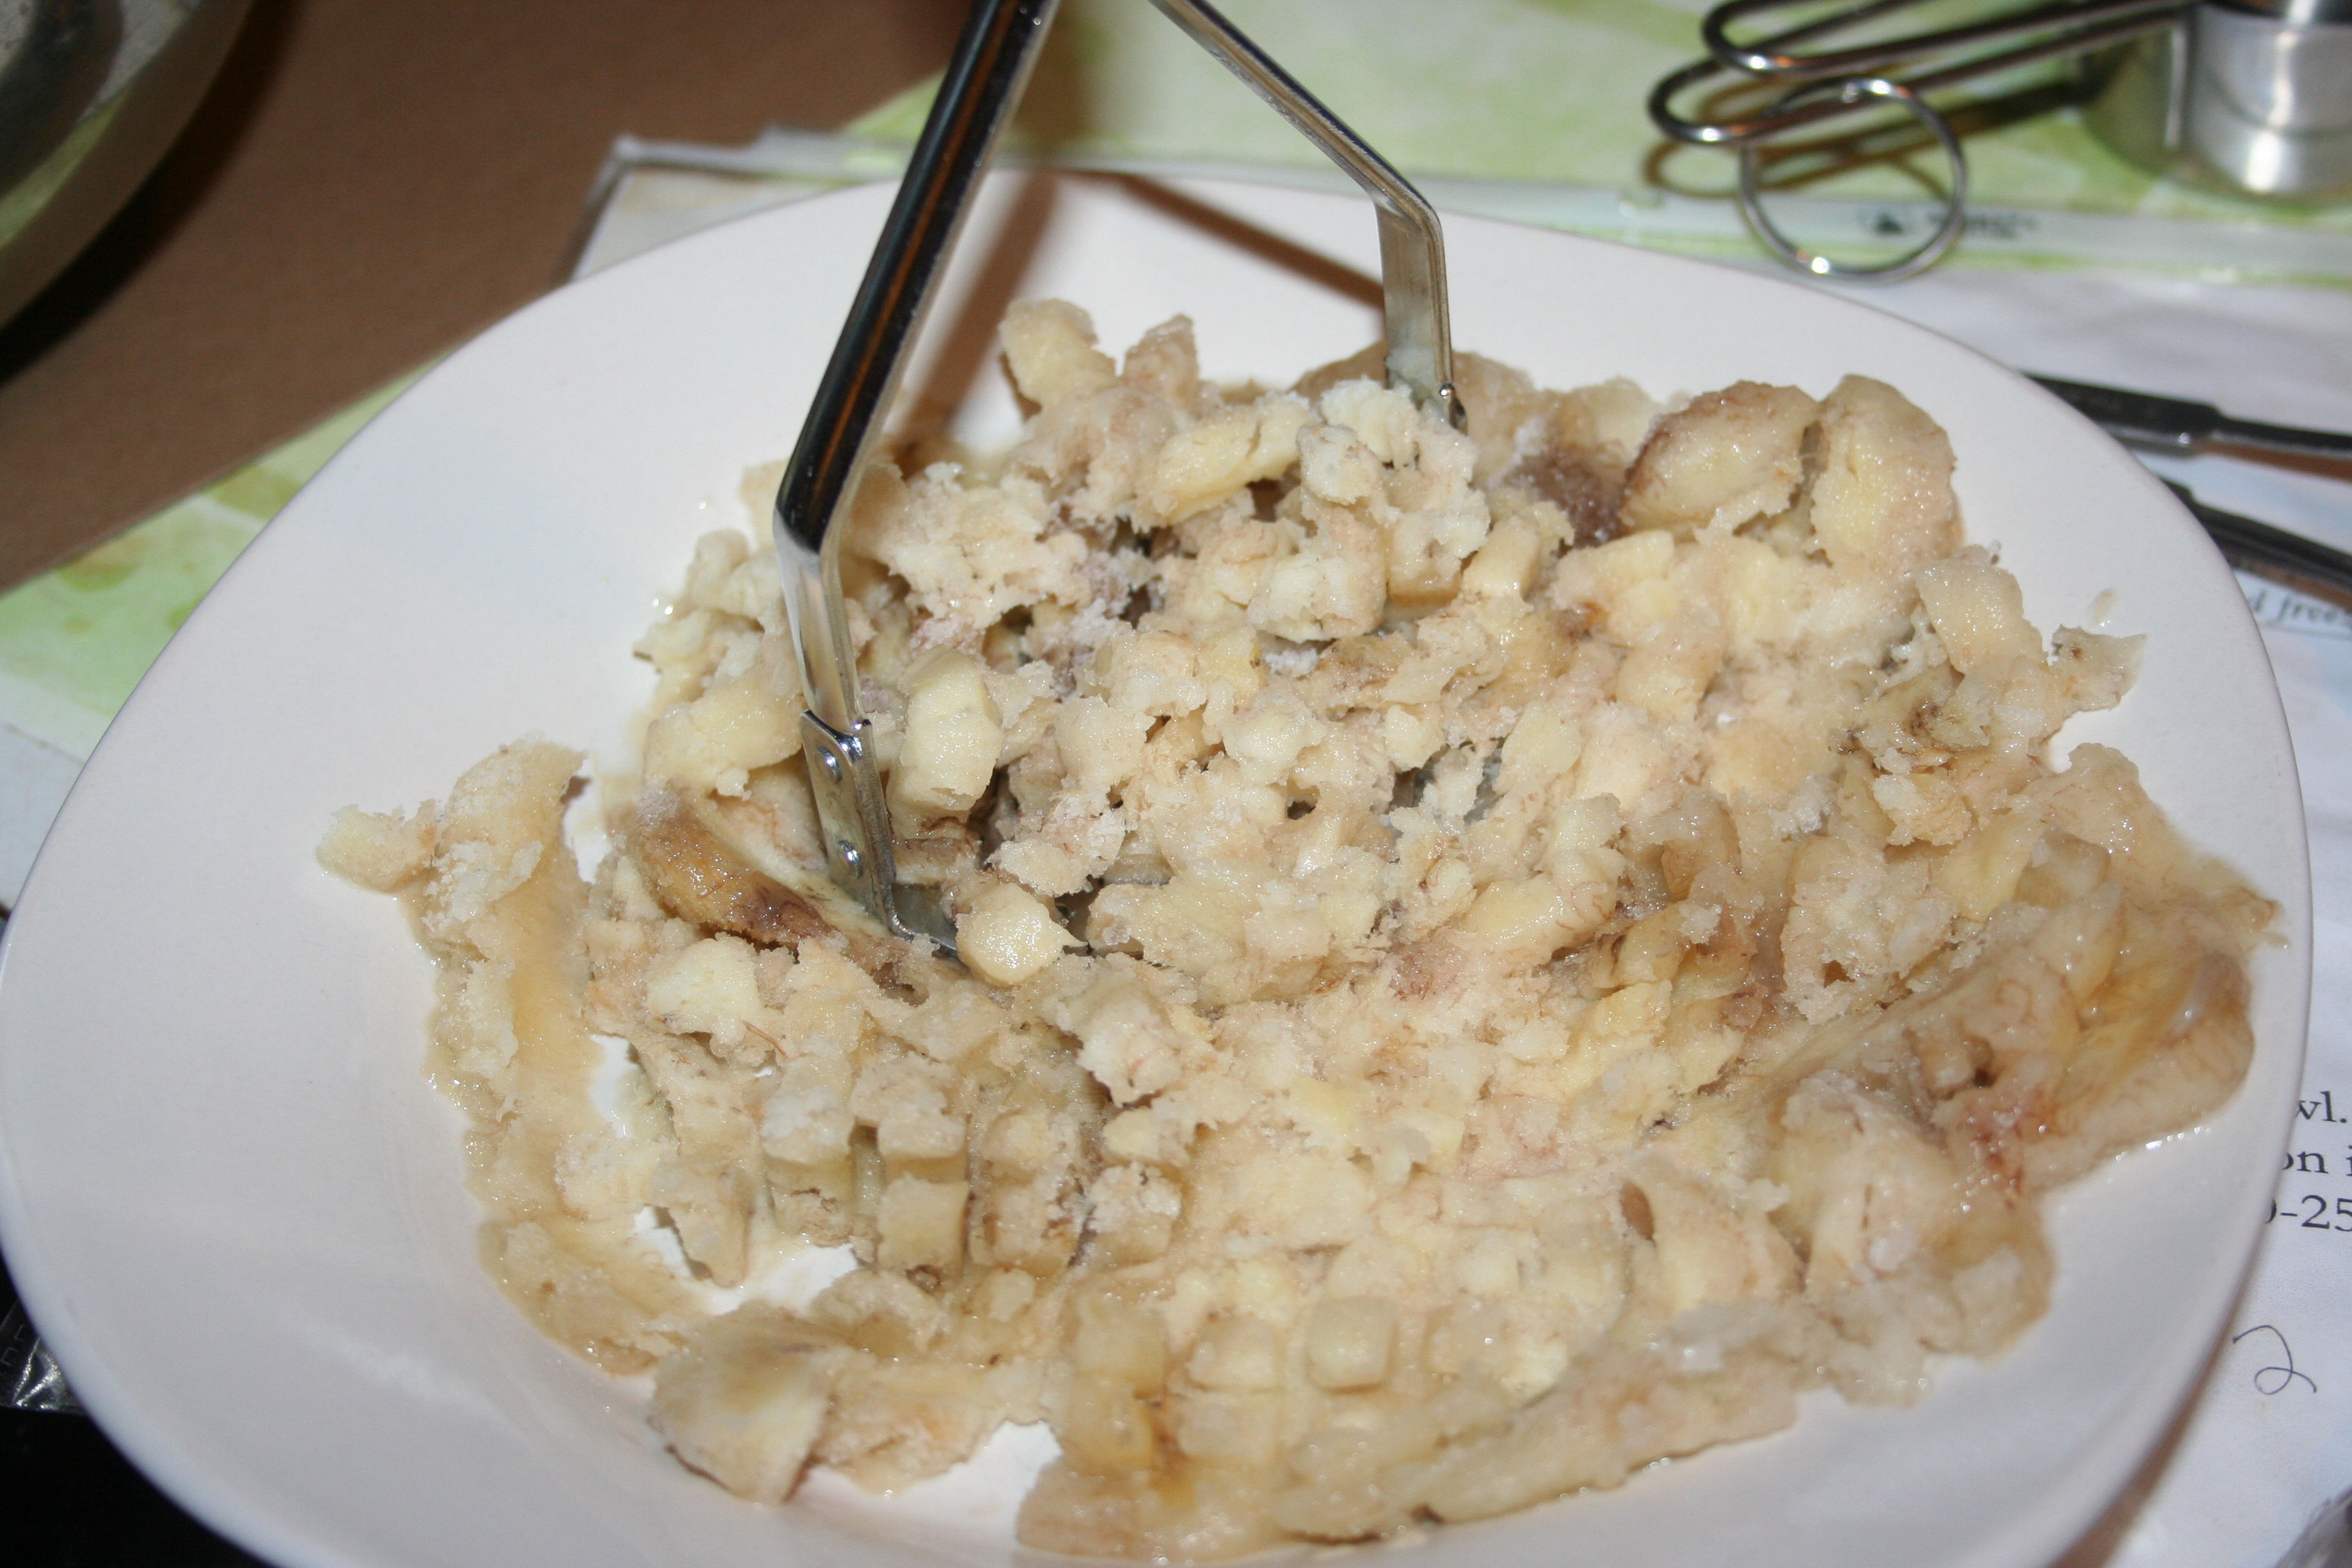
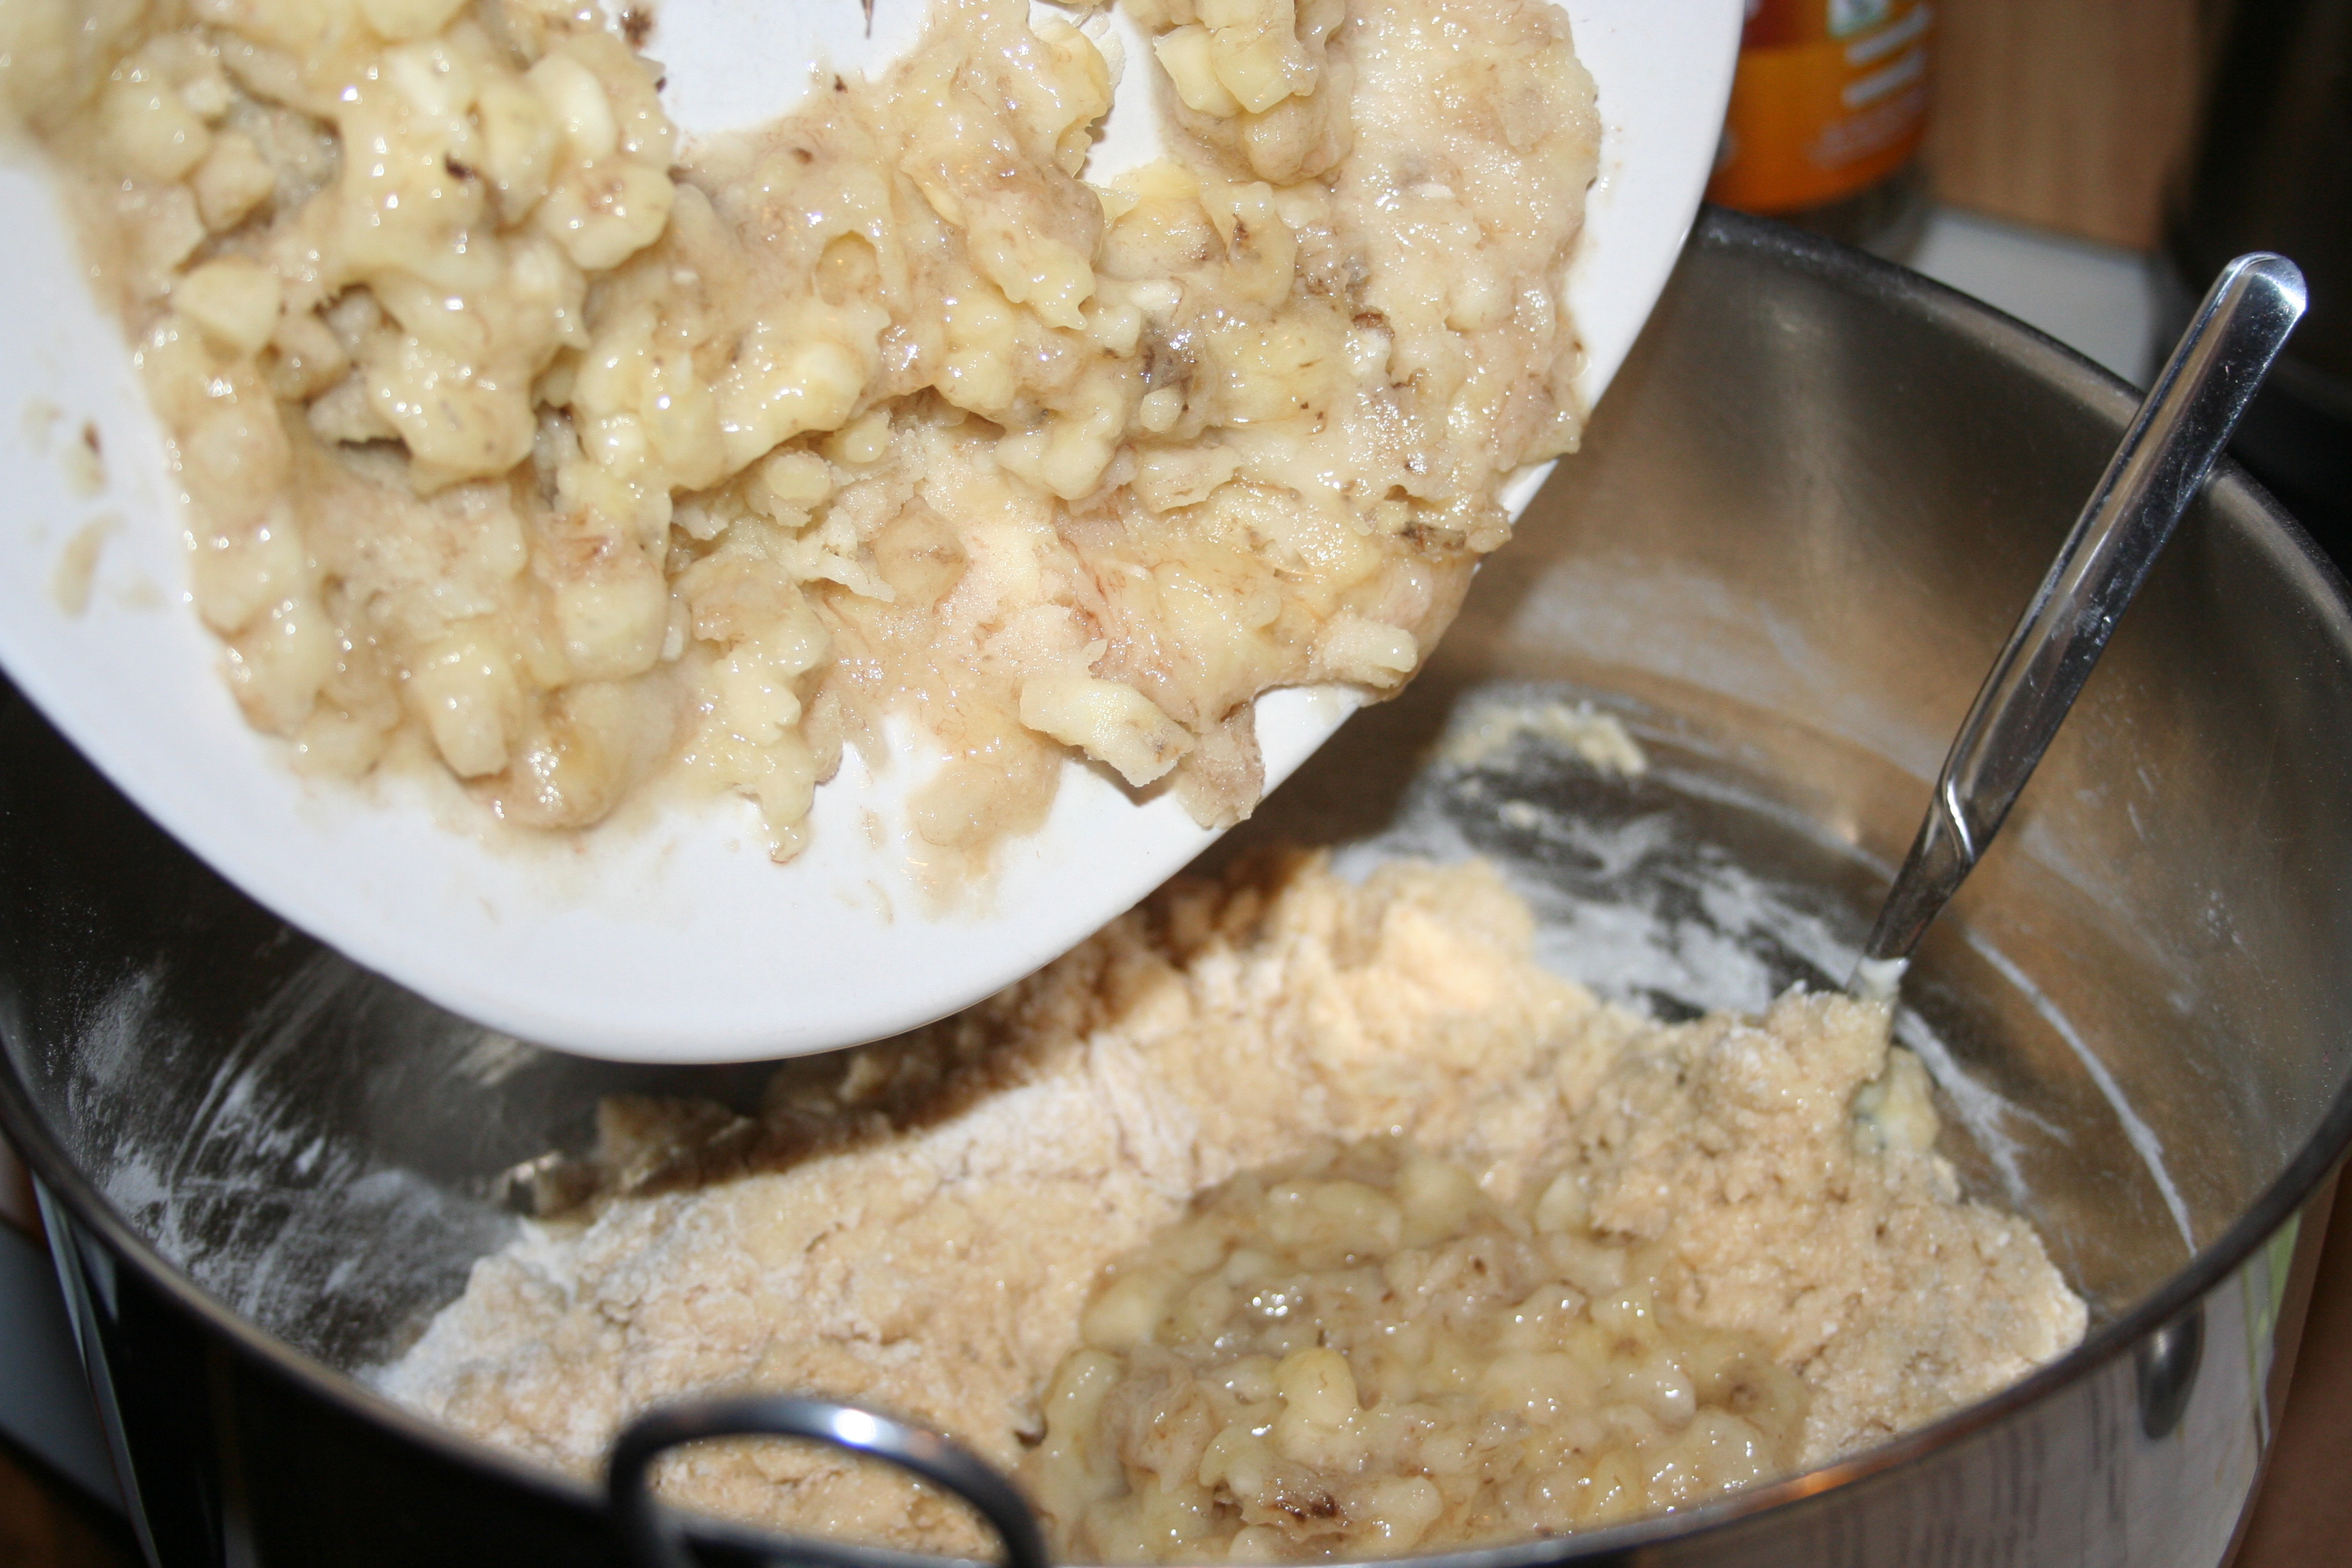
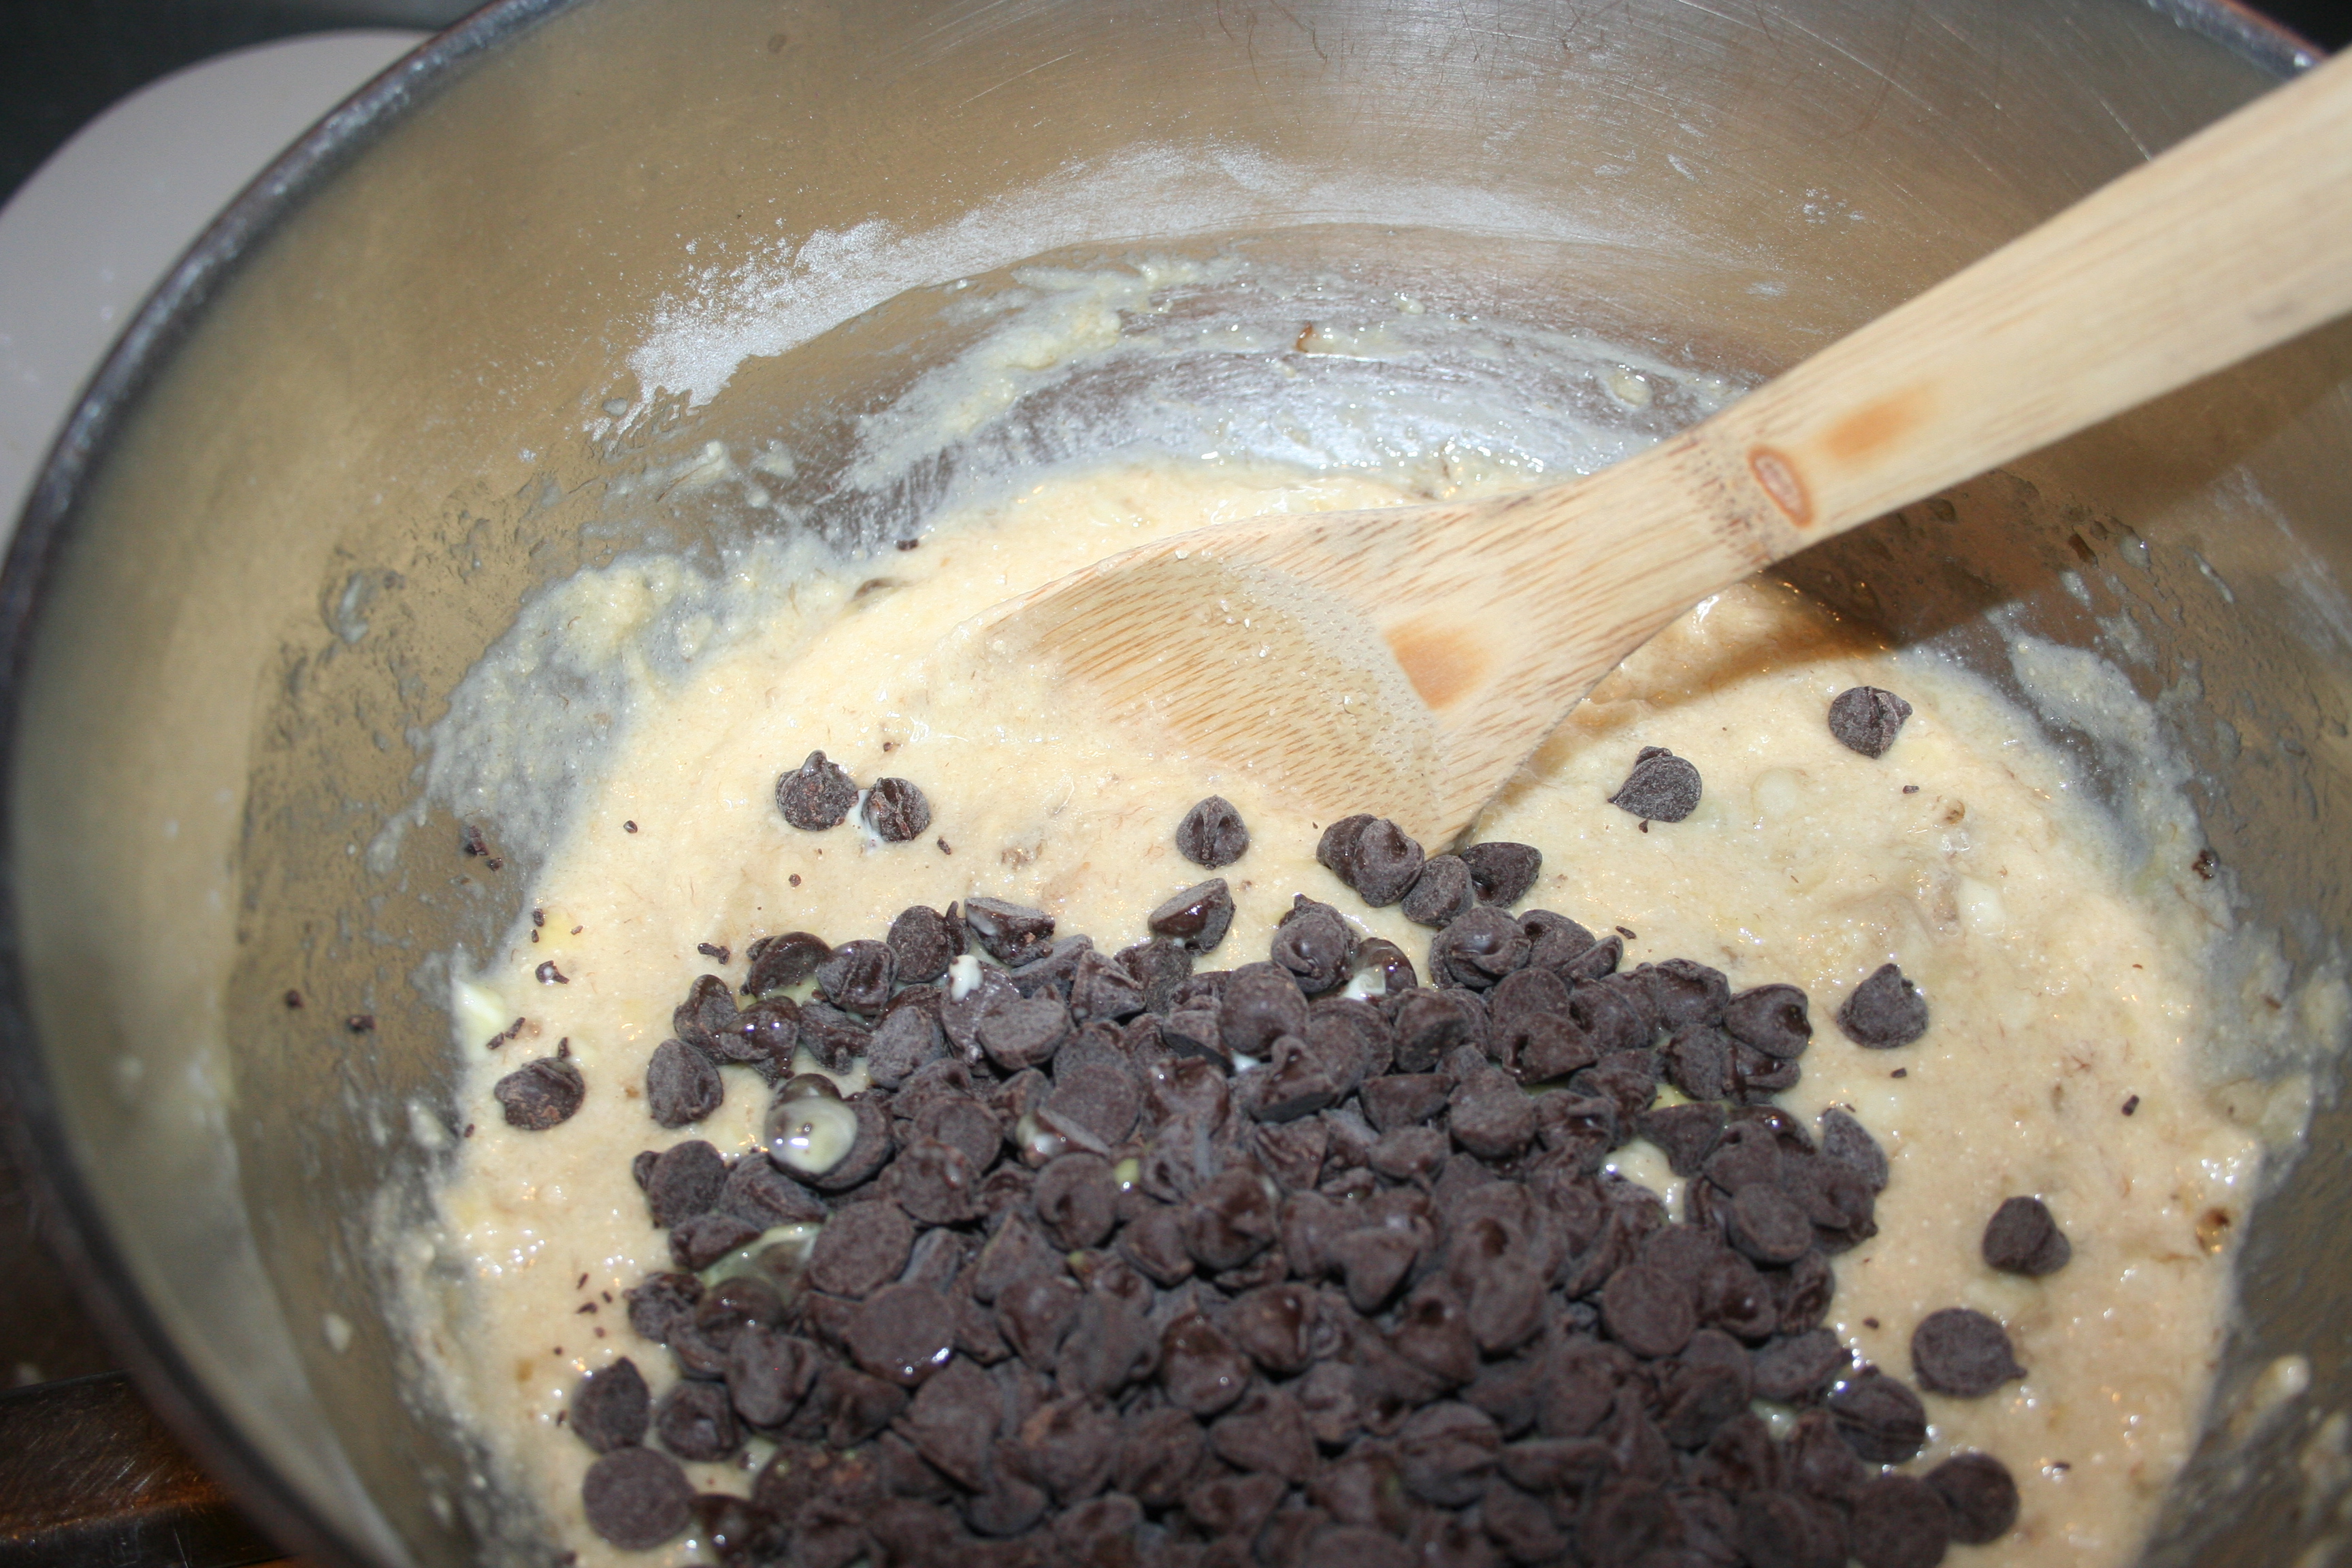
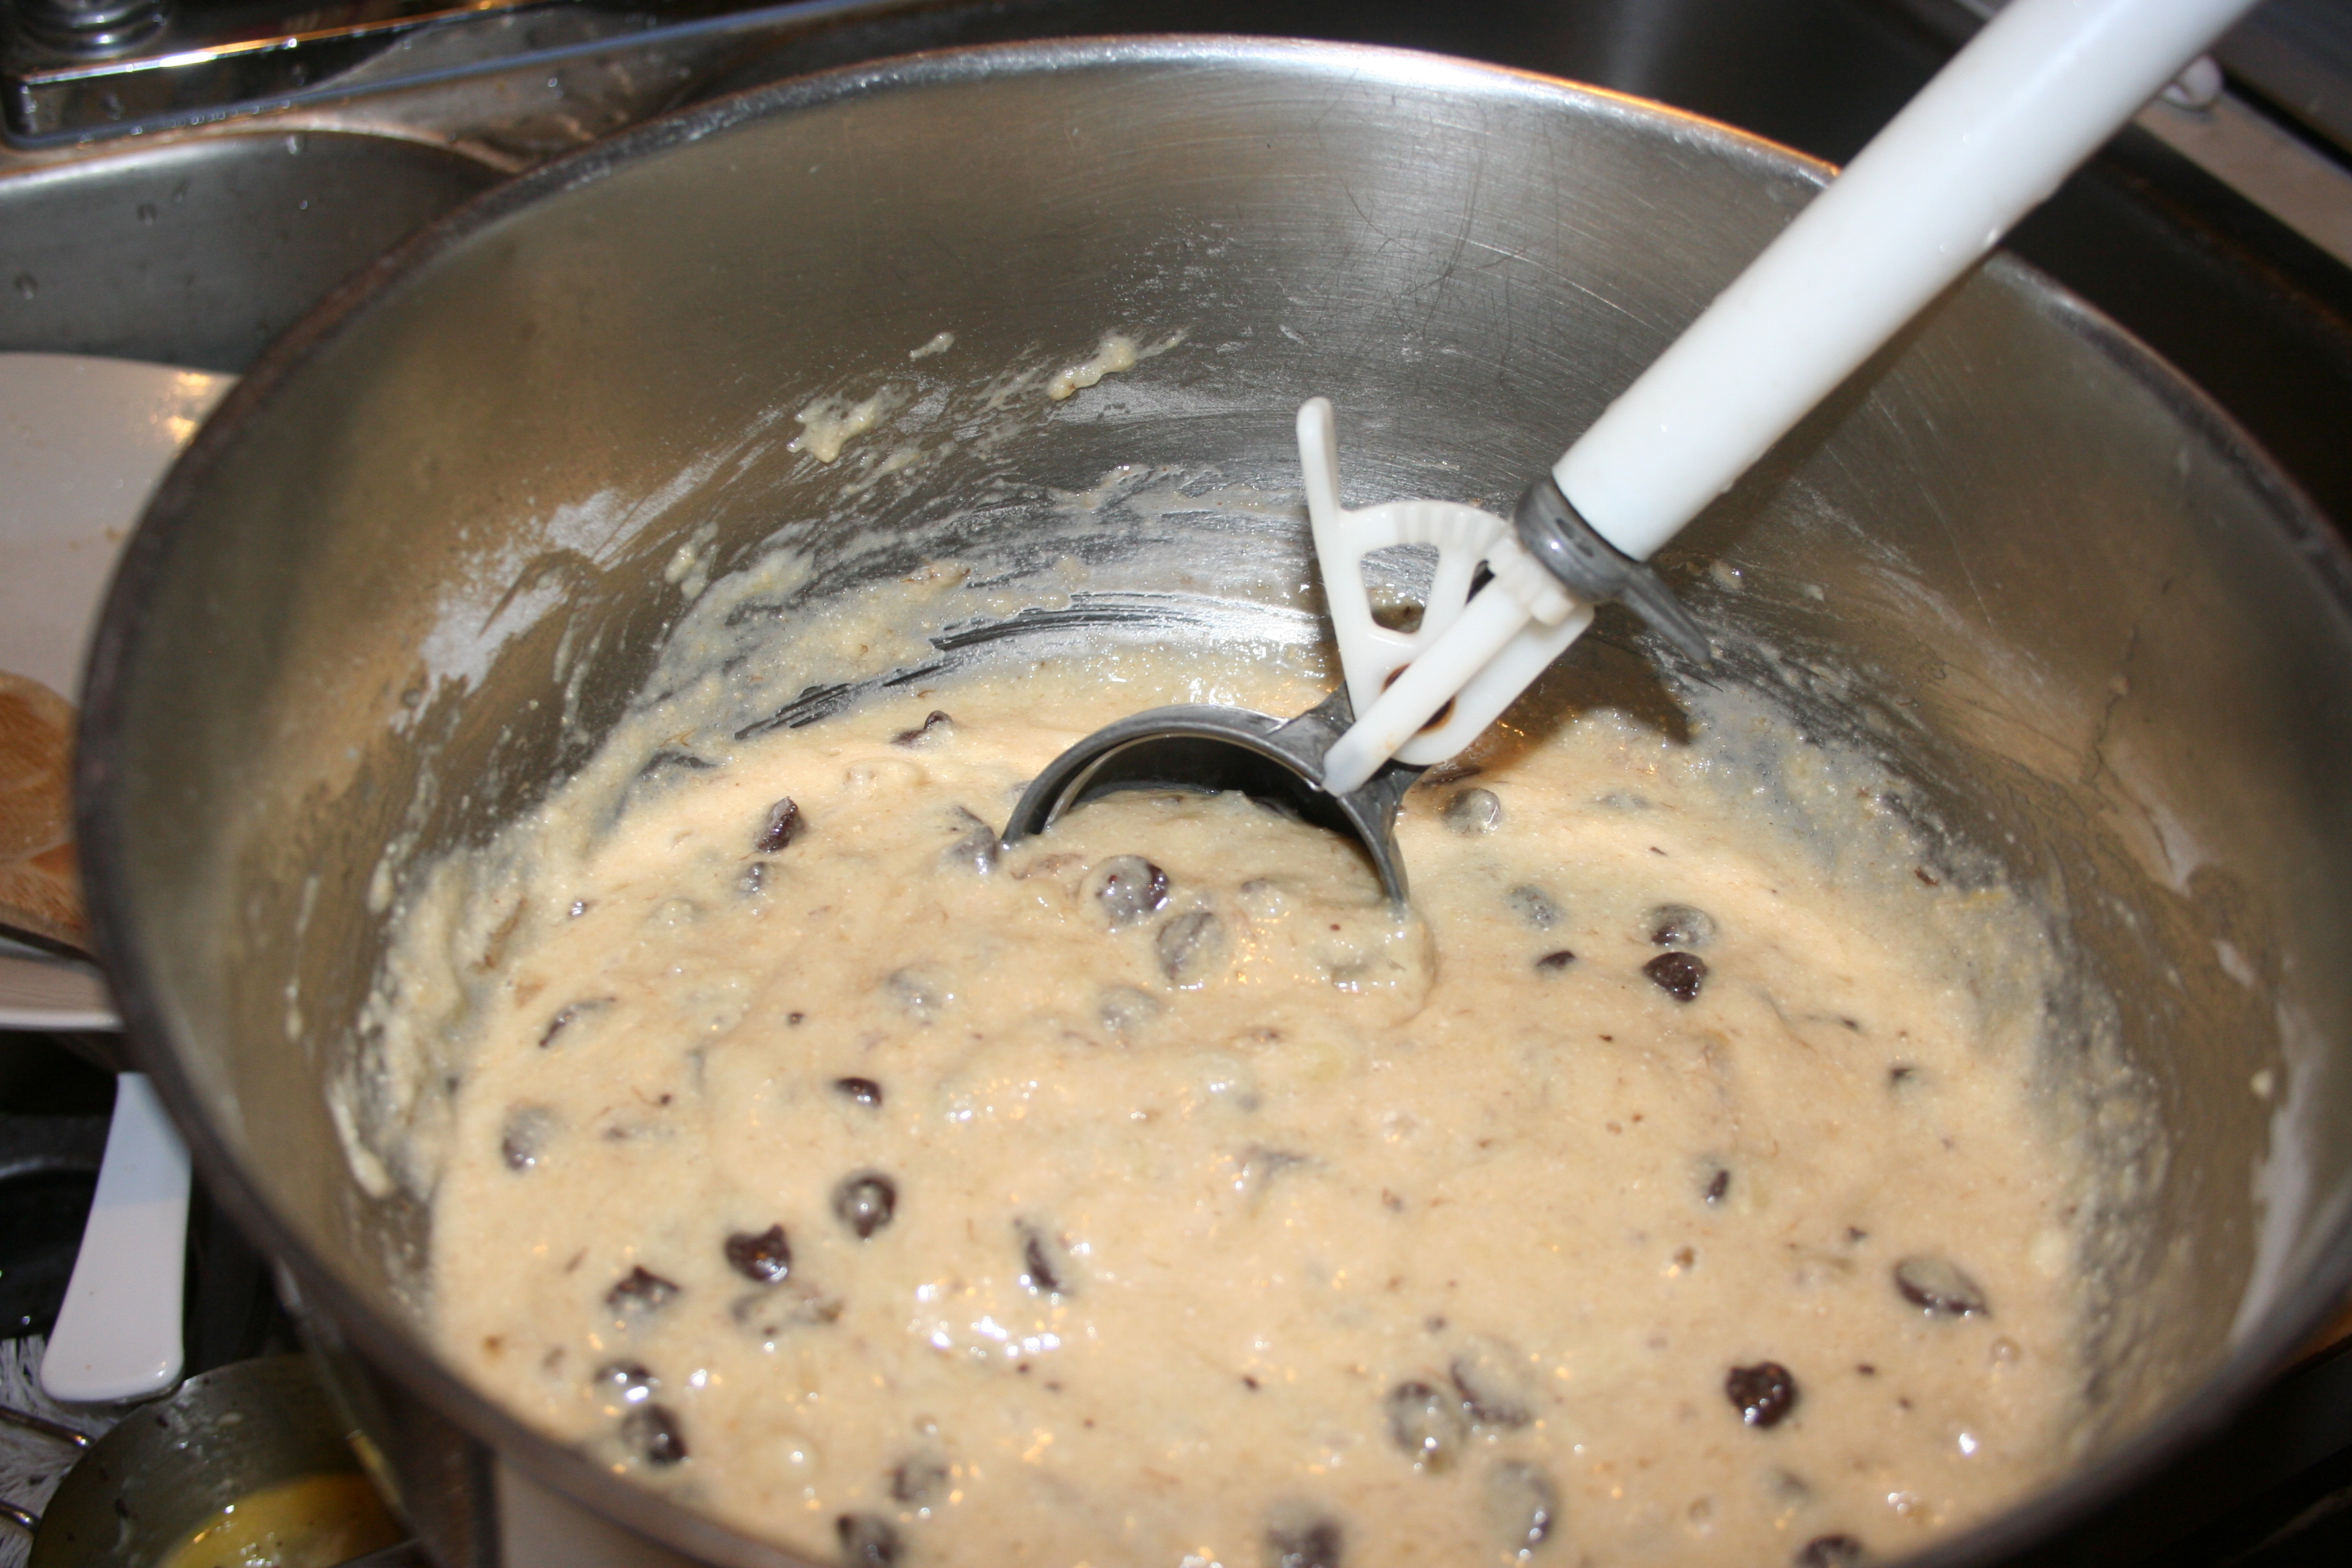
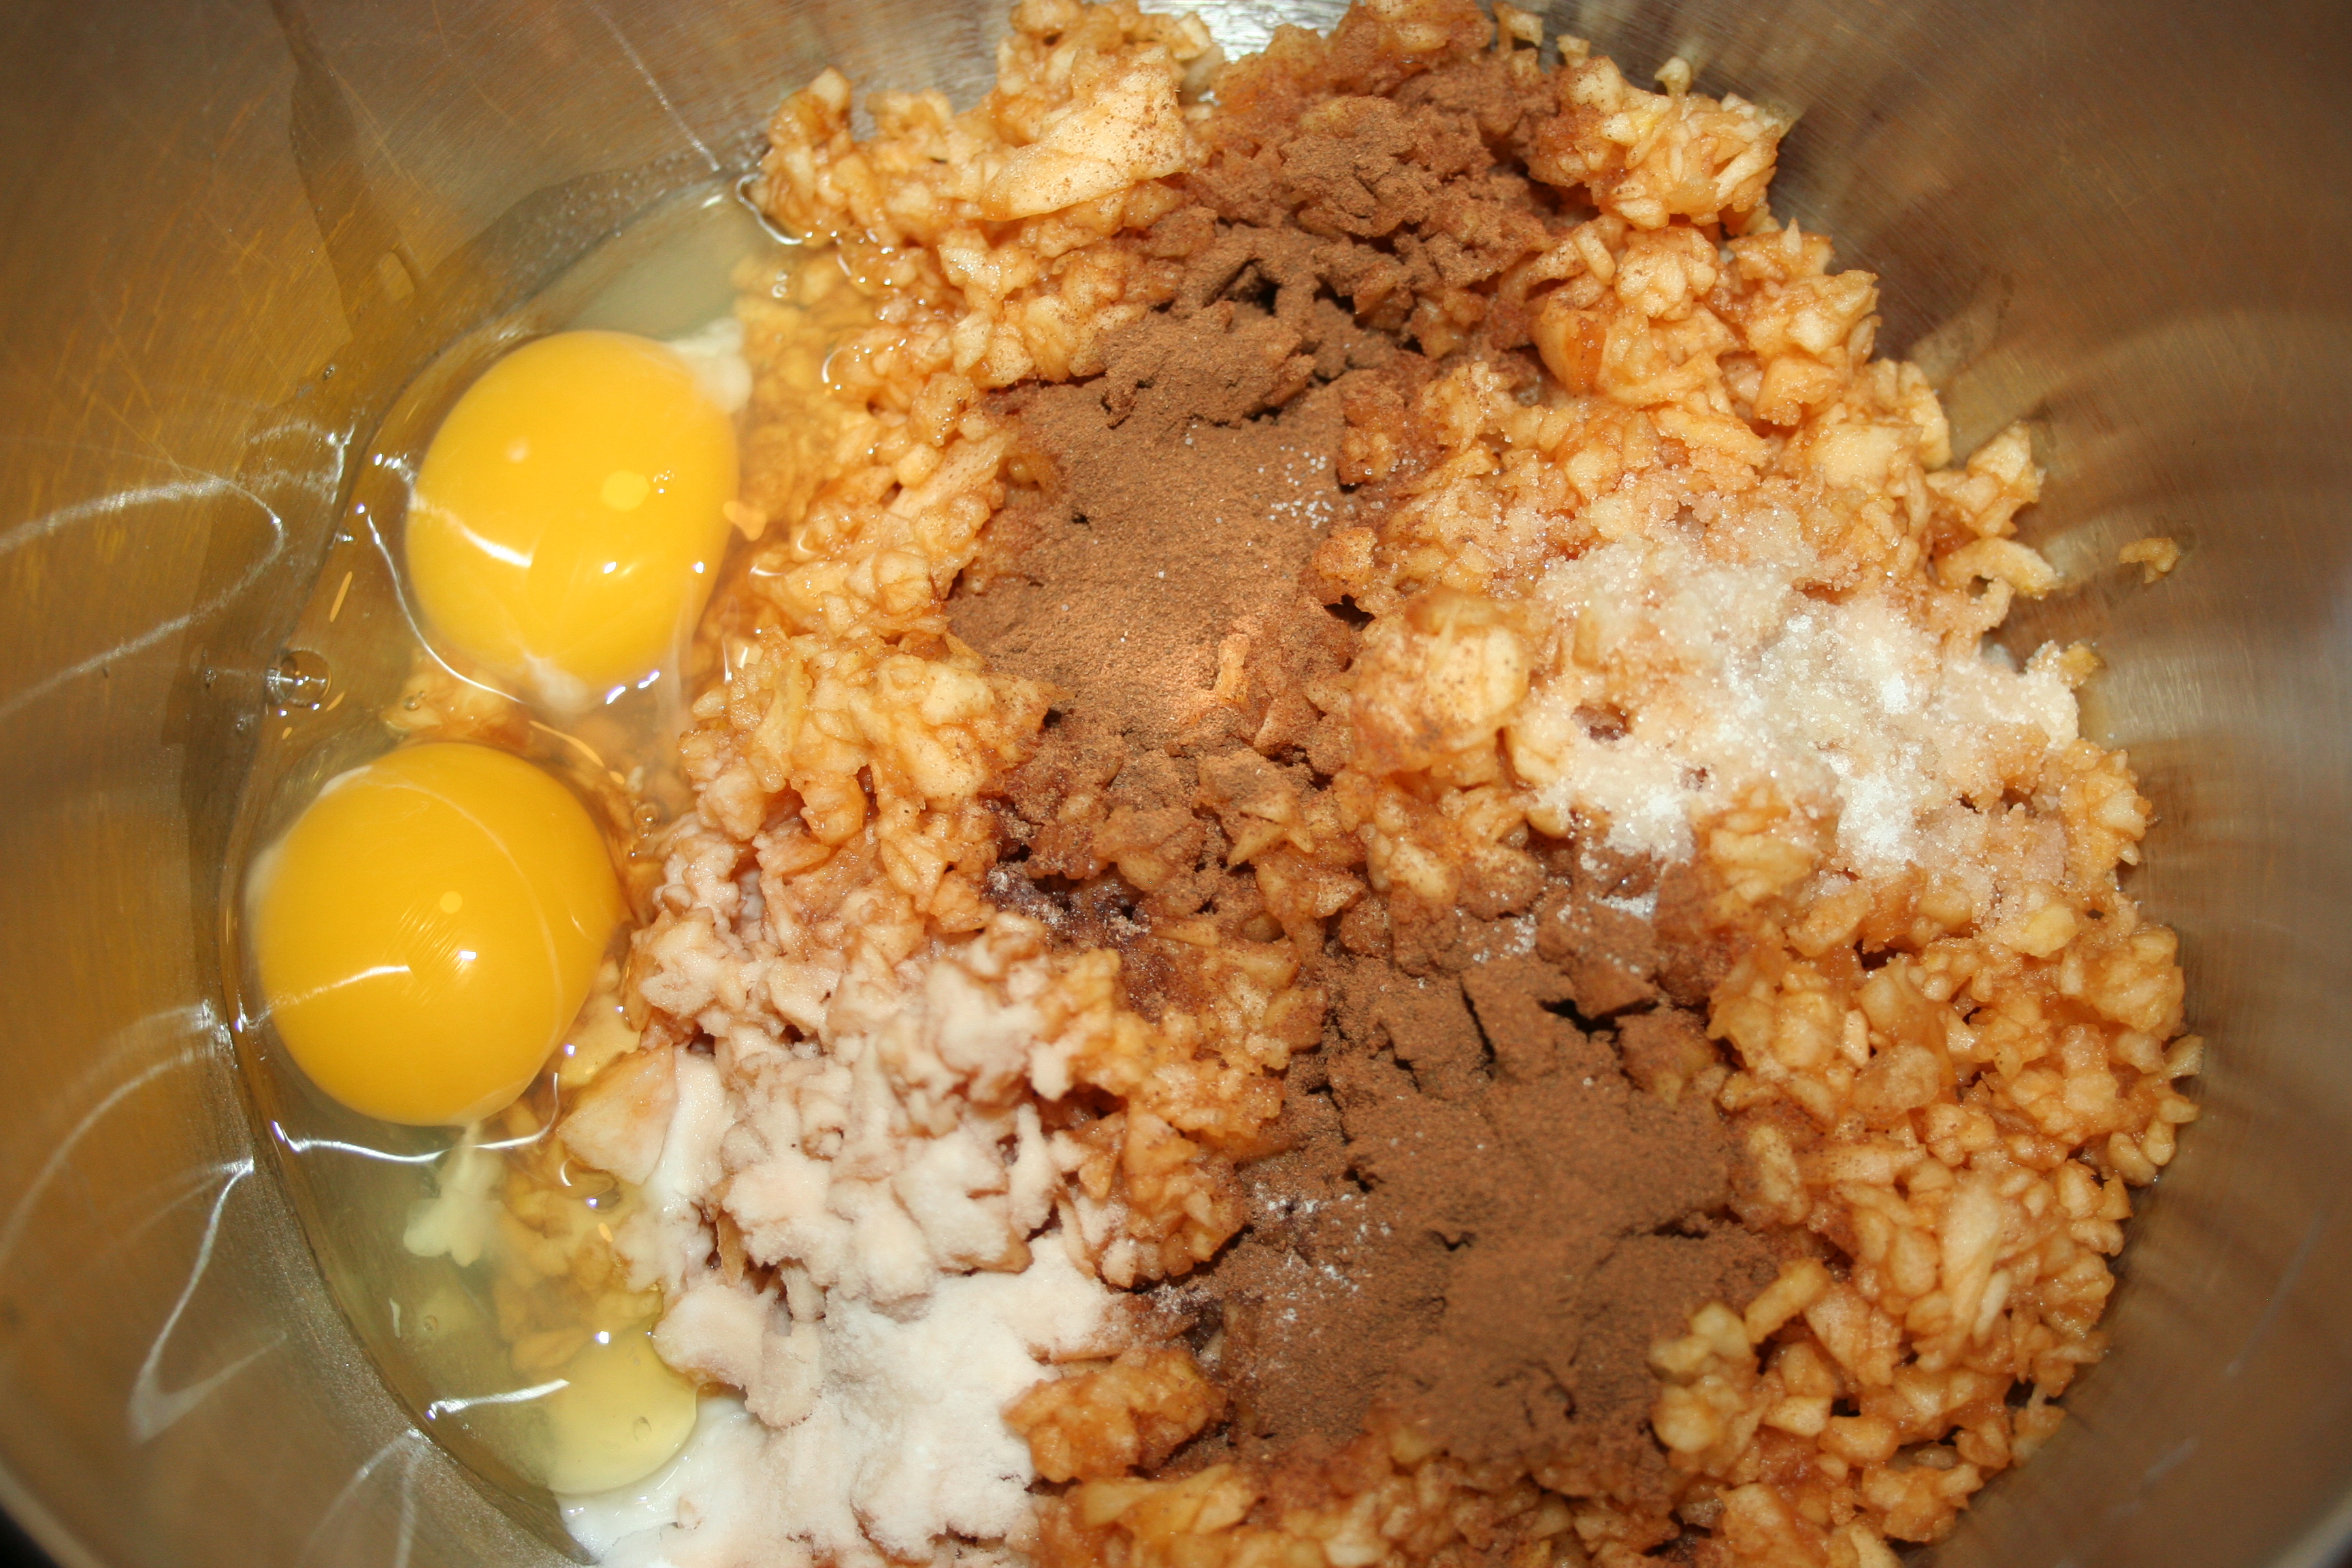
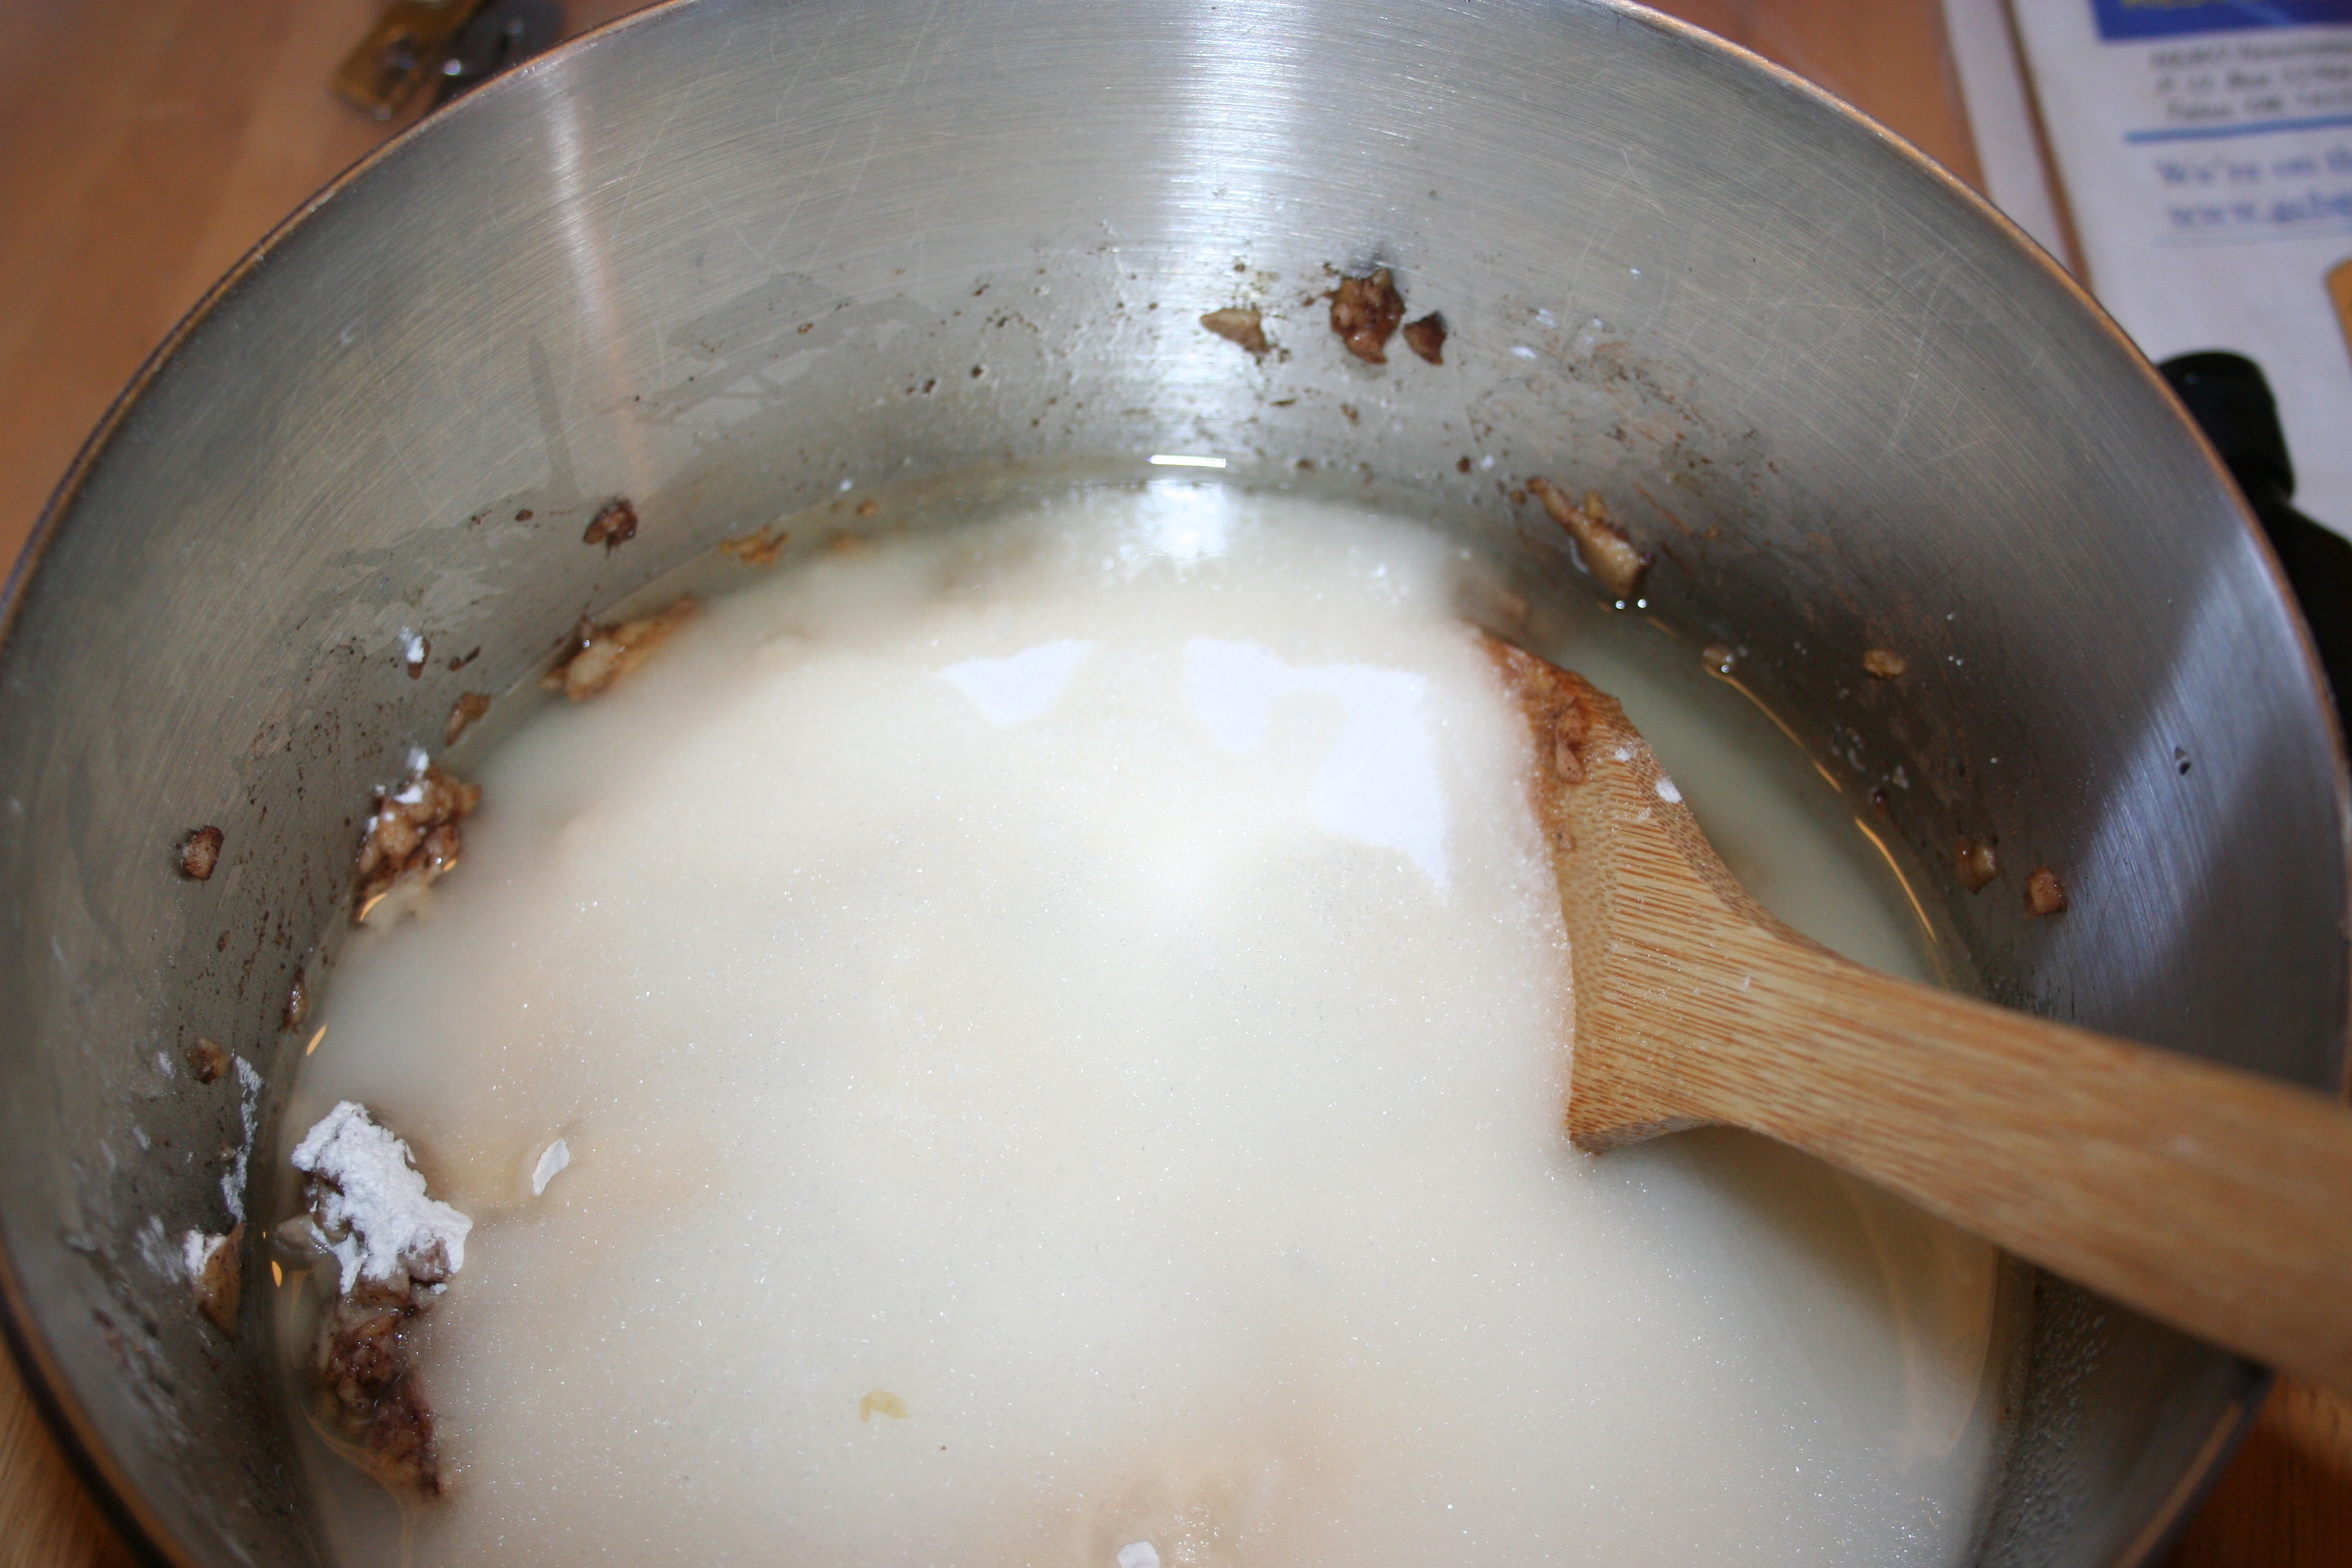
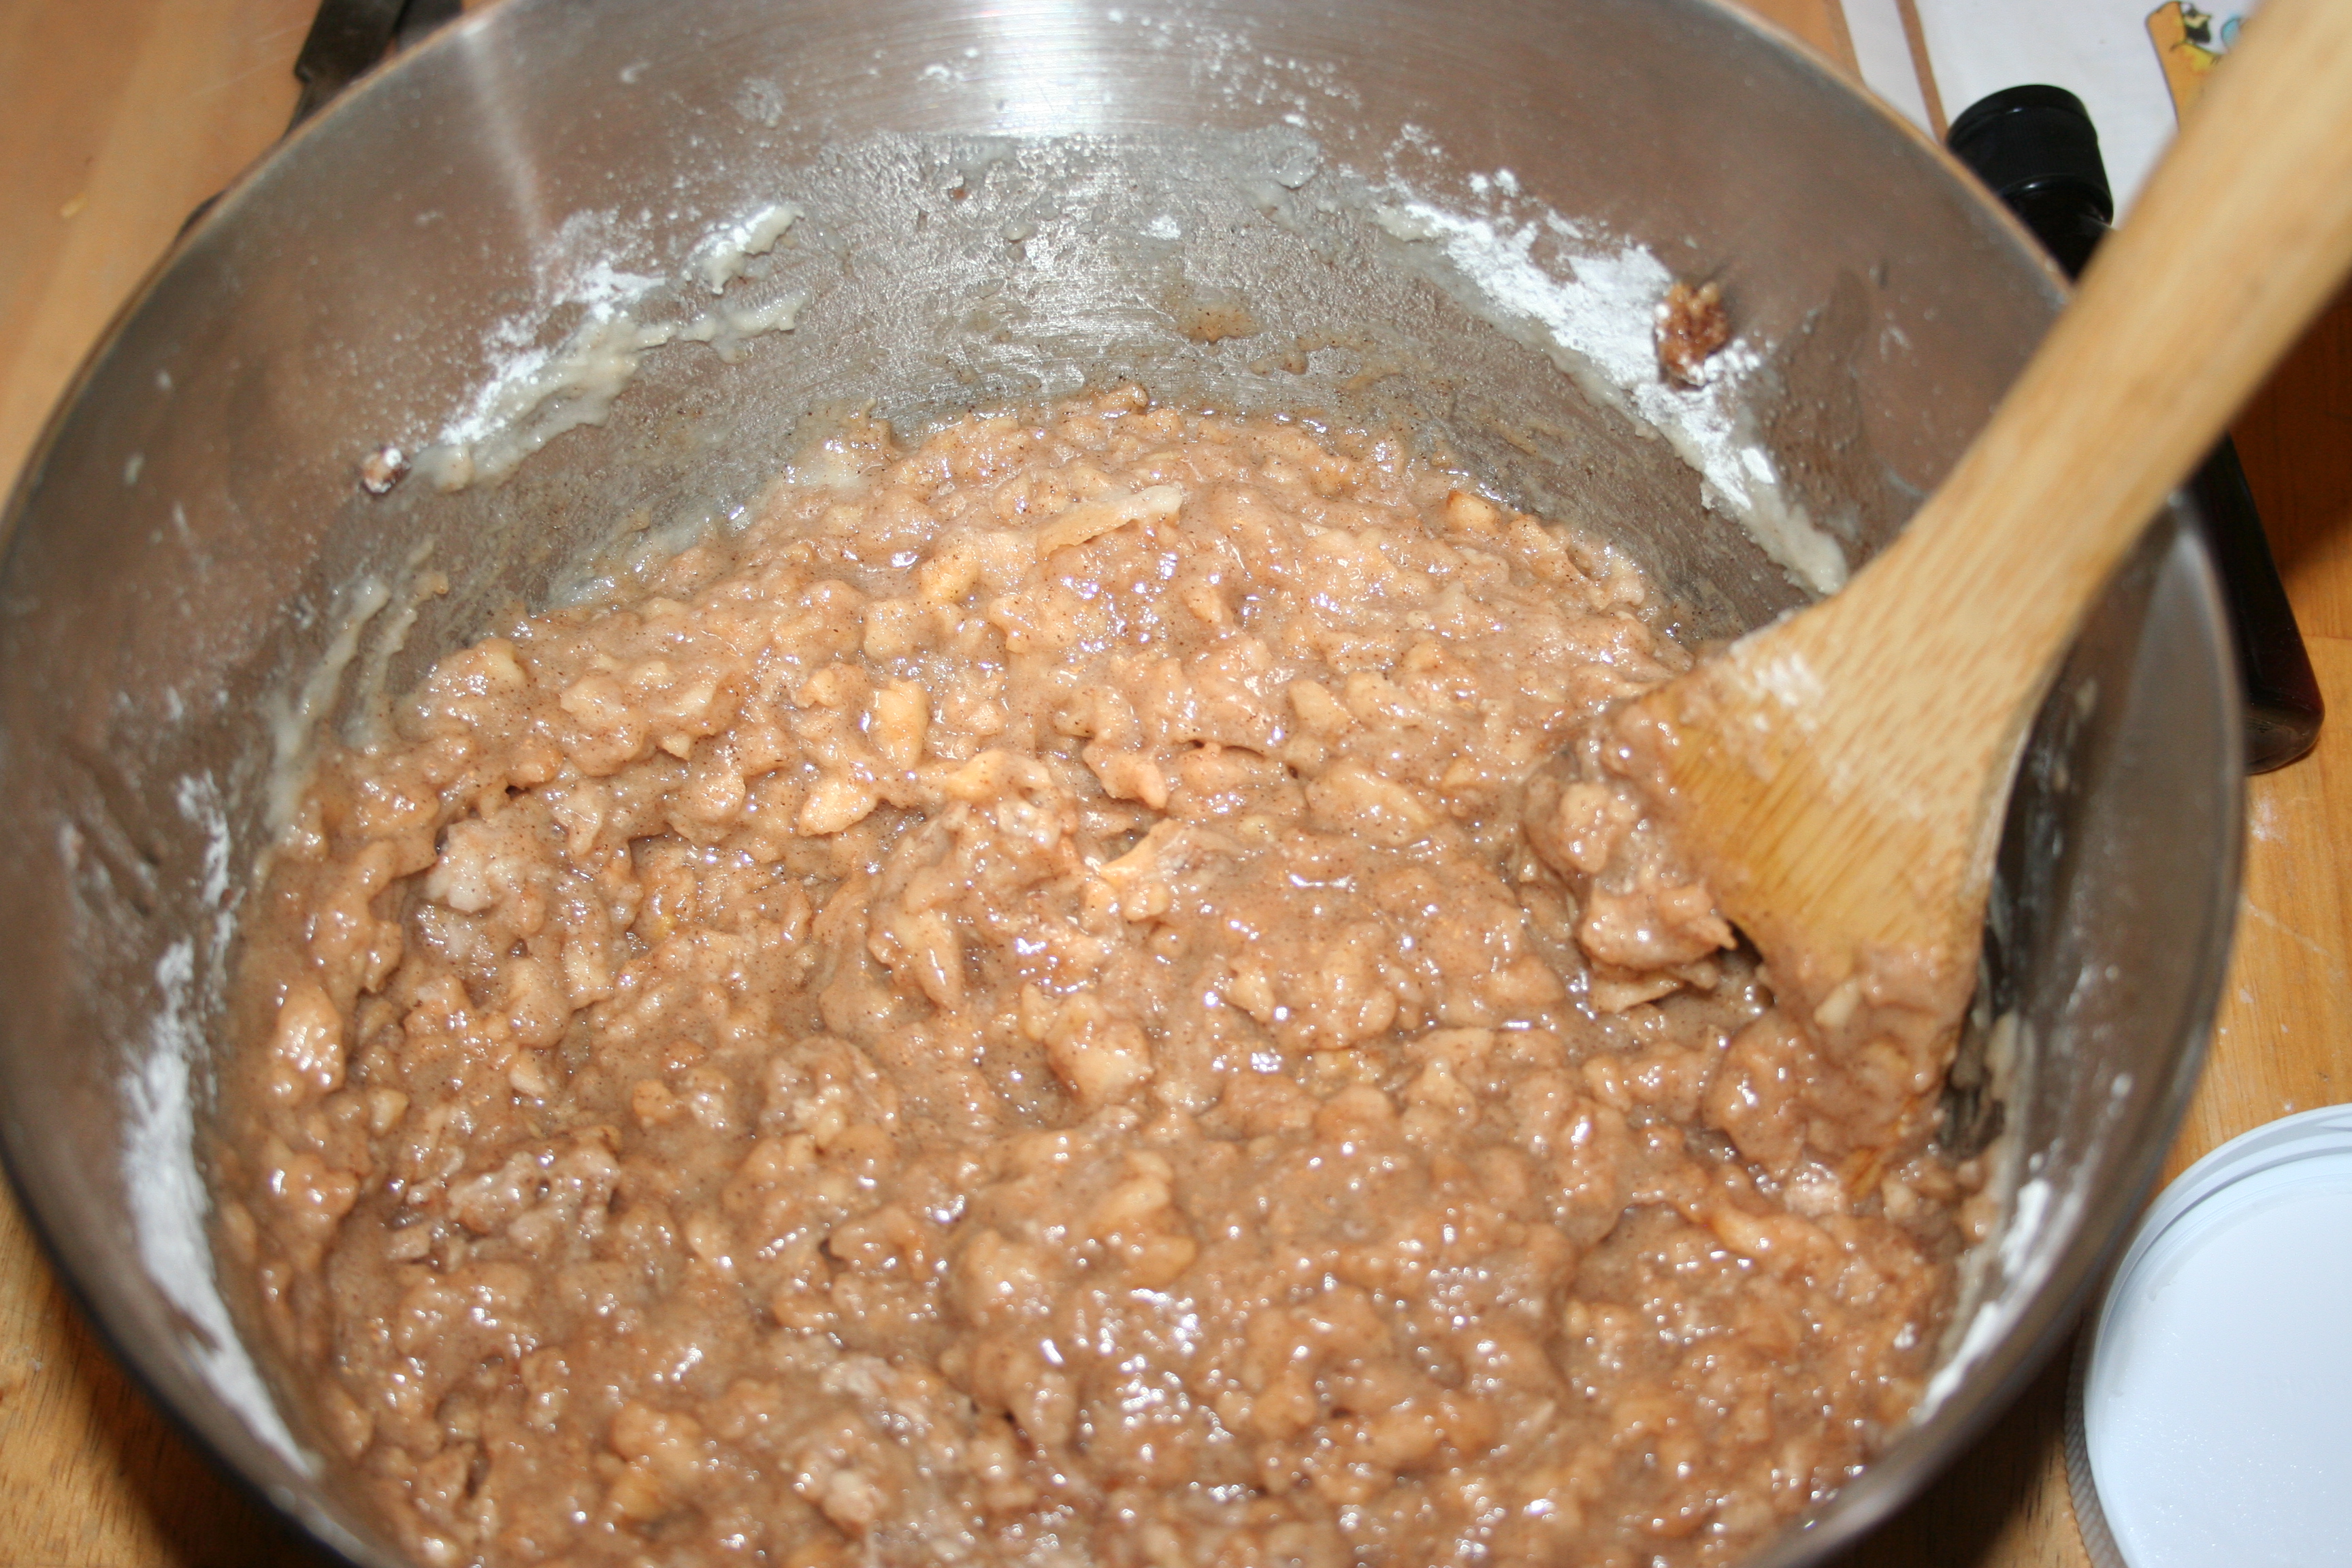
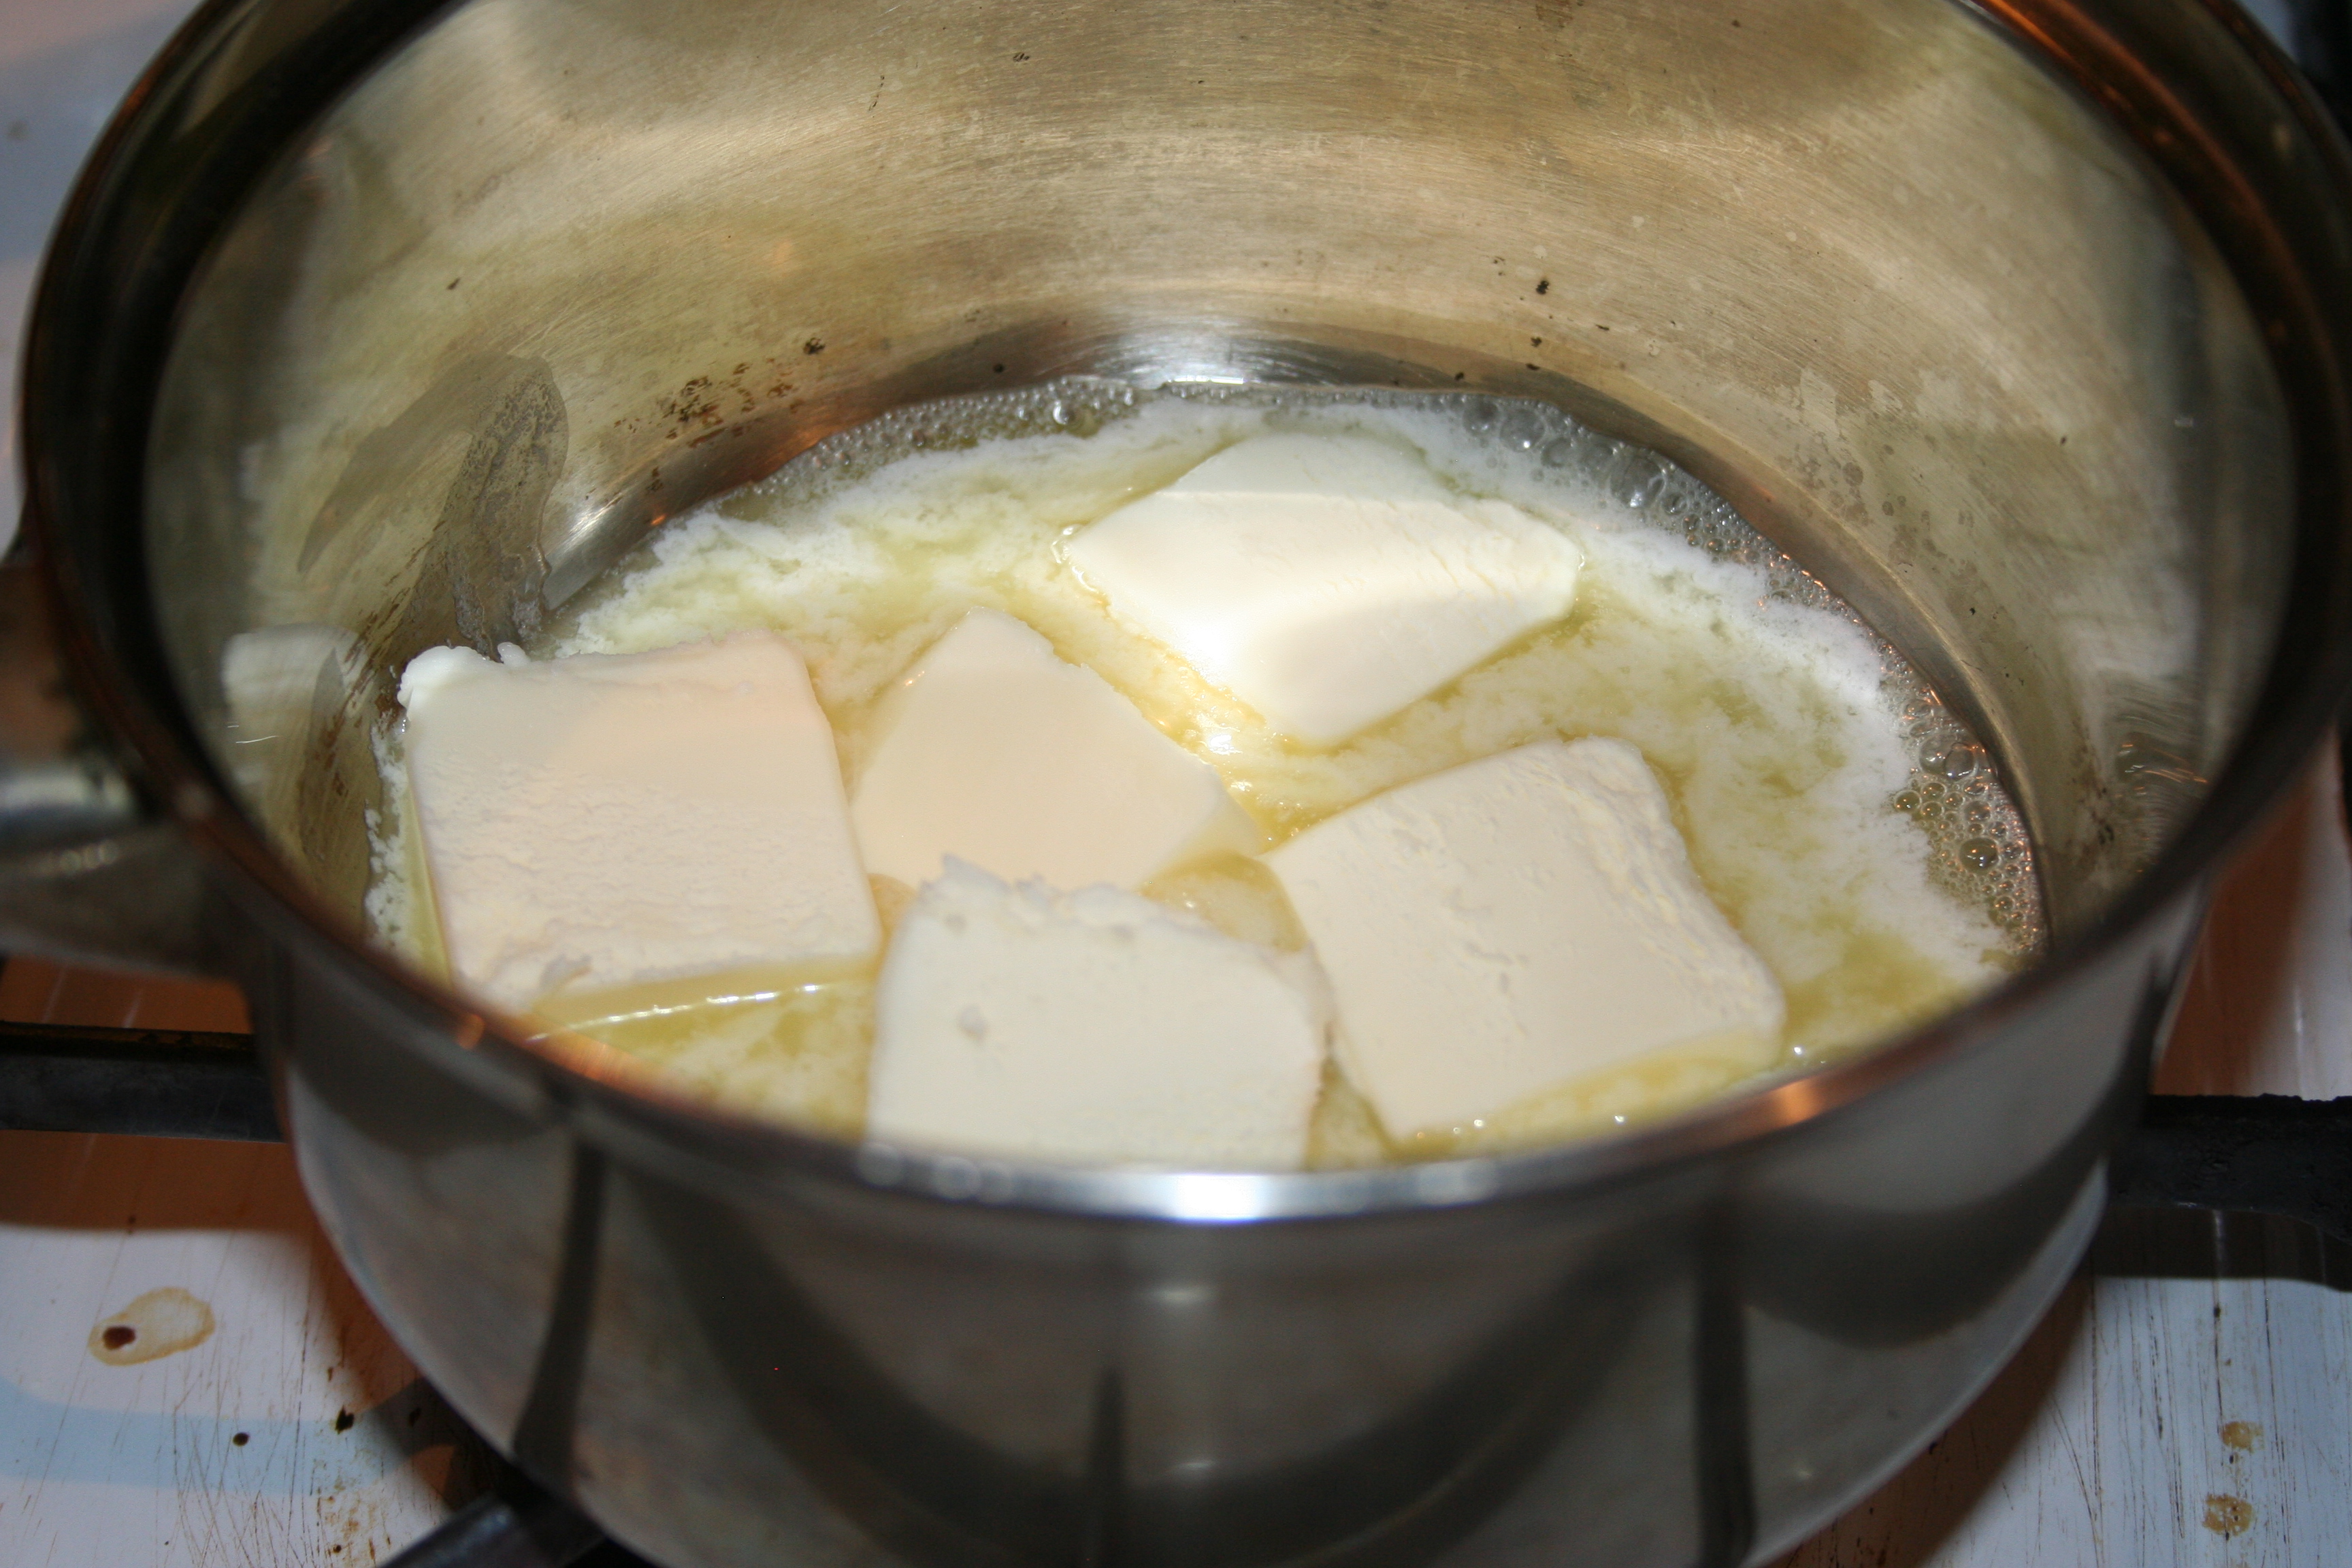
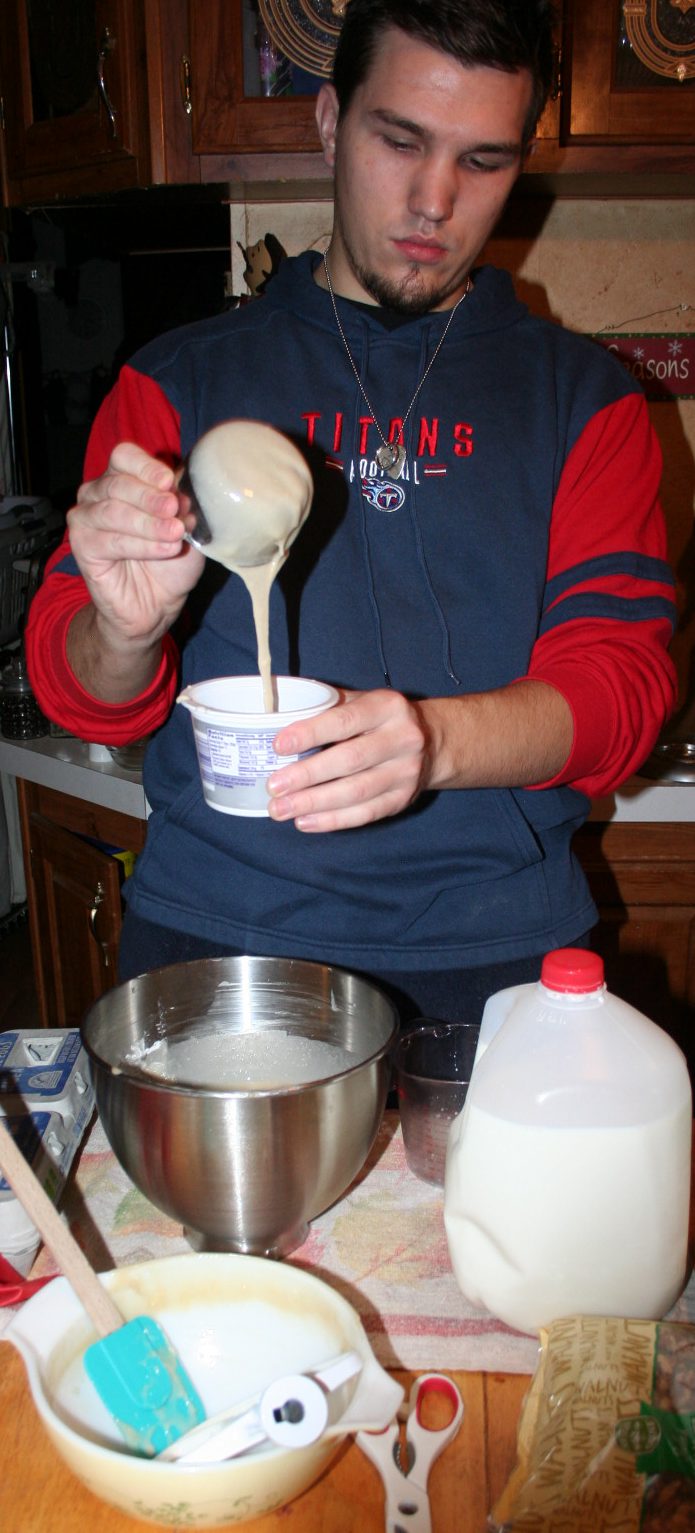
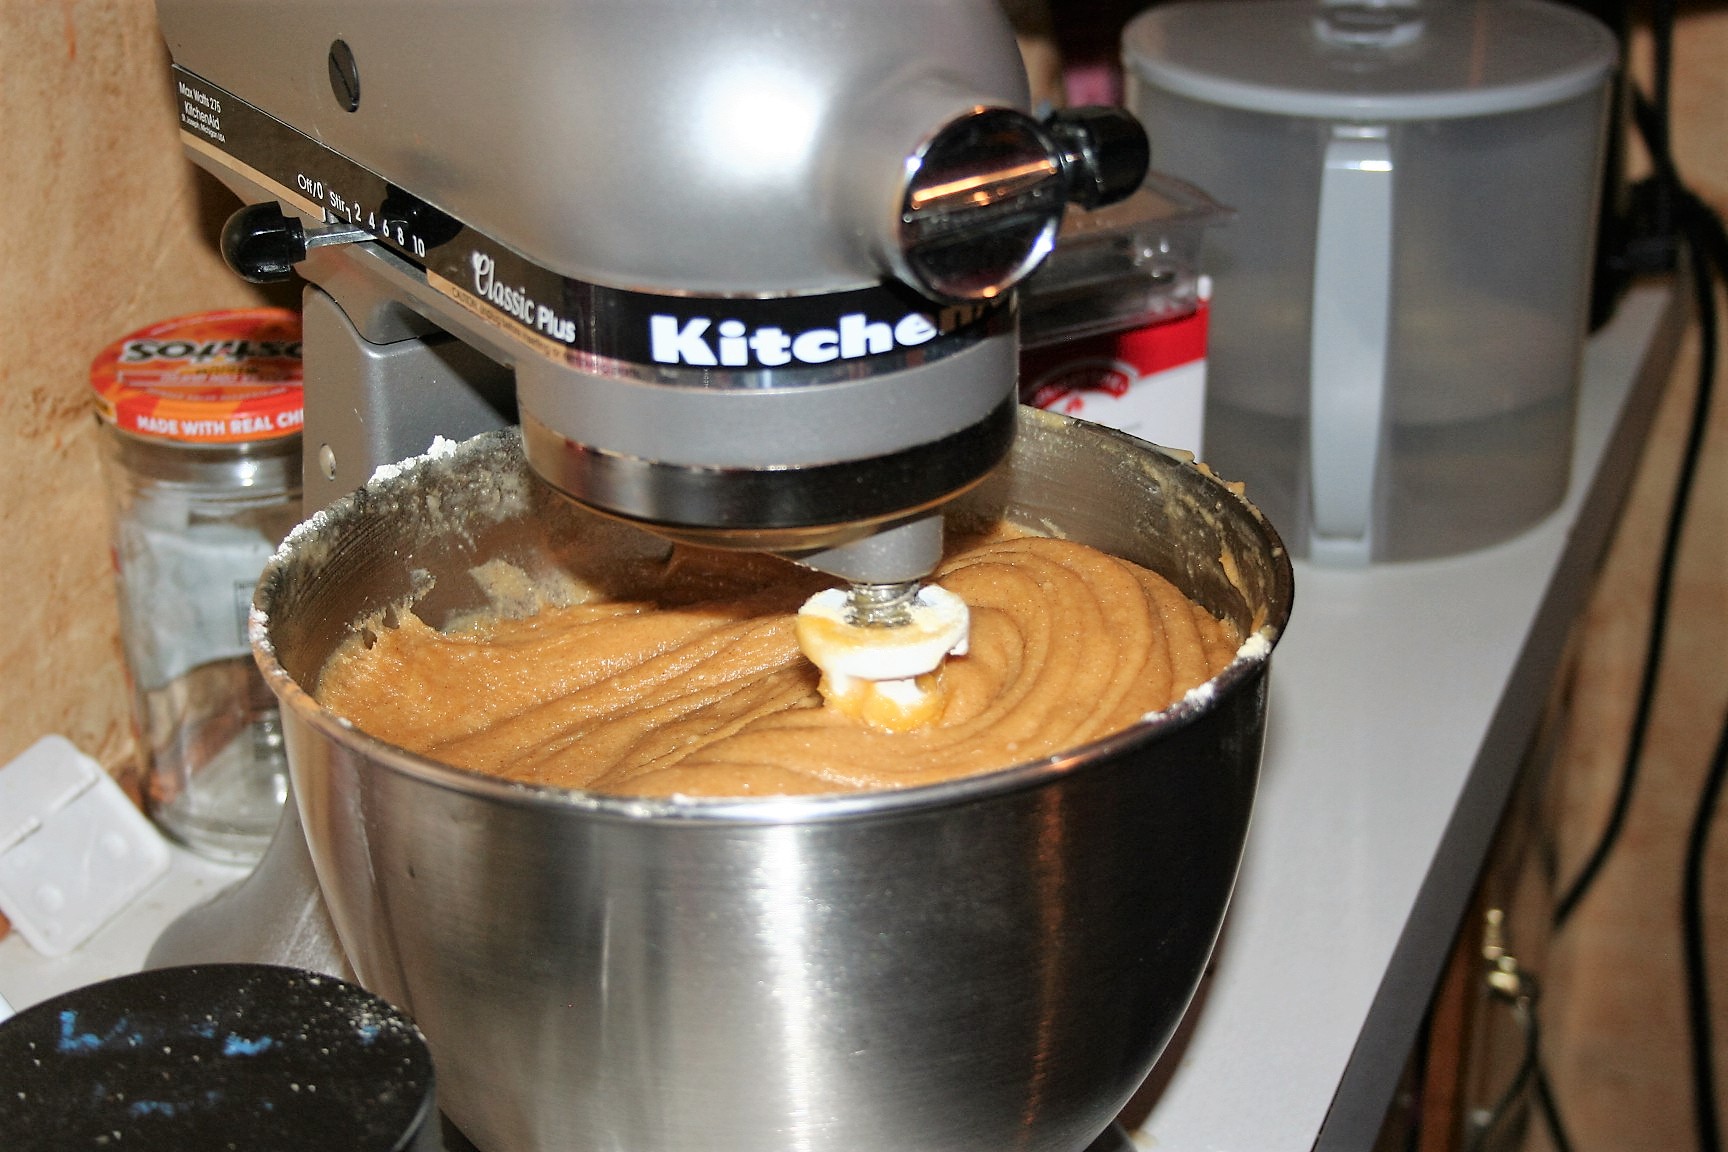
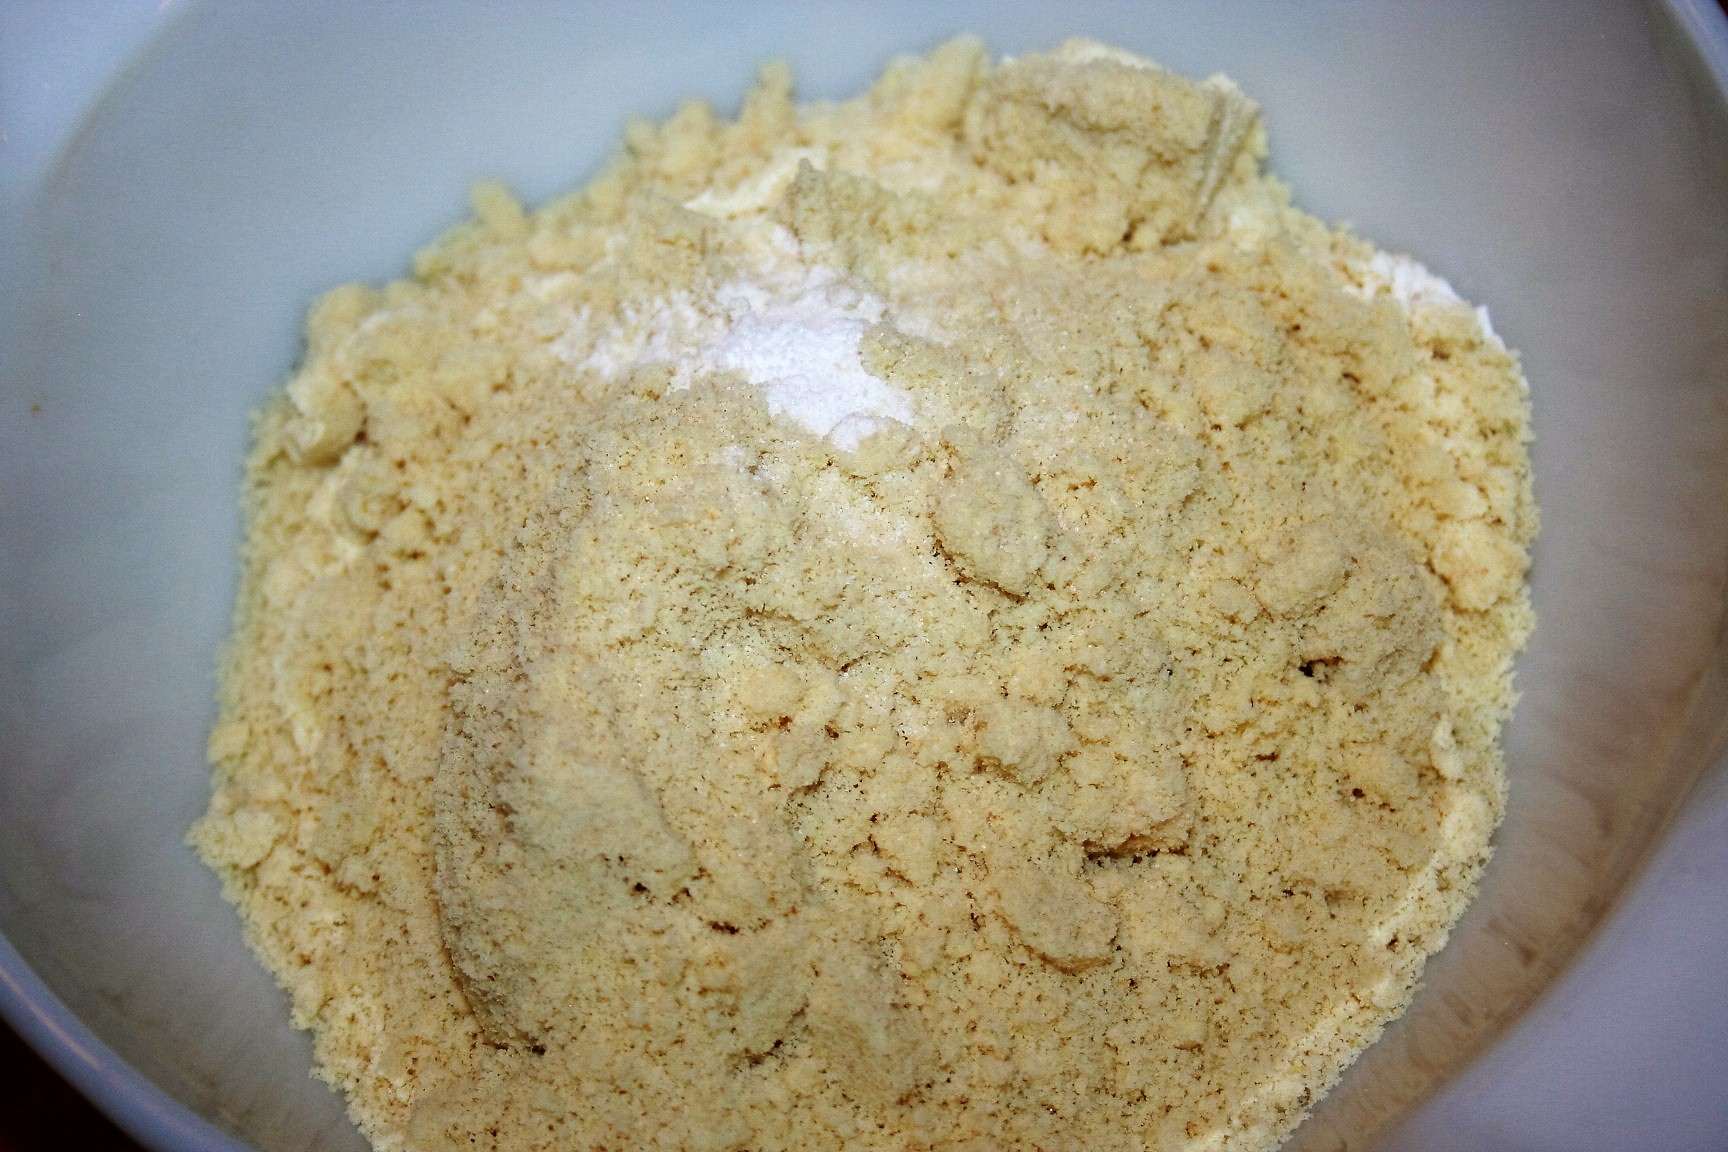
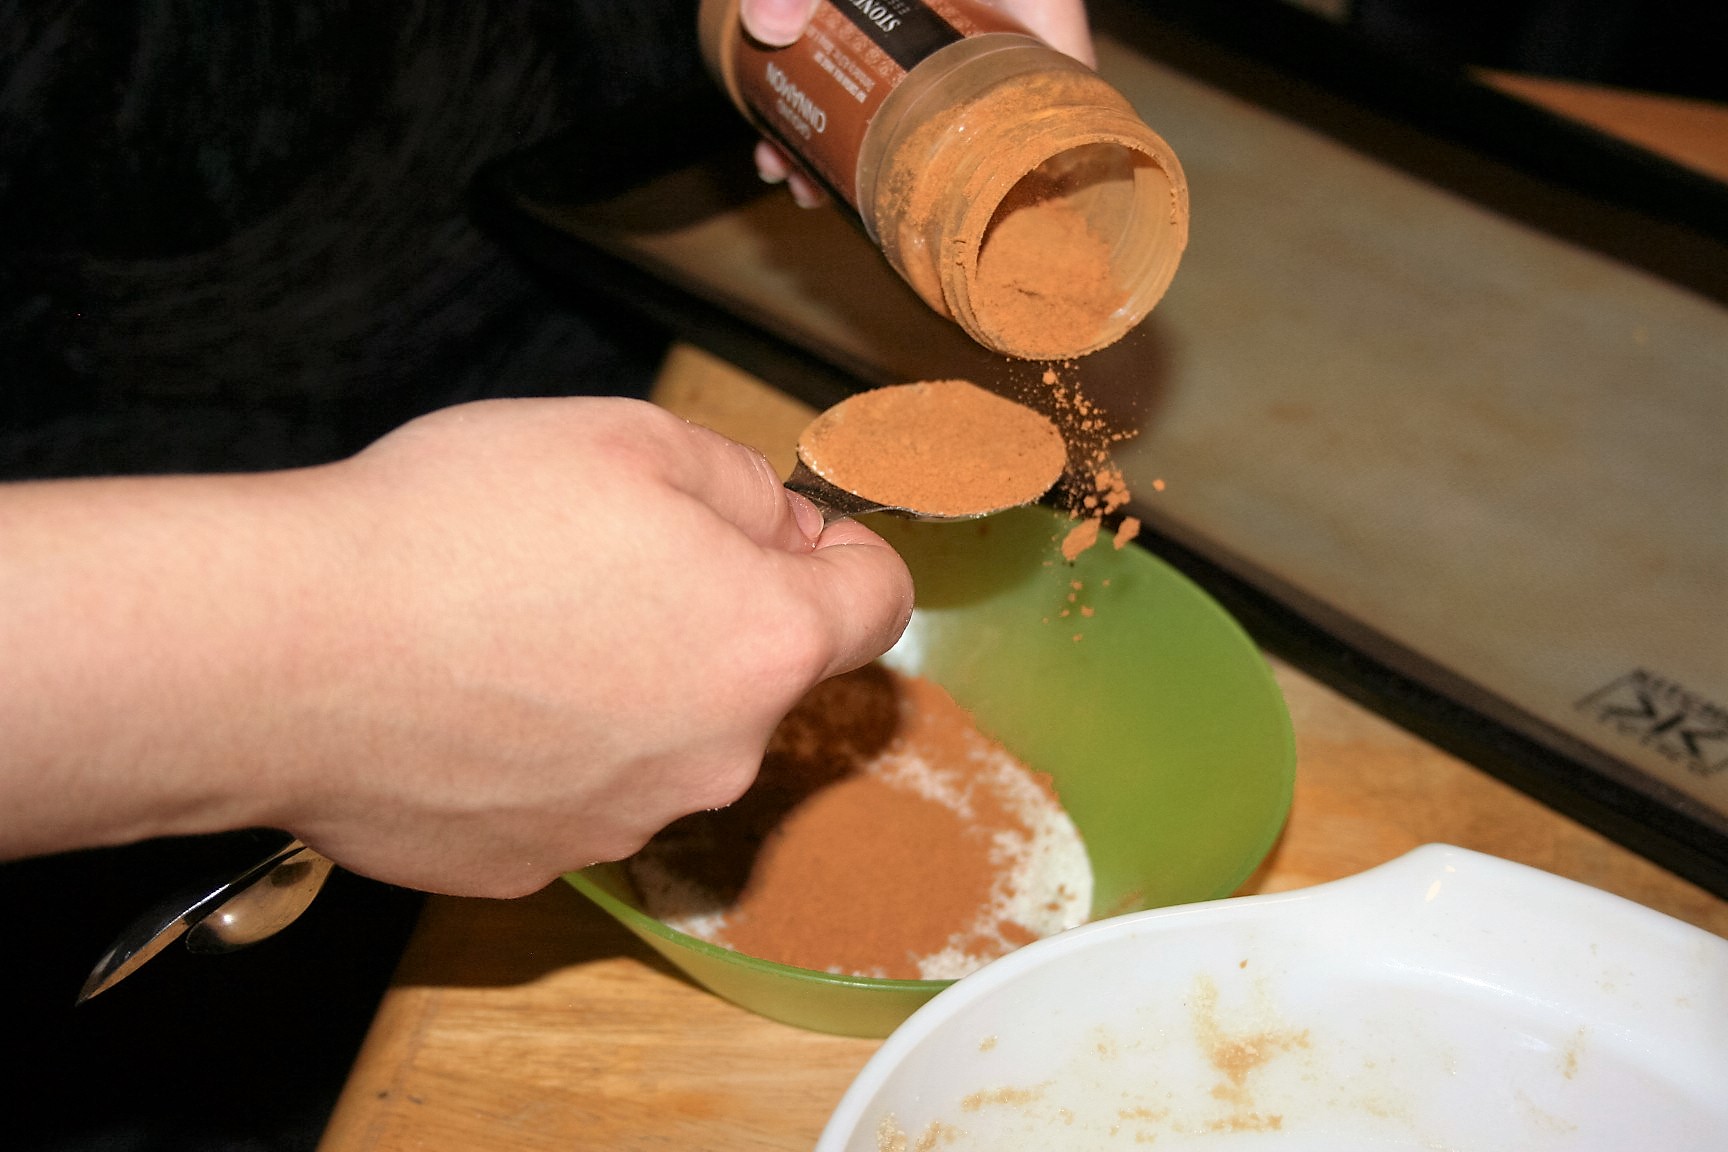
Combine all the ingredients.

Amish Cinnamon Bread ~ Lifeofjoy.me
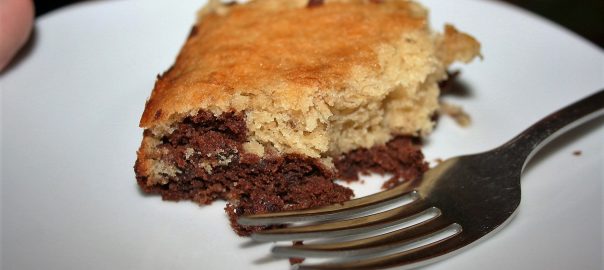
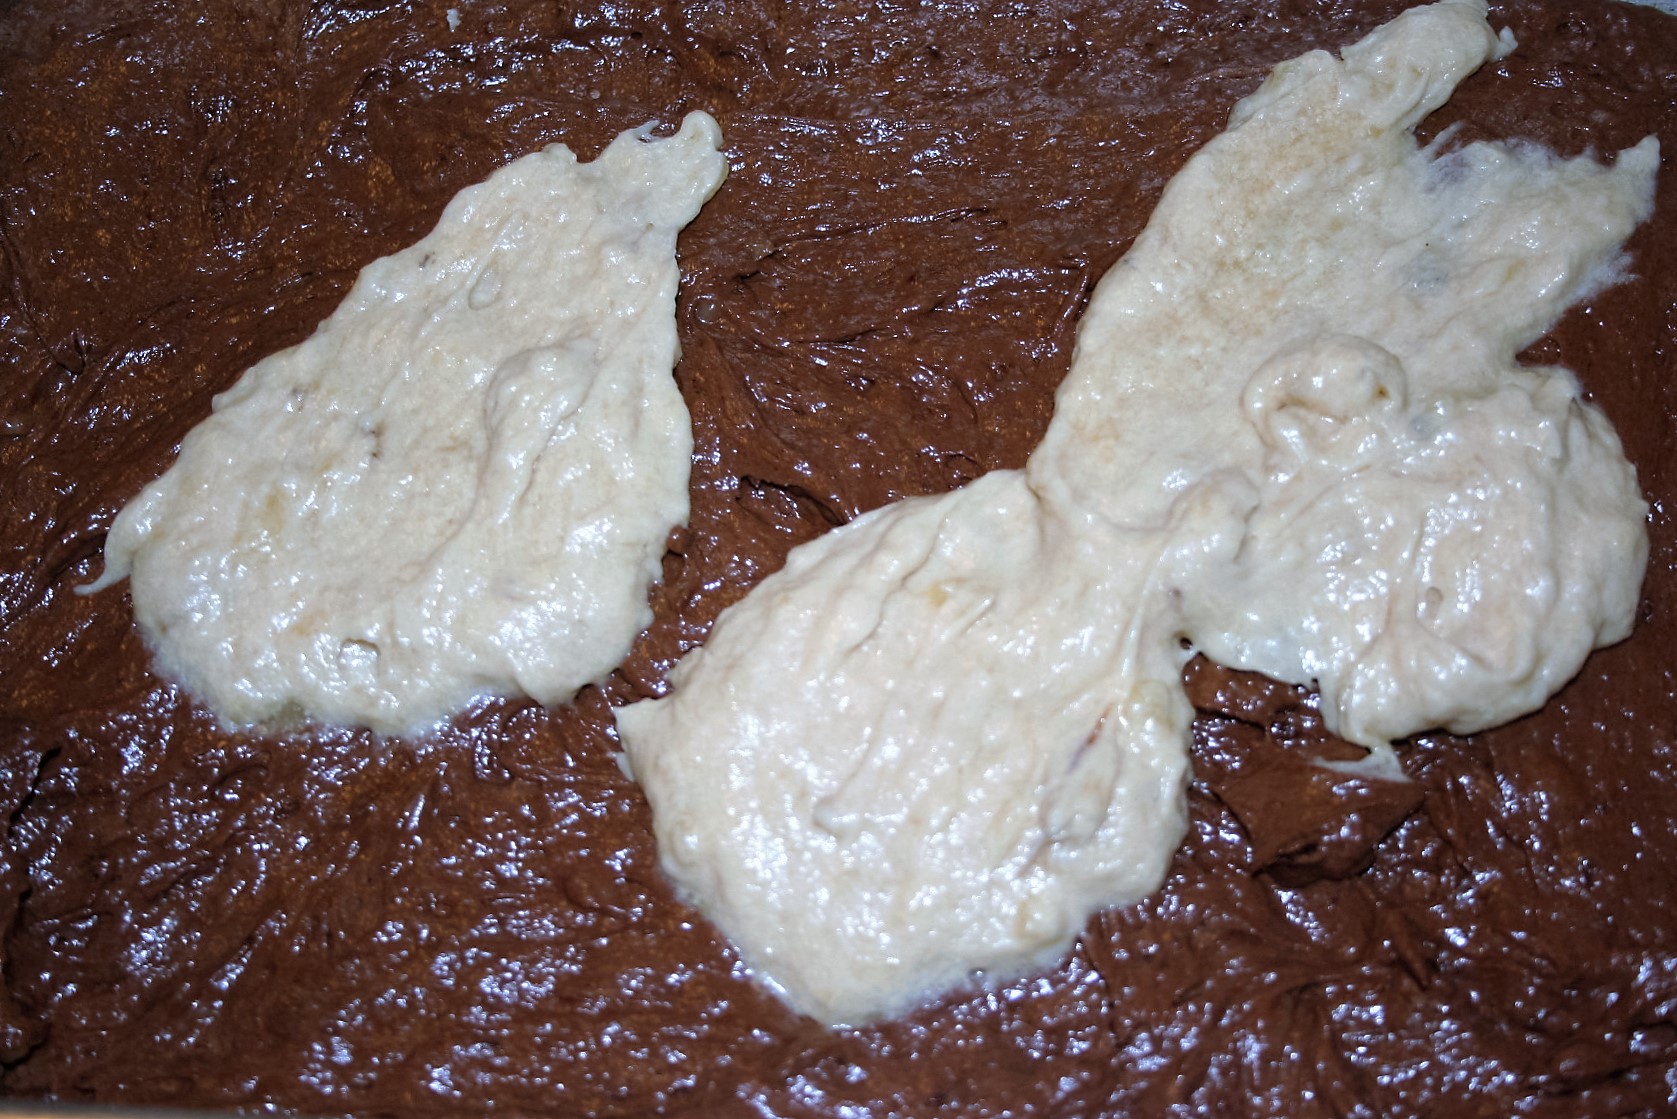
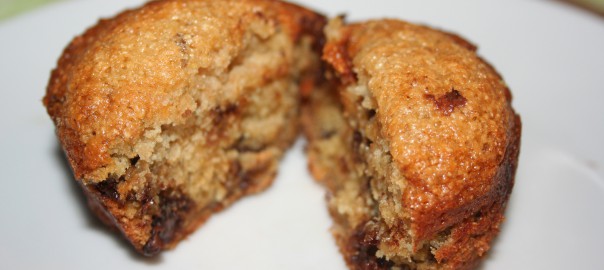
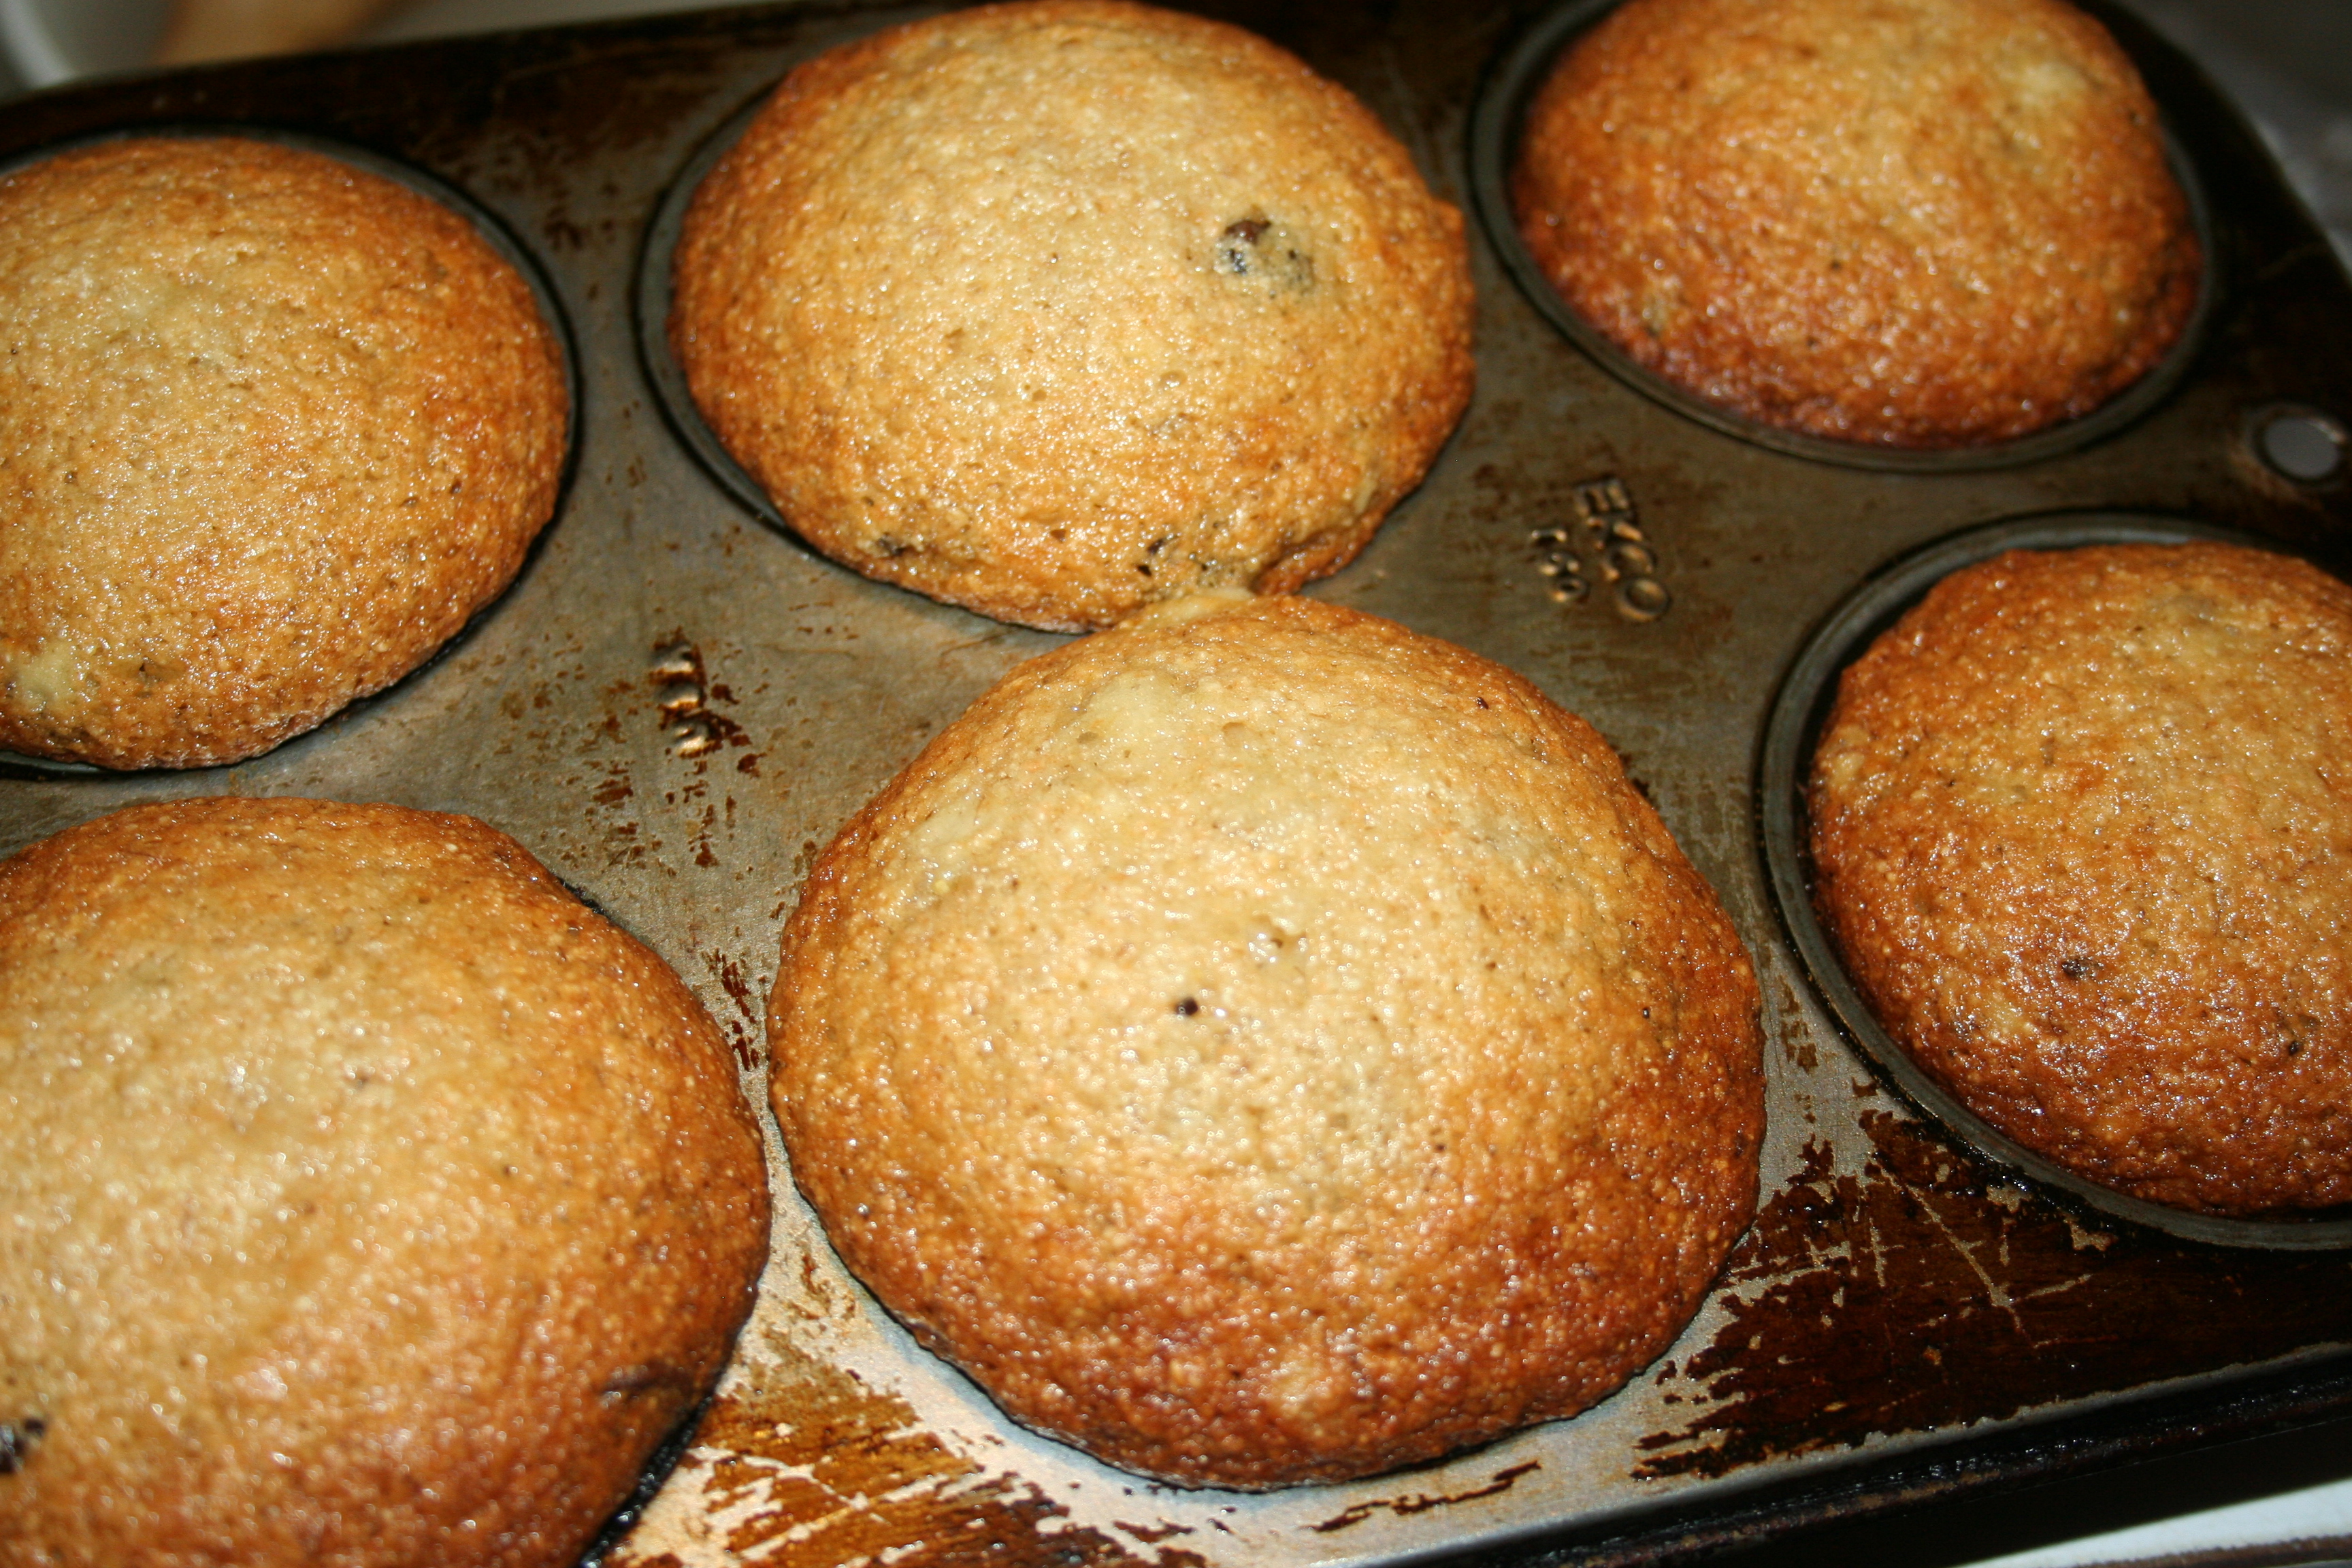
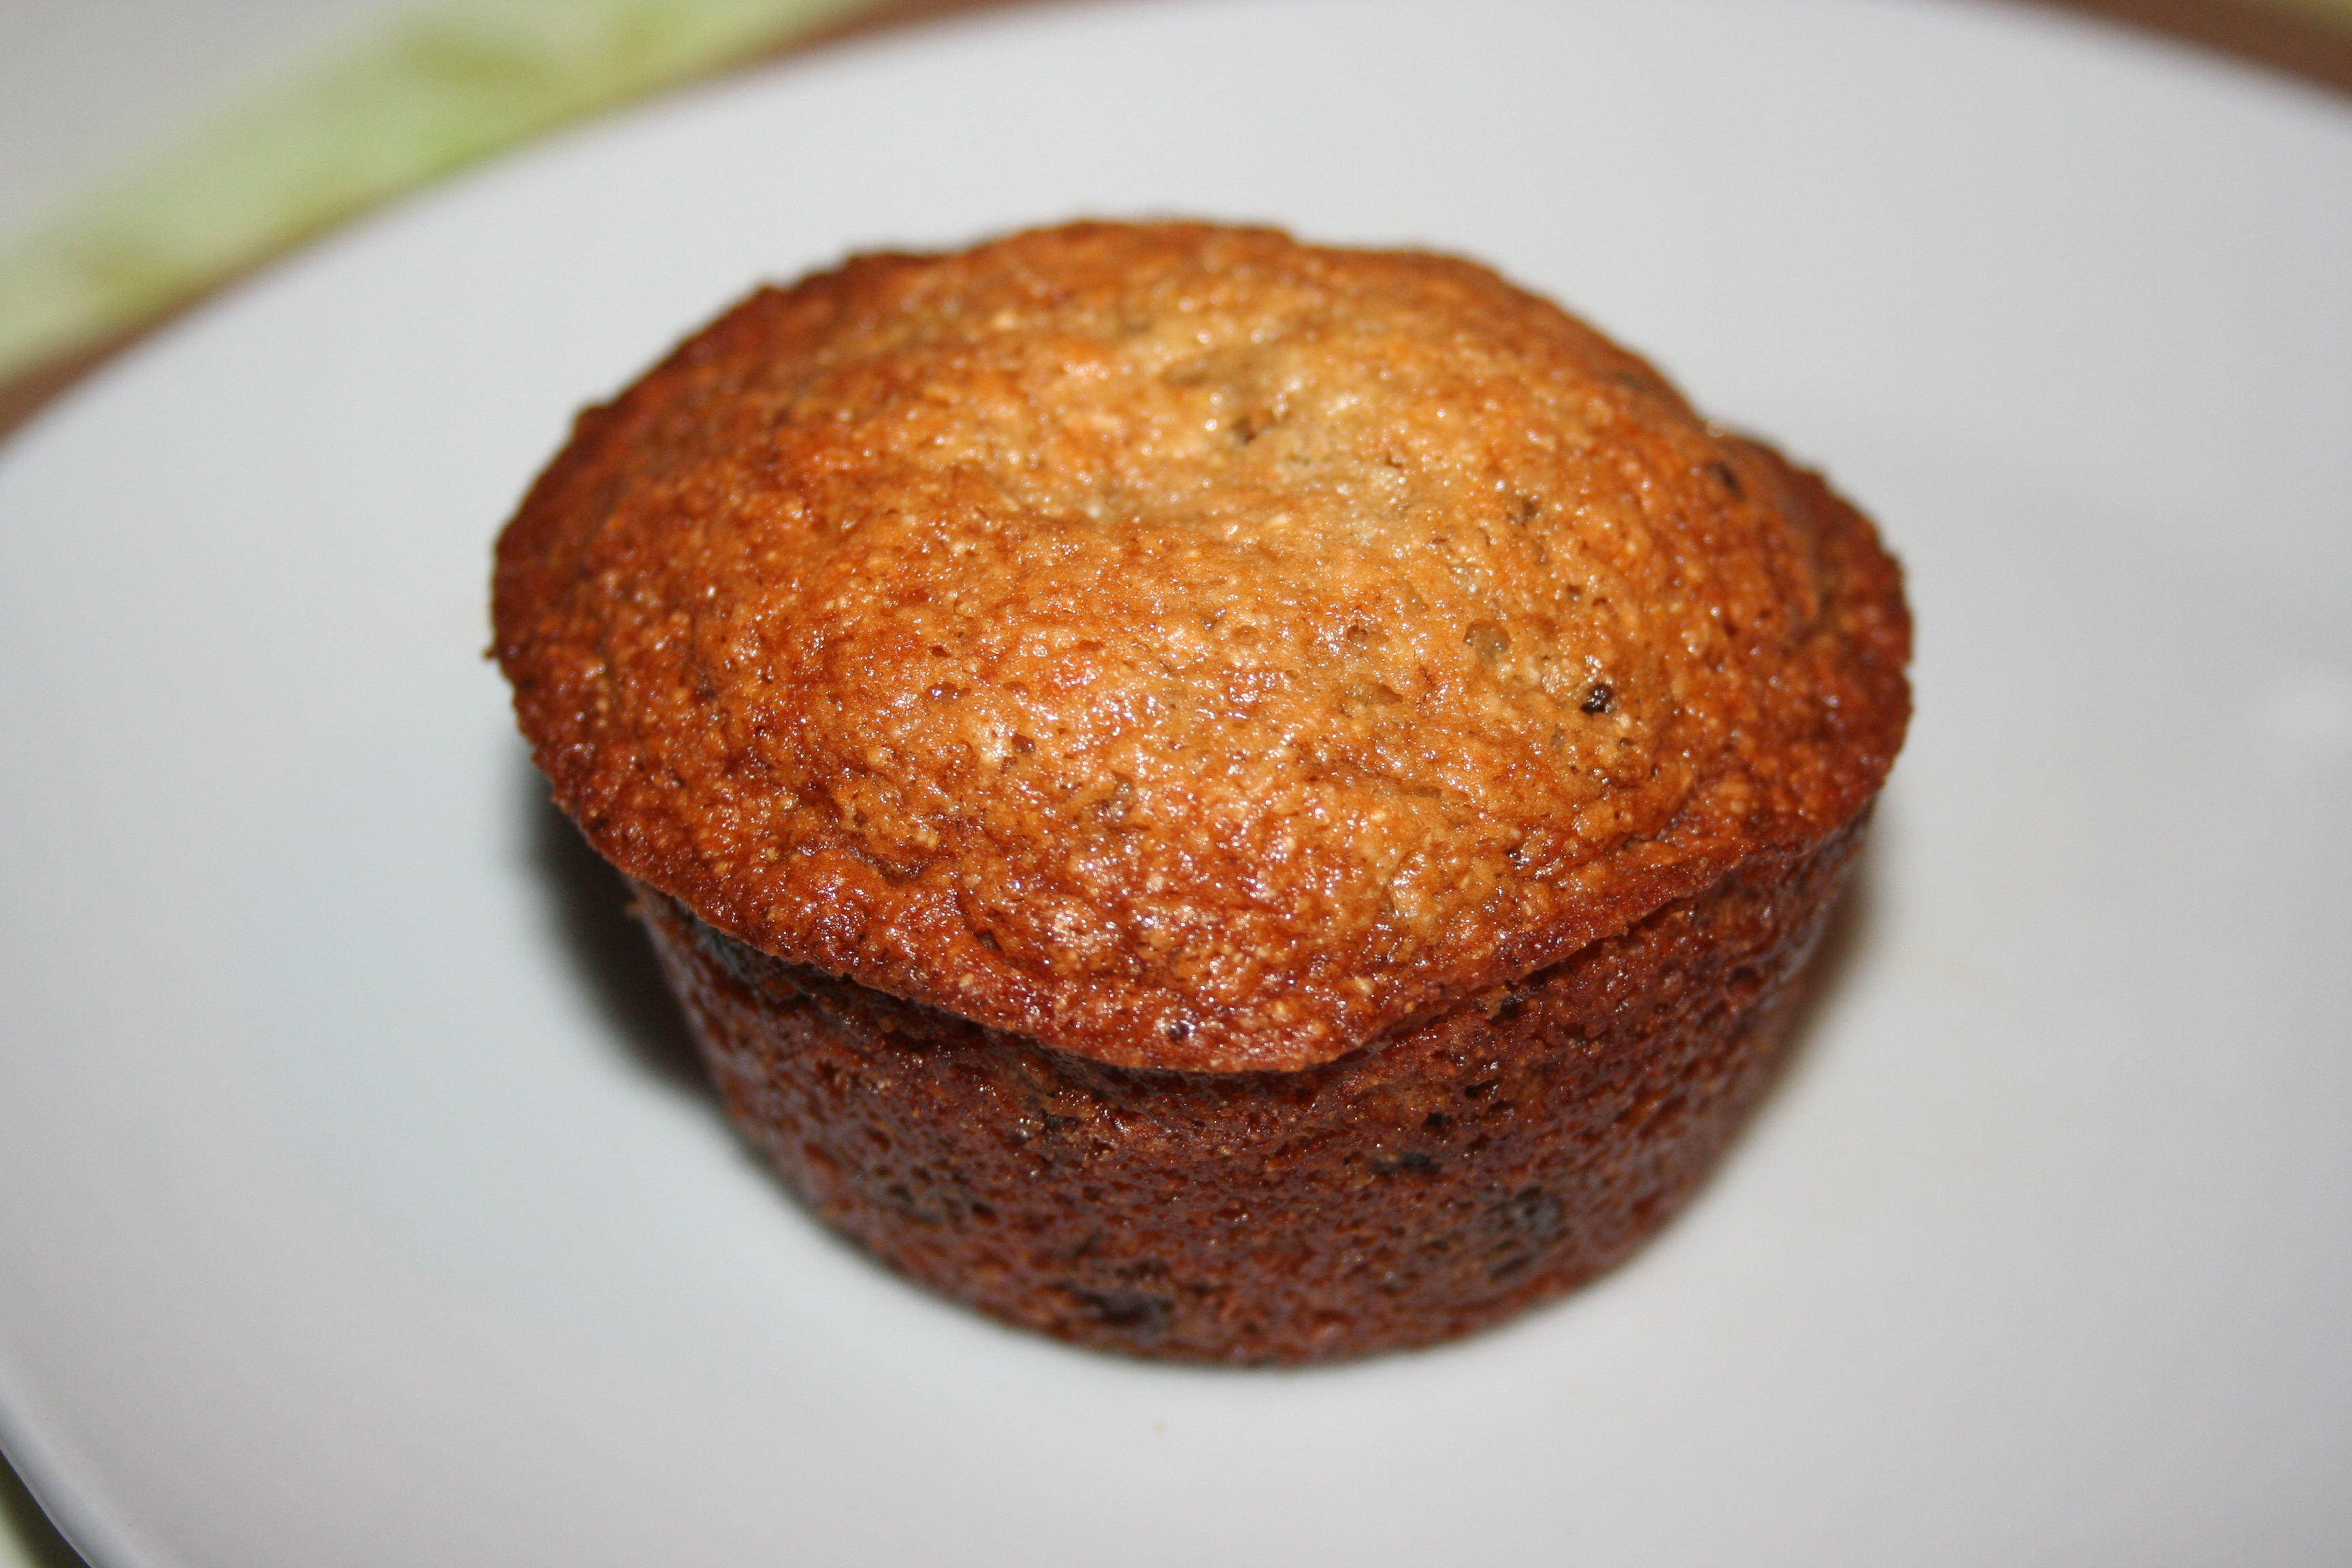
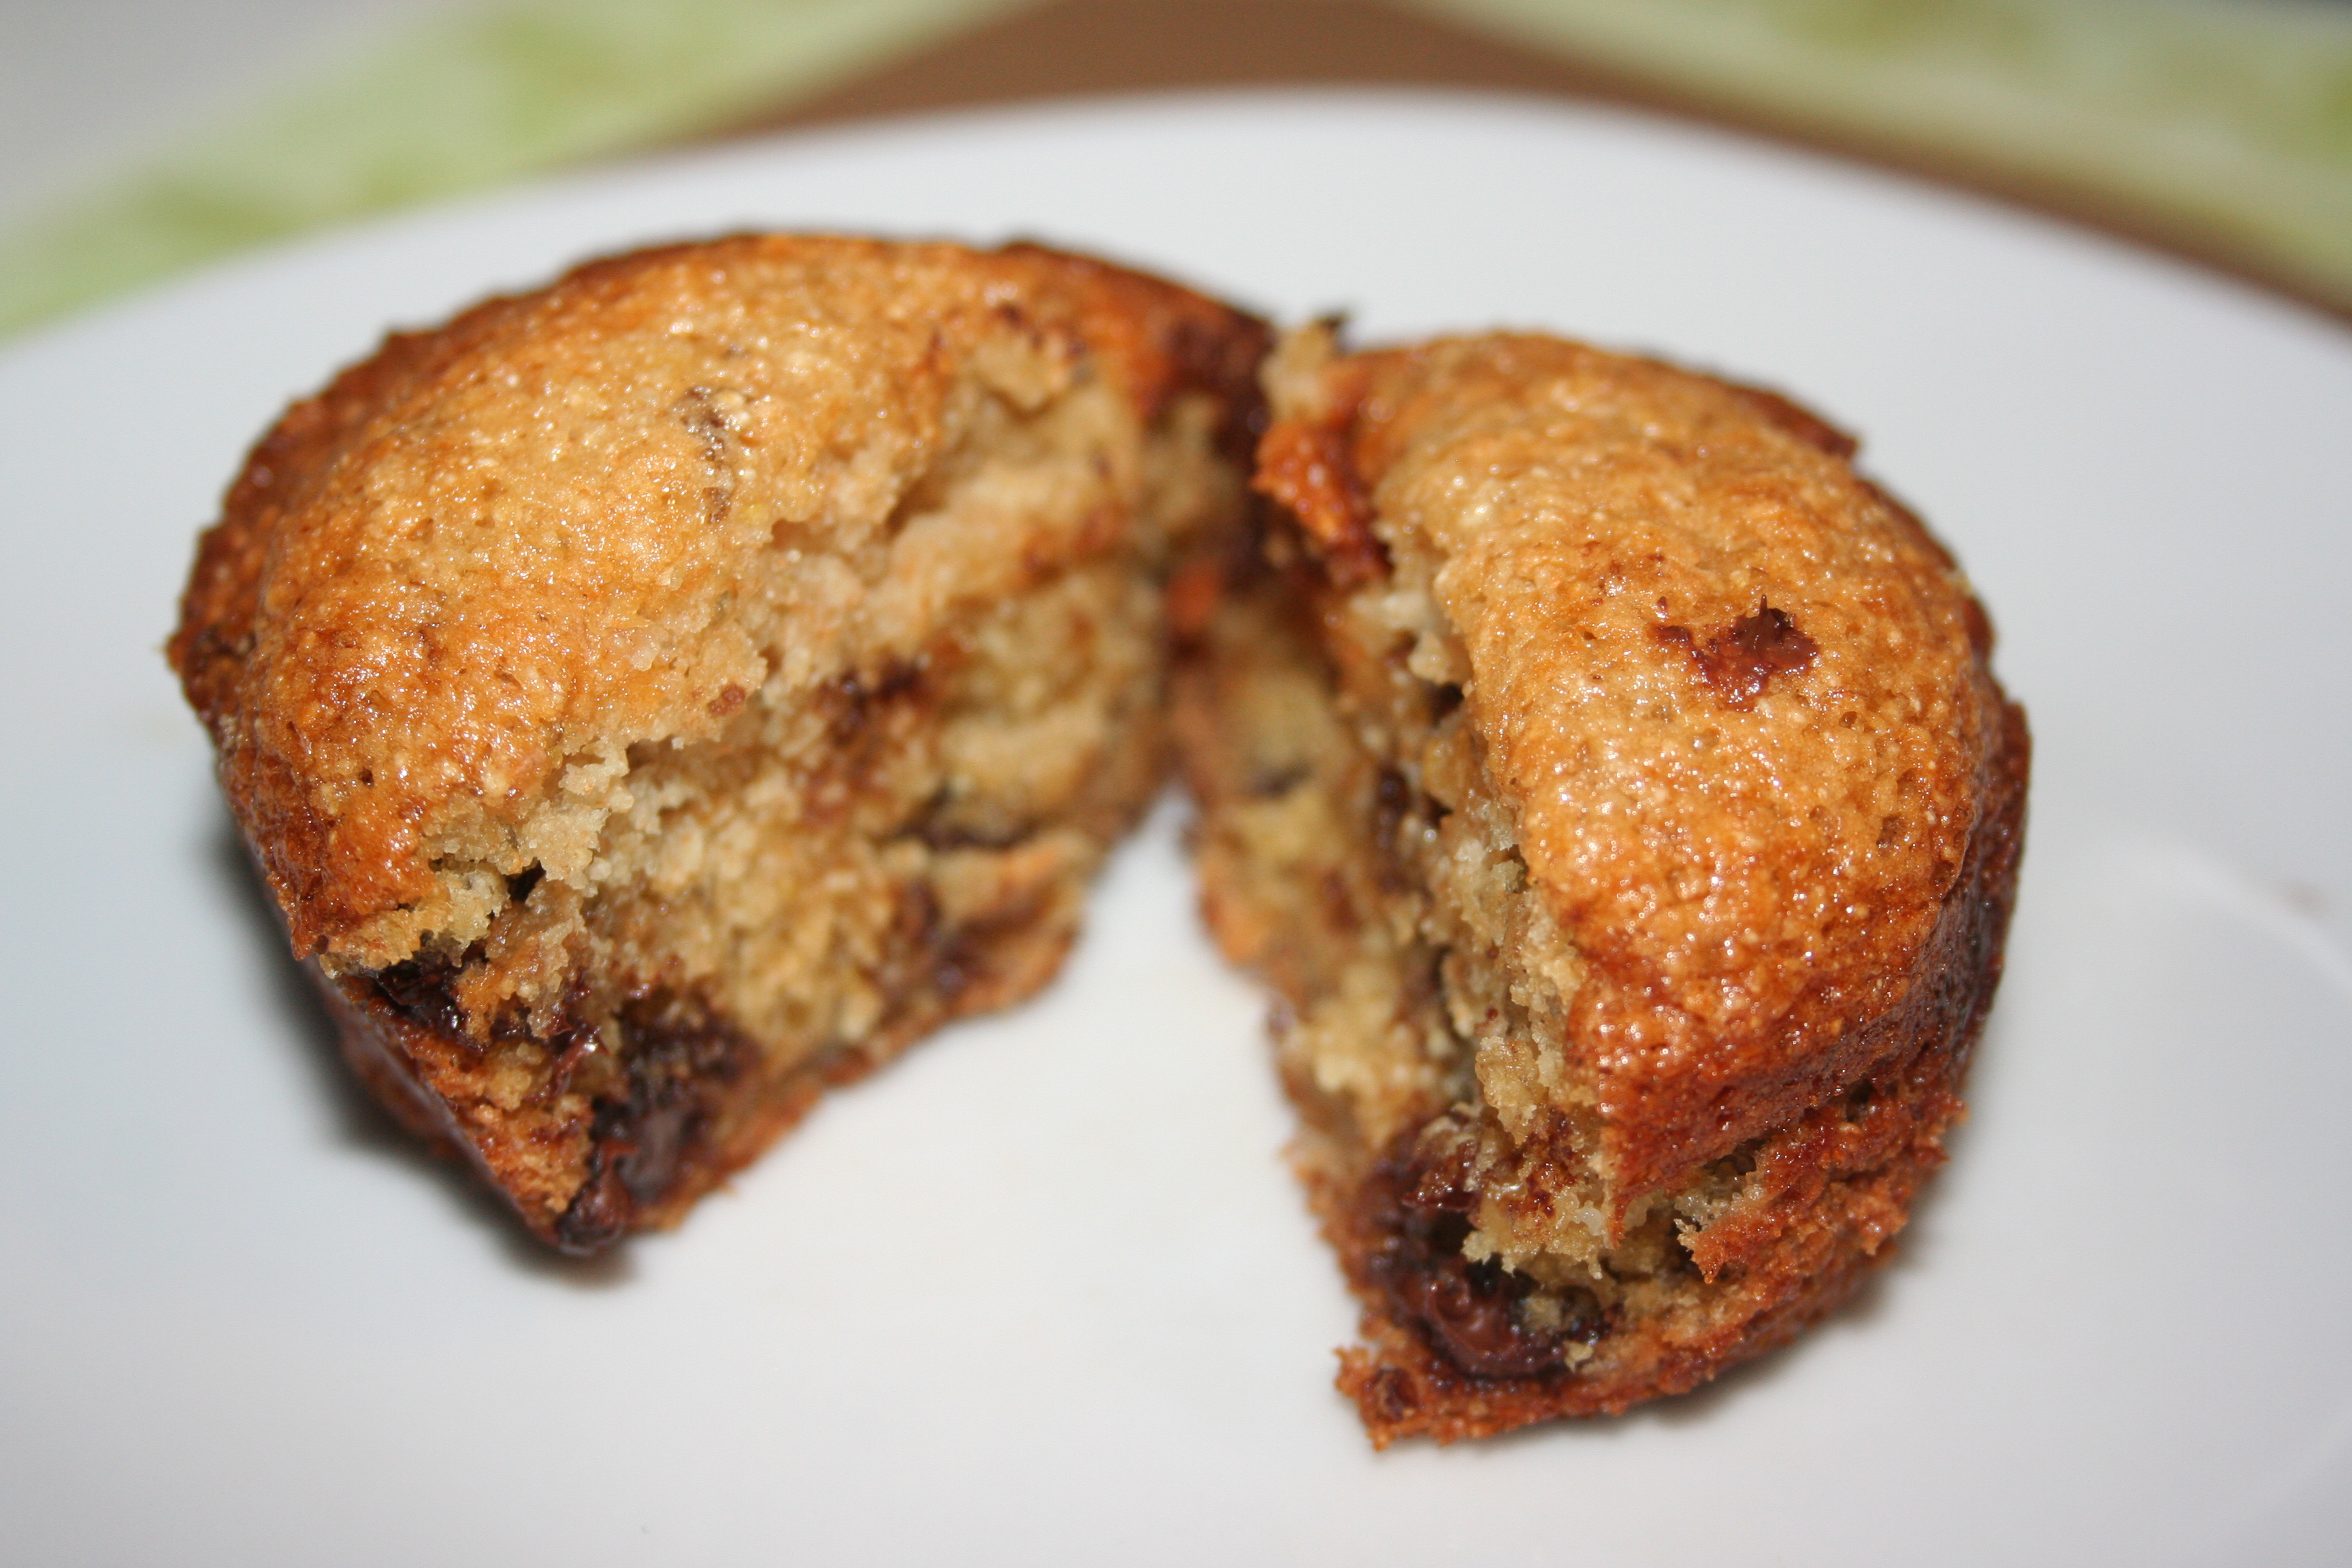
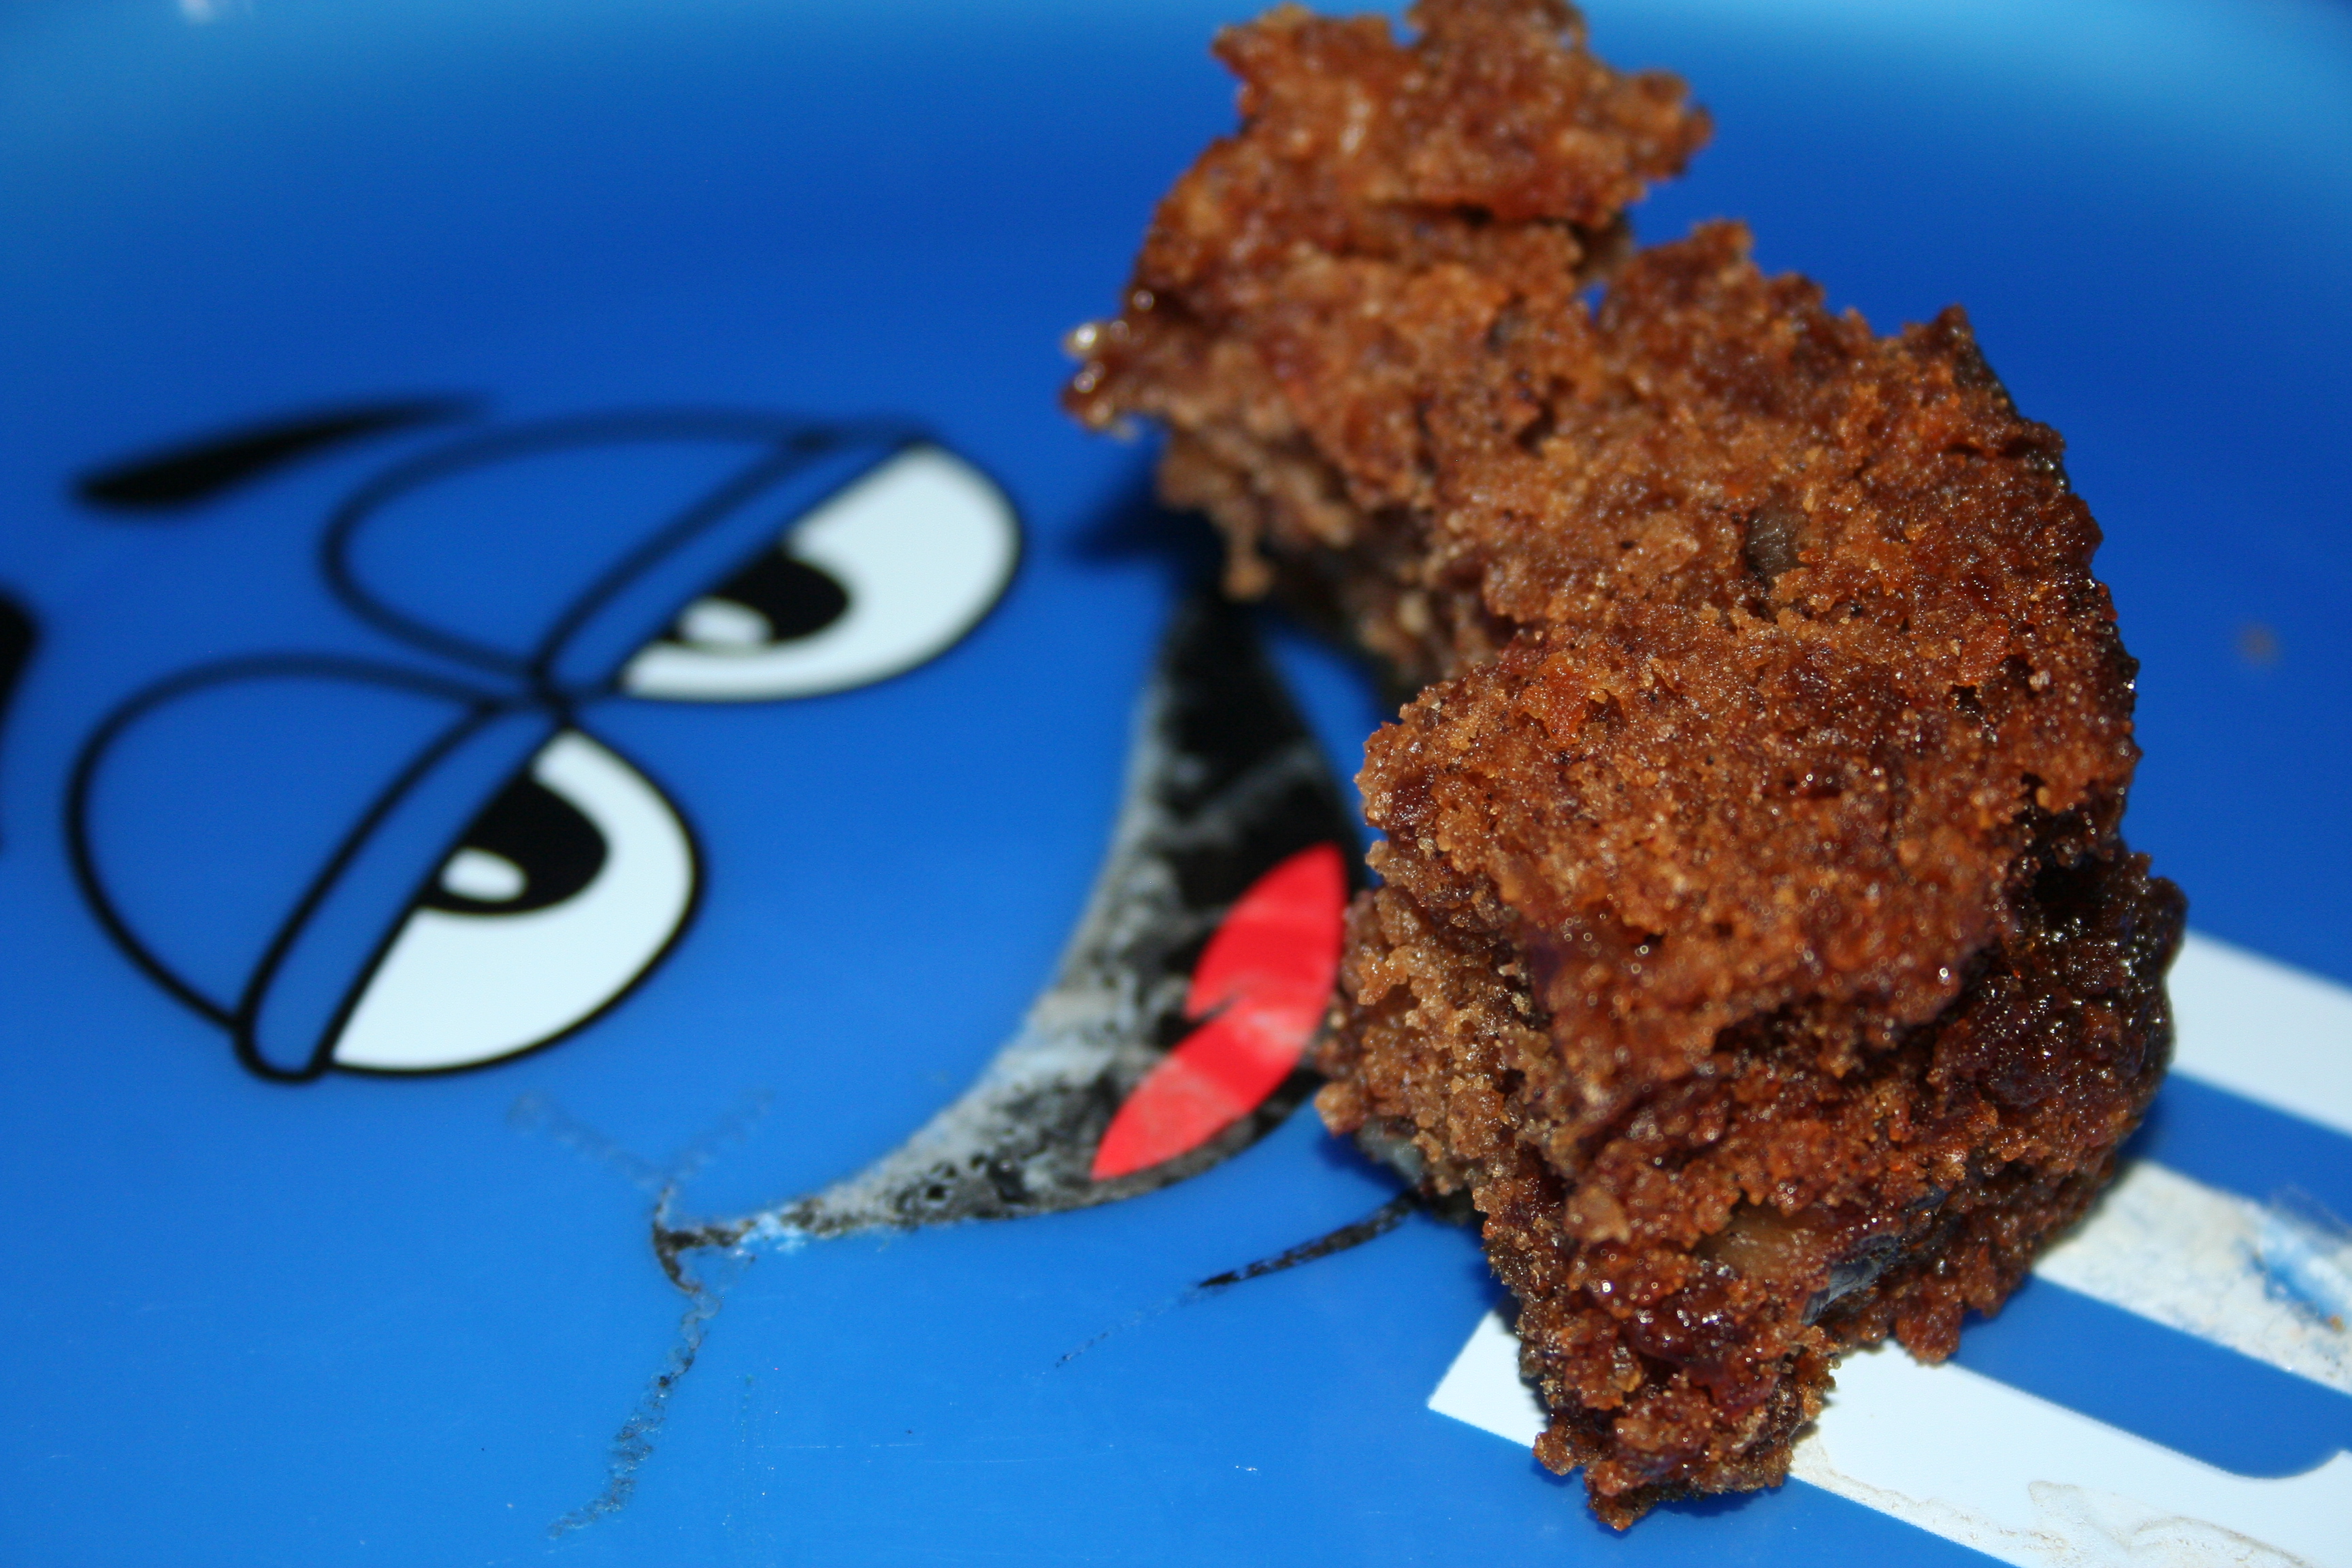
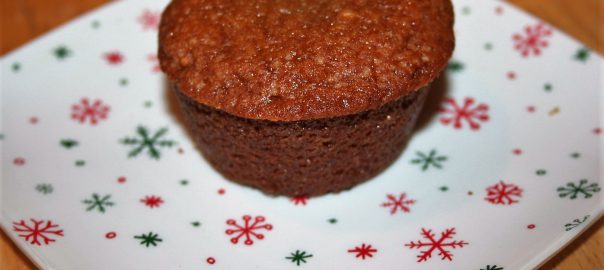
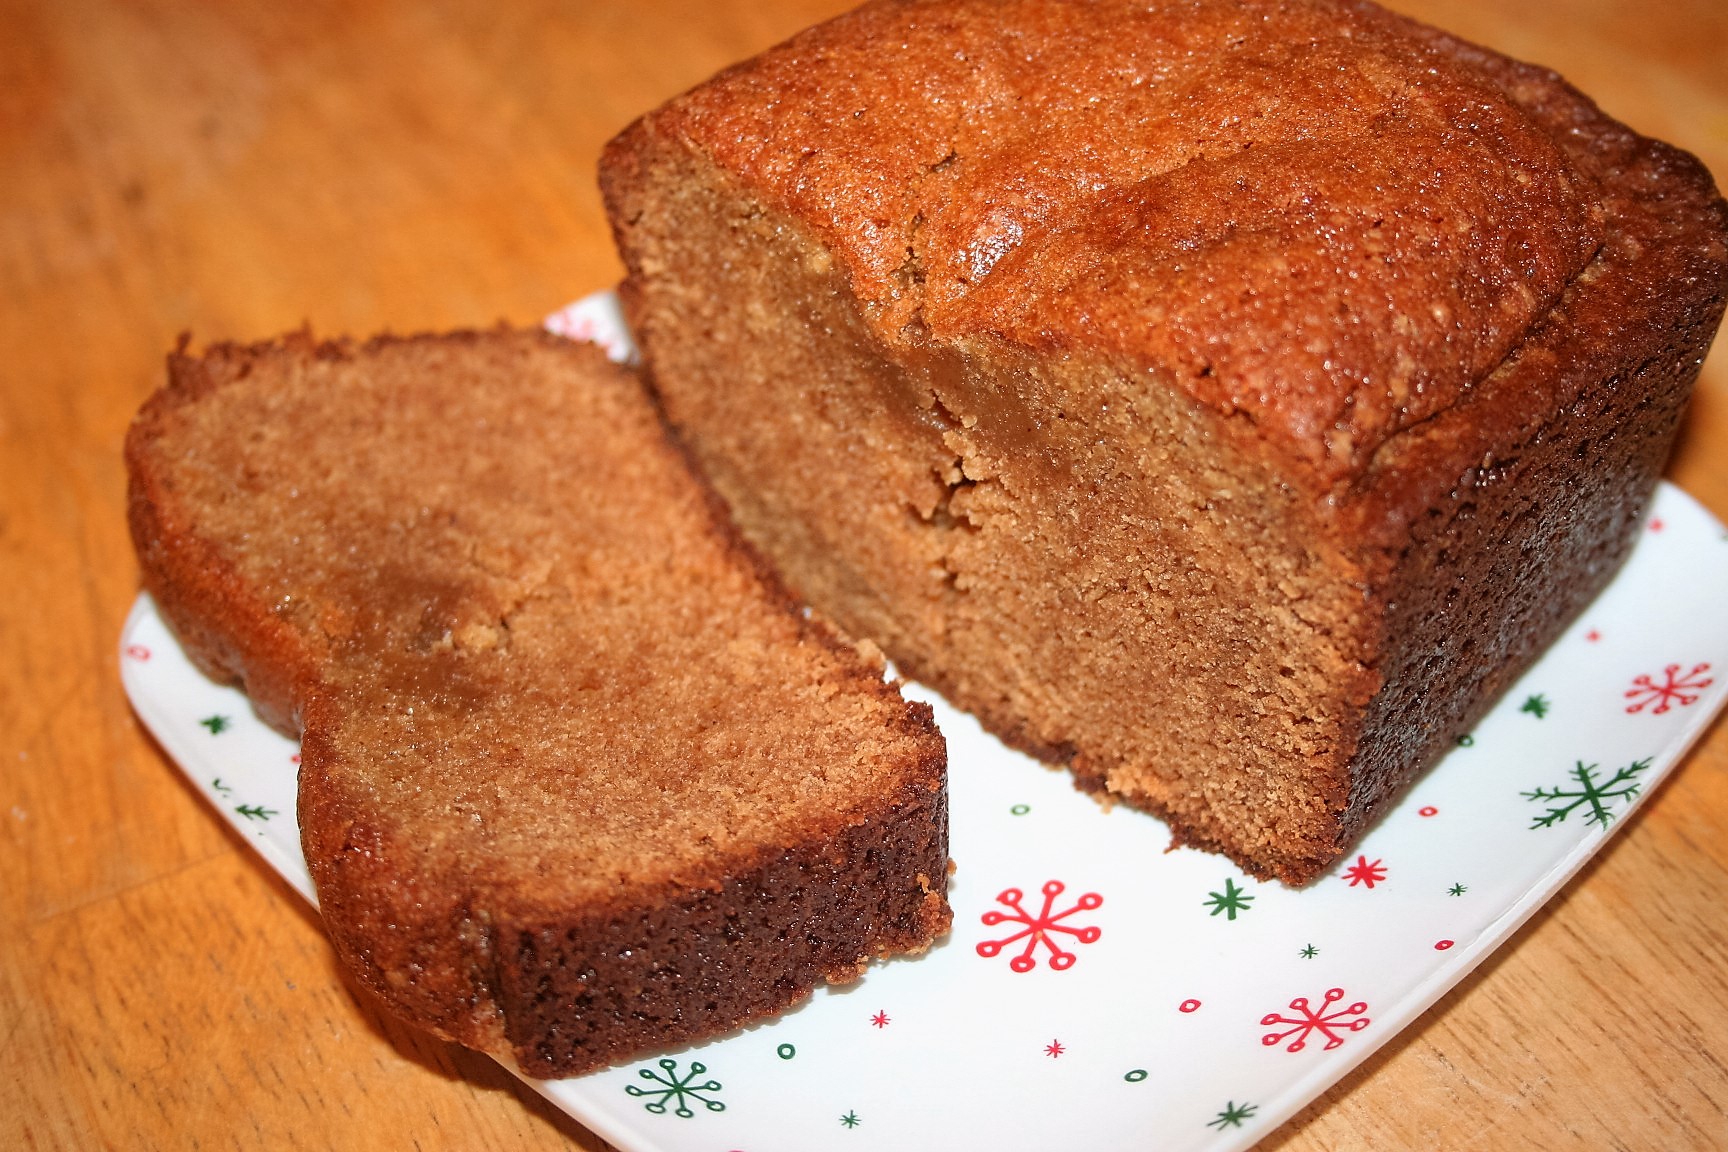
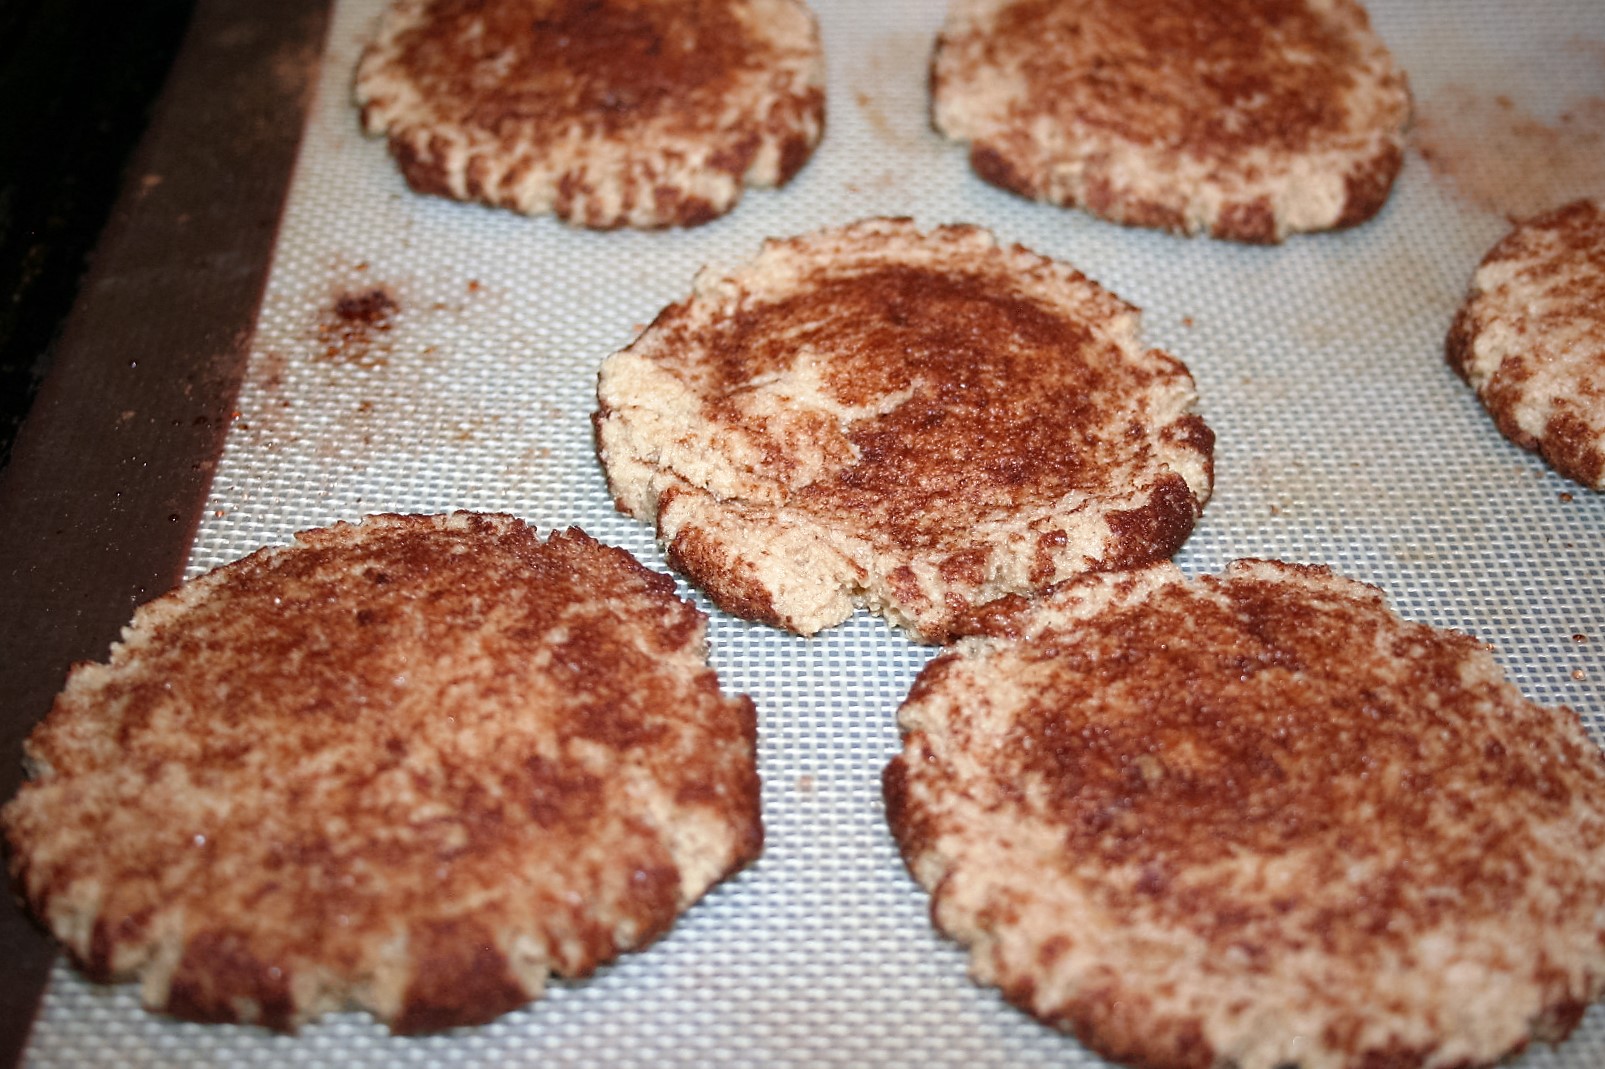
We like this recipe in muffins more than the bread. Although Sean and Tiffany really like there to be a gooey bit in the loaves.

Amish Cinnamon Bread ~ Lifeofjoy.me

Amish Cinnamon Bread ~ Lifeofjoy.me

Amish Cinnamon Bread

Ingredients

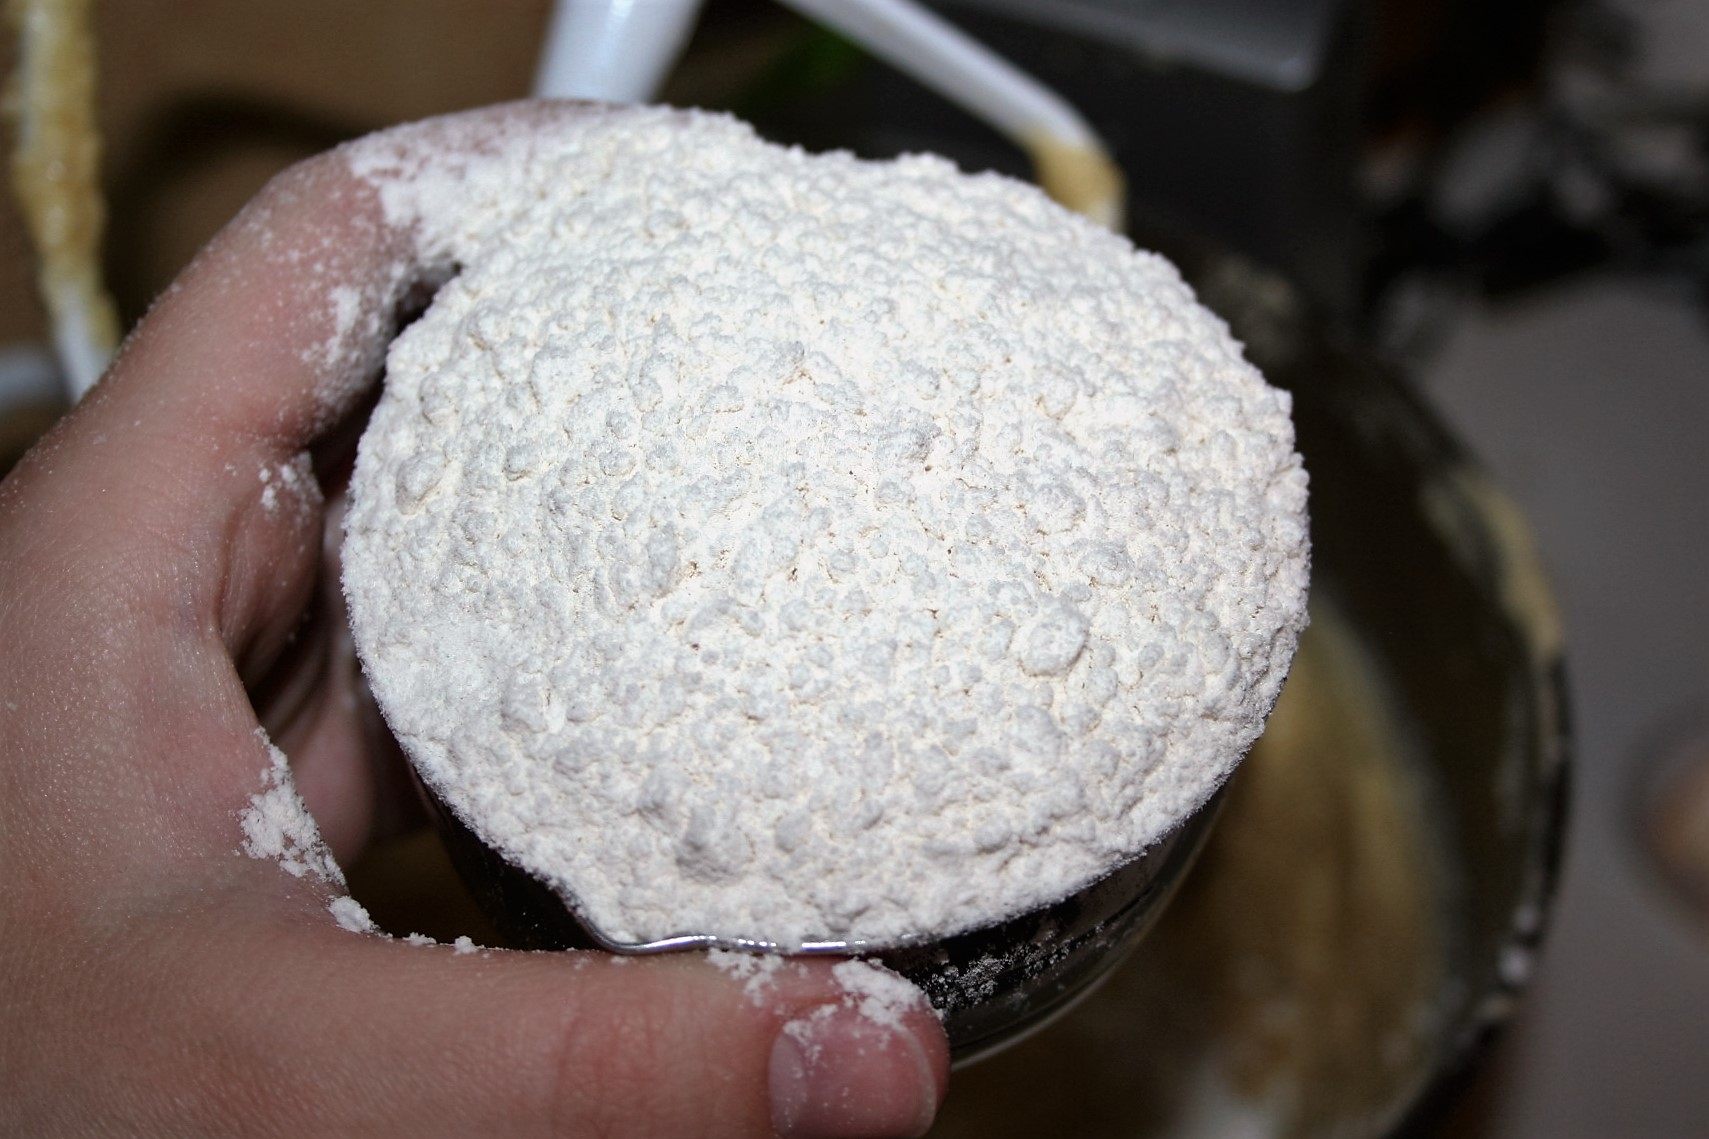
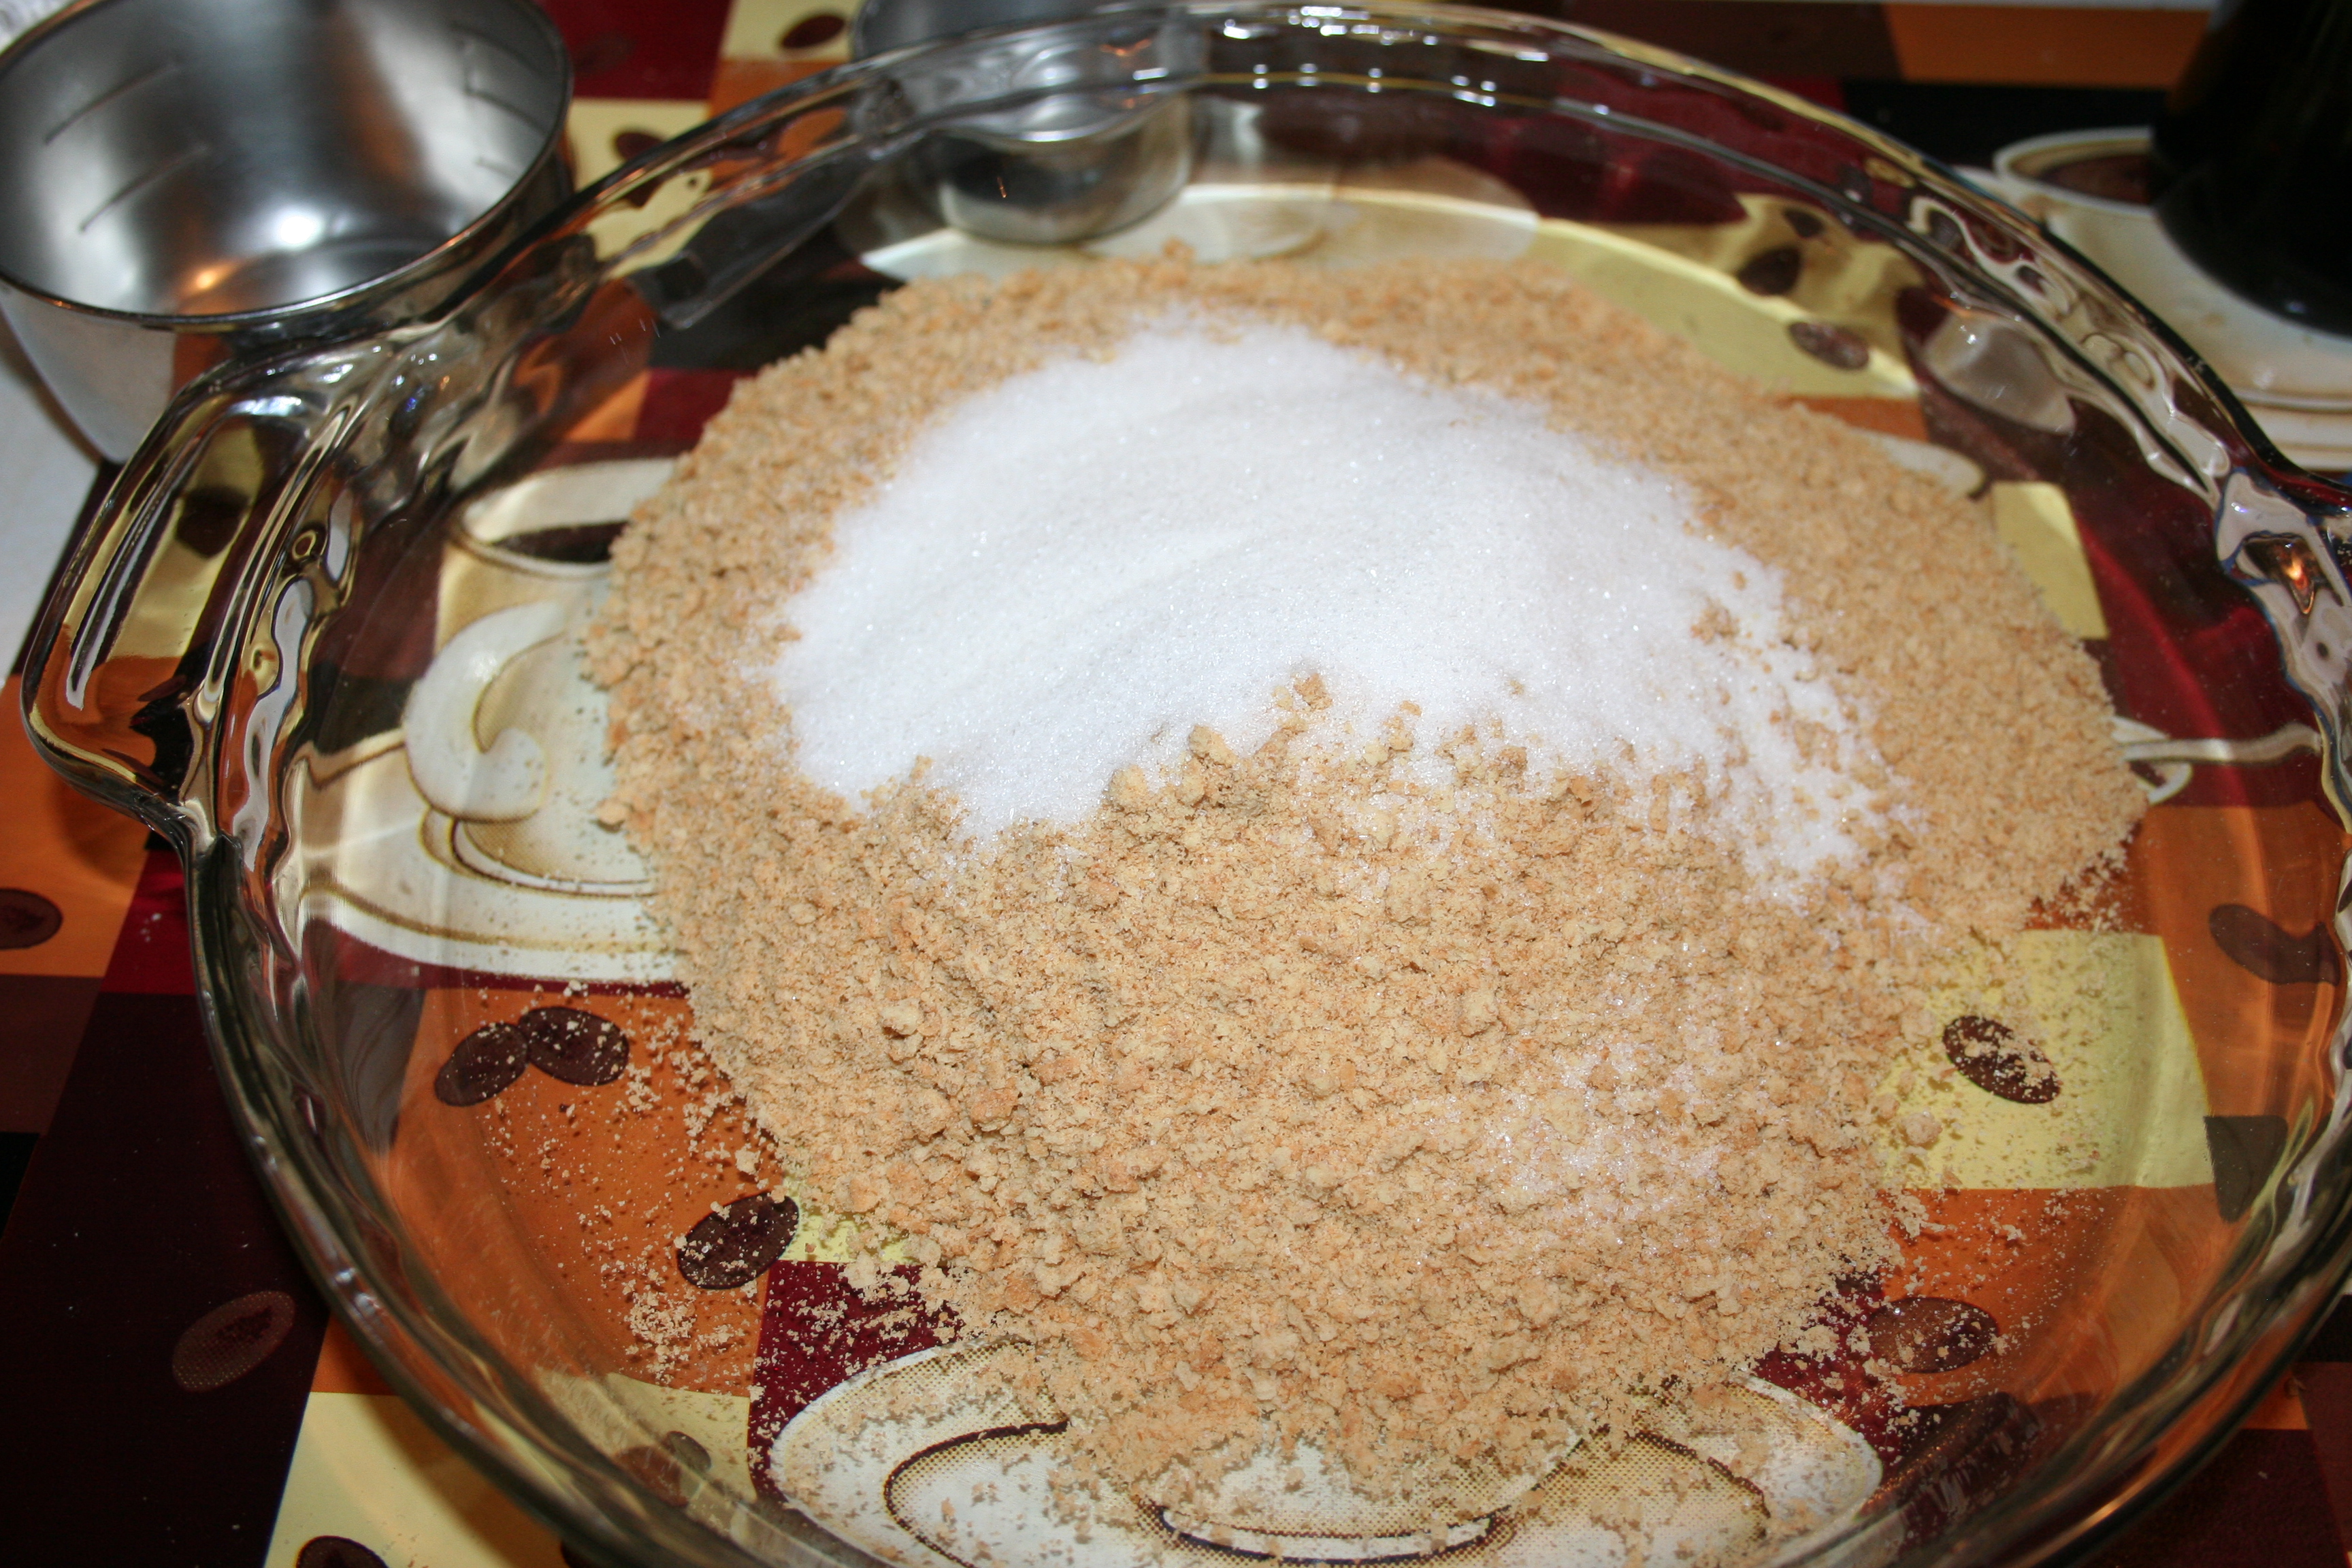
  • 4 cups flour, divided
  • 3 cups sugar, divided
  • 2 cups milk, divided
  • 1/2 teaspoon salt
  • 1/2 teaspoon baking soda
  • 2-3 teaspoons cinnamon
  • 1 cup vegetable oil
  • 4 eggs
  • 1 large box INSTANT vanilla pudding mix
  • 1-2 cups nuts
  • 1 cup raisins

Instructions

  1. To use frozen starter or starting with 1/3 cup each milk, sugar, and flour:
  2. Take out of freezer (or sit new starter on counter, loosely covered) for 2 days, on 3rd day start counting as day 1.
  3. Day 1: Receive Starter
  4. Day 2: Stir
  5. Day 3: Stir
  6. Day 4: Stir
  7. Day 5: Place starter in larger container for room to rise and add 1 cup each flour, sugar, and milk.
  8. Day 6: Stir
  9. Day 7: Stir
  10. Day 8: Do Nothing
  11. Day 9: Do Nothing
  12. DAY 10: Add 1 cup each flour, sugar, and milk.
  13. Take 3 cups and put 1 cup in each of 3 small containers with lids; these are for your friends, yourself, to start again, or to freeze.
  14. To the remaining batter, add:
  15. 2 cups flour
  16. 1 cup sugar and all the rest of the ingredients beginning with salt, listed above.
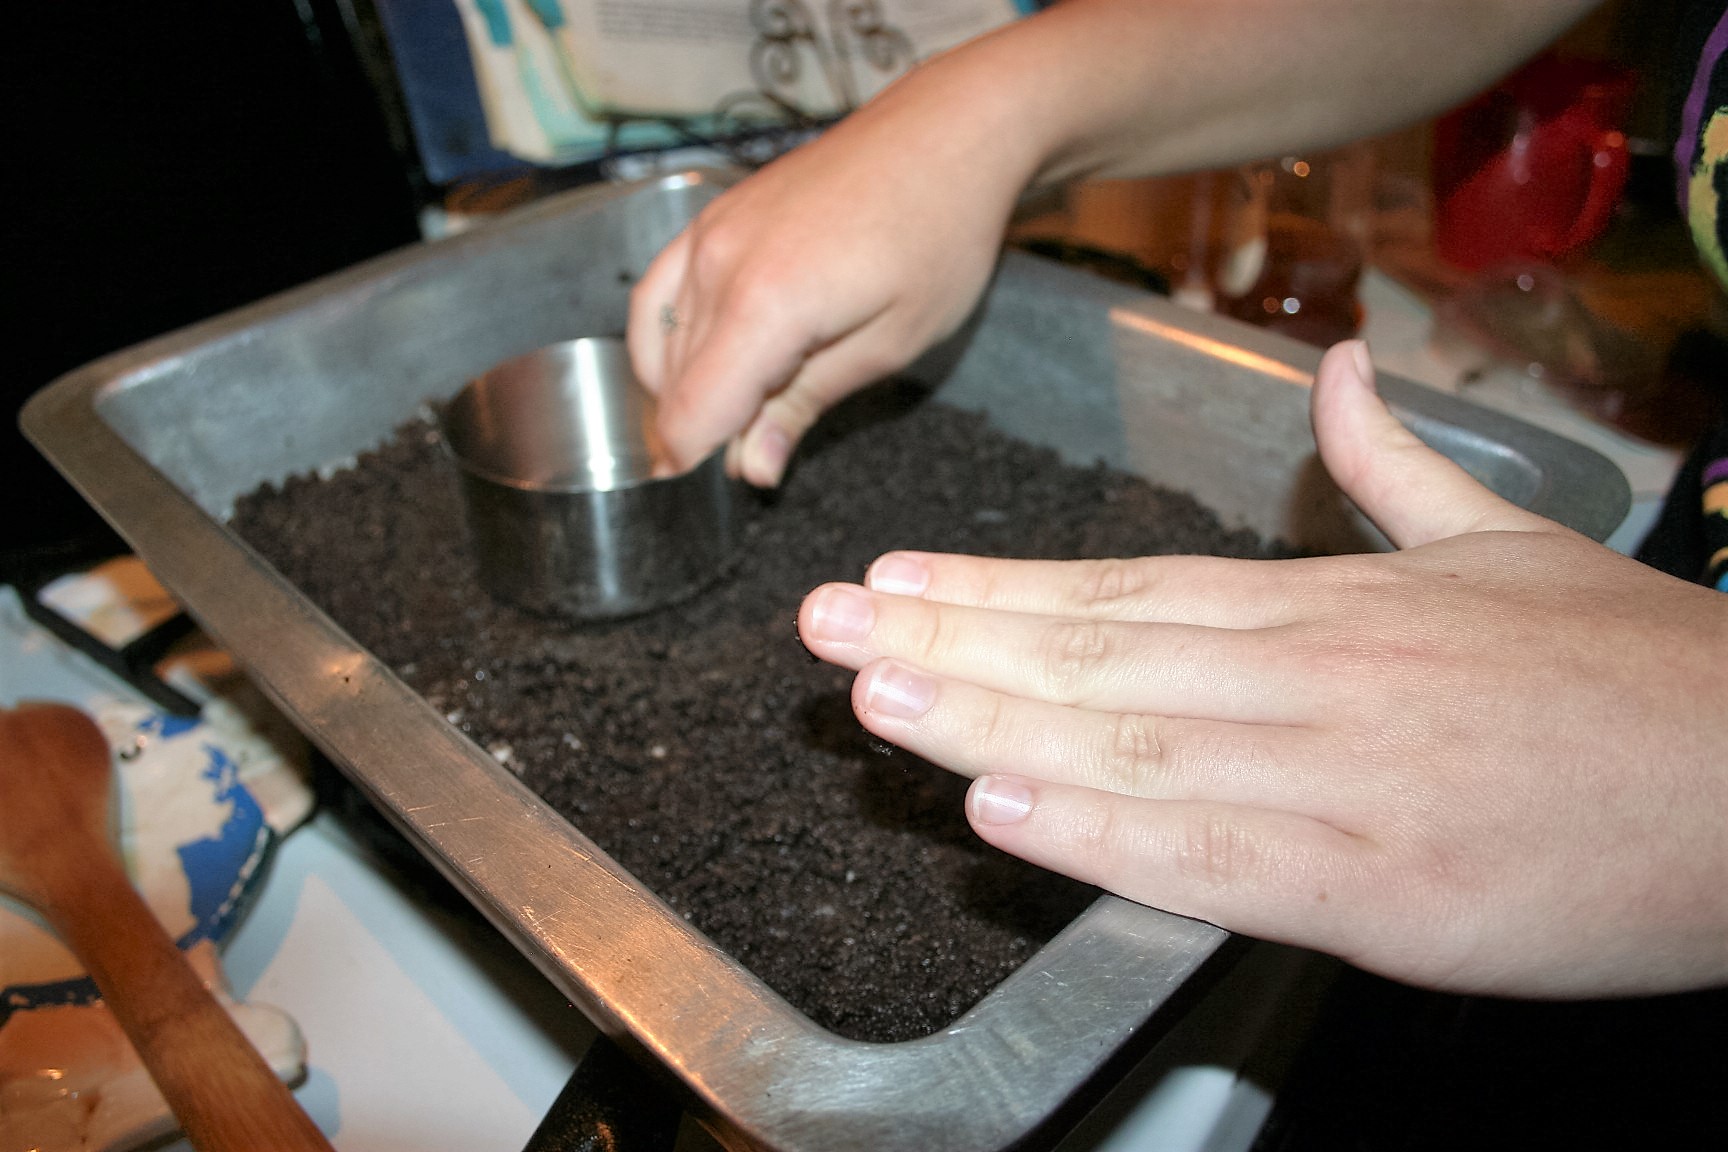
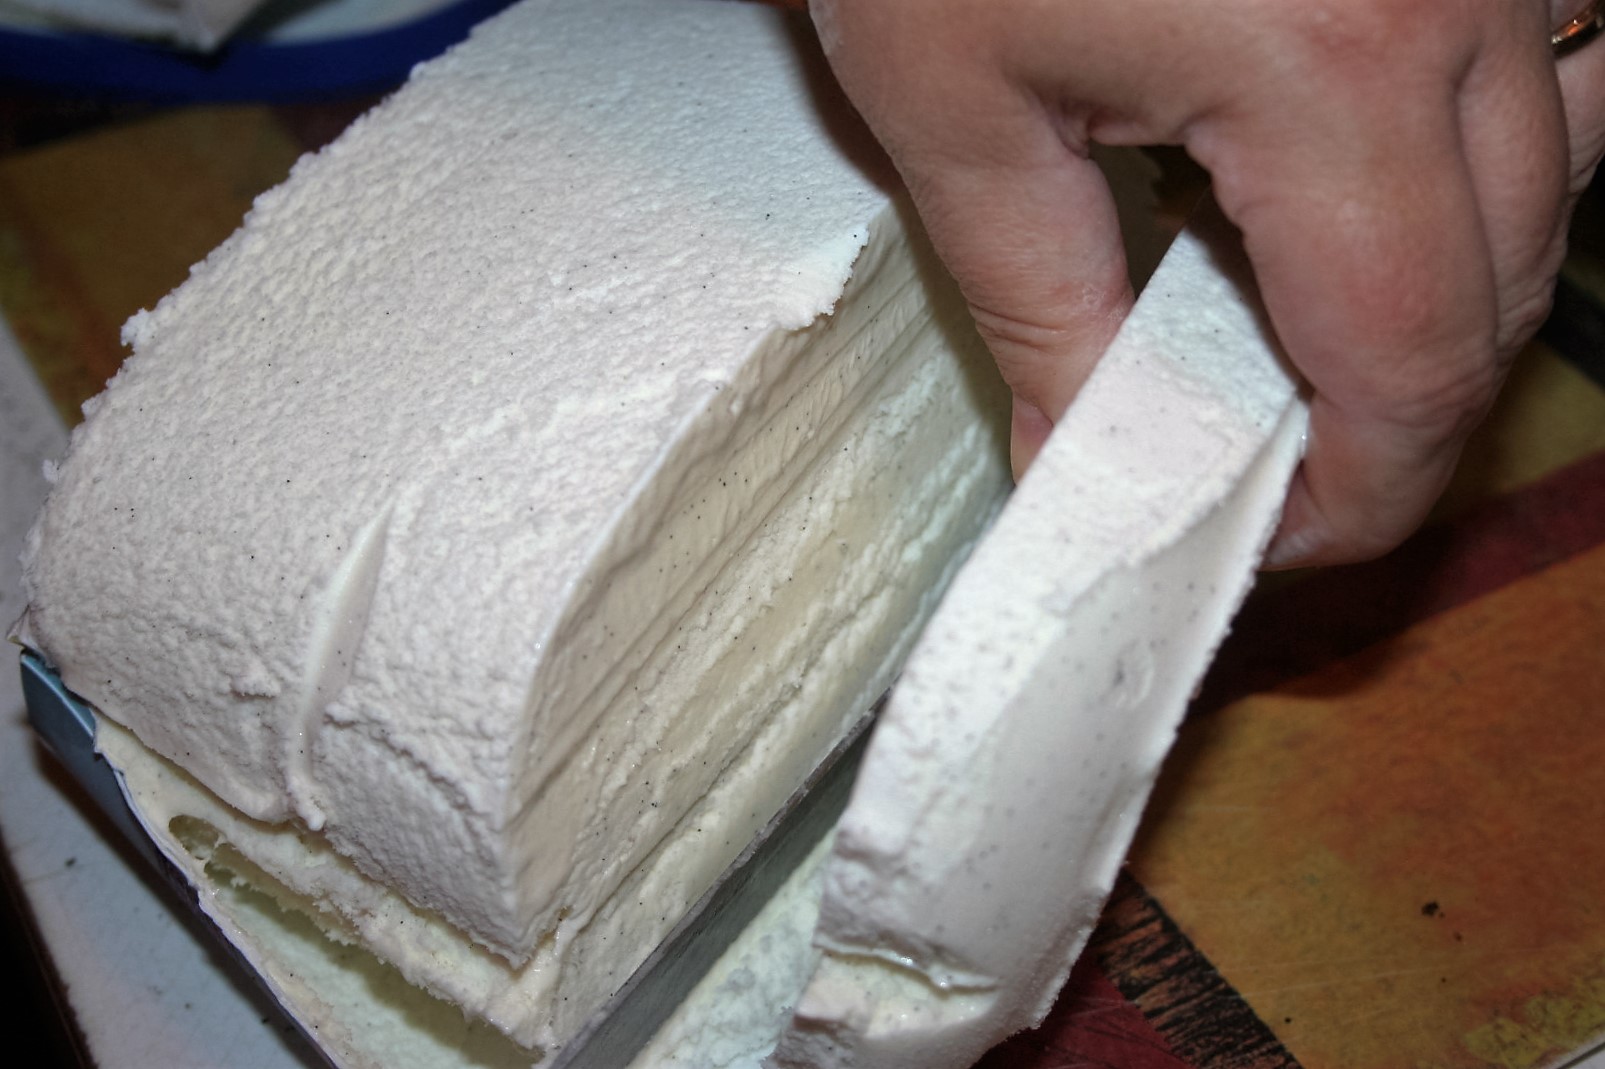
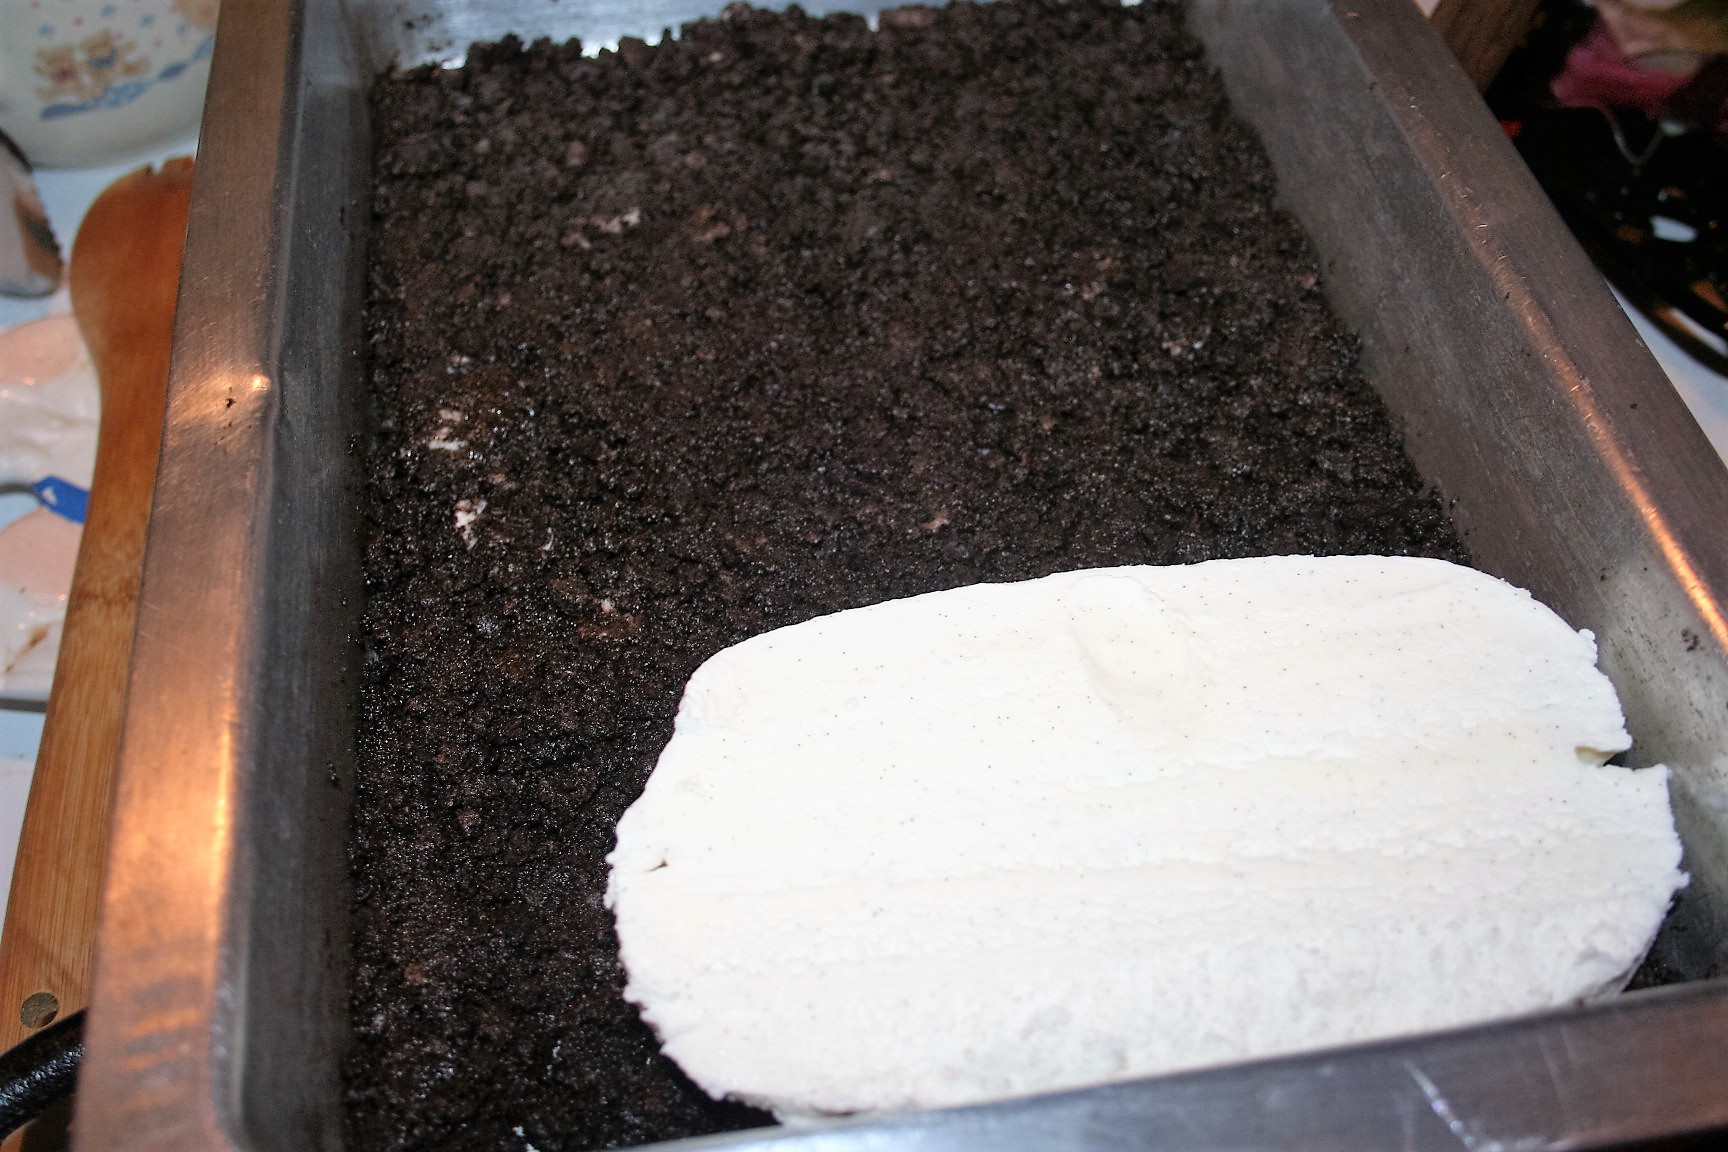
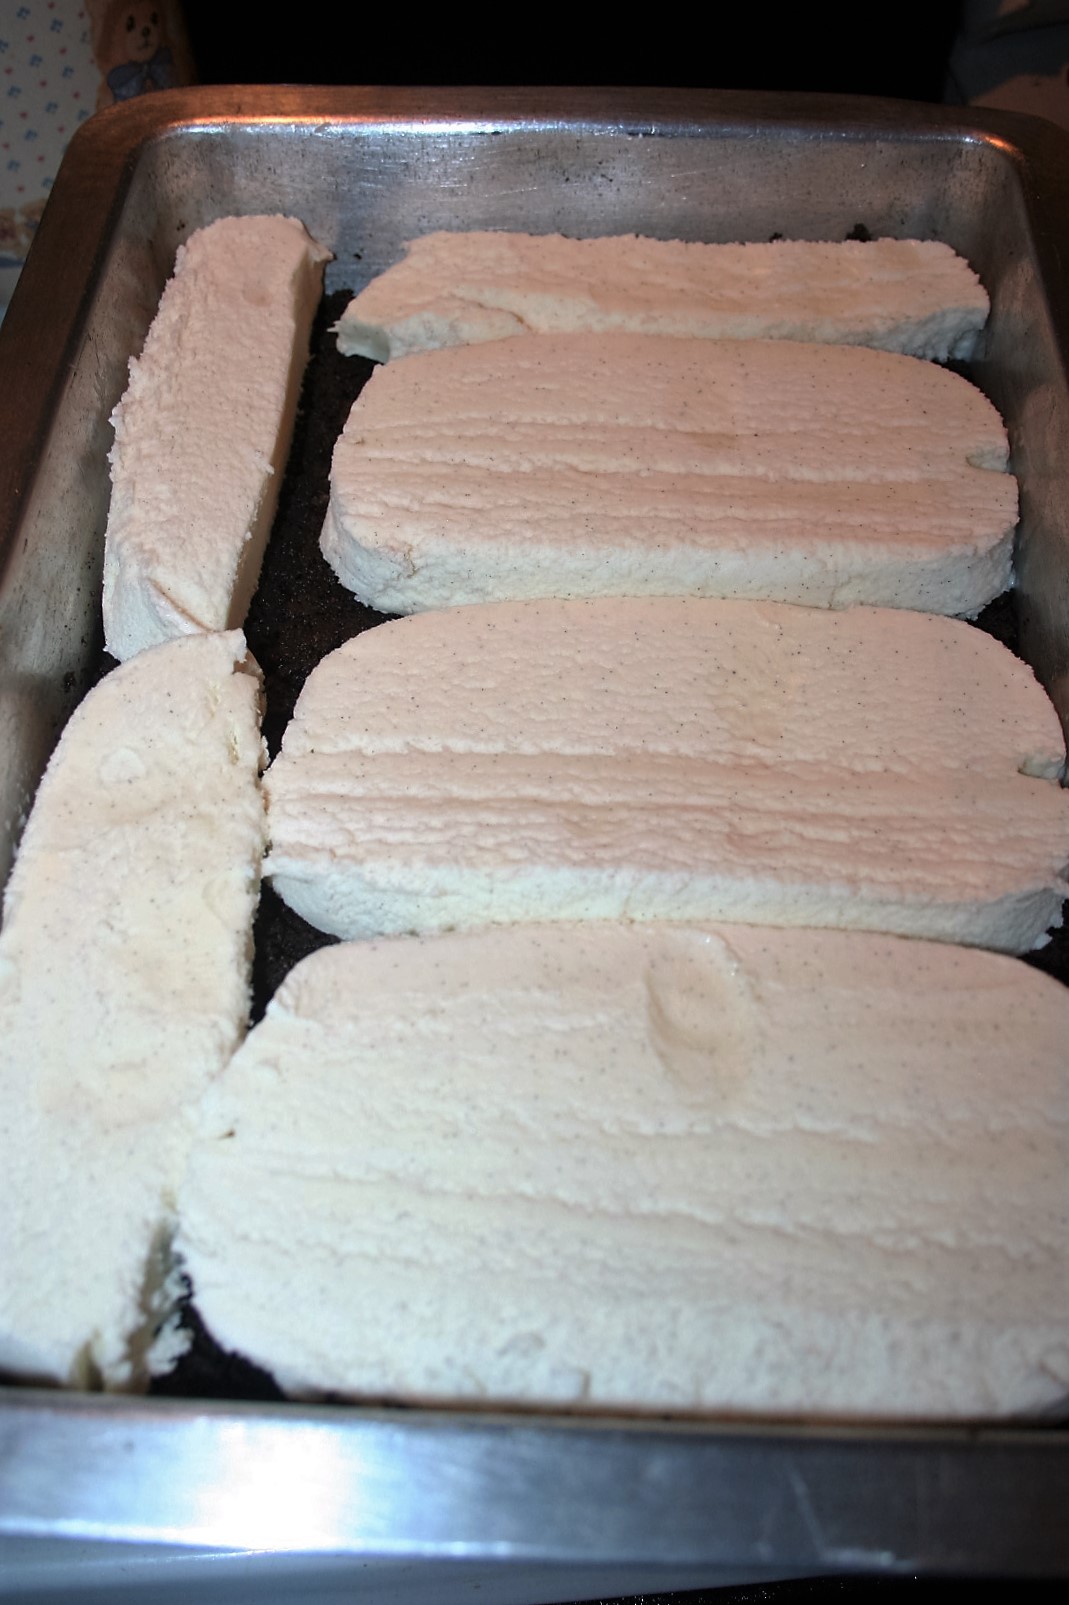
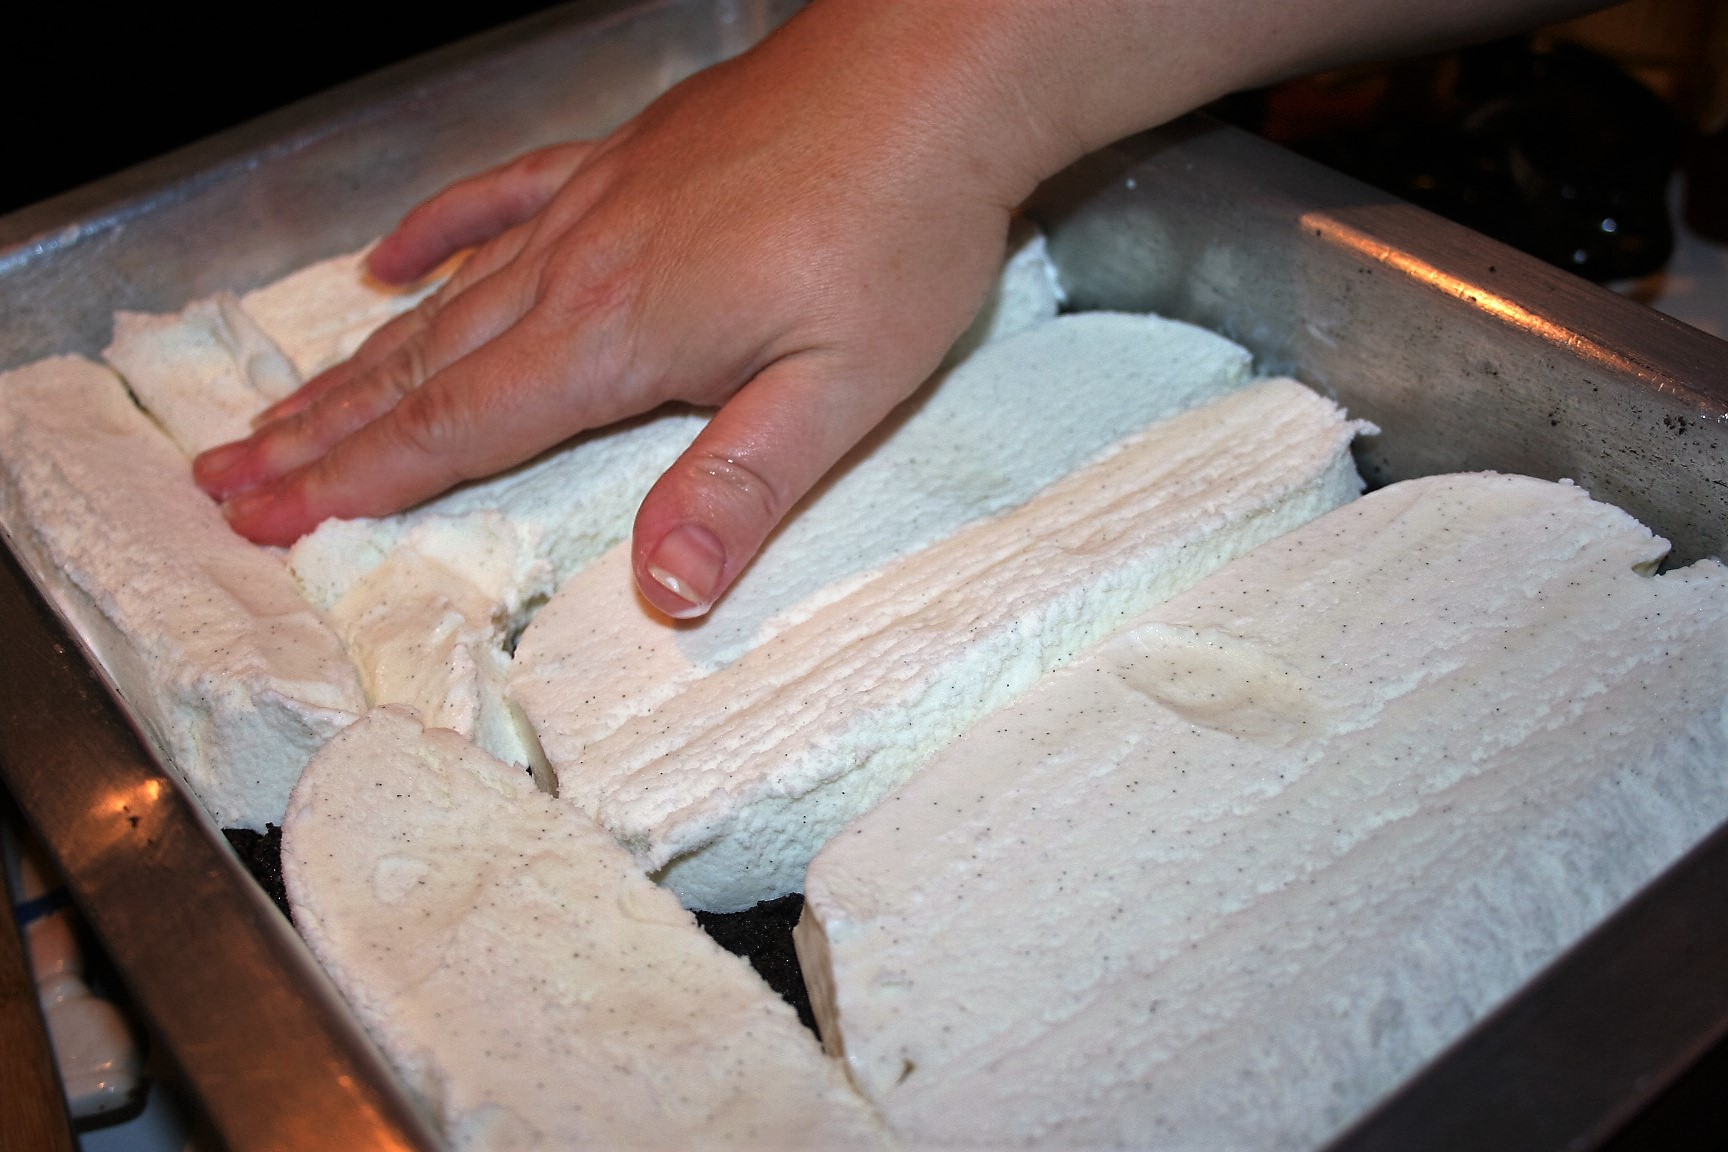
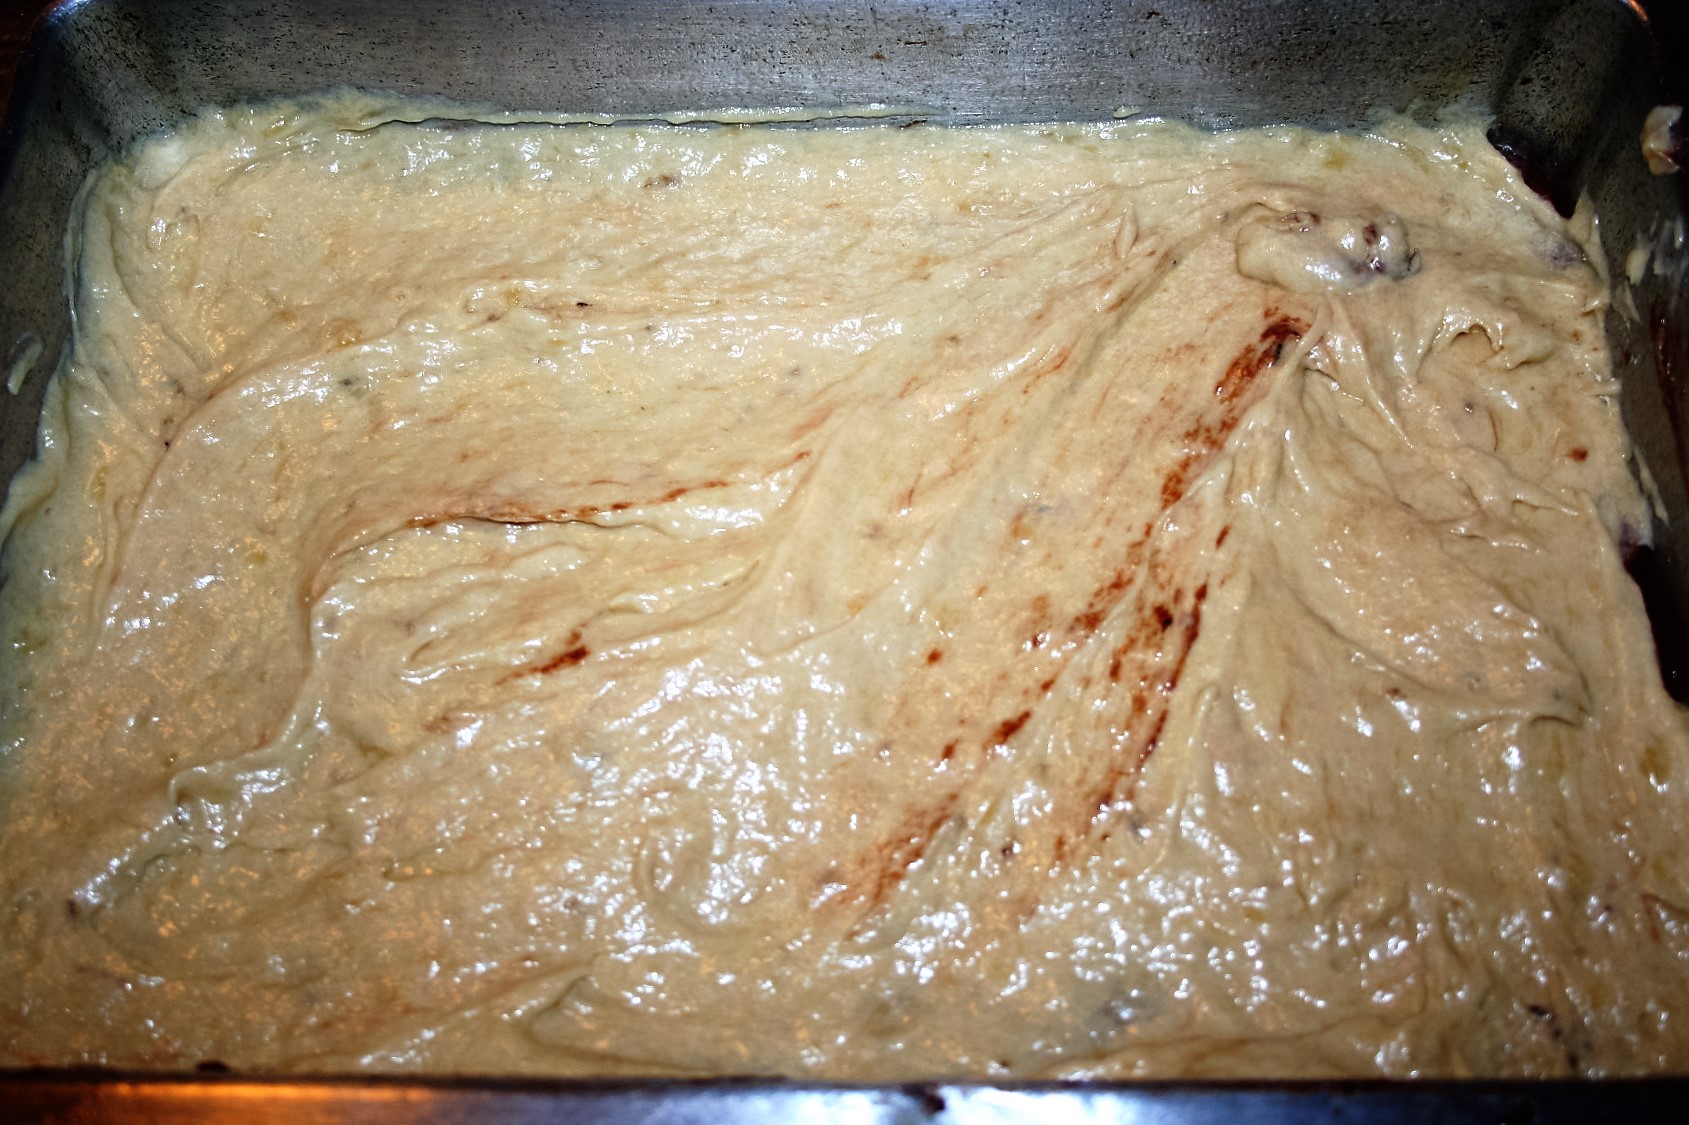
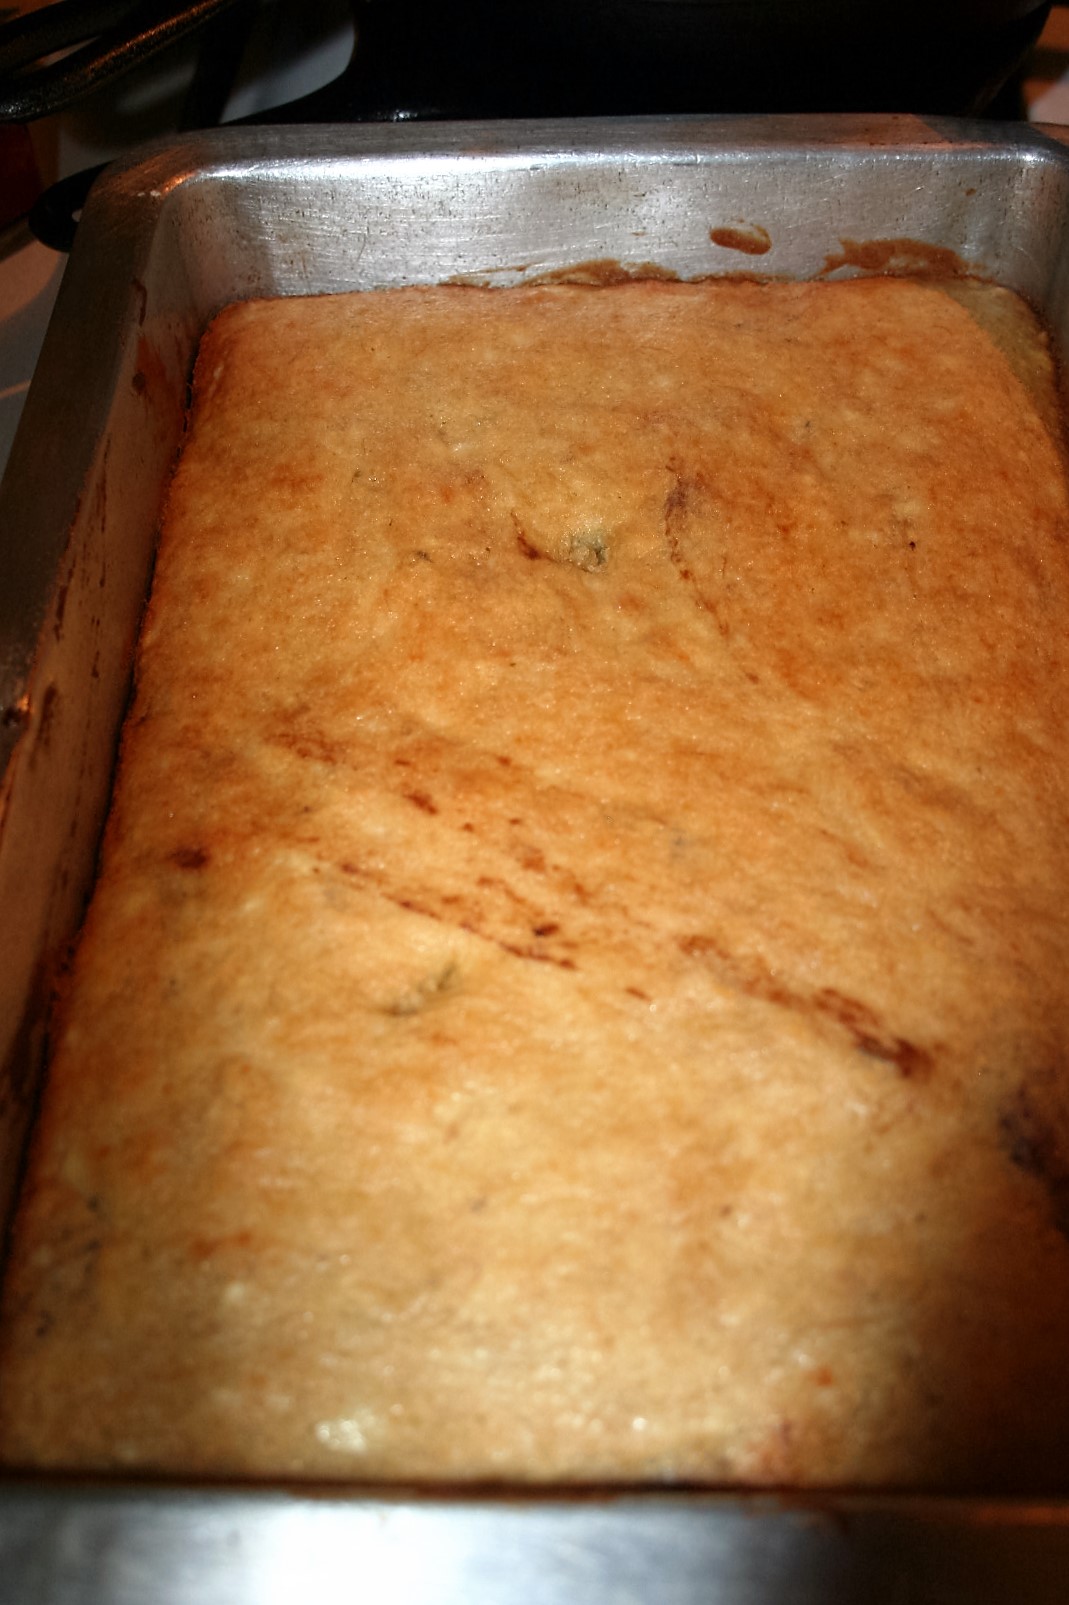
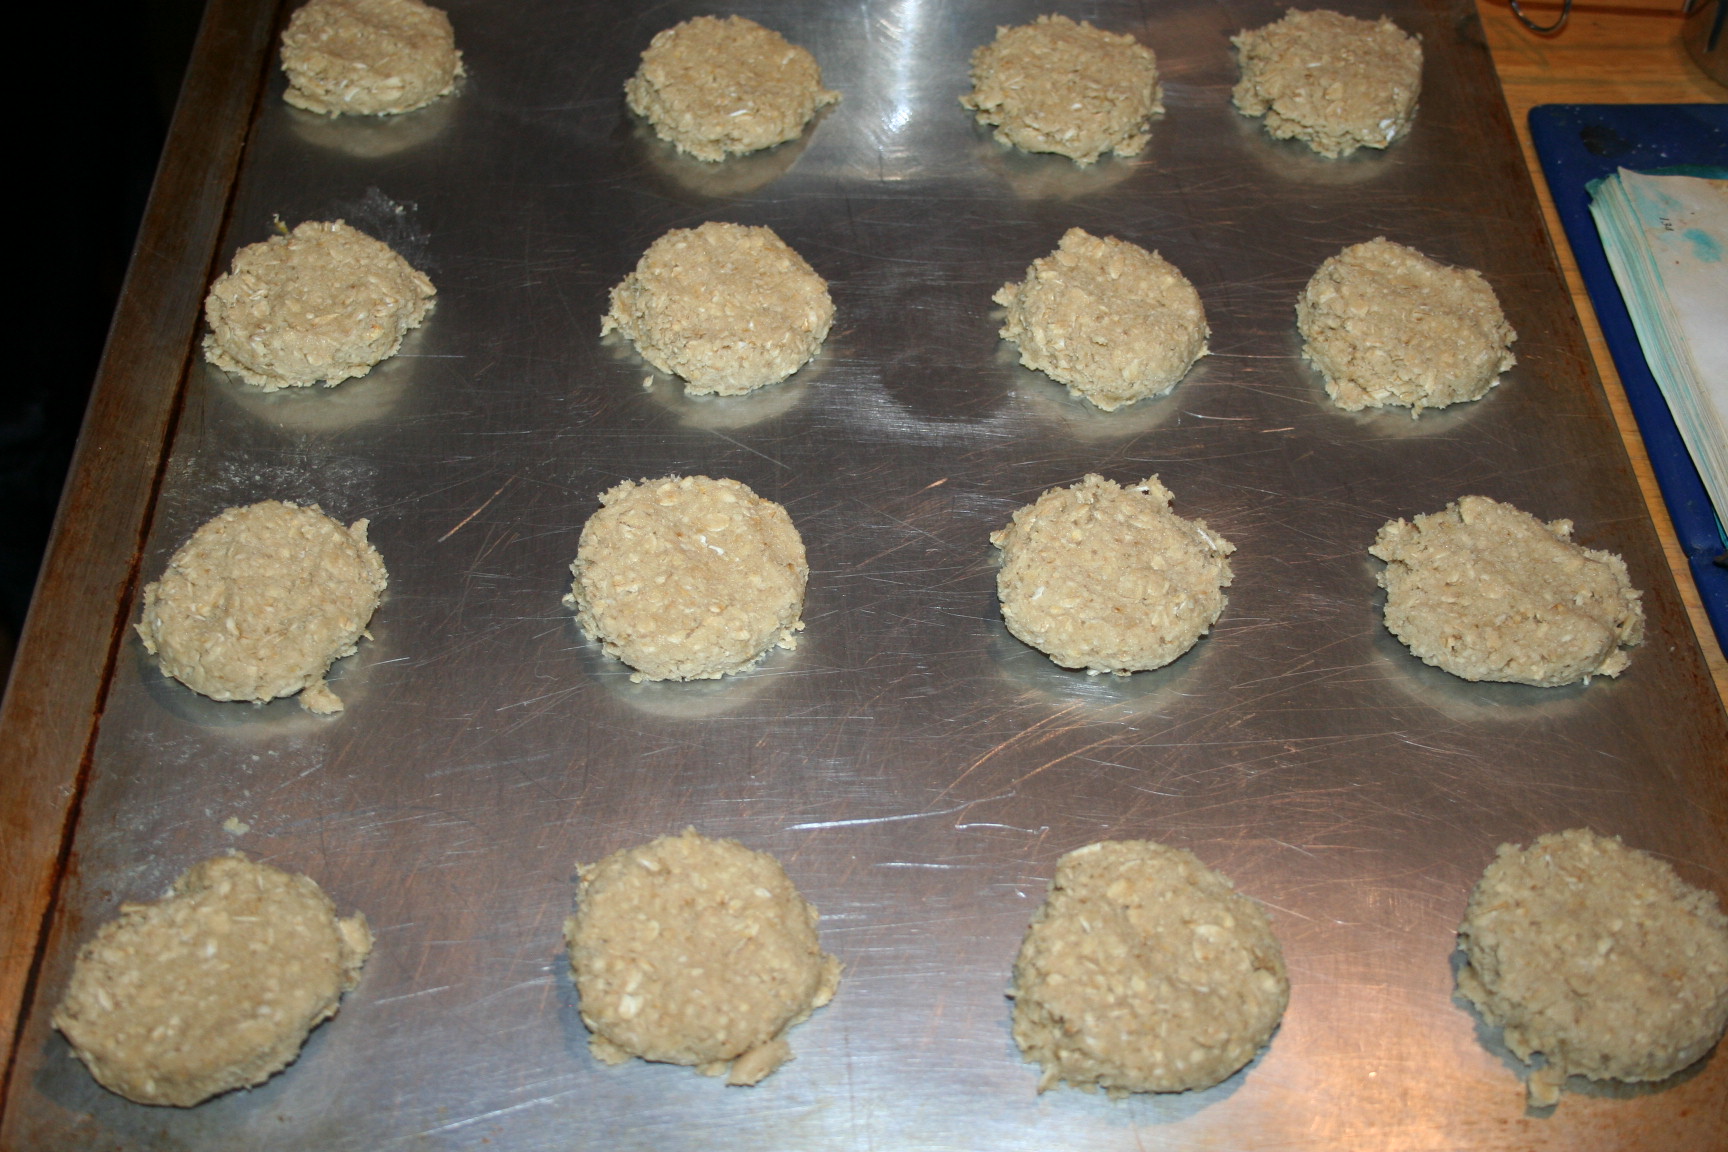
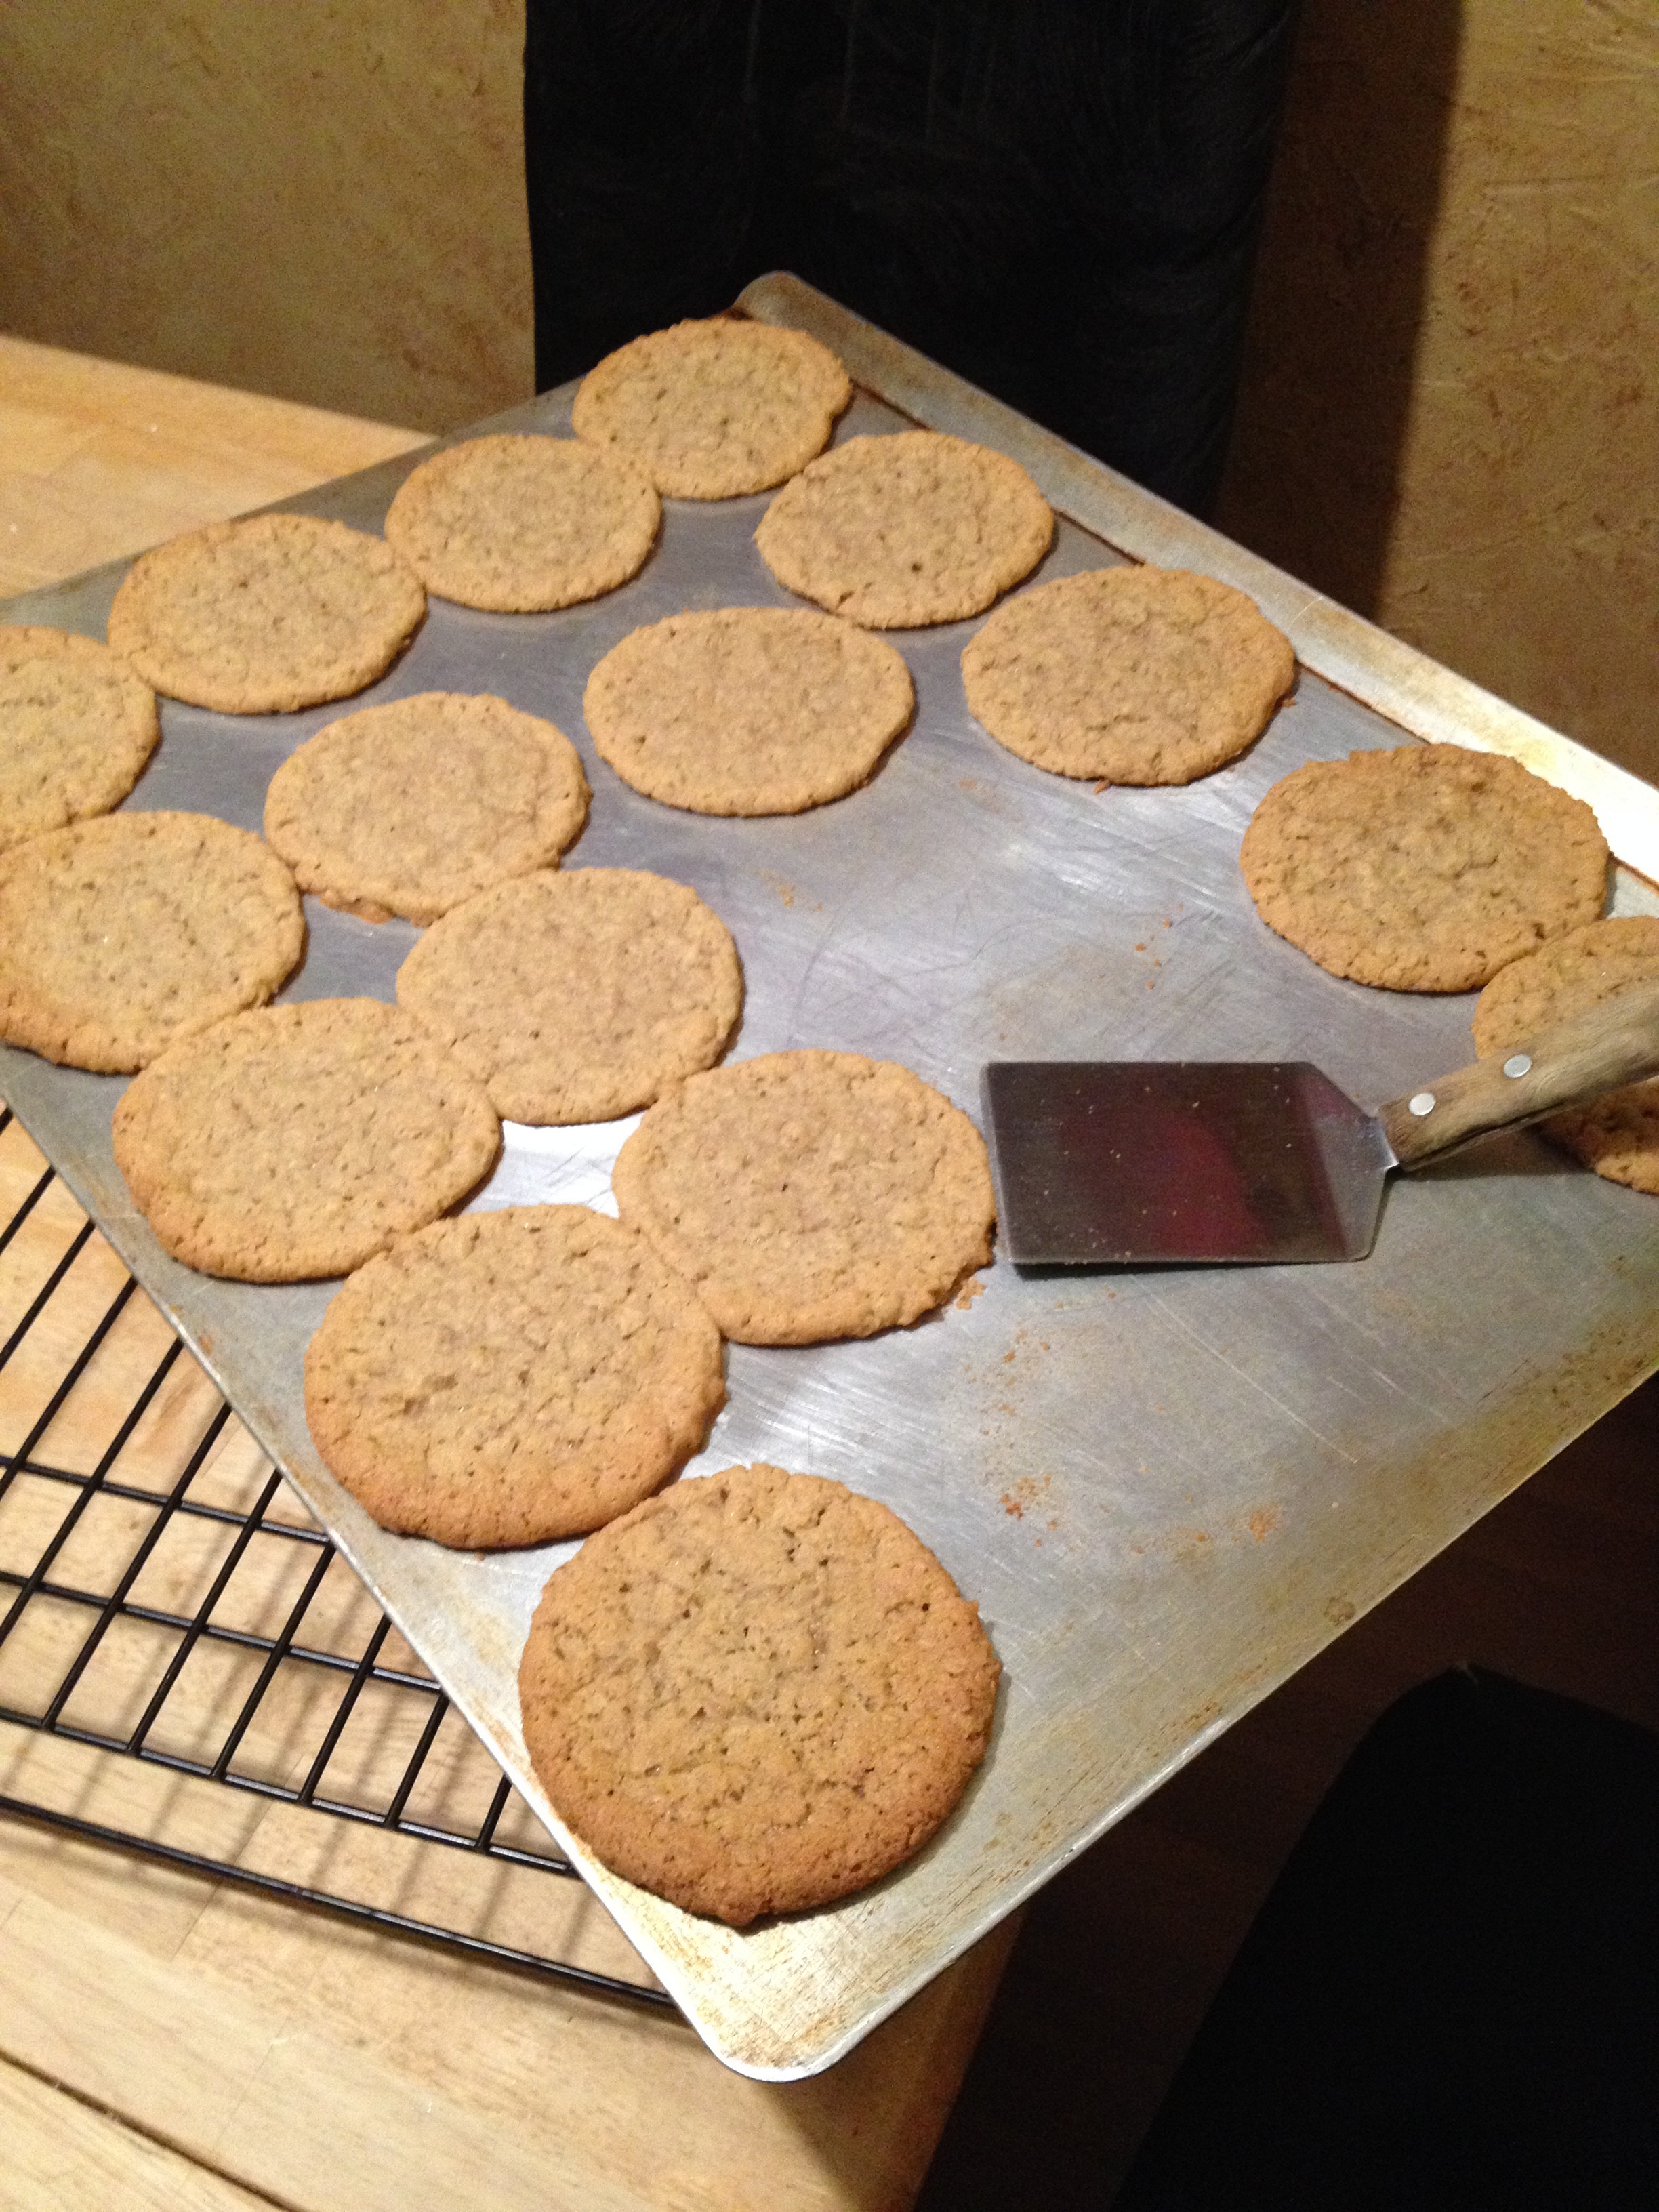
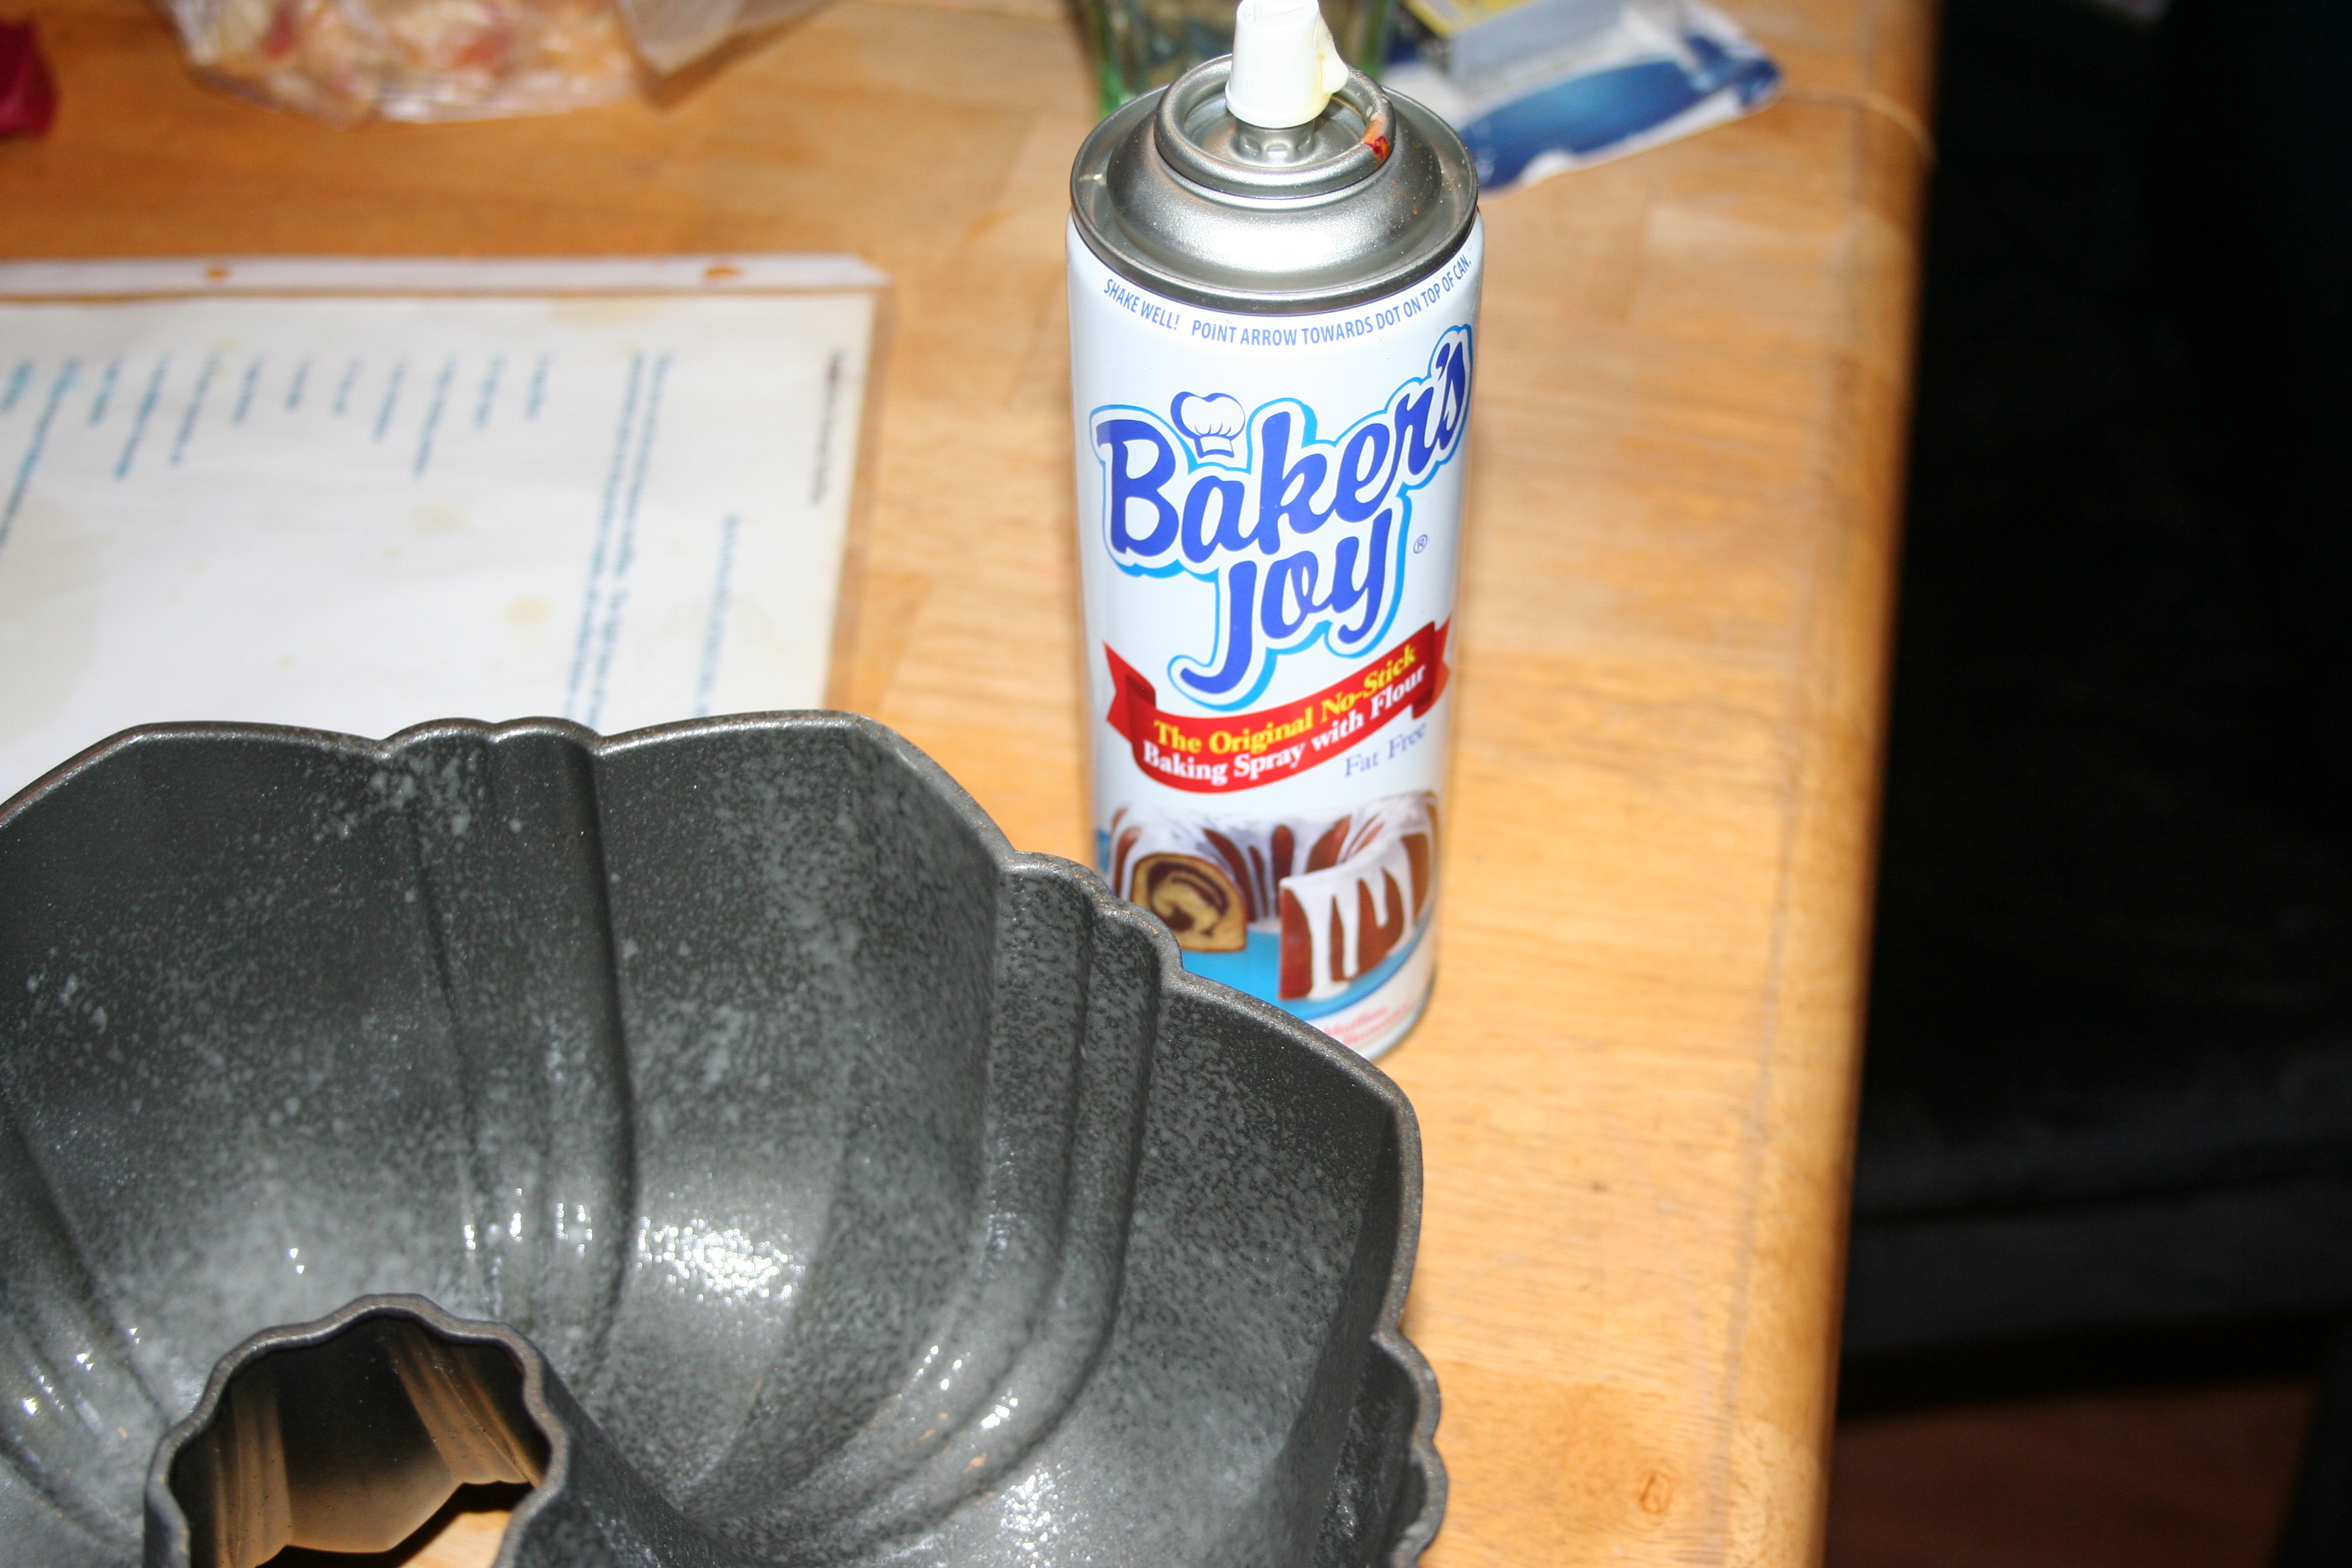
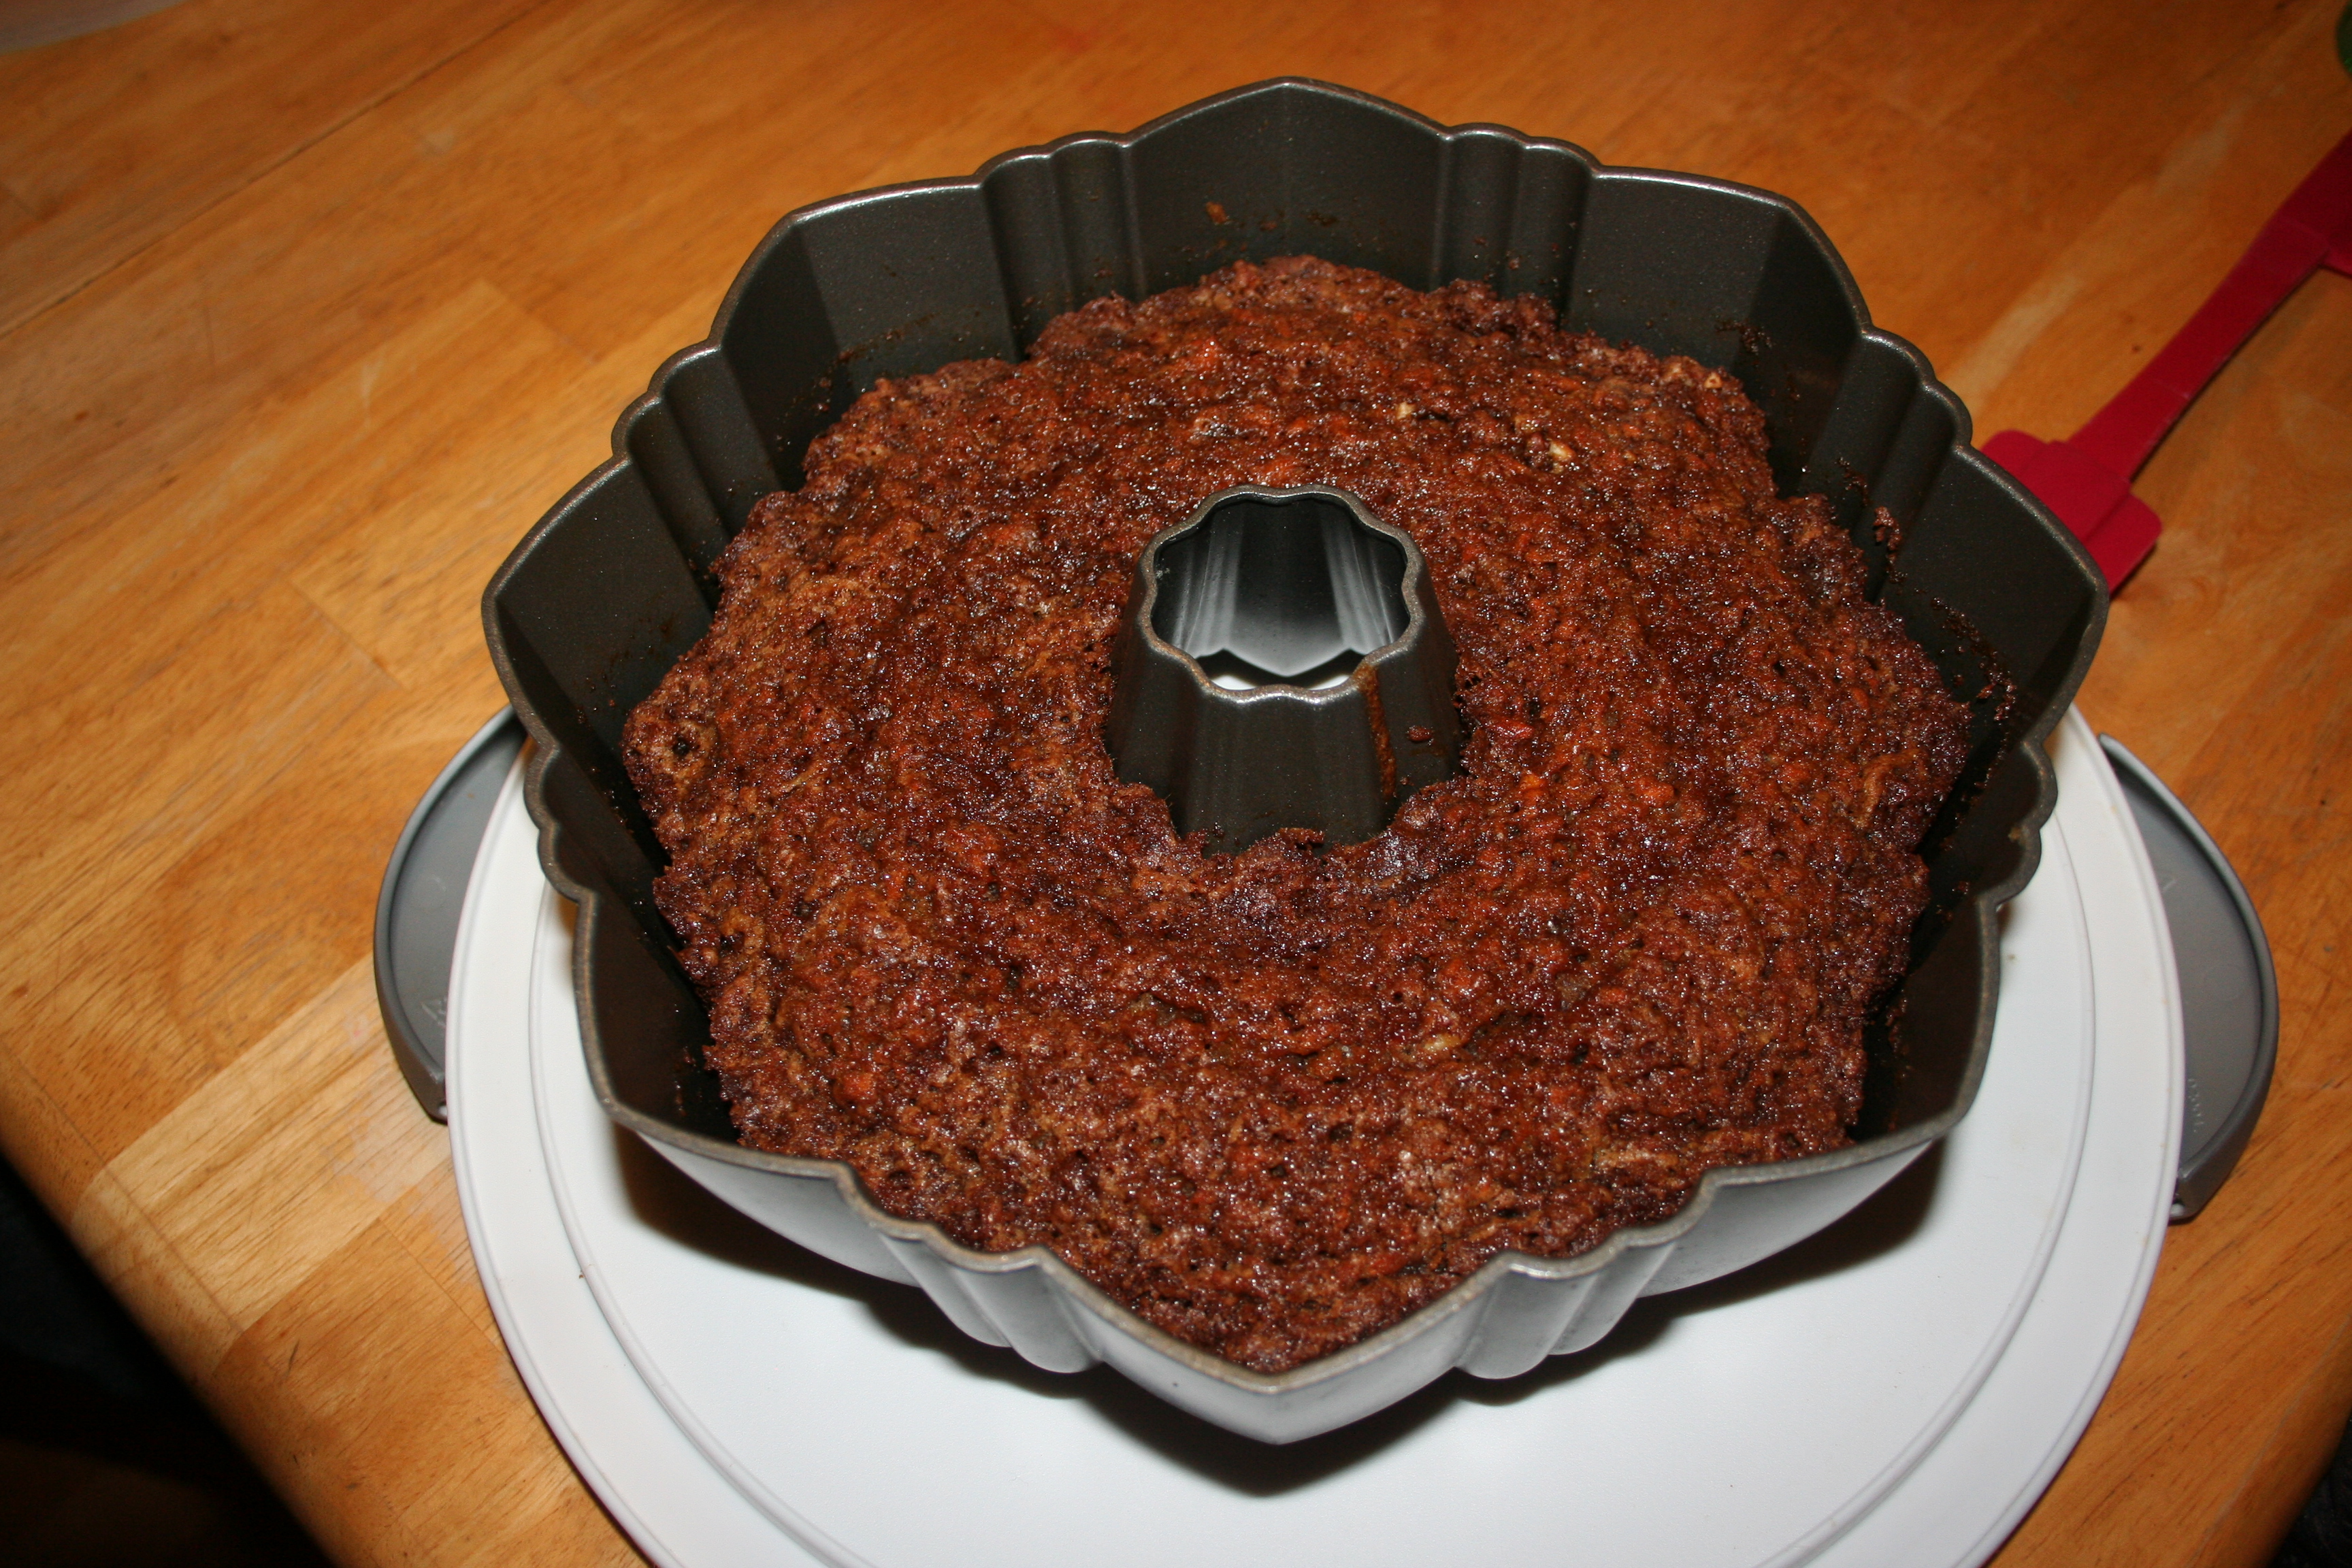
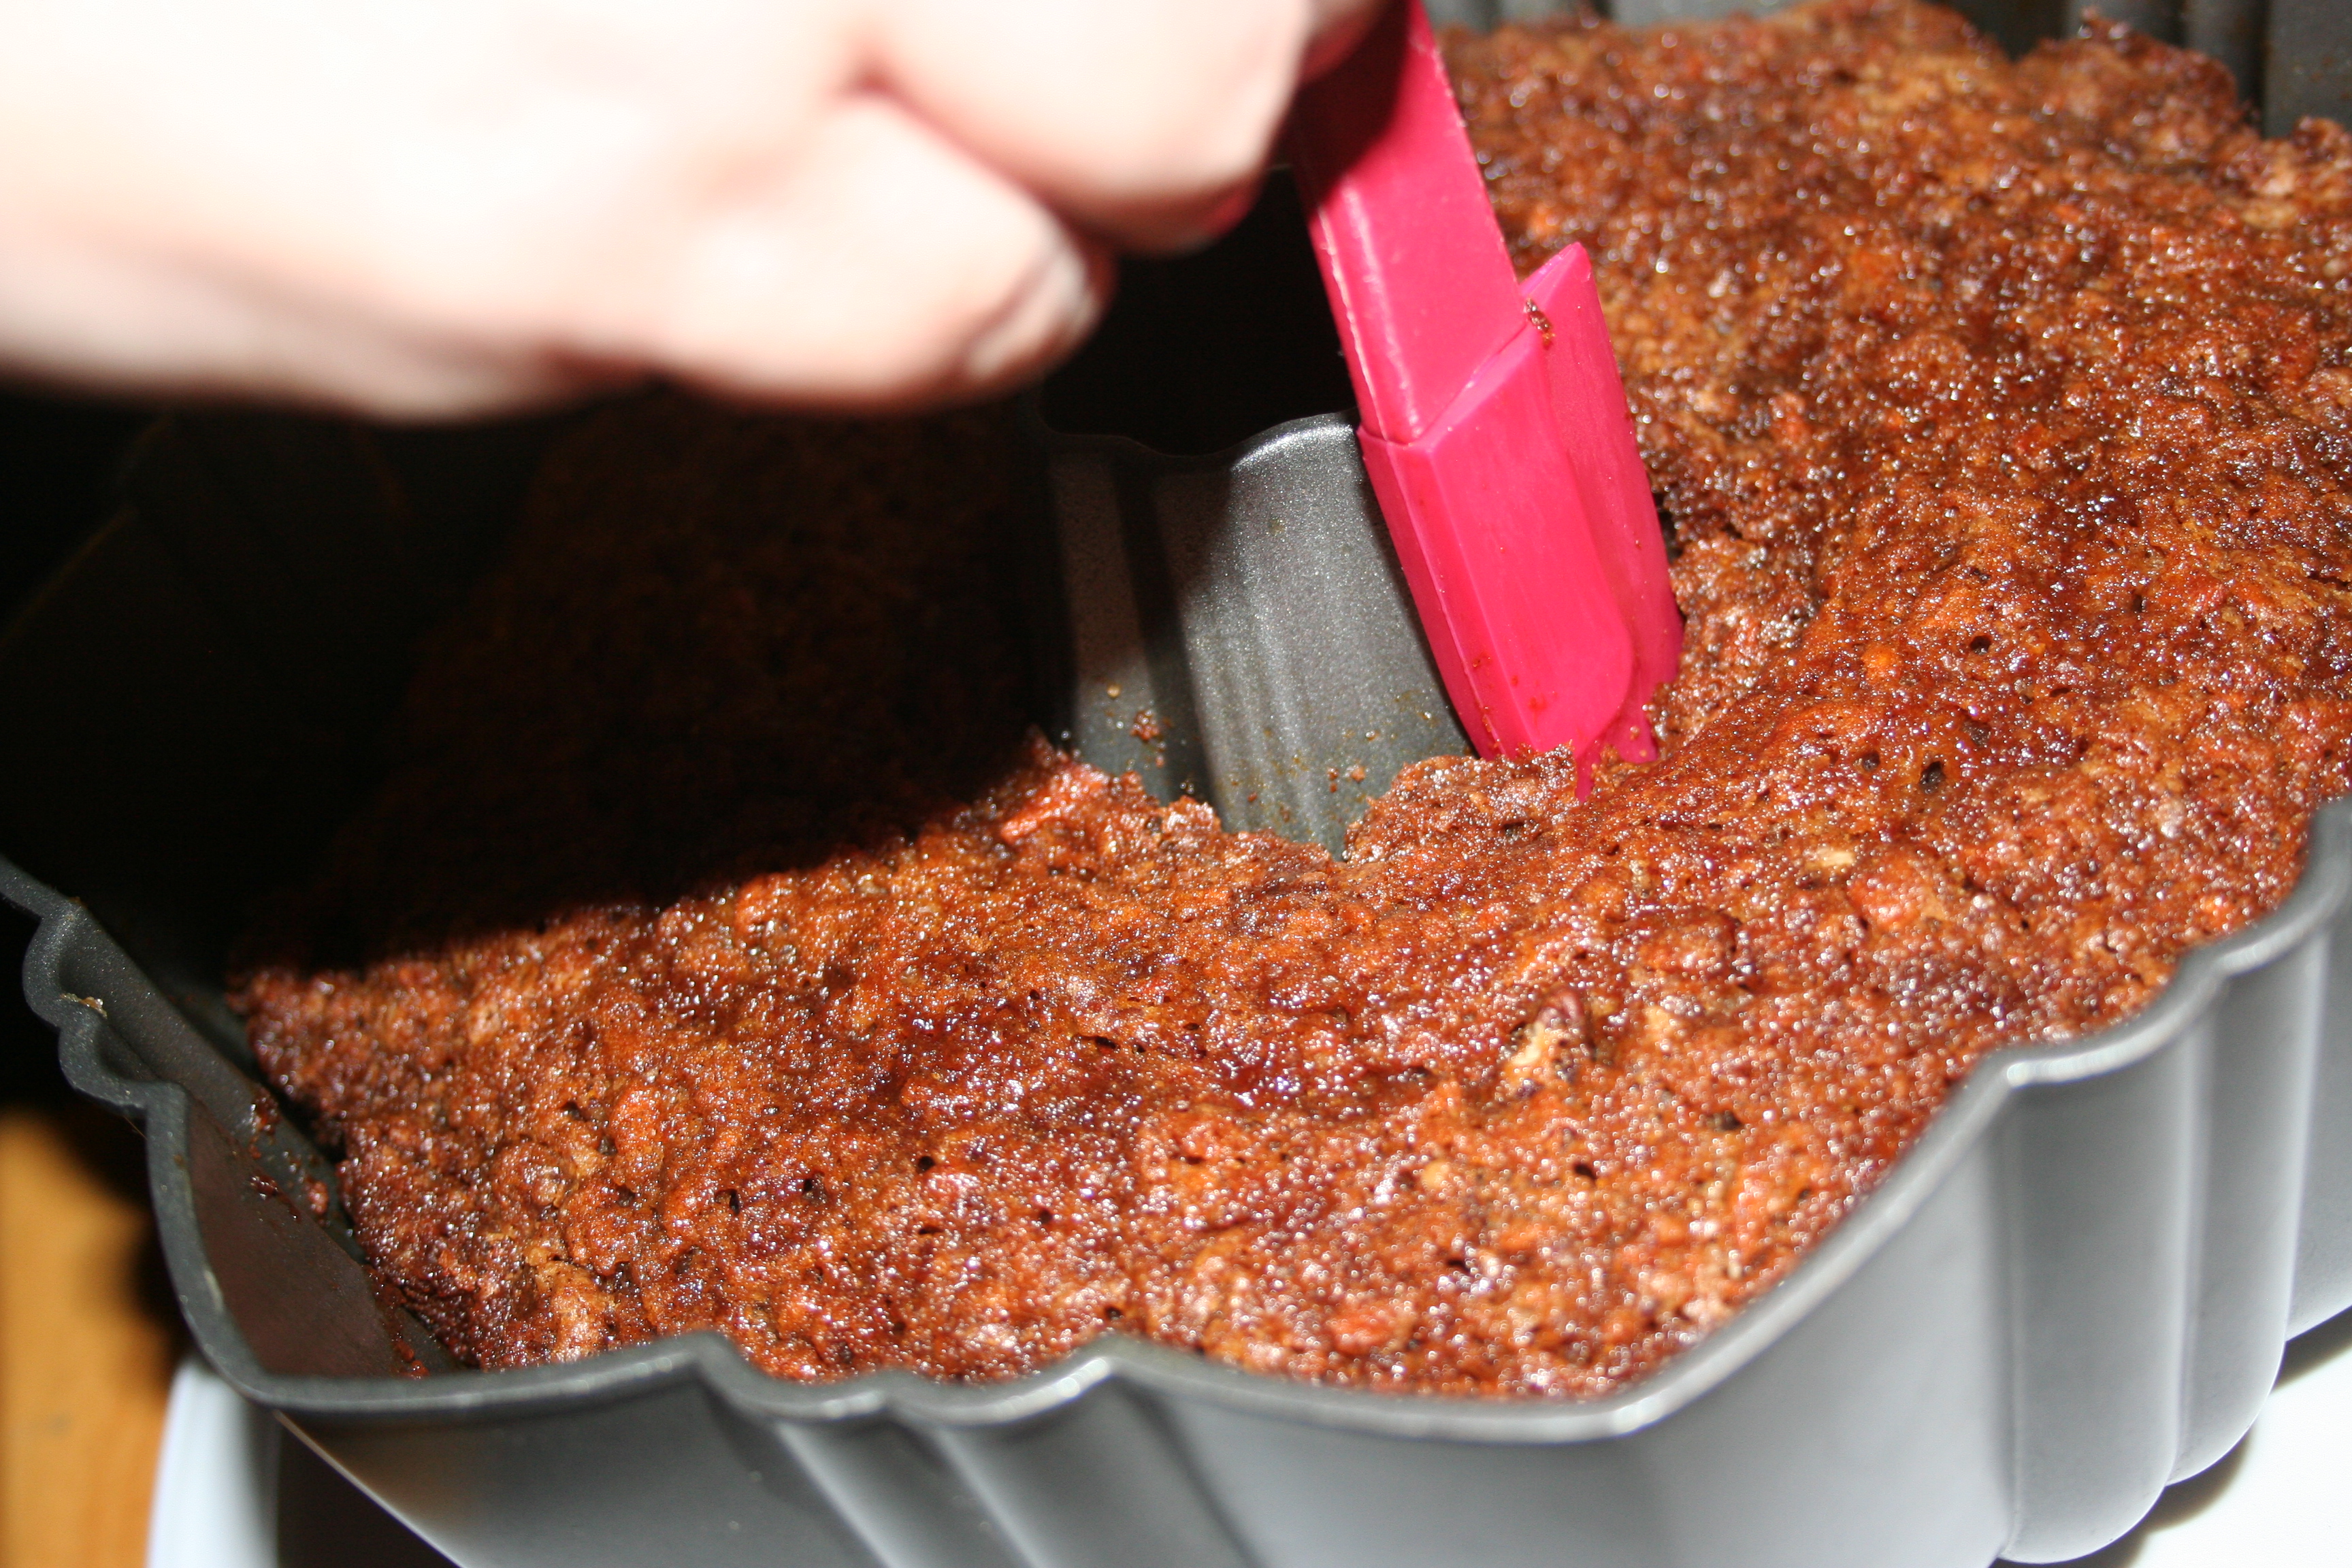
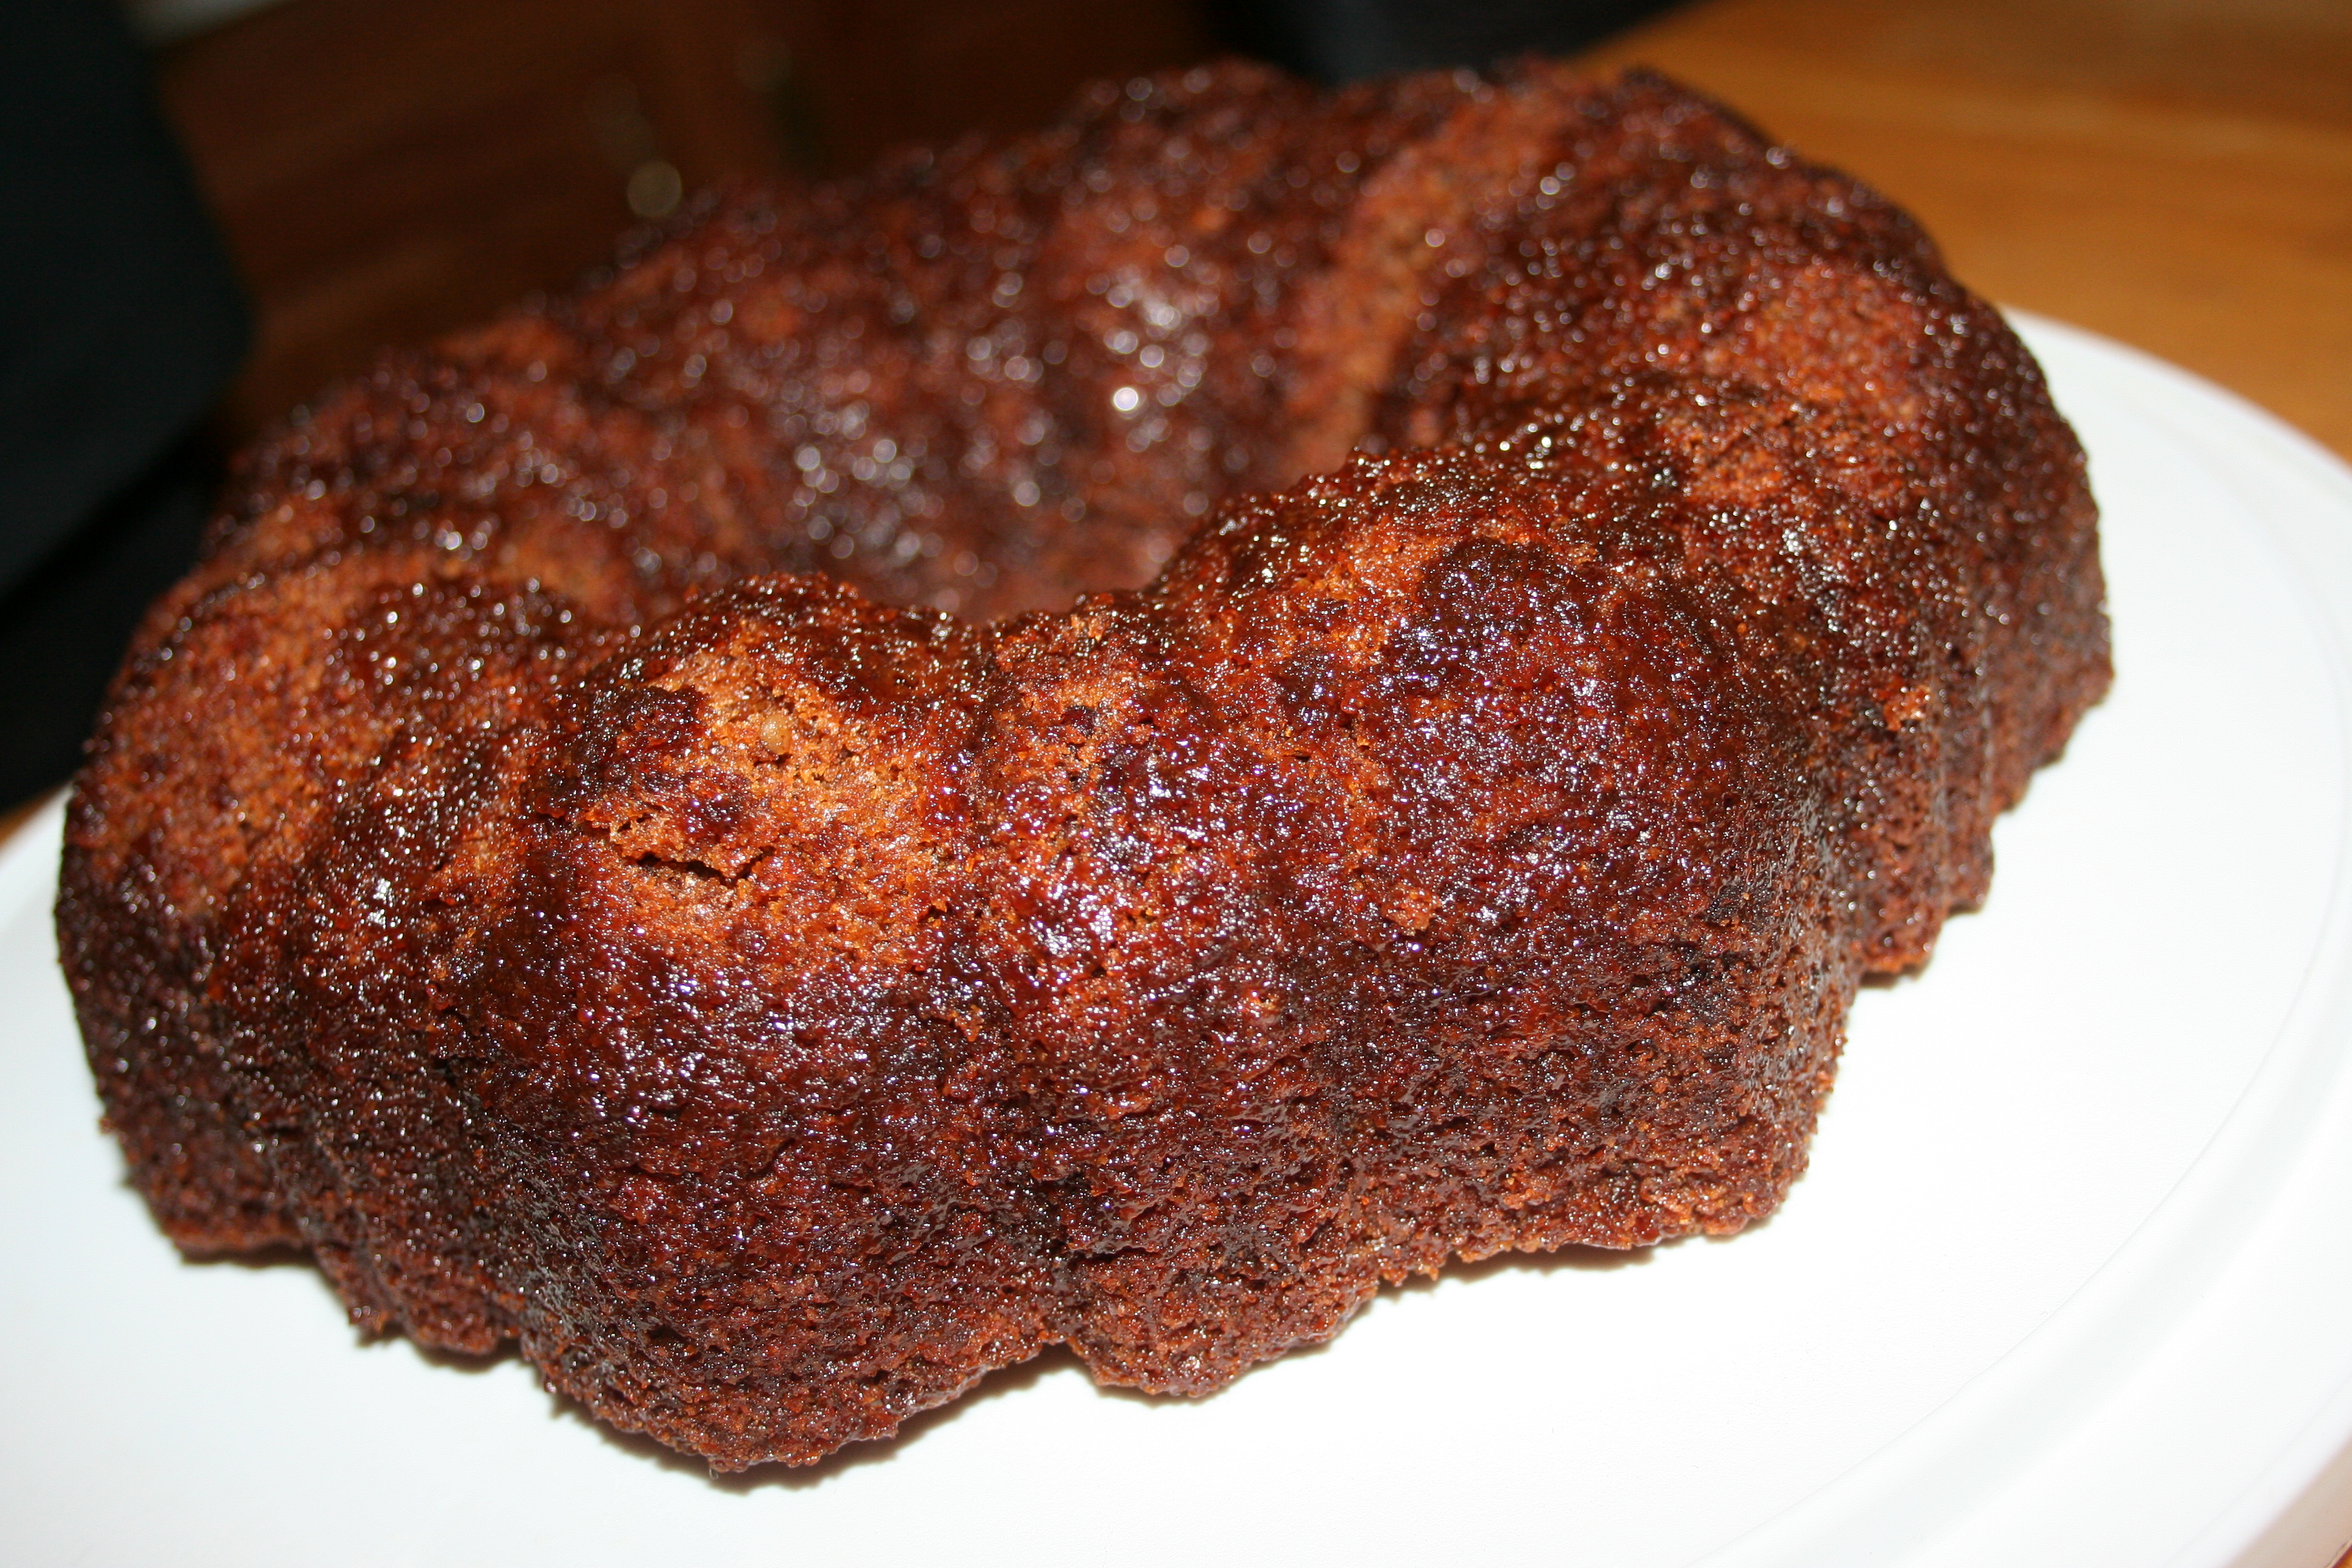
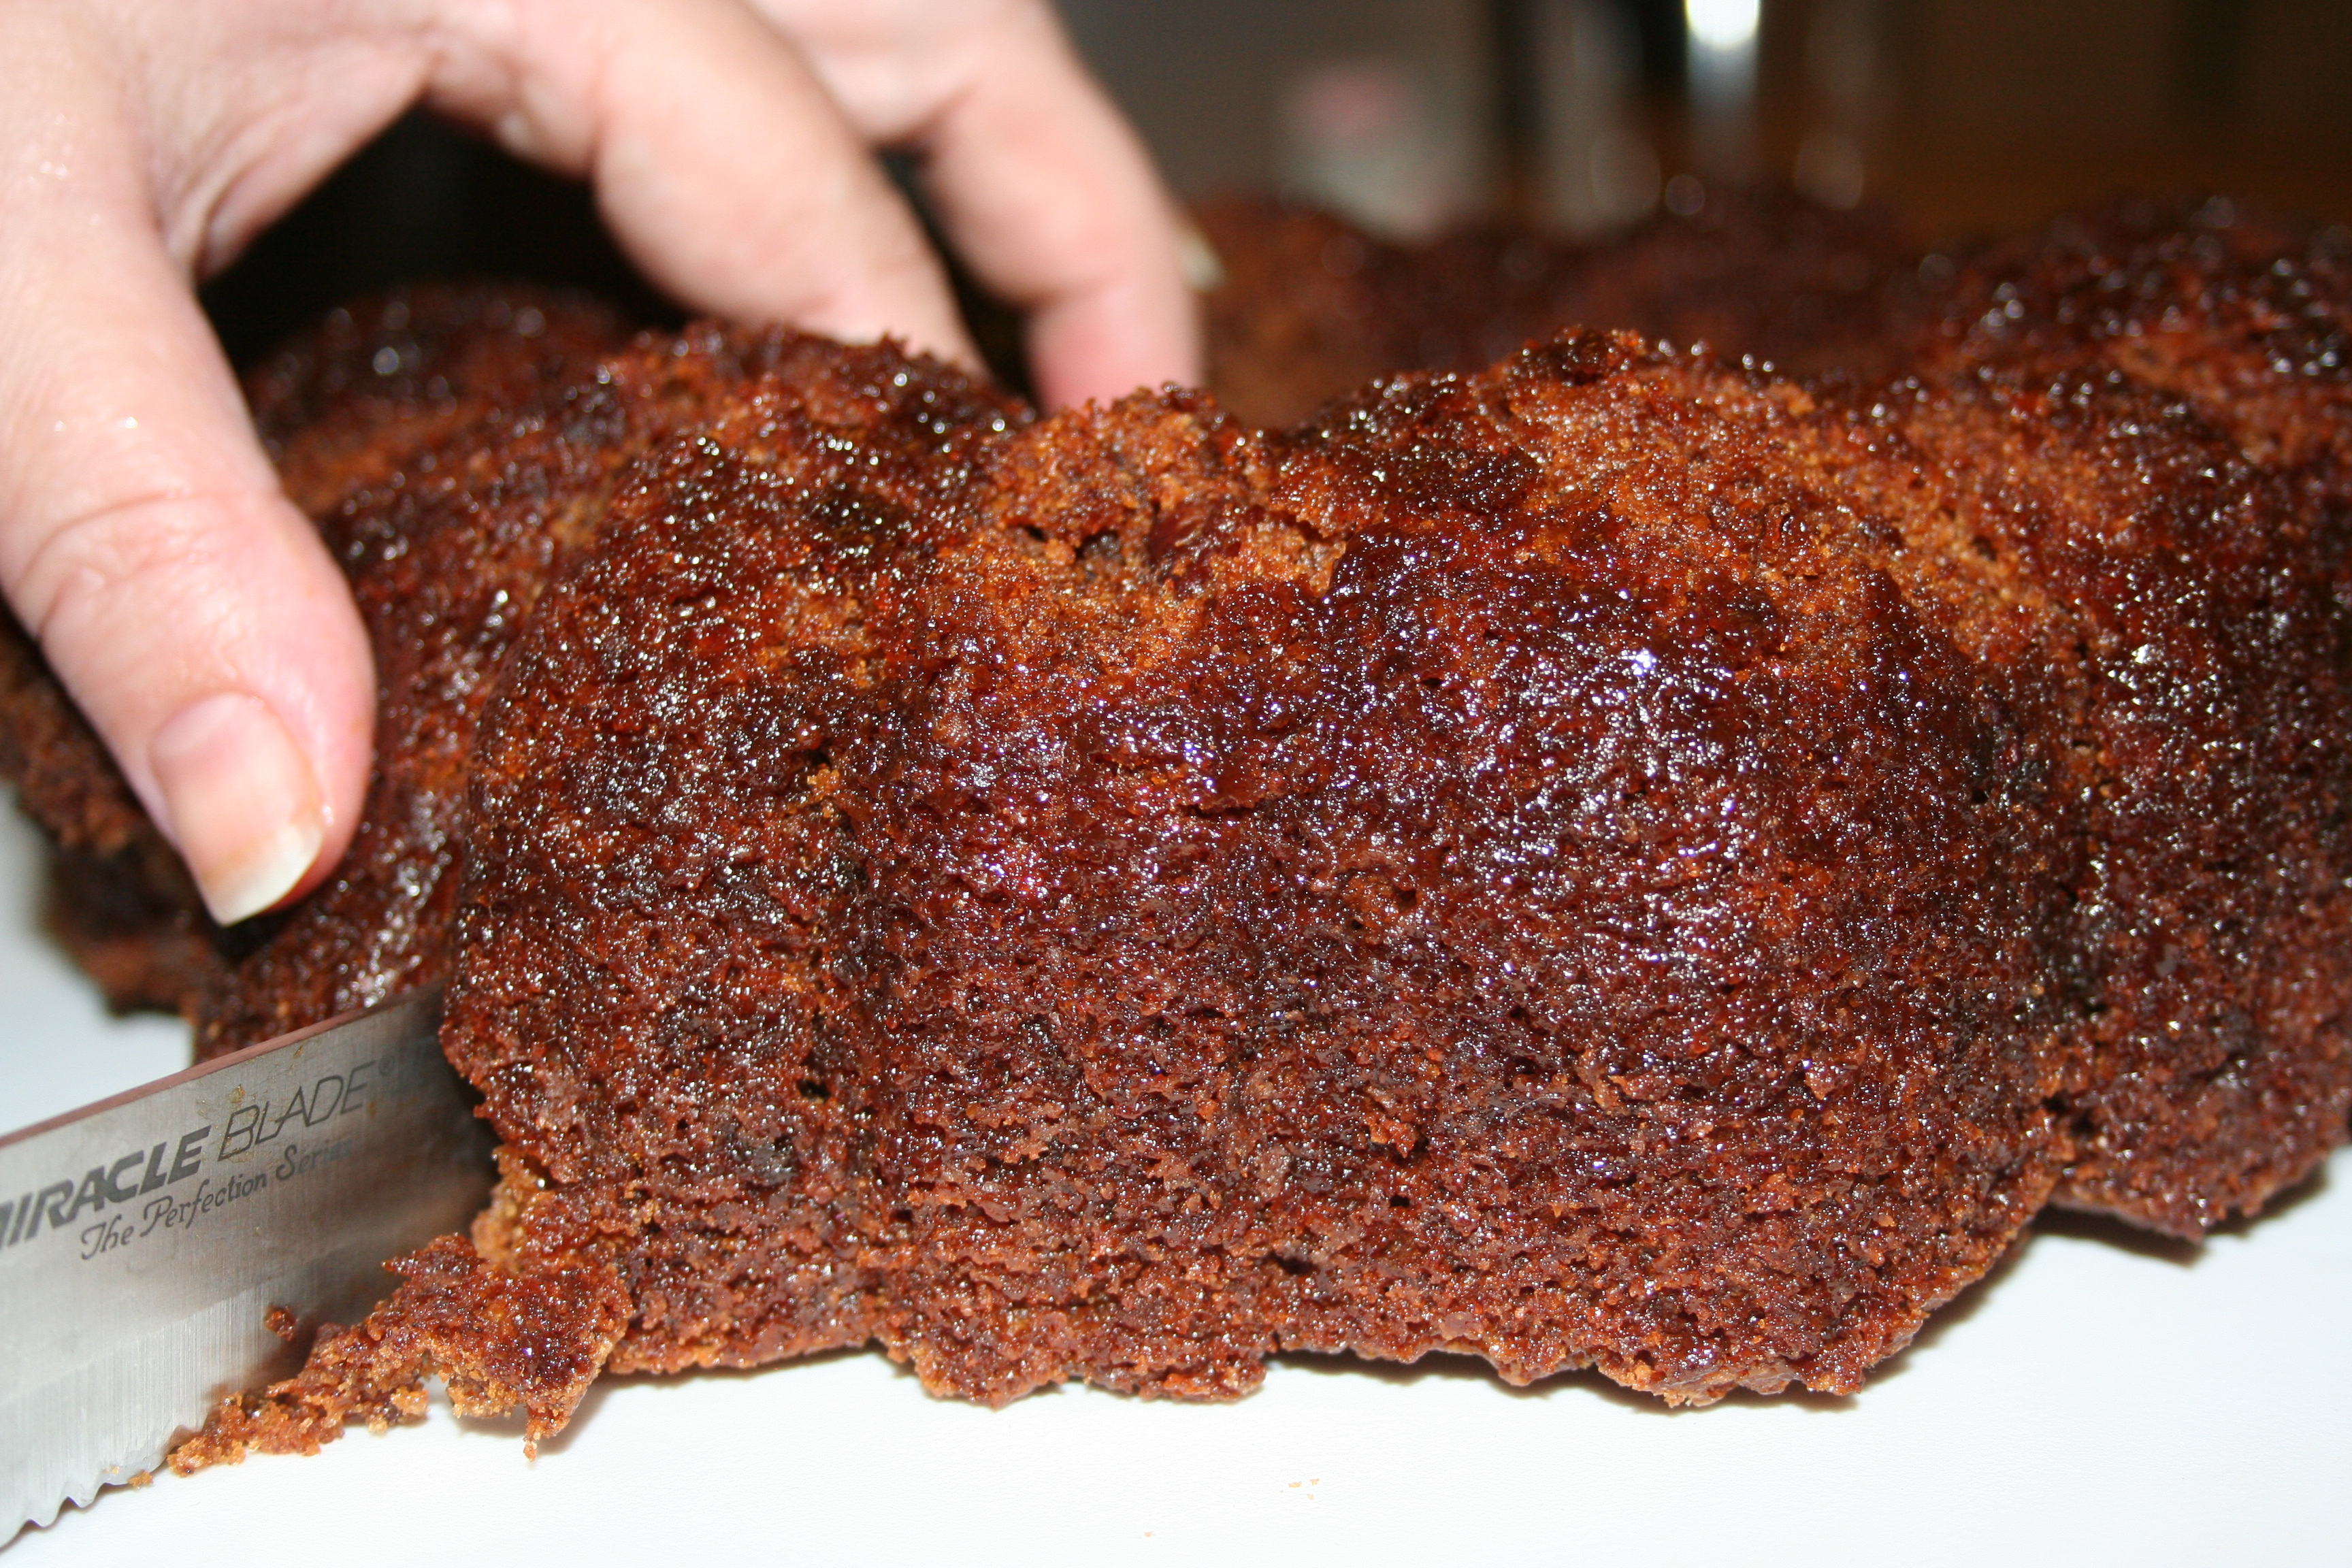
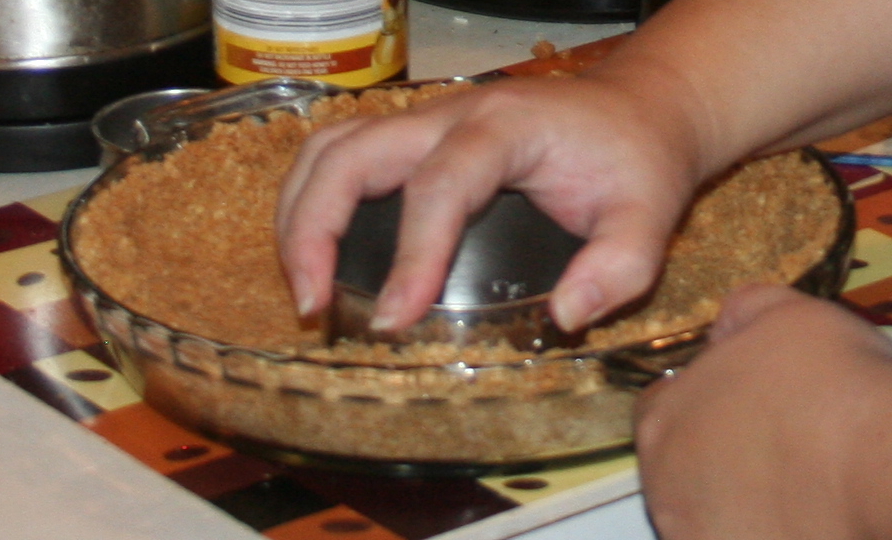
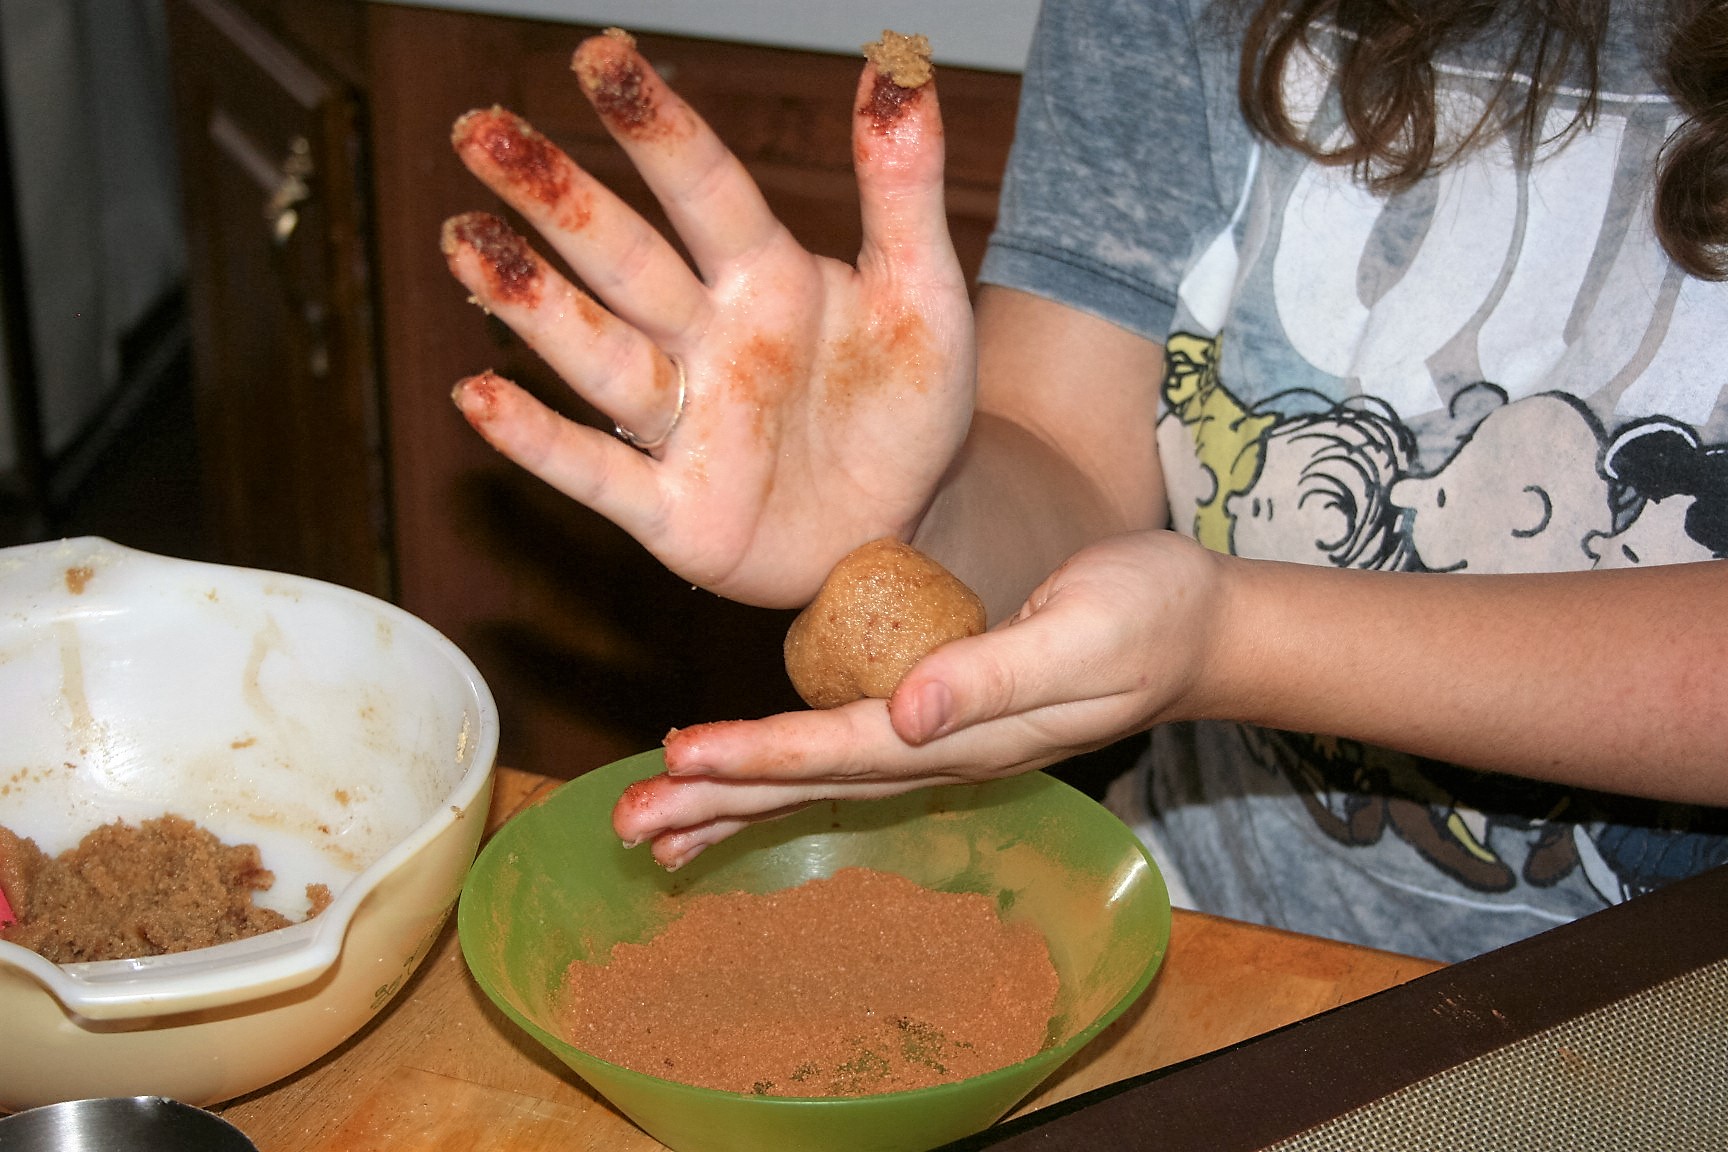
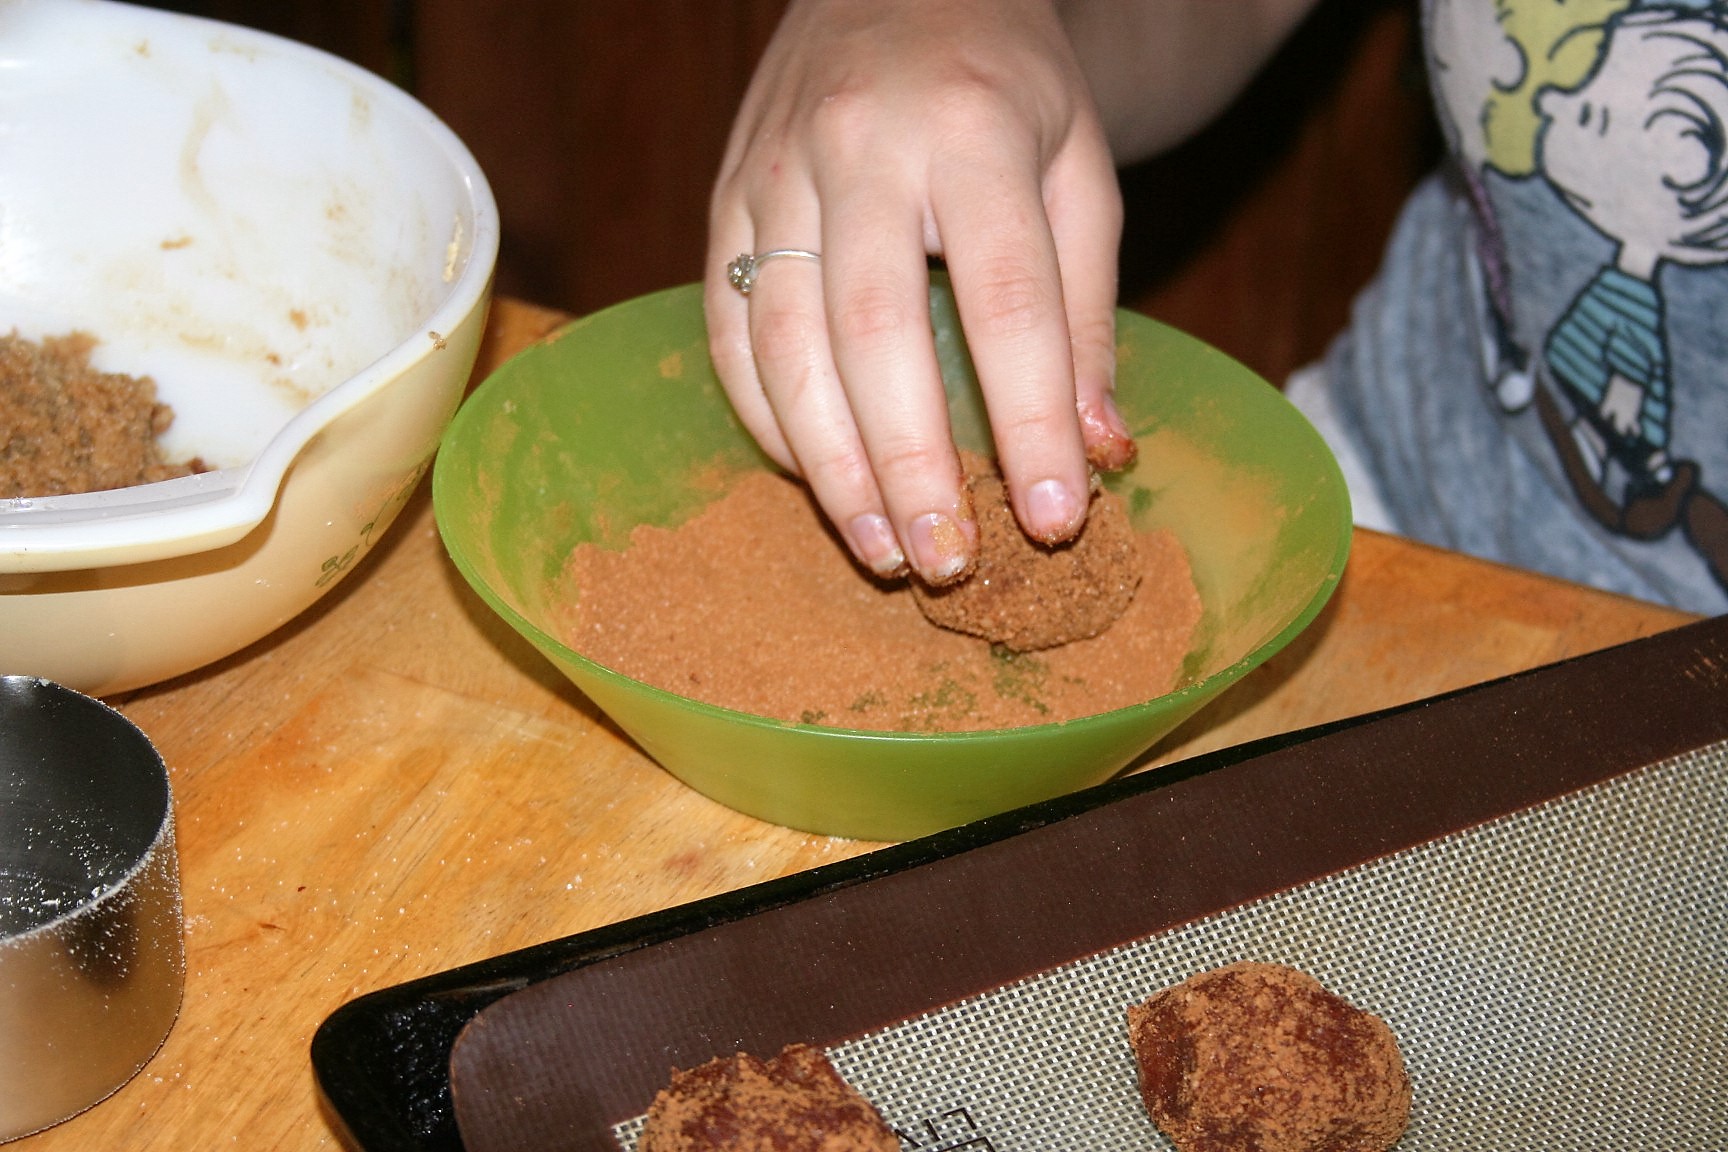
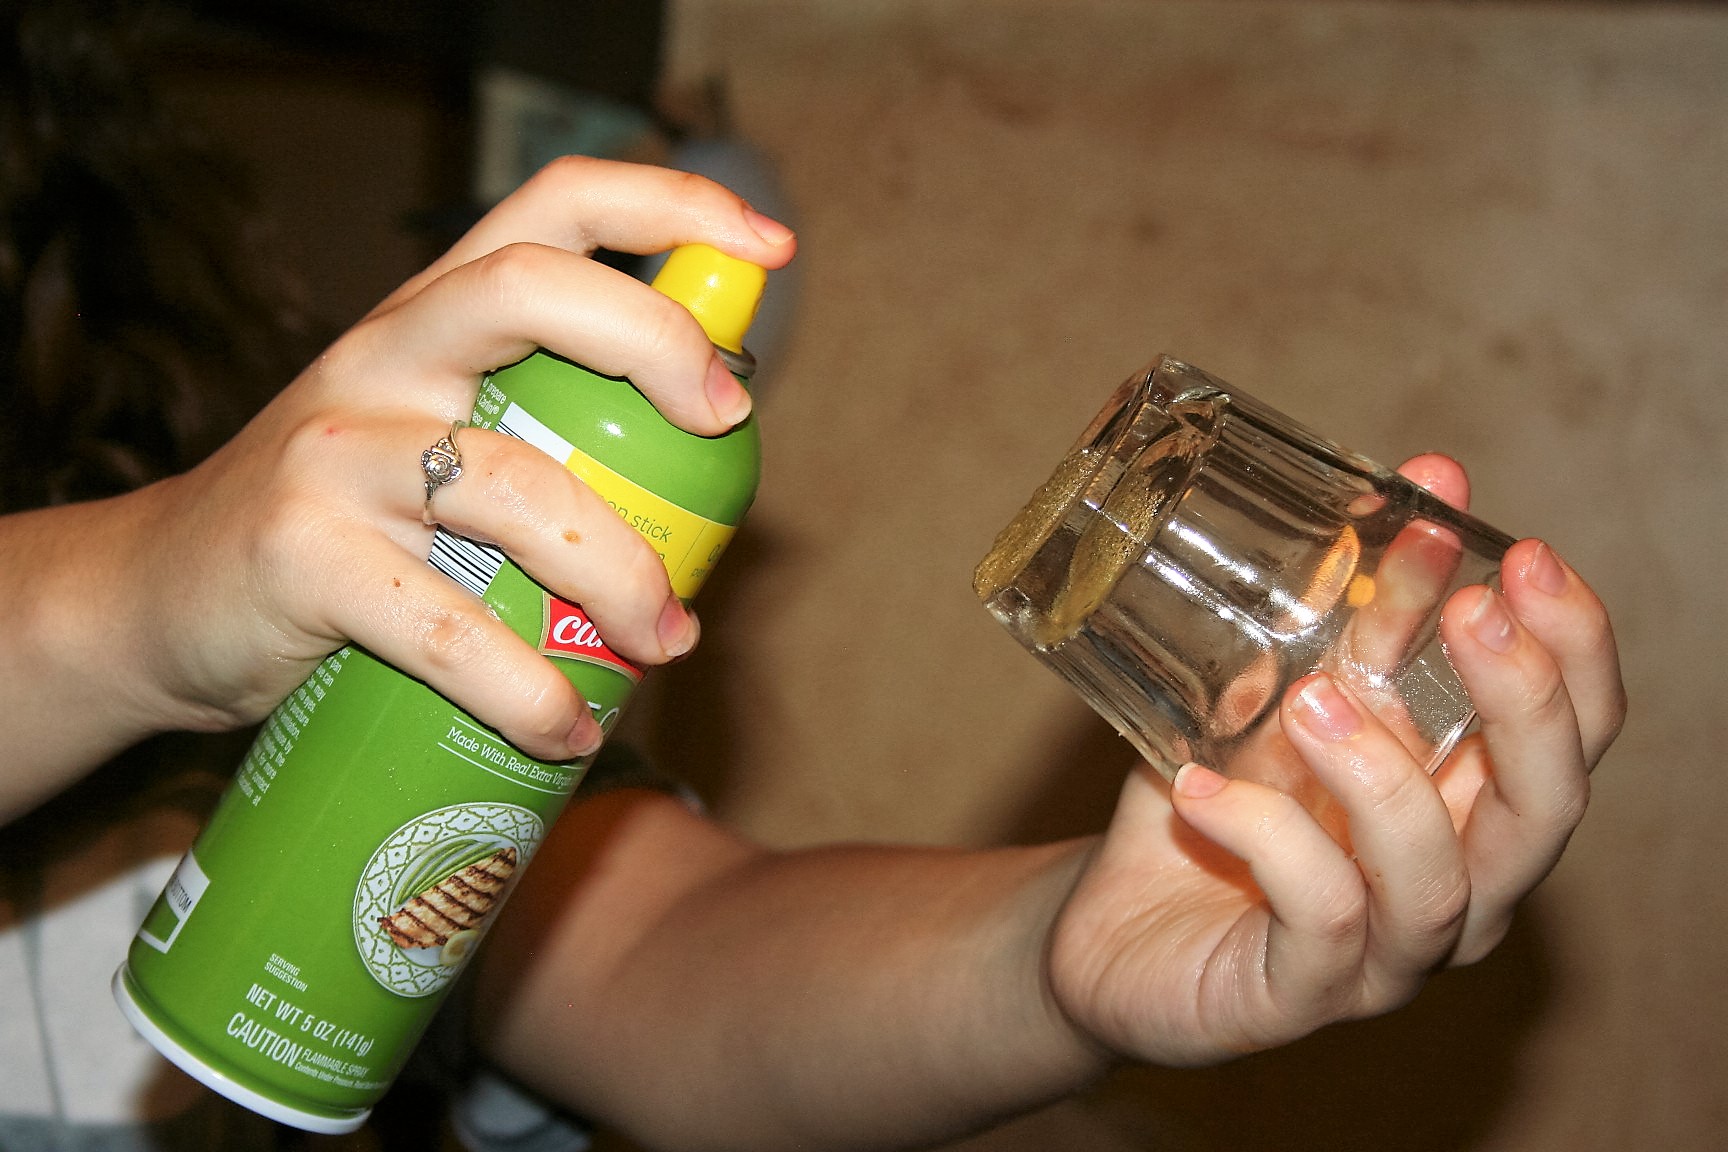
  17. Grease and flour pans. Pour batter into pans and bake at 325º. Muffins bake in 15-20 minutes and loaf pans bake in 45-60 minutes. Can wrap and freeze when nearly cool.
https://lifeofjoy.me/amish-cinnamon-bread/

If you try this, let me know what you think, and how making your own starter worked out.

Until next time, God bless,

 Michele ºÜº

Save

~ Lifeofjoy.me

Snickerdoodle Cookies-Keto version

Nice soft, sweet snickerdoodle cookie! Gluten-free and sugar free too!

So on the Ketogenics diet you have very Snickerdoodle Cookies-the Keto version ~ Lifeofjoy.melow carbs, high protein, and high fat. This means no sugar. Well, that doesn’t go over very well for this family, so we searched out some sweets. I already shared the avocado pudding/mousse. It is good but I wanted something with a little toothiness to it.

Because these are made with almond flour and no wheat, they are gluten free. Don’t be confused though, they are not low calorie. ;)

Preheat the oven to 350º. Combine the almond flour, baking soda, and salt in a medium-sized bowl.

Snickerdoodle Cookies-the Keto version ~ Lifefofjoy.meIn a separate bowl, combine coconut oil, sugar free maple syrup, vanilla, and liquid stevia.

Snickerdoodle Cookies-the Keto version ~ Lifefofjoy.meCombine the two until a dough is formed.

Snickerdoodle Cookies-the Keto version ~ Lifefofjoy.meCombine the erythritol and cinnamon in another small bowl.

Snickerdoodle Cookies-the Keto version ~ Lifefofjoy.meRoll the dough into balls and then into the cinnamon “sugar” mixture. Then put them on a silpat.

Snickerdoodle Cookies-the Keto version ~ Lifefofjoy.meSnickerdoodle Cookies-the Keto version ~ Lifefofjoy.meSnickerdoodle Cookies-the Keto version ~ Lifefofjoy.meSpray the bottom of a glass or measuring cup with cooking spray.

Snickerdoodle Cookies-the Keto version ~ Lifefofjoy.meSquash the dough balls a bit.

Snickerdoodle Cookies-the Keto version ~ Lifefofjoy.meTiffany said she squished them just a tiny bit too much this time, so squash them a bit less than pictured here. ;) They still turned out really good.

Snickerdoodle Cookies-the Keto version ~ Lifefofjoy.meBake for 9-10 minutes, remove and let cool. Enjoy!

Snickerdoodle Cookies-the Keto version ~ Lifeofjoy.me

Snickerdoodle Cookies-Keto version

Ingredients

  • 2 cups almond flour
  • 1/4 teaspoon baking soda
  • pinch salt
  • 1/4 cup coconut oil
  • 1/4 cup sugar free maple syrup
  • 1 tablespoon pure vanilla
  • 7 drops liquid stevia
  • 2 Tablespoons cinnamon
  • 2 Tablespoons erythritol

Instructions

  1. Preheat oven to 350º
  2. Combine almond flour, baking soda, and salt in medium size bowl
  3. Combine coconut oil, sugar free maple syrup, vanilla, and liquid stevia in another bowl.
  4. Mix the two together until a dough is formed
  5. Combine cinnamon and erithitol in another bowl
  6. Roll dough into balls and then into the cinnamon "sugar" mixture and place them on a cookie sheet lined with a silpat
  7. Spray the bottom of a glass or measuring cup with oil and squash the ball a bit.
  8. Bake for 9-10 minutes, remove, cool, and eat!
https://lifeofjoy.me/snickerdoodle-cookies-keto-version/

We got this recipe from ruled.me, which is a wonderful resource for keto (and gluten free) recipes. He has a recipe for the sugar free maple syrup over there too, if you don’t have any store-bought available to you or just want to make it yourself.

Until next time, God bless,

Michele ºÜº

Save

Save

Keto Chocolate Mousse ~ Lifeofjoy.me

Keto Chocolate Mousse

Avocado, yes avocado, makes this mouse really good for you and you cannot tell it is there.

My family craves sweets. I haven’t for quite some time now; I think it must be the chelated magnesium I have been taking for the last four or five years. I really don’t crave anything but that does not mean that I done desire to have certain foods at times . . . those creamy foods or pizza get me in the end. ;)

Anyway, we have been doing the ketogenic diet for the past several weeks and I have loved it. I get to eat protein and fat and cheese! :) 
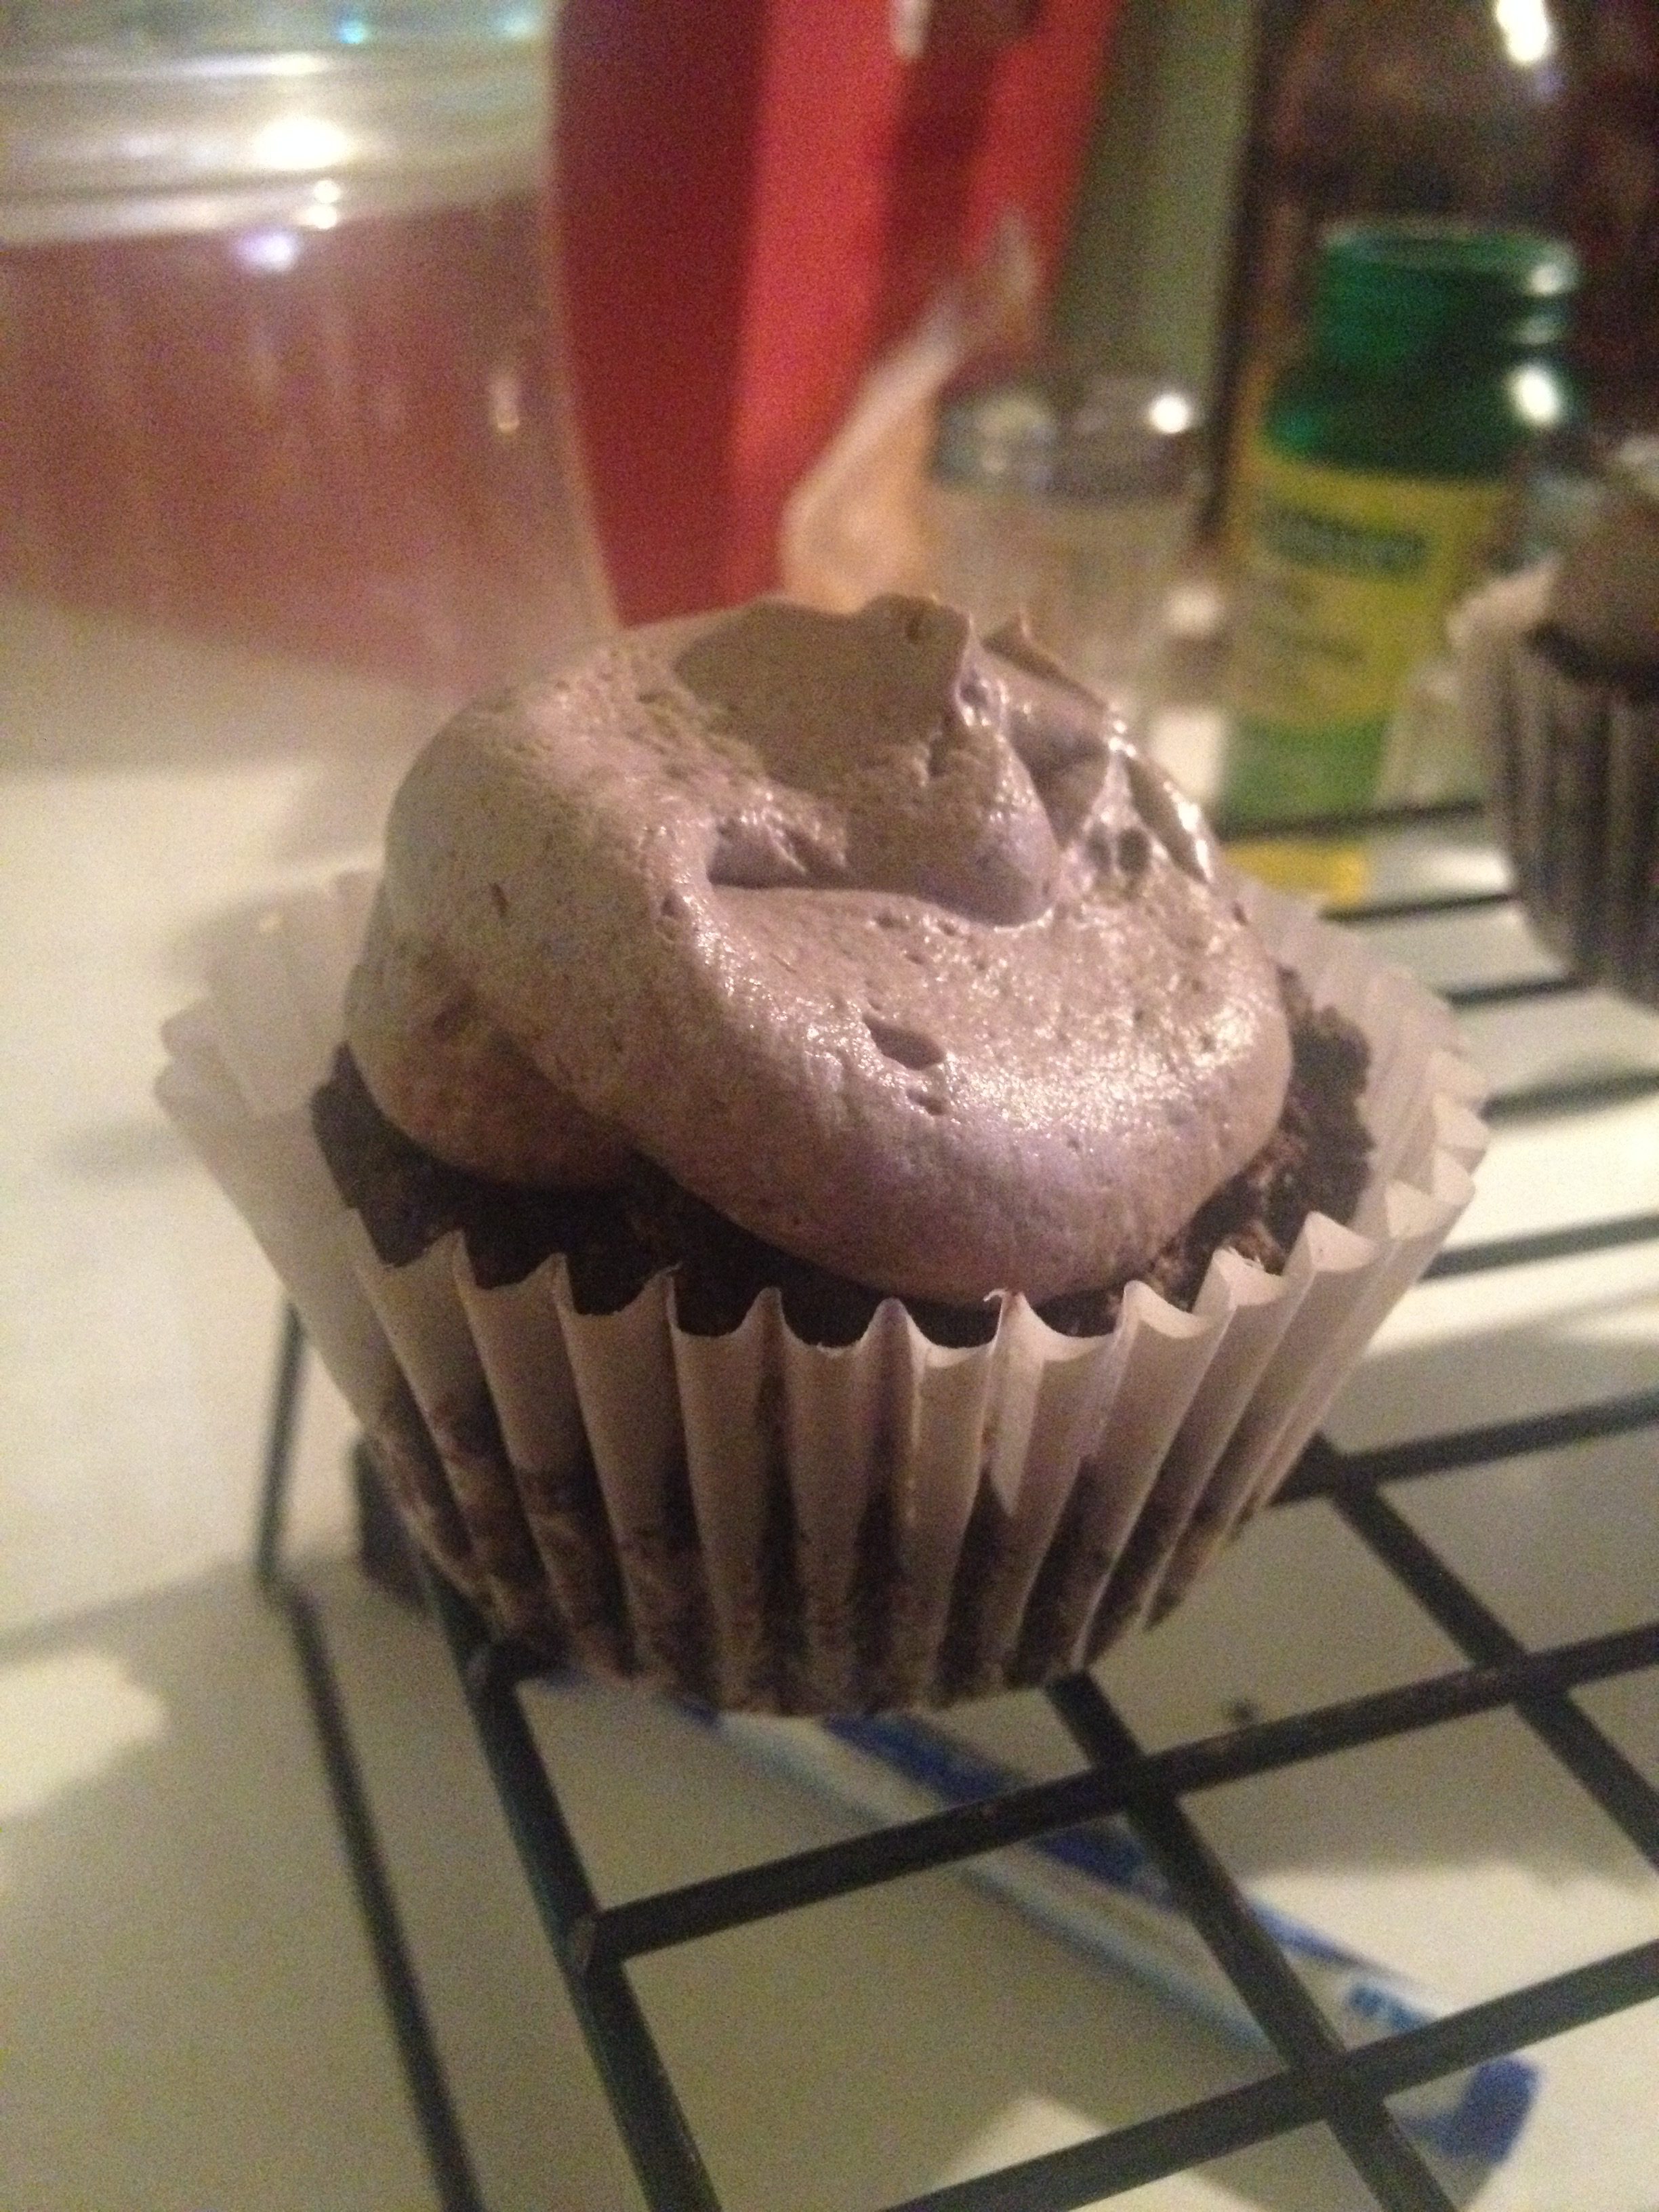
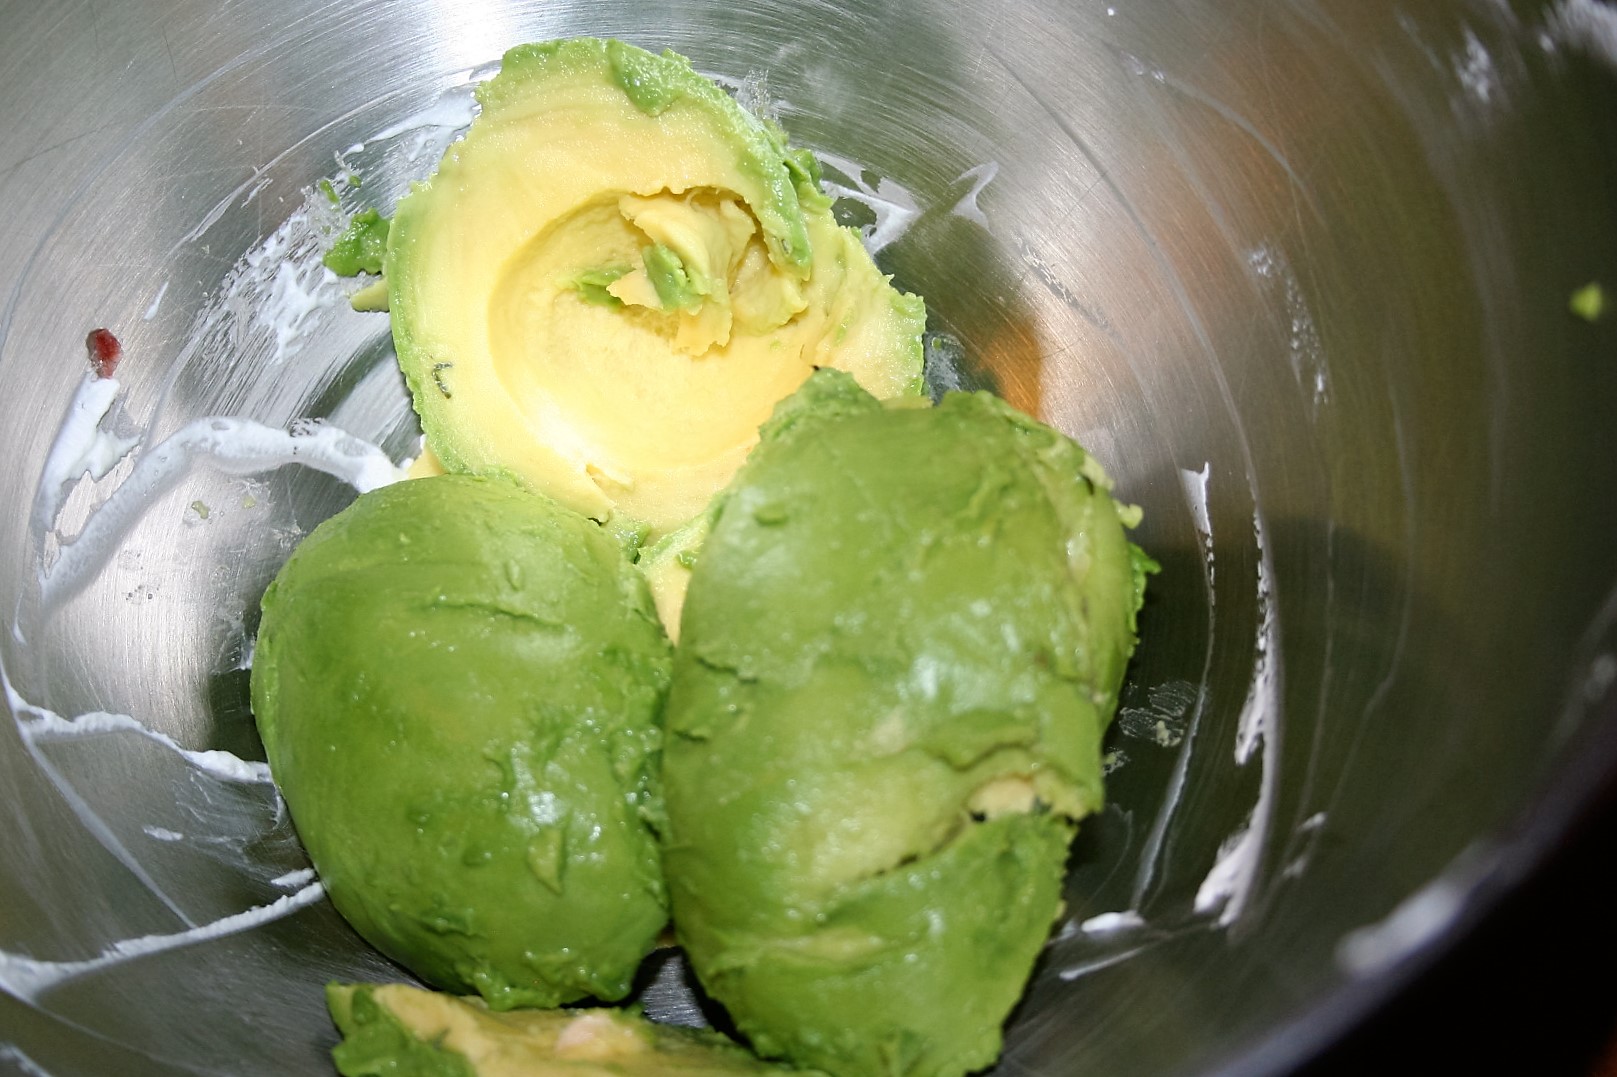
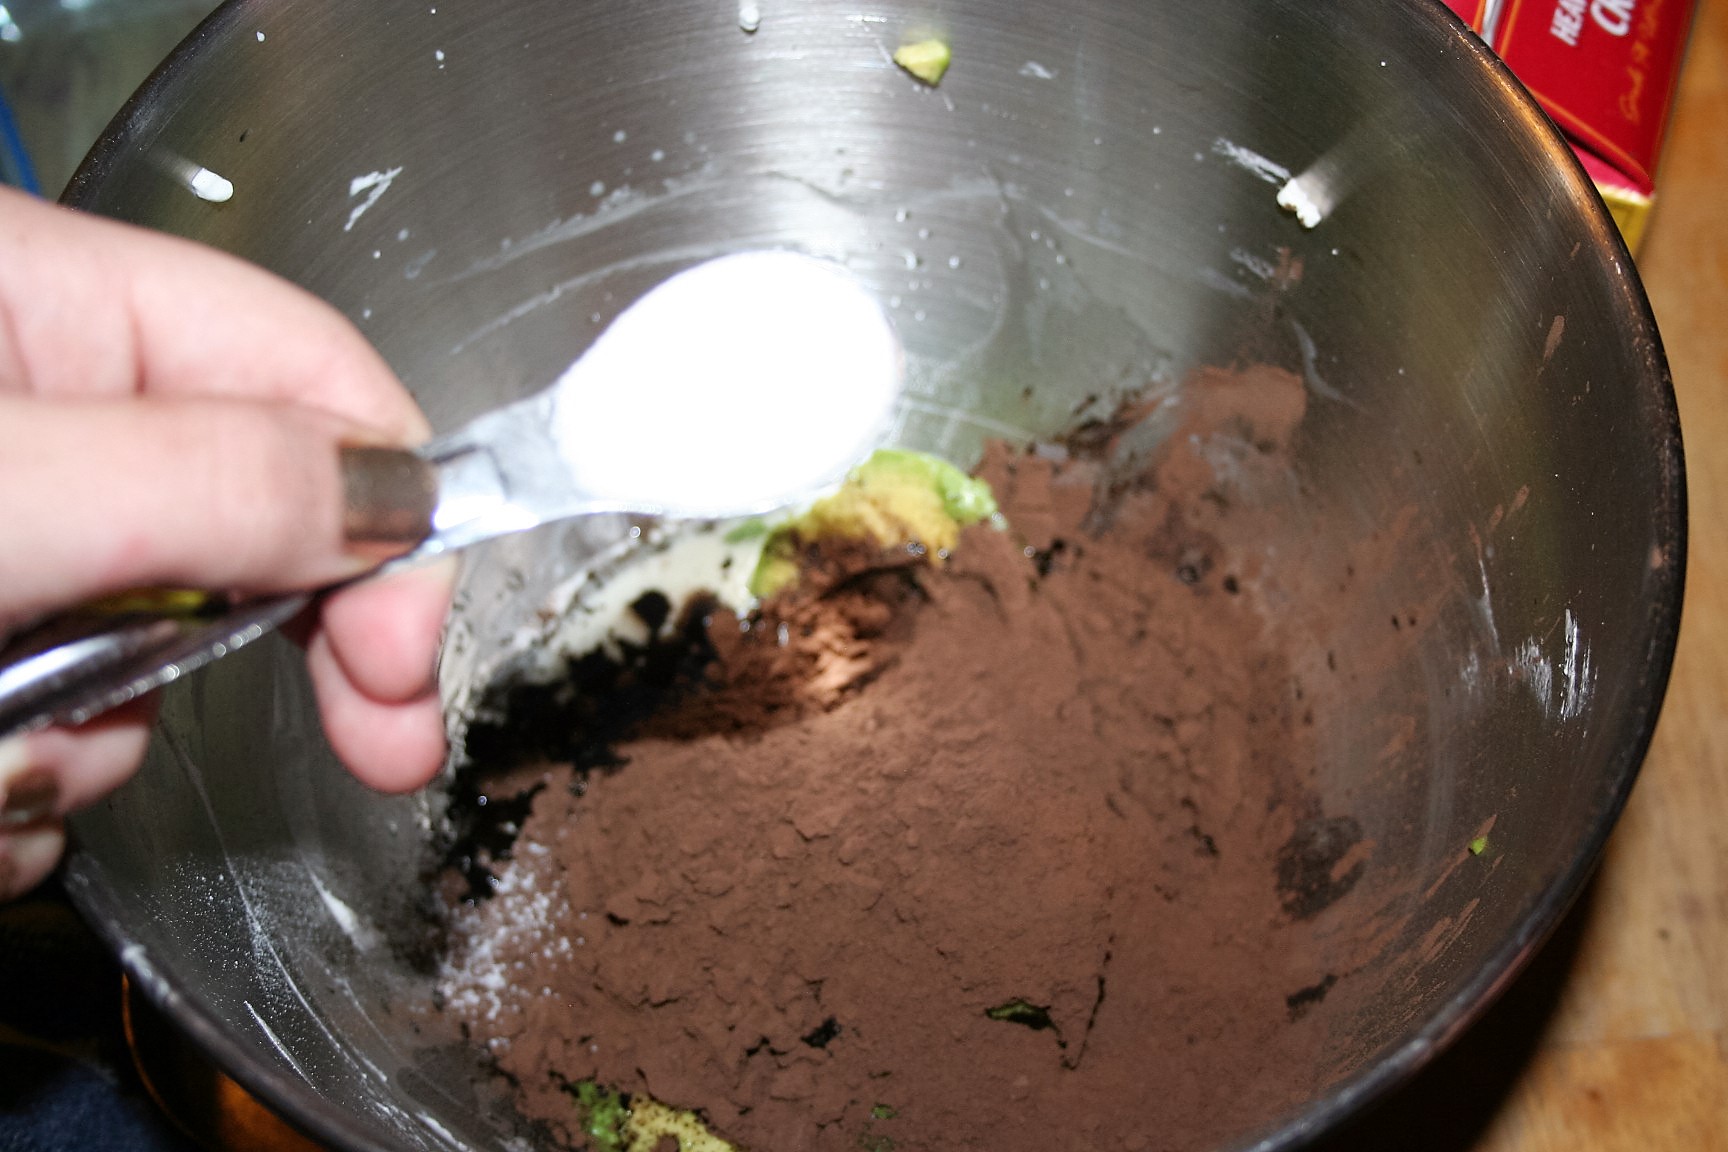
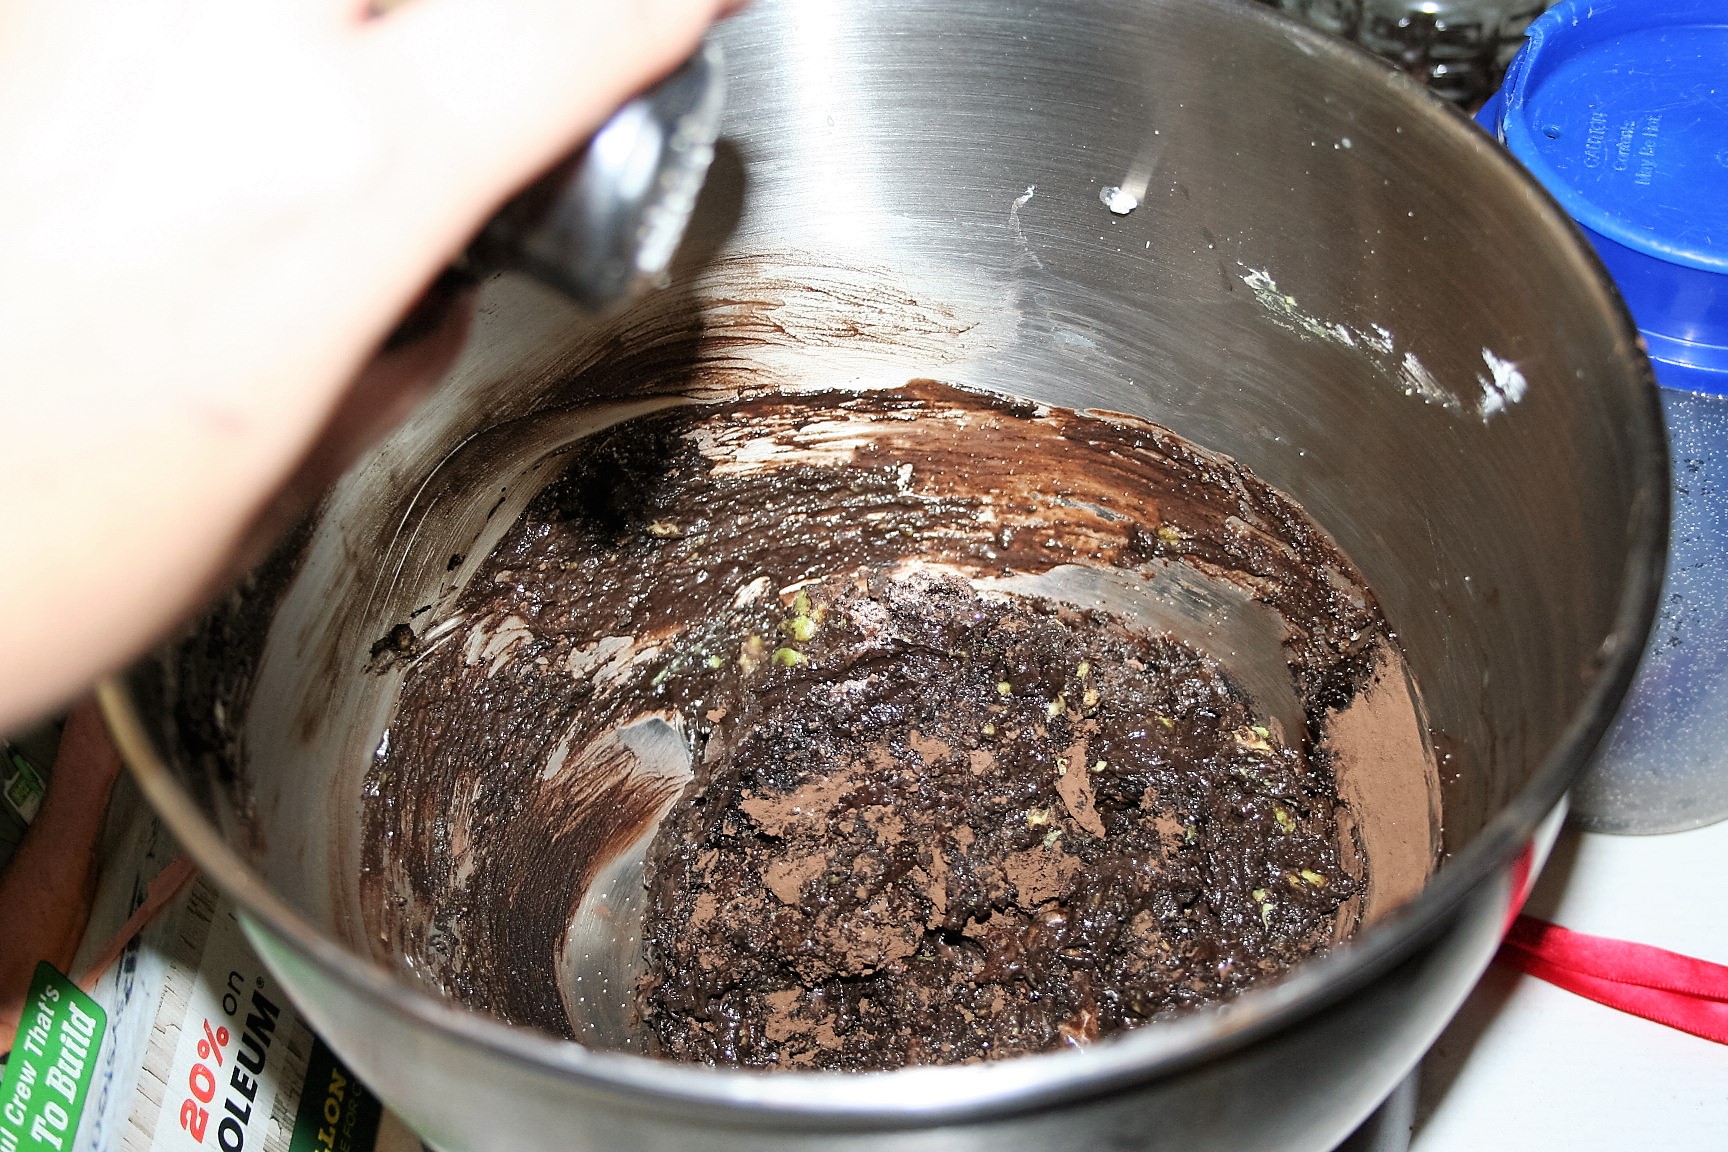
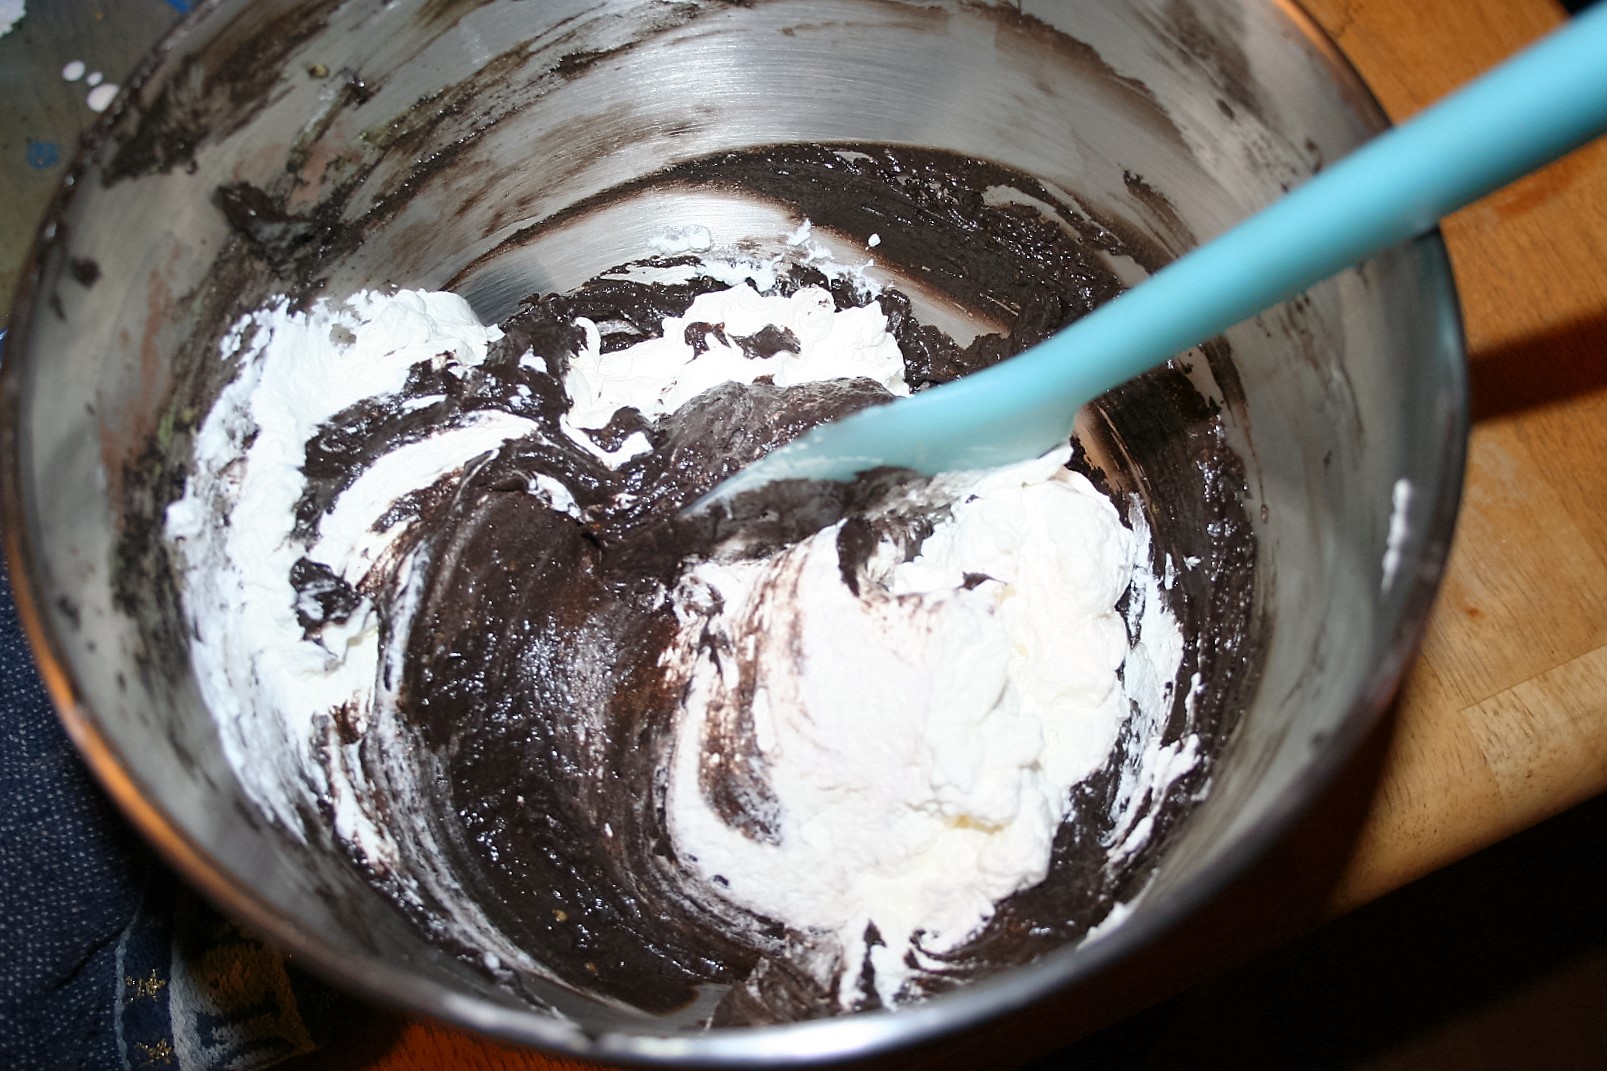
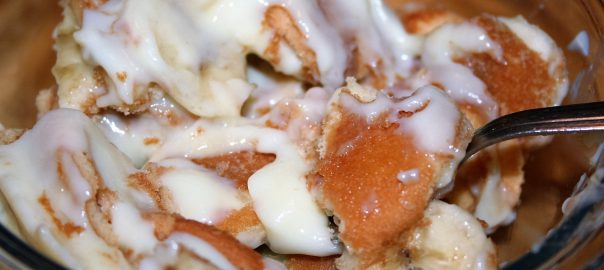
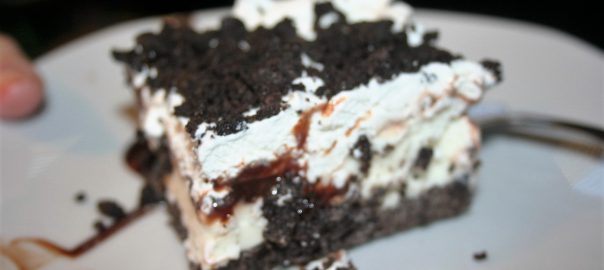
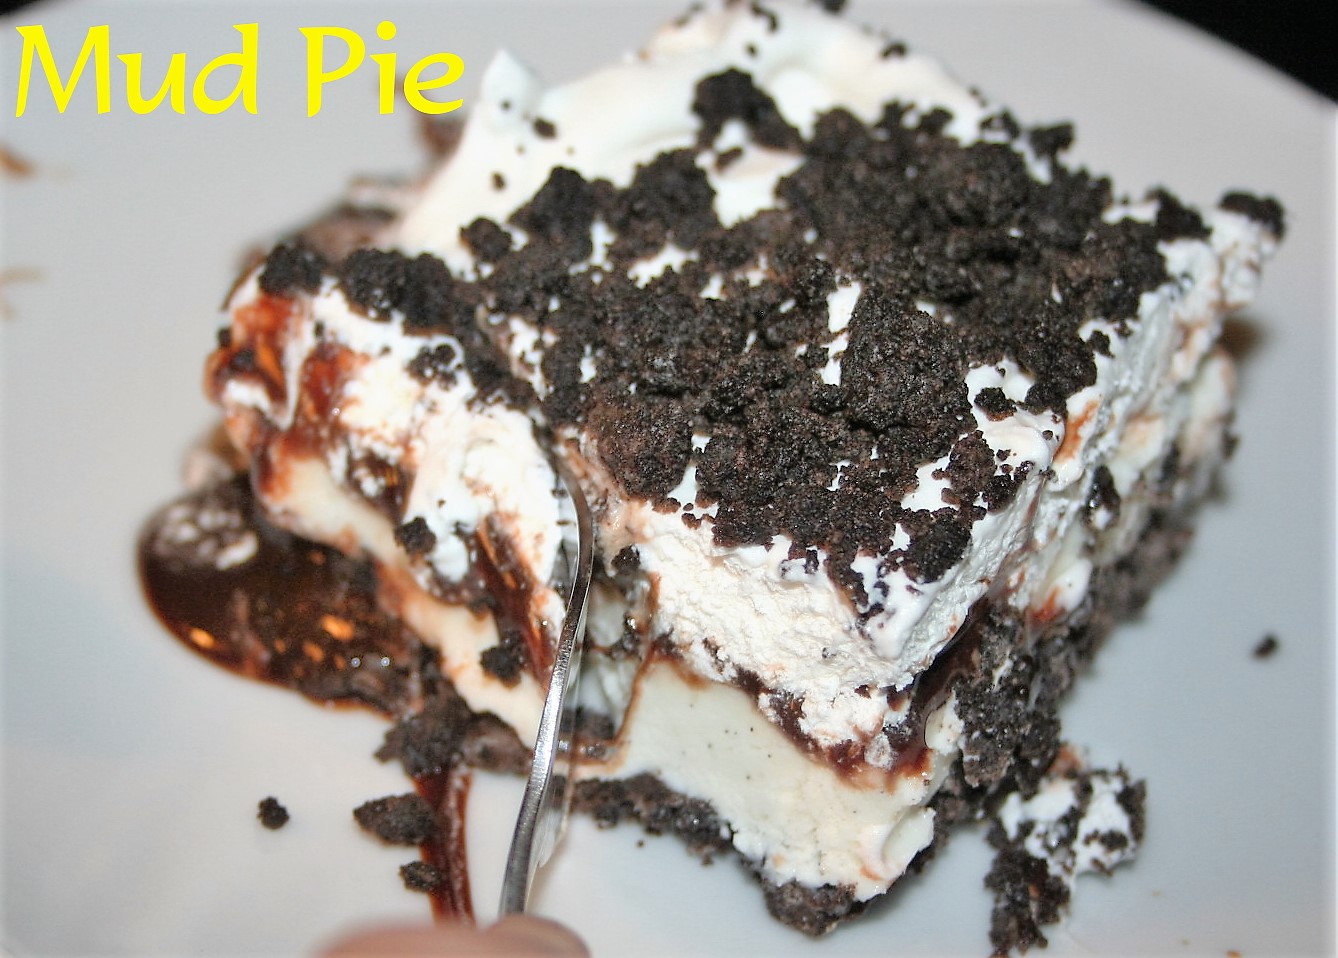
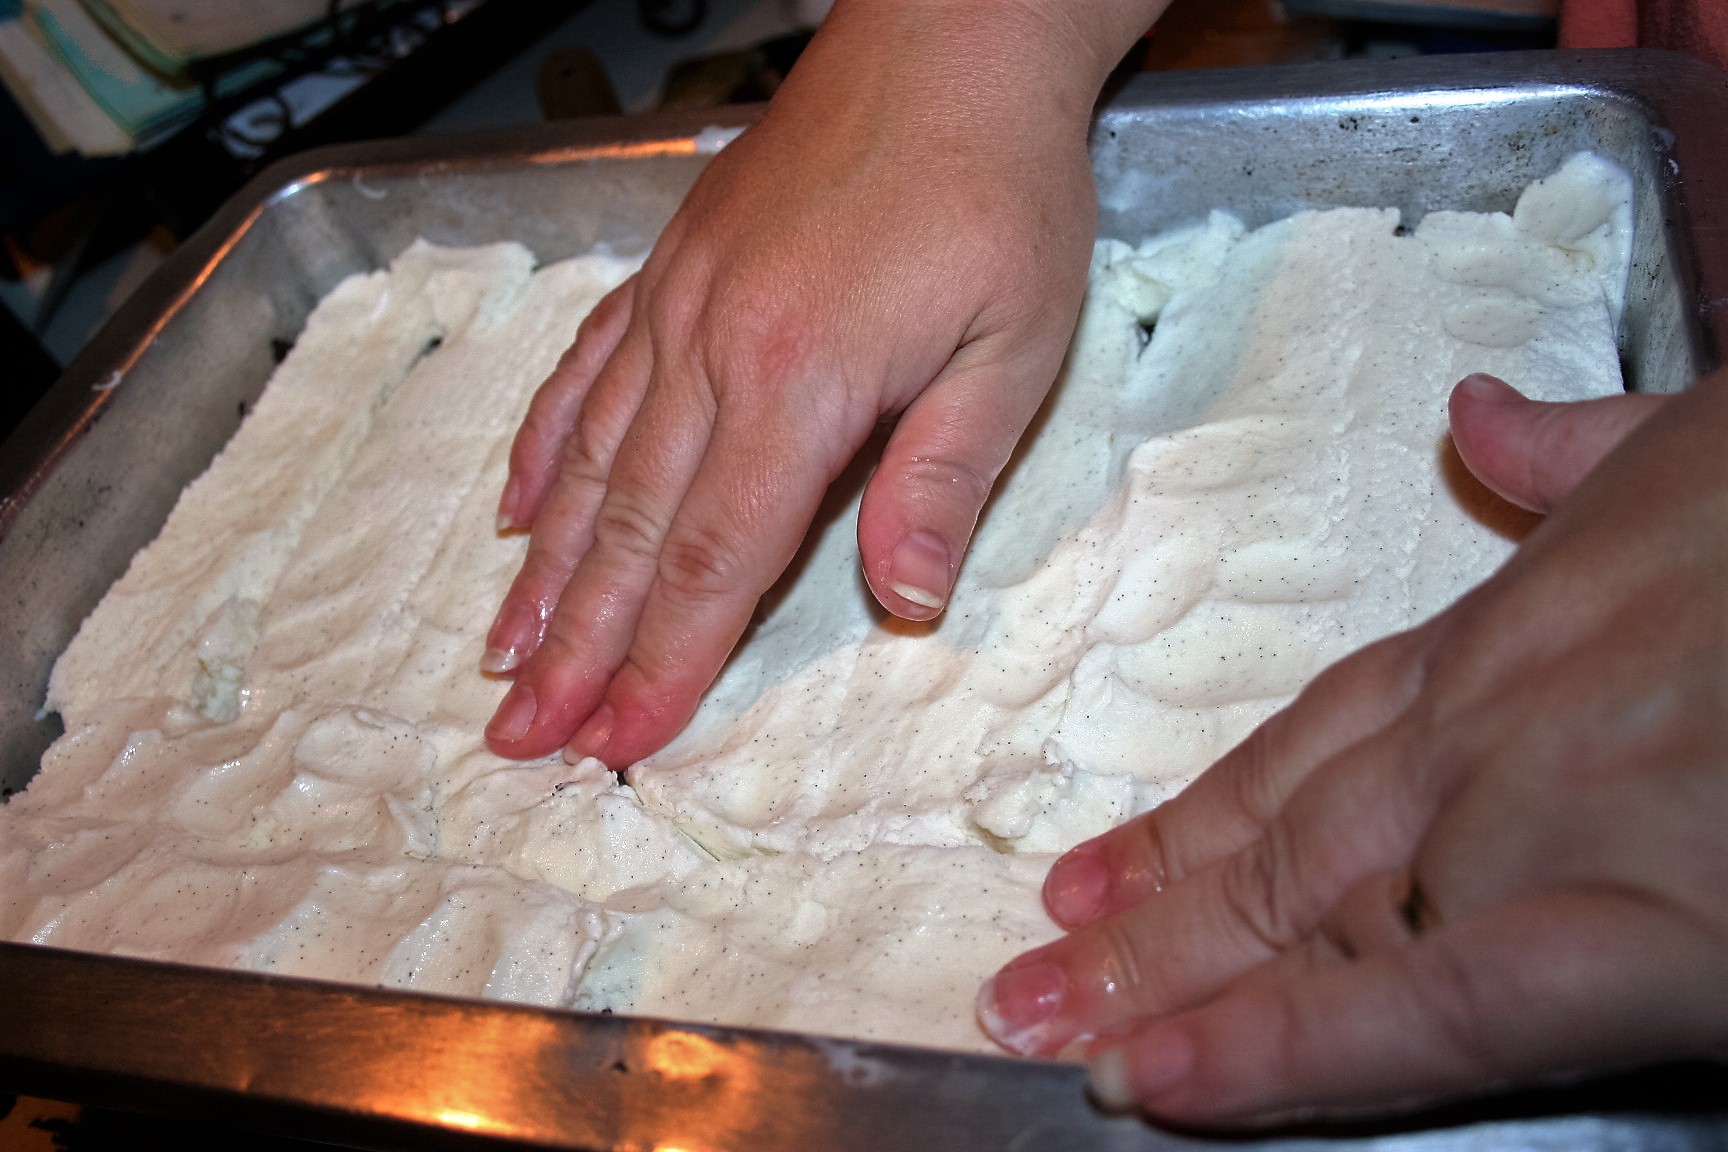
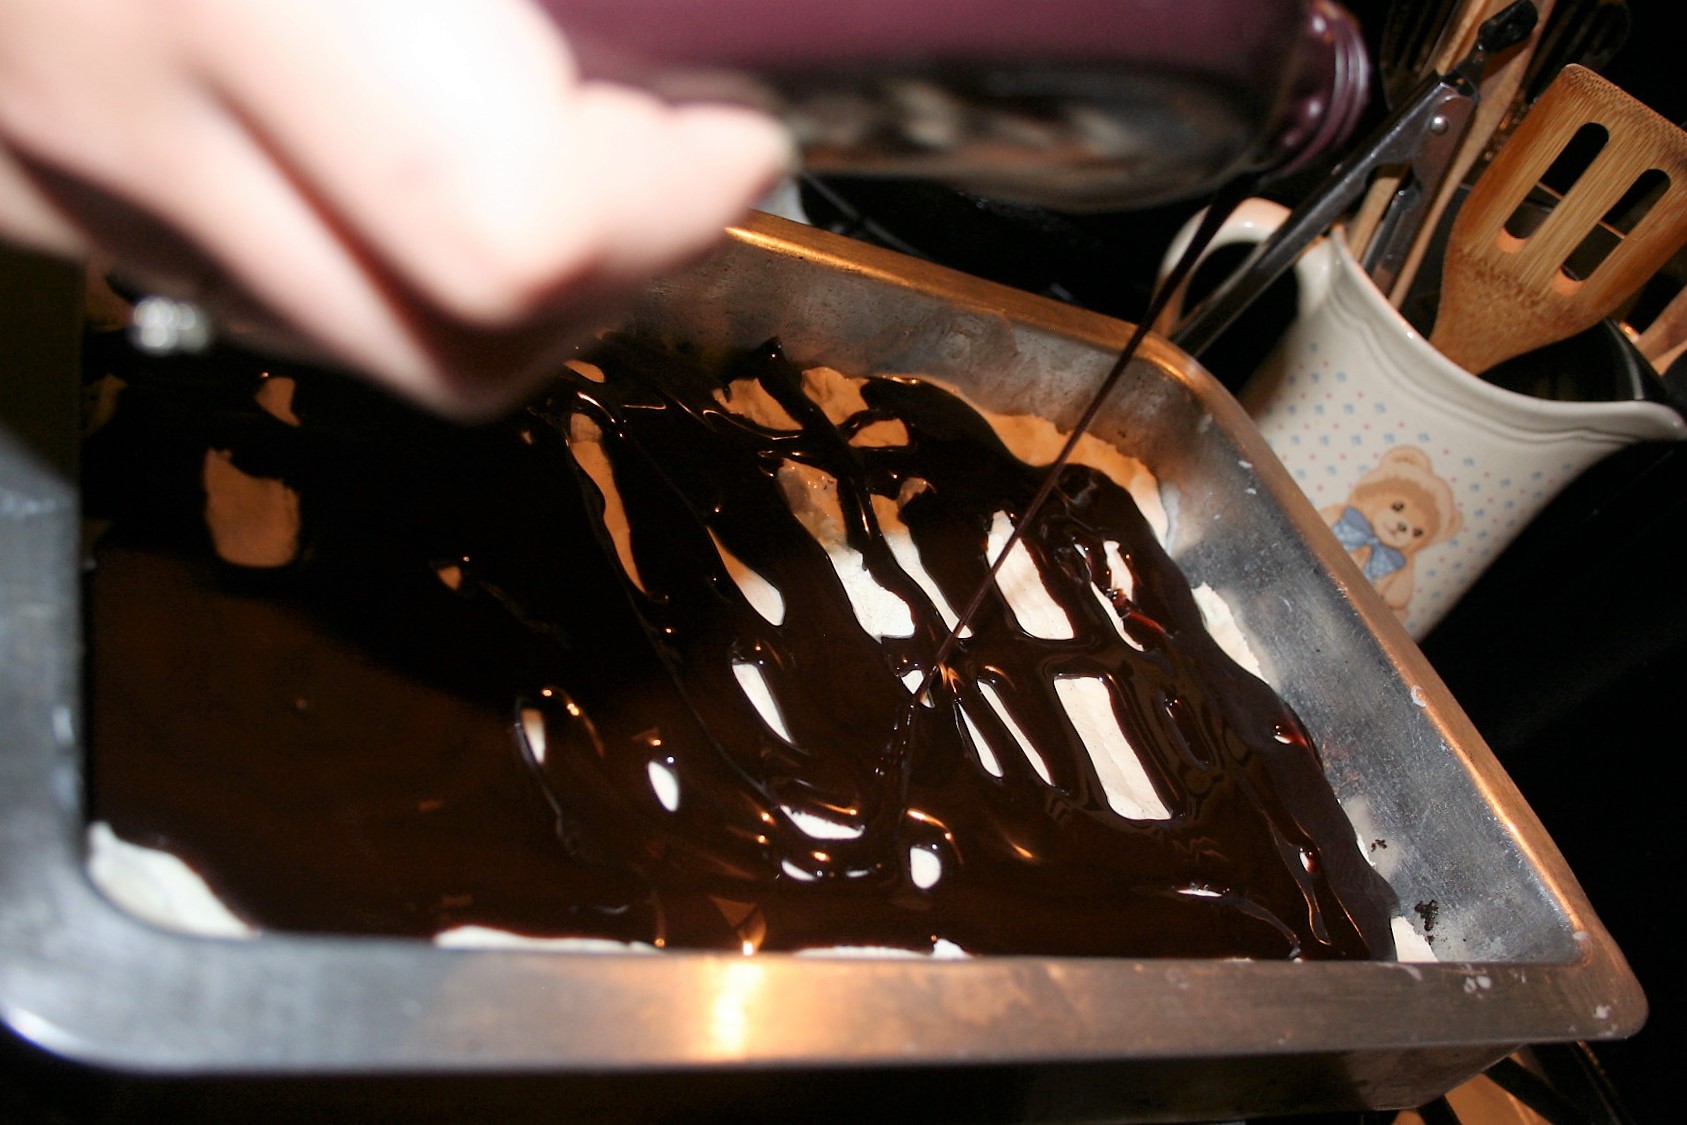
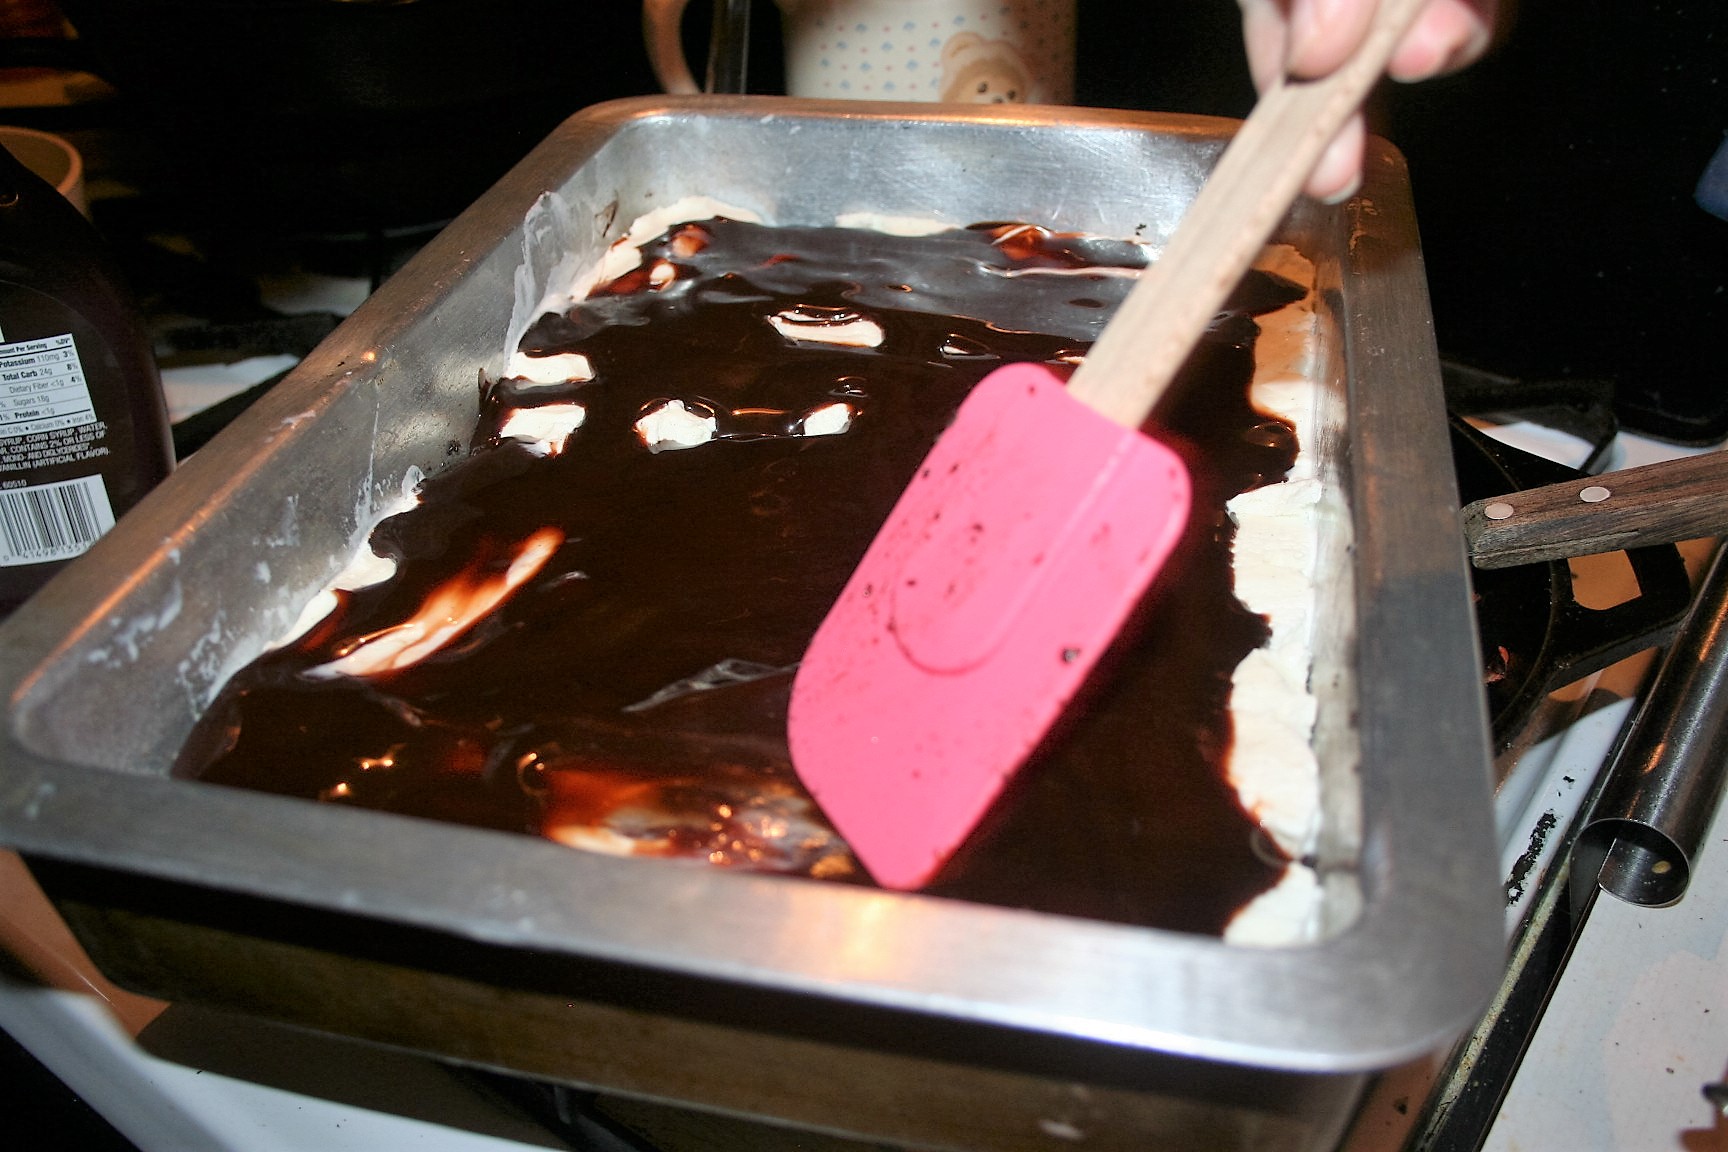
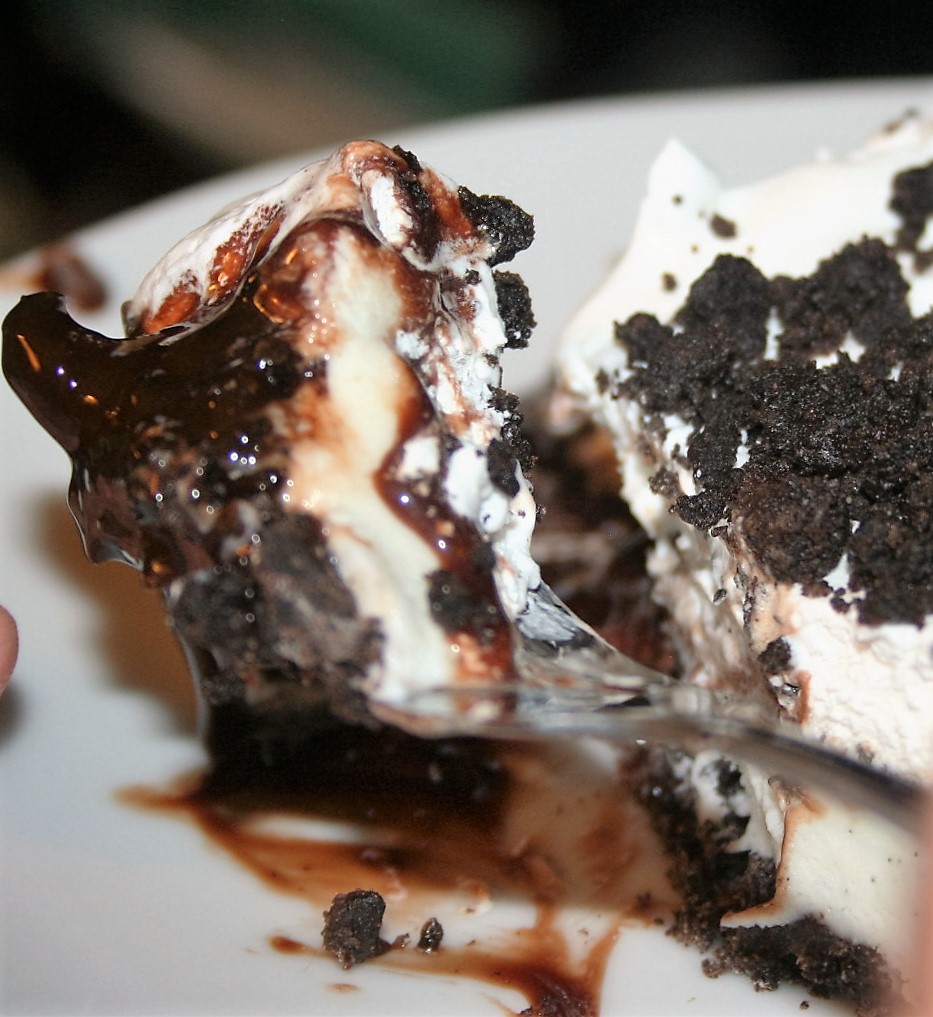
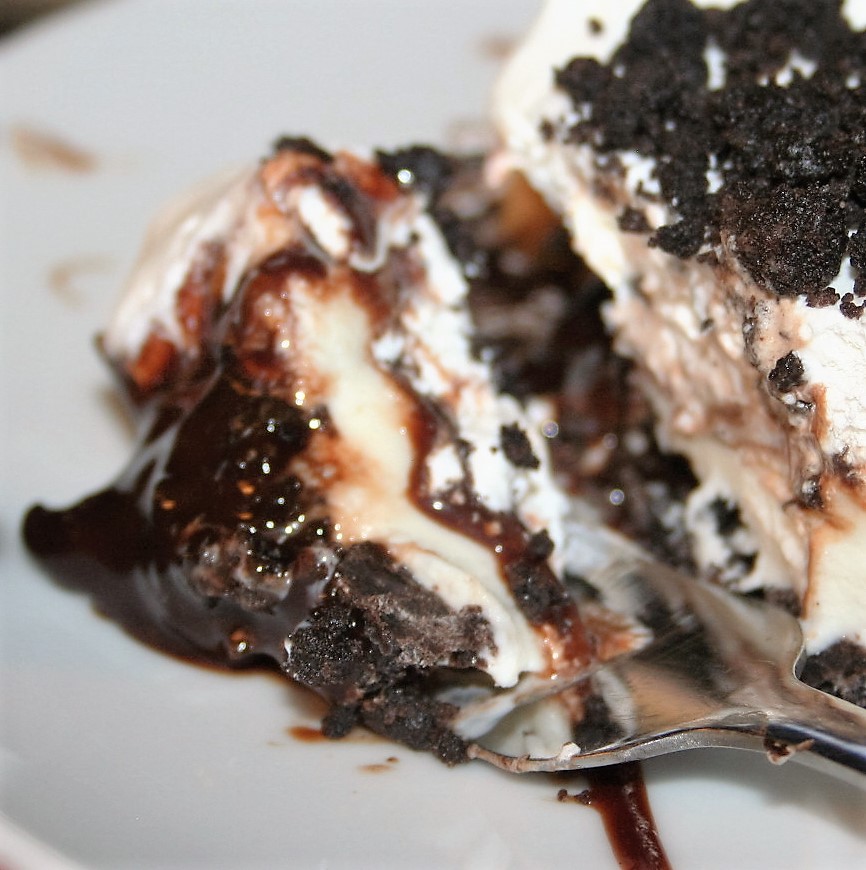
However, my family has not been cravings free. Tiffany’s sweet tooth has pushed her to try things she wouldn’t normally try. I’ve already shared the picture of the cupcakes she made, but I’ll share it here again. ;)

Zucchini Chocolate Cupcake ~ Lifeofjoy.meThey were pretty good. I especially like them because they are not too sweet. :)

The recipe I’m sharing today is one way outside of Tiffany’s comfort zone. It is chocolate mousse but the main ingredient is avocados and she does not like avocados . . . until now. ;)

Keto Chocolate Mousse ~ Lifeofjoy.meShe has made this a couple of times now, once with overly ripe avocados and once with near perfectly ripened ones. She did not feel that they were quite ripe enough but I think they were great. At any rate, here’s the procedure.

We are currently without a good food processor. I’ve begun saving my money to get a good one. I love my Kitchenaid mixer, so I’m saving to get a food processor I’ll enjoy as much. :)

We make the whole thing in the mixer. Consequently, the cream needs to be whipped first. So pour a cup of heavy whipping cream in the bowl, add some sweetener (we use 1 teaspoon Swerve) and whisk away. :)

Keto Chocolate Mousse ~ Lifeofjoy.meKeto Chocolate Mousse ~ Lifeofjoy.meRemove it to another bowl until we are ready to add it back in.

If you have a food processor or immersion blender, you can use that. Tiffany mashes the avocados up a bit and then adds the other ingredients. She just may use the immersion blender we have next time she makes this, now that I’ve mentioned it to her. ;)Keto Chocolate Mousse ~ Lifeofjoy.meWe use a Hershey’s Special Dark cocoa, so it’s probably a bit stronger than the original recipe.

Keto Chocolate Mousse ~ Lifeofjoy.meWe also use coconut oil and find we need to melt it first so that it combines better.

Keto Chocolate Mousse ~ Lifeofjoy.meAfter it is thoroughly blended, then fold in the whipped cream.

Keto Chocolate Mousse ~ Lifeofjoy.meWe have found that a few dashes of salt enhance the flavor.

Keto Chocolate Mousse ~ Lifeofjoy.meIt is rich and not real sweet. I tried adding a few drops of chocolate stevia but it didn’t do too good. I’ll try adding some of my stevia glycerite next time. It is filling and good for you, so enjoy.

This recipe was adapted from I Breathe I’m Hungry.

Keto Chocolate Mousse

Ingredients

  • 2 avocados
  • 2 tablespoons of coconut oil (melting optional)
  • 1/2 cup Hershey's Special Dark Cocoa
  • couple of dashes of sea salt
  • 4 tablespoons sugar free chocolate syrup (I'm still looking for a different one)
  • 1 teaspoon Swerve
  • 4 tablespoons heavy whipping cream

Instructions

  1. Whip the cream with the swerve, until stiff peaks form; set aside.
  2. Either put the rest of the ingredients in a blender or use an immersion blender
  3. OR
  4. Mash the avocado with a fork and combine the rest of the ingredients (except the whipped cream) and blend away, until thoroughly combined.
  5. Fold in the whipped cream.
  6. Enjoy!
https://lifeofjoy.me/keto-chocolate-mousse/

Until next time, God bless,

Michele ºÜº

Save

Banana Pudding ~ Lifeofjoy.me

Banana Pudding

Homemade pudding NOT from a box, Nilla Wafers, and bananas. Not as difficult as it may seem and the results are delicious.

The banana pudding I grew up eating has layers of crushed graham crackers, bananas, whipped topping (Cool Whip), and vanilla pudding, preferably the cook and server rather than the instant kind. I really like this because it is a very light dessert. I especially like it at Thanksgiving and Christmas when I prefer to eat more of the main meal instead of the dessert buffet we provide. ;)

This banana pudding is massively different than that one. This one uses Nilla Wafers instead of crushed graham crackers. This one has no whipped topping. This one makes the pudding from scratch. And this one can be eaten warm but is also very good cold.

I would not prefer to eat it after having eaten a big meal though because the amount of Nilla Wafers in it changes its consistency from mostly pudding, making it denser but still very yummy.

I made this over the weekend and was too full to eat it right away. The rest of the family though, really enjoyed it. Mike ate his warm but Tiffany and Sean opted to put theirs in the freezer to chill it rapidly. Then they proclaimed it delicious! :)

Begin by layering Nilla Wafers in the bottom of a medium bowl. I use a two quart pyrex dish but it is rather full. Oh, I turn the cookies upside down because of the curve of the bowl and the curve on the top of the cookies. Then add a layer of bananas.

Banana Pudding ~ Lifeofjoy.meRepeat layers with remaining cookies and bananas, ending with cookies on top. Notice that I turned the top layer of cookies right side up. :)

Banana Pudding ~ Lifeofjoy.meNow we move to the double boiler. If you don’t have one, you can use a bowl over a pot but I recommend getting one. They don’t have to be expensive to work.

Put the sugar, flour, egg yolks, and salt into the top pan/bowl. Then add the milk and begin whisking.

Banana Pudding ~ Lifeofjoy.me(That picture was taken before adding the milk.)

Banana Pudding ~ Lifeofjoy.meIt takes about 15 minutes of constant whisking to get this thick. (You don’t have to give your arm a workout, just keep it moving so it doesn’t stick to the bottom of the pan.)

Vital Step: Once it is thick, remove from heat and add the vanilla!!! (I forgot to add the vanilla until after I’d poured it over the cookies and pudding and it did not taste good! I dripped the vanilla over the pudding, since most of it was still on top and swirled it around the best I could. Thus the picture doesn’t look very good but the pudding tasted great.)

Then pour the pudding over the cookies and bananas.

Banana Pudding ~ Lifeofjoy.meBanana Pudding ~ Lifeofjoy.meI like to run a rubber spatula down the sides of the bowl to help the pudding get all the way to the bottom. And then I wiggle it in the middle a few places too. (I wonder if I make my pudding get too thick? Hmm, something to ponder.)

Can be served immediately, warm or wait until it has chilled and moistened all those Nilla Wafers. The choice is yours.

Banana Pudding ~ Lifeofjoy.meBanana Pudding ~ Lifeofjoy.meBanana Pudding ~ Lifeofjoy.me

Banana Pudding

Ingredients

  • 1 box Nilla Wafers
  • 5 bananas (unless they are small, then you may need six)
  • 1/2 cup sugar
  • 1/3 cup flour
  • 3 egg yolks
  • 2 cups milk
  • dash salt
  • 1/2 teaspoon vanilla

Instructions

  1. Layer Nilla Wafers and bananas in a medium size bowl.
  2. Place sugar, flour, egg yolks, salt, and milk in top pan of a double boiler. (Add water to the bottom pan and turn on the heat)
  3. Stir and cook until thickened.
  4. Remove from heat and stir in vanilla.
  5. Pour over Nilla Wafers and bananas.
  6. Let it sit about 5 minutes to soak into cookies.
https://lifeofjoy.me/banana-pudding/

Okay, I just dug up where I originally found this yummy recipe and apparently, I do let my pudding get too thick. I’ll try to remember that for next time but in the meanwhile, it’s still yummy!!!

Until next time, God bless,

Michele ºÜº

Save

Mud Pie ~ Lifeofjoy.me

Mud Pie

Cool summer dessert made with ice cream, Oreos, whipped cream, and chocolate . . . a family favorite.

Mud Pie ~ Lifeofjoy.meWell, I finally remembered to take pictures while making this yummy refreshing dessert! :) Brian and Lauren were able to come out for his birthday dinner last week and this was the dessert he wanted. It is the same one I fixed for Tiffany except that she had chocolate ice cream instead of vanilla bean. Needless to say, hers was much more rich.

The first thing you need for this super easy recipe is a package of OREOS! These are my favorite store bought cookie, so of course I buy the Family Package. :)

Mud Pie ~ Lifeofjoy.meYou want to crush 30 of them into crumbs. I like to use a food processor to get them crushed up finely enough for the crust of the dessert.

Mud Pie ~ Lifeofjoy.meBut as you can see, it doesn’t take the whole package . . . which is the point of buying the family size package. :)

Mud Pie ~ Lifeofjoy.me(There are more than 30 cookies in the regular size package as well, if you prefer not to have very many left over to eat. :) )

Next you melt the butter but don’t boil it; just melt it.

Mud Pie ~ Lifeofjoy.meCombine it with the crushed cookies.

Mud Pie ~ Lifeofjoy.mePut half the mixture aside for later and pat out the rest along the entire bottom of the 9×13 pan. I use a measuring cup to pack it down and get it as even as I can.

Mud Pie ~ Lifeofjoy.meNext open up the box of ice cream. I didn’t by the rectangular box so I used scissors to cut the box, so that I could have easy access to the block of ice cream.

Mud Pie ~ Lifeofjoy.meMud Pie ~ Lifeofjoy.meMud Pie ~ Lifeofjoy.meNow I slice it into slabs about one inch thick and place on top of the cookie crumb crust.

Mud Pie ~ Lifeofjoy.meMud Pie ~ Lifeofjoy.meContinue with the rest of the block.

Mud Pie ~ Lifeofjoy.meWith the last piece, cut it into pieces to fill in the gaps as much as possible.

Mud Pie ~ Lifeofjoy.meLevel it out so it is as much one even slab as possible.

Mud Pie ~ Lifeofjoy.meI use my hands but you can use whatever works best for you. It is a cold job that must get done quickly.

Next pour the chocolate syrup (or fudge) over all and spread.

Mud Pie ~ Lifeofjoy.meMud Pie ~ Lifeofjoy.meWe used syrup this time but really prefer hot fudge sauce, only heated enough to get it out of the jar easily enough to spread.

Next spread the thawed whipped cream, evenly on top of the chocolate.

Mud Pie ~ Lifeofjoy.me

Mud Pie ~ Lifeofjoy.me

Cover with foil and freeze. (You may want to take it out of the freezer 10 minutes or so before serving for easy of cutting.) Sprinkle with remaining crumbs  before serving.

Mud Pie ~ Lifeofjoy.me

Mud Pie ~ Lifeofjoy.me

Mud Pie

Ingredients

  • 30 Oreos
  • 1/3 cup butter
  • 1 jar hot fudge sauce or Hershey's can syrup
  • 1/2 gallon ice cream
  • 9 oz Cool Whip

Instructions

  1. Melt butter.
  2. Crush cookies.
  3. Combine cookie crumbs and butter. Put half on bottom of 9x13 pan and pat down.
  4. Slice ice cream and lay on top of cookie crust.
  5. Spread chocolate over top ice cream.
  6. Spread thawed whipped topping over chocolate.
  7. Cover and freeze.
  8. Before serving sprinkle remaining cookie crumbs on top.
https://lifeofjoy.me/mud-pie/

I hope you enjoy the sweet refreshing treat!

Until next time, God bless,

Michele ºÜº

Save

Save

Black Bottom Banana Bars ~ Lifeofjoy.me

Black Bottom Banana Bars

I got this recipe a LONG time ago from a Taste of Home magazine. I have only made it a few times but I really should make it more often because it is well-liked here. We had some bananas that were in serious need of being used, so I asked Tiffany to make them for me. This was the same day Tracie and the girls were here and they made the pizza. The girls had decided they’d had enough cooking and wanted to play so Tiffany made them by herself AND took the pictures too (so please don’t be too hard on them ;) ).

Begin by creaming one stick of softened butter and one cup of sugar. (We love our Kitchenaid mixer!)

Black Bottom Banana Bars ~ Lifeofjoy.me

Add the vanilla and egg; beat thoroughly.

Black Bottom Banana Bars ~ Lifeofjoy.meBlend in bananas.

Black Bottom Banana Bars ~ Lifeofjoy.meAdd one and a half cups flour, and one teaspoon each baking powder, baking soda, and a half teaspoon salt. Mix well.

Black Bottom Banana Bars ~ Lifeofjoy.meDivide the batter in half! Add 1/4 cup cocoa to one half and spread into a greased 13×9 pan. Since my gang isn’t wild about nuts, I like to put some nuts on one end, so that Mike and I can have some and the kids don’t have to have any. :) Since Tiffany made these, no nuts were added this day. ;)

Black Bottom Banana Bars ~ Lifeofjoy.meSpoon remaining batter on top and swirl with a knife. (No swirling was done this day either. ;) )

Black Bottom Banana Bars ~ Lifeofjoy.meBlack Bottom Banana Bars ~ Lifeofjoy.meBake at 350º for 25 minutes and cool.

Black Bottom Banana Bars ~ Lifeofjoy.meBlack Bottom Banana Bars ~ Lifeofjoy.me

Black Bottom Banana Bars

Ingredients

  • 1/2 cup softened butter (one stick)
  • 1 cup sugar
  • 1 egg
  • 1 teaspoon vanilla
  • 1 1/2 cups mashed ripe bananas (about 3 medium)
  • 1 1/2 cups flour
  • 1 teaspoon baking powder
  • 1 teaspoon baking soda
  • 1/2 teaspoon salt
  • 1/4 cup cocoa
  • 1/2 cup walnut pieces, optional (or nut of your preference)

Instructions

  1. In a mixing bowl, cream butter and sugar.
  2. Add vanilla and egg; beat thoroughly
  3. Blend in bananas
  4. Add flour, baking powder, baking soda, and salt. Mix well.
  5. Put half the batter in another bowl.
  6. Add cocoa to one half batter and blend well.
  7. Spread into a GREASED 13x9 baking pan. Add some nuts if desired.
  8. Spoon remaining batter on top and swirl with a knife. Add more nuts, if desired. 😉
  9. Bake at 350º for 25 minutes.
  10. Original directions said to cool on a wire rack.
https://lifeofjoy.me/black-bottom-banana-bars/

Black Bottom Banana Bars ~ Lifeofjoy.me

Until next time, God bless,

Michele ºÜº

Oatmeal Cookies

IMG_2230We don’t make cookies very often but when we do they are usually Chocolate Chip Cookies, if the kids or I have anything to say about it. But if I am making cookies for Mike, I make these or Peanut Butter Cookies. If it is spur of the moment, it is usually these because there are no special ingredients here, just your usual flour, sugars, salt, and such.

They are very simple to make. Cream one cup each of shortening (I use butter flavored), white and brown sugars.

Cream Shortening and Sugars ~ Lifeofjoy.me

Then you are supposed to add 2 well beaten eggs but I don’t like dirtying another bowl, so I make a well in the middle of the creamed mixture with my mixer.

Well for Eggs ~ Lifeofjoy.me

Crack the eggs into the well and then use the mixer to beat them well. :) Add vanilla.

Add Eggs ~ Lifeofjoy.me

Then add flour, salt, and baking soda.

Oatmeal Dry Ingredients ~ Lifeofjoy.meAdd in the  quick oats. (If you only have Old Fashioned Oats pulse them in a food processor for about 5 pulses.)

Add Oats ~ Lifeofjoy.me

Now we cheat and use our cookie dropper to place on lightly greased cookie sheet. I haven’t made these in so long I forgot that I should keep them rounded and patted them down because the official directions said to put the dough on wax paper, roll in a log and chill. Later slice and bake. If I’d have left them rounded they wouldn’t have turned out so flat or thin.

Portioned and Trayed ~ Lifeofjoy.me

Bake 8-10.

Baked Cookies ~ Lifeofjoy.me

Oatmeal Cookies

Ingredients

  • 1 cup shortening
  • 1 cup sugar
  • 1 cup brown sugar
  • 2 well beaten eggs
  • 1 teaspoon vanilla
  • 1 ½ cups flour
  • 1 teaspoon salt
  • 1 teaspoon baking soda
  • 3 cups quick cooking oats
  • 1/2 cup chopped nuts, optional

Instructions

  1. Cream shortening and sugars
  2. Add eggs and vanilla
  3. Add flour, salt, and baking soda.
  4. Add oats and nut
  5. Scoop onto lightly greased cookie sheet
  6. Bake at 350º for 8-10 minutes
https://lifeofjoy.me/oatmeal-cookies/

I hope you enjoy these.

Until next time, God bless,

Michele ºÜº

Banana Choc Chip Muffin ~ Lifeofjoy.me

Banana Chocolate Chip Muffins

Well, I thought I had another recipe ready for posting but alas, I looked through my pictures and NOPE! No pictures! Now what to do!?!

Add to that, Tiffany needed to be driven into town and it is her night to cook dinner. I was not feeling up to cooking dinner so I texted Mike, hoping he’d want to eat out somewhere. After all, we had just been blessed with some cash and we thought we’d use it to eat out. I had just seen in my email that Kevin Harvick  placed in the top 10 over the weekend so we could get a free Bloomin’ Onion at the Outback. So off we went.

The problem with that is that we got home around 7:30 pm and I still don’t have a recipe to share. I’ve already shared my go-to desserts. What’s a novice blogger to do? Make muffins! The kids will like having them this morning and Mike enjoyed one last night when they were fresh out of the oven.

So I bring you Chocolate Chip Banana Muffins. Oh! I must tell you that these have an odd ingredient but push through and try them because you cannot even tell it is in there! Honest!

Combine 1½ cups of flour, (I use about ½ cup whole wheat flour and 1 cup all purpose flour.) 1 cup sugar,  1 teaspoon baking soda and 1 teaspoon salt.

Dry Ingredients ~ Lifeofjoy.me(Please excuse the lousy pictures. I didn’t have Tiffany home to help me out this time.) ;)

Then combine a slightly beaten egg with ½ cup Miracle Whip or mayonnaise. Yes, just do it! ;) Stir until just moistened.

Muffins 2 ~ Lifeofjoy.meAdd in 3 ripe bananas, mashed. I mash mine with a potato masher. Two of these were frozen when I started this recipe.

Mashing Bananas ~ Lifeofjoy.me

Muffins 4 ~ Lifeofjoy.meStir. Now here is where I deviated from the original recipe a little bit…ooops! It said to spoon into the greased muffin tins now and then sprinkle chocolate chips on top but I stirred in the chocolate chips and then scooped it into the pans. You pick how you want to do it.

Muffin Mix ~ Lifeofjoy.me

Add Chocolate Chips ~ Lifeofjoy.meI use an ice cream scoop to spoon it into the greased muffin tins.

Scoop into tins ~ Lifeofjoy.me

Ready for the Oven ~ Lifeofjoy.me

Bake at 375º for 20-25 minutes, until lightly browned and a knife tests mostly clean. ;)

Muffins done ~ Lifeofjoy.meMuffin Banana Choc Chip ~ Lifeofjoy.meBanana Choc Chip Muffin ~ Lifeofjoy.me

Banana Chocolate Chip Muffins

Ingredients

  • 1½ cup flour (I used 1/2 cup whole wheat and 1 cup all purpose)
  • 1 cup sugar
  • 1 tsp baking soda
  • 1 tsp salt
  • 1 egg, slightly beaten
  • 1/2 cup Miracle Whip or mayonnaise
  • 3 ripe bananas, mashed
  • 1 cup chocolate chips

Instructions

  1. Mix flours, sugar, baking soda and salt in large bowl
  2. Beat egg in a small bowl.
  3. Stir in Miracle Whip or mayonnaise.
  4. Add to flour mixture
  5. Stir just until moistened.
  6. Stir in mashed bananas
  7. Stir in chocolate chips now or save and sprinkle on top after scooped in tins.
  8. Scoop into greased muffin tin.
  9. Bake at 375º for 20-25 minutes until lightly browned.
https://lifeofjoy.me/banana-chocolate-chip-muffins/

I hope you will enjoy these, I know my kids will. ;)

Until next time, God bless,

Michele ºÜº

Apple Cake

Slice of Apple Cake ~ LifeofJoy.meThis wonderful apple cake is so good I make it each Thanksgiving for breakfast and have made it for breakfast on many a Christmas morning as well. I got this recipe from a fellow homeschooler, Kay Close. She brought it to one of our homeschool support group meetings and I loved it so much I asked her for the recipe, which I shared in our group’s newsletter and have made it ever since.

Lauren even likes it and has requested it several times for dessert when they come out. Thus it passes the pickiness test. ;)

Without further ado, here’s the directions.

Grease and flour bundt pan. I cheat and use the stuff in the spray can. But I don’t think I lay it on thick enough. I had trouble greasing and flouring my pan and my cake would stick in the pan, so the fact that it is still sticking somewhat is no concern to me . . . I will find the right amount of spraying needed to get this to come out easier at some point.

One Step Pan Prep ~ LifeofJoy.me

Peel, core and chop about 4-5 apples (depending on size) to get 4 cups. The recipe calls for them to be finely chopped so I chunk them and put them in my food processor. Okay, I put them in my mini-chopper because my regular-size one is broken. {Oh! when I have apples that are older and won’t be eaten, I prepare them like this and then put them in a freezer bag and freeze them until I’m ready to bake this cake and one step is already done for me. :) It doesn’t matter that they turn brown because the cake is brown anyway. Just be sure to add all the juices in the baggie when you thaw them out and use them in the batter or it probably won’t be as moist.}

Finely Chopping Apples ~ LifeofJoy.me

4 Cups Apples ~ Lifeofjoy.me

Put in large mixing bowl and add other ingredients: cinnamon, salt, vanilla, baking soda, eggs.

Adding ingredients ~ LifeofJoy.me

flour, sugar, oil, and pecans. (Pecans are optional.)

Apple Cake final ingredients ~ LifeofJoy.meStir.

Finished Apple Cake batter ~ Lifeofjoy.me

Pour into prepared pan. Not everyone in my family likes nuts but Mike and I really really like them in this cake, so I put nuts in half of it. When I remember I put some nuts on the bottom of the portion of the pan that will have the nuts, so that when it comes out of the pan I can easily tell which portion has the nuts. But I forgot tonight. I sprinkle nuts on the part that I want to have nuts – here, nearly half – and push them down into the batter. Yes, they’ll end up not being evenly distributed but that’s okay, at least they are in there. Sure beats just eating them with it after it’s baked, which we have done before. ;)

Apple Cake Ready for the Oven ~ LifeofJoy.meFrom now on, when I am moving this pan from place to place, I keep my eye on the points that I have made sure has no nuts. Thus I am very deliberate about how I pick up the pan and put it down, so that I know where those nuts are located; don’t want anyone spitting out wonderful nuts. ;)

Out of the Oven Apple Cake ~ LifeofJoy.meSince I know this has a tendency to stick because I don’t quite have the greasing and flouring part down yet (I think I need to spray it thicker/longer), I use a rubber spatula and help it release from the pan a bit, both the outer edges and the inner edge.

Helping it out of the pan ~ LifeofJoy.me

Whala!

Not Too Much Sticking ~ LifeofJoy.me

Apple Cake ~ LifeofJoy.meIt is so moist and sweet that it doesn’t even need frosting.

Apple Cake No Nuts ~ LifeofJoy.me

Apple Cake

Ingredients

  • 4 cups finely chopped apples
  • 2 teaspoons cinnamon
  • 1 teaspoon salt
  • 2 cups flour
  • 1 teaspoon vanilla
  • 3/4 cup oil
  • 2 teaspoons baking soda
  • 2 eggs
  • 2 cups sugar
  • 1 cup pecans (optional)

Instructions

  1. Grease and flour bundt pan.
  2. Combine all ingredients in mixing bowl.
  3. Pour evenly into prepared pan.
  4. (Add nuts now, if only putting them in a portion of the cake, pushing them down into the batter)
  5. Bake at 350º for 45 minutes.
  6. Optional Sugar Glaze
  7. 1 1/2 cups powdered sugar
  8. 3 tablespoons water or lemon juice
  9. 2 teaspoons vanilla
  10. Pour over hot cake. Let stand 30 minutes before serving.
https://lifeofjoy.me/apple-cake/

When my friend Kay made this she used Splenda 1/2 & 1/2 in the cake and only makes 1/2 the sugar glaze. As you can see I don’t use any glaze because it is sweet and moist enough just the way it is. :)

My family was very glad that I had toApple Cake Slice nearly gone ~ LifeofJoy.me make this last night so that I’d have something to share today. :)

Until next time, God bless,

Michele ºÜº

Cheesecake

I sincerely hope that by the time I reach the end of my first year of blogging that I have a handle on taking pictures for Tuesday posts. Here I am, once again needing more pictures for a recipe. At least this time I have some for the first few steps and then pictures of the final product.

If you want to make this a little easier on yourself, you can buy a graham cracker crust instead of making it from scratch.

Crush graham crackers, mix in sugar and butter and press into pie plate.

Cheesecake Crust ~ LifeofJoy.me

Melting Butter ~ LIfeofjoy.mePie Crust ~ LifeofJoy.meIf you are using Cool Whip you can skip this next step. Pour one cup of heavy whipping cream in container and beat until stiff peaks form. I use my hand blender.

Whip Cream ~ Lifeofjoy.meBlend cream cheese, powdered sugar, and vanilla together. Then fold in whipped cream and spread into pie crust. (I’ll add more pictures next week as I am making this to serve on Saturday for company we are having.)

You can serve with all-fruit on top or make fruit topping, like I do by crushing berries in pan with sugar and water. Boil for 2 minutes and strain. Combine sugar and cornstarch in pan and gradually stir in berry mixture. Boil until thick and clear.

Blackberry Cheesecake ~ LifeofJoy.meCut Blackberry Cheesecake ~ LifeofJoy.me

No-Bake Cheesecake

Ingredients

  • Graham Cracker Crust OR
  • 1¼ cups fine graham cracker crumbs
  • ¼ cup sugar
  • 6 Tablespoons butter
  • 8 oz. cream cheese, softened
  • 1 cup powdered sugar
  • 1 teaspoon vanilla
  • 1 cup whipping cream, whipped
  • Glaze:
  • 3/4 cup fresh strawberries
  • 1/2 cup water
  • 1/3 cup sugar
  • 4 teaspoons cornstarch
  • red food coloring, optional

Instructions

  1. Combine melted butter, graham crackers, and sugar in 9" pie pan. Press into pan and up sides of pan. (I use a measuring cup to do this.)
  2. Crush strawberries in small saucepan.
  3. Add water and cook for 2 minutes.
  4. Strain, discard solids (although my brother-in-law likes me to keep it all in the glaze)
  5. Combine 1/3 cup sugar and cornstarch in the sauce pan and gradually stir in berry mixture.
  6. Bring to boil stirring constantly. Cook and stir until thick and clear.
  7. Add some red food coloring to preferred color, if desired.
  8. Beat together cream cheese, powdered sugar, and vanilla.
  9. Fold in whipped cream.
  10. Spread into pie crust.
  11. Once glaze is cooled slightly, spread on top of cream cheese mixture in pie plate. Refrigerate until glaze is cool.
  12. Cut and serve!
https://lifeofjoy.me/cheesecake/

Until next time, God bless,

Michele ºÜº