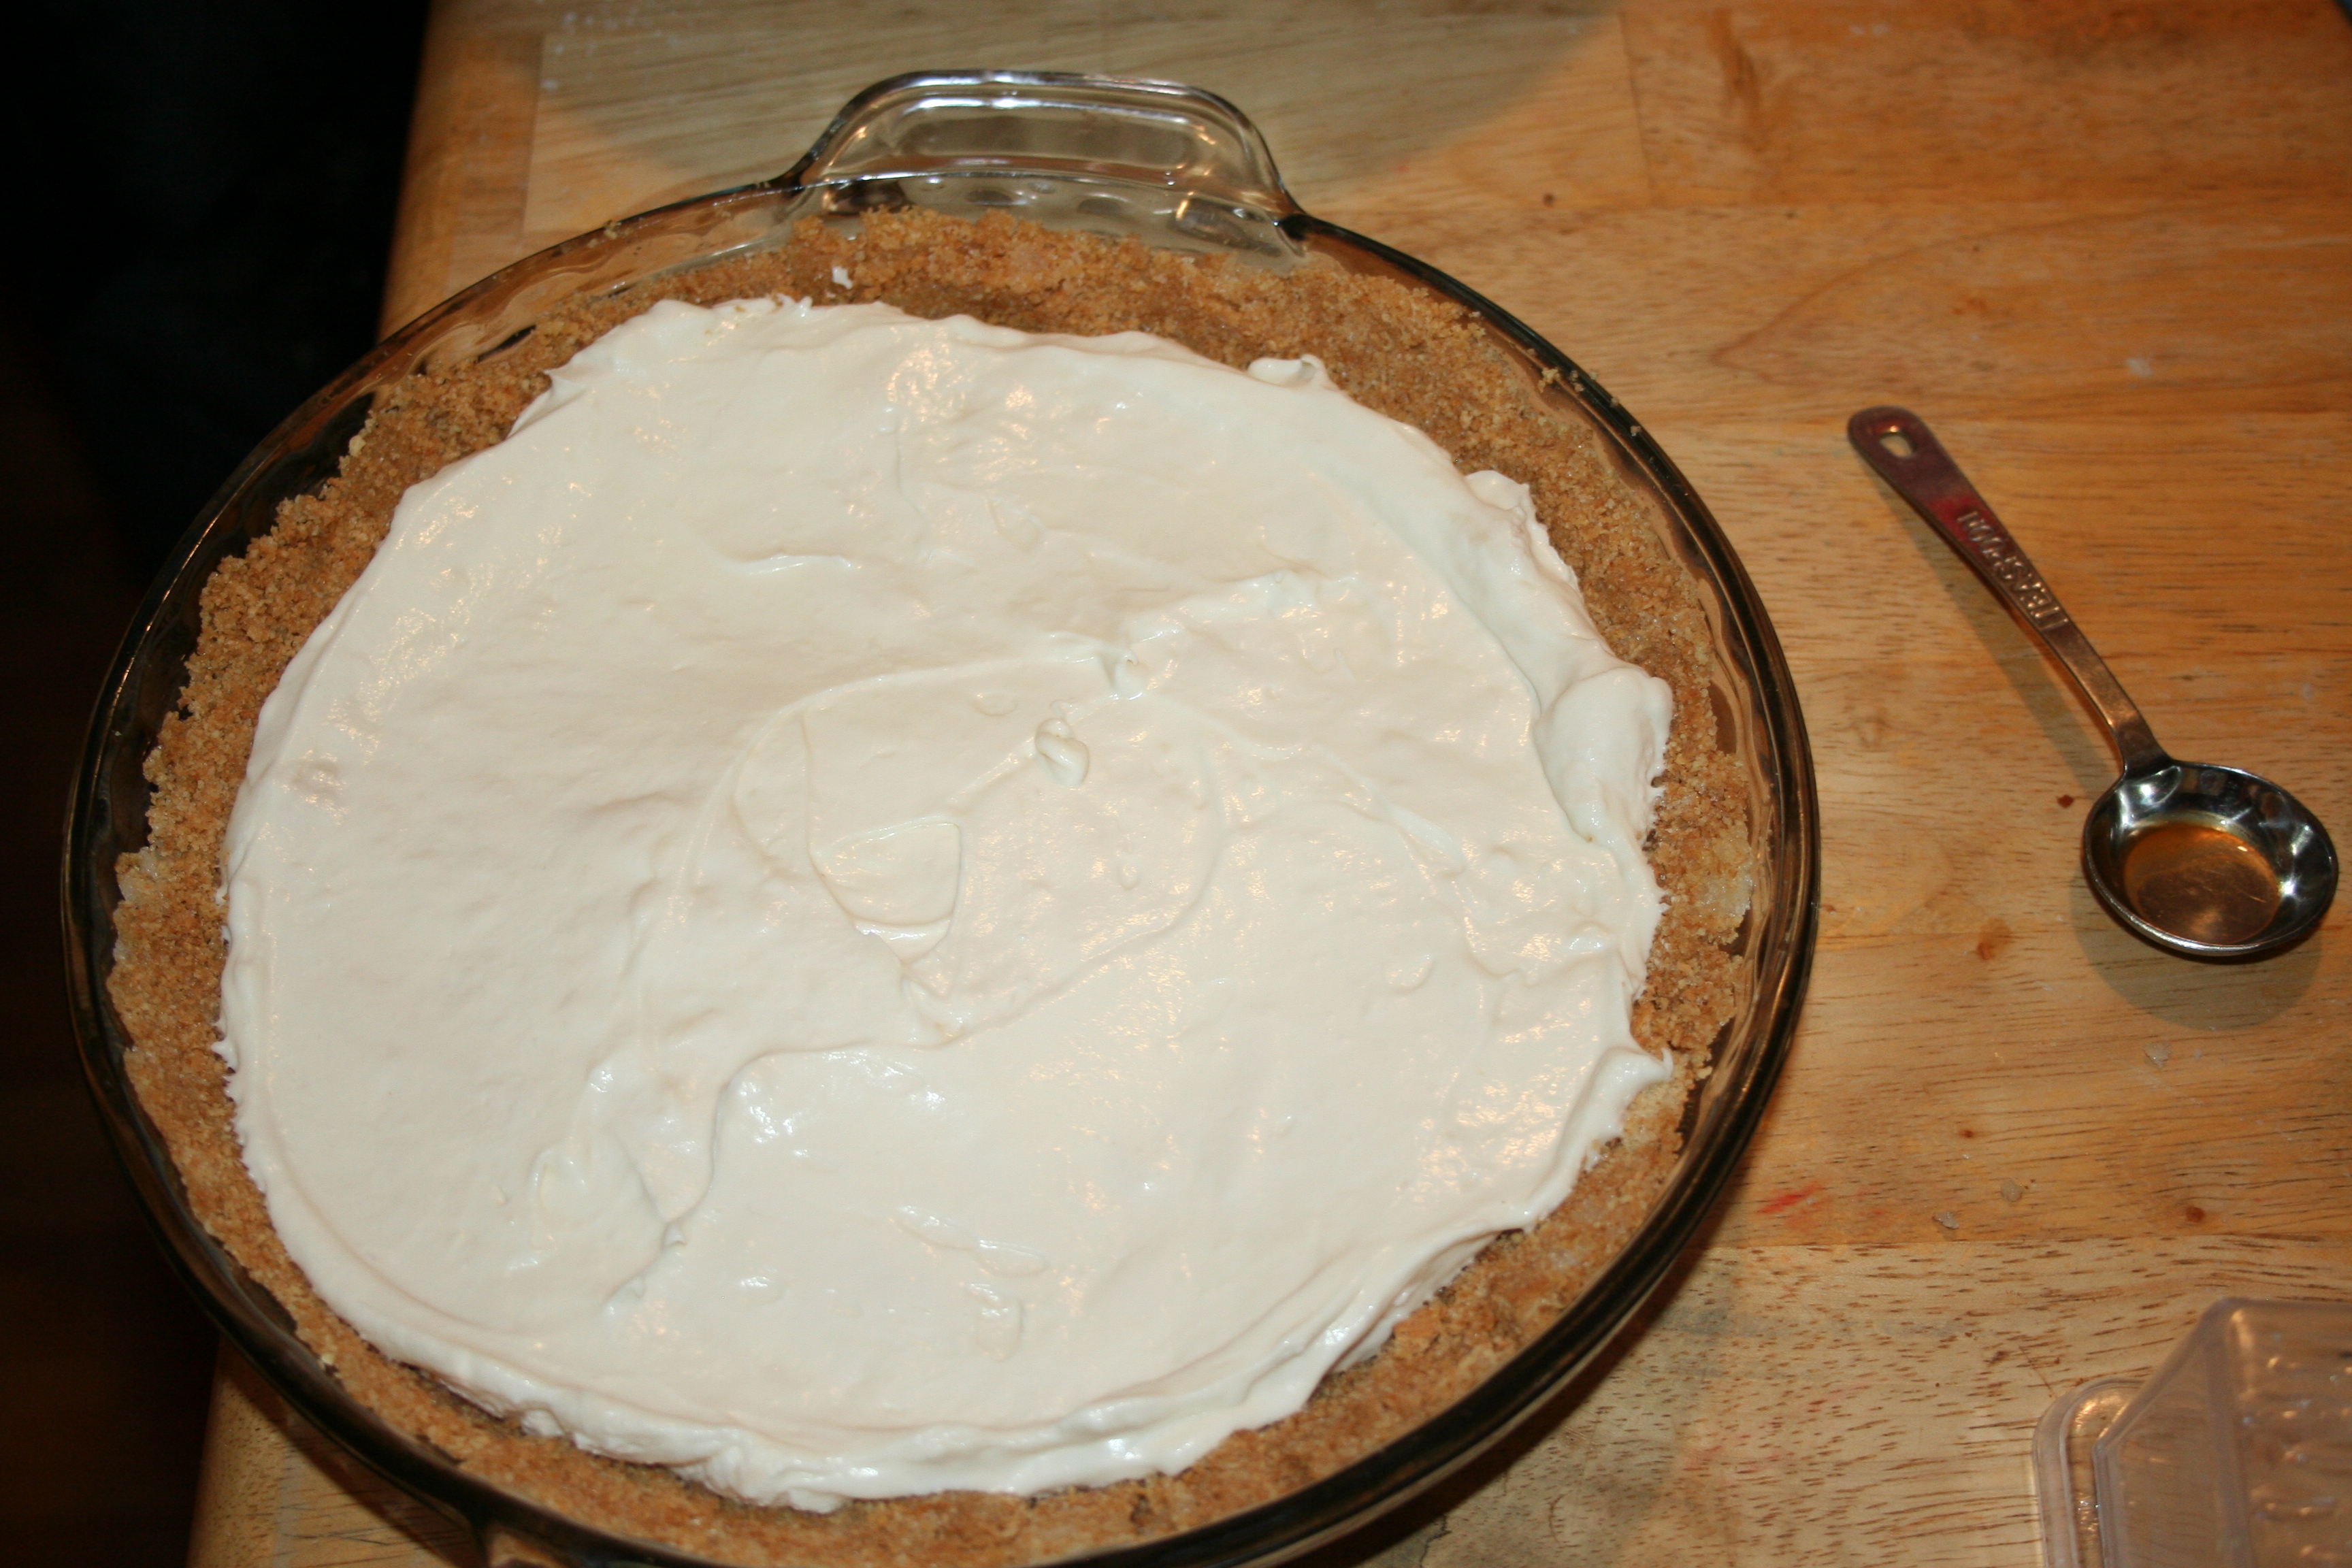
 I was going to share the recipe for No-Bake Berry Cheesecake but if I’d share it today it would just have to be No-Bake Cheesecake because this is the last picture I took of it. I’m not real good at remembering to take the final picture BEFORE serving, YET.
You see, I made this for Mike’s birthday last week. I frequently have the luxury of having someone else take pictures for me while I’m making the item and that day I was not short on help. Lauren was here and she helped by taking some pictures while Tiffany made the crust and I made the filling.
Then came the struggles! Strawberries were a bit expensive this week and I did not get them at the first store I went to, they weren’t very pretty at the second store, and was darn expensive at the last store BUT sitting right next to the strawberries was a strawberry glaze, which is what I was going to make anyways, and was a dollar and thirty cents cheaper. So Tiffany and I decided it made sense to buy the glaze because it saved both time and money.
So now it is time to put the glaze on the cheesecake. I open the glaze package, remove the sealing film, and swipe my finger across the film to taste the glaze . . . YUK!!! Tiffany and Lauren each swipe and taste and in walks the Birthday Boy Man, so we have him taste it; we are all in agreement, it is NOT good. Lauren discovers a tiny little circle on the lid stating that it is sugar free; no wonder it was gross. Meanwhile, I start digging through the freezer to see if I have any frozen strawberries, to no avail, but I have plenty of frozen blueberries. We agree that tonight it will be blueberry cheesecake instead of the strawberry he wanted because I don’t want to wait for Sean to come home and bring some strawberries from the store because he wouldn’t be home until around 6:30 the way it was and none of us were driving the 30 minutes in to town to try and get good strawberries.
I made the blueberry topping/glaze but you see, it is hot and I don’t put it on the cheesecake until it cools a bit. I did get a picture of the glaze SEPARATE FROM THE CHEESECAKE before serving but completely forgot to take the picture of the finished product before it was devoured! Ugh!!! AMATEUR BLOGGER!
Last night when I told the family about my dilemma, Sean said I’d just have to make another one so I could get pictures of it this time, which I might have done if it wasn’t eight o’clock at night! (We are more of the early to bed variety, heading to bed at 10:00 pm.) Thus, it wasn’t happening. So, I had a choice to make, share my No-Bake Cheesecake recipe or something else. Trouble is, I didn’t have pictures of something else. I needed a new plan.
Friday night I was going to try a new recipe but did not feel like it. Instead we decided to make what I’d planned for Saturday . . . pizza, which we have every weekend. Tiffany prefers to make the dough rather than the sauce, which she did. Just as I was getting ready to make the sauce, I got a call and needed to run to the ER to be with someone very dear to me. Tiffany finished dinner for the family using the pesto we’d purchased, I told you she didn’t like to make the sauce , while I ran out the door. For those that care, my dear one will be just fine; hallelujah!
So today, I am sharing the link to a delicious, but involved recipe for General Tso’s Chicken. I found the recipe on Pinterest, which I love. Now, I will say that when I made this I also made homemade egg rolls, to which I had a bit too much meat in but all at the dinner table said they loved them; but of course they would because they don’t really care for veggies all that much.  Tiffany made the sauce for the General Tso’s Chicken for me but it seemed a bit thin; I’ll make it next time and we may add another tablespoon of cornstarch to it, if it isn’t thicker. Other than that, it was a delicious recipe and I will be making it again.
  OH, I will definitely follow the sizing on the chicken in the lower pictures next time rather than the picture of the cut chicken by itself, as they appeared to be thinner pieces but that took way longer to cook in the little pan I was using. I’ll make the pieces a bit larger next time, as shown in the lower pictures. I made mine about an in wide but only about 1/4 inch thick and I’ll make them about an inch thick next time too.
One other thing, although the recipe says about a 1/2 inch of oil, it really only looks to be only enough to fully cover the bottom of the pan, maybe just an 1/8 of an inch of oil. Look at how high the oil comes on the chicken in the picture where it is frying. Thus, I won’t have to use as small of a pan and could maybe keep the pieces of chicken smaller, so as to stretch the chicken a little farther than if cut thicker. I’ll play with it and see.
Well this has gotten a bit long. Do go and try that recipe. It really was VERY GOOD!!! Definitely worth the time and really took minimal effort.
Until next time, God bless,
Michele ºÜº