Tag Archives: THM-E

Sprouted Spelt Pizza

I love pizza!!! It has been a family favorite since my childhood.

My grandmother had seven children and could not afford to make Chef Boyardee pizzas for her large family. So she looked at the ingredients and created her own version. She taught her girls how to make it and my mom taught me. :) I in turn have taught my daughter, Tiffany, how to make it.

Well, I decided I wanted to make it over to use sprouted spelt flour. It needed adjusting because spelt flour requires less liquid. I love the sourdough one but I have to be sure to get it mixed in the morning because it has to sit for at least 7 hours. But since sprouted spelt is sprouted flour, it can be used right away. :)

So you start with 1 cup of warm water, 1-2 teaspoons of oil, and 2 1/4 teaspoons yeast. Mom never added any sugar or honey, so I don’t. We’ve never had any problem with it.
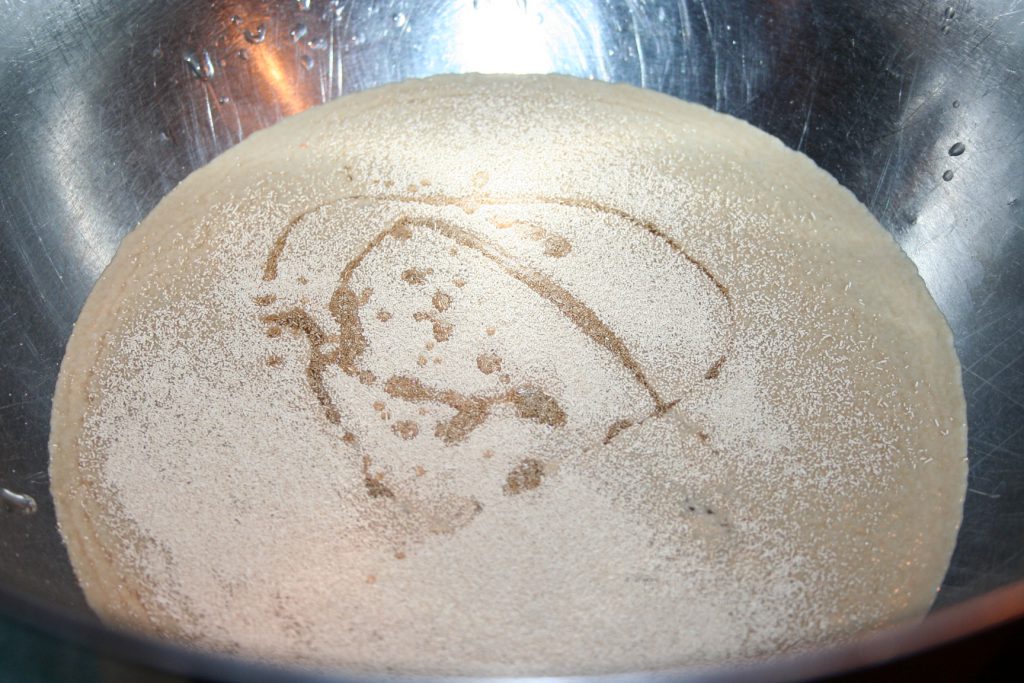
Stir to combine and dissolve the yeast.
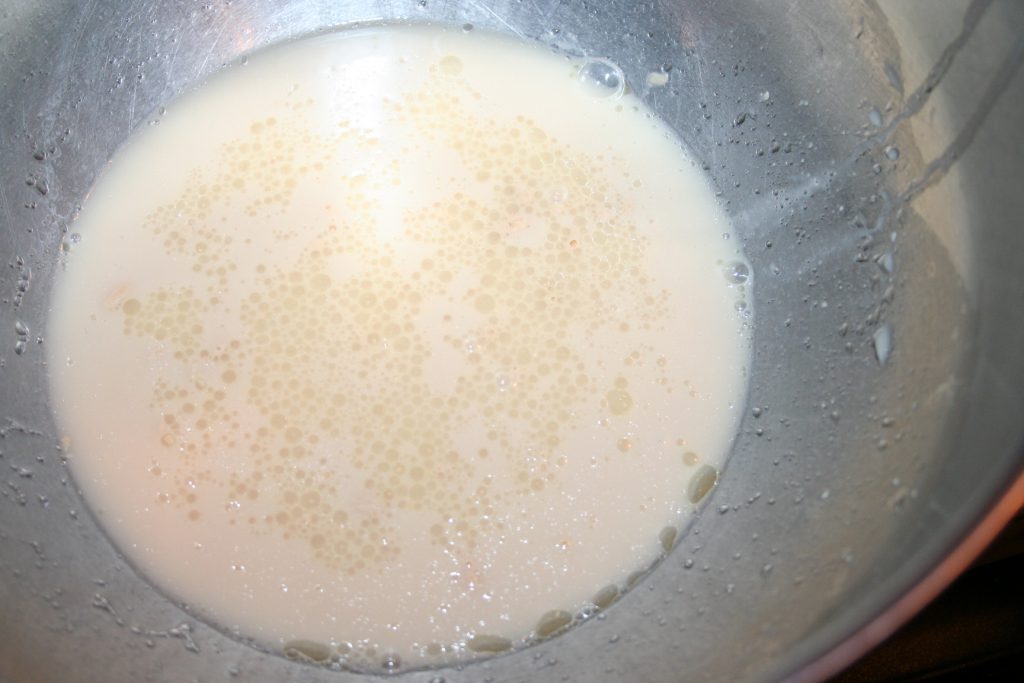
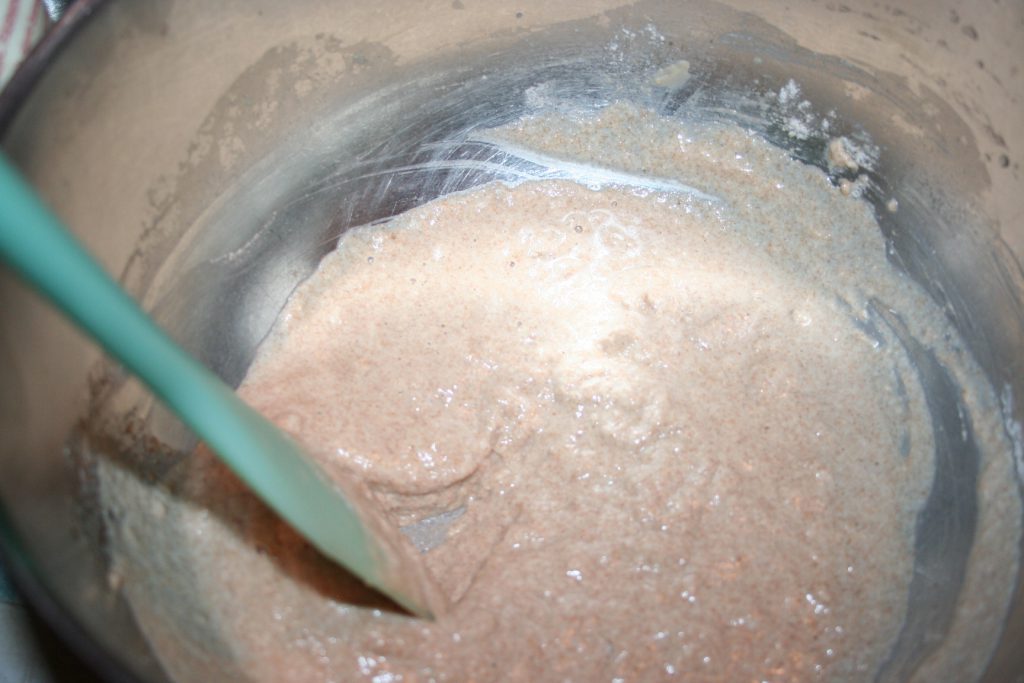
Stir in one cup of sprouted spelt flour. and then work in the second cup.
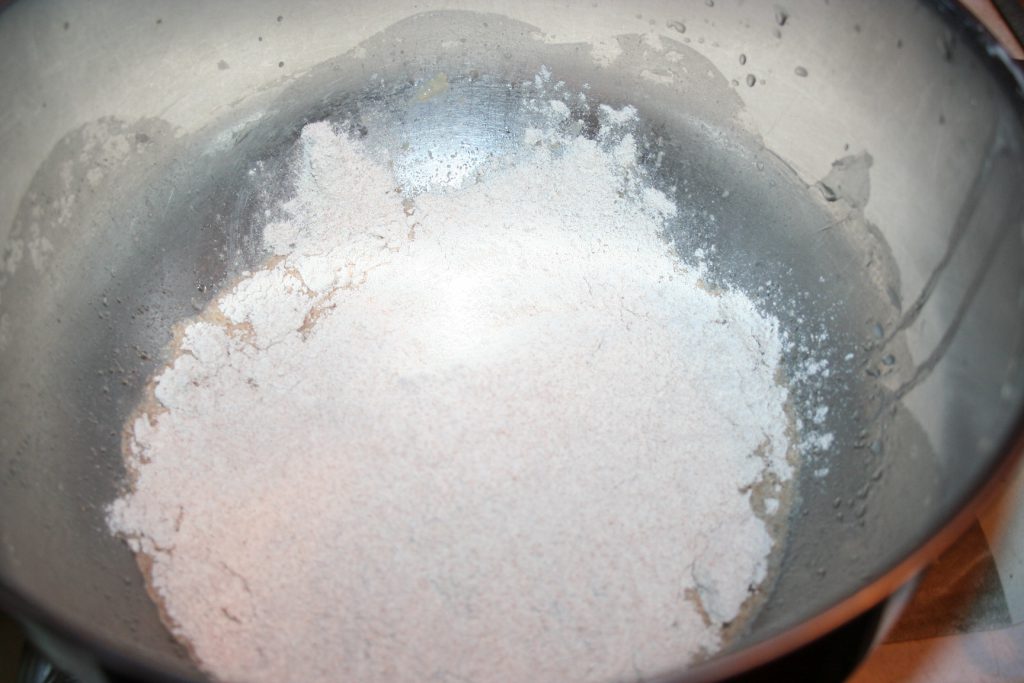
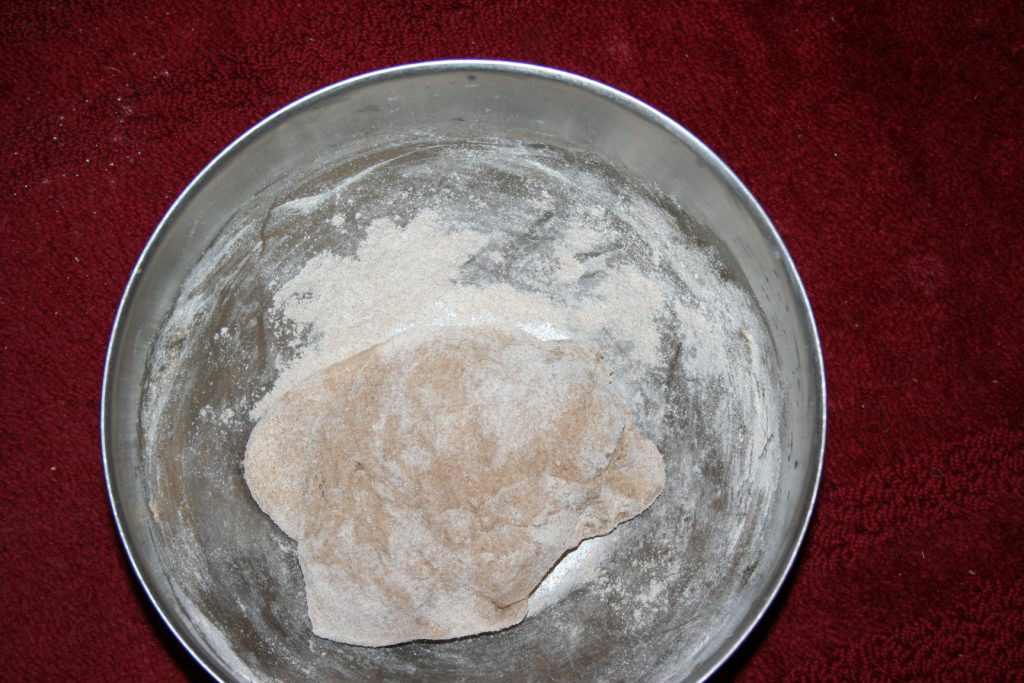
I cover it with a clean towel and keep it in a warm place. In about an hour or so, it can be put onto the pizza pans. I used to use two 12-inch pans but I love using four 6-inch personal size pans now.

Divide the risen dough into equal parts. Lightly grease the pans and press one part one each pan.
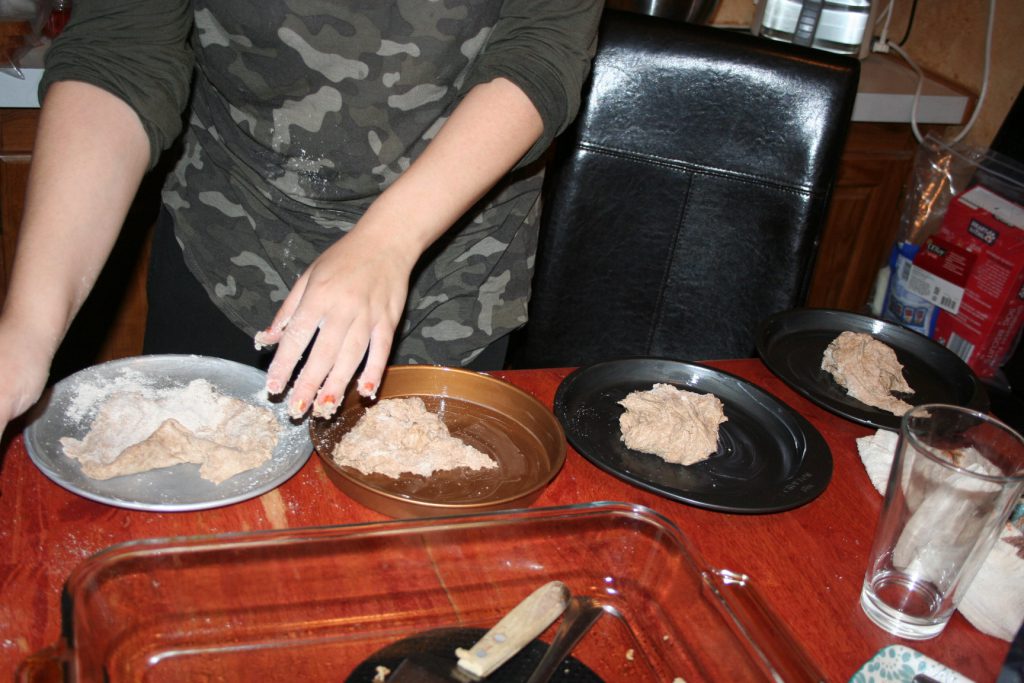
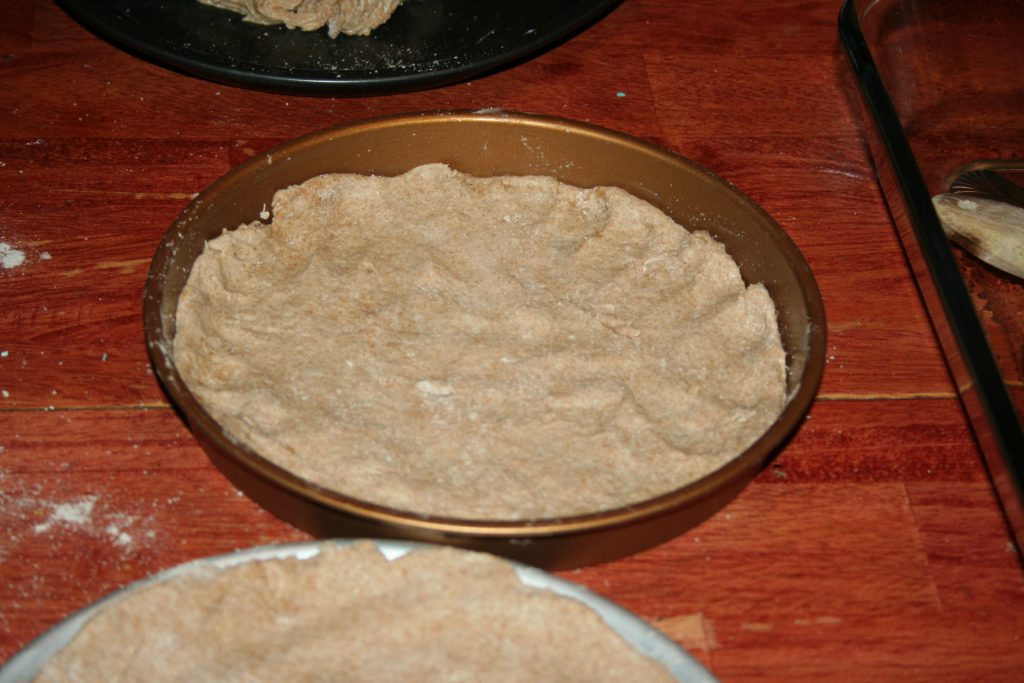
Tiffany put the dough in the pans this night.

Once it is in the pans, it is good to let it rise again for a little bit. Then add the sauce and toppings, except the cheese.

This night we used turkey pepperoni. But other nights we’ve added a slice of turkey bacon, canned mushrooms, diced onions, and diced bell pepper.

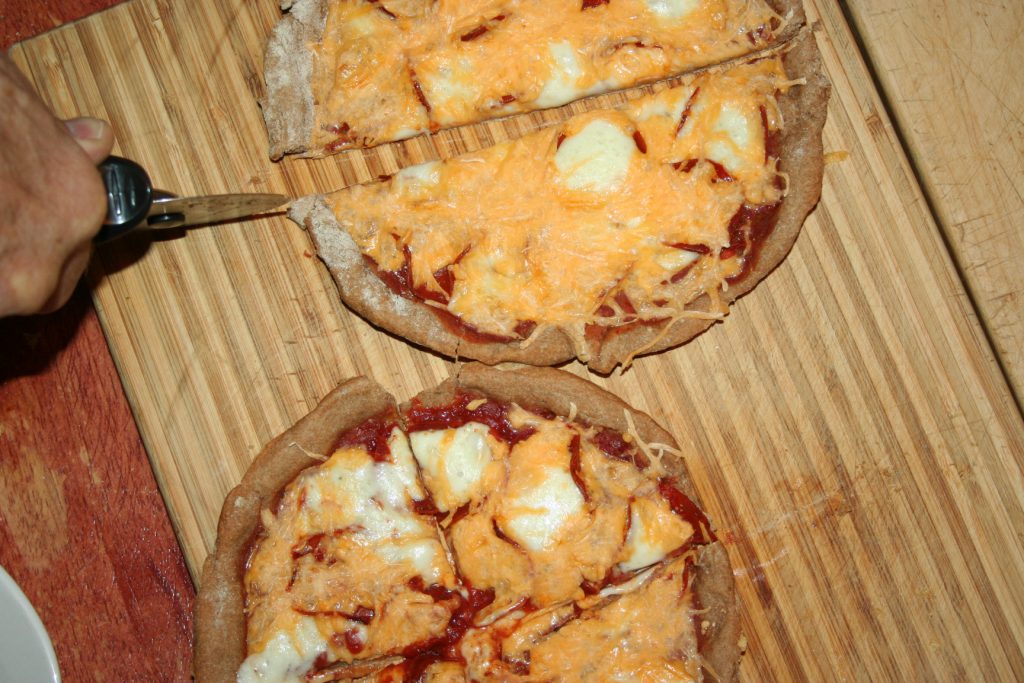
Bake it for about 15 minutes, until the crust is starting to brown. Then add one grated cheese stick (and we use fat free cheddar too) and cottage cheese, which is surprisingly good.
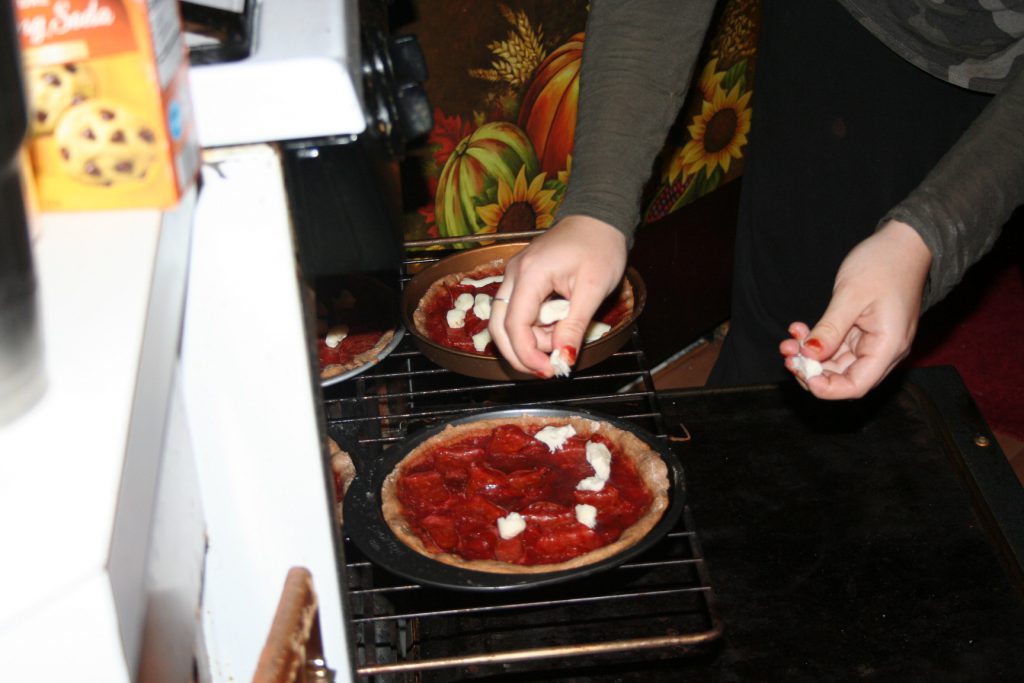
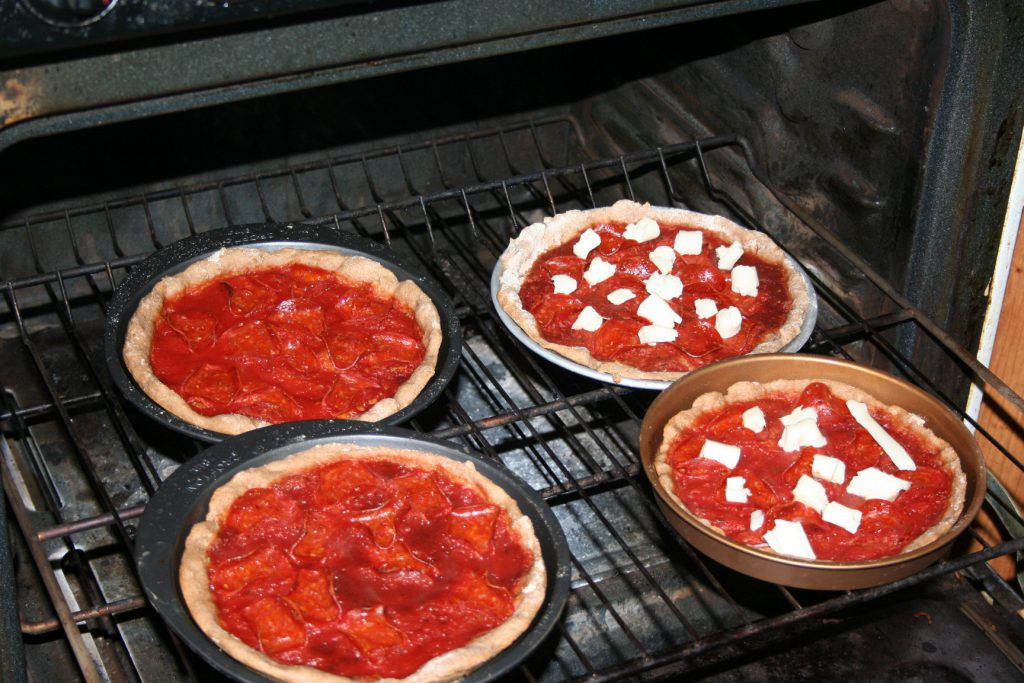
Tiffany didn’t feel like grating it. Pop it back in the oven to melt the cheese.
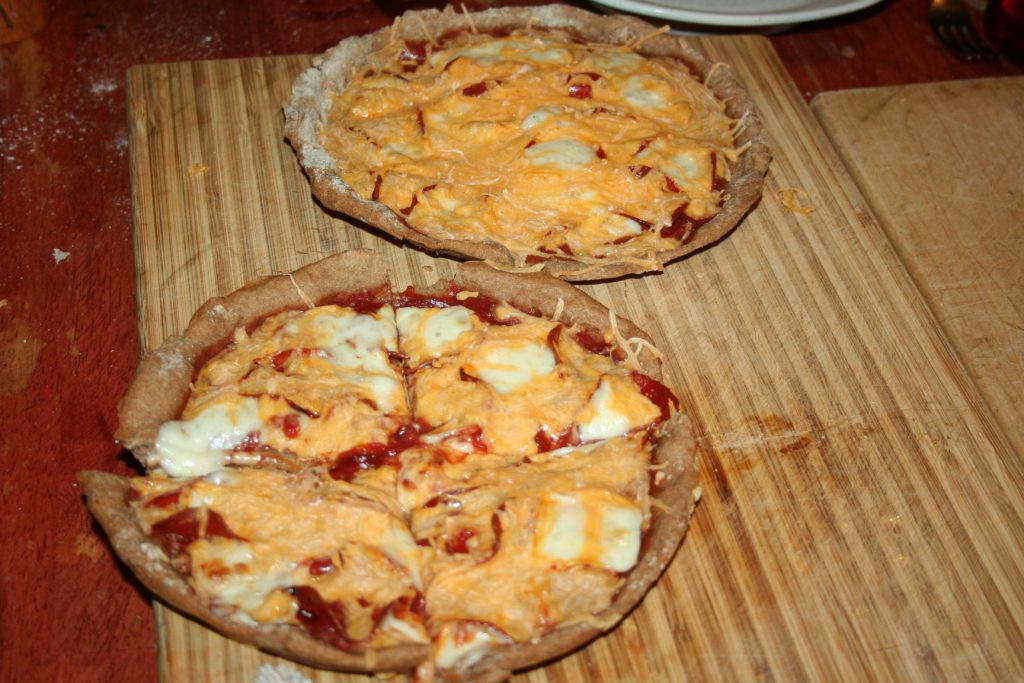
We eat this as a THM-E meal. It might be a very small crossover but if you are careful with your greasing of the pan and toppings, you’ll keep it in E territory, especially if you only use the 1 teaspoon of oil in the dough.

Sprouted Spelt Pizza

Ingredients

  • 1 cup warm water (NOT HOT OR COLD)
  • 2 1/4 teaspoon rapid rise or SAF yeast
  • 1-2 teaspoons oil
  • 2 cups sprouted spelt flour

Instructions

  1. Make the water warm to the wrist but not hot. Put 1 cup into a bowl.
  2. Add the yeast and oil.
  3. Stir in 1 cup of the flour.
  4. Work in as much of the other cup as needed. (I usually use all of it but don't use too much so that it gets too dry).
  5. Cover with a towel and let rise for about an hour in a warm place.
  6. Lightly grease pizza pans. Spread the dough evenly on them.
  7. Let it rest again for about 20 minutes or up to an hour.
  8. Add sauce and toppings (NOT THE CHEESE YET)
  9. Bake 425º for about 15 minutes.
  10. Add cheese and bake to melt the cheese, about another 5 minutes or so.
https://lifeofjoy.me/sprouted-spelt-pizza/

Until next time, God bless,

Michele ºÜº

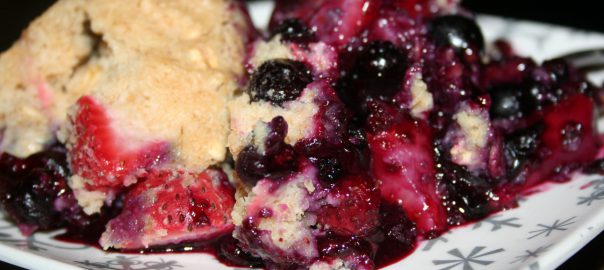
THM FP or E Berry Cobbler

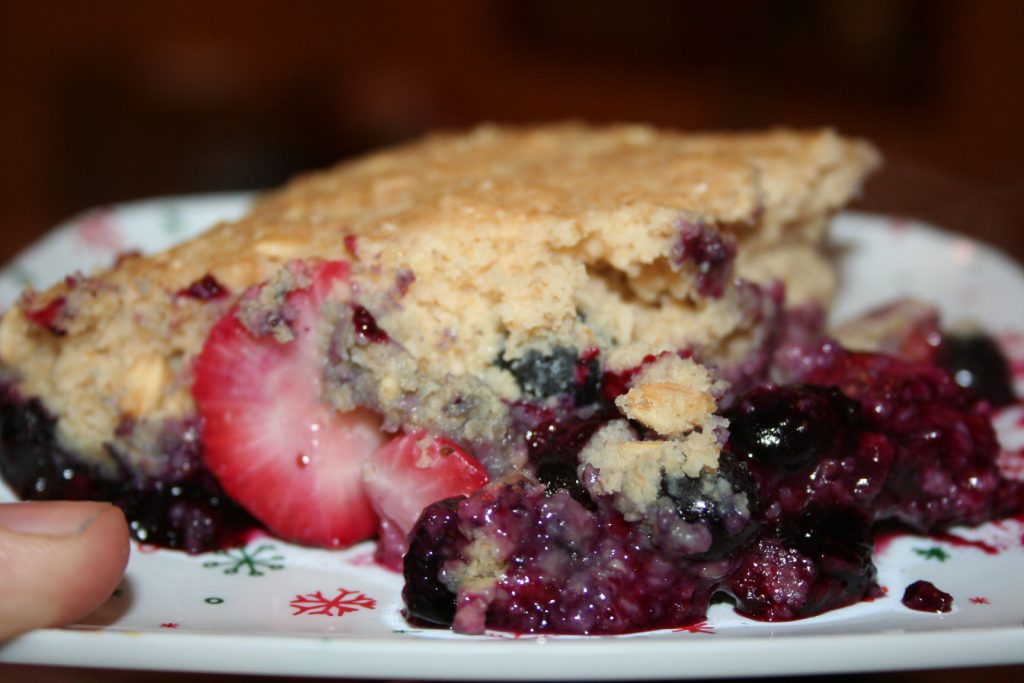
Some time ago we were looking for a light dessert. We found this berry cobbler from A Home with Purpose. We don’t like raspberries, so we use a mixture of strawberries and blueberries. :)

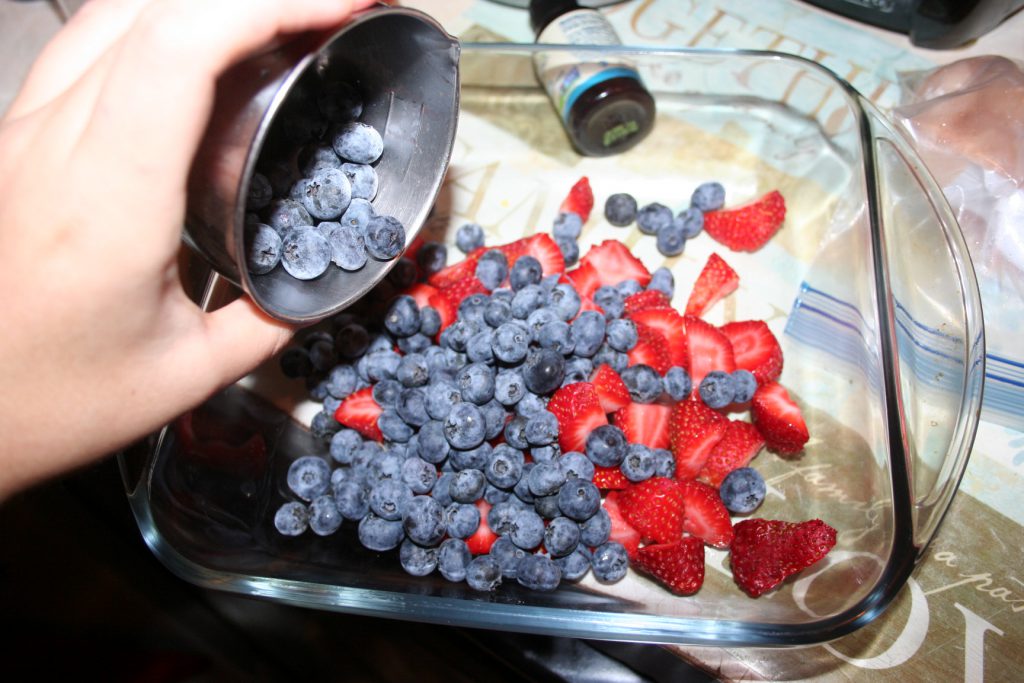
It’s a pretty simple recipe and my lovely daughter Tiffany is pretty amazing because she not only made the dessert last night but also took the pictures for me to use. :) Such a jewel!

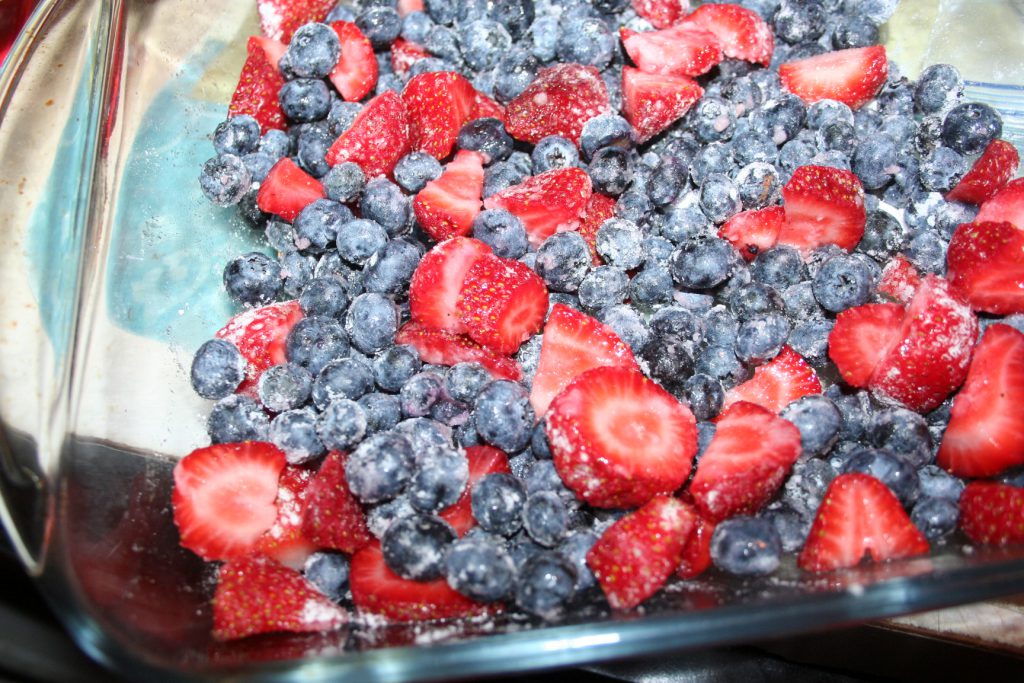
Start by measuring out a total of 3 cups of berries and putting them in an 8x8ish pan. Then sprinkle them with sweetener. Tiffany can’t do THM Super Sweet very well, so we use about 3 tablespoons of THM Gentle Sweet. But taste your berries and add sweetener as needed. Our strawberries were pretty tart and could’ve used a bit more sweetener. ;)

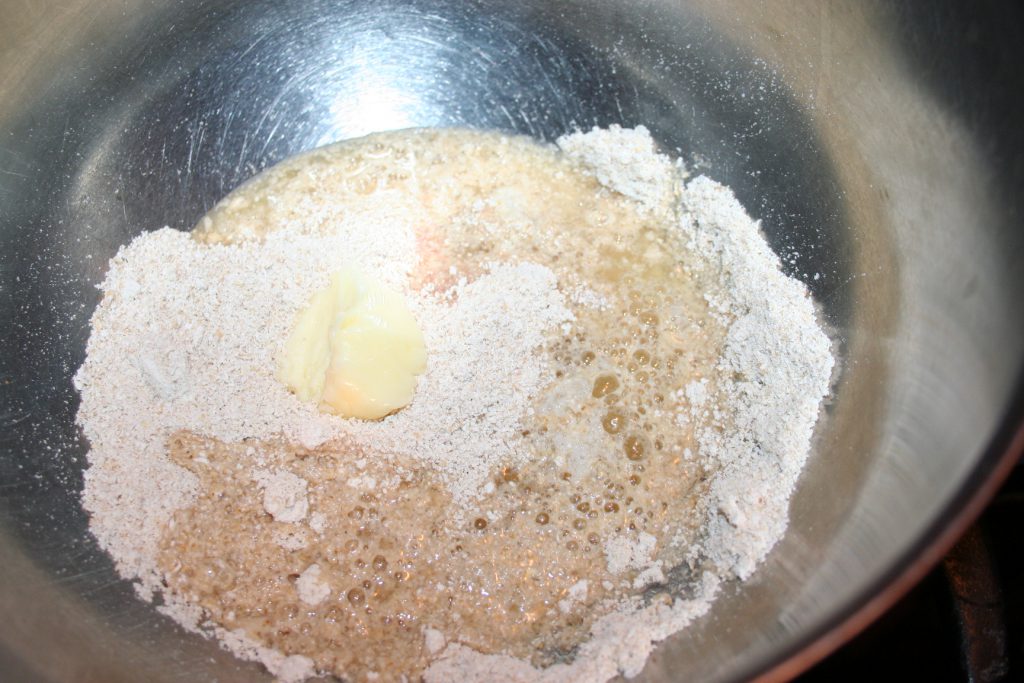
Then mix the topping ingredients in a bowl.

We use the ground oats because Tiffany cannot tolerate the flax in the THM baking blend well. Sometimes we go with the greek yogurt and other times we use the applesauce. This time it was applesauce. :)

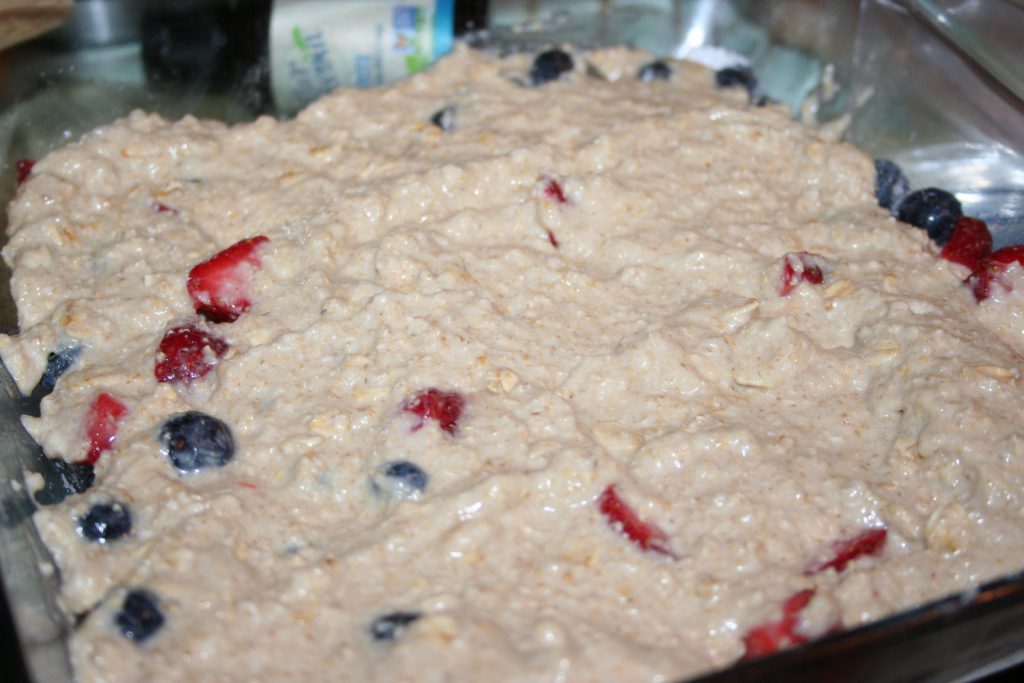
Combine and spread evenly over the berries and bake.

We follow her directions of baking uncovered for 20 minutes and covering it with foil for 10 minutes.

As you can see, it is really an easy recipe. It is also very yummy. :)

This serves 4, so there are no leftovers. :D

I hope you’ll hop on over to her website and make this one for yourself. Oh, it is gluten free, dairy free, and of course, sugar free. :)

Until next time, God bless,

Michele ºÜº
Instant Pot Taco Rice

Several months ago I was looking for recipes using my Instant Pot or Ninja Foodi. I came across this recipe from My Table of Three.

It is a very simple recipe and quite yummy. :) Also this meal feeds our family of 4 adults dinner, twice. So I make it in full and then freeze the other half. Then on the night we eat the leftovers, I thaw it and steam it.

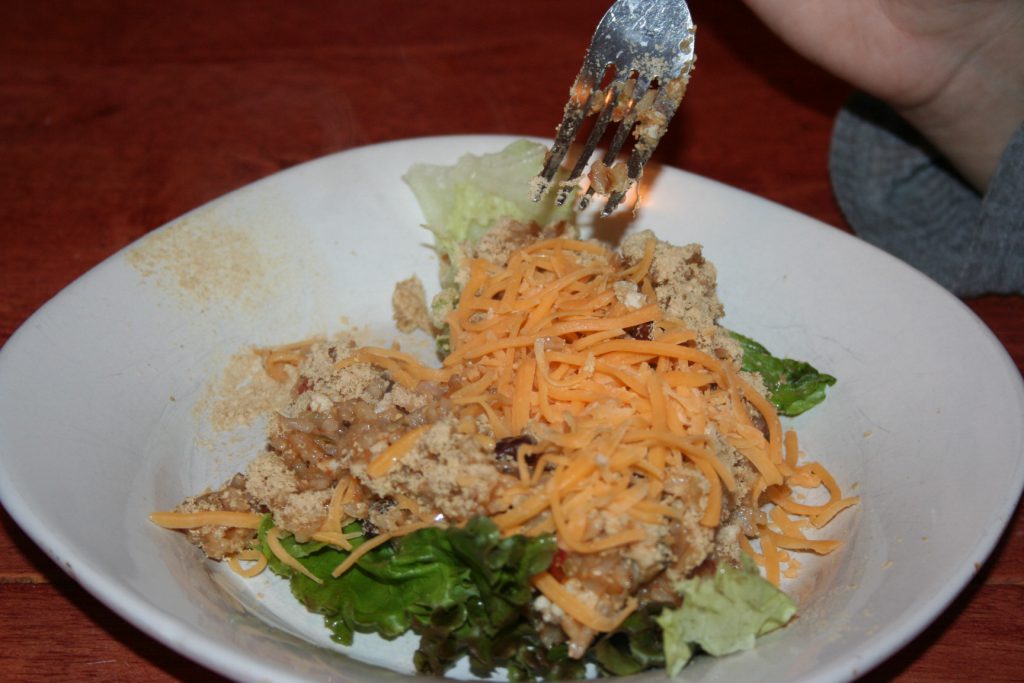
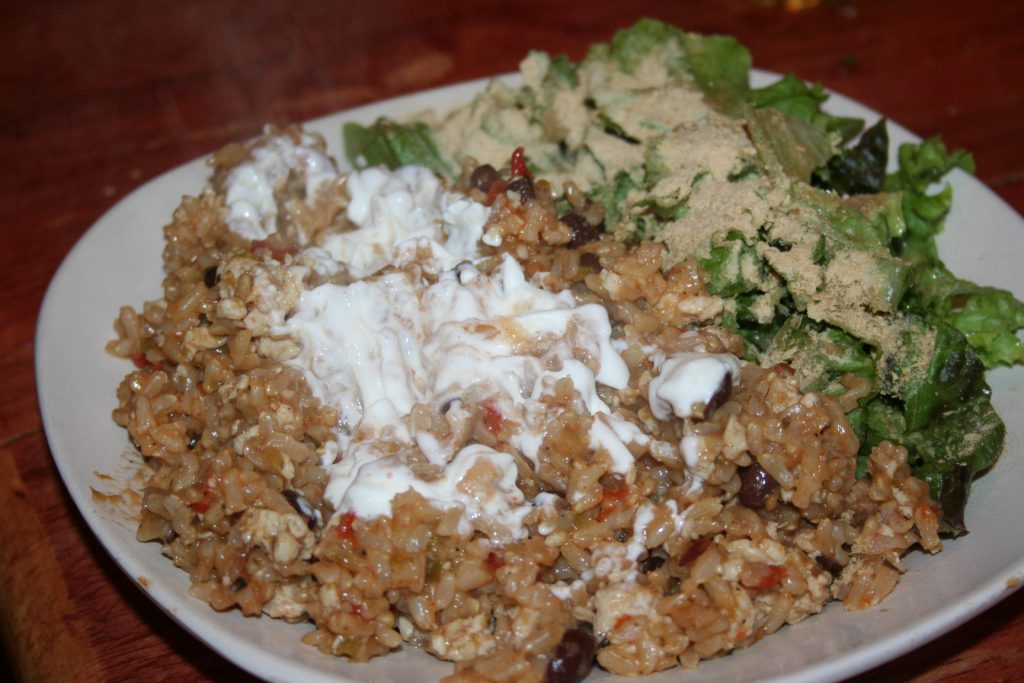
We serve it with salad and a very small drizzle of oil (about 1/2 a teaspoon) or some canned green beans.

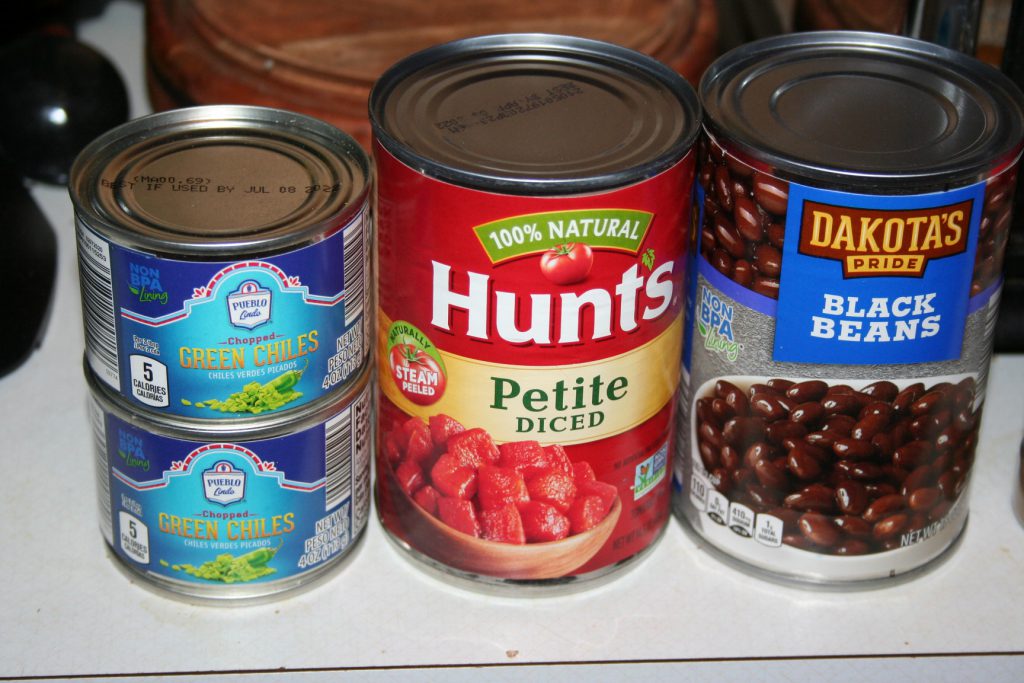
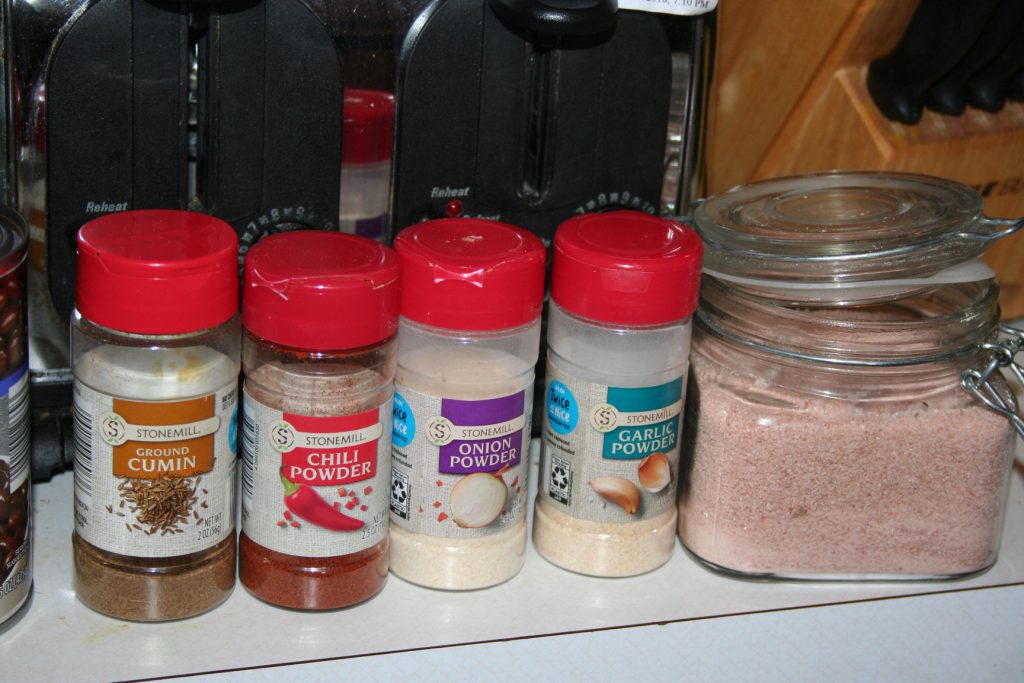
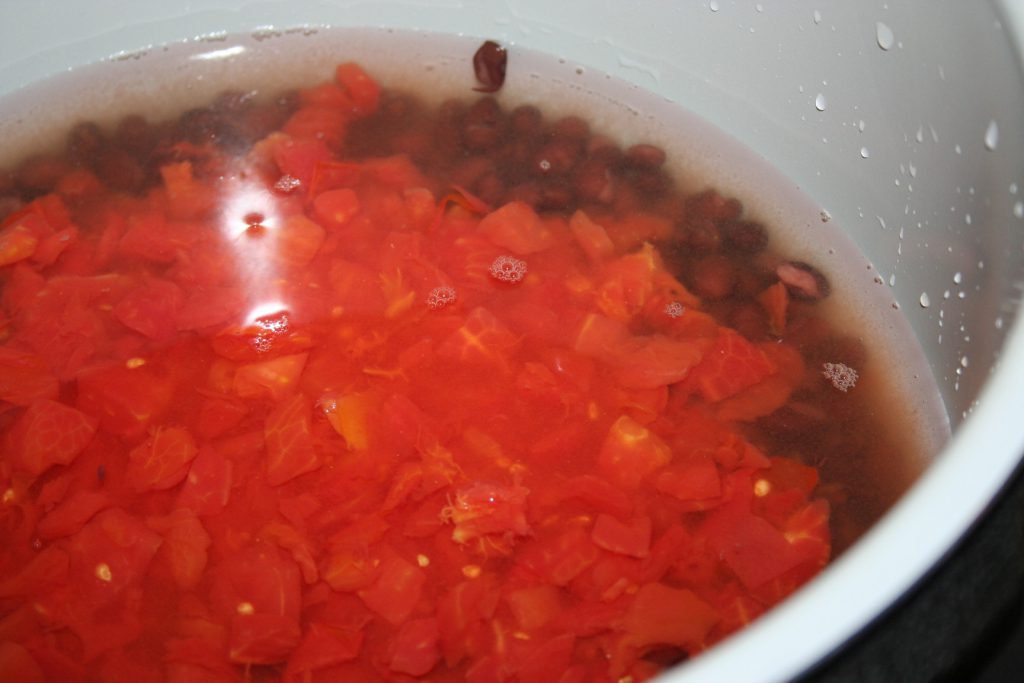
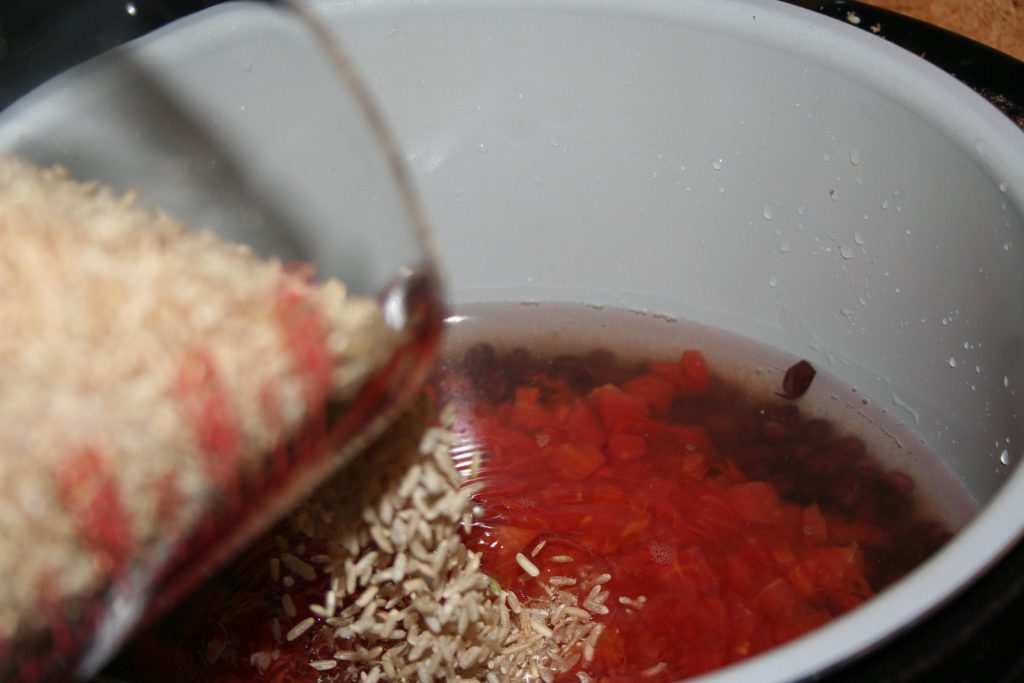
It’s really a simple process, add all the ingredients to the pot and pressure cook on high for 22 minutes with a quick pressure release.

Combine and cook.

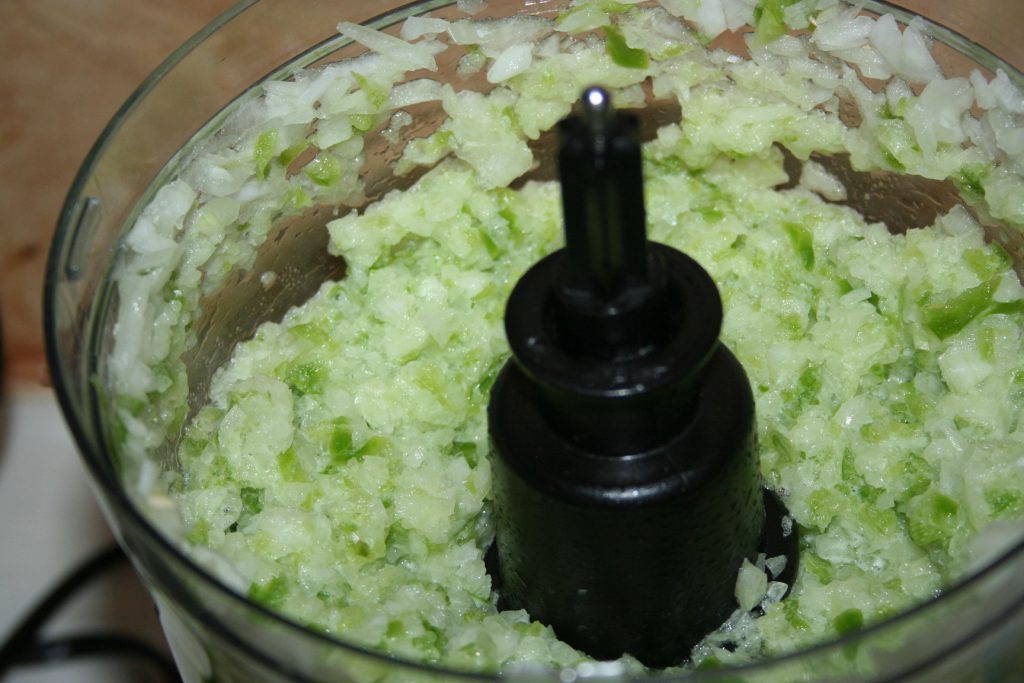
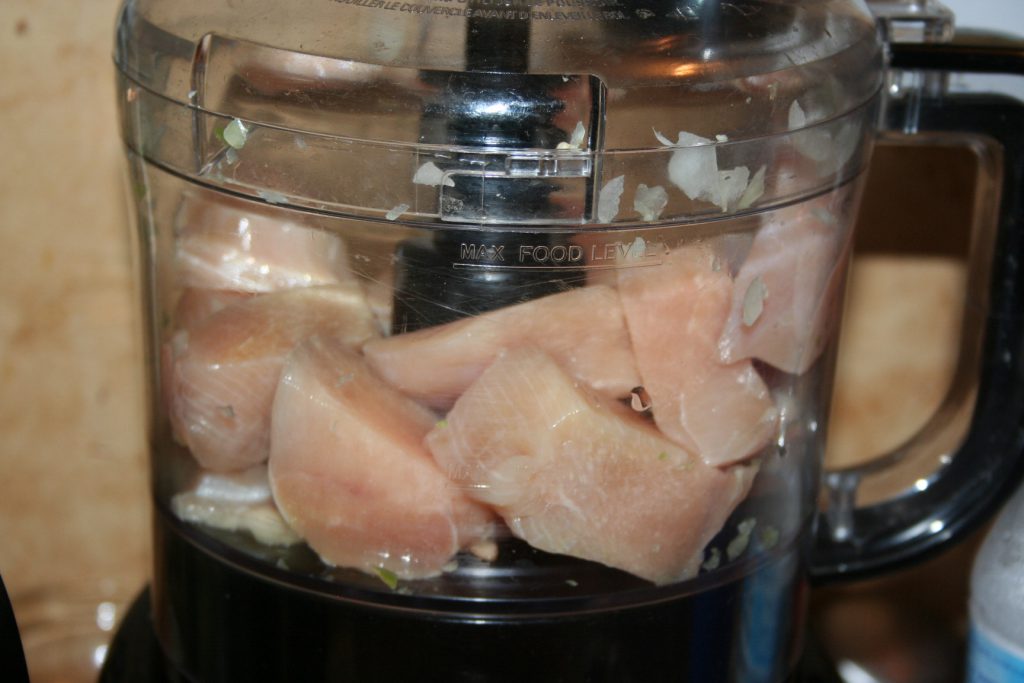
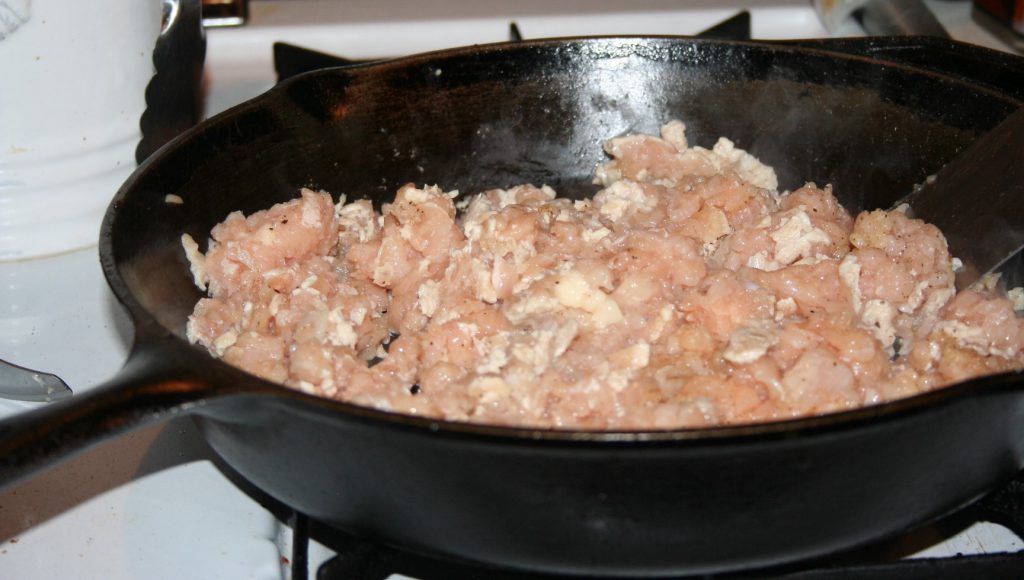
Meanwhile, I put about two pounds of boneless skinless chicken breast in the food processor to grind it up and cook up.

Cook quickly in skillet, seasoned slightly.

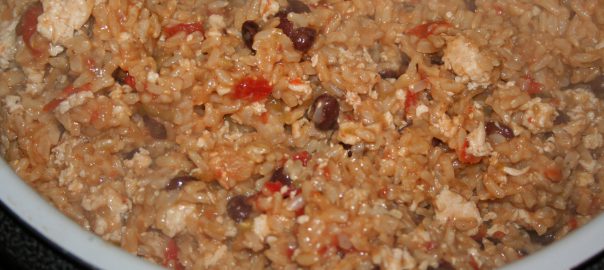
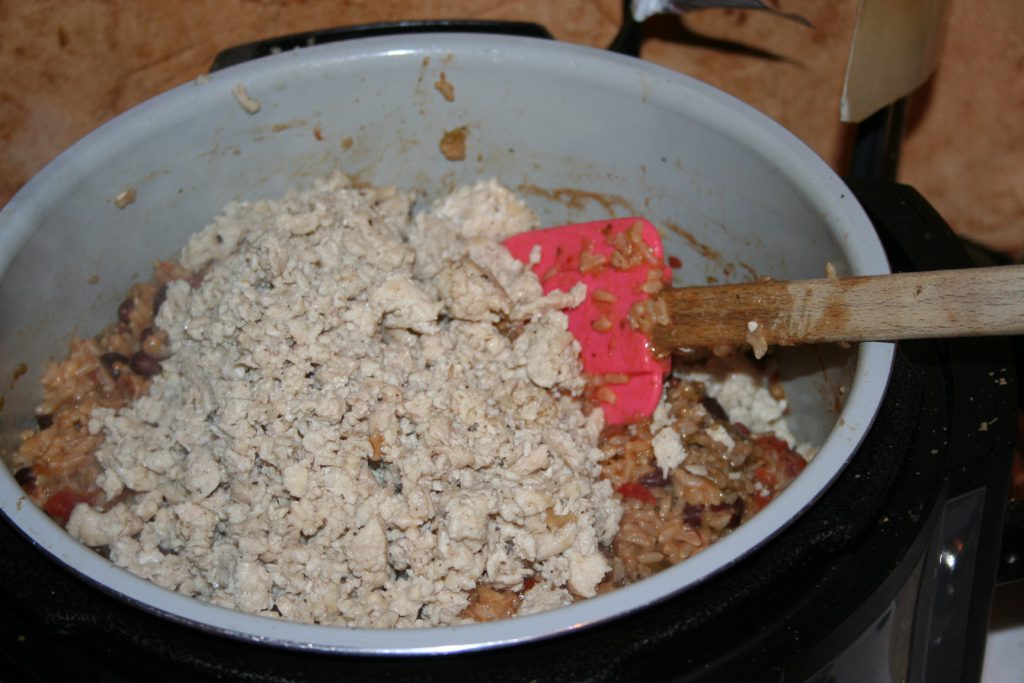
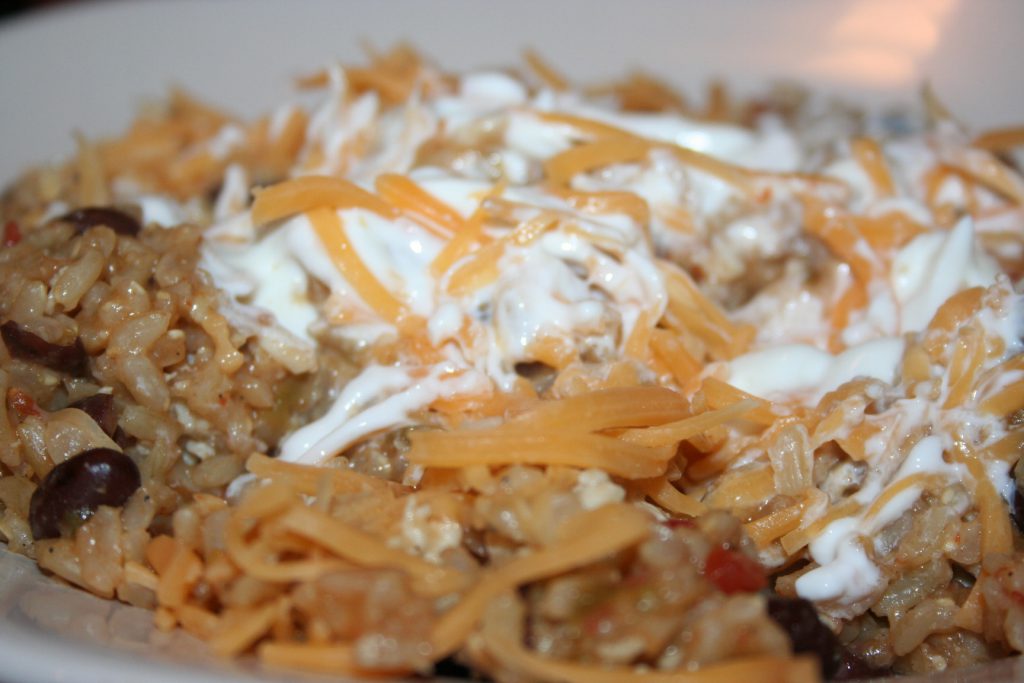
When it is cooked and the rice is done, add it to the remainder of the dish and stir to combine.We serve with some fat free greek yogurt (and some fat free cheddar cheese, which is our own personal choice item).

Head on over to MyTableofThree for the full recipe and her notes on the recipe.

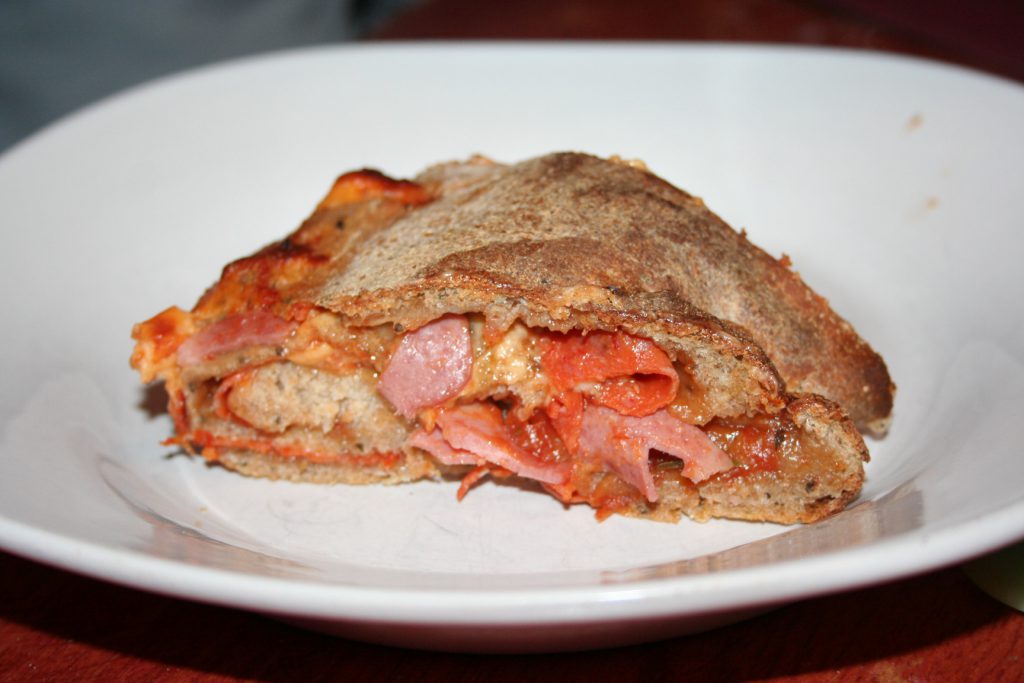
Pizza Roll (Stromboli)

It is crazy hot here in Oklahoma, which is natural for July but makes the house very hot if I cook as usual. So I’ve been trying to use the Ninja Foodi more and I have to say, I’m loving it!

I found a recipe a few weeks ago that baked bread in it. Yep, bake is one of the settings. :) We love pizza but it is just too hot to heat the oven up to 425º to make it. So I thought maybe I can make a bread with pizza flavors in it and then we can just bake it in the Ninja Foodi.

So Saturday morning I started the sourdough pizza dough. :) We love sourdough pizza dough. After it had risen the requisite 5-6 hours, it was time to form it and let it raise the remaining 1-2 hours before baking.

Unfortunately I had a pretty bad headache and had to lay down. However, Tiffany and Michael rose to the challenge and proceeded to finish off dinner. Now I was planning to make more of a loaf of bread but Tiffany didn’t understand that and instead made more of a stromboli.

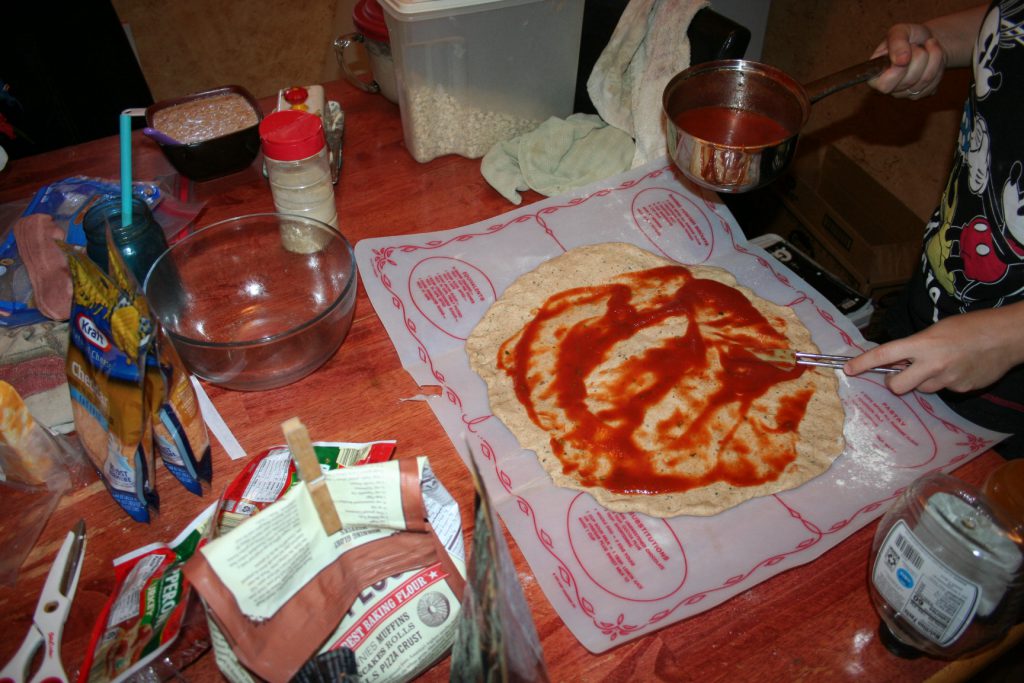
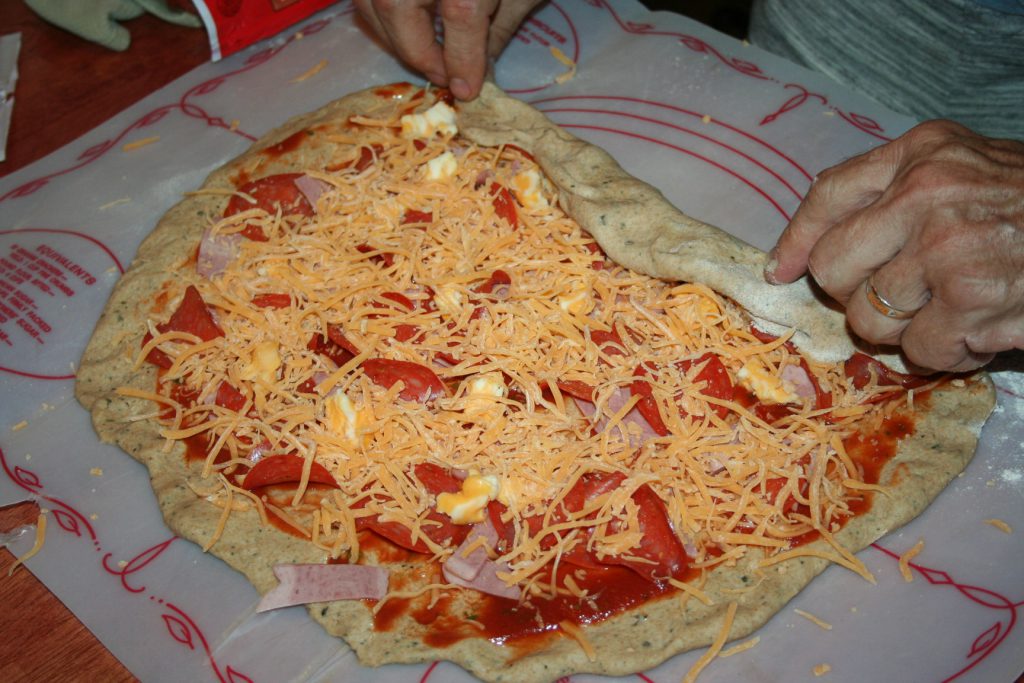
They started by patting the dough out. It was supposed to be in a long rectangle but the picture they took seems to look more like a large circle.

Then a thin bit of pizza sauce.

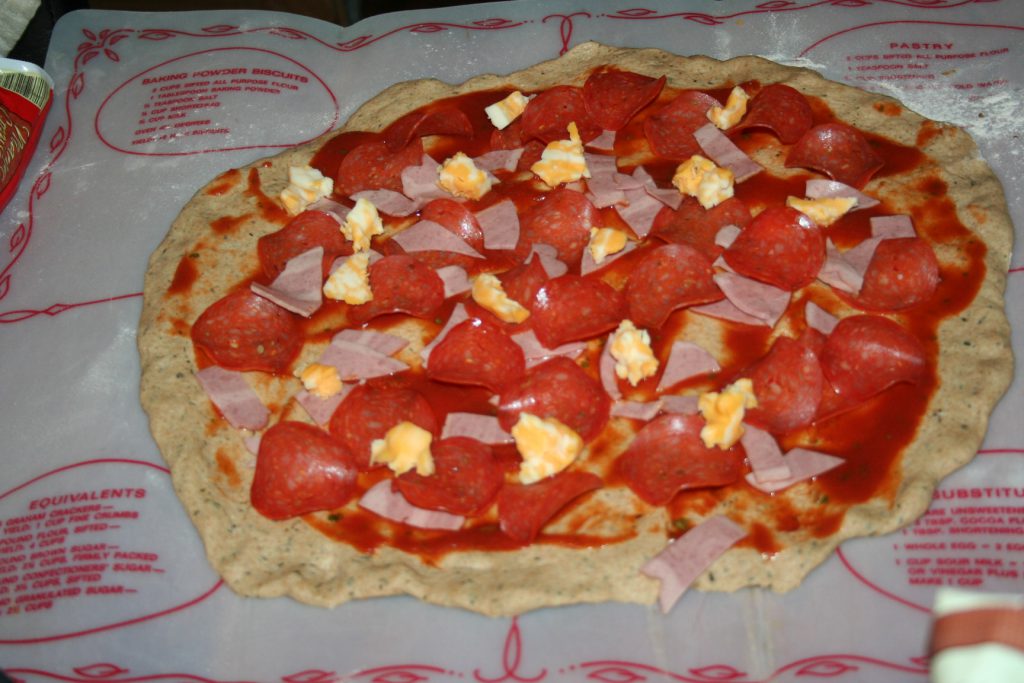
Then it was topped with some low fat toppings. We used some turkey pepperoni and a couple of strips of turkey bacon.

Normally we would have added 2 ounces of low fat mozzarella cheese but we didn’t have any, so Tiffany added a few crumbles of colby-jack cheese (which may have been a little too much fat but it just made it a light crossover, if so).

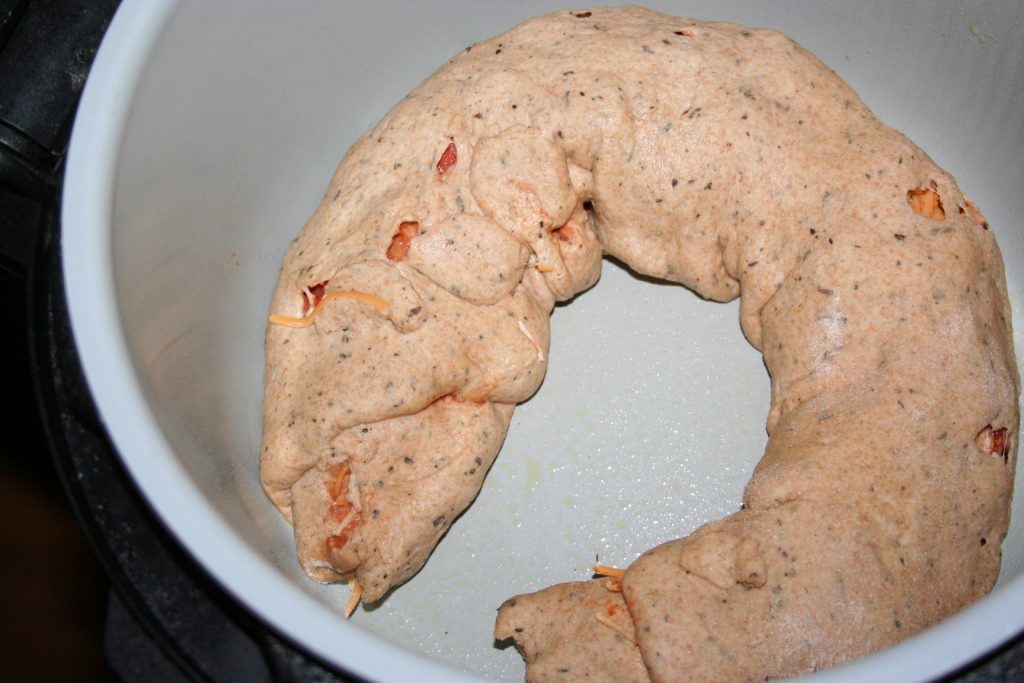
Then we add some fat free cheese. It’s our personal choice. ;) And rolled it up.

Clearly, it fit into the foodi nicely and it could handle another half batch of dough when we need it. ;)

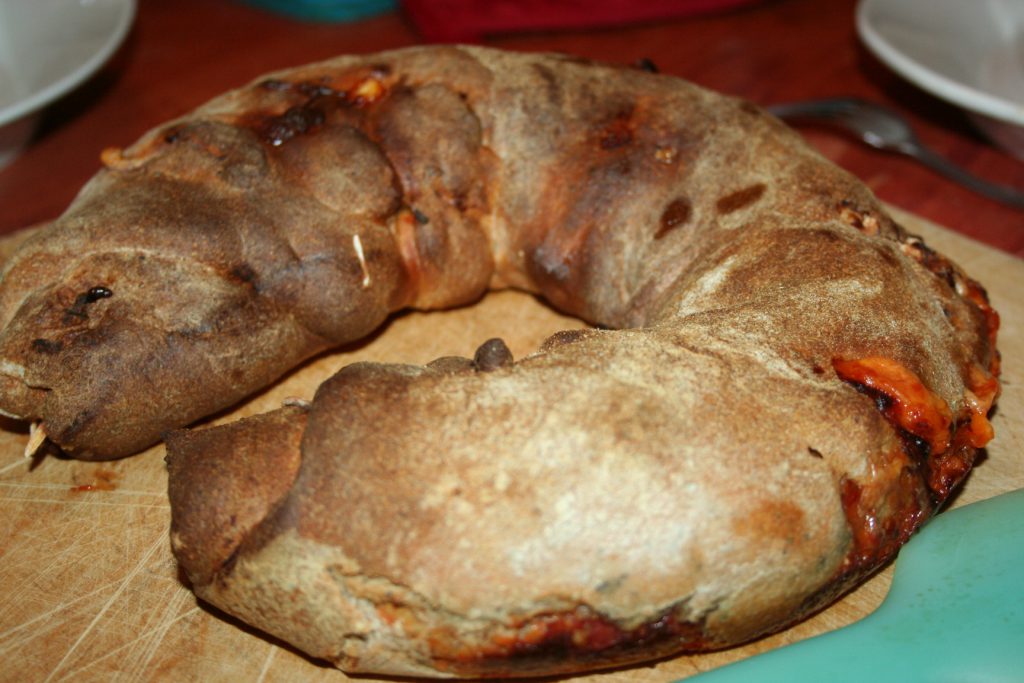
We baked it on 400º for about 20 minutes. I’ll need to look into how to keep it from getting quite so dark though.

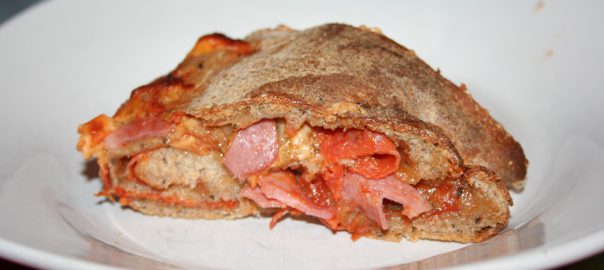
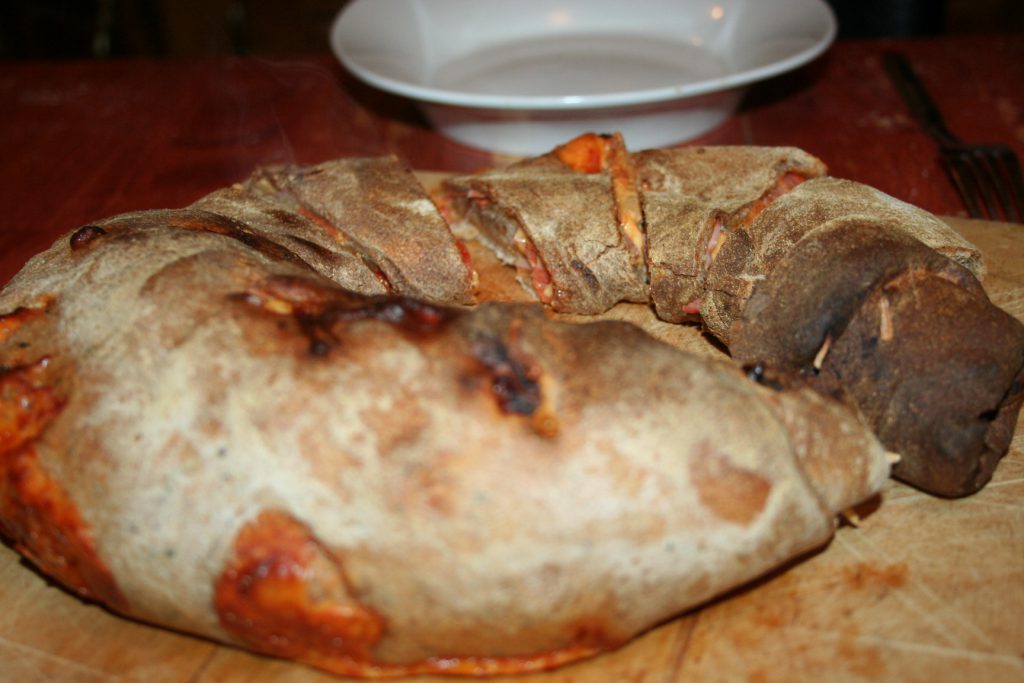
We sliced it . . . it was a bit crusty. ;) But oh so good! We served it with more pizza sauce, for the drier bites.

Over all, it was a good first attempt. :)

Until next time, God bless,

Michele ºÜº
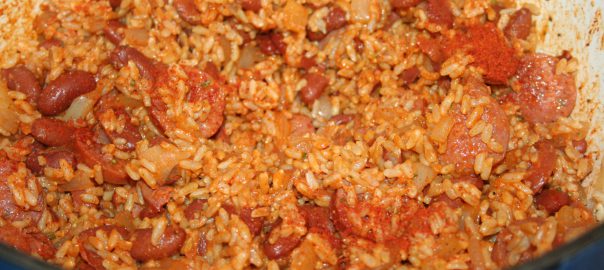
Cajun Sausage, Rice, and Beans

I have made this recipe from Briana Thomas’ newest cookbook, Convenient Foods, several times. The first couple of times I made it we enjoyed it but the last several times we have loved it. :)

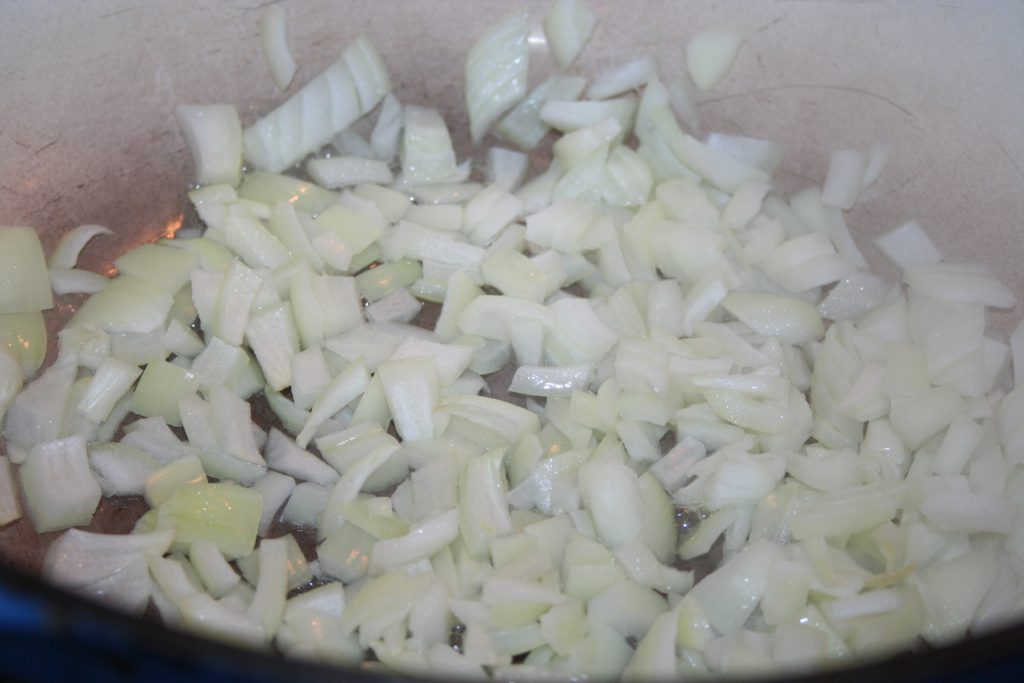
Start by water sauteing a chopped onion in your skillet or dutch oven. :)

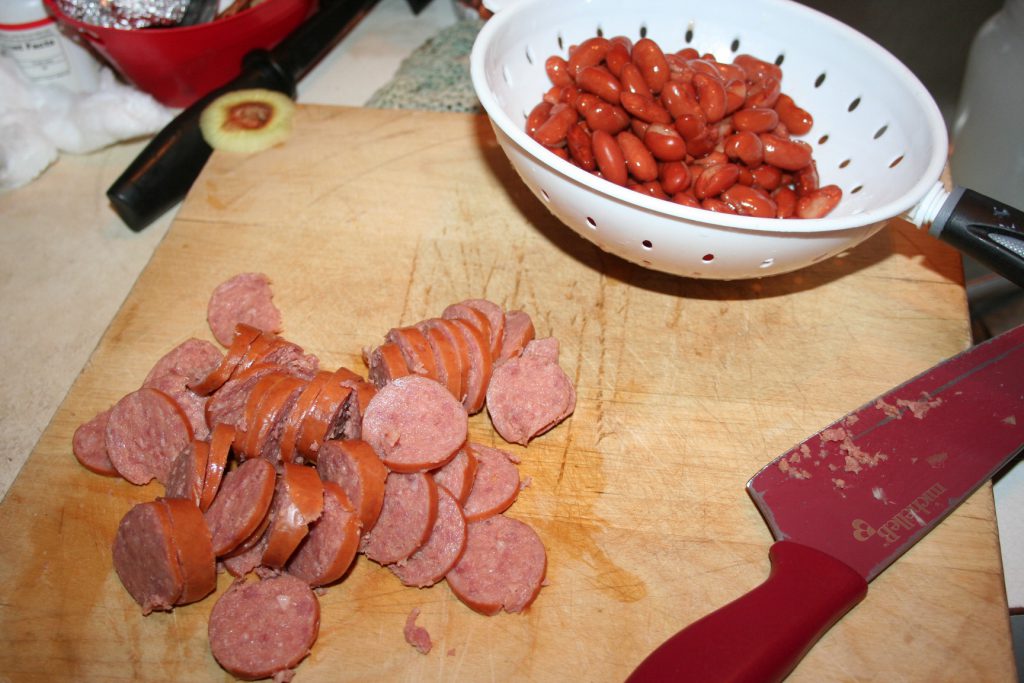
I like my onions very soft and starting to brown before I add the next group of ingredients: cooked brown rice, drained canned kidney beans, 6.5 ounces of sliced turkey kielbasi, 1/4 cup water, smoked paprika, oregano, garlic powder, salt, pepper, and cayenne.

It is very important to stir this all together, cover it, and let it simmer for 15 minutes.

Then add the optional 1/2 tablespoon of apple cider vinegar and 1/8 teaspoon THM Super Sweet. Cover and simmer 5 more minutes. This too is very important. It just really gives it a great flavor.

A couple times when I made this, I was out of smoked paprika but had plenty of plain paprika. So I added 1/2 tablespoon of paprika and then added a splash of liquid smoke. :) Yum!!!

Oh My! This is sooo good. It is making my mouth water and I’m full from eating my meal. :D

I also love her Hearty Barbecue Soup recipe. And I just saw that she has a birthday cake ice cream recipe. Birthday cake flavored ice cream is a new favorite flavor around here, so we’re going to have to give it a try.

Cajun Sausage, Rice, and Beans

Ingredients

  • 1 medium onion, chopped
  • 2 Tablespoons water
  • 3 cups cooked brown rice
  • 15 ounce can dark red kidney beans, drained, rinsed
  • 6.5 ounce smoked lean turkey sausage (kielbasi), sliced
  • 1/4 cup water
  • 1/2 Tablespoon smoked paprika
  • 1 teaspoon oregano
  • 1/2 teaspoon garlic powder
  • 1/2 teaspoon salt
  • 1/2 teaspoon black pepper
  • dash cayenne pepper
  • 1/2 tablespoon apple cider vinegar (optional)
  • 1/8 teaspoon THM Super Sweet Blend (optional)

Instructions

  1. Saute chopped onion in couple tablespoons of water until desired tenderness/color obtained, adding more water as needed.
  2. Add cooked brown rice, drained beans, sausage, water, smoked paprika, oregano, garlic powder, salt, pepper, and cayenne. Stir, cover, and simmer 15 minutes. (Add more water if it begins sticking.)
  3. Add vinegar and sweetener, stir, cover, and simmer another 5 minutes.
  4. Devour! 🙂
https://lifeofjoy.me/cajun-sausage-rice-and-beans/

If you haven’t gotten Briana’s cookbook, you really should. She has some great recipes in it. :) I make this one every couple of weeks. It is inexpensive and delicious. (The package of kielbasi from Aldi makes two batches. So I freeze half the sausage for use later in the month.)

I hope you enjoy this recipe as much as we do.

Until next time, God bless,

Michele ºÜº
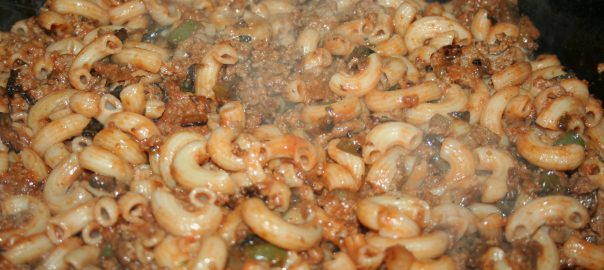
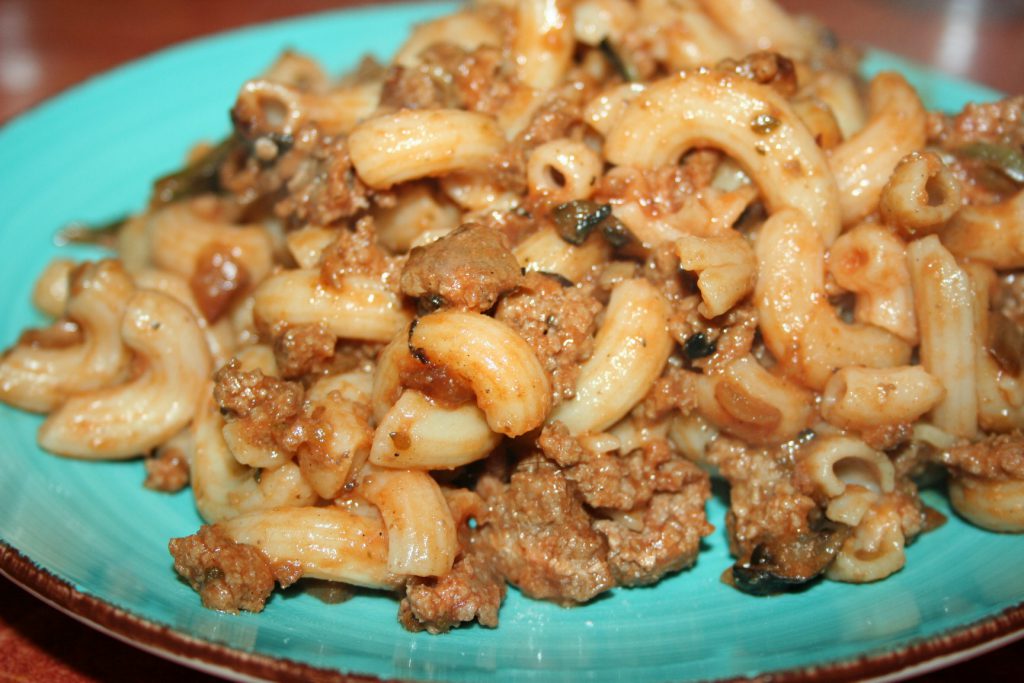
Pasta Again :) (Goulash)

So at this point I guess I’ll admit that when there is a meal scheduled that we don’t feel we have the energy to make or time to make, we switch it up. And a lot of those times we end up with a pasta dish of some sort. We love pasta.

Yesterday I started painting late in the afternoon and didn’t get it finished until after five. At that point I was too hungry to wait to cook the spicy sausage and butternut squash dish, so we went for “hamburger helper” which is what we call pasta dishes. ;)

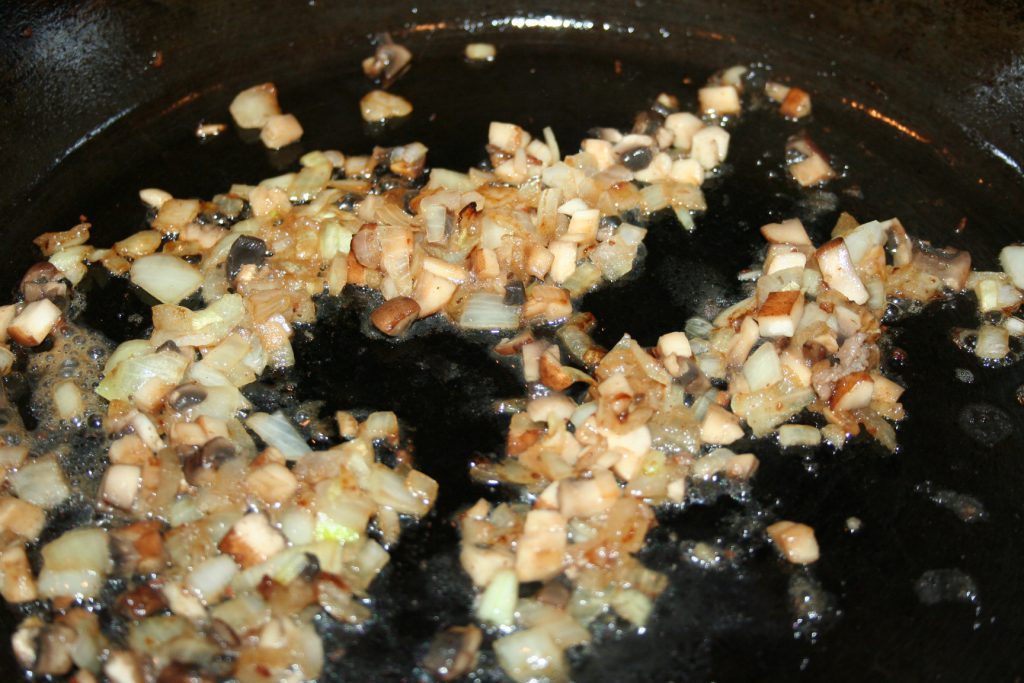
So like other pasta dishes, we diced some onion, mushroom, and bell pepper and cooked them in an oil-sprayed frying pan and added water to keep them from sticking. ;)

cooked onions and mushrooms ~ Lifeofjoy.me
We actually had diced green pepper too but I didn’t get a picture of it. :(

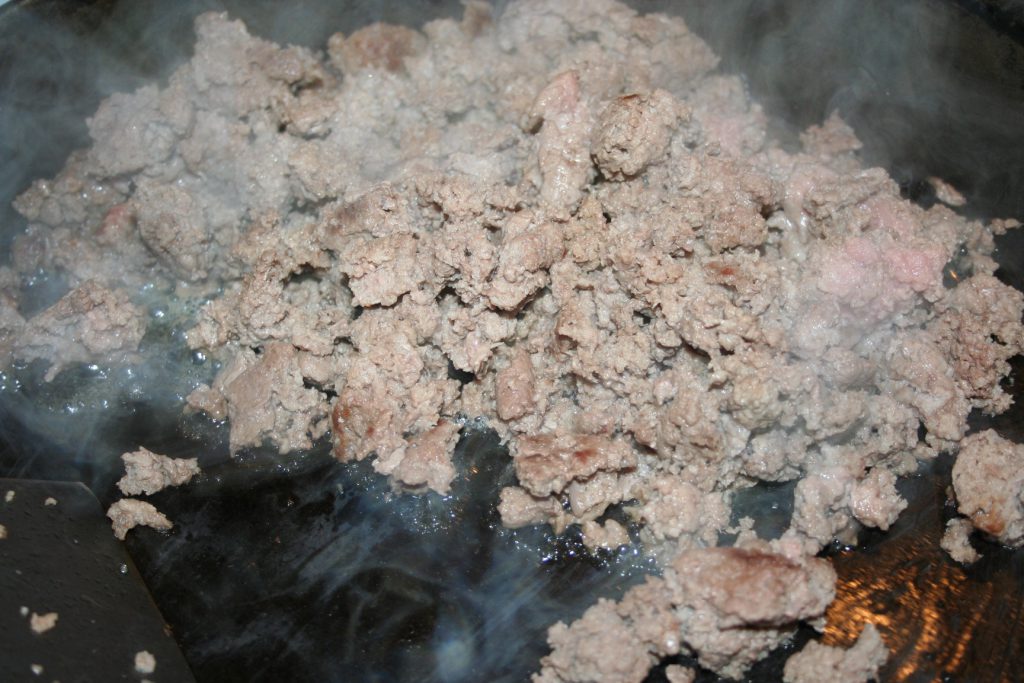
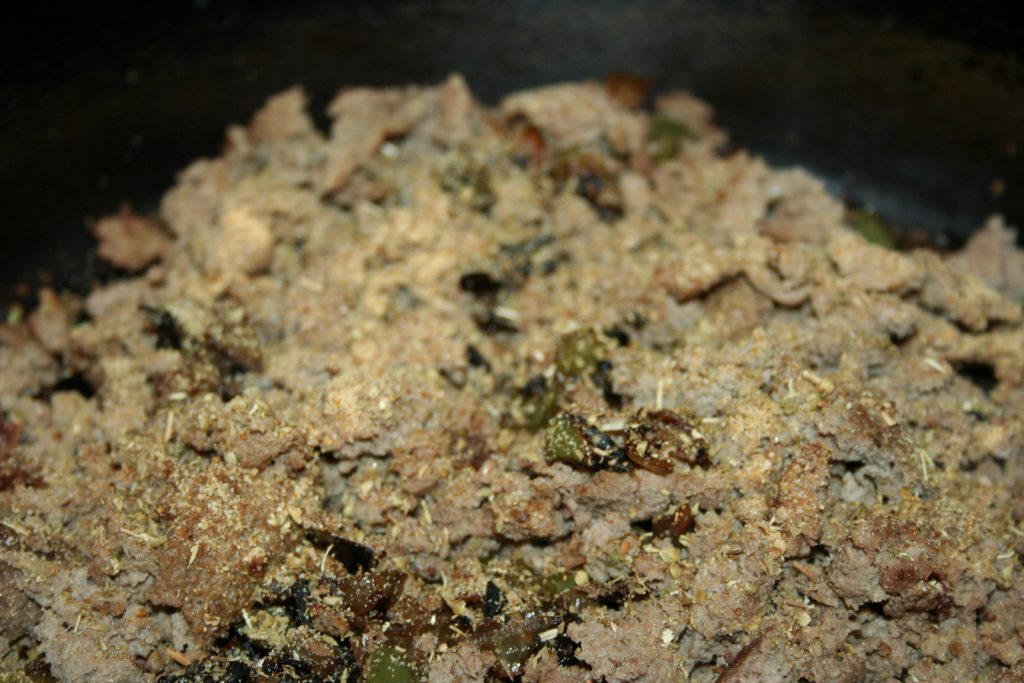
Meanwhile, we cook up the ground meat; we use cheap ground turkey. Brown it and then rinse it.

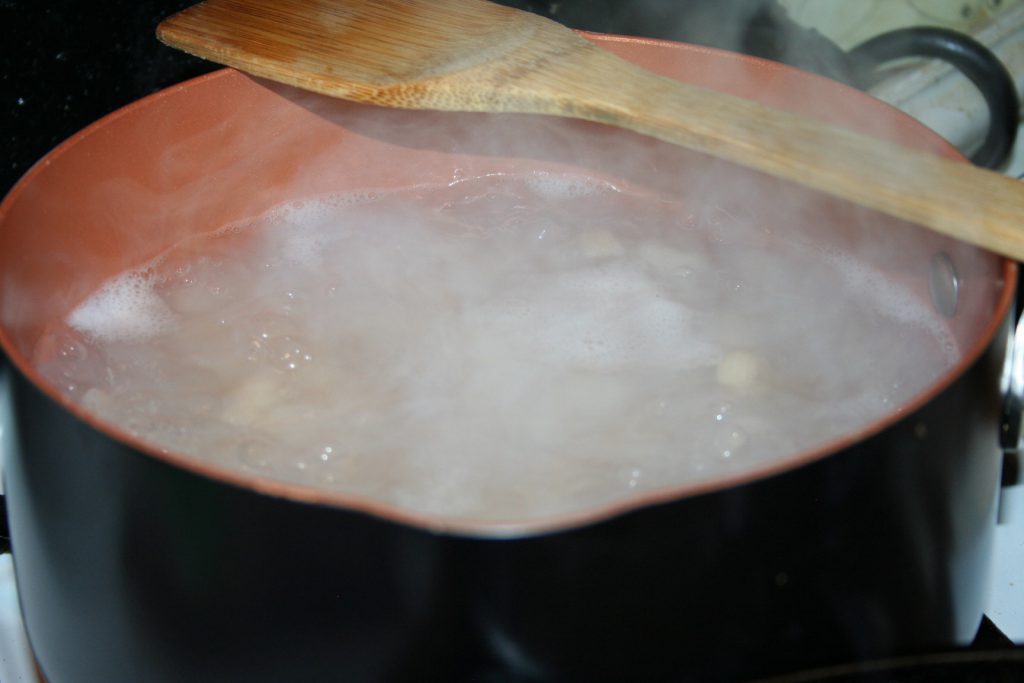
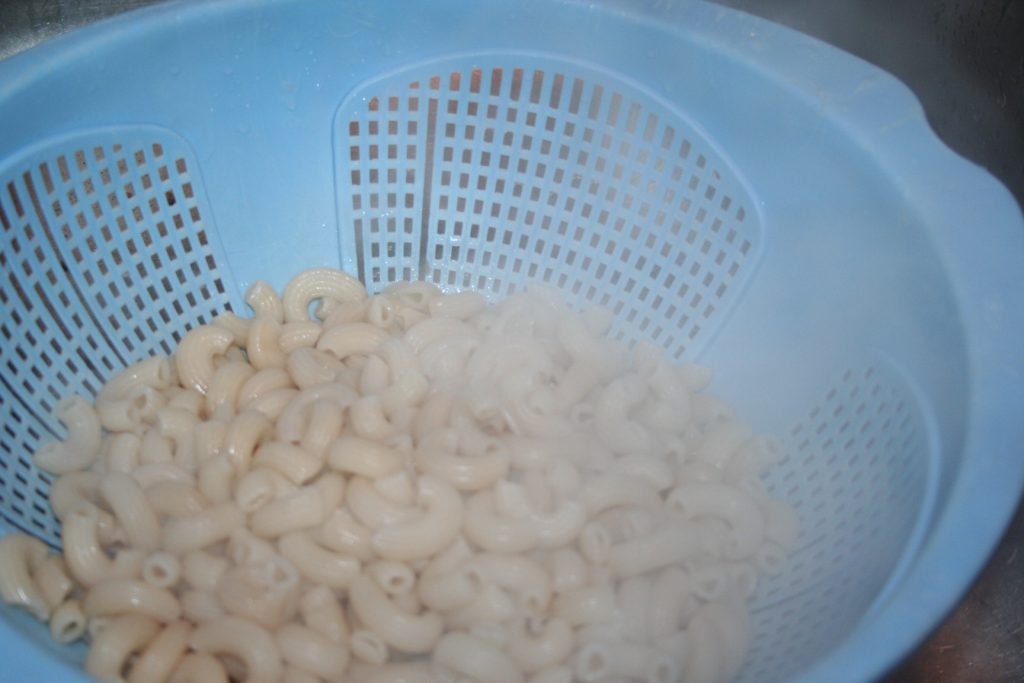
Taco Mac Salad ~ Lifeofjoy.meAnd also boil the pasta. :) This time we used the brown rice macaroni noodles. I really love these! Be sure to measure out the proper serving amounts. We actually use a scale and weigh in grams to get every gram we have coming to us.

Season with salt and pepper. I also used some oregano. Oh, and a little nutritional yeast (don’t add it if you don’t want to ;) ).

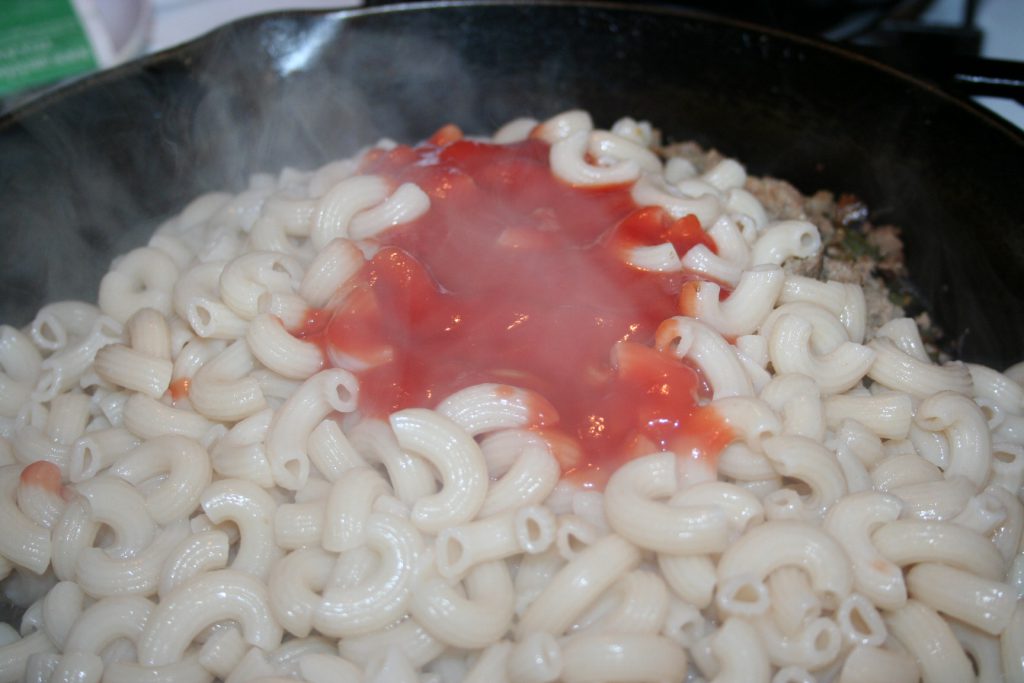
When the macaroni is done, drain it and add it to the meat and cooked veggies,

along with an eight ounce can of tomato sauce.

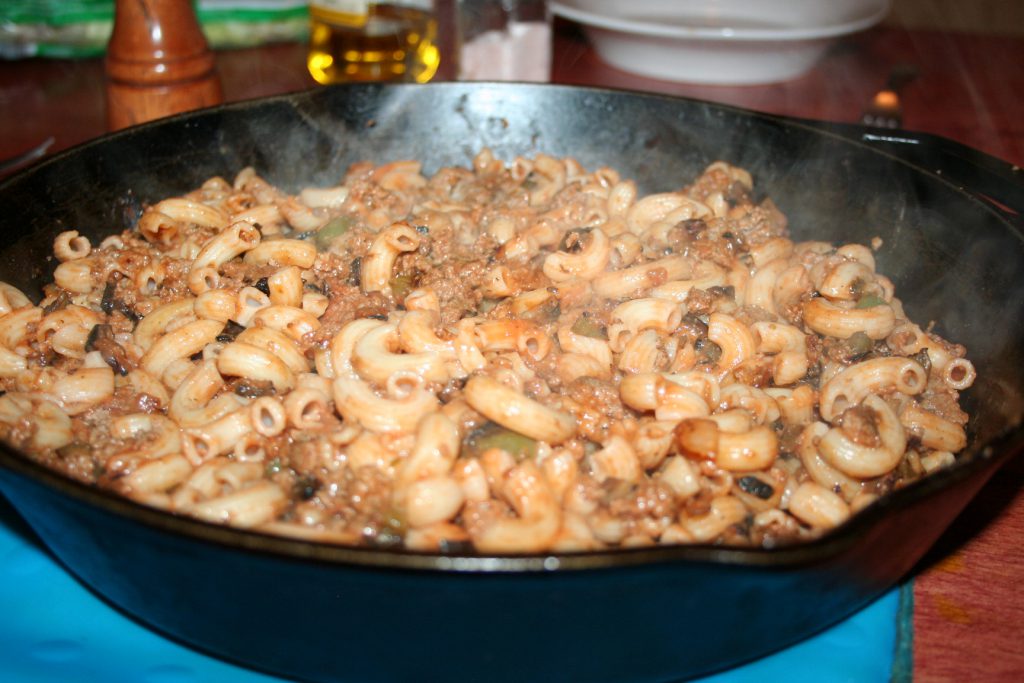
Stir to combine. Taste and adjust seasonings as desired.

Those in wanting a crossover, can add some cheese but it is fine without it. We add nutritional yeast and more salt individually. We also serve with a side salad.

Pasta Again 🙂 (Goulash)

Ingredients

  • ground meat
  • ~ 1/2 onion, diced
  • ~ 1/4 bell pepper, diced
  • ~ 2-4 mushrooms, diced
  • brown rice macaroni (248 grams which is about half the bag)
  • 8 oz tomato sauce
  • salt and pepper to taste
  • sprinkling of oregano
  • spray oil

Instructions

  1. Boil pasta and drain.
  2. Brown meat and rinse with very hot water.
  3. Spray skillet with a little oil (we use olive oil spray) and cook diced veggies until desired doneness. 🙂 Add a few splashes of water as needed to keep them from sticking to the pan as they cook.
  4. Add rinsed meat and seasonings of choice.
  5. Add drained macaroni and tomato sauce.
  6. Stir to combine.
  7. Serves 4
https://lifeofjoy.me/pasta-again-goulash/

This is an easy and tasty THM-E meal. I hope it helps you include a few more healthy carbs in your menu.

Until next time,

Michele ºÜº

Sourdough French Toast

This is something Tiffany has been eating a lot of lately. She just pours a little of this and a little of that into her bowl and soaks her bread in it.

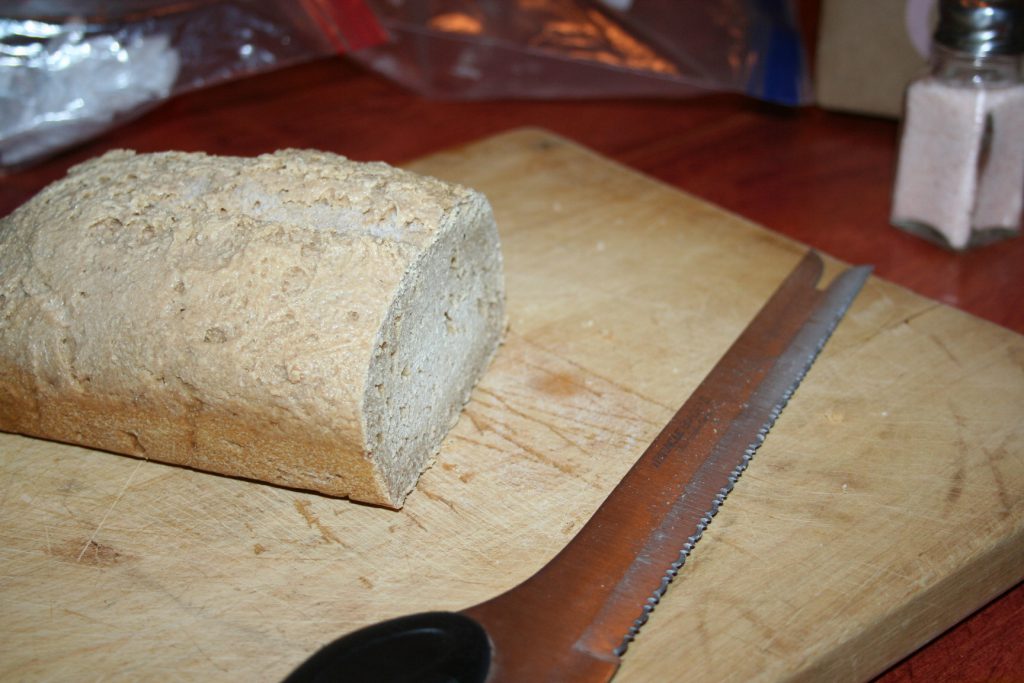
First we slice two pieces of sourdough bread. My poor bread is still very short, maybe one day it will rise and bake properly. :)

Ours is still a bit frozen. :D But this knife does the trick.

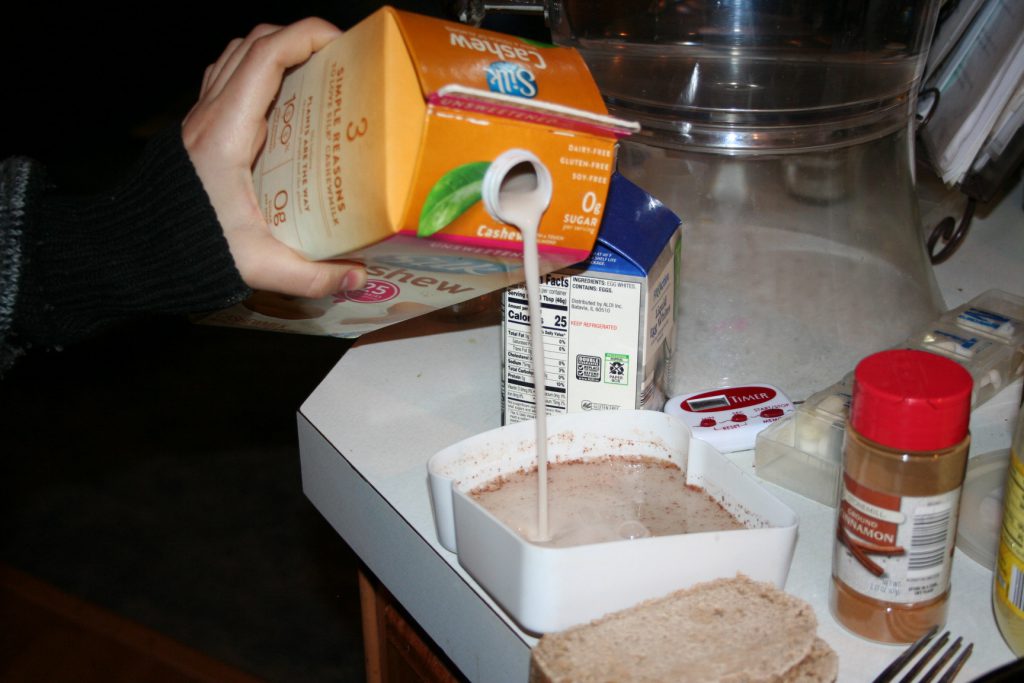
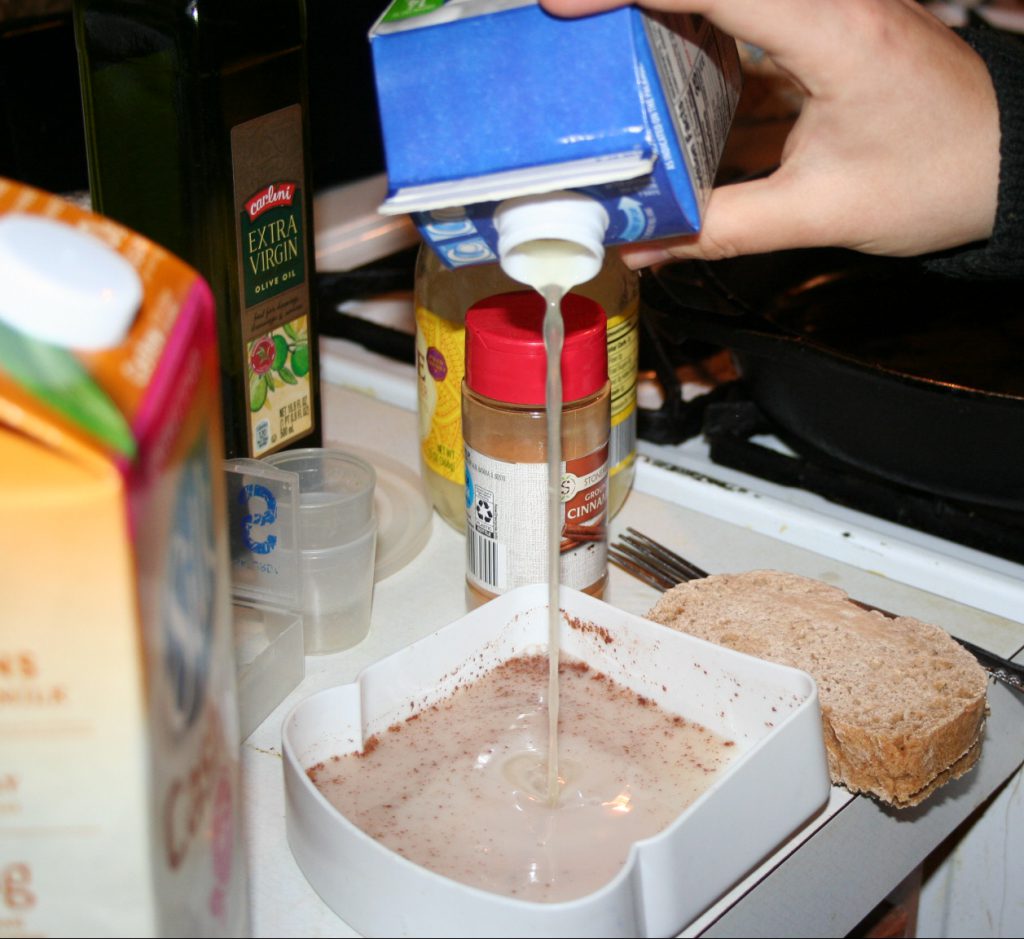
Pour some cashew milk (probably about a 1/4 cup) into a container that will hold your bread flat and keep it in contact with the liquid.

(This is the second time she’s made this today, so you can see there is already some of the mixture in the container. ;) )

Next add about two egg whites (about 1/4 cup from a carton of whites). Yes sometimes I need the simplicity of the carton over the frugality of the eggs and separating them myself.

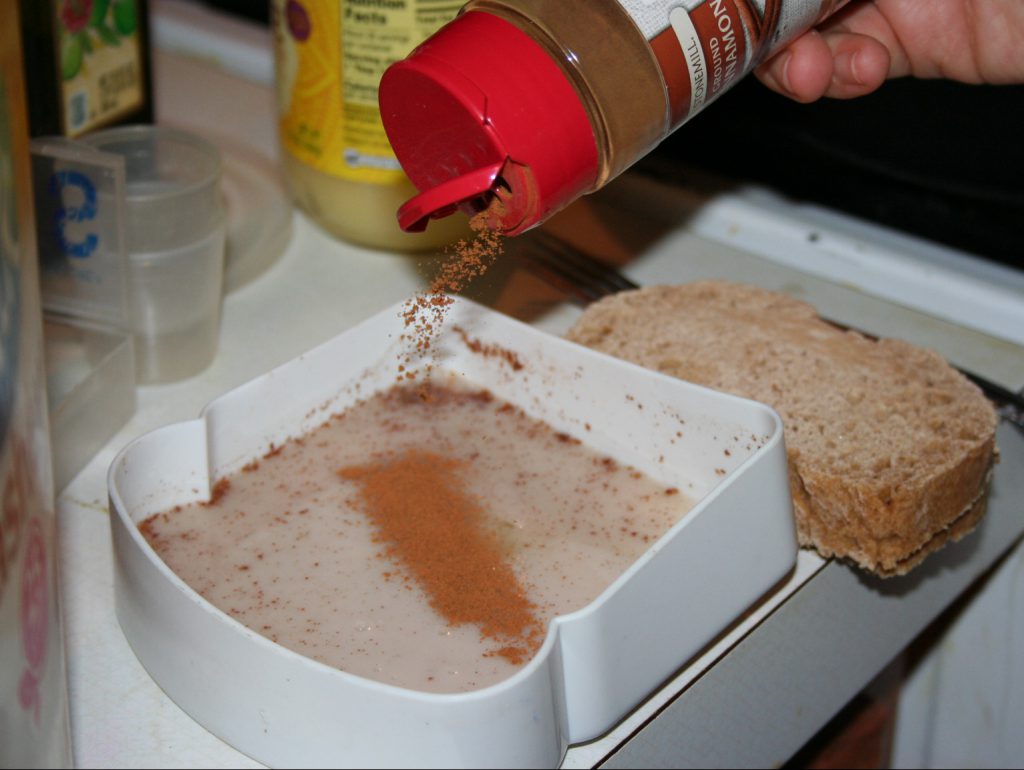
Then a sprinkling of cinnamon and a splash of vanilla.

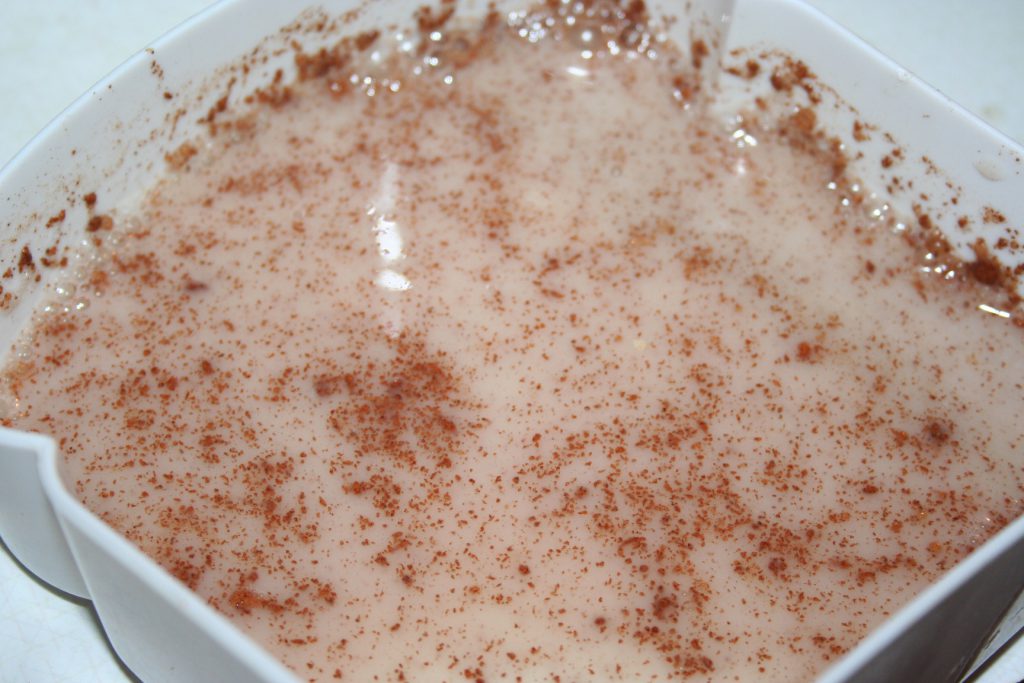
Then just combine with a fork to ensure the egg whites are broken up a bit and blend with the milk and cinnamon.

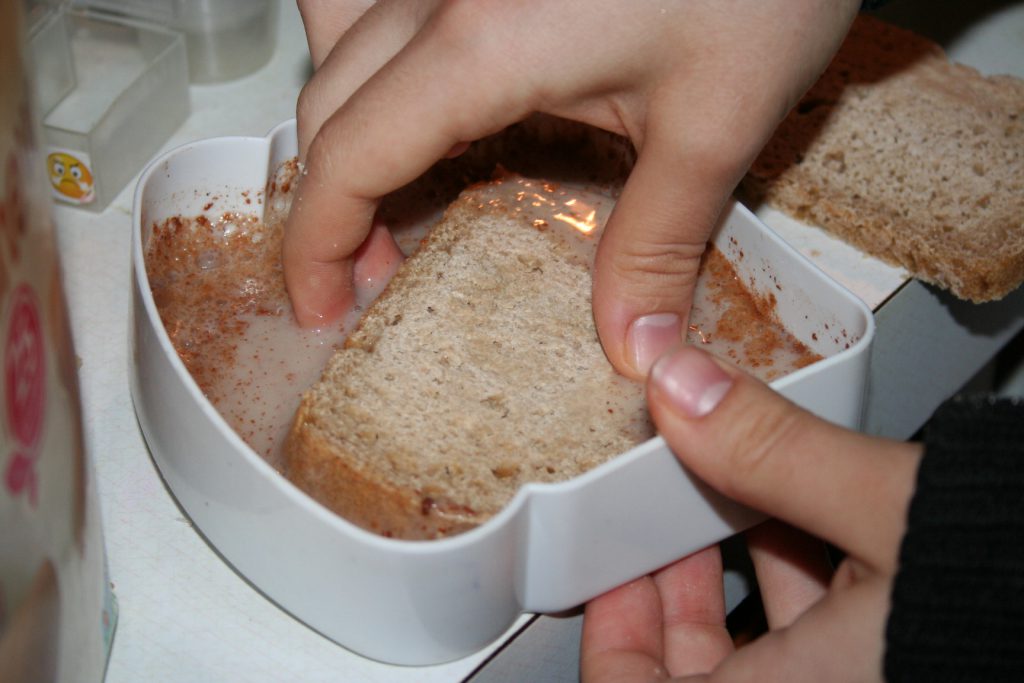
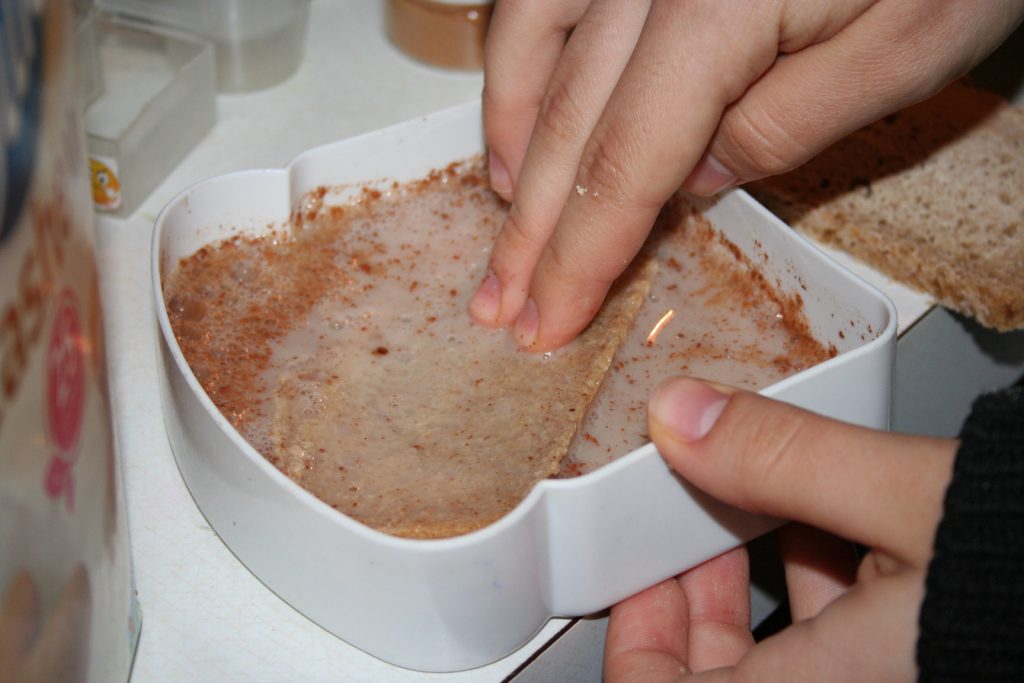
Soak the bread in the mixture, flipping to soak both sides.

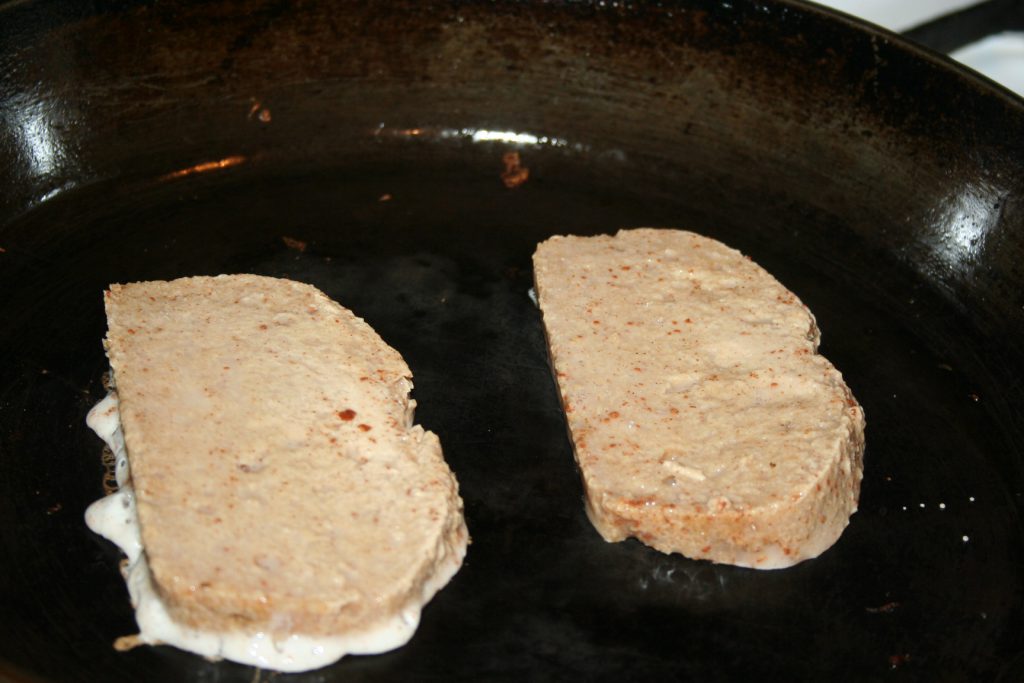
The put in a heated skillet over medium to medium high heat.

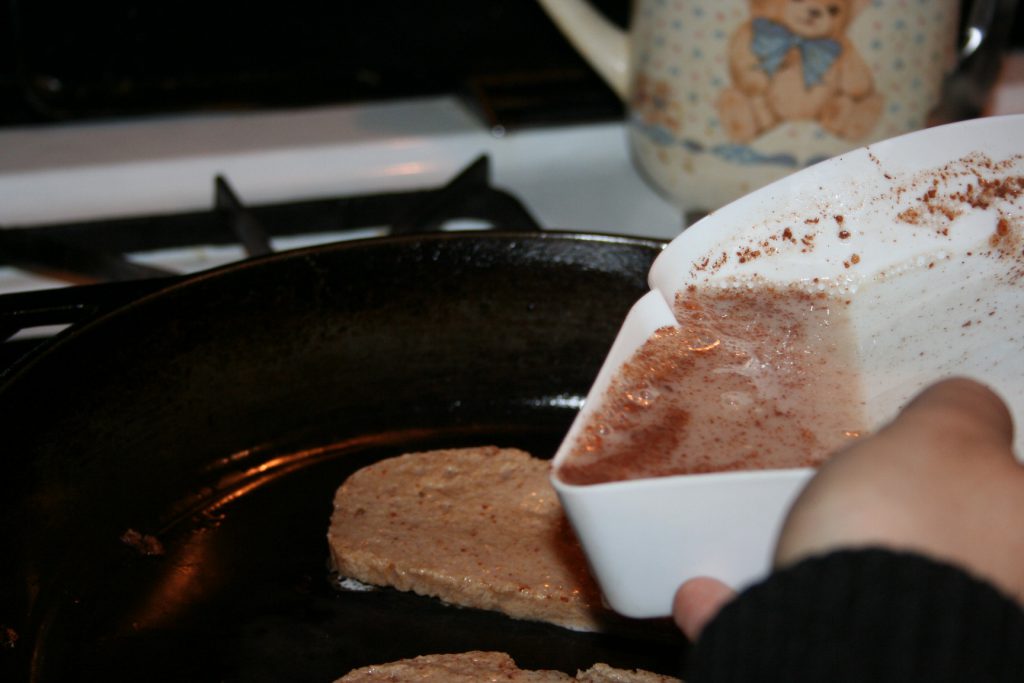
Since our bread was still somewhat frozen, it didn’t absorb as well, so we pour a little more of the mixture on top as it cooks, so that each piece gets its fair share. ;)

Flip and cook on the other side.

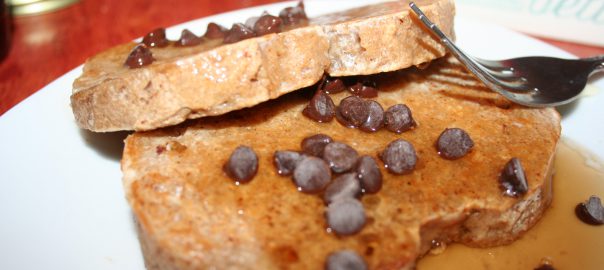
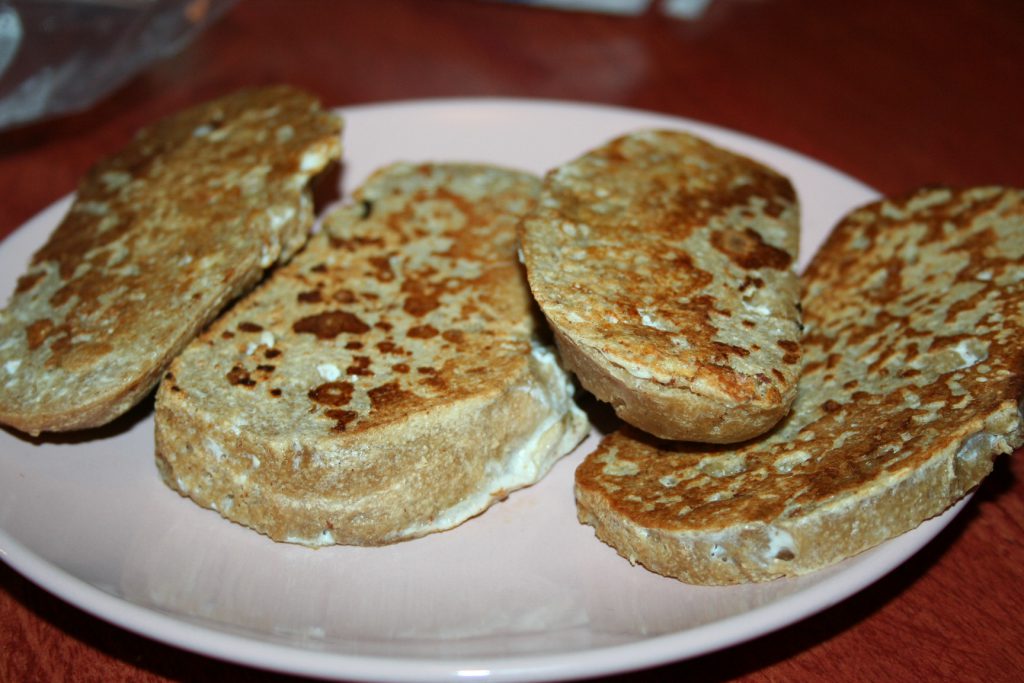
Then serve with desired toppings. I usually use a bit of on plan syrup and/or a bit of sugar free jelly. Tiffany likes to add some sugar free chocolate chips and sugar free syrup. :)

Another Pasta Skillet

We love Aldi’s brown rice & quinoa pasta. This pasta is a THM E meal, which means it is a healthy carbs and low fat meal. We like to weigh the pasta to ensure that we get the right amounts cooked for each of us. :) Measuring by cup doesn’t usually yield the correct amount of food.

So, bring the measured amount of pasta to boil. Be sure to check the serving size because it can vary per type of pasta.

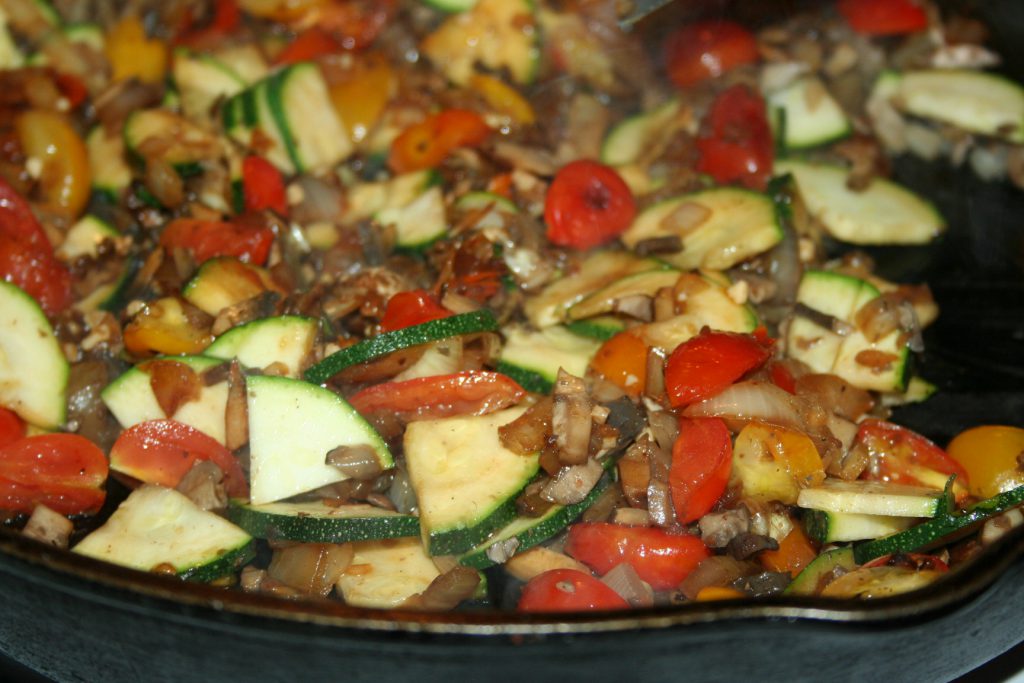
Meanwhile saute your chosen vegetables. Seriously, pick whatever veggies you like. It is best to stick with non-starchy veggies since you’re having the carby pasta. Only spray your pan with a light coating of oil of your choosing (we either us olive or coconut spray). Then if your veggies need a bit more moisture, add a bit of water to the pan to help keep them from sticking.

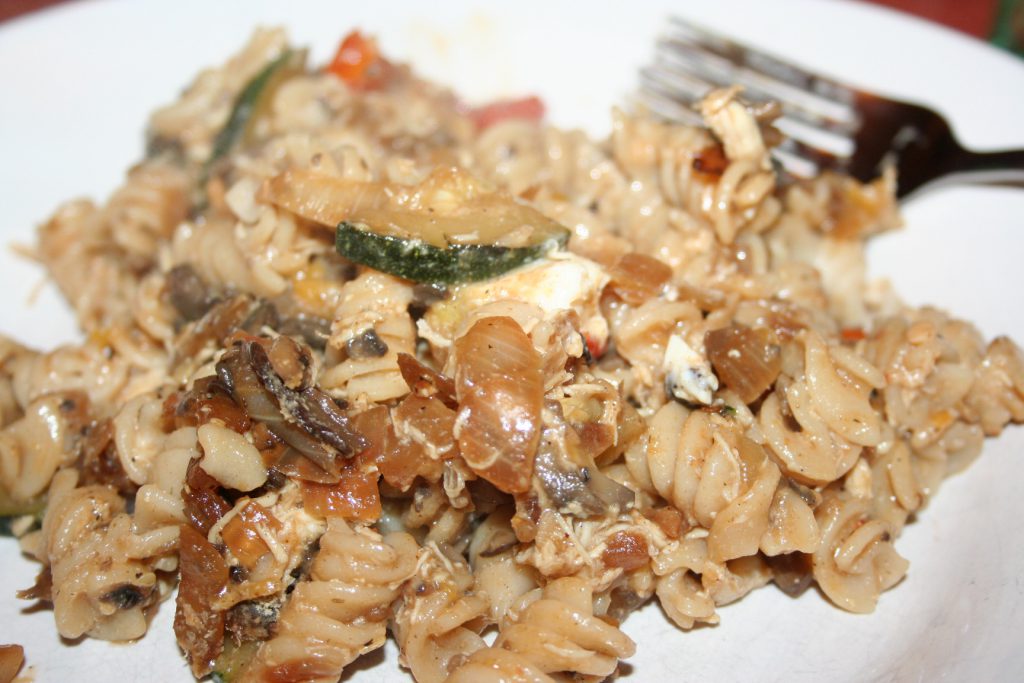
This time we chose onions, mushrooms, tomatoes, and zucchini.

Tiffany has discovered that although she does not like raw tomatoes, she does like them cooked. :)

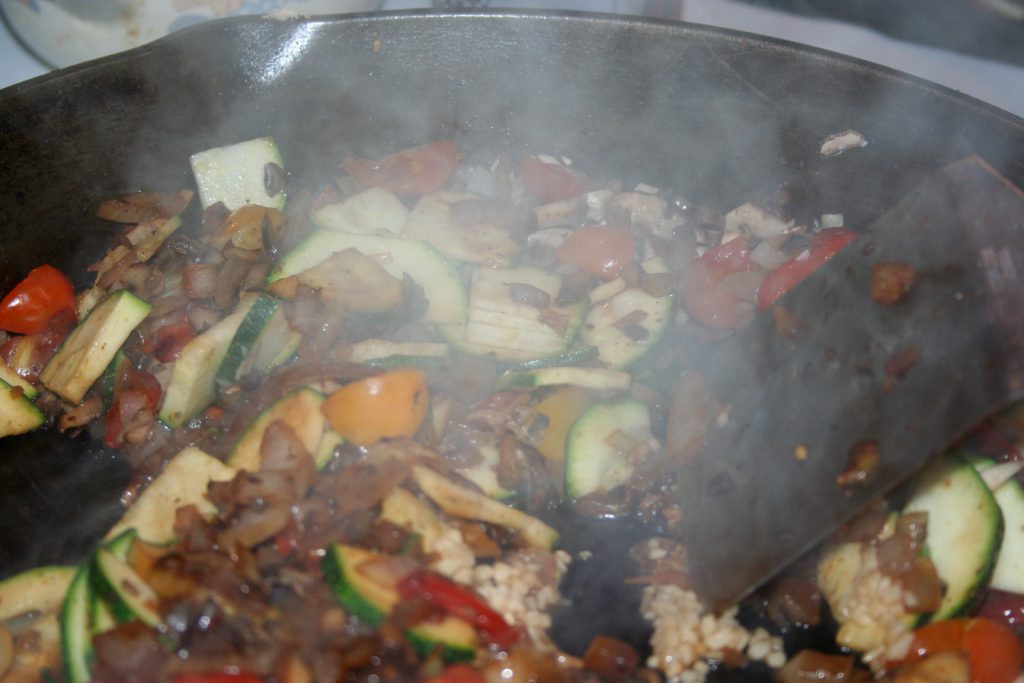
We added some minced garlic and stirred it in.

I just used the jarred variety this time. You don’t have to add garlic if you don’t prefer it.

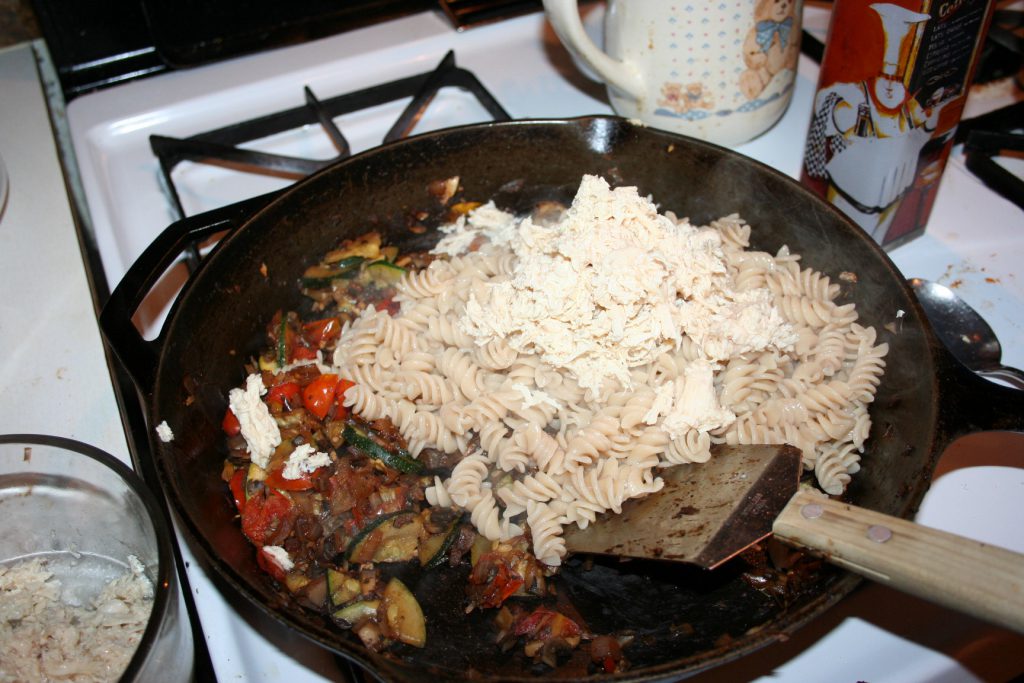
When the pasta is cooked, drain it and then add it to the cooked veggies.

We had some chicken breast that we’d cooked up a few days prior in the crock pot. This is what we used but you could use any low fat meat. Canned chicken breast or canned tuna ( or fish from a pouch) would work well too.

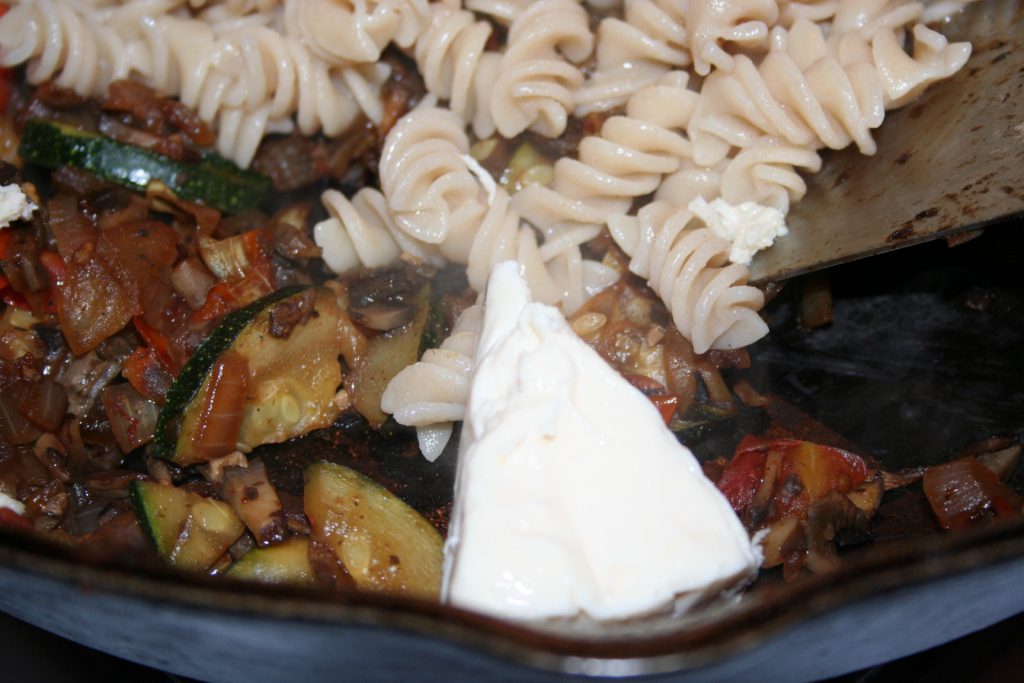
This night Tiffany decided to add one wedge of Light Laughing Cow Cheese to add a bit more creaminess, but we’ve done it without it and it is just fine too. :)

Stir it in and serve. Of course add whatever seasonings you like.

This had me saying “Mmmm” with the first several bites and declaring how much I was enjoying it throughout the meal. The serving size of pasta is quite filling, so we didn’t serve it with anything else but a side salad would be good. Just keep it low fat to stay in E mode. :)

I hope you like this “recipe”. I’ll include what we used below but know that you can use whatever non-starchy veggies you like (and even a bit of the starchy ones, since it is an E).

Another Pasta Skillet

Ingredients

  • Brown Rice & Quinoa Pasta
  • Veggies of your choice: onions, mushrooms, tomatoes, zucchini were our picks this time
  • You could add some carrot or peas or a bit of corn if you like
  • Seasonings of choice: garlic, salt, and pepper were ours
  • Optional light laughing cow cheese wedge (1)
  • Protein: cooked chicken breast was ours

Instructions

  1. Boil measured pasta until done, and drain.
  2. Spray pan with cooking oil, lightly.
  3. Saute diced/sliced veggies.
  4. Add seasonings, drained pasta, and protein.
  5. Serve
https://lifeofjoy.me/another-pasta-skillet/

I hope you enjoy this “recipe;” we sure have.

Michele ºÜº

My Sourdough Bread Adventure

Friday a week ago, I left off saying that I needed to go feed my sourdough starter and I did. I was preparing to make Glenda’s Honey Oat Sourdough Bread from her cookbook, Around the Family Table: Food, Fun, and Fellowship, which makes five loaves. Yes you read that right, FIVE loaves. However, I only decided to do this because I’d made her single loaf version from her website and it was gone very quickly and loved by the four of us.

Now, we generally go through 1-2 loaves of store-bought sourdough (THM plan approved) bread each week. Hubby takes a sandwich daily for his lunch and has a piece with his breakfast each morning. Son has at least one piece each morning and then the rest fluctuates. Consequently, I knew we needed at least 2 loaves a week and my options were either one loaf made using my KitchenAid mixer or two loaves by hand.

If I was going to have to do it by hand anyway, I might as well make the large batch and freeze three loaves until needed. That way I wouldn’t have to make bread every week. So five loaves it was. Trouble was, I didn’t have a bowl big enough to hold the amount of dough that I was going to end up with for five loaves of bread.

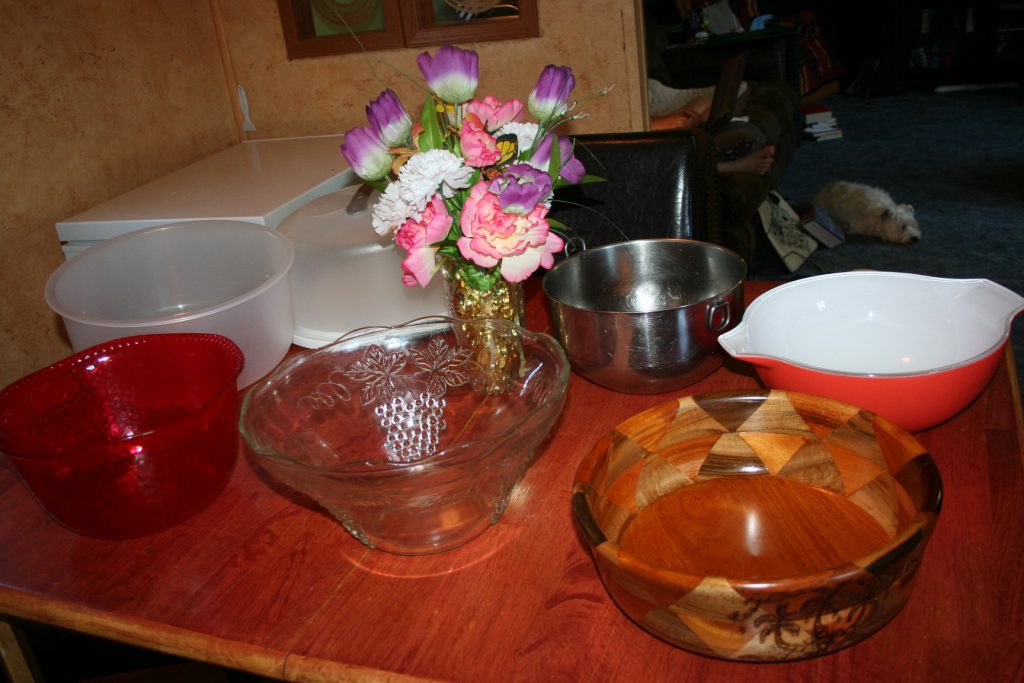
I pulled out my largest bowls and asked my family which they thought would work. Here were the bowls to choose from.I used to think my stainless steel bowl was big. :D but as you can see, it is the smallest one on the table by comparison. I was mixing the dough up in the orange-red bowl and it was already 2/3 – 3/4 full, so I knew neither of those two were going to be big enough for it all to rise in.

The red plastic bowl is one I bought for artisan bread in 5 minutes to sit in the refrigerator, several years ago, but even it didn’t seem like it’d be large enough. And although the punch bowl has a nice large top, its optimum capacity would probably be lacking.

I was beginning to think I might need to divide the dough into a couple different bowls because the cake saver lid just didn’t seem to be the right thing to use and I doubted that the lovely wooden Honduras salad bowl would work.

Then on top of all of this, I needed to cover the bowl with greased plastic wrap which meant to me that it wouldn’t be able to rise over the bowl’s rim. =)) The family voted that the cake saver lid was the best option in spite of the place where the handle is connected on the inside. I took some trusty packing tape and covered it up.

I’ve had some trouble with some pain in my right wrist in the last year or so and was concerned about the stirring of that much dough and the kneading of the dough for nearly ten minutes. Family to the rescue! They were actually quite proactive during the whole process.

Michael helped combine the ingredients with my dough whisk, which I also got for that artisan bread I mentioned earlier. Then after I’d kneaded the dough for about five minutes, I showed Sean how to do it and he spelled me for a bit. I finished it off the last minute. Then oiled the cake saver lid and put the dough inside, turning it over to get a bit of oil on the top and bottom of the dough (exactly for what reason, I do not know ;) ). Then I sprayed the bottom of the cake saver with oil and attached it.

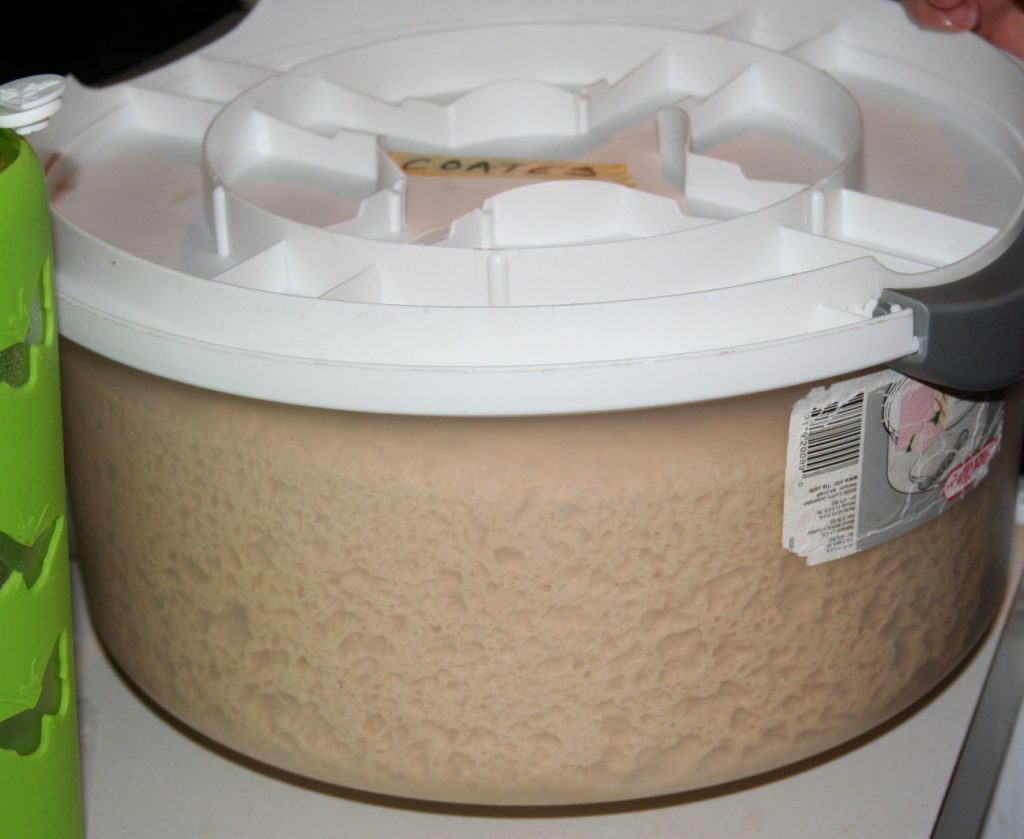
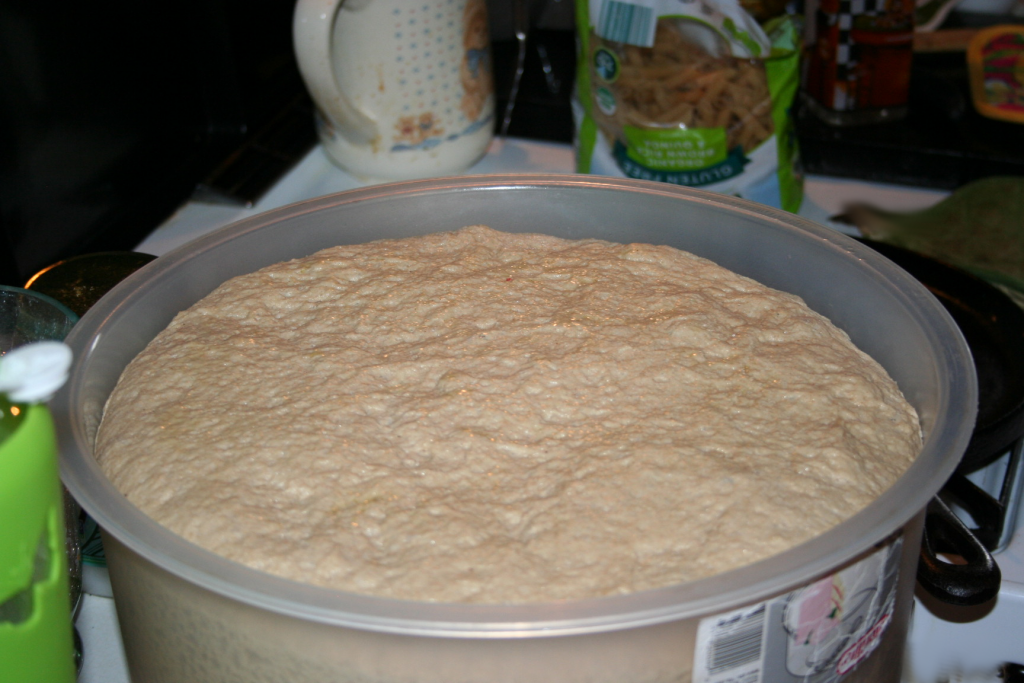
This is what it looked like five hours later. :)

Look at those gorgeous bubbles. When I ordered my cookbook I requested the mature starter from Glenda that she so graciously offers.

It didn’t even touch the “lid”. So I guess it was a perfect fit. :)

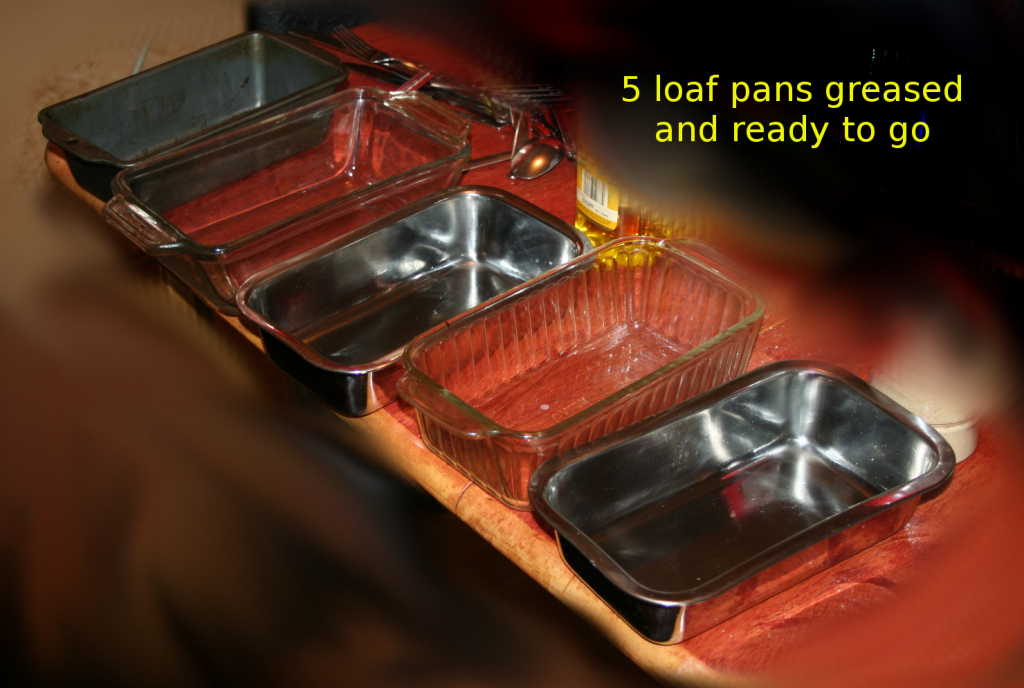
I got out all my loaf pans. I have two of the stainless steel ones that Jane recommended, a very old dark and small one, and two glass ones of different sizes.

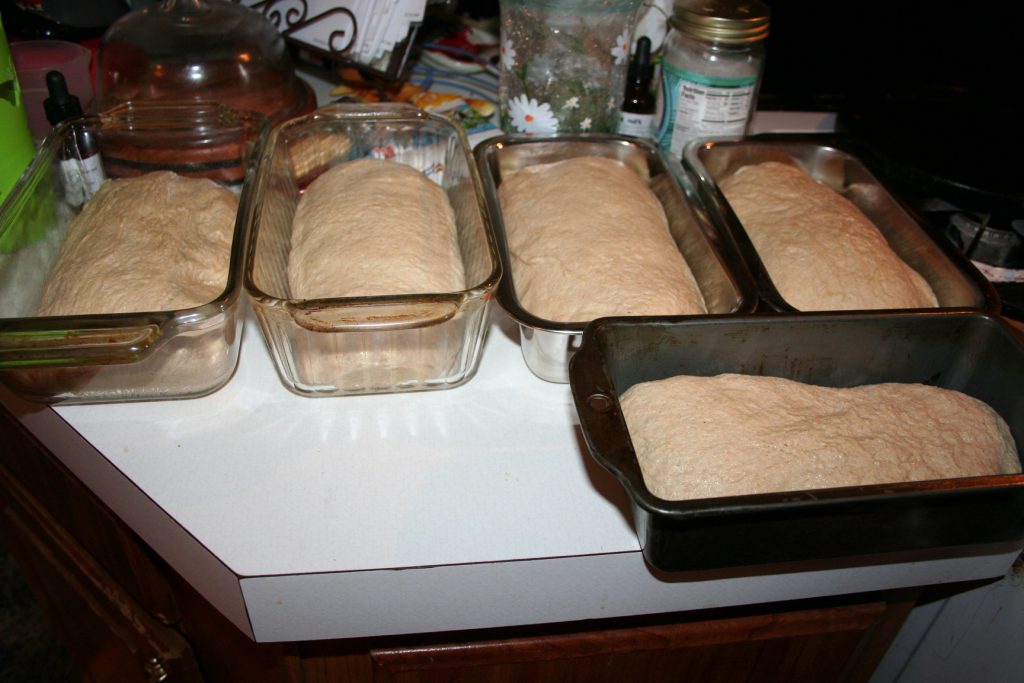
I stood there looking at it for several minutes trying to figure out how to get it portioned into five loaves. I finally dumped it out onto a mat and used my handy dandy dough knife. Worked like a charm!

Here they are ready to rise for about an hour or so before baking.

Unfortunately I let them rise too long and didn’t do the slits across the tops of the loaves quite right but they are still very good. Oh, and I also forgot to take more pictures.

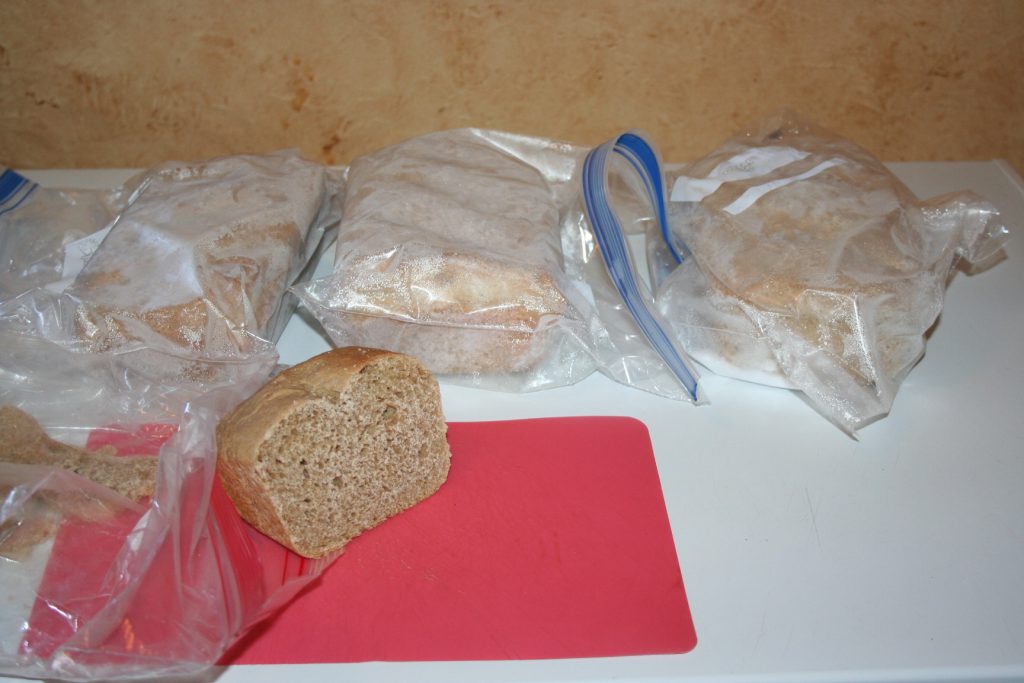
Here is what is left some 5 days later . . .

It is a great recipe and I was even successful with it. I’ll definitely do it again. I just hope it isn’t next week. ;)

I’m sorry this bread story got so long. I promise to share a recipe with you next week. Well, technically I did share a recipe with you today because I gave you the link to Glenda’s single loaf recipe on her site. It’s what I started with before moving on to the five loaf recipe.

Have you made sourdough from scratch?

Until next time, God bless,

Michele ºÜº
IP Creamy Chicken Broccoli Rice

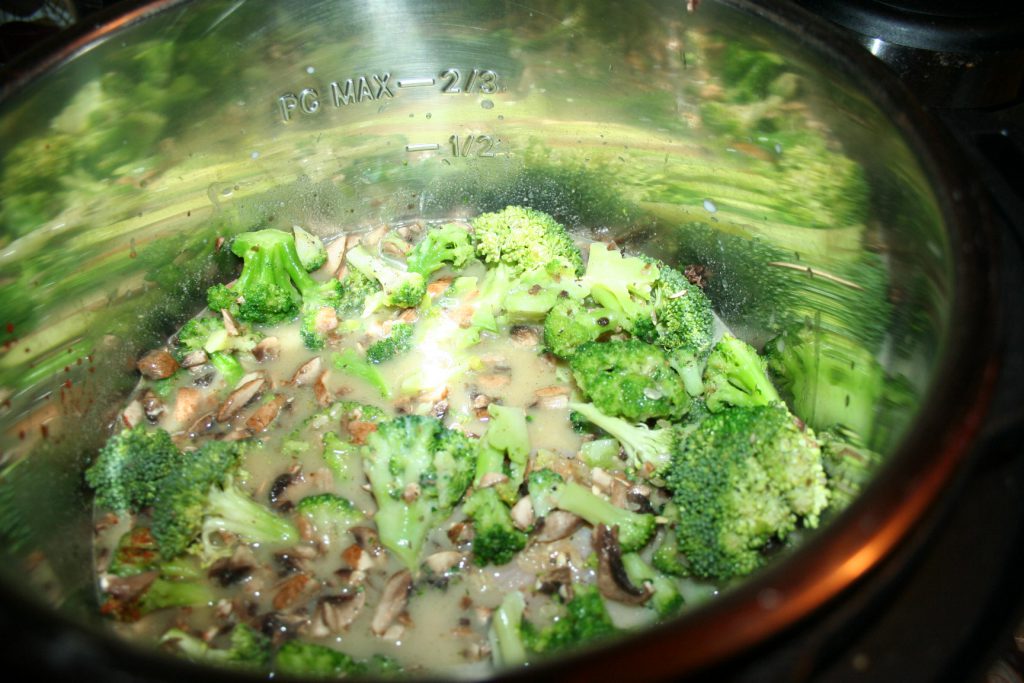
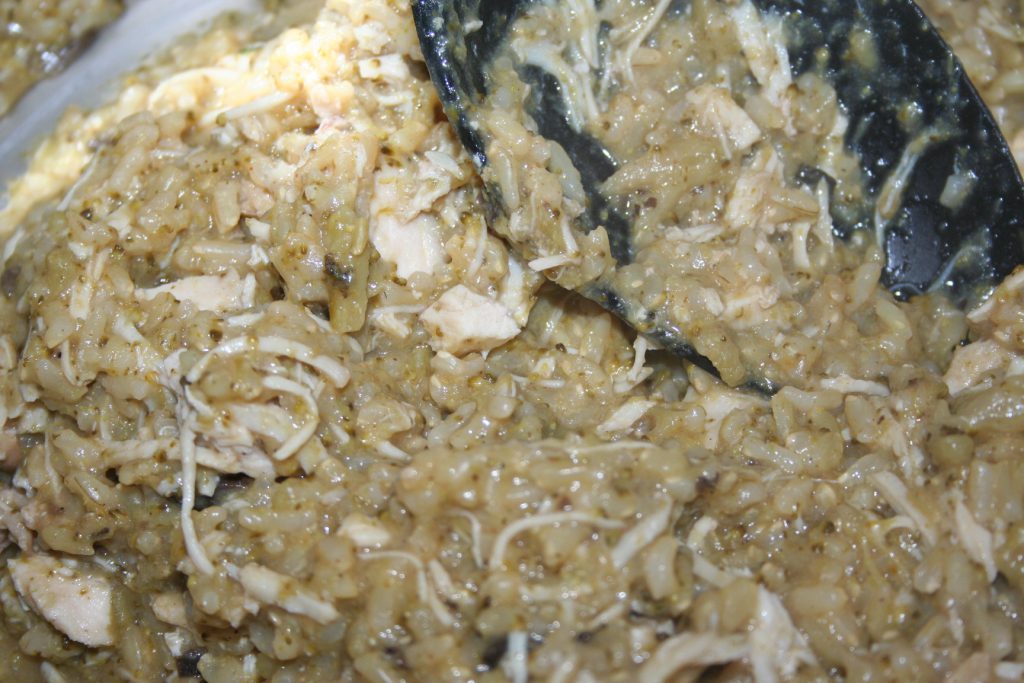
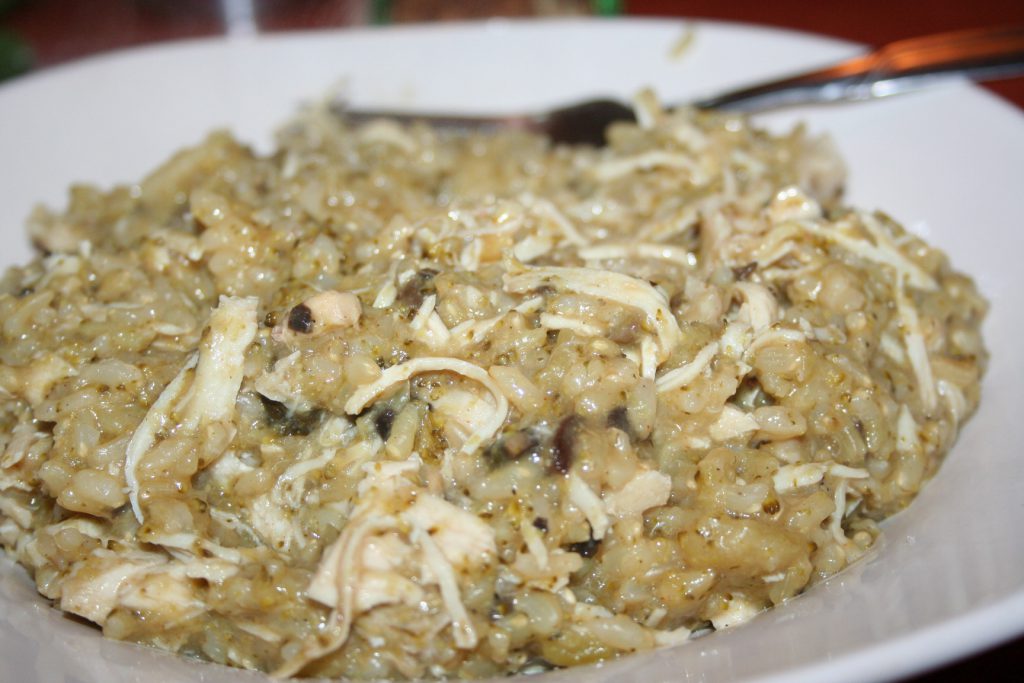
Although this dish is not pretty by any means, it is very good. I cooked the broccoli in the instant pot with the raw rice and frozen chicken breast and all the other ingredients because we like our vegetables really well done. Well, the broccoli totally disintegrated. I mean, no lumps at all, which was good for Sean ;) but not good if you actually want to chew broccoli. In which case, I recommend steaming the broccoli separately and mixing it into the finished dish. :)

One other ‘mistake’ I made was with the amount of chicken for the amount of rice, so I’m adjusting it here. This is basically a dump and go recipe that could be done in the crock pot, I would think.

So here goes: Place two pounds of frozen chicken breast in the instant pot. Then add rice, broth or water, broccoli, mushrooms, almond milk, and spices. Place the lid on the pot, close the vent, and press pressure cooker, high, for 25 minutes with keep it warm for an additional 10 minutes.

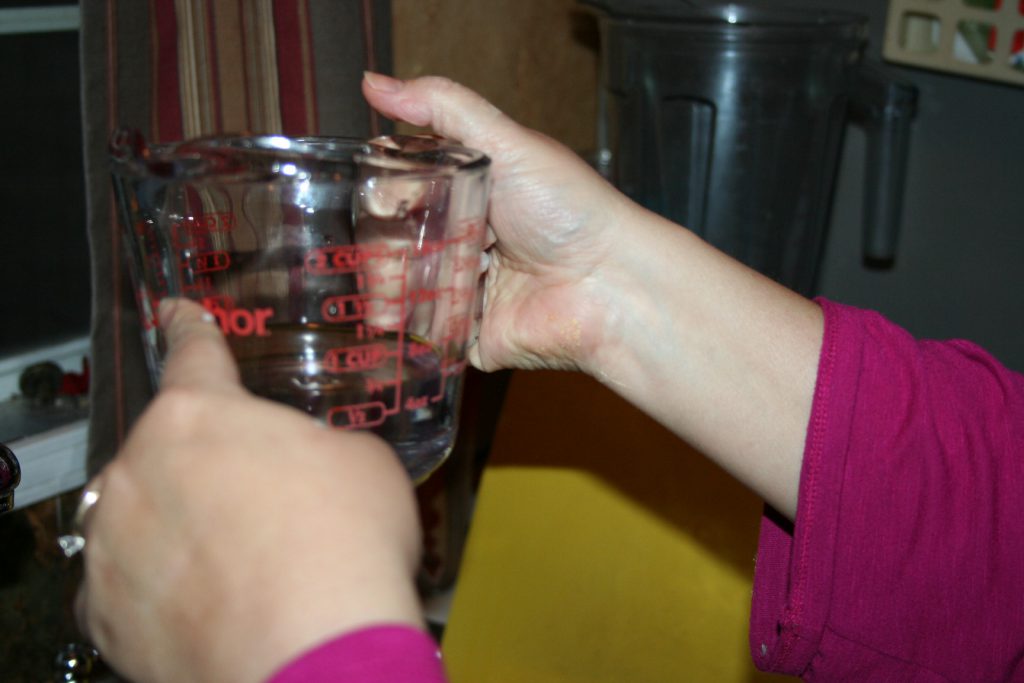
IP Chicken Broccoli Rice ~ Lifeofjoy.meI used water and some homemade (THM) bouillon.

water ~ Lifeofjoy.meReady to go ~ Lifeofjoy.meWe had one bunch of broccoli and knew it wouldn’t be enough, so added a bag of broccoli florets. Did you know that some Dollar Tree stores carry a pound of frozen broccoli florets for only a dollar? That’s awesome because it is more for less at most other stores; I think it is because the bags I can find are “steamable”.

When it is done, break up the chicken breasts. I use a potato masher or a meat “chopper” similar to the Mix and Chop by Pampered Chef.

IP Creamy Chicken Rice and Broccoli ~ Lifeofjoy.me

IP Creamy Chicken Broccoli Rice

Ingredients

  • about 2 pounds chicken breast
  • 2 cups brown rice
  • 3 cups water or broth (I used 3 tablespoons of homemade THM Bouillon)
  • about 1 1/2 - 2 pounds broccoli florets
  • 1/2 cup mushrooms, chopped
  • 1/4 teaspoon dried basil
  • 1/8 teaspoon each onion powder, garlic powder, salt, and parsley
  • dash of each black pepper and paprika
  • 3/4 cup almond milk
  • 1/4 teaspoon glucomannan powder

Instructions

  1. Put all ingredients (except broccoli if you so desire) in the instant pot, vent closed. High manual pressure for 25 minutes then keep warm for 10 minutes.
  2. Release pressure, removed lid, and break up the meat.
  3. Enjoy!
  4. I believe you could do the same thing in the crock pot 6-8 hours on low.
https://lifeofjoy.me/ip-creamy-chicken-broccoli-rice/

IP Creamy Chicken Rice and Broccoli ~ Lifeofjoy.meFYI: It really does look a bit more green in person. I modified this THM Cream of Mushroom Soup recipe.

I hope you like this. We’ll make it again and even put the broccoli in it (but will probably steam some on the side too).

Oh, by the way, we eat this as an E meal on the THM program. (Watch the amount of rice.) Best to add a salad to eat with it, keeping the fats on the salad in E limits, as there are added fats in the dish itself. :)

Until next time, God bless,

Michele ºÜº