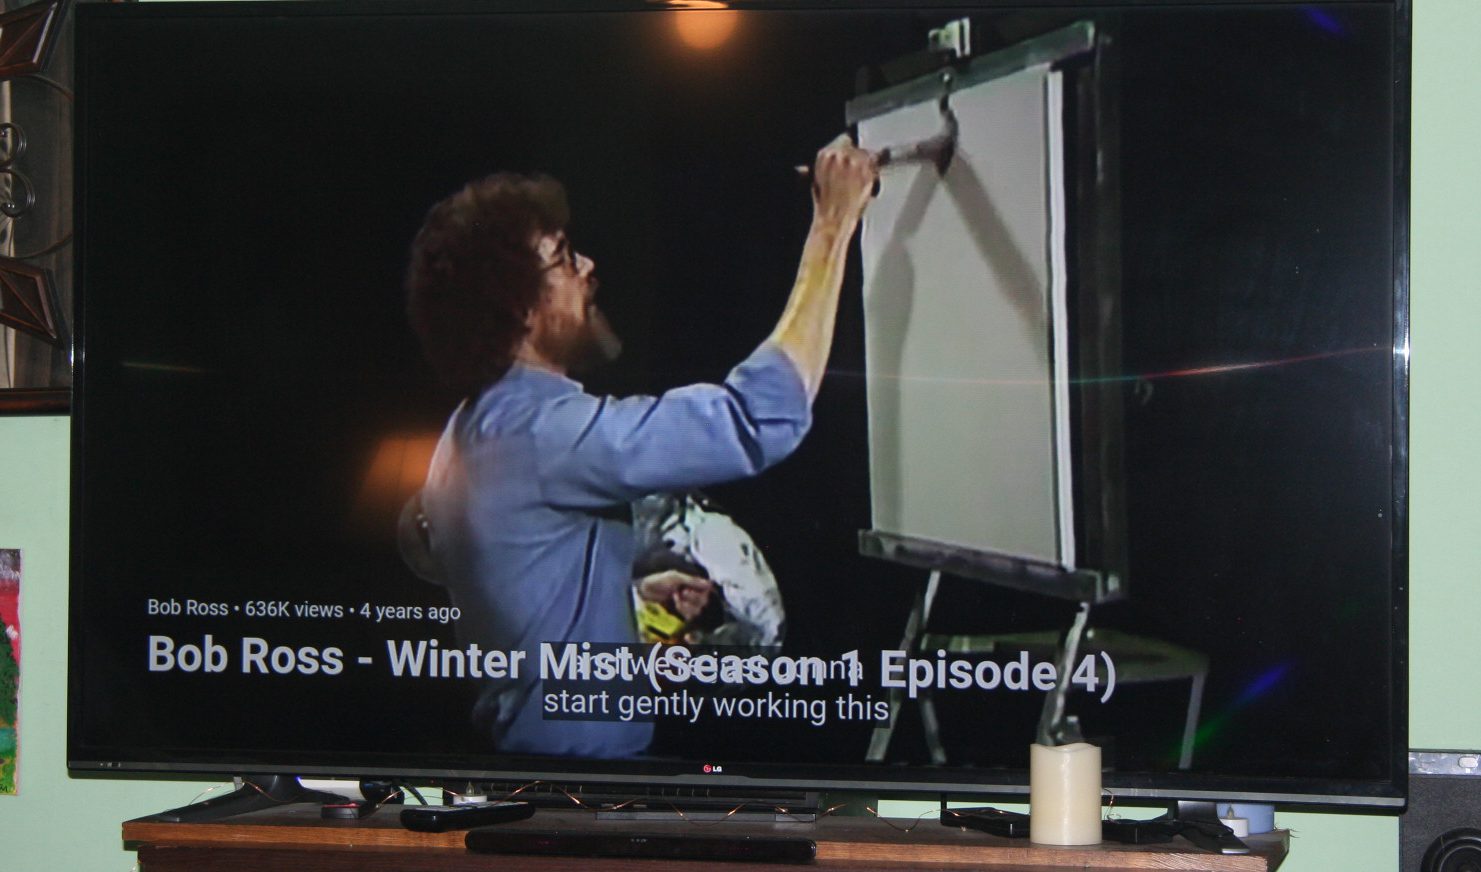
This week Tiffany and I decided to do the next Bob Ross video. It’s been a long time since I’ve done one of these and I must say, I’ve really missed it.
I bought some retarder with birthday money, to use with the acrylic paints and the Bob Ross method. This was the first time to use it as well.
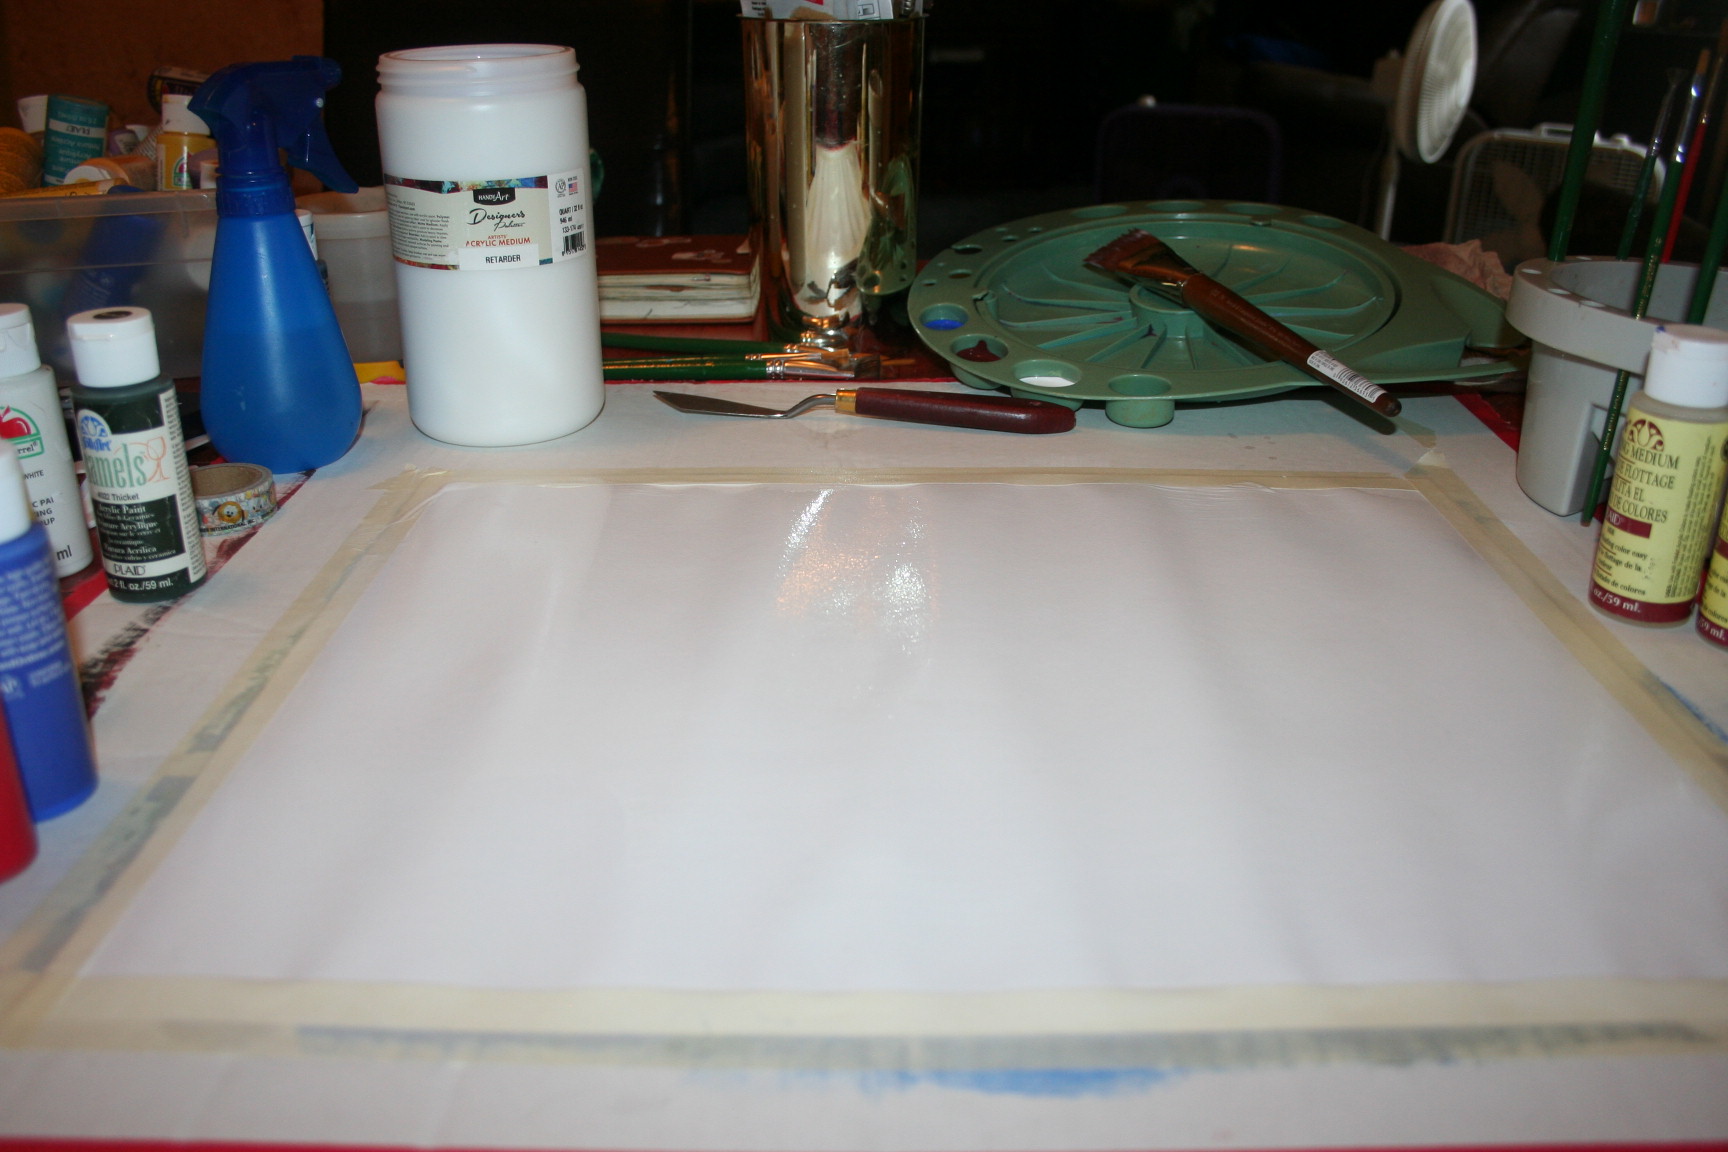
Here’s our start.
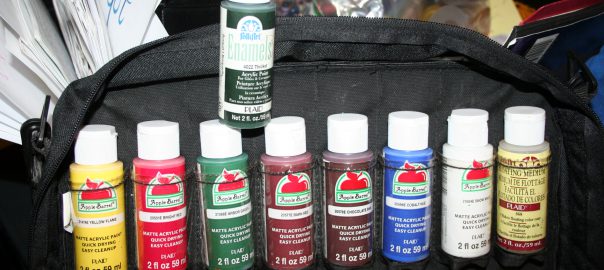
 We taped down our paper, spritzed it with water, and spread retarder on it. You can see the retarder in the picture below. It is the tall wide jar to the right of the blue water spritzer.
 Then we realized he had his canvas turned different than ours. Thankfully we rotated our paper before we started.
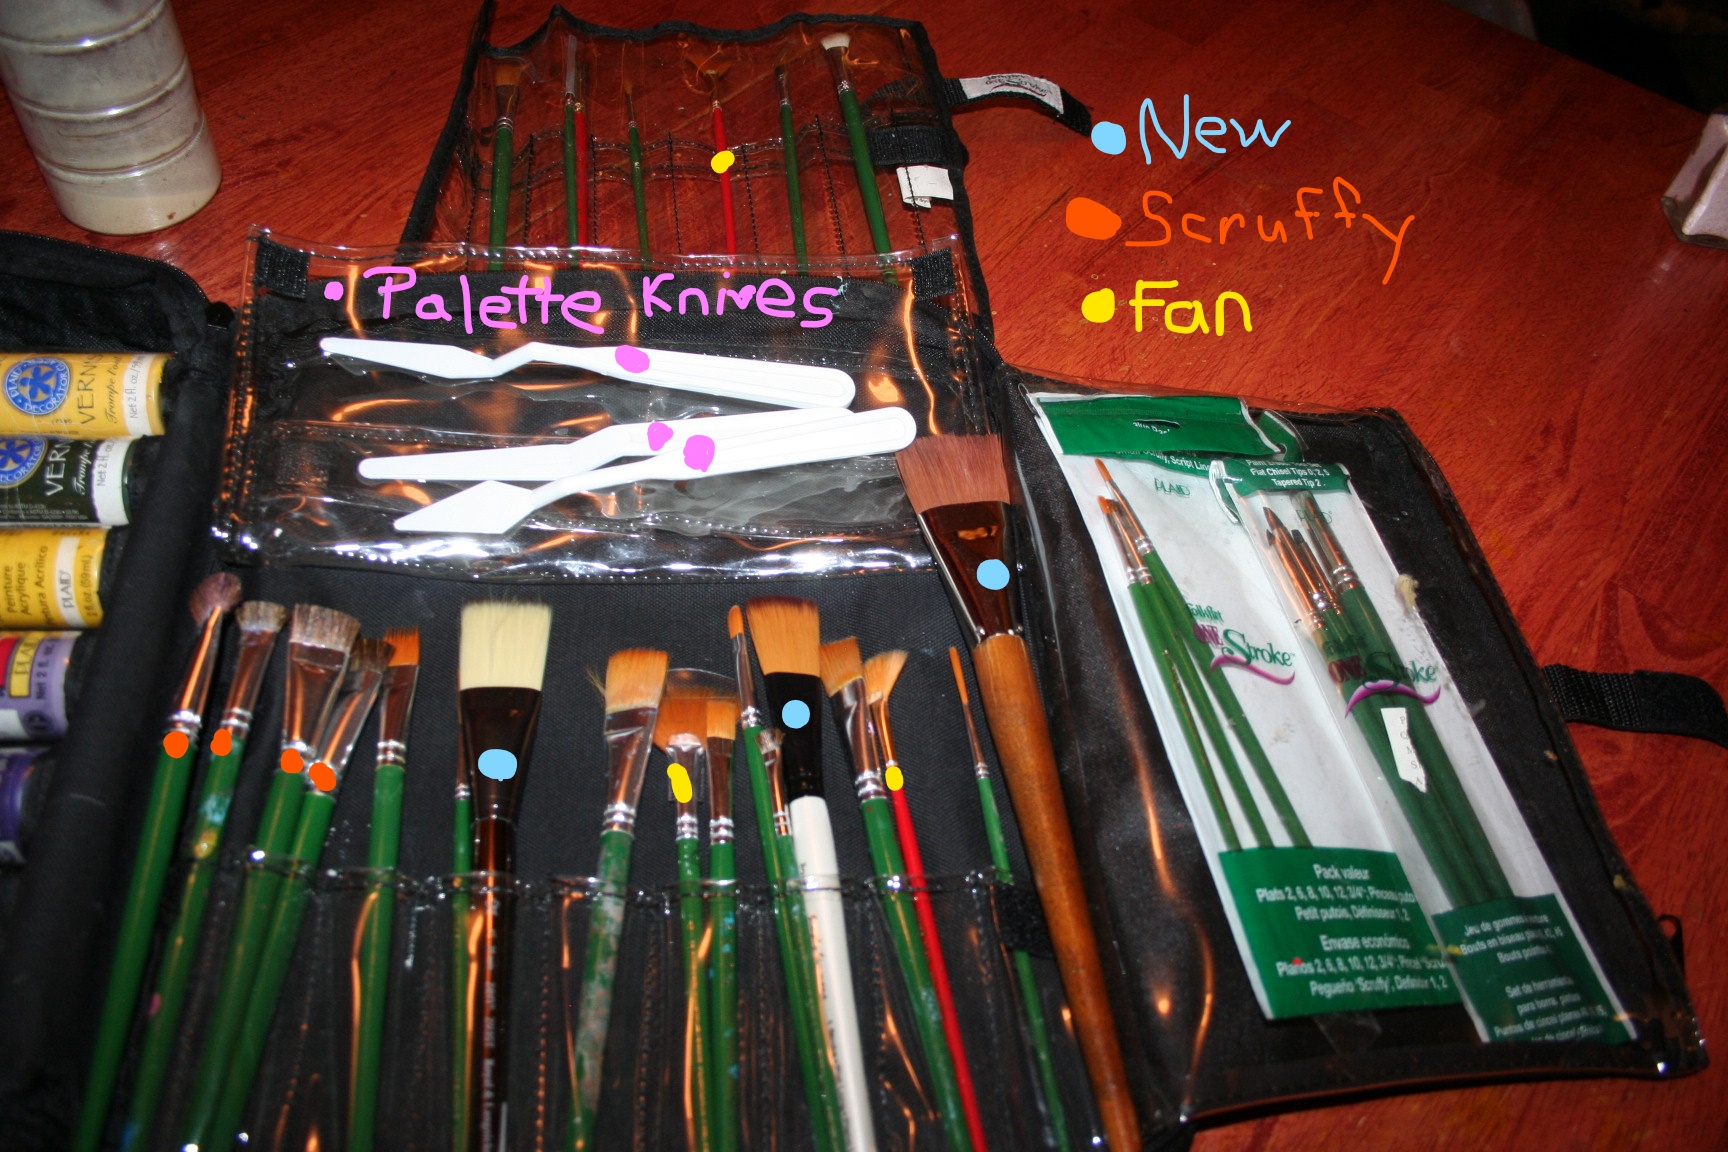
 I have decided not to use the wells on my pallet again; it was a bear to use because the brushes I’m using are too big.
The first step was to do some clouds. I forgot to get a picture of that. It was a bit touchy and I don’t feel I did it justice. Next up was to add some distant mountains. Then we followed that with more clouds and more mountains.
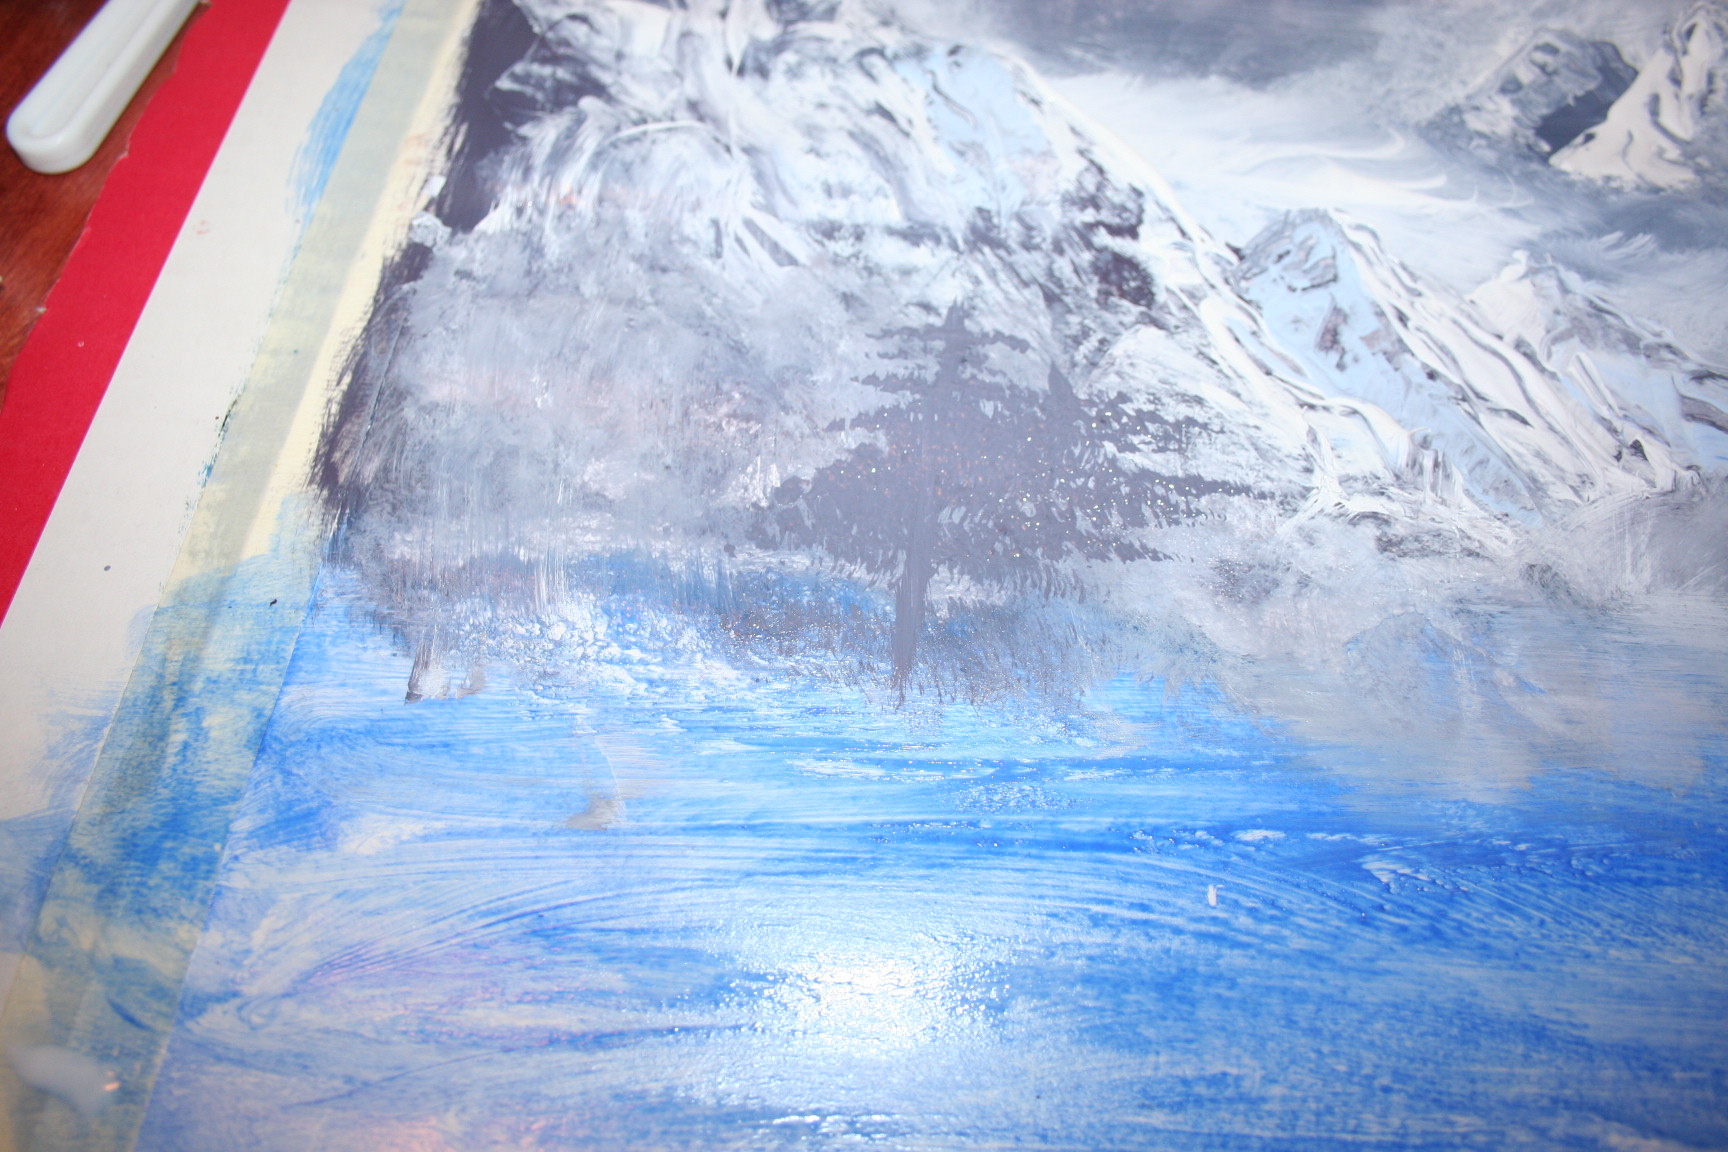
 That blue was laid down, according to Bob, to provide some shadows as we go.
Here’s Tiff’s at this point.
 After that there were trees, now drifts, bushes, more snow, more trees, and more bushes.
 Bob has you blending paints to make your own shades. This is why Tiffany’s and mine look sooo different. (Well, it’s one of the reasons.
  )
)
We had to pause around this time because I had two pre-scheduled phone calls. So when we got back to it, I spread some retarder over the parts I thought we’d be working on next and proceeded. I think it muddied it up a bit.
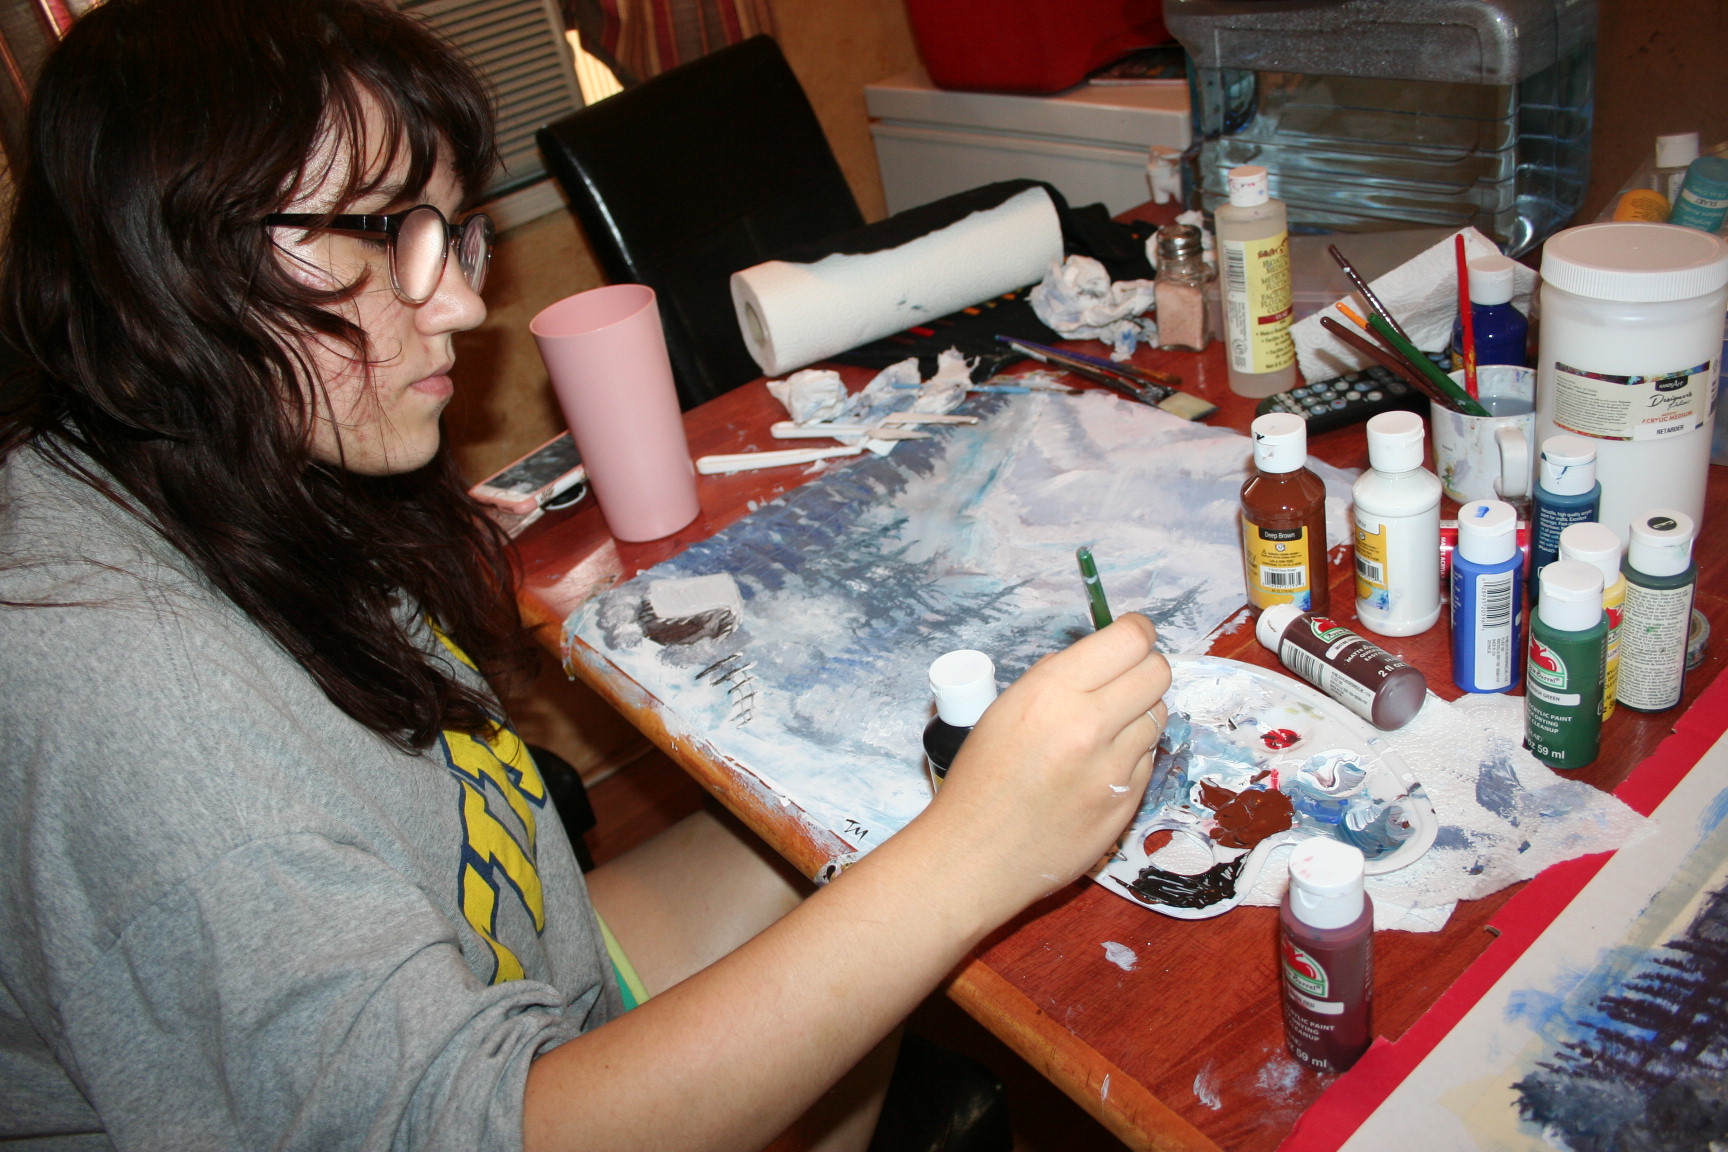
After the trees, bushes, and snow, Bob surprised us and added in a cabin. Now I really didn’t have room for this cabin, so this is where we differ pretty much from Bob. But we kept going all the same.
After the cabin, then he added a fence. By this time, I was using rather thick paint but knew it would eventually dry.
 Somewhere along the line I smeared some of the paint. I thought it happened later but this picture proves it happened early. I pulled the tape and will be getting some better tape for this because it ripped part of my paper.
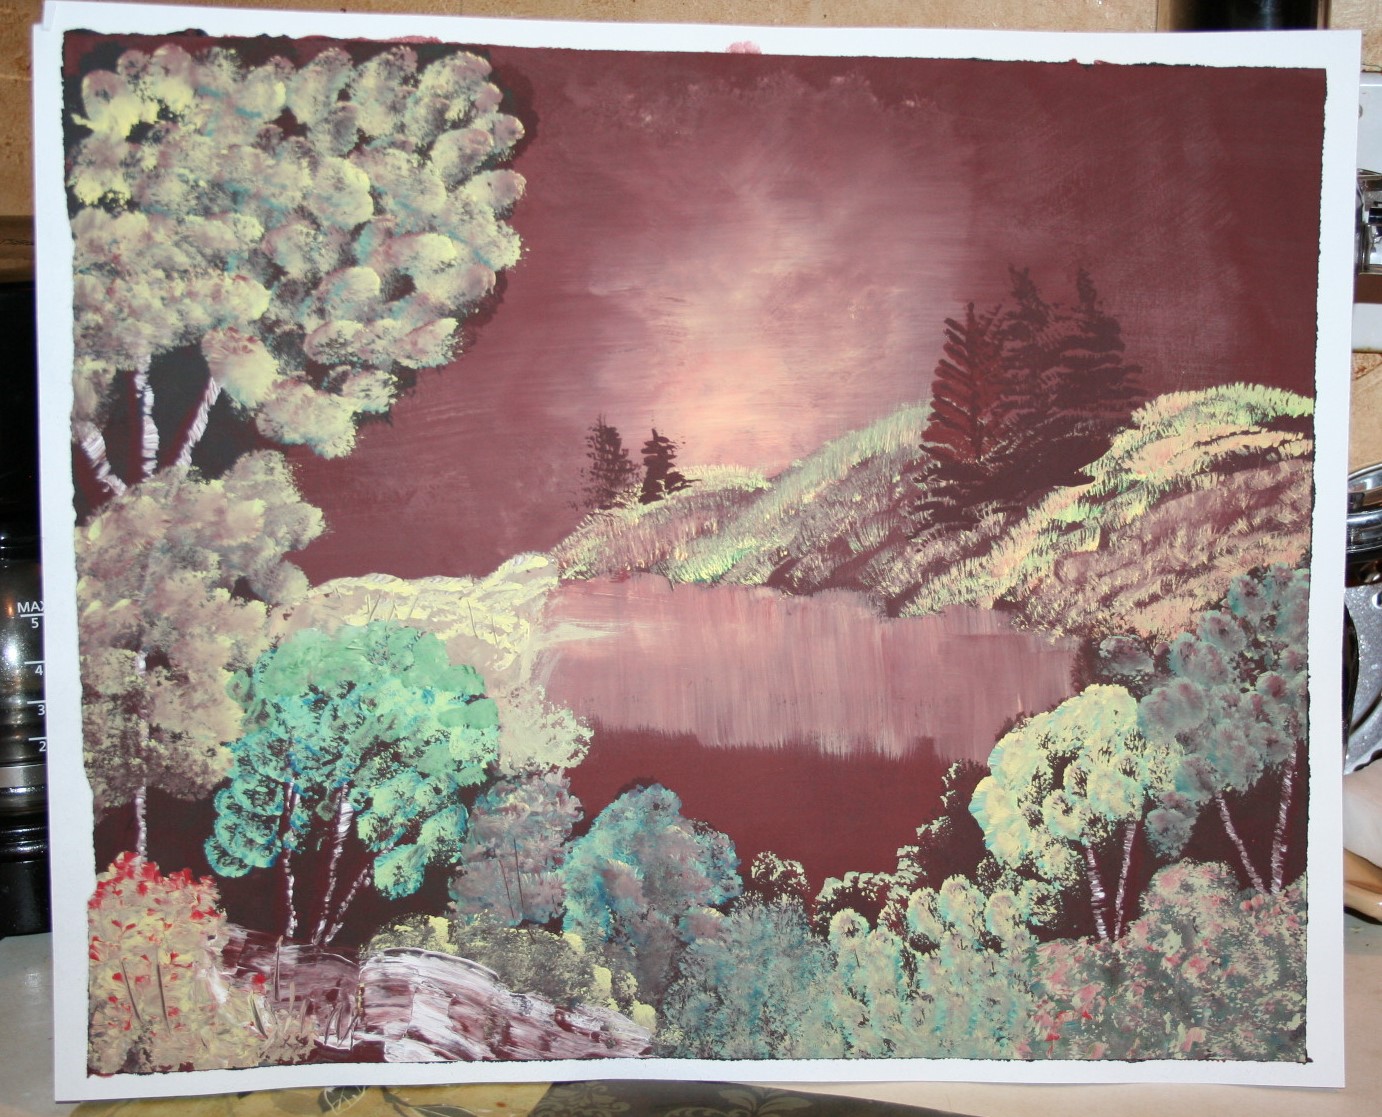
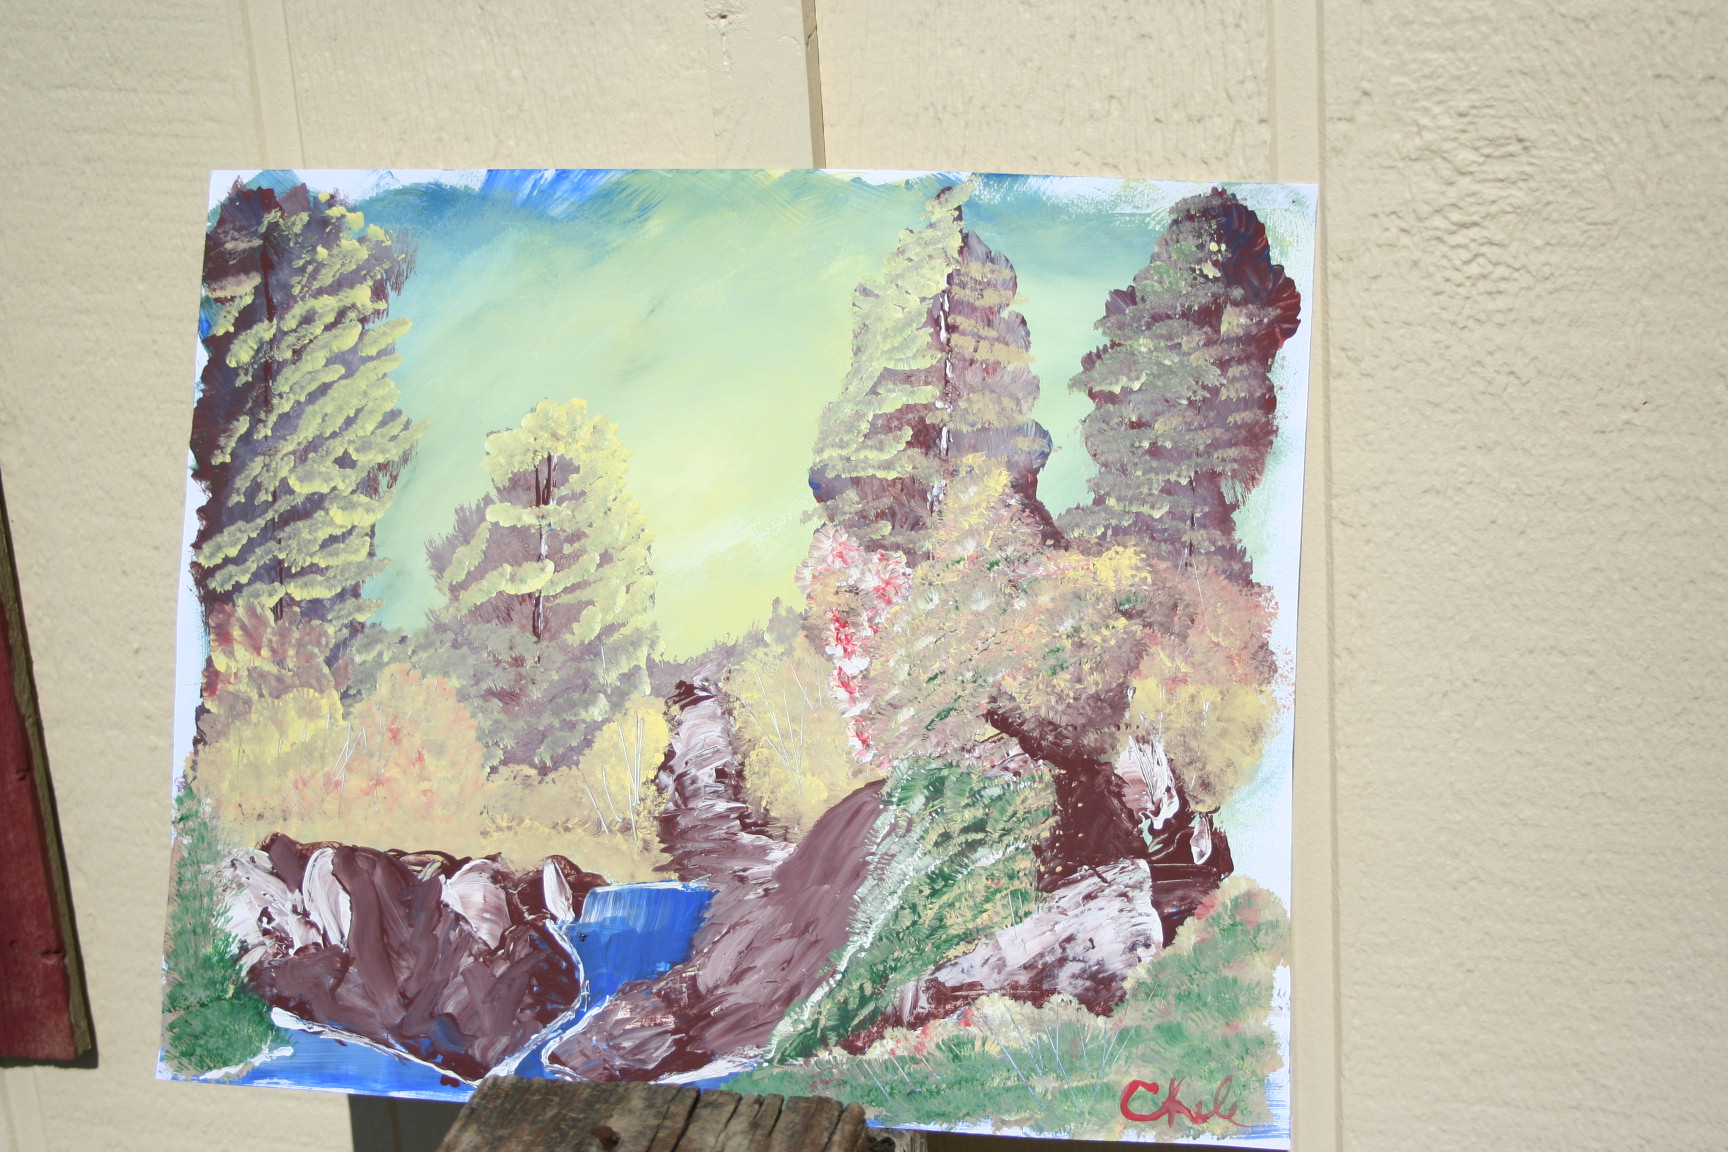
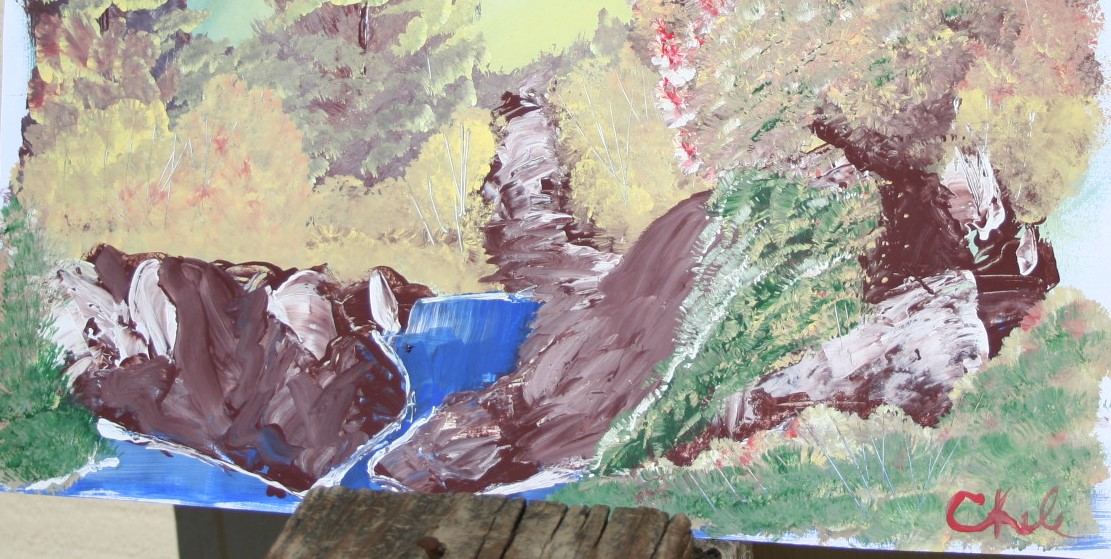
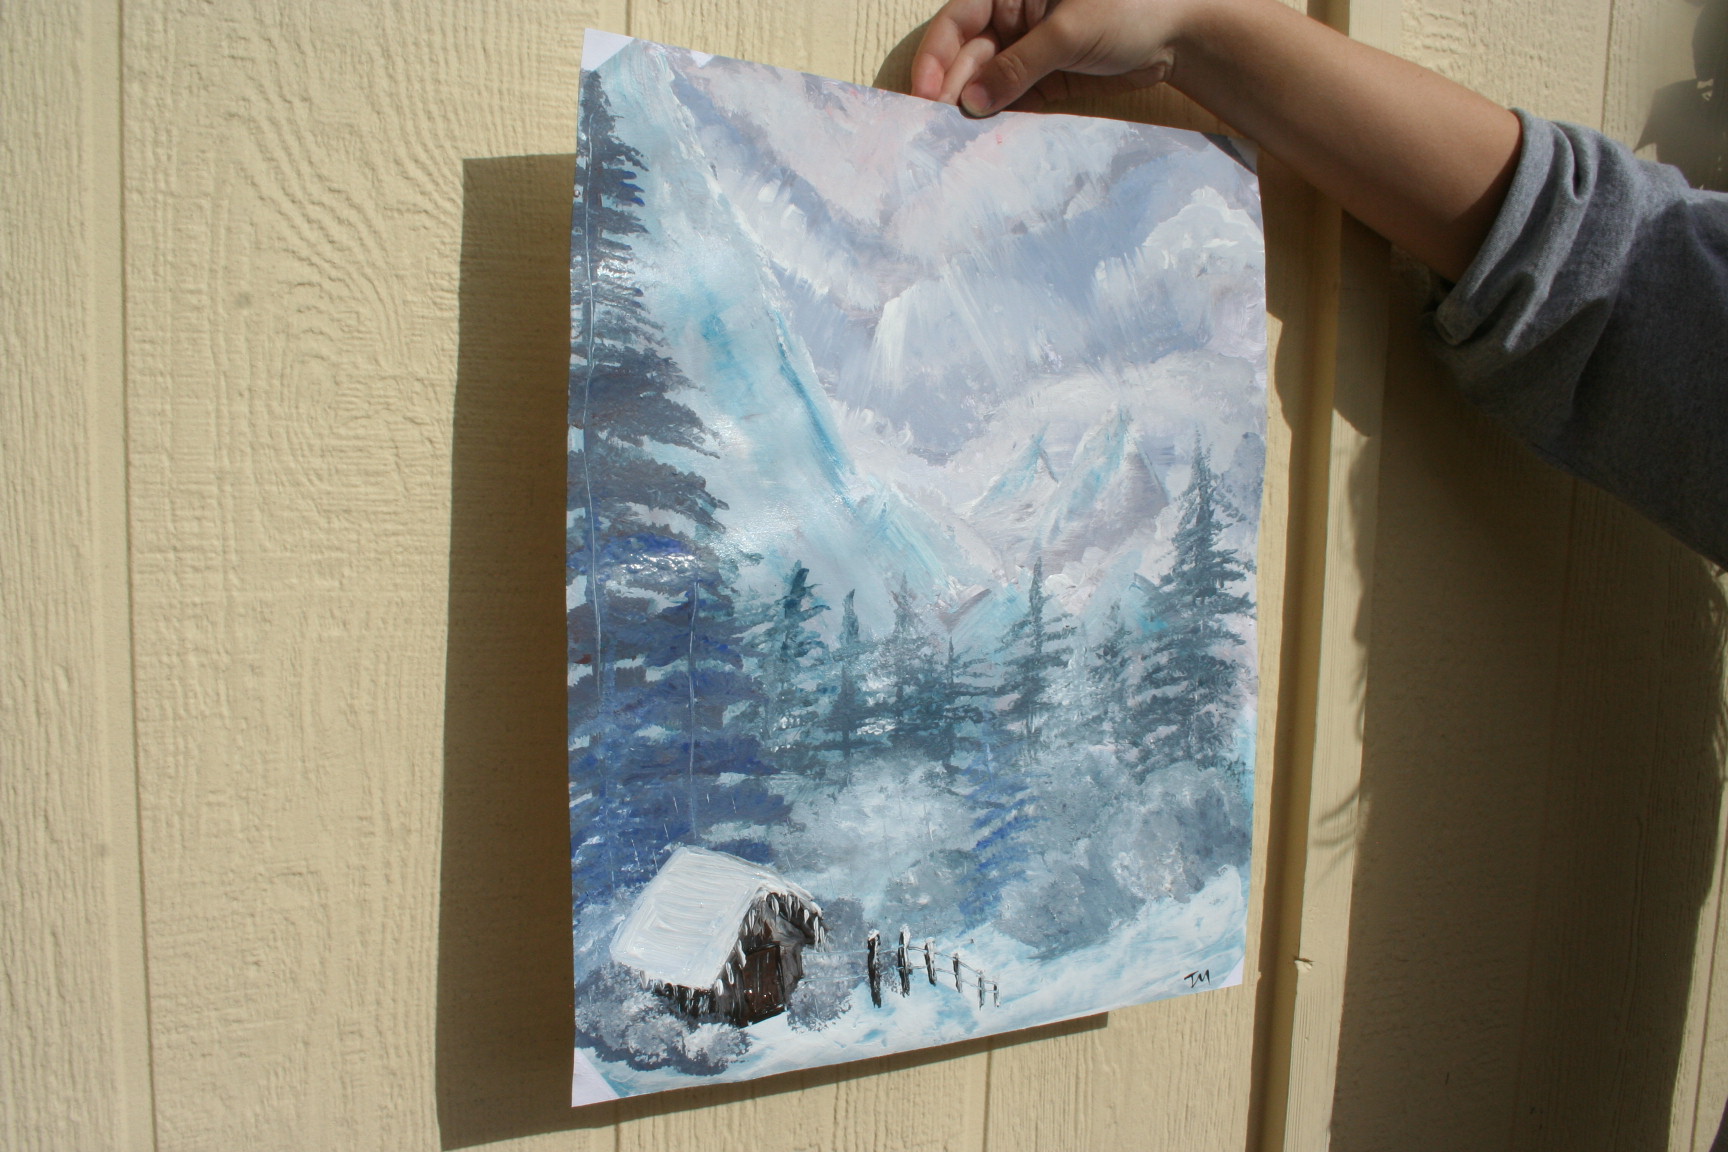
 We took our paintings outside and the sun decided to peek out at just the right time.
 Not too bad!
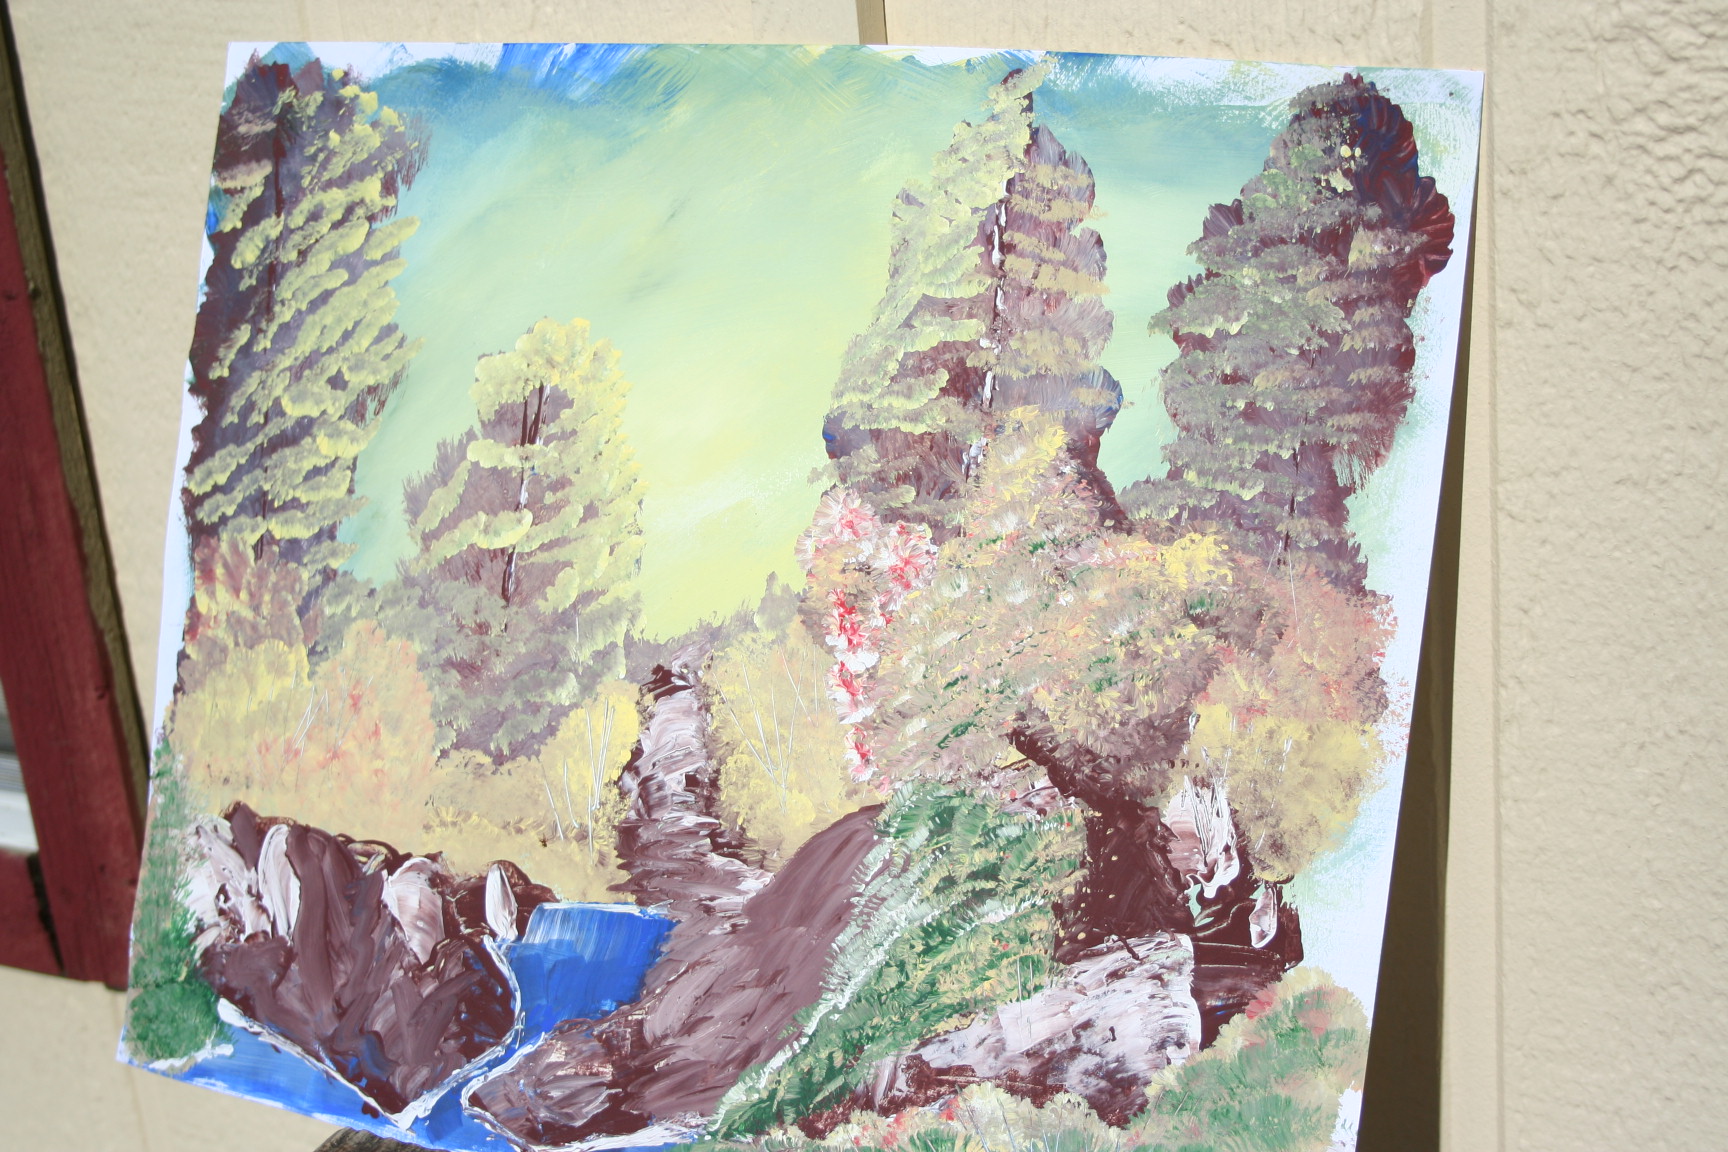
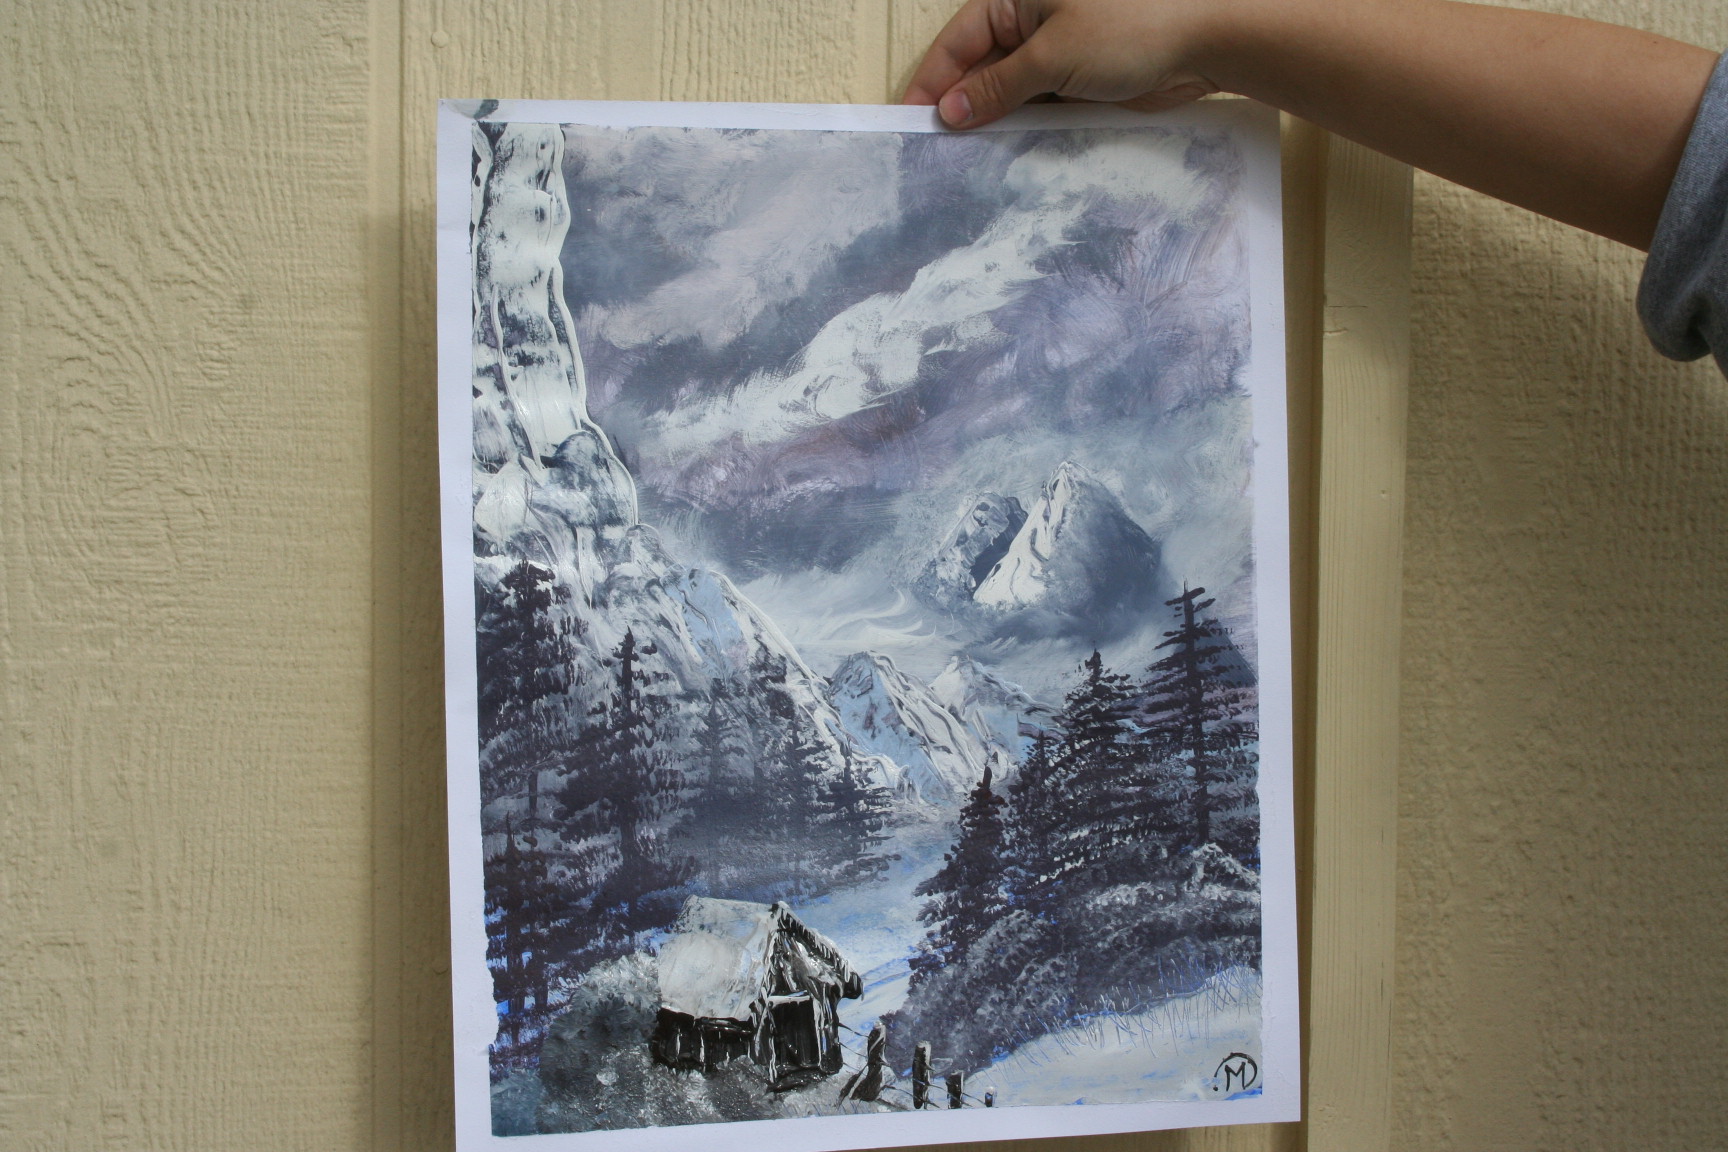
Here’s Tiffany’s.
 Oh, I just realized looking at Tiff’s that I didn’t put the highlight on the trunks of my trees! That would have made a huge difference. I like the icy look to Tiff’s version. Mine looks a bit stormy.
In case you are wondering, they really are that dark. We used mostly gray, created by brown, blue, and a bit of white and a lighter gray.
Well, that’s our attempt at Winter Mist. Have you tried this one? I hope you enjoyed this; we enjoyed doing it. We’ll be doing them more frequently.
Until next time, God bless,
Michele ºÜº