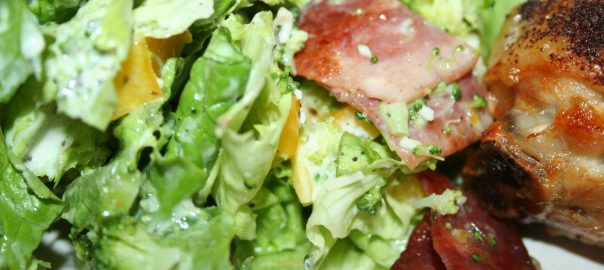
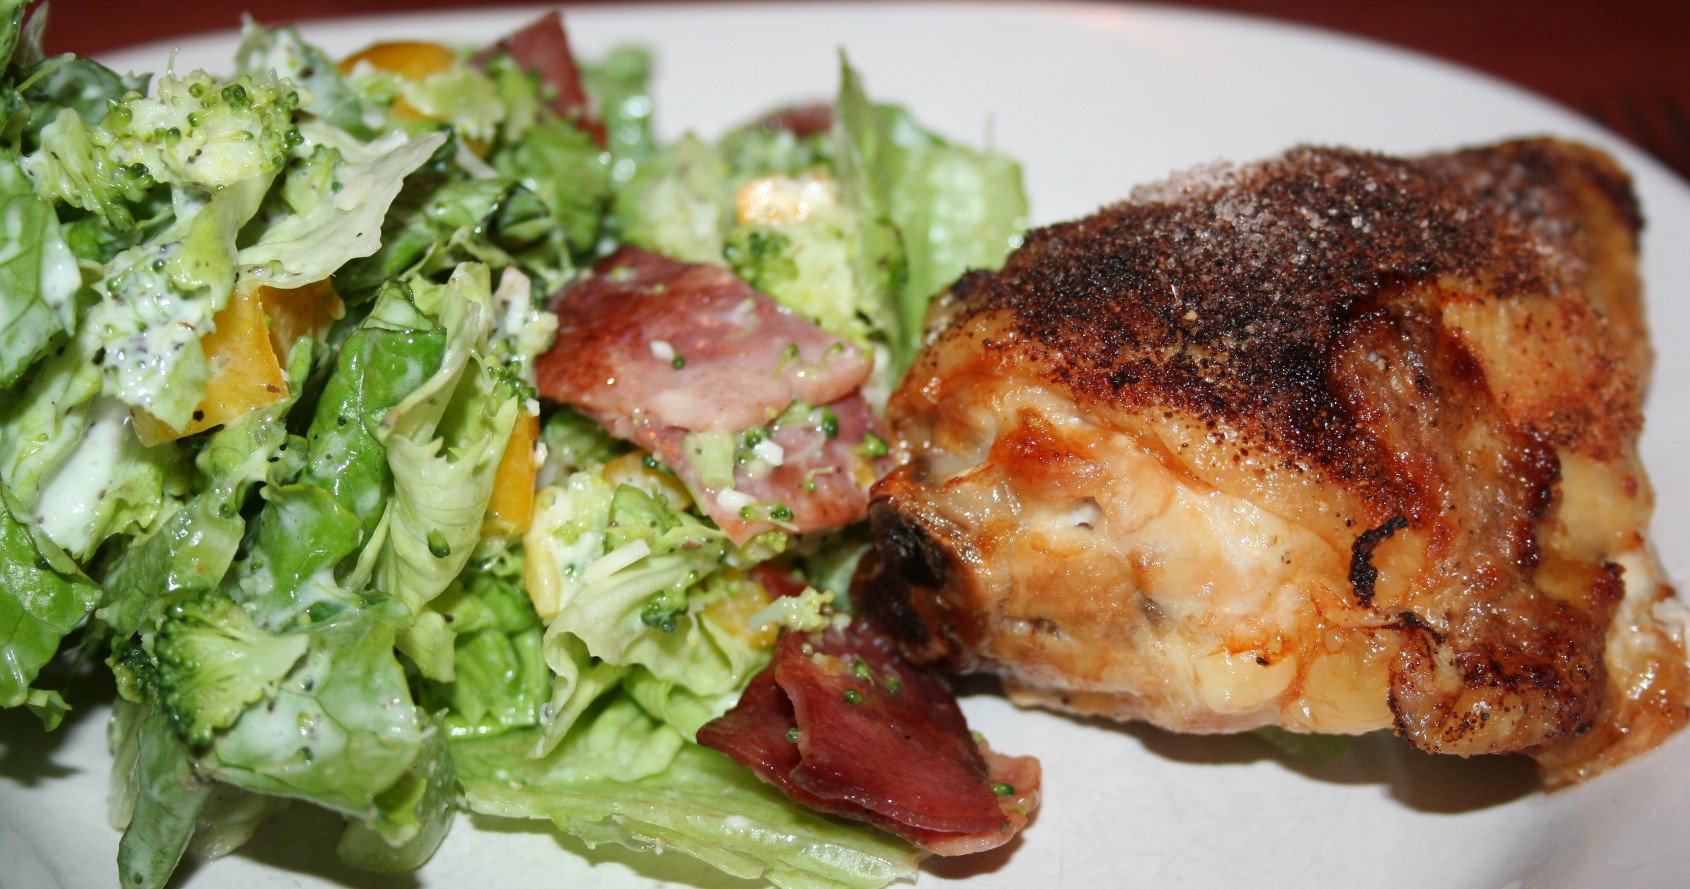
This is a salad with a twist.  The flavors meld together nicely and this is a family favorite here. I am met with cheers when it is announced as a side dish for dinner.
One day I was looking for a bit of a different salad to have with dinner. I was tired of regular lettuce salad and was looking for a broccoli salad similar to the one I’ve had before–broccoli, red onion, and cheese with a mayonnaise dressing–when I came across this gem.
I had to change some things up a bit because of my picky family members and because I don’t keep pesto on hand most of the time. So, because of these tweaks, I can share it with you rather than just sharing a link and procedural pictures.  But do go over to LivingChirpy and see her version of the recipe.
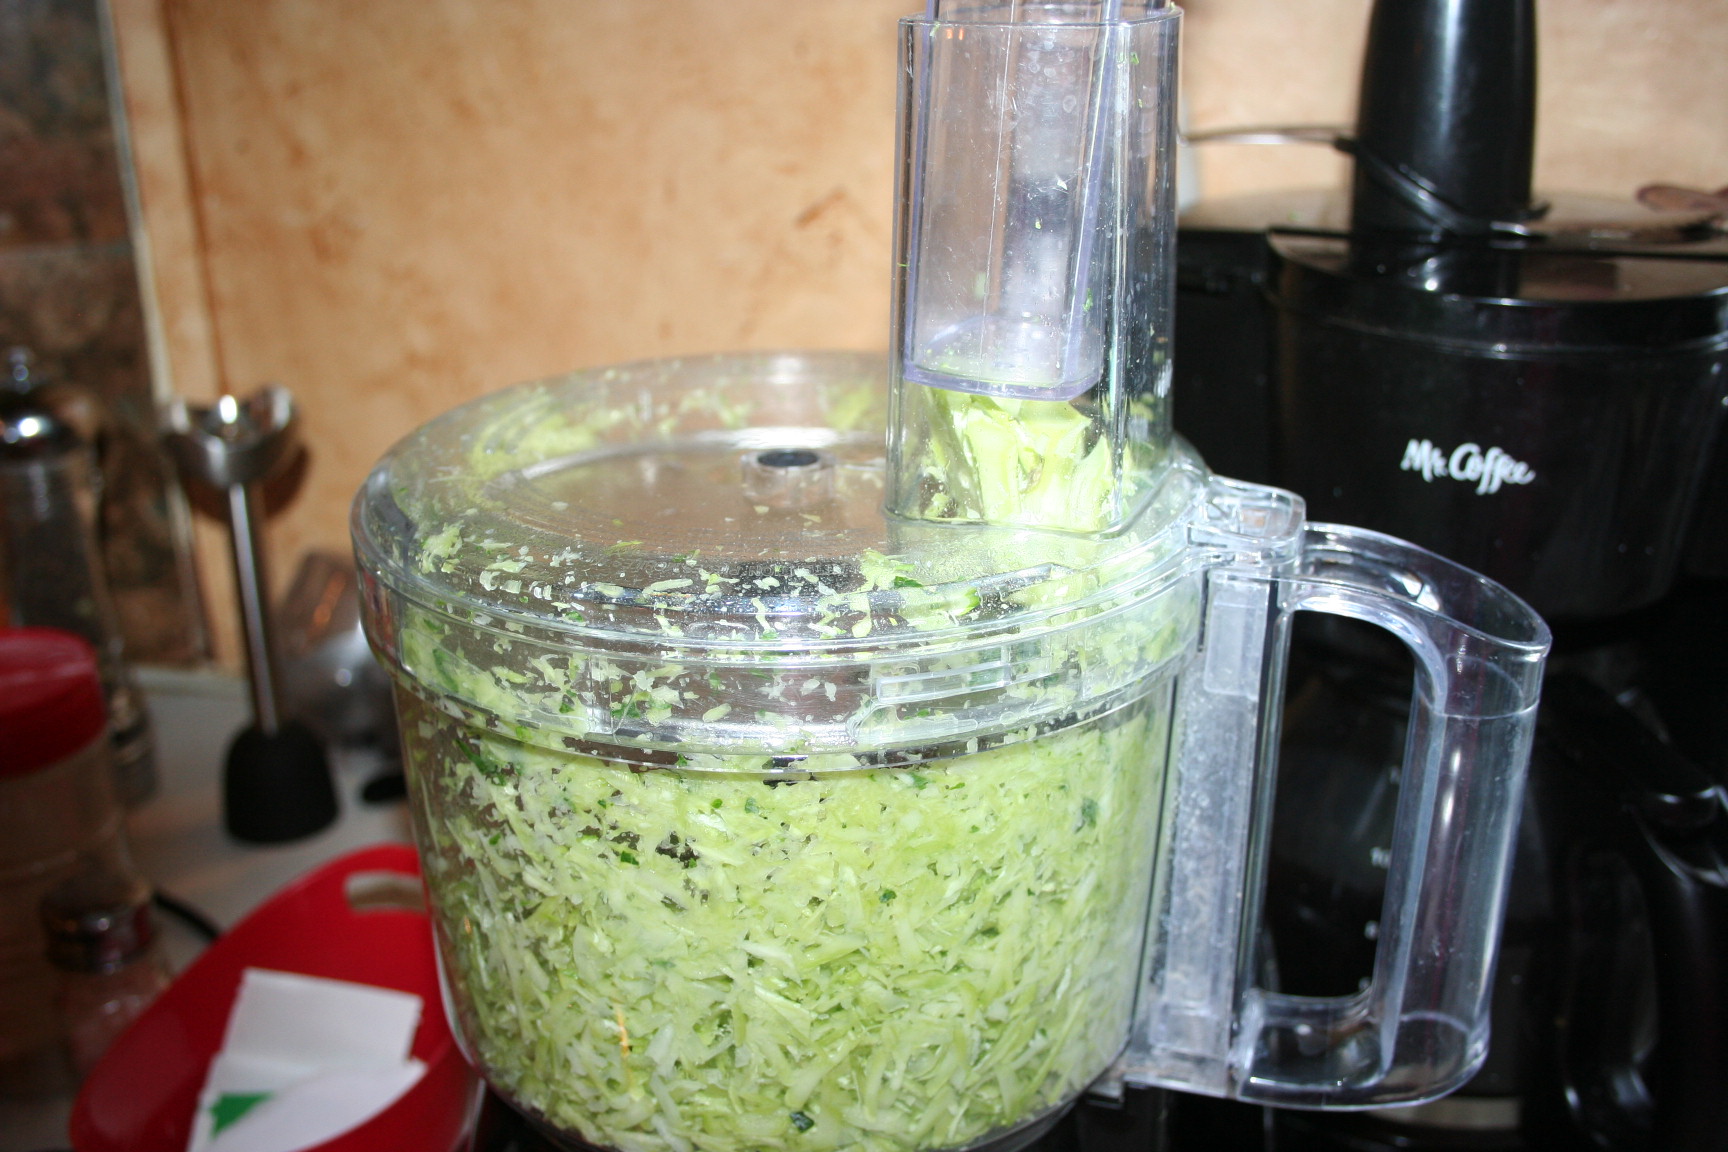
So, star by cooking 2 cups of broccoli. 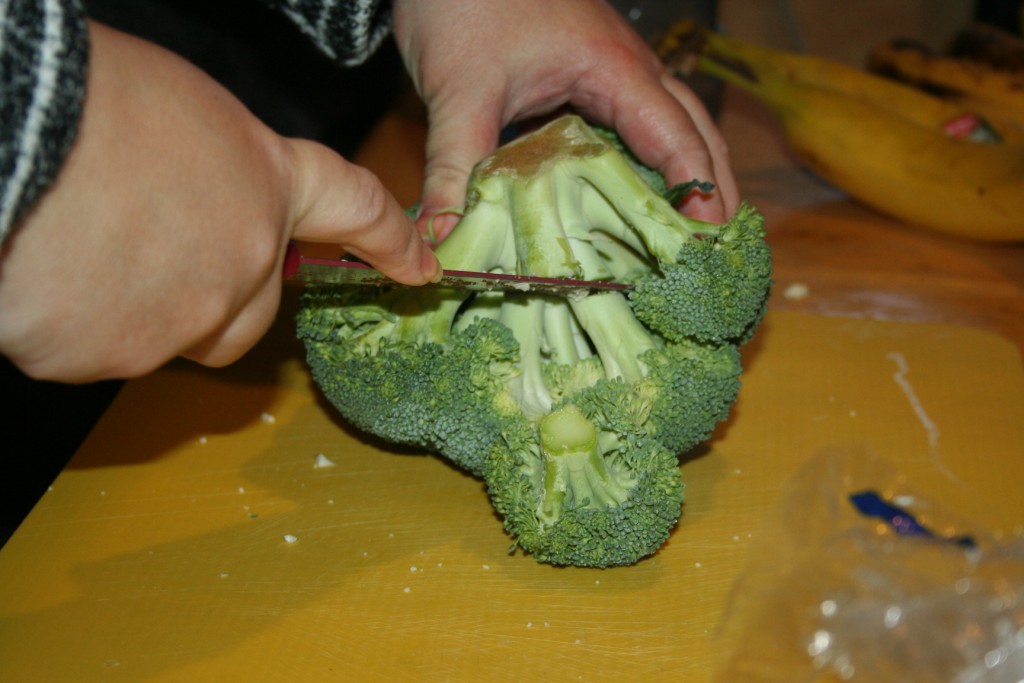
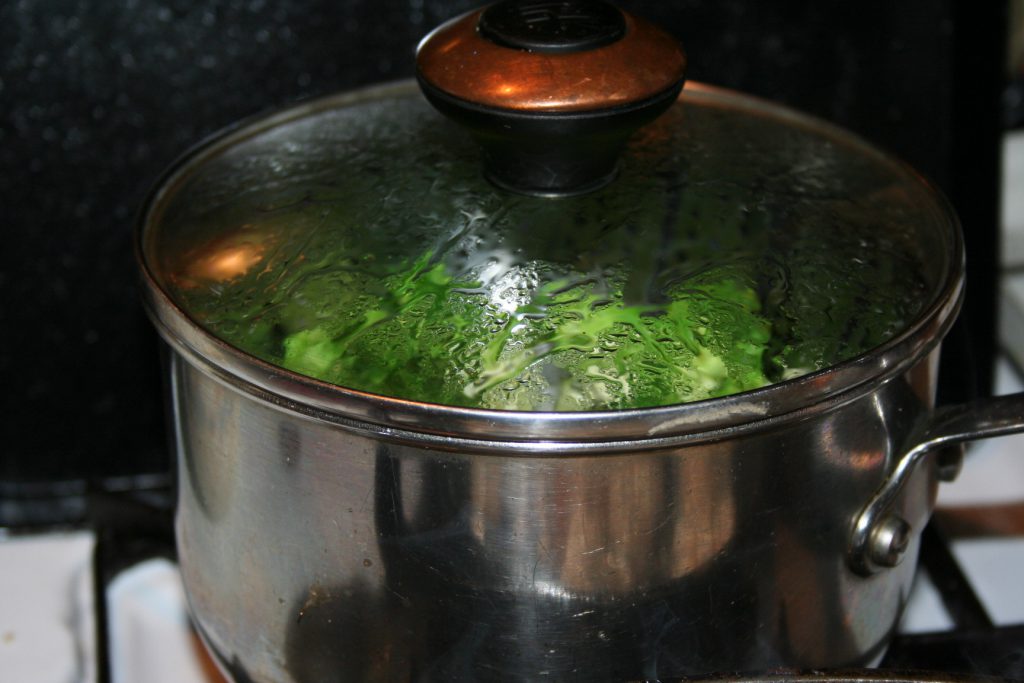 Steaming this is the best option. I have heard that you should never eat broccoli raw as it can slow the thyroid; also, cruciferous veggies can cause an inflammatory response, so don’t eat them daily.
When the broccoli has steamed to your desired level of doneness, about 5 minutes or so, remove it and let it cool off.
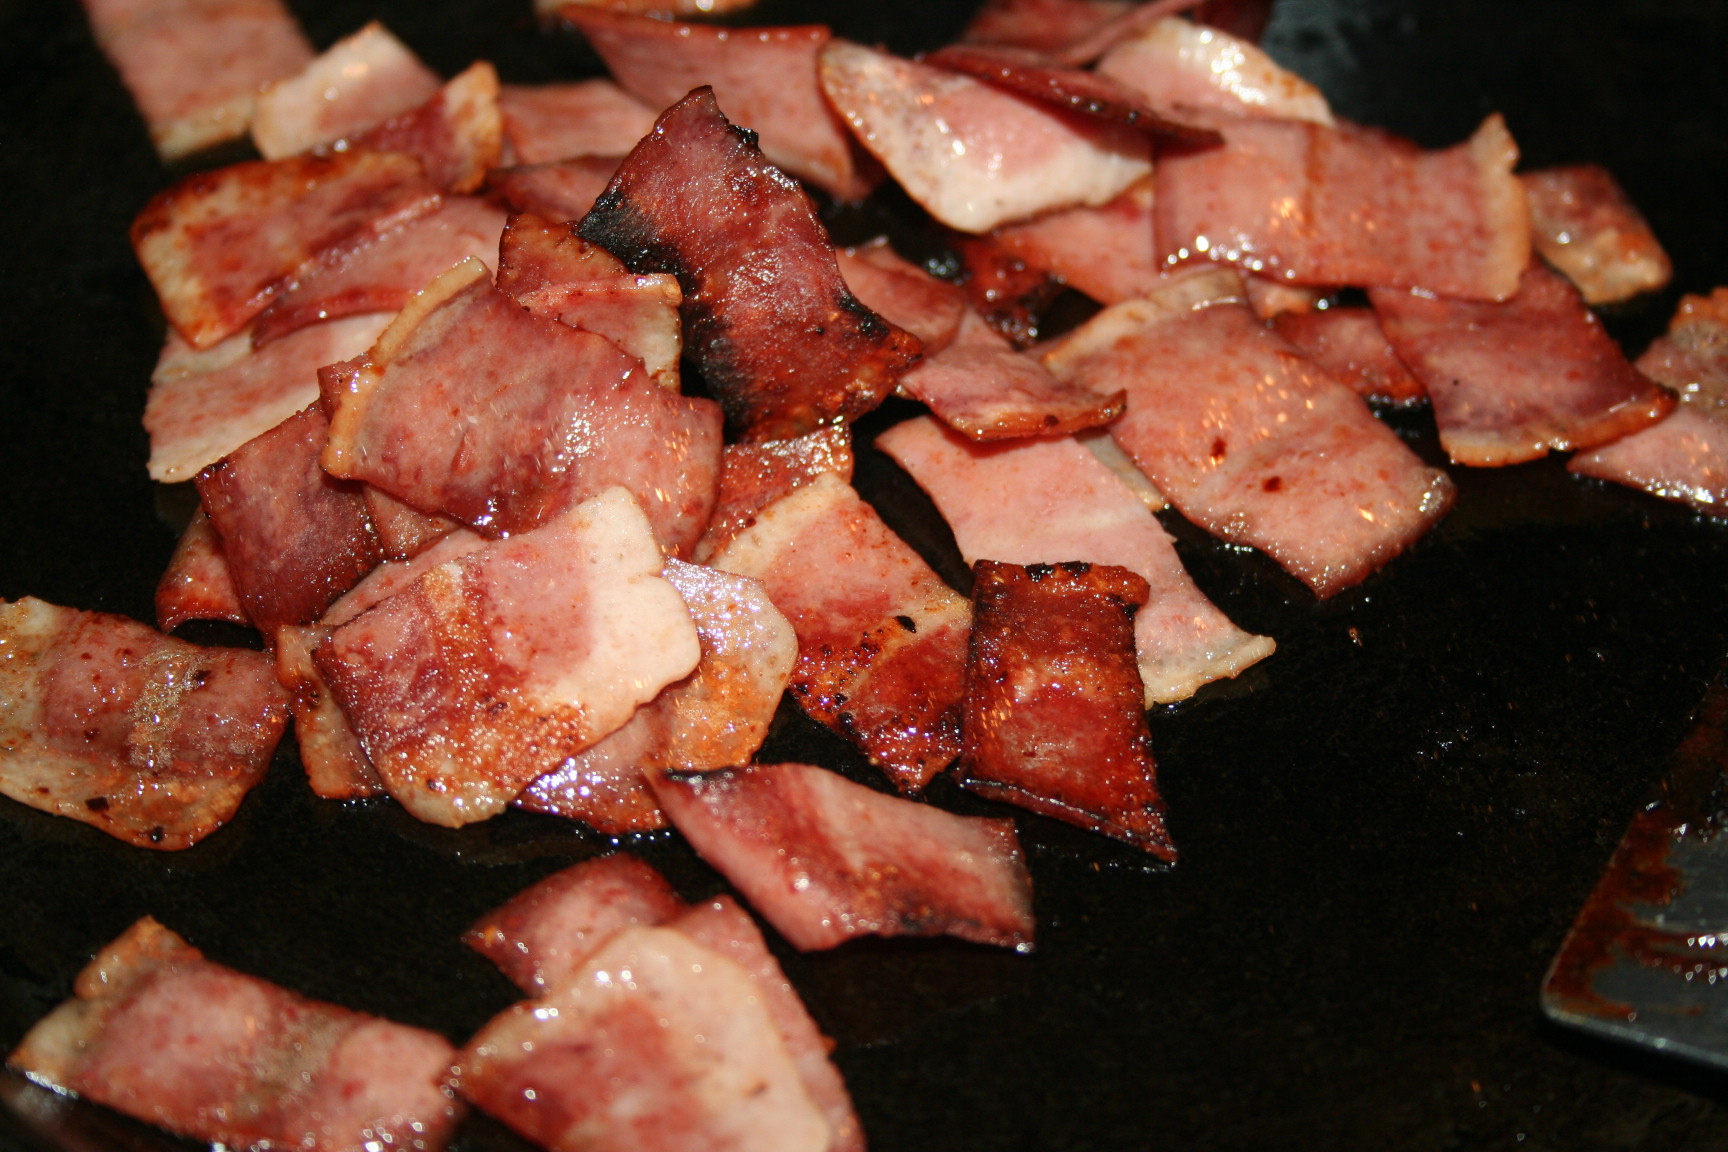
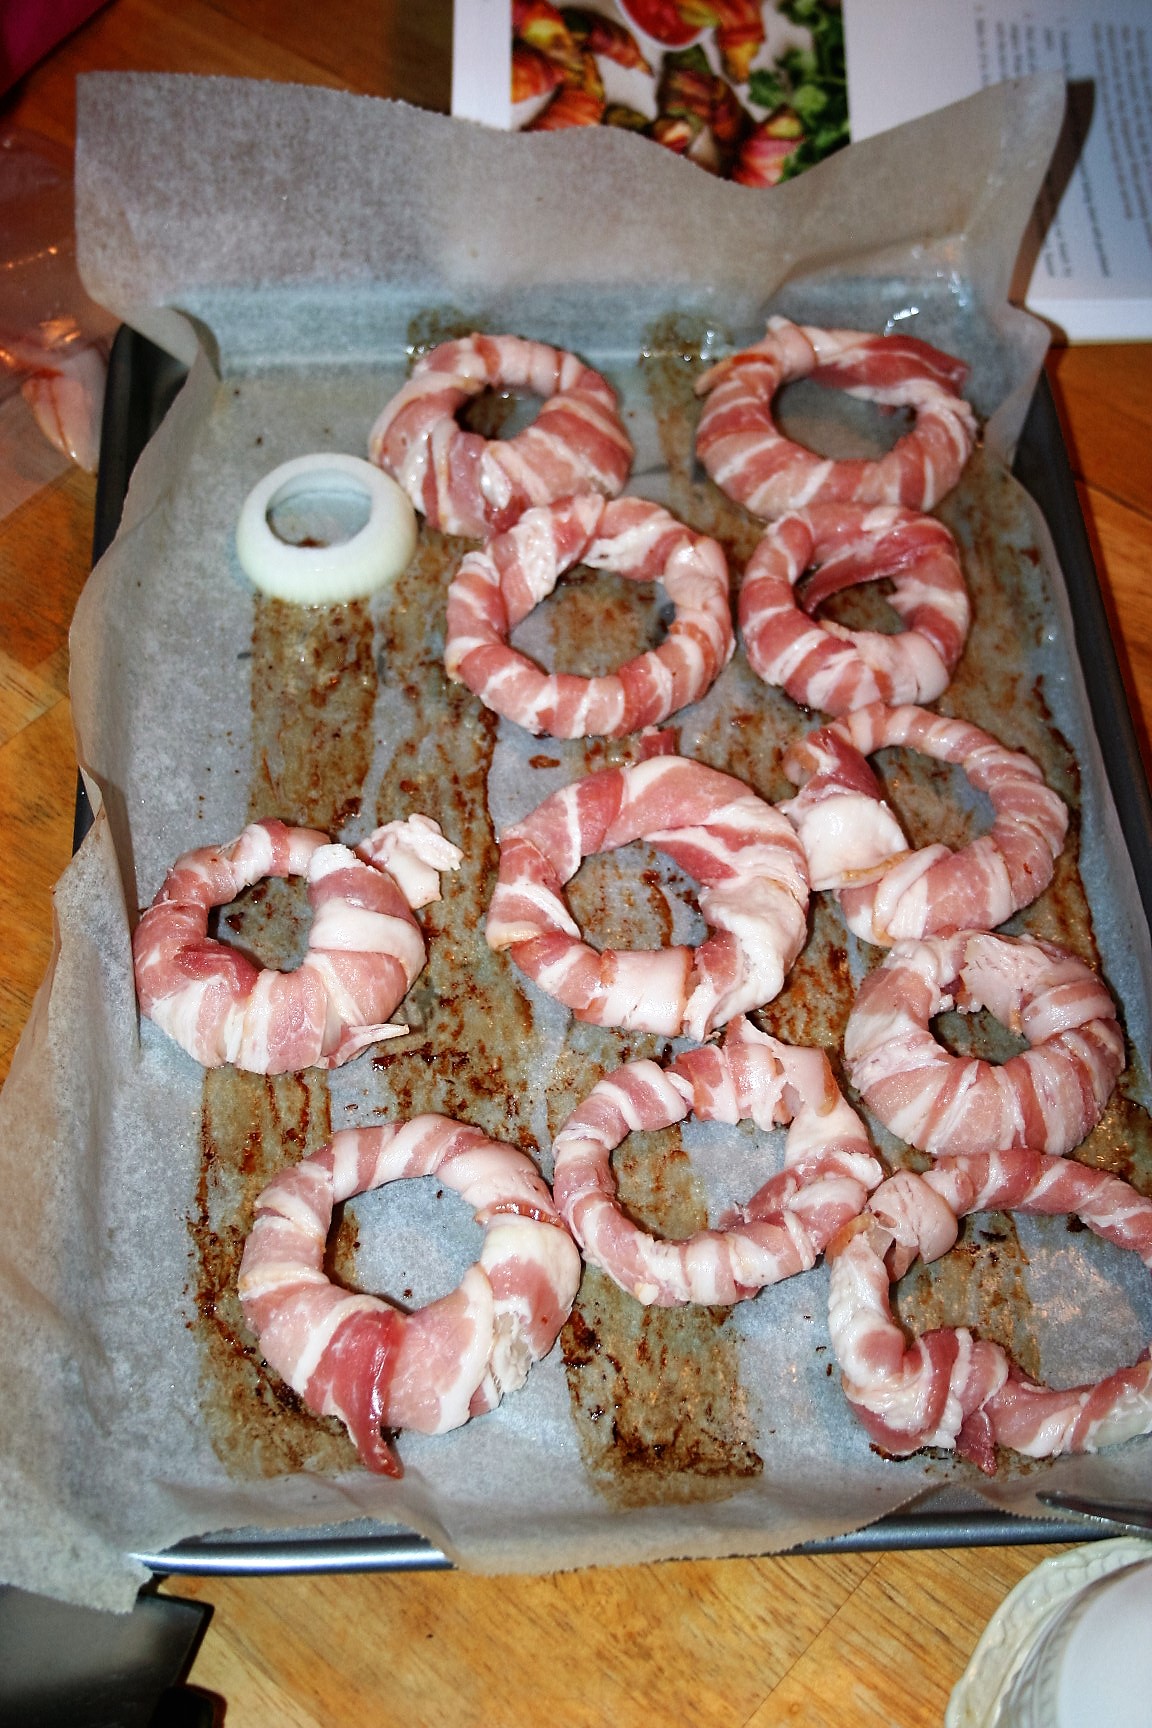
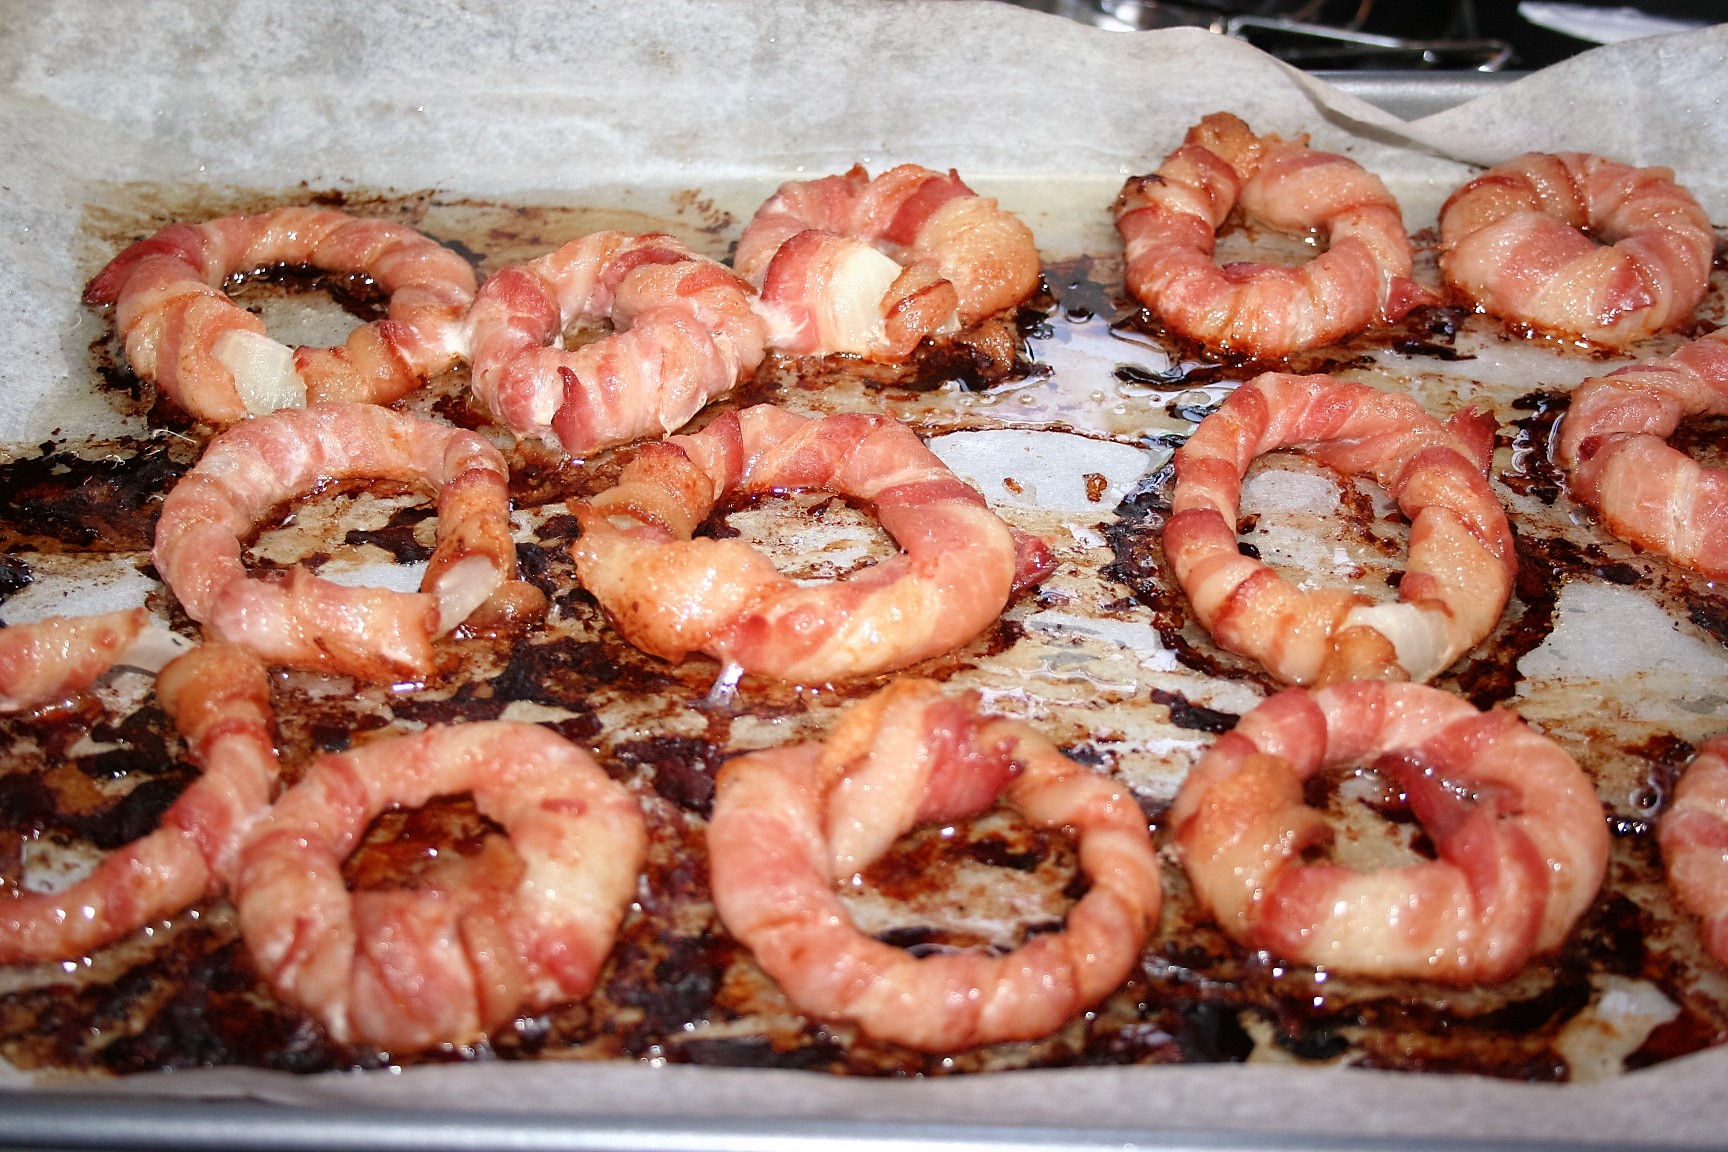
Meanwhile, cook the bacon. I’m using turkey bacon because the hubs cannot have pork at this time.

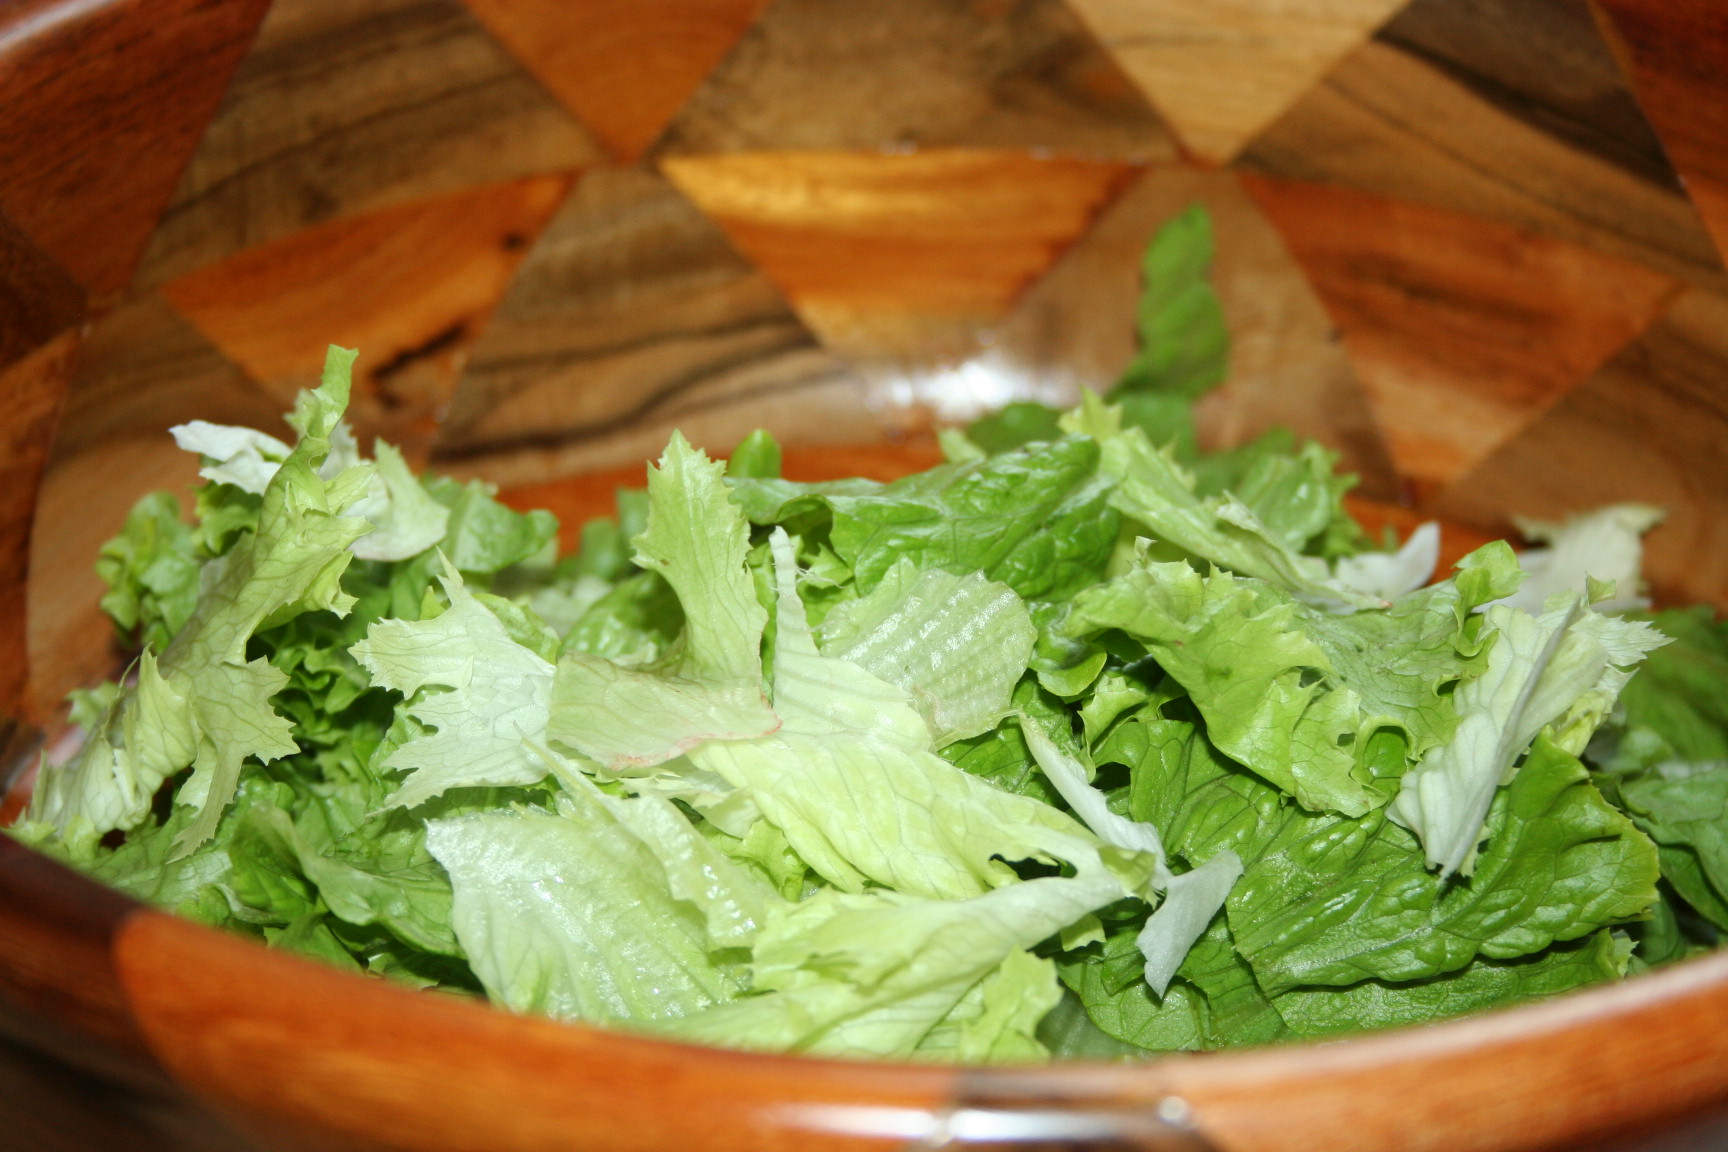
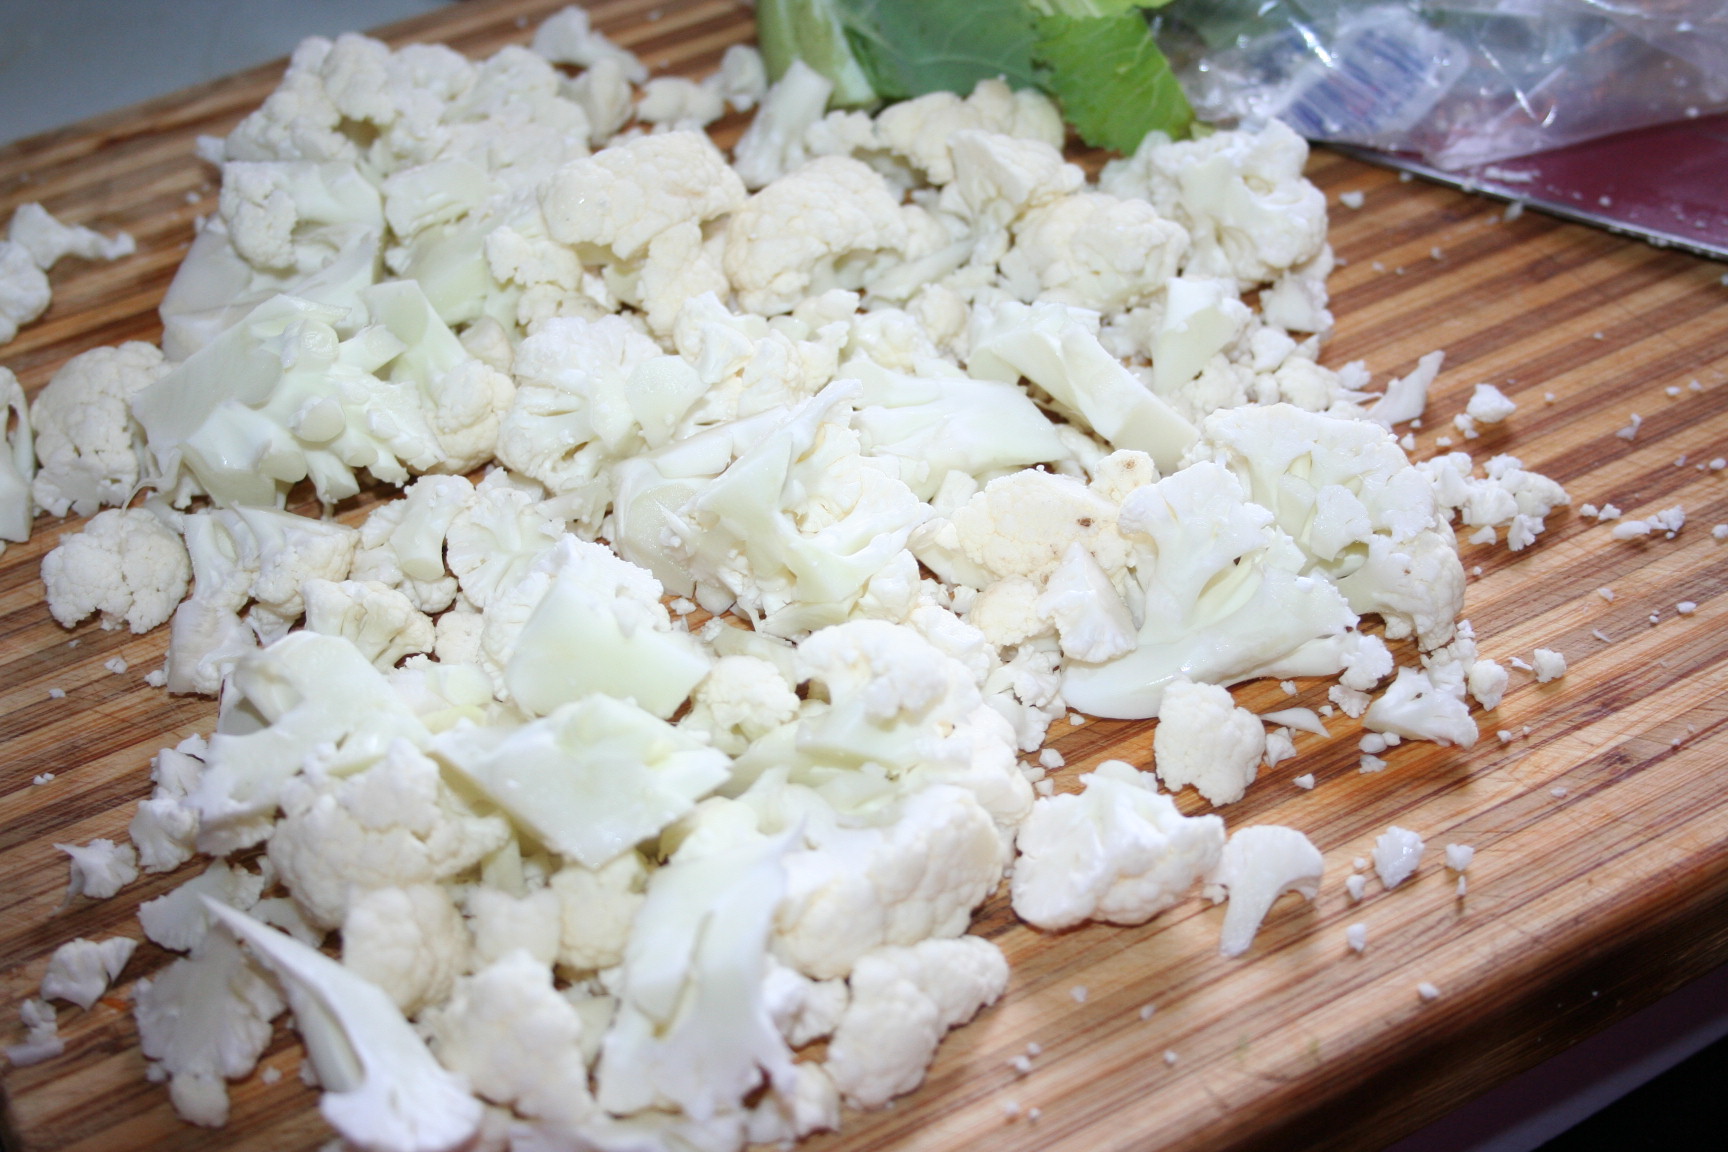
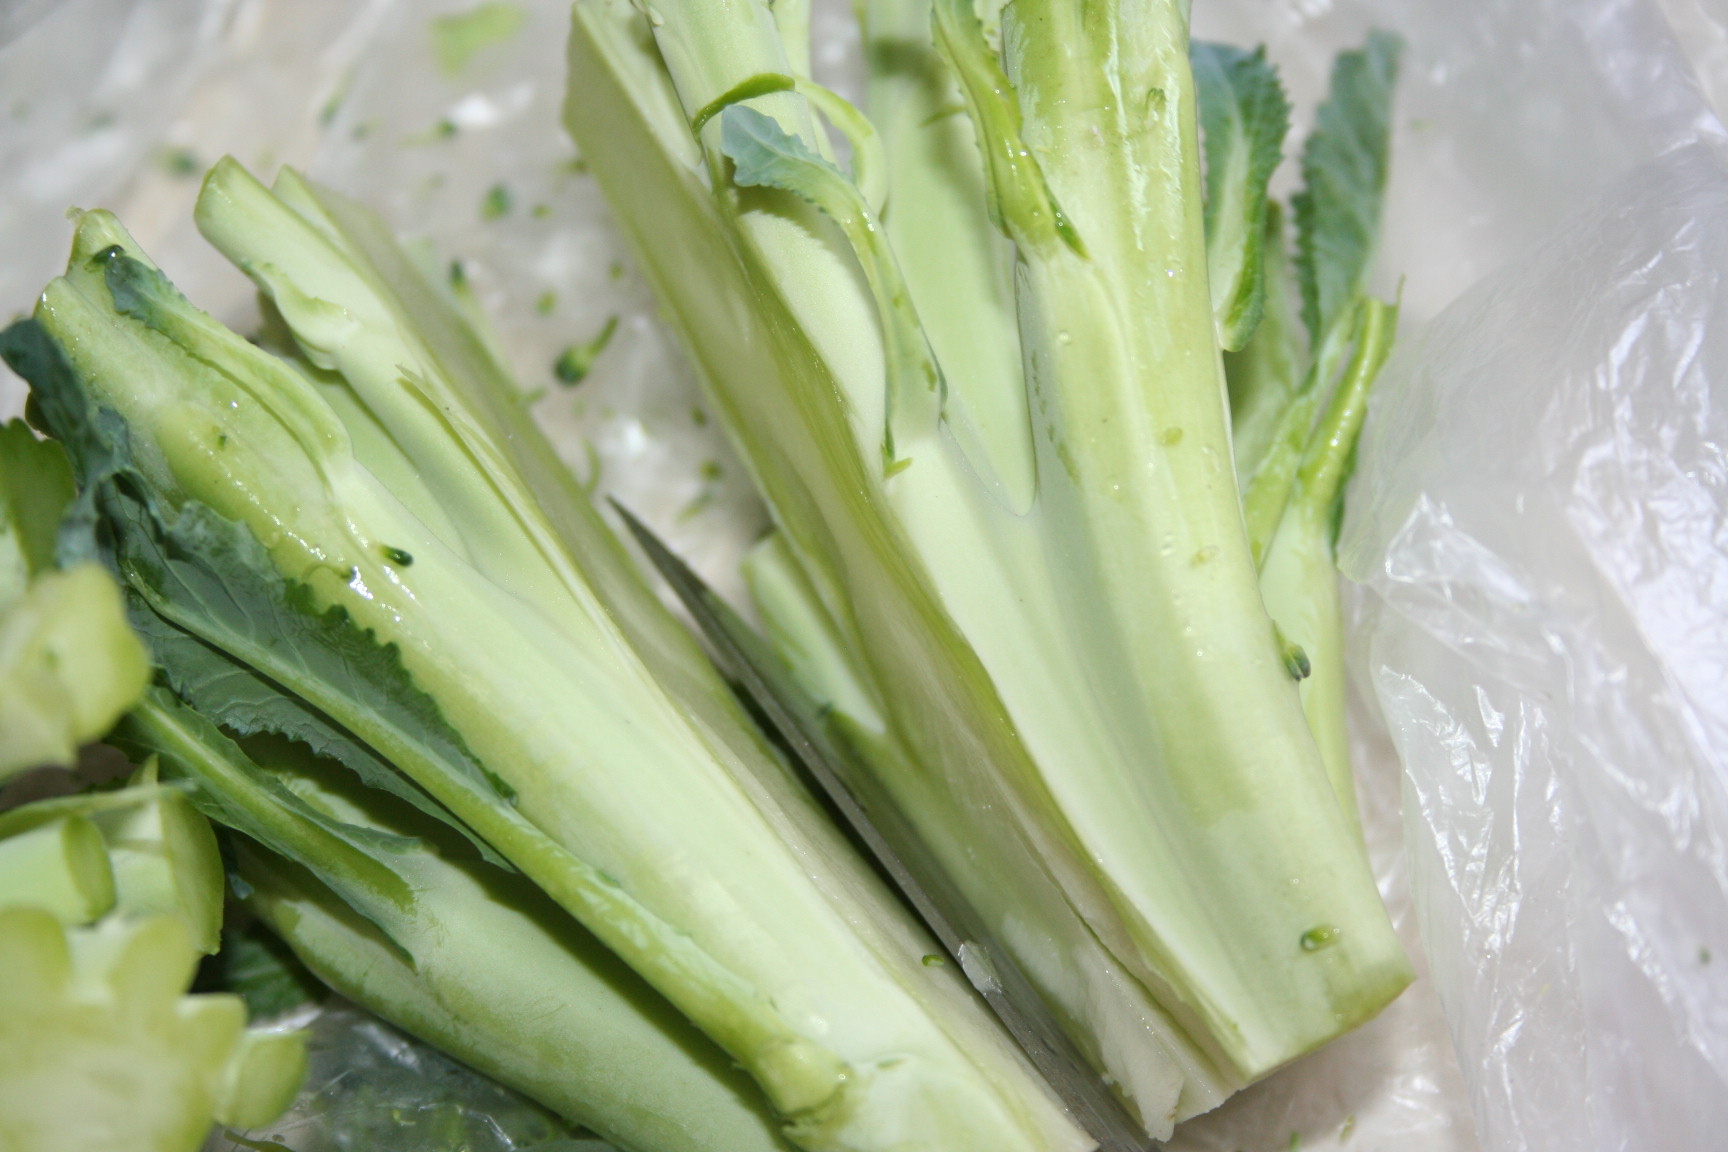
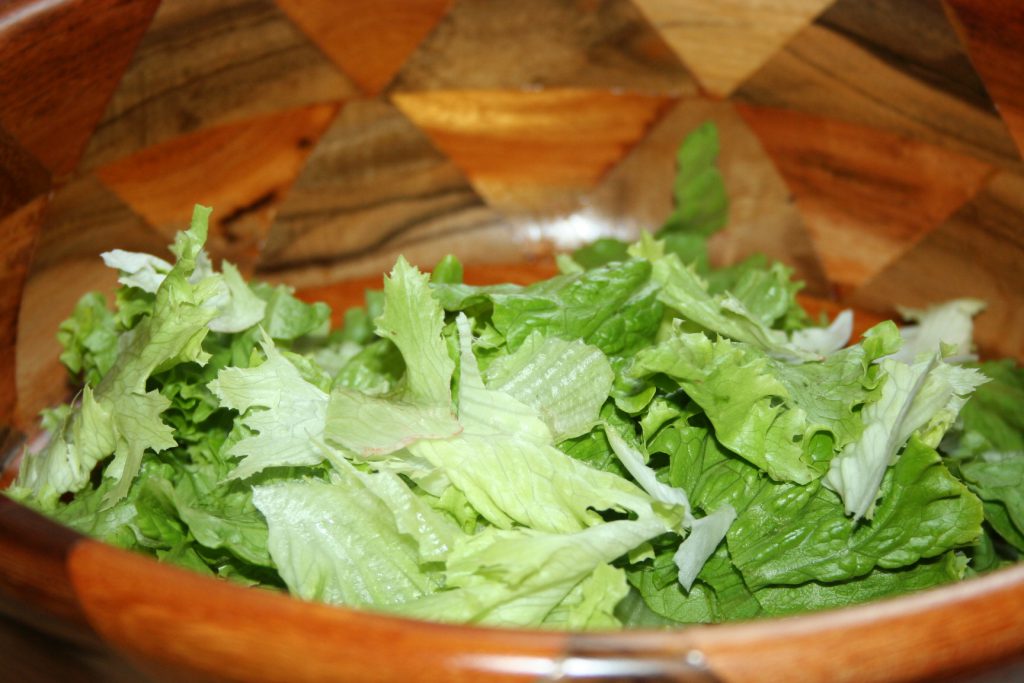
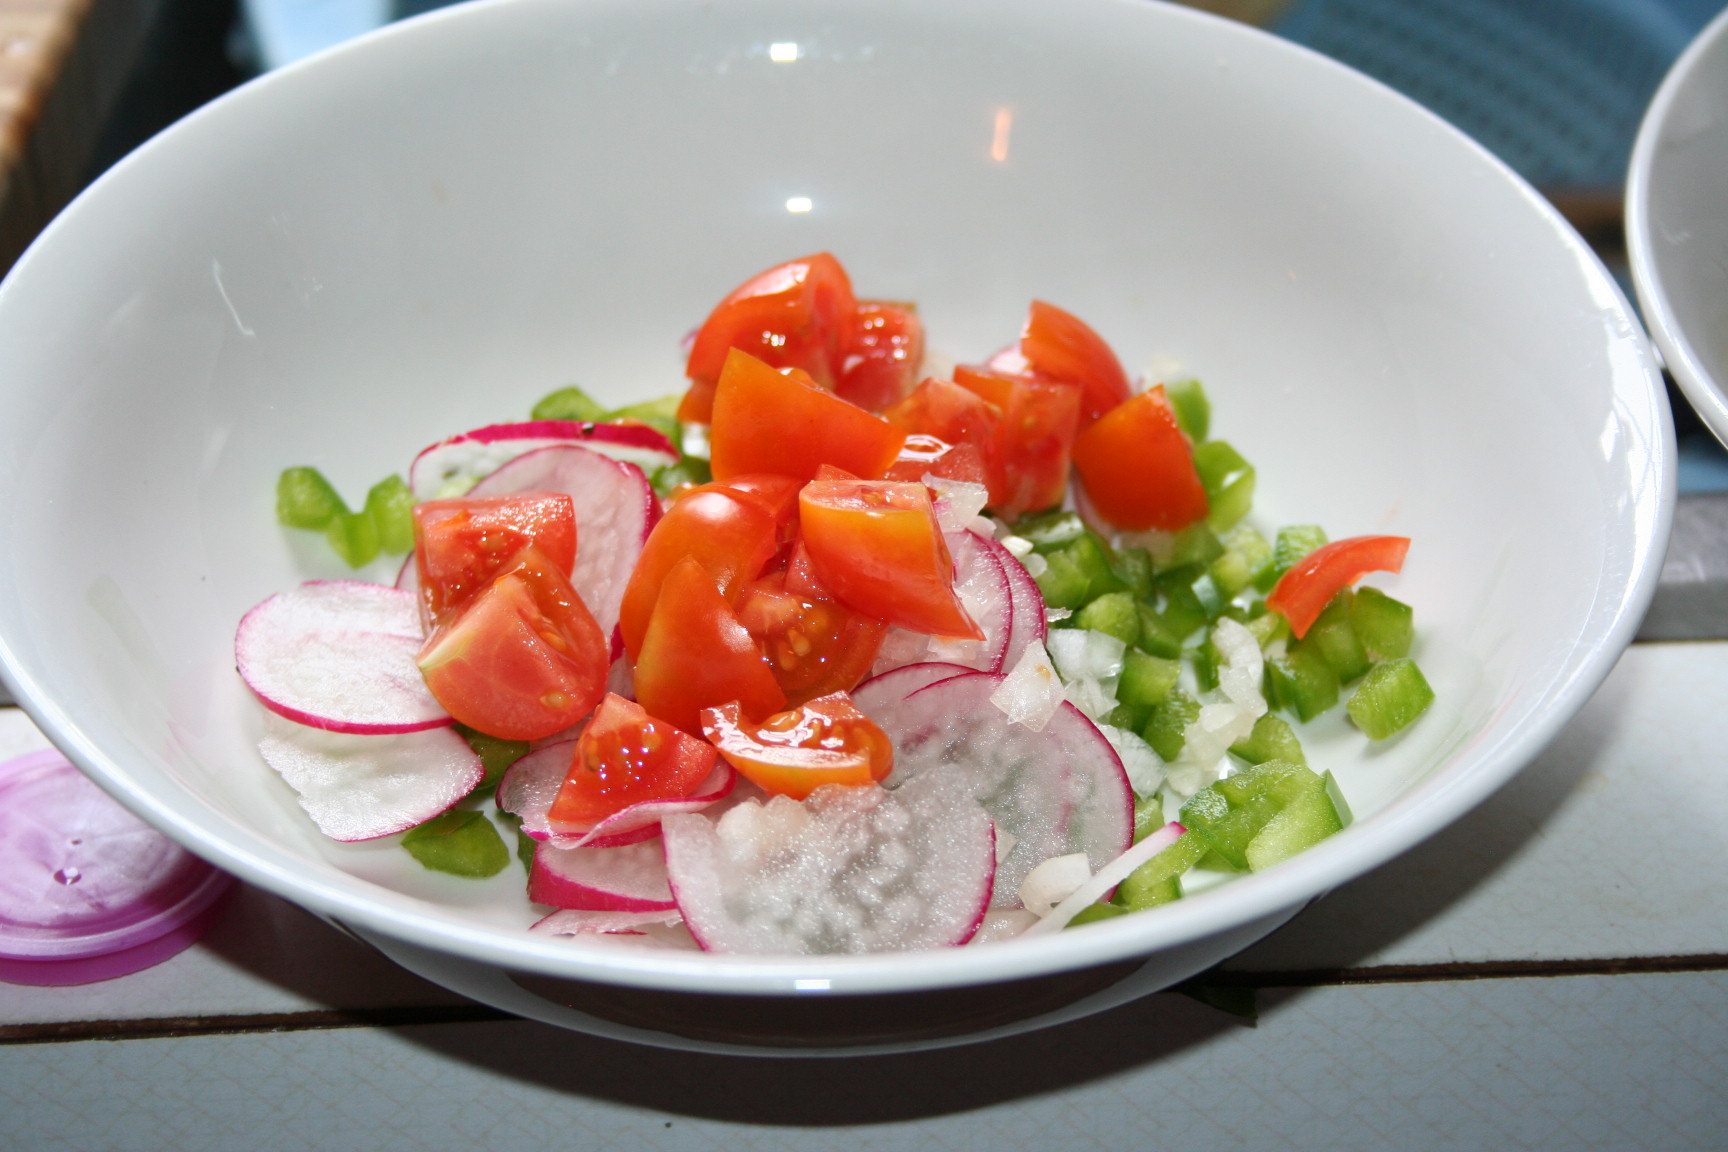
And begin chopping the other ingredients:
Lettuce
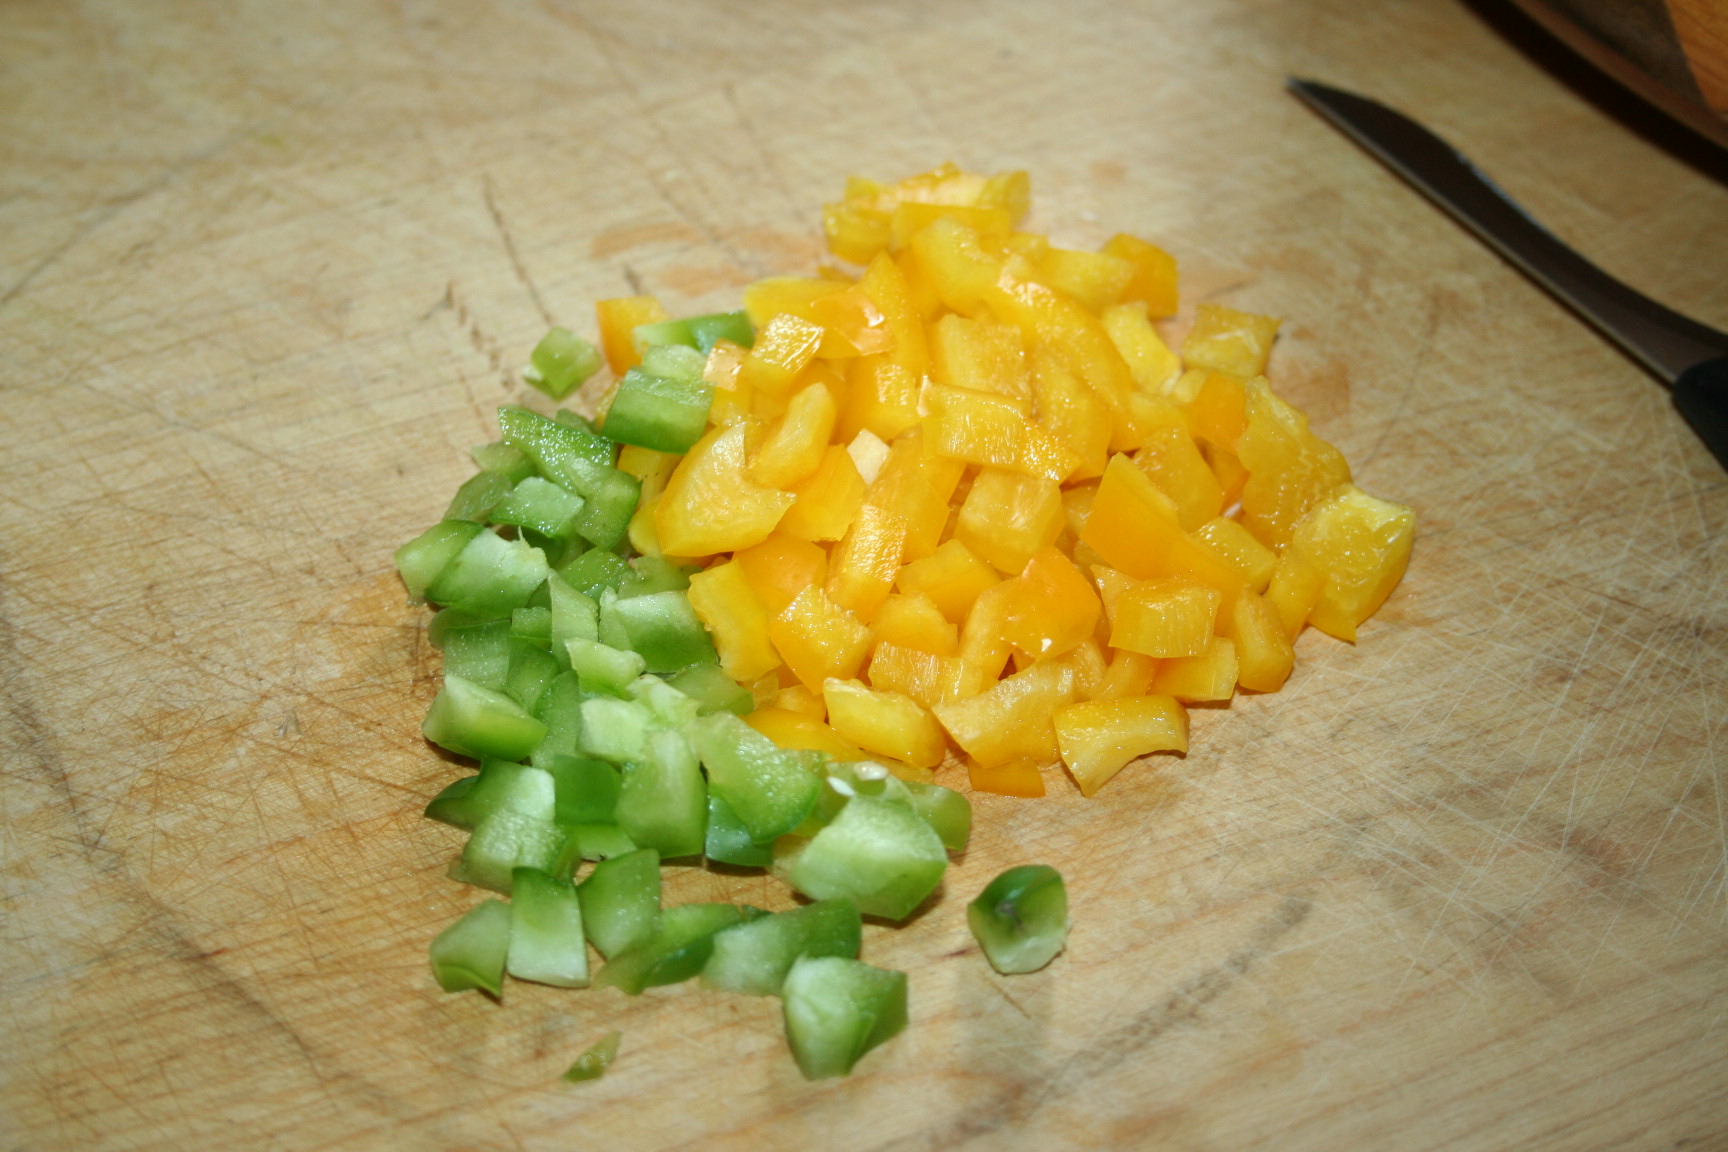
 Bell Pepper
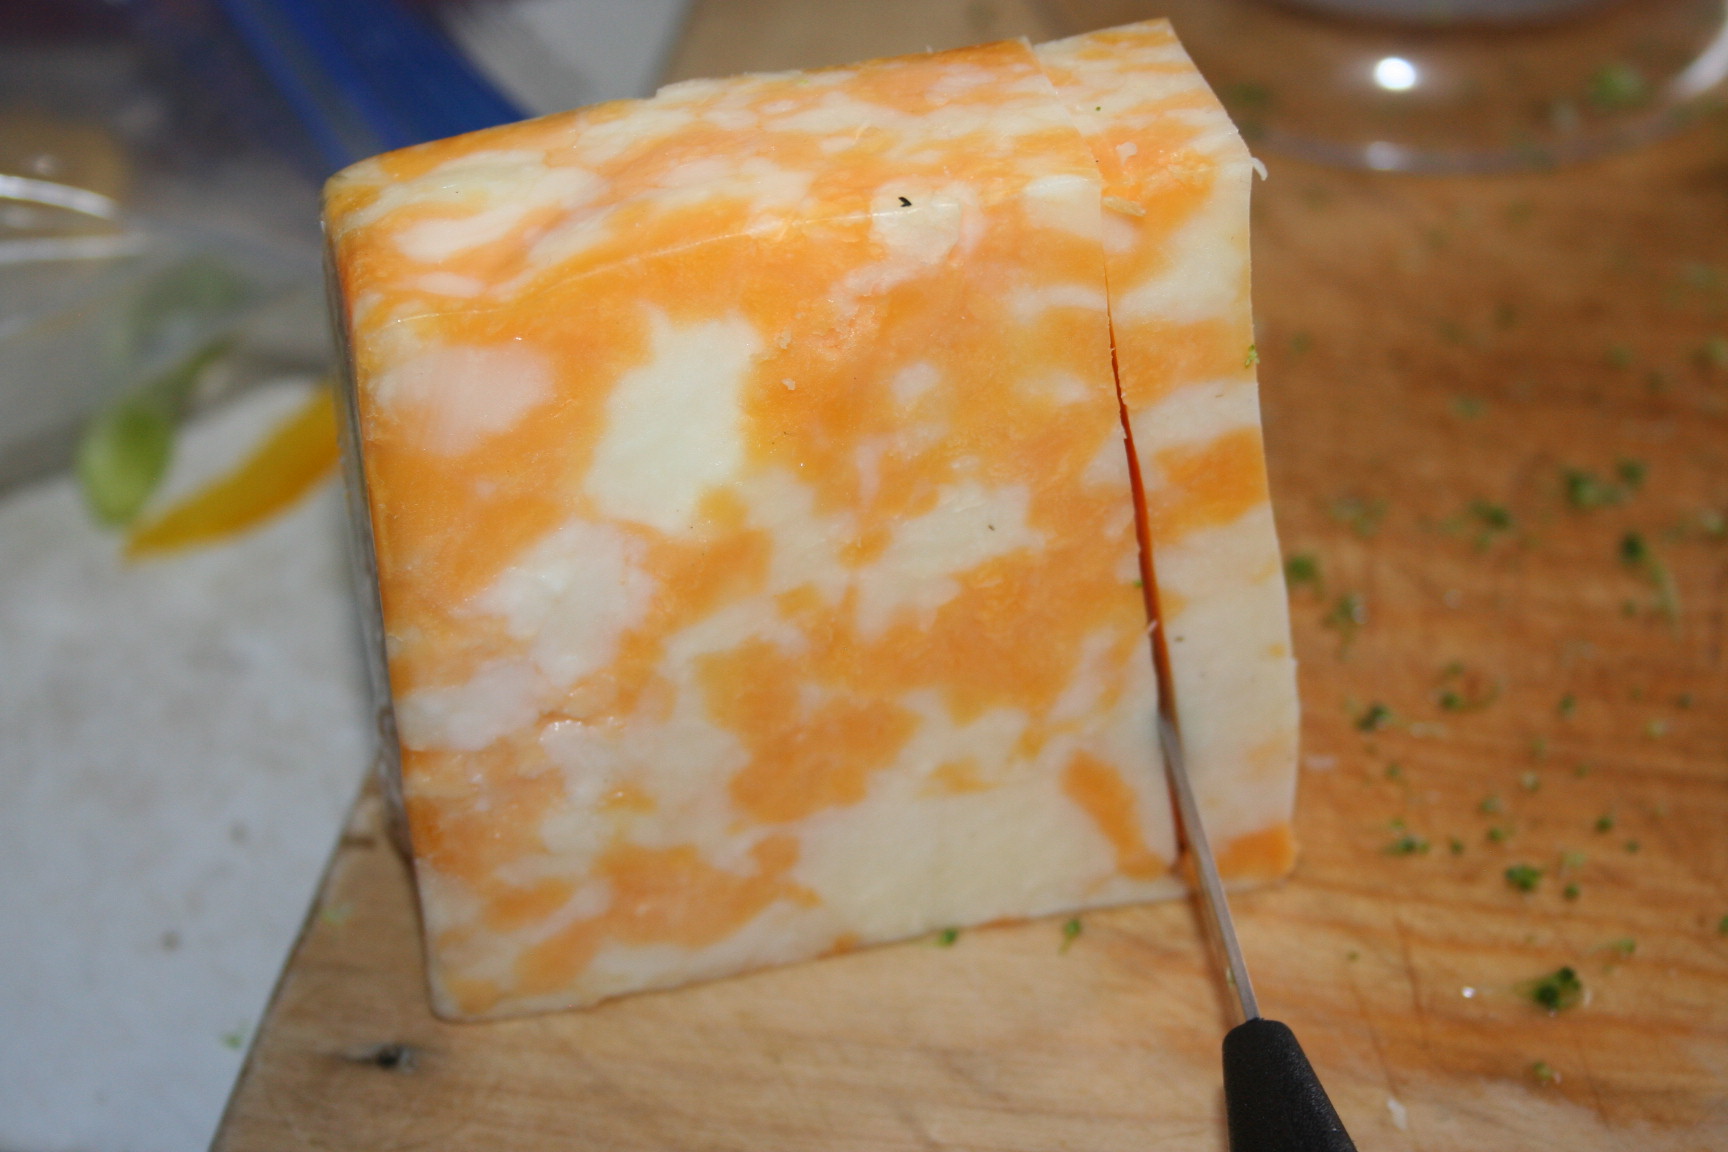
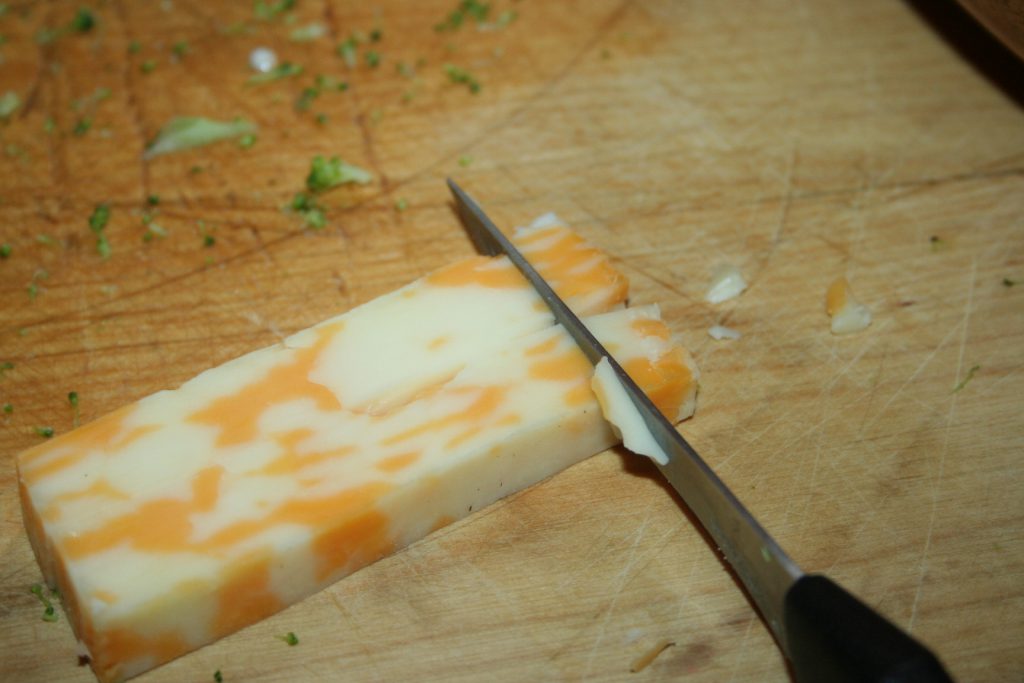
 Cheese: I slice about 1/4″ slab off my block of cheese
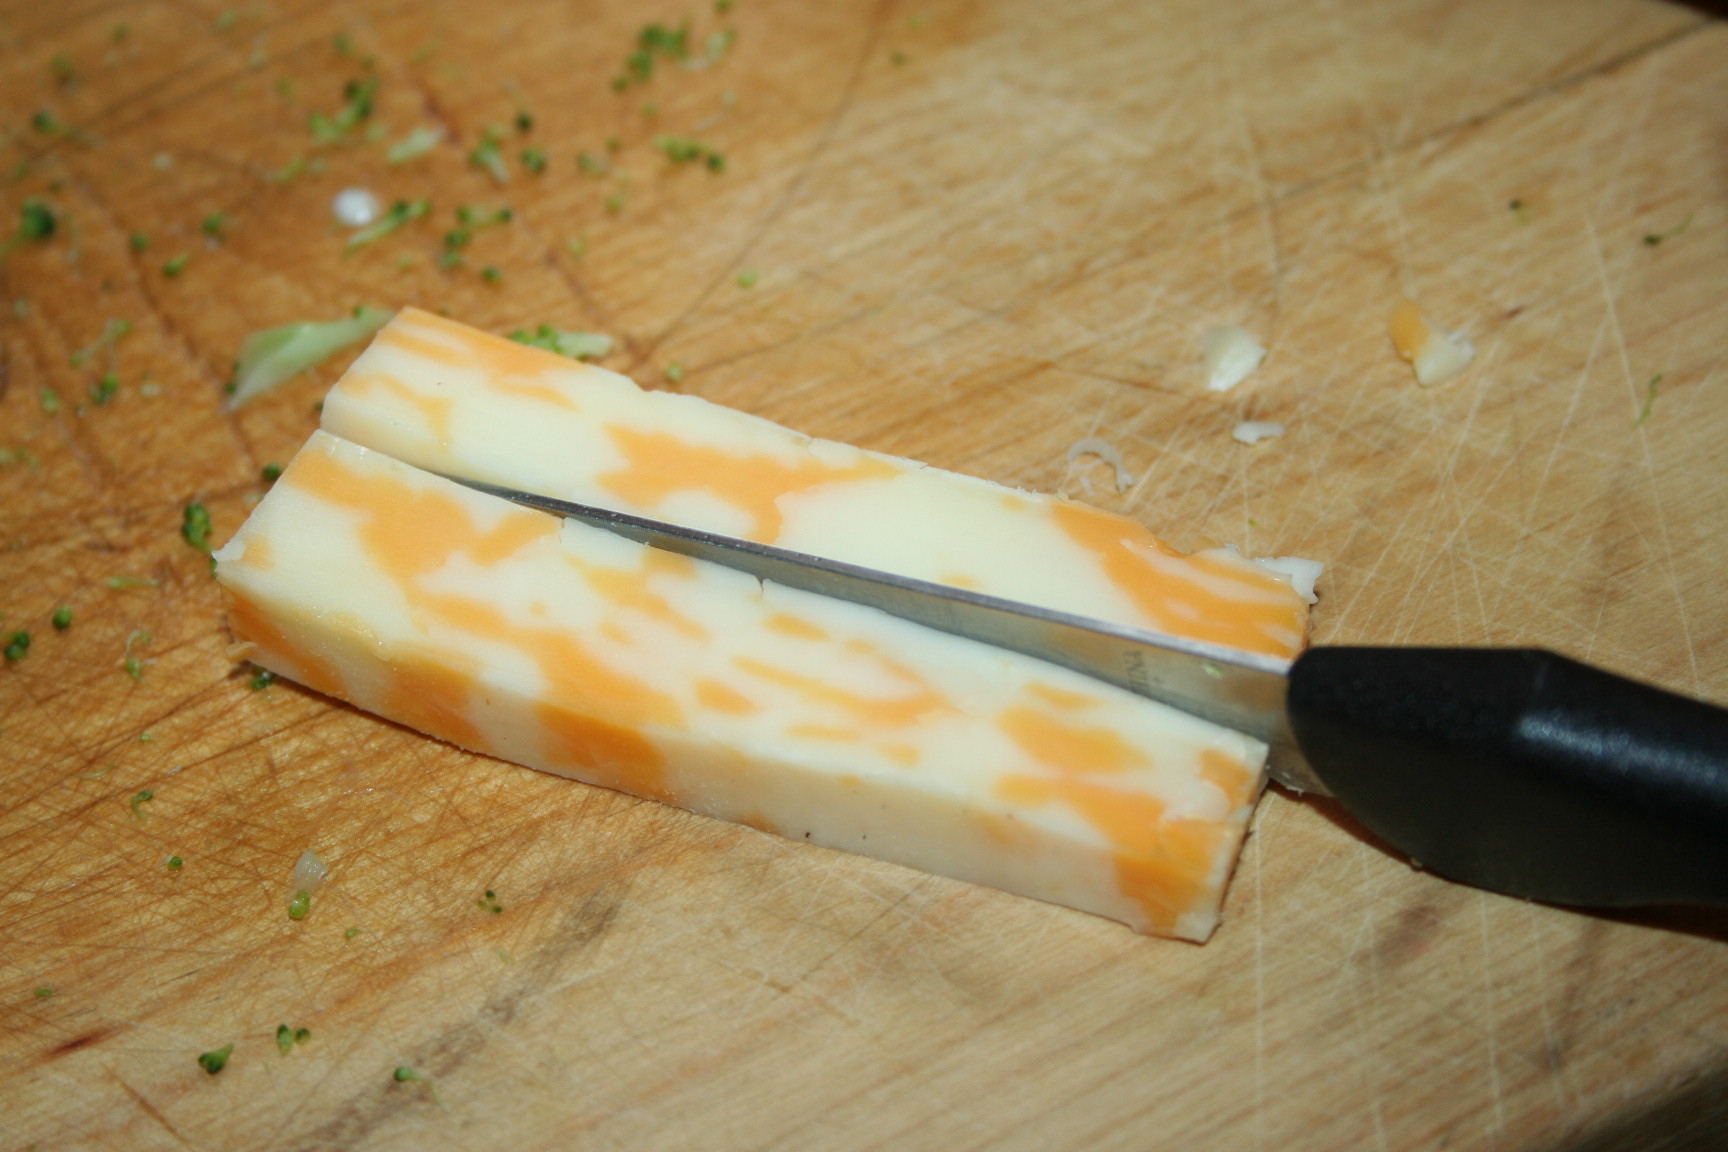
 Cut it in half
 And cut into cubes.
 Now it’s time to make the dressing. Here’s where I make some significant tweaks. Since Tiffany doesn’t like mayonnaise, I use heavy whipping cream and whip it a bit so that it is the consistency of mayonnaise.
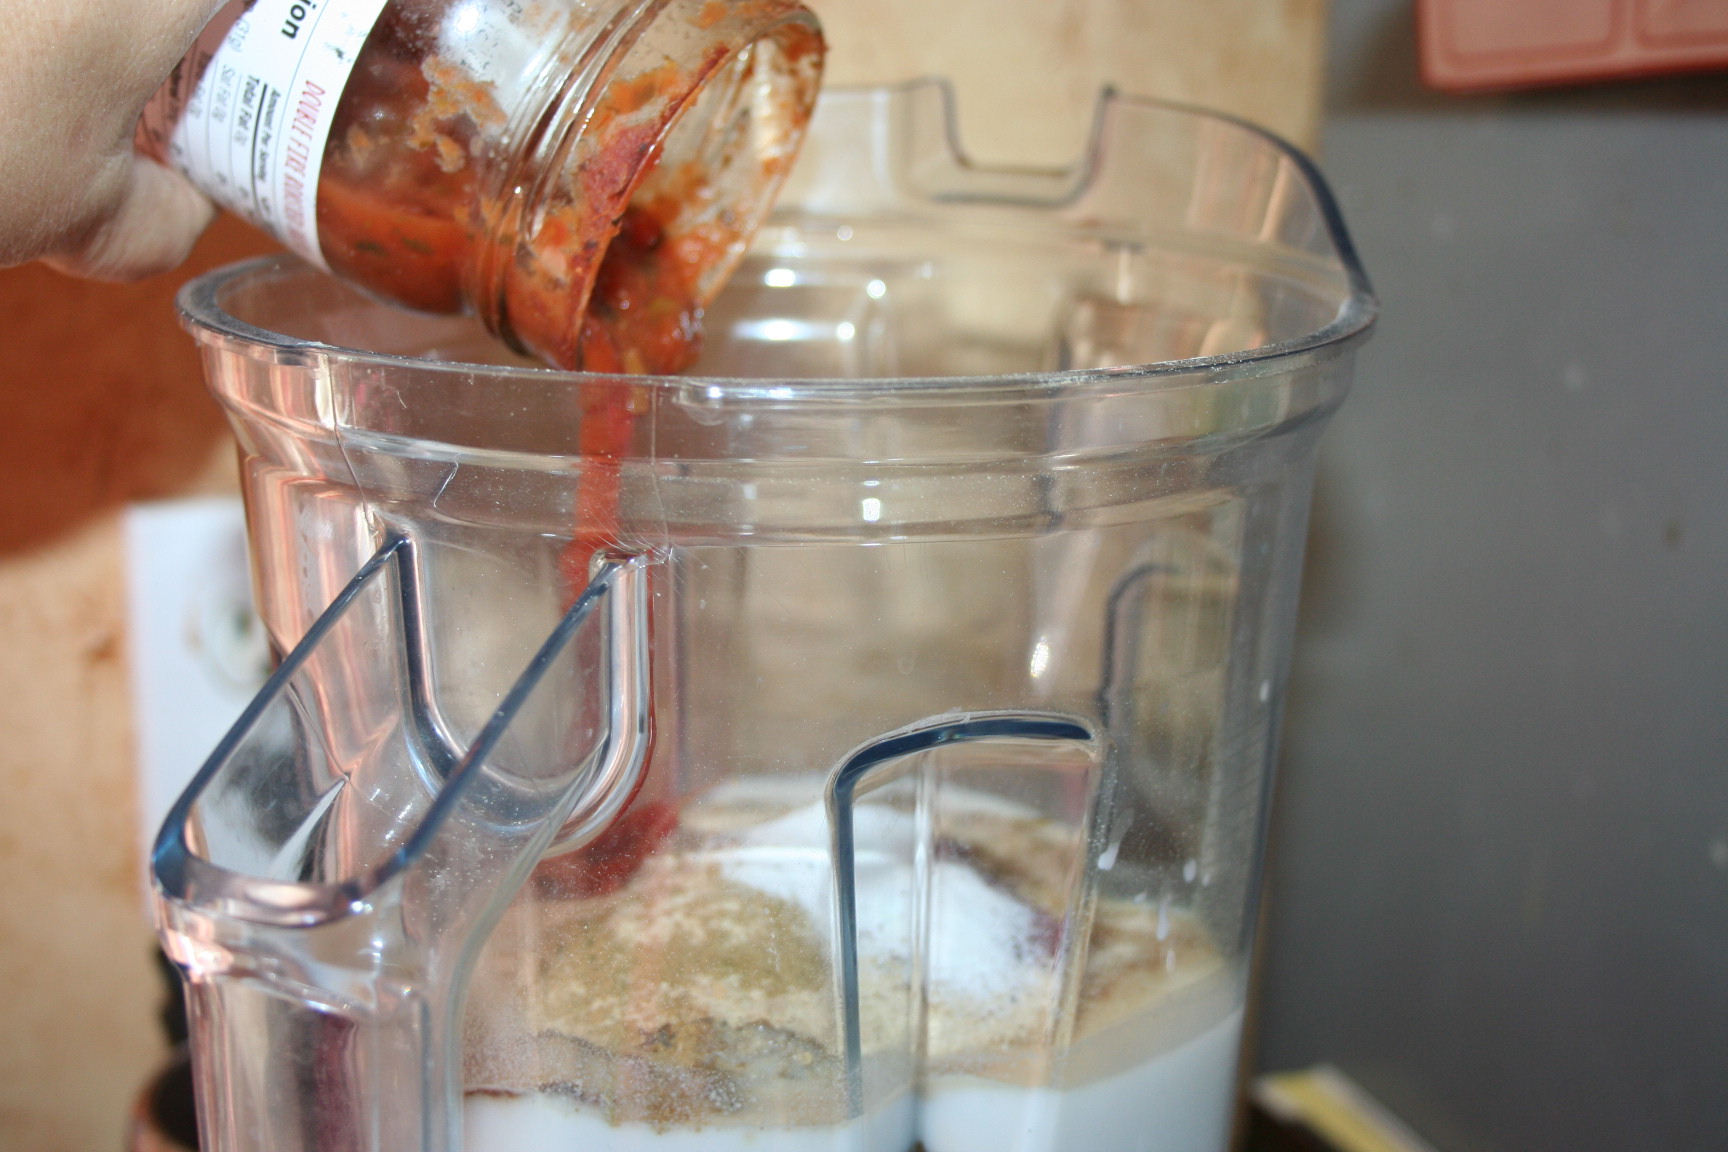
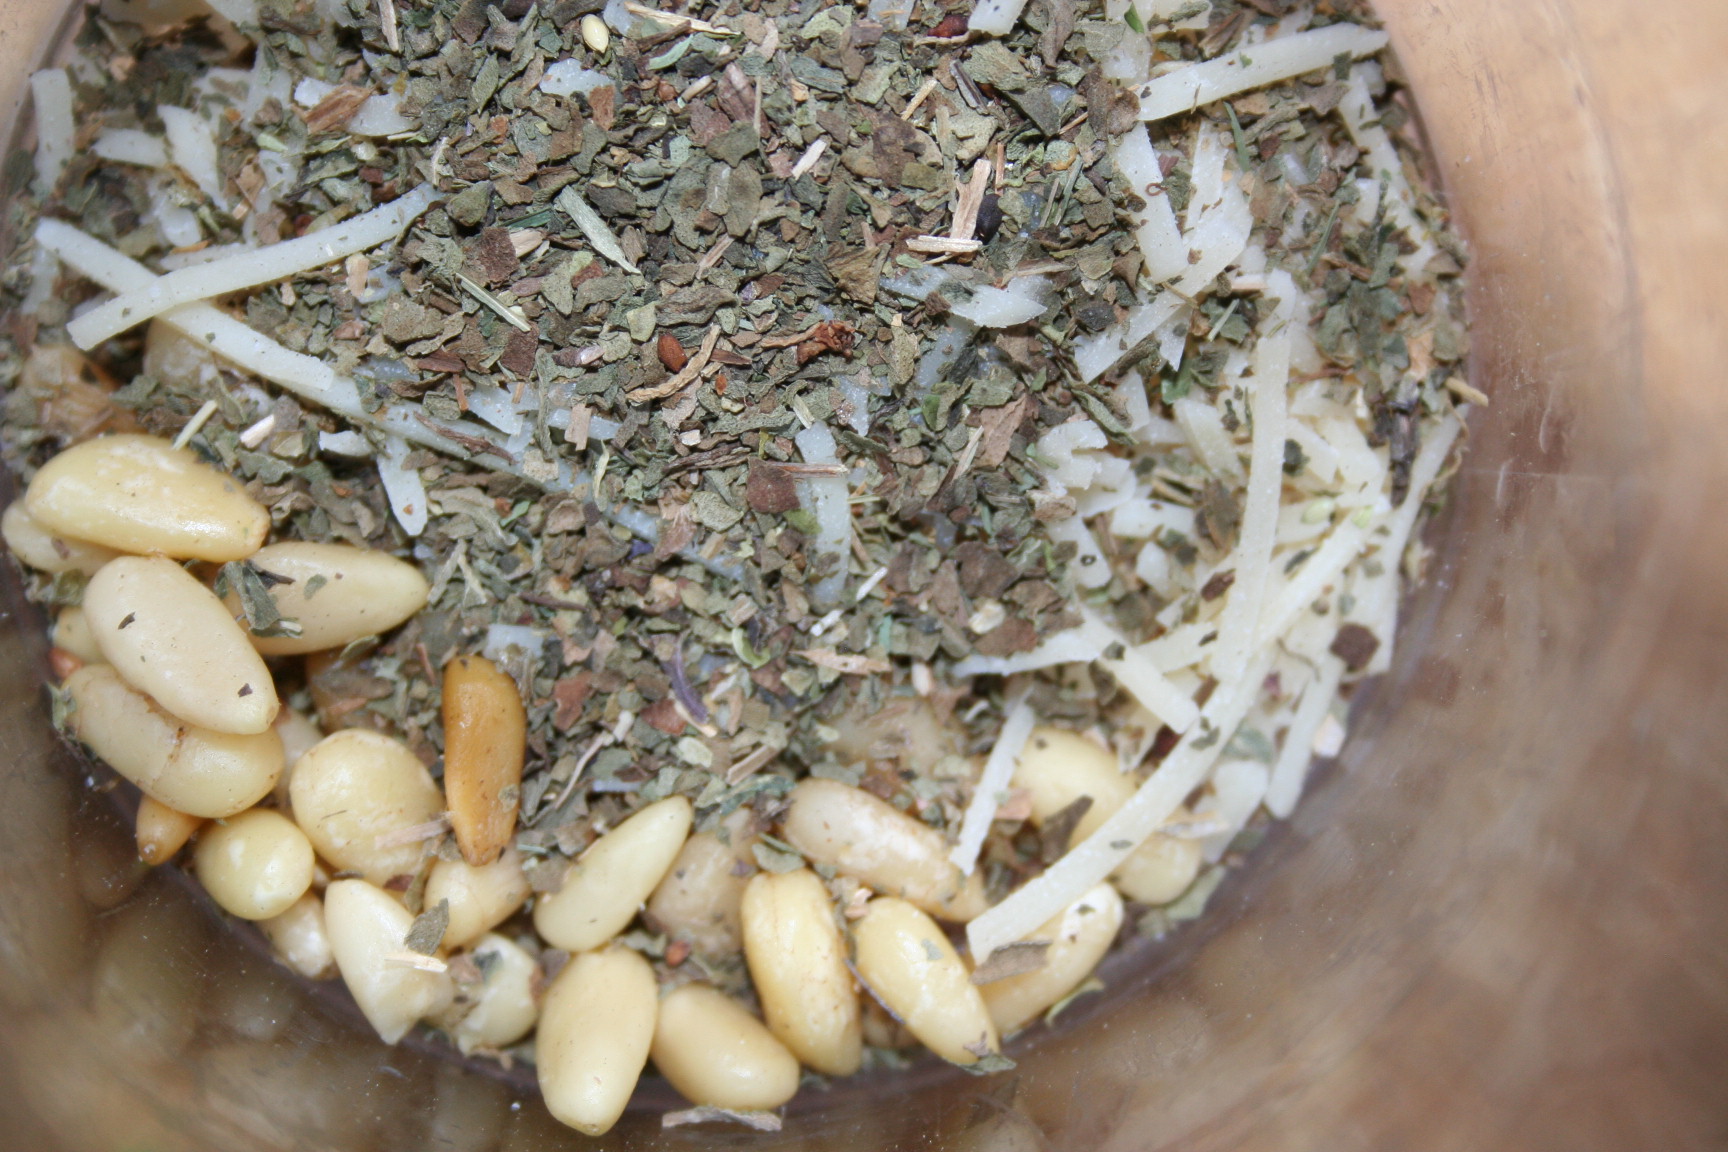
Now, if you have pesto on hand, then you can simply slightly whip up the heavy cream and add the pre-made pesto to it. I, however, do not have any on hand but I keep pinenuts in the freezer for just such a time as this. OH! I should also admit that I do not have any fresh basil on hand either and use dried in a pinch. So here we go.
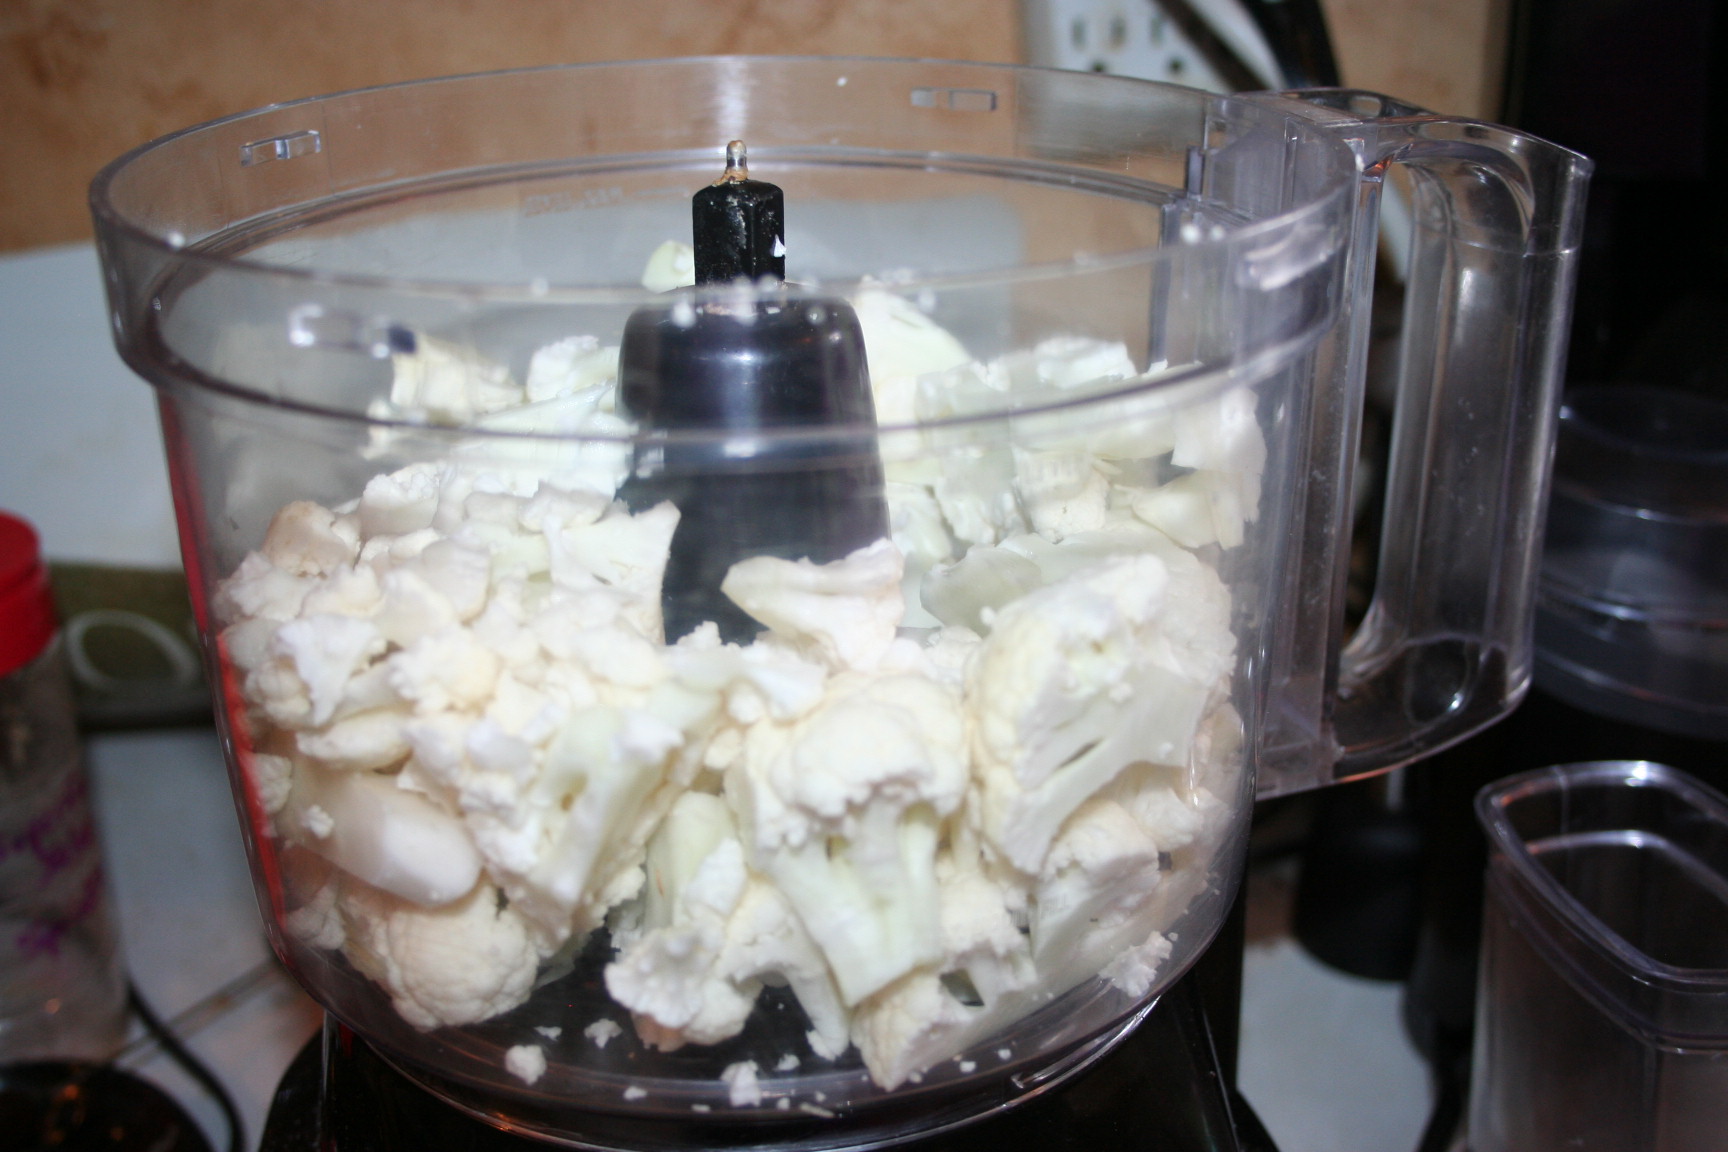
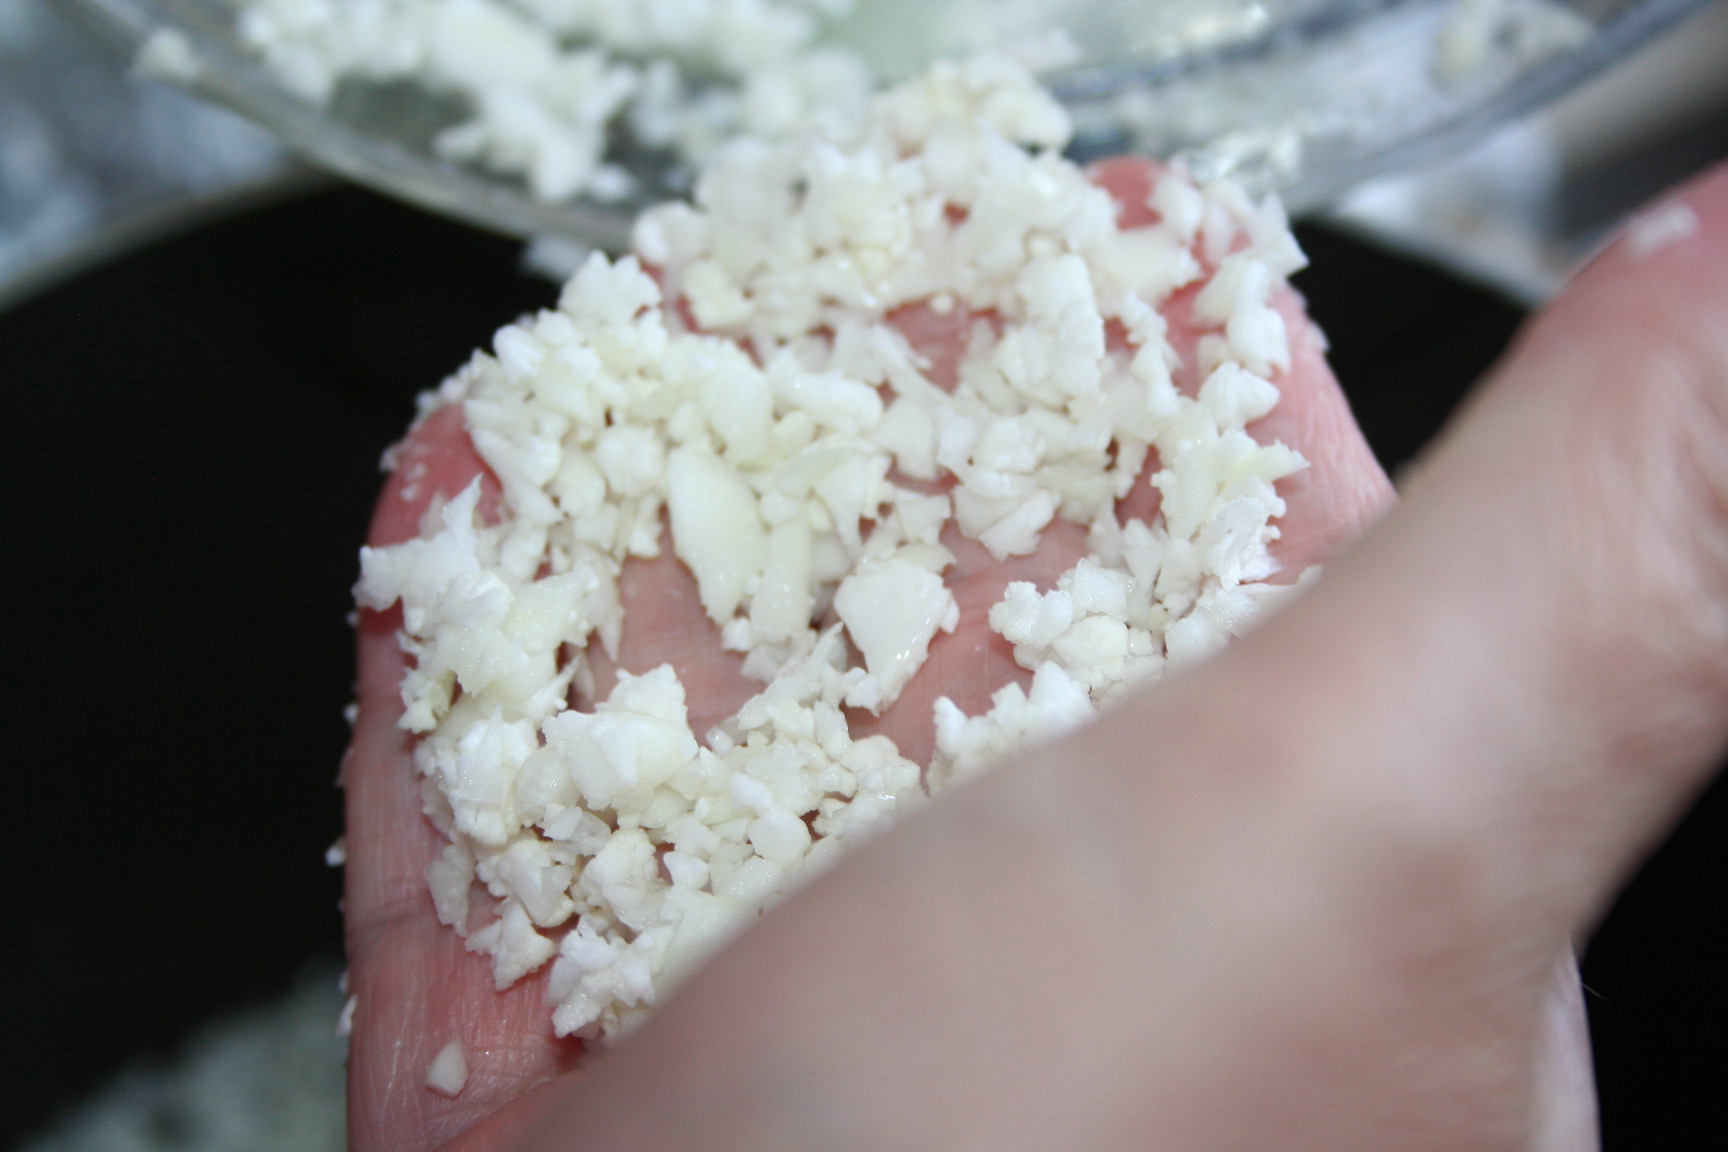
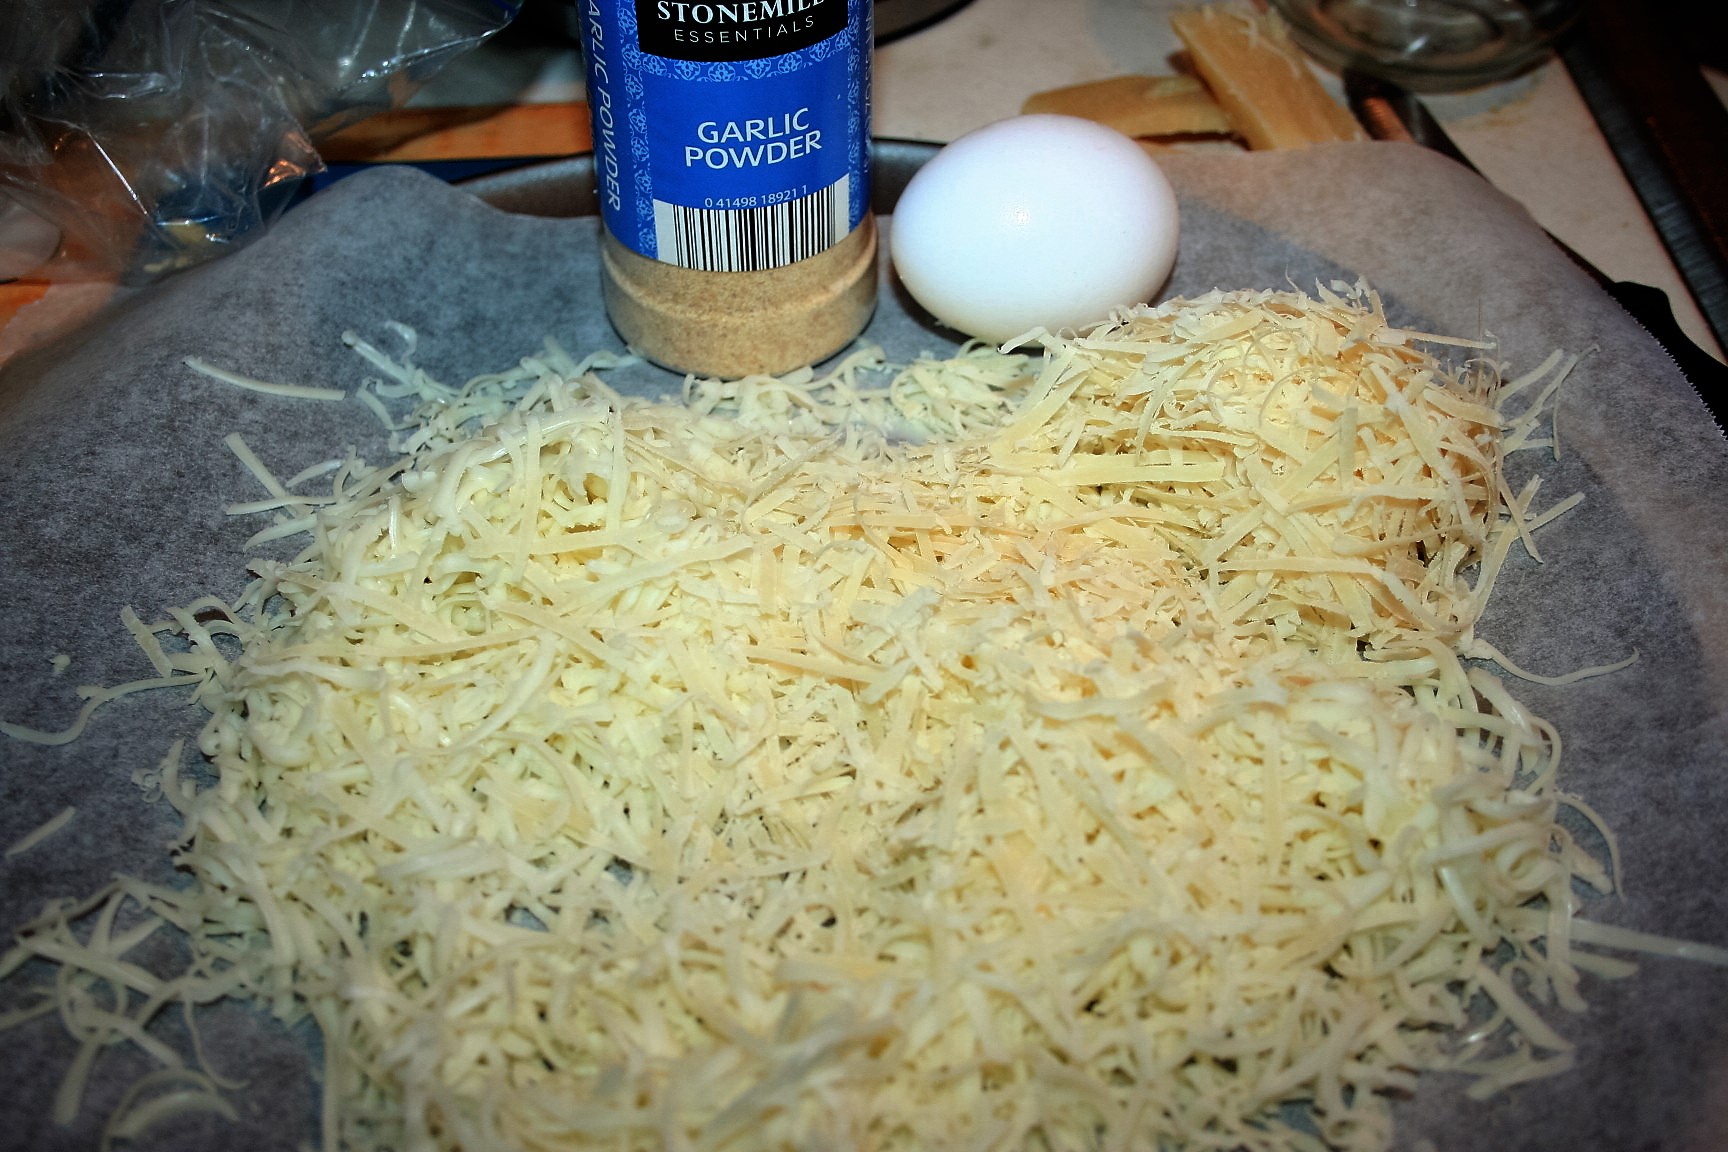
Place a few pinenuts and a bit of Parmesan cheese into a mini food processor.
 (Upon re-reading the original recipe, I realize that I used a bit too much. ) But we still liked it. Ultimately you only need a tablespoon of pesto. There will not be exact measurements because I just grabbed bits of this and bits of that.
Add a good bit of dried basil.
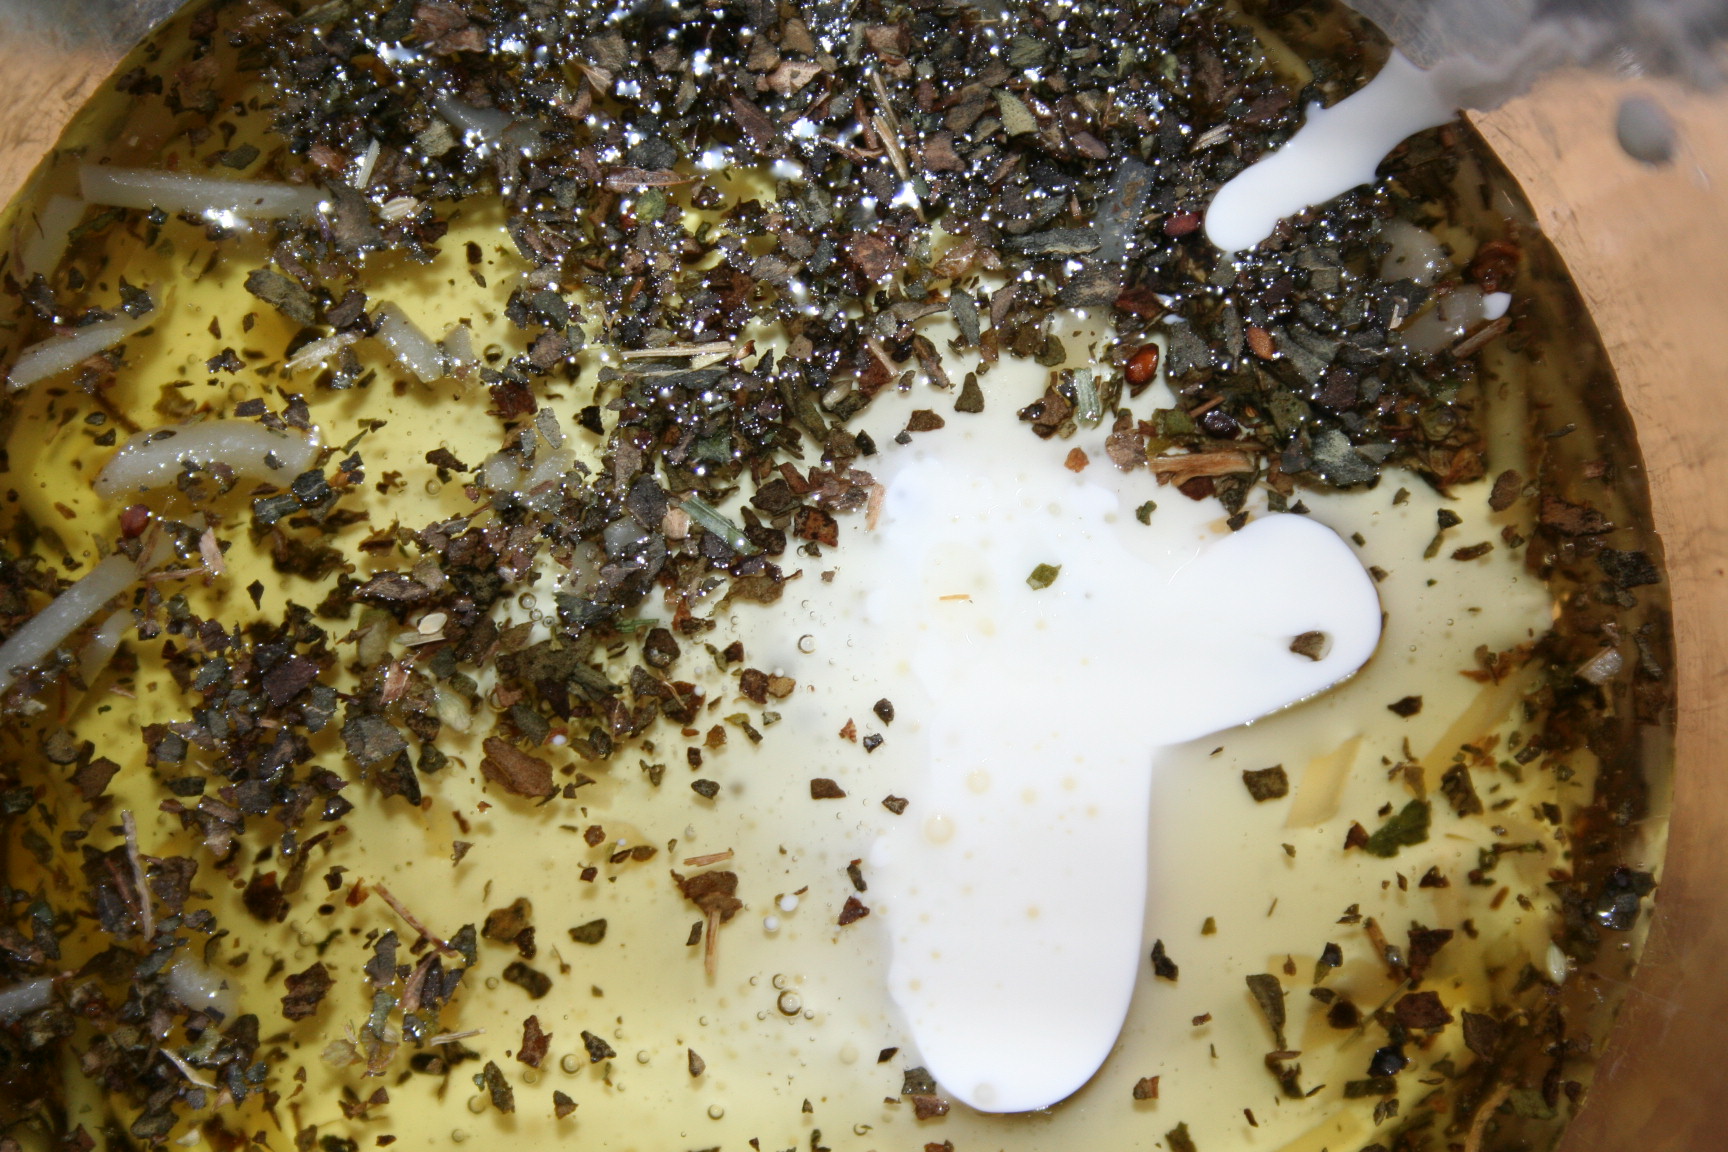
 Then drizzled in some olive oil.
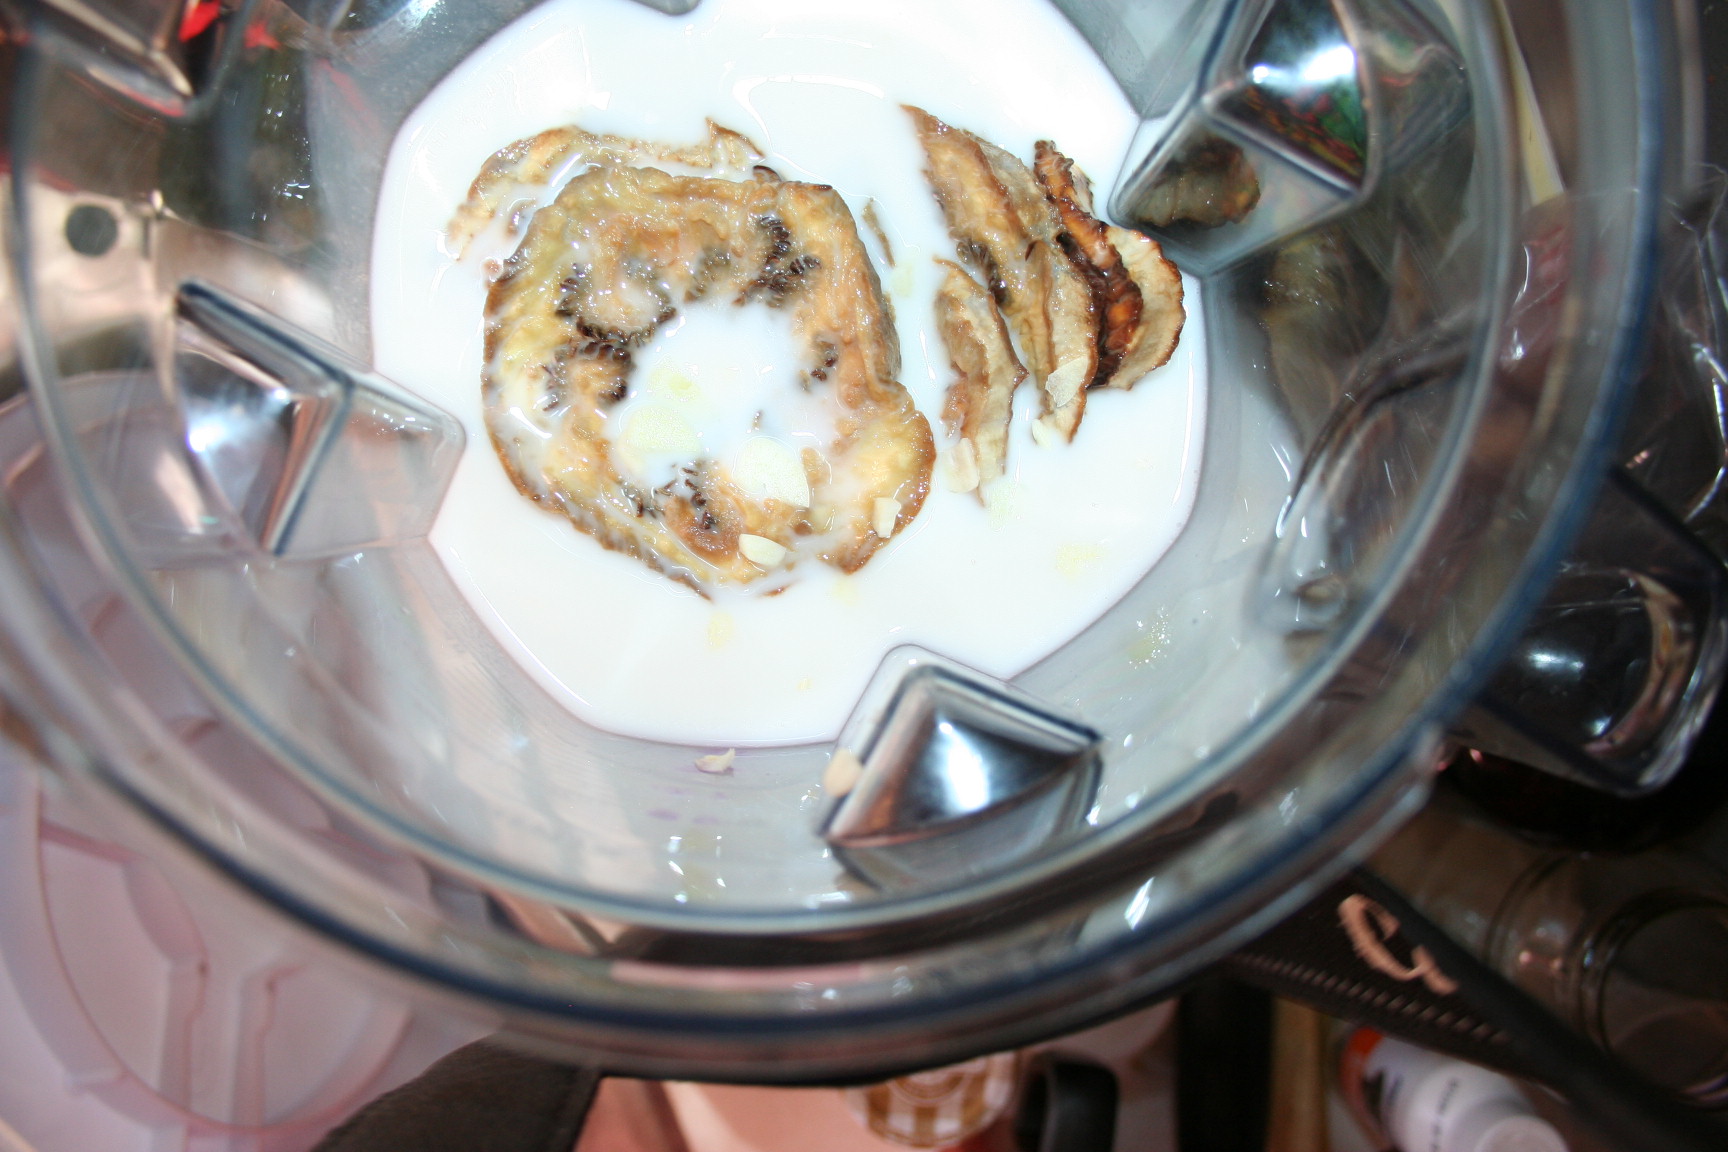
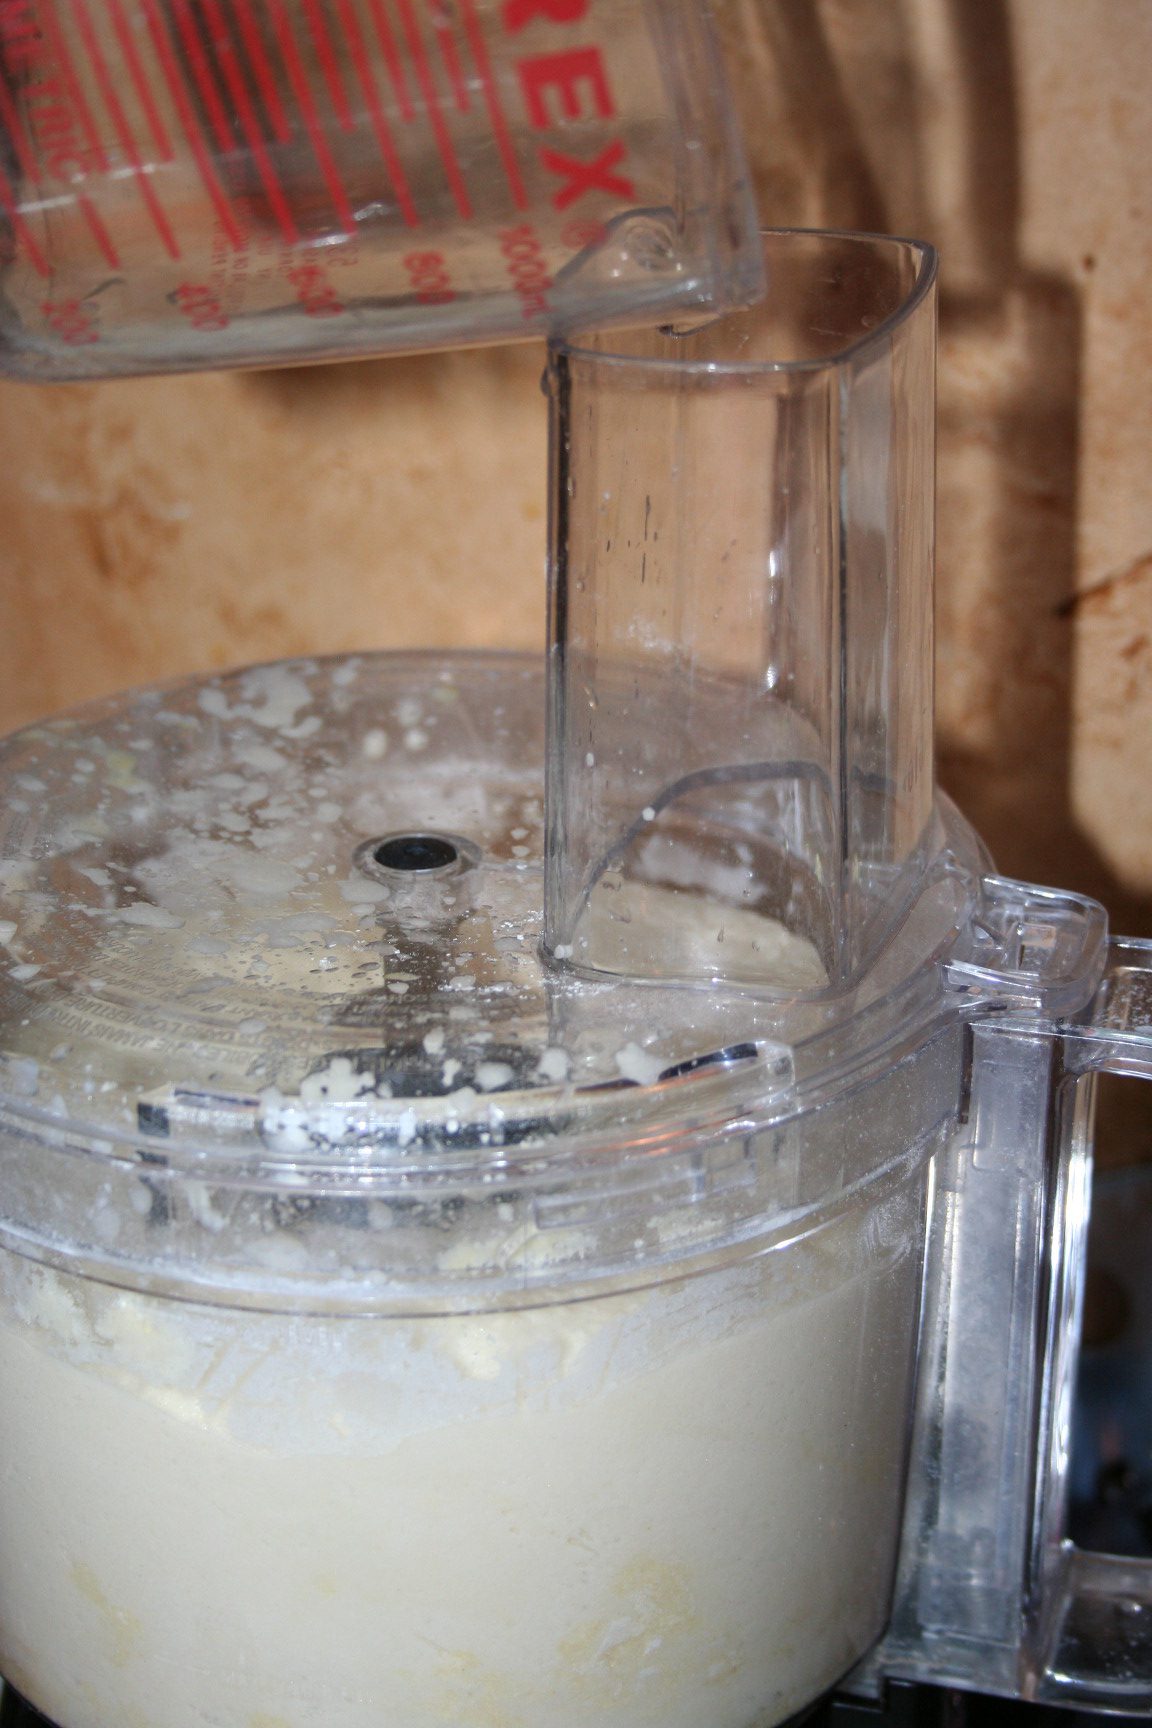
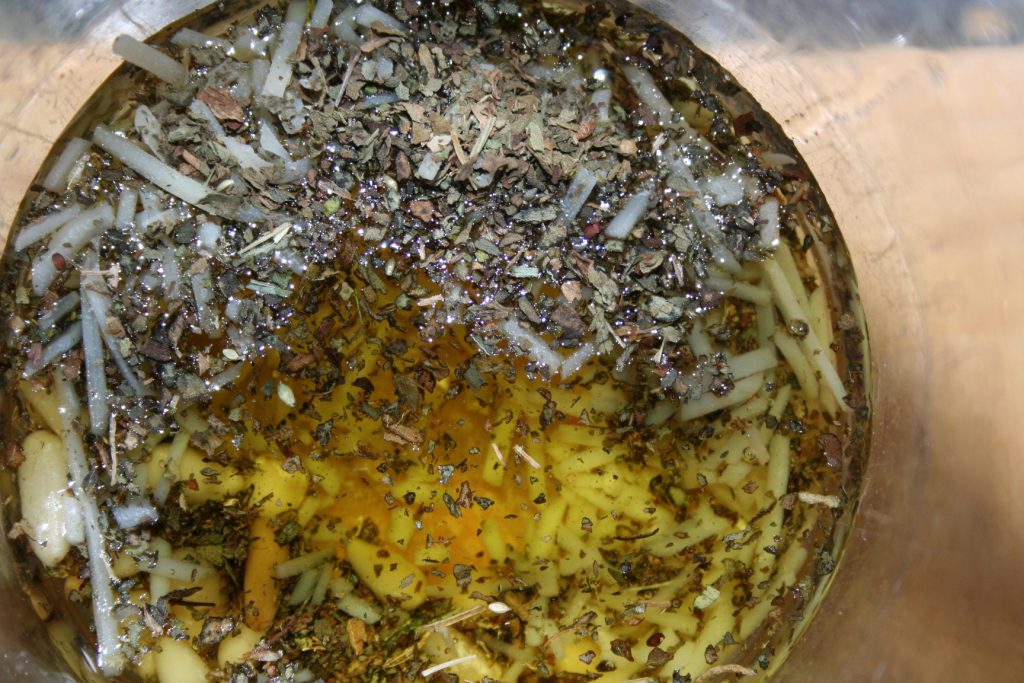 And then about two tablespoons of heavy whipping cream . . . yep, just poured some in.
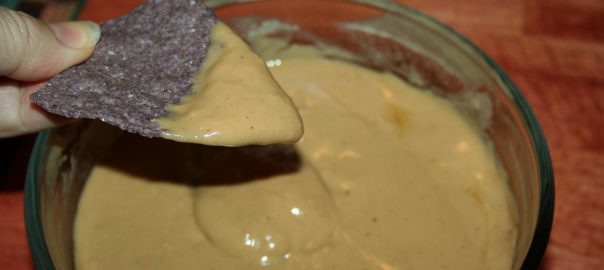
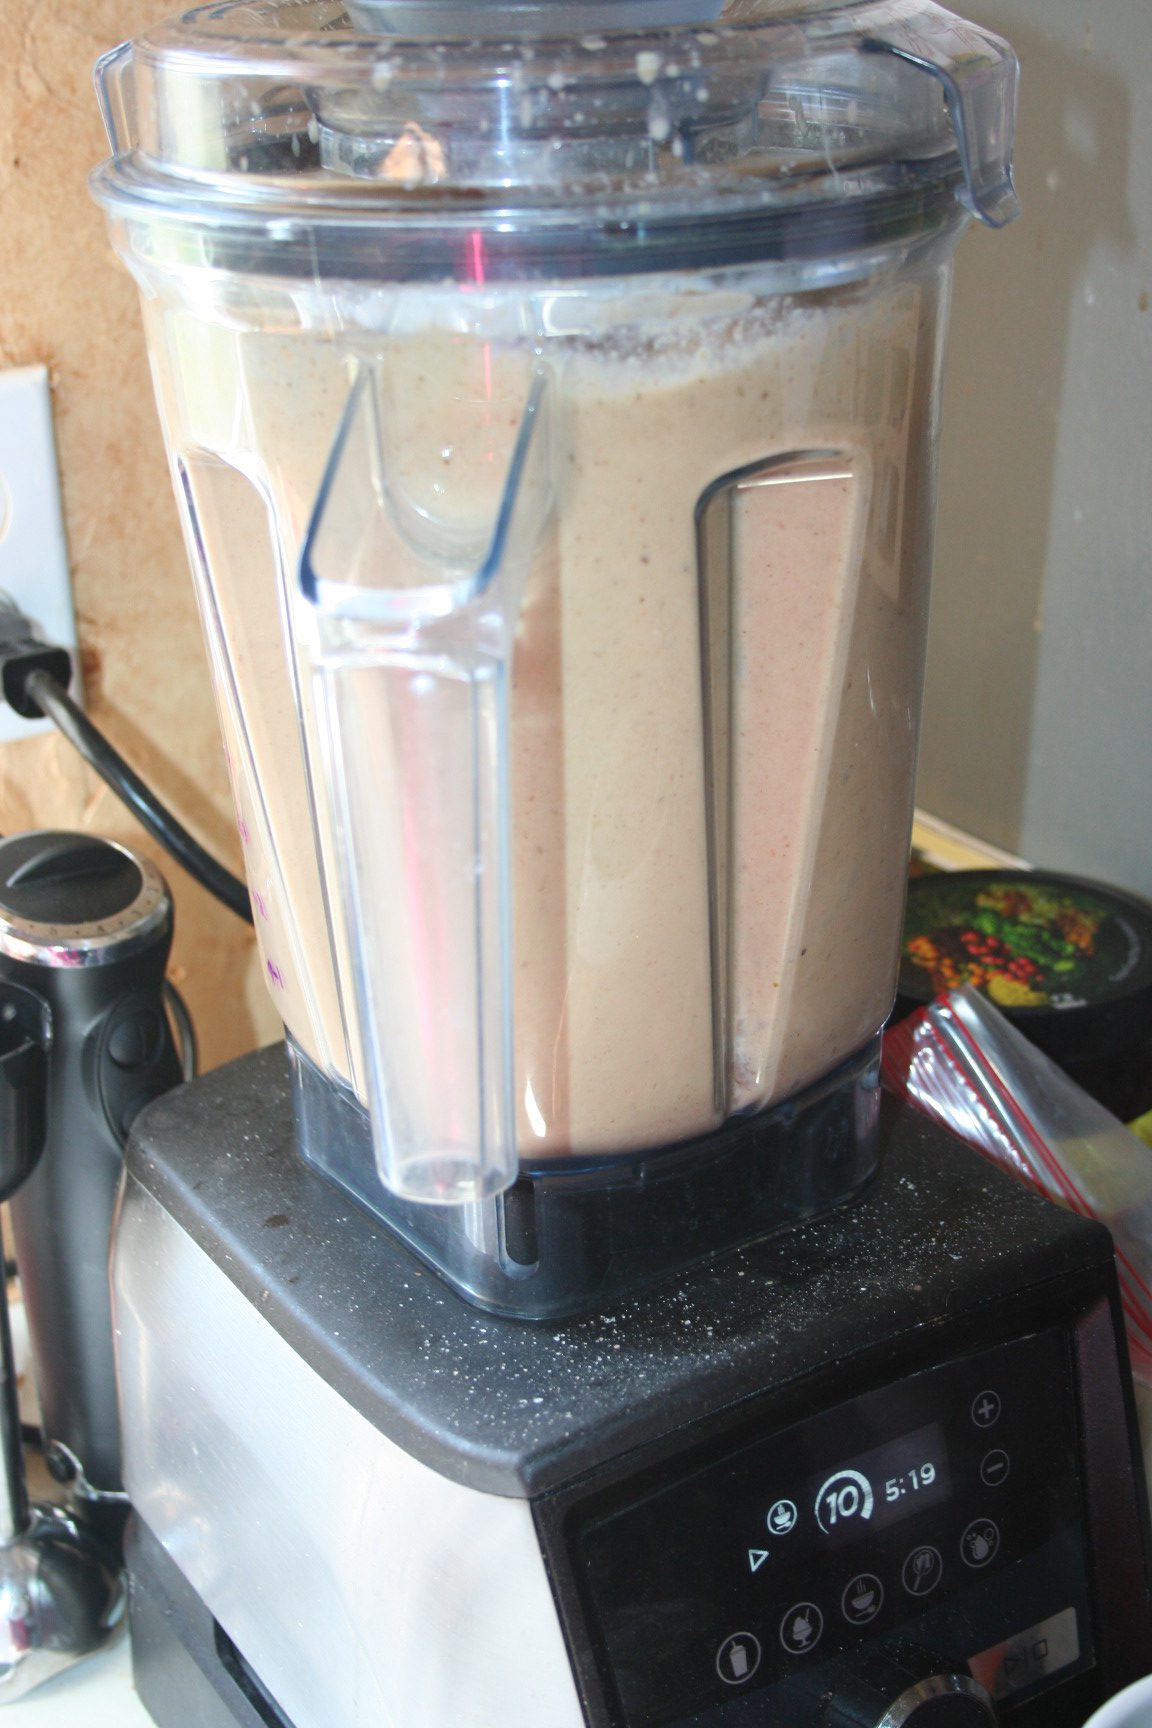
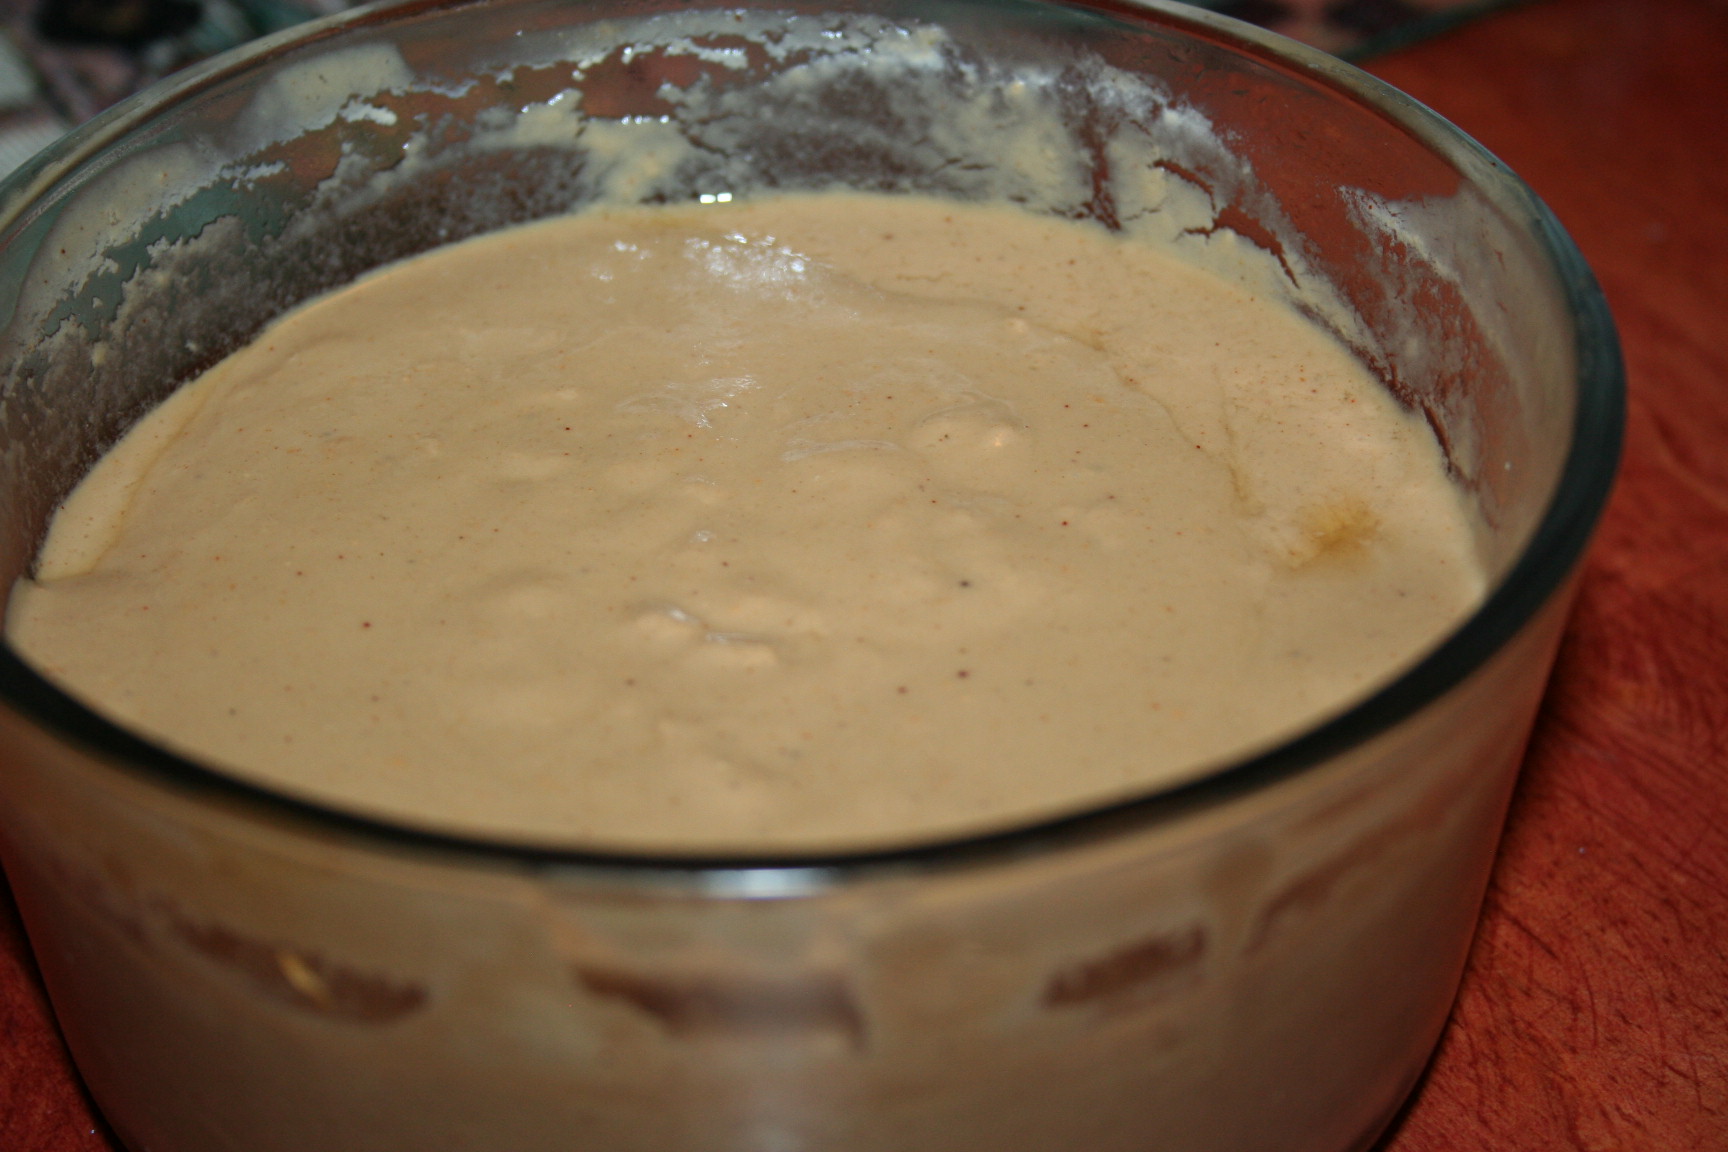
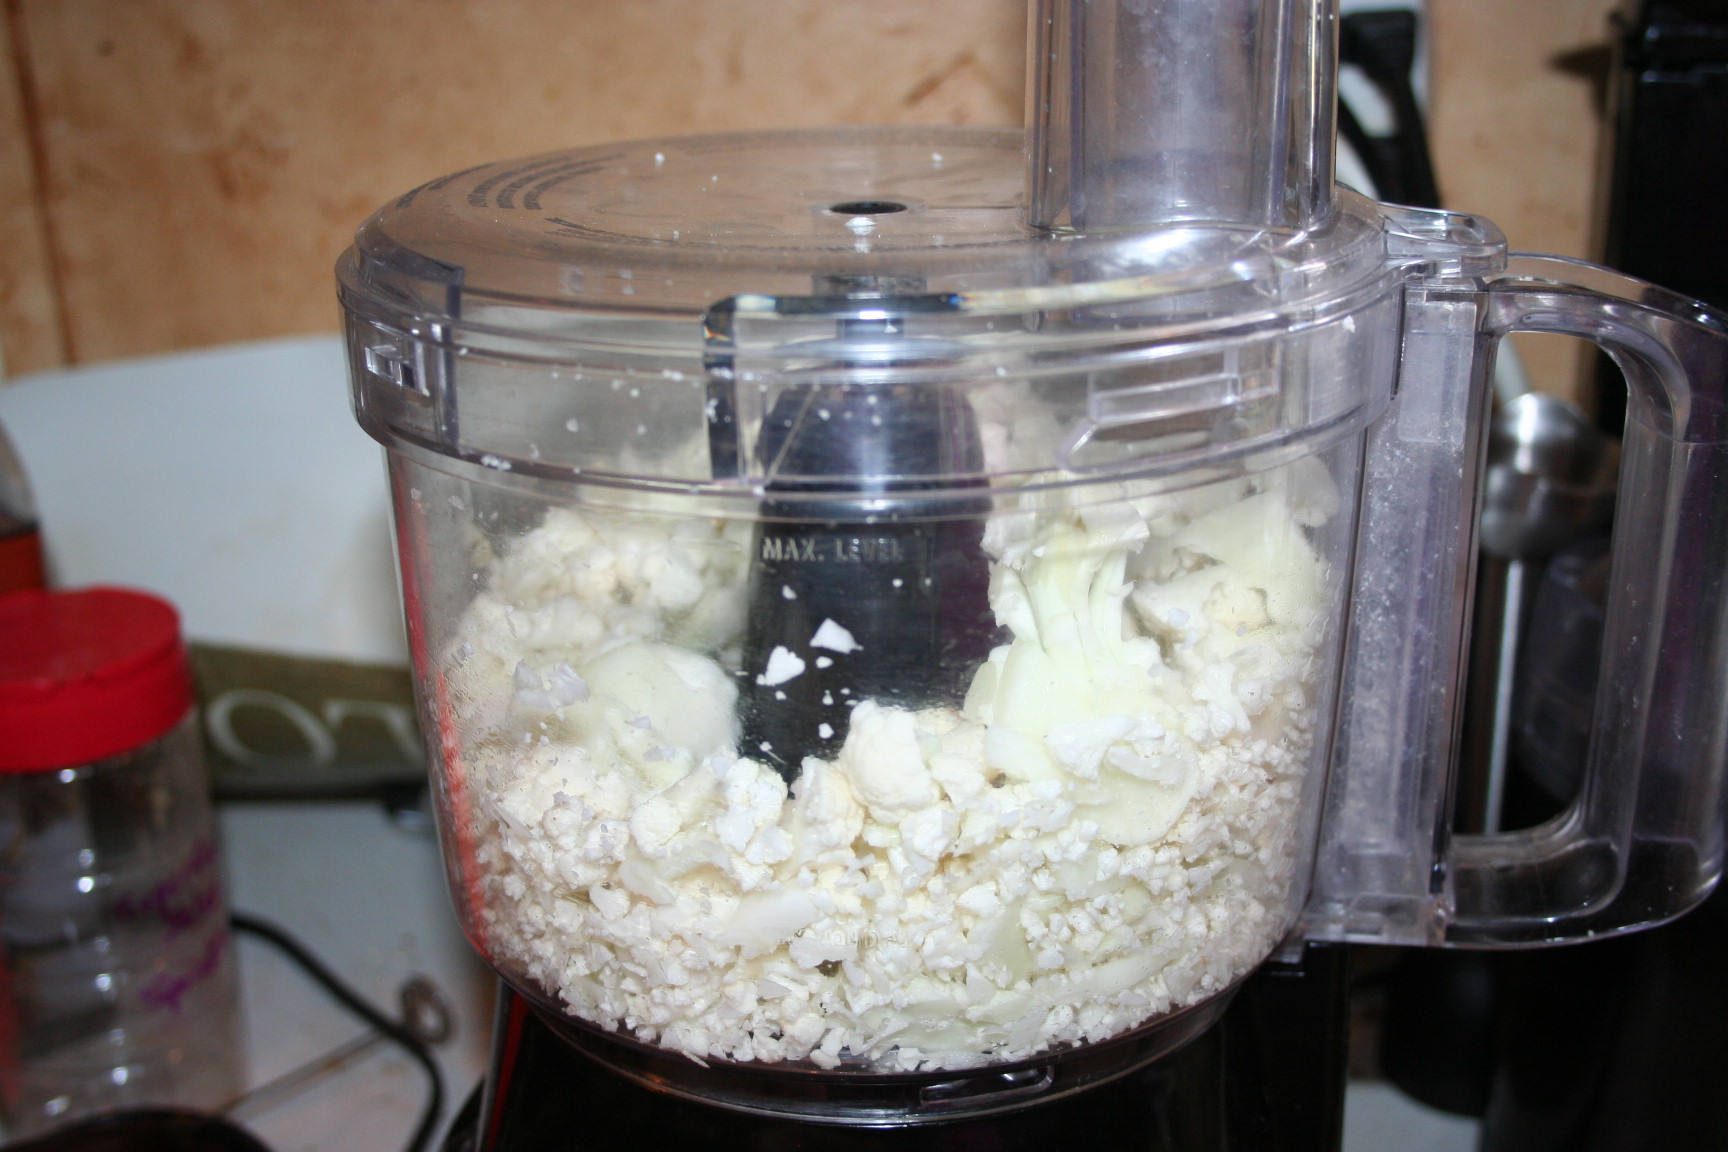
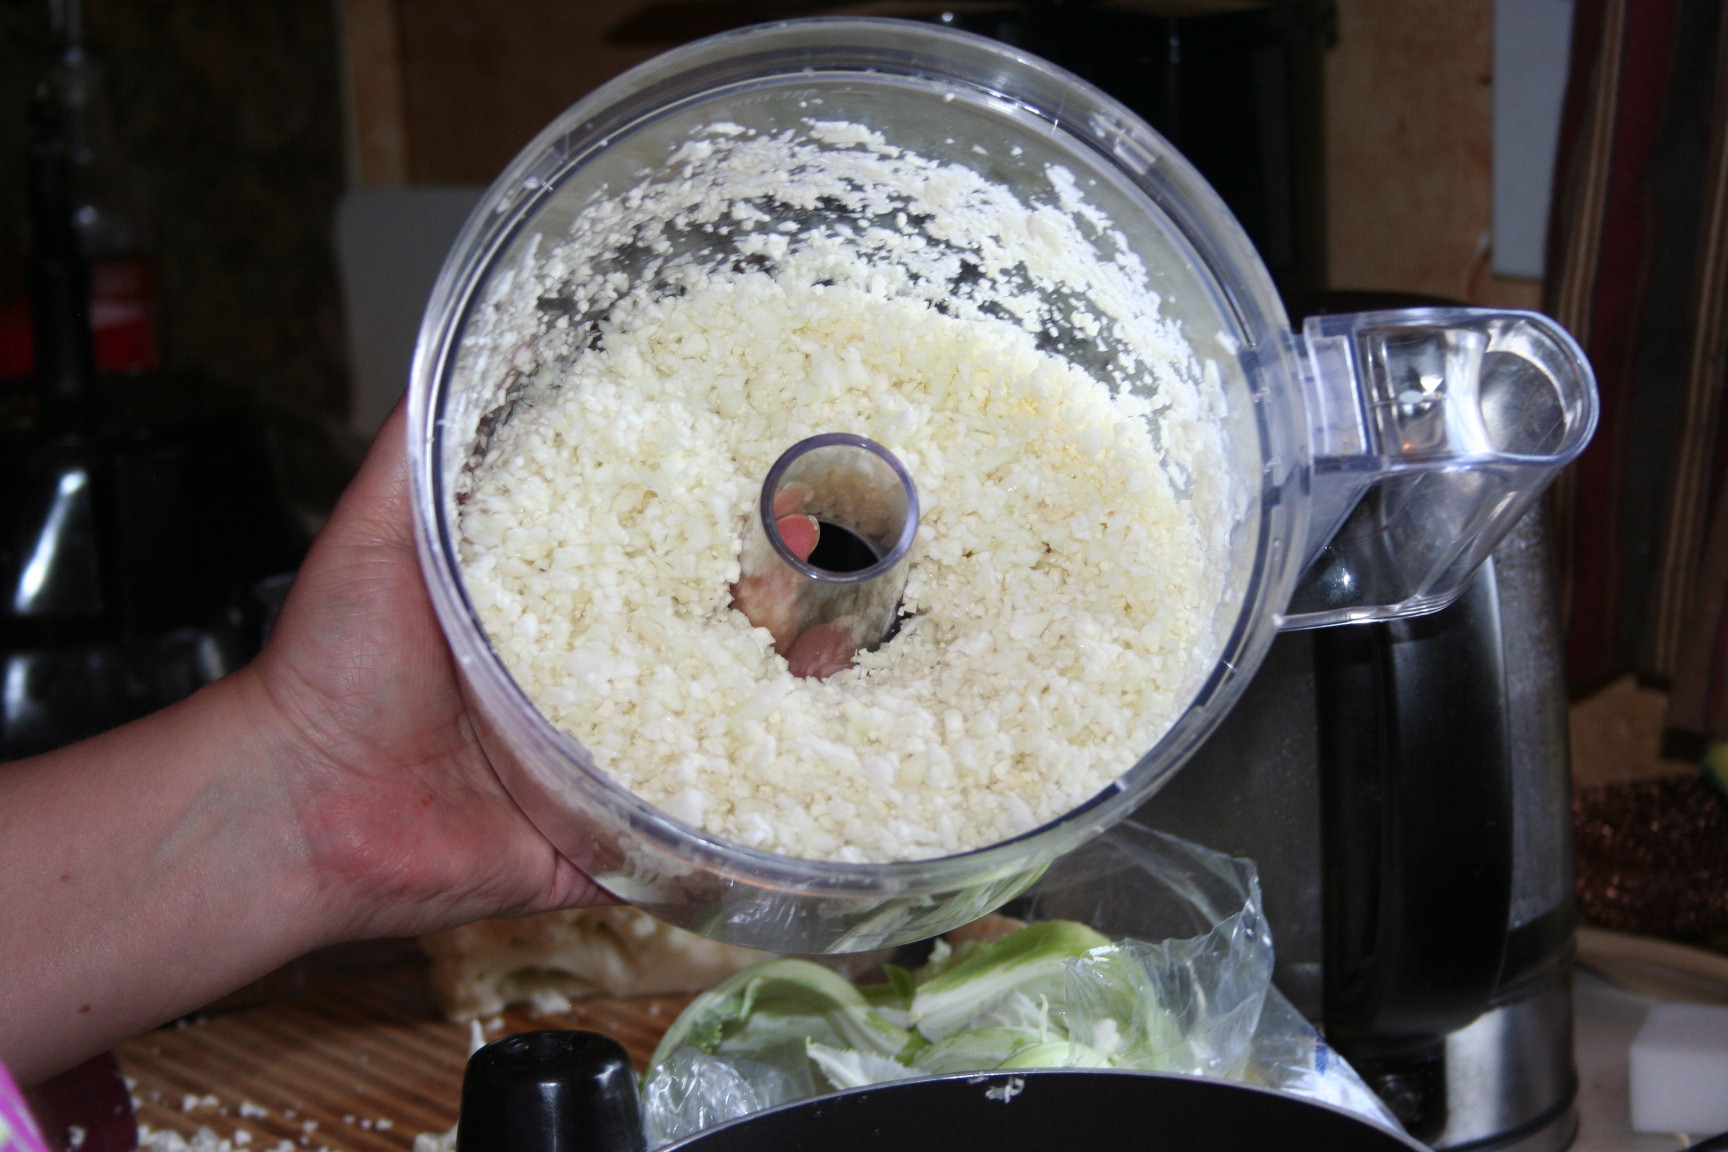
 Now, give it a good whirl, until it is the desired creaminess.
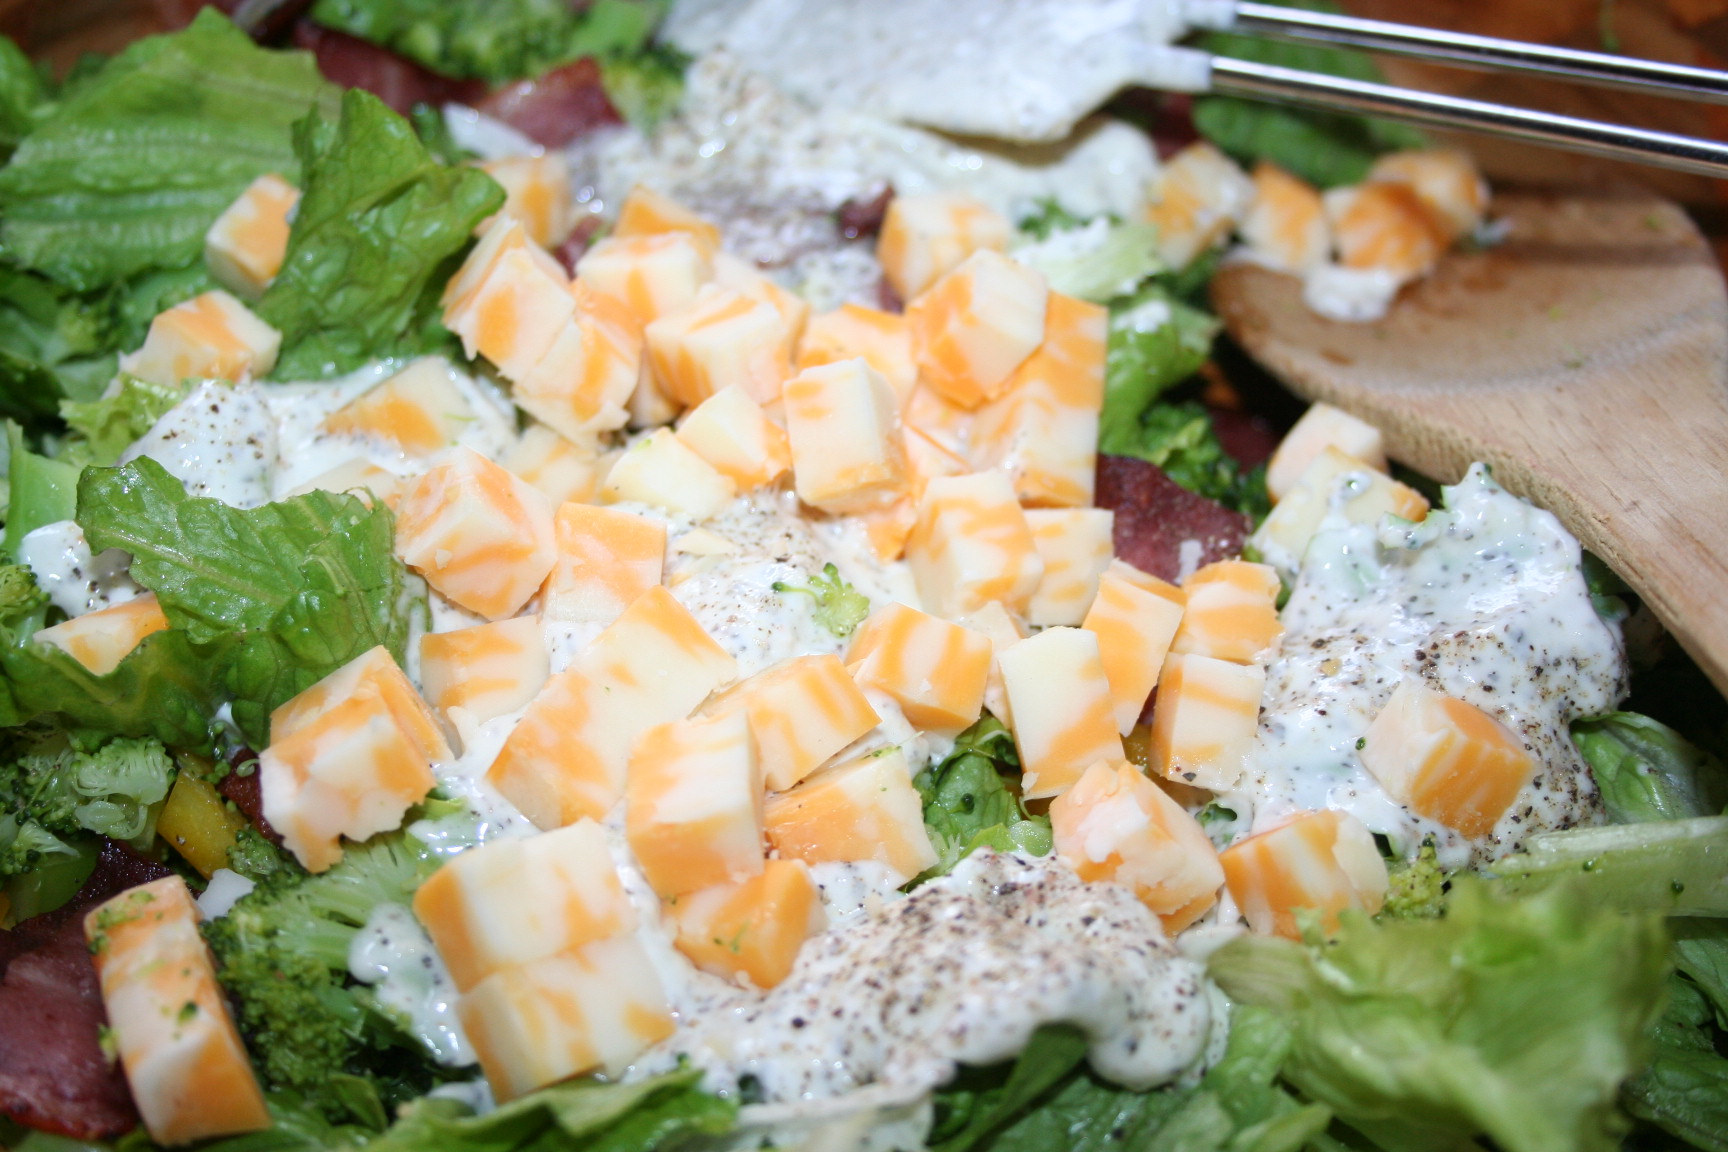
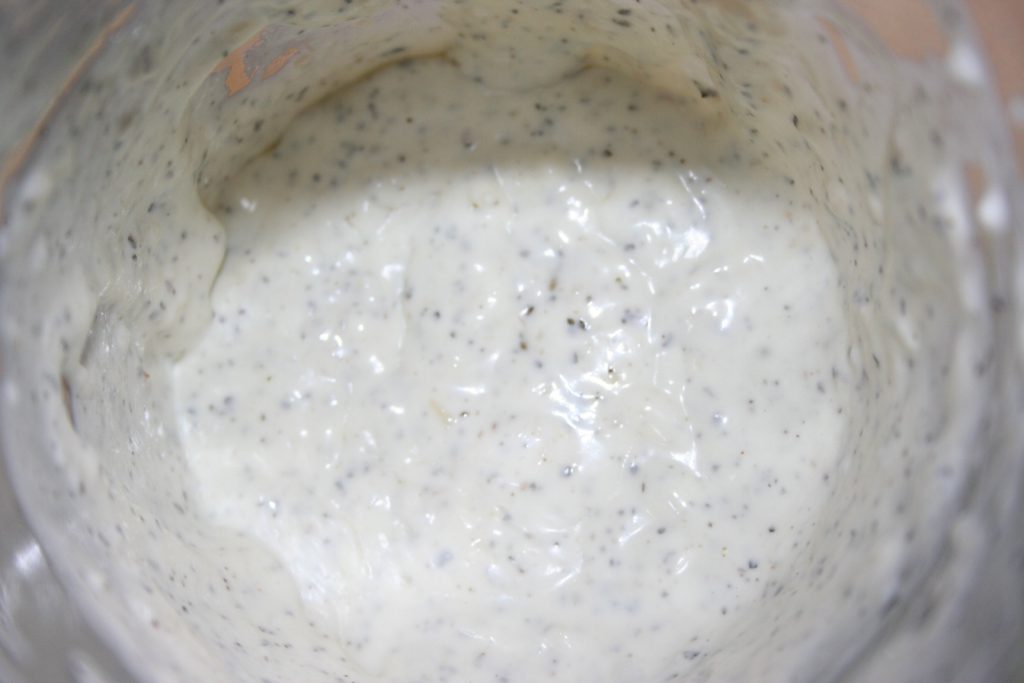 Add all of this creamy loveliness, to the salad with all the rest of the ingredients.
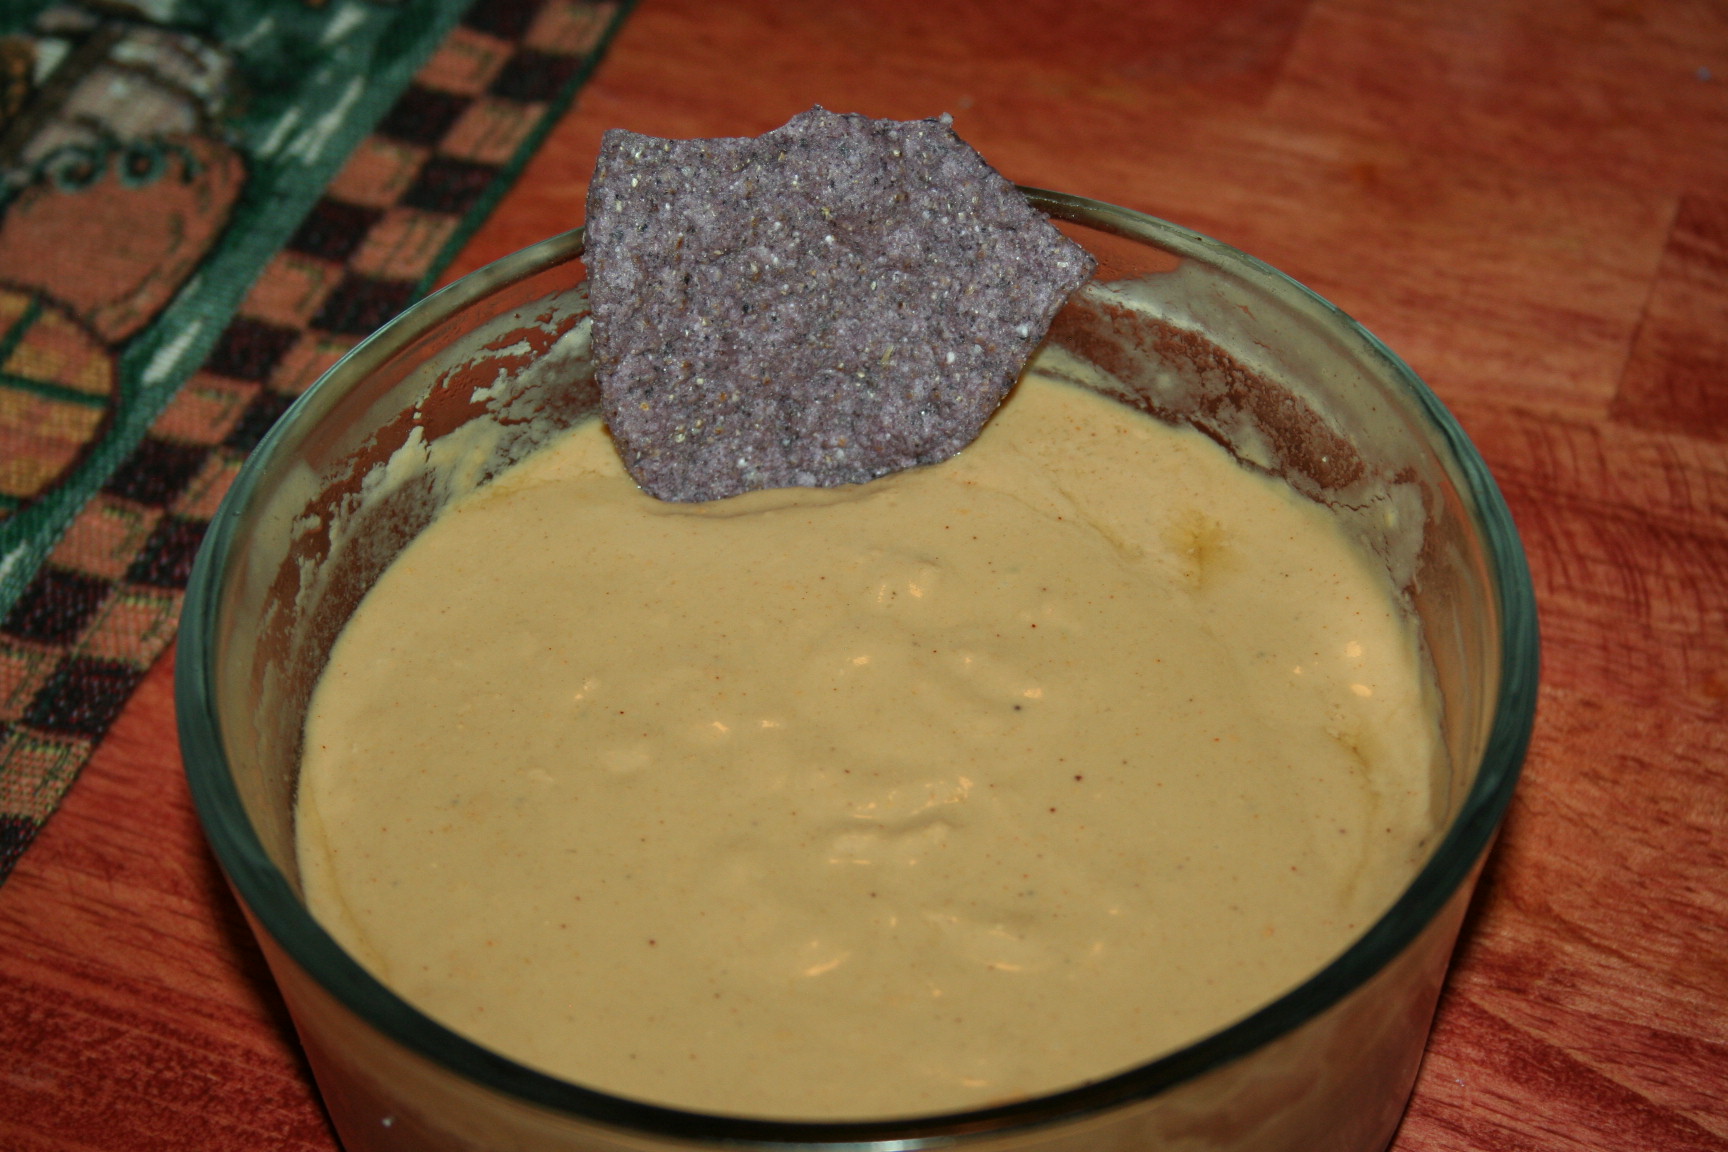
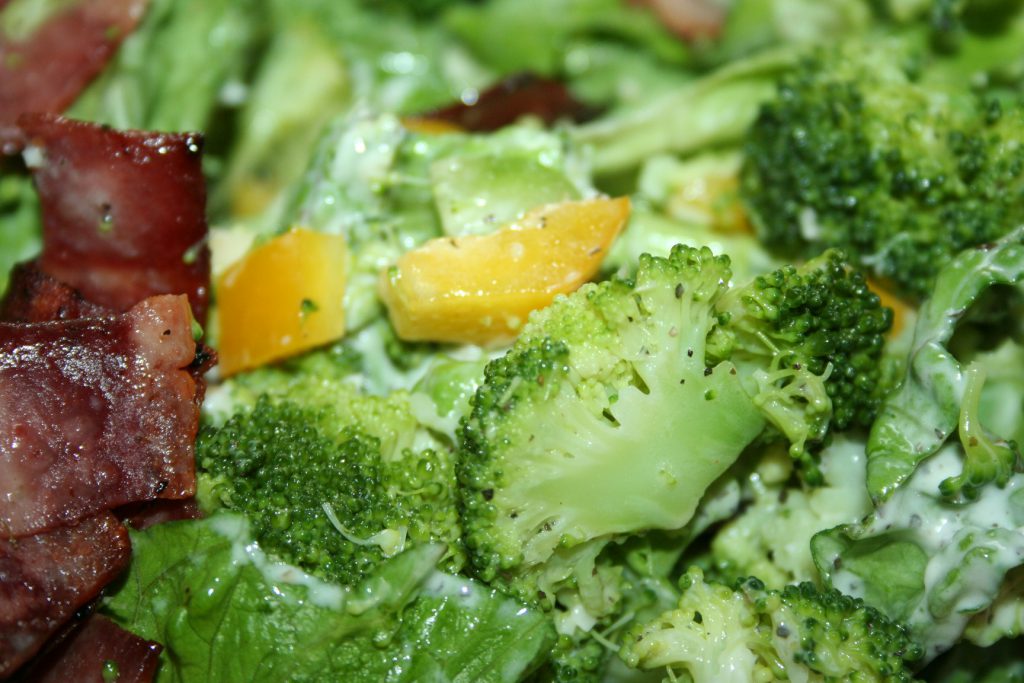
 Combine and serve!
 I do need to say that I do not include the peas in this salad, that the original recipe called for because of the amount of fats here. On Trim Healthy Mama, we separate our fats from our carbs, except at specific times ( s helper and crossover meals) but if you are at the point in your journey where you can have this type of meal, I’m sure the peas would be a tasty addition.

Ingredients
- 2 cups broccoli, steamed
- 6 strips of bacon, cooked and chopped or crumbled
- about 1 cup diced bell pepper
- about 2/3 cup small cheese cubes
- 2 cups or so of lettuce, torn into bite-sized pieces
- about 2 tablespoons heavy whipping cream
- 1 tablespoon basil pesto
- salt and pepper to taste
Instructions
- Combine lettuce, broccoli, bacon, bell pepper, and cheese cubes in a salad bowl.
- Whip the heavy whipping cream and add the pesto or combine ingredients for pesto and the heavy whipping cream and whip together. 🙂
- Add dressing, salt, and pepper.
- Combine and serve.
3.1
https://lifeofjoy.me/broccoli-salad/
Here is my recipe to make easy pesto.
I hope you enjoy this salad as much as we do.
Until next time, God bless,
Michele ºÜº

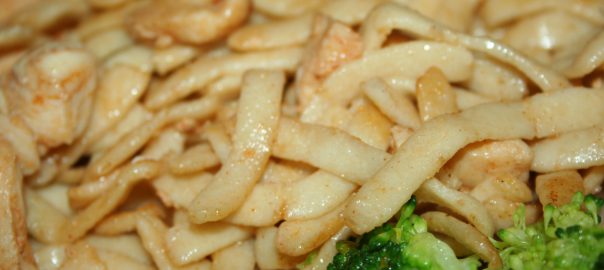
 Drain and rinse the pasta with cool water and add to the bowl. Add a couple heaping spoonfuls of the dressing, salt, and pepper.
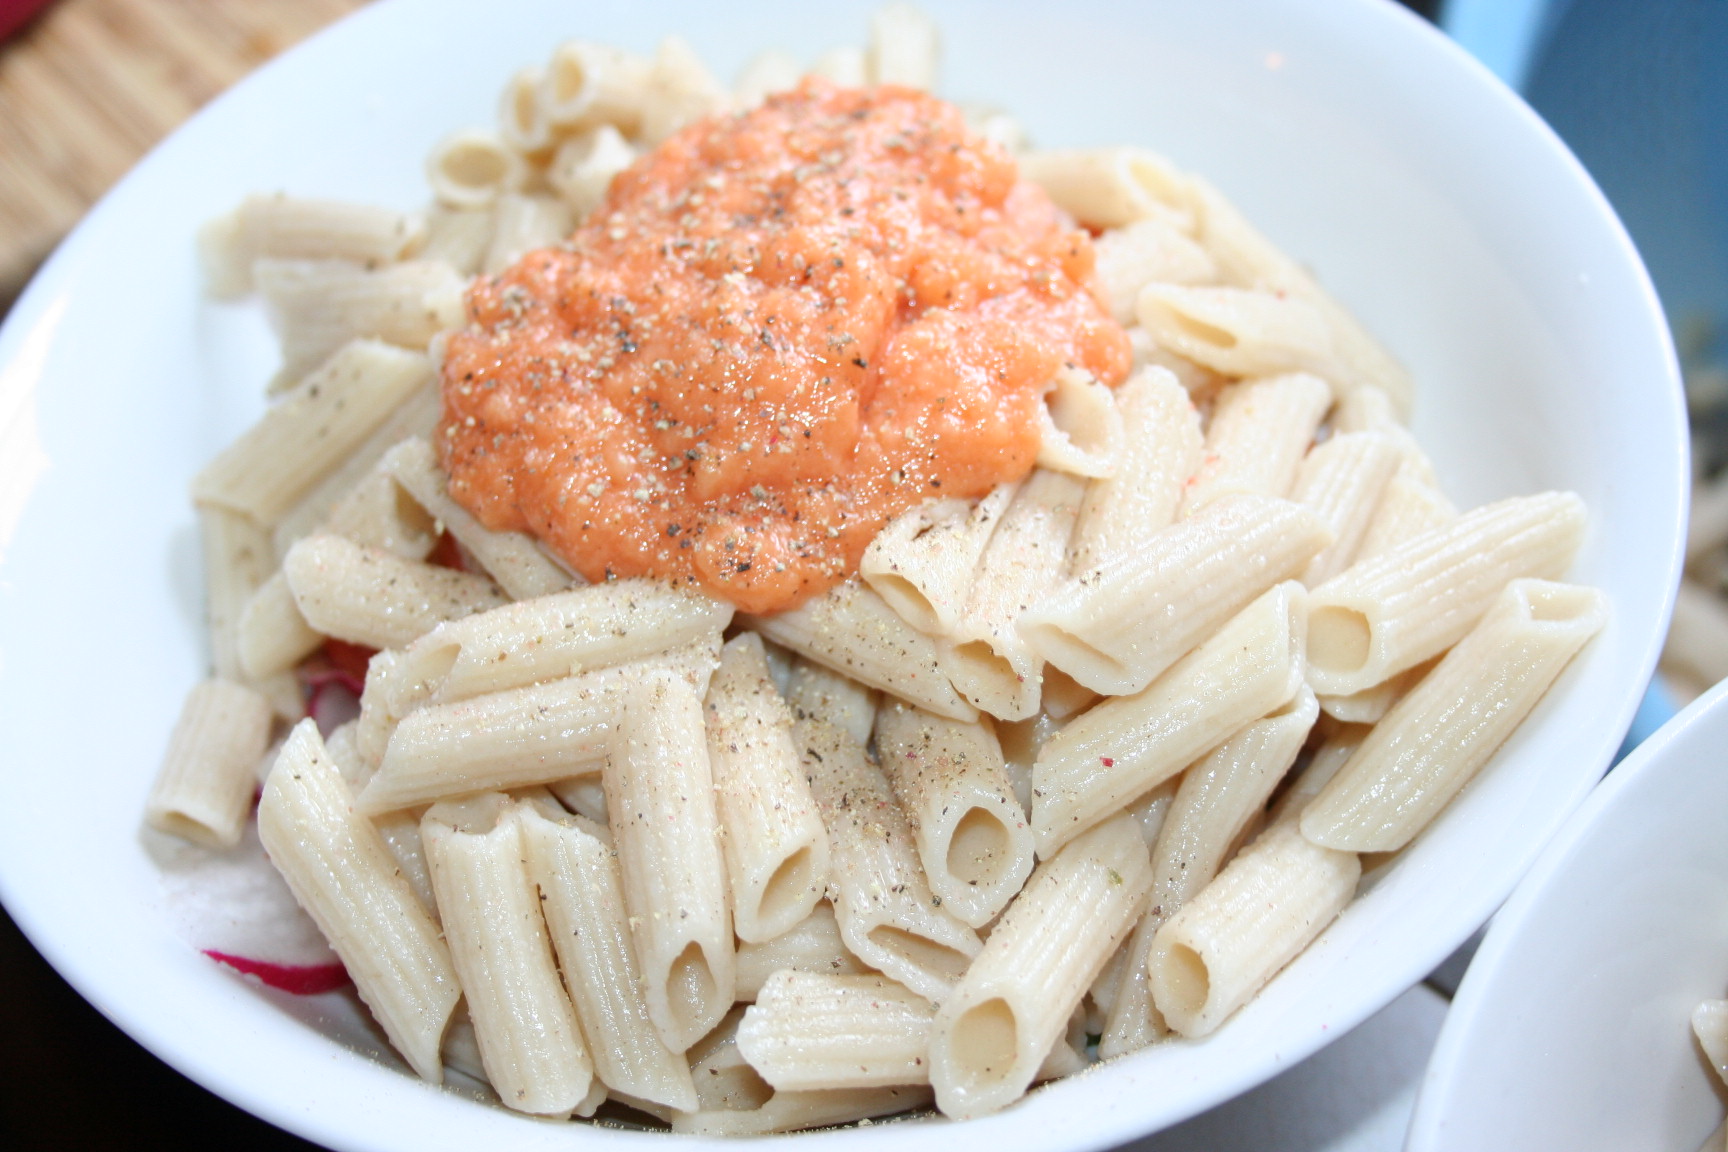 Combine.
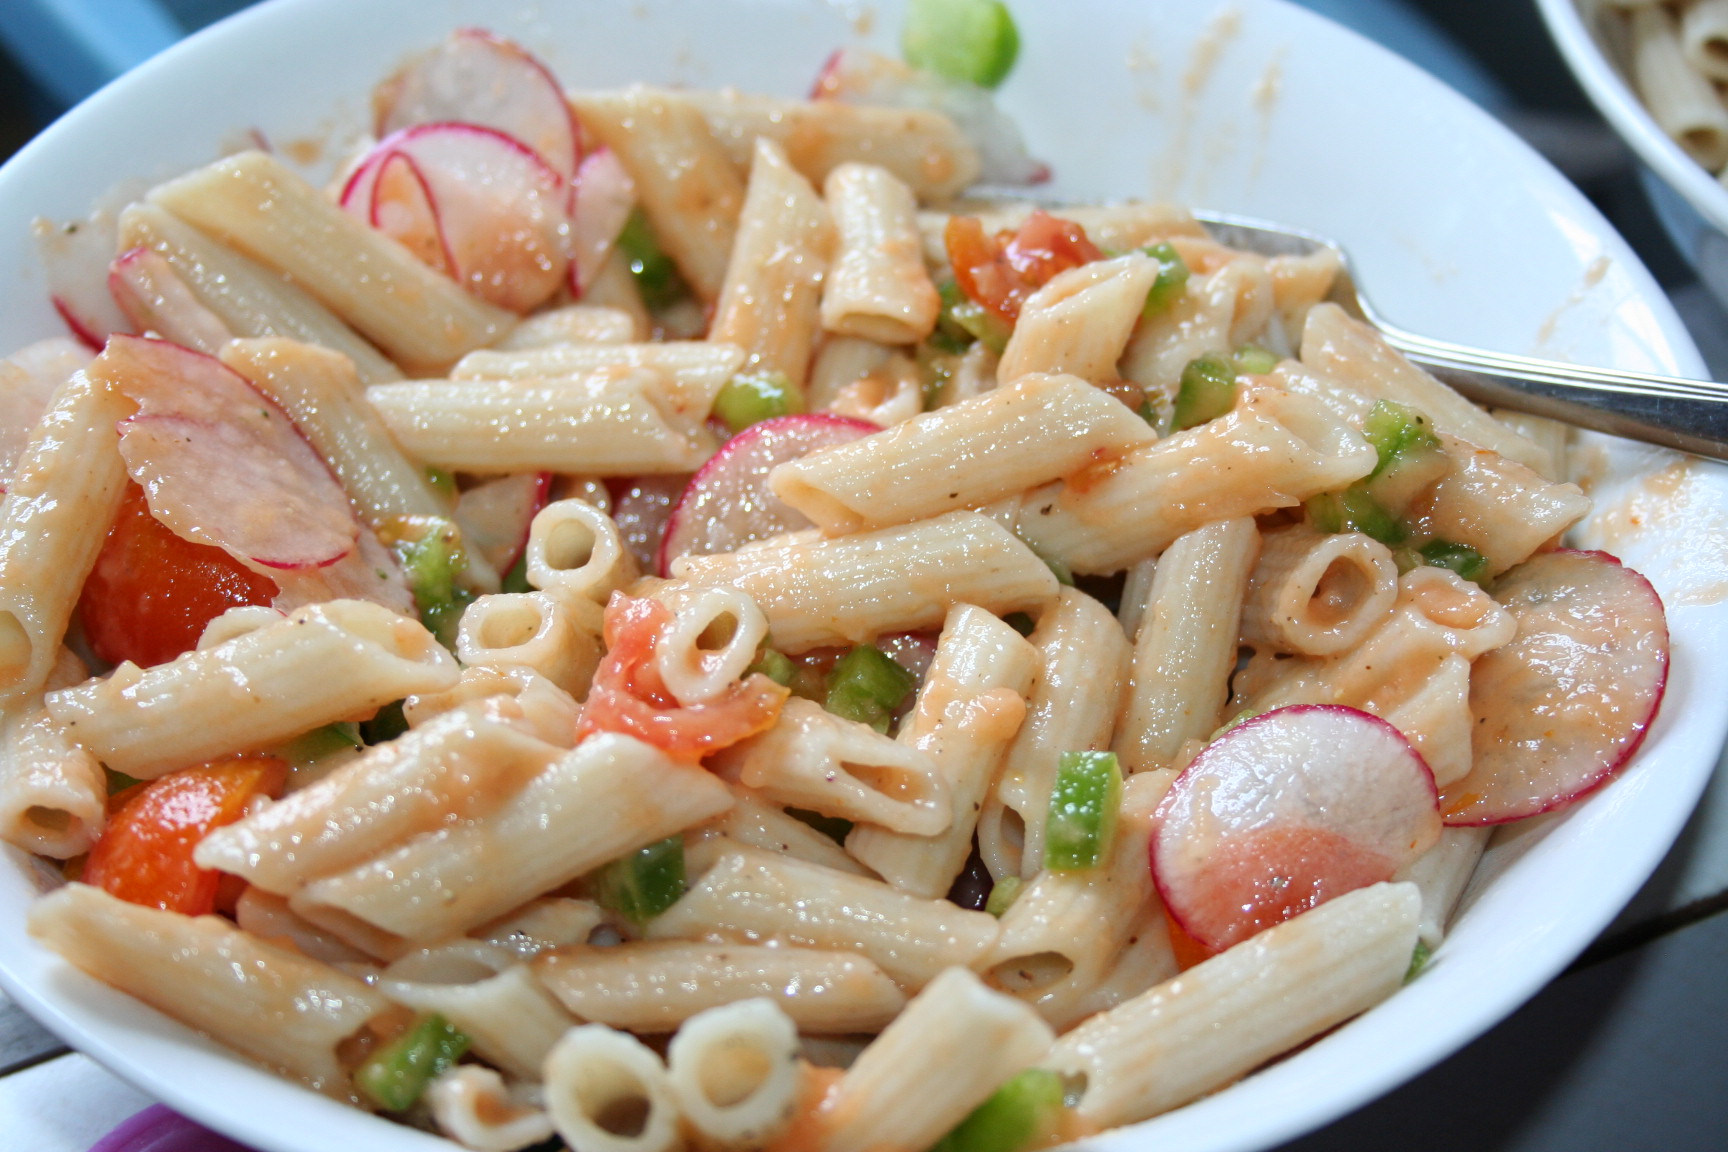 Yum!!!
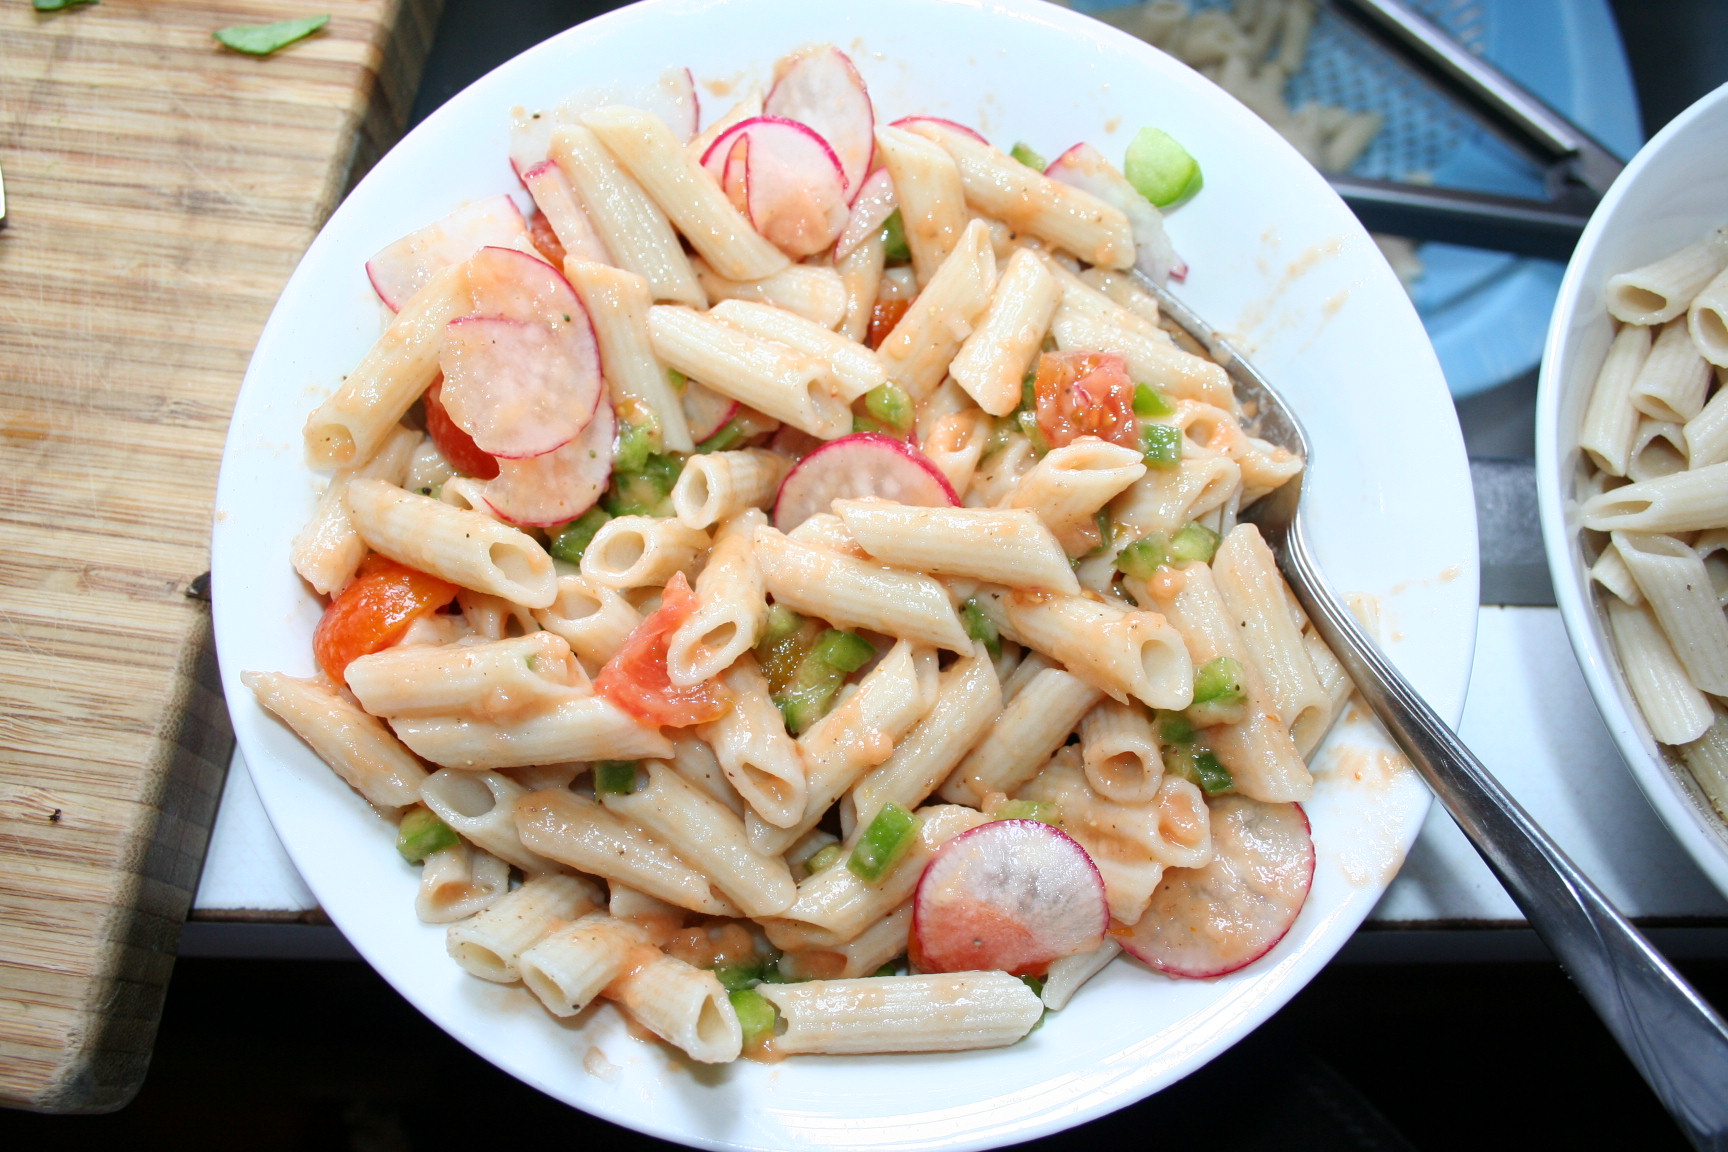 I also added a few slices of turkey pepperoni.
 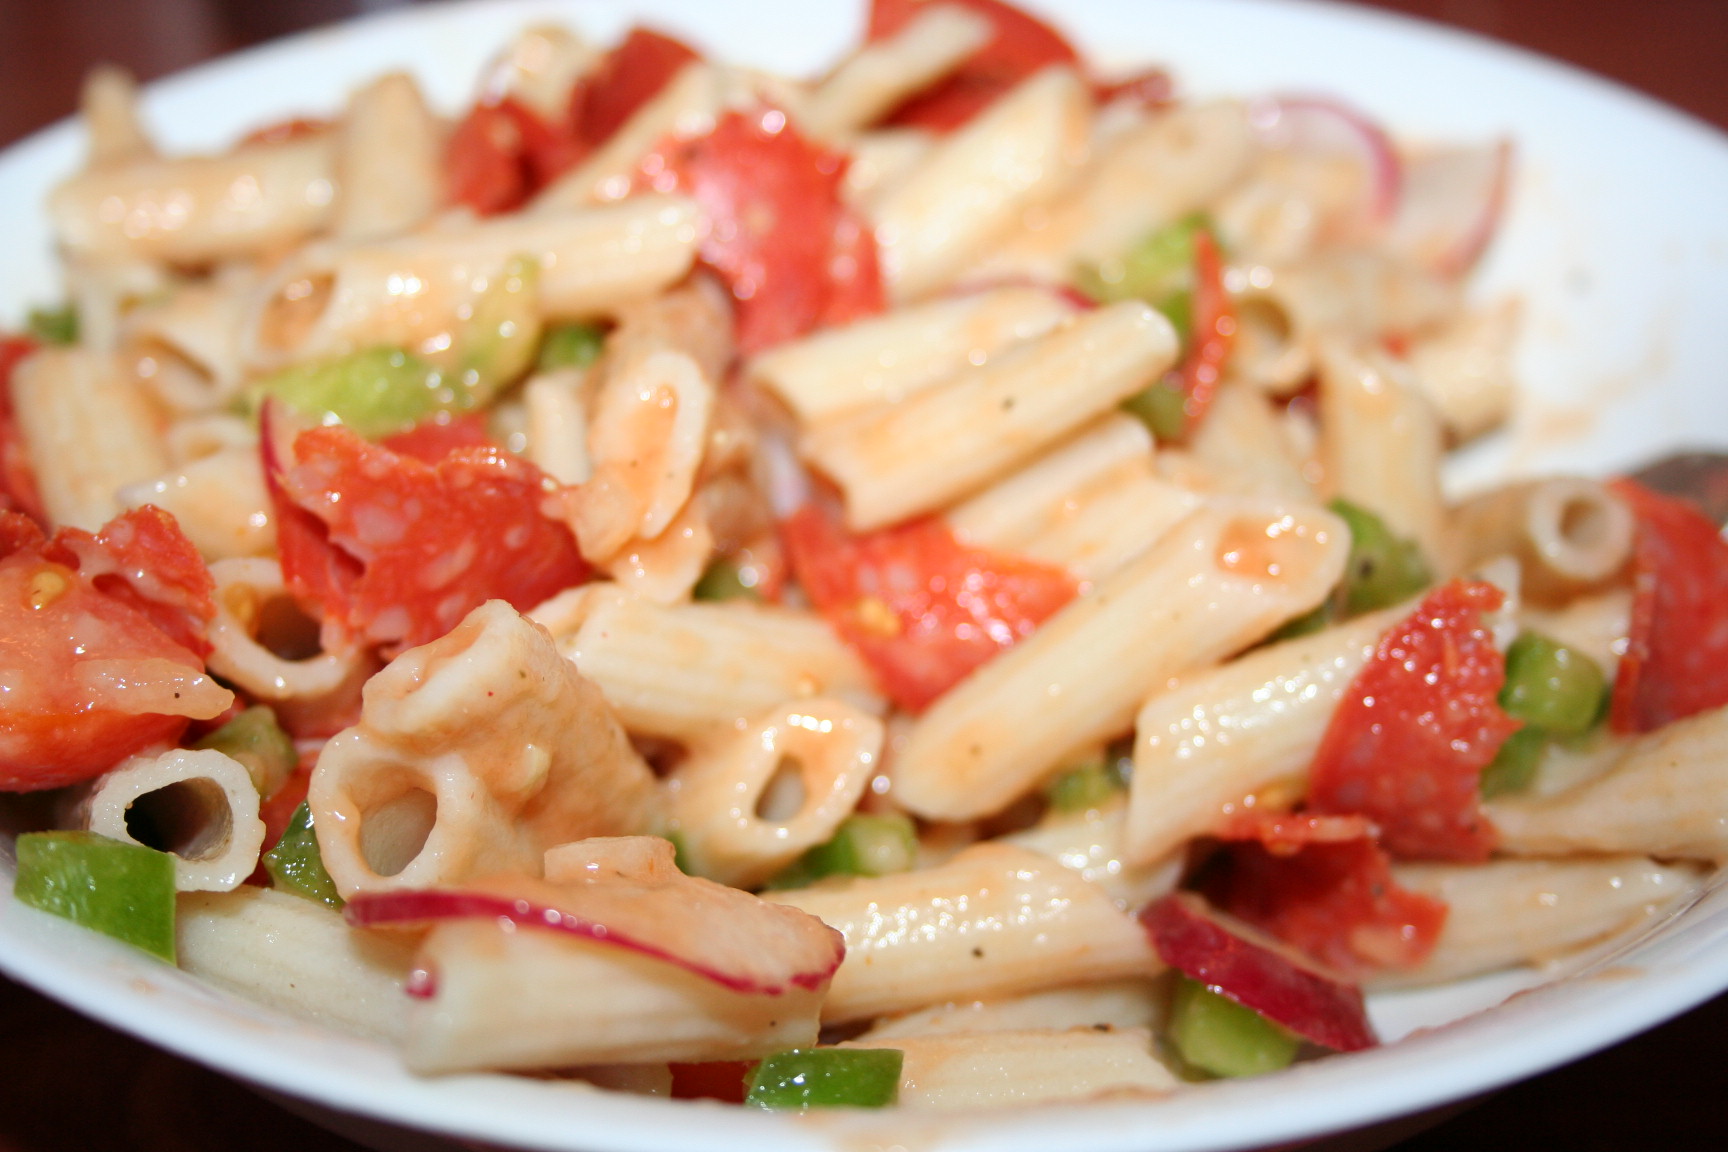 I’ll be sharing other variations as I make them. This is truly a favorite for me and am glad to have such a delicious E meal.
 But they are good for any meal.