Category Archives: Chicken

Chicken Parmesan ~ Lifeofjoy.me

Chicken Parmesan

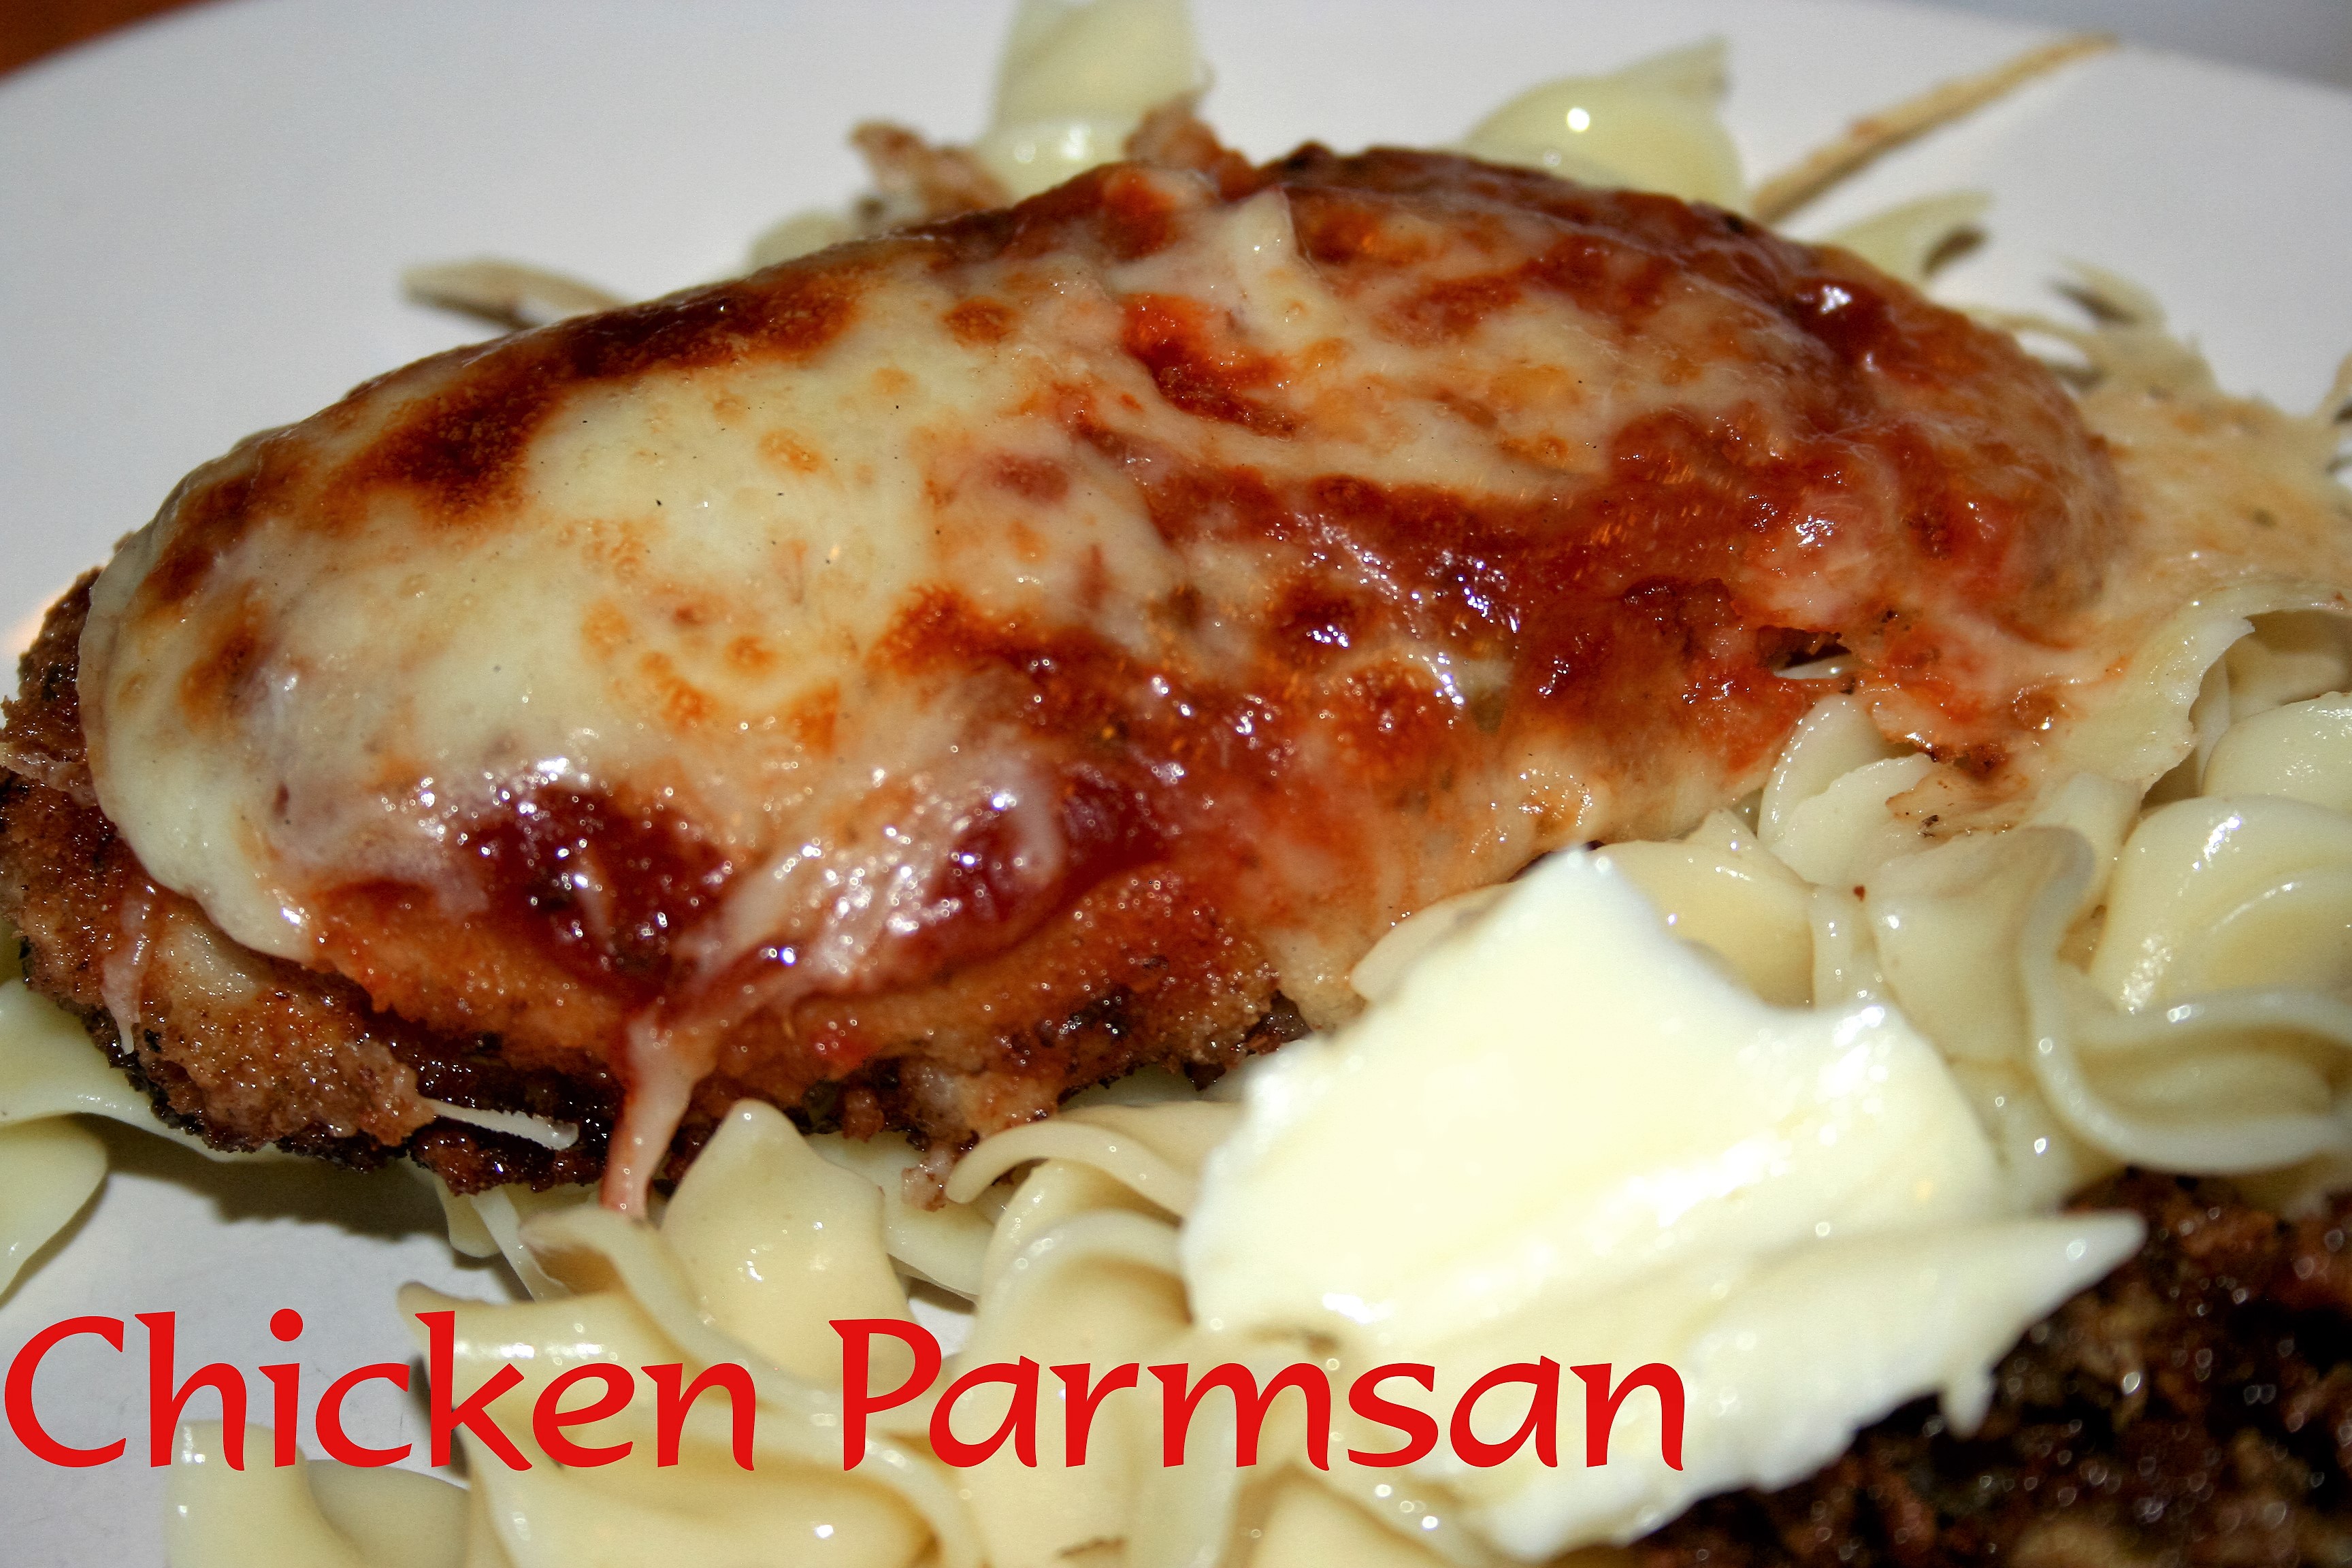
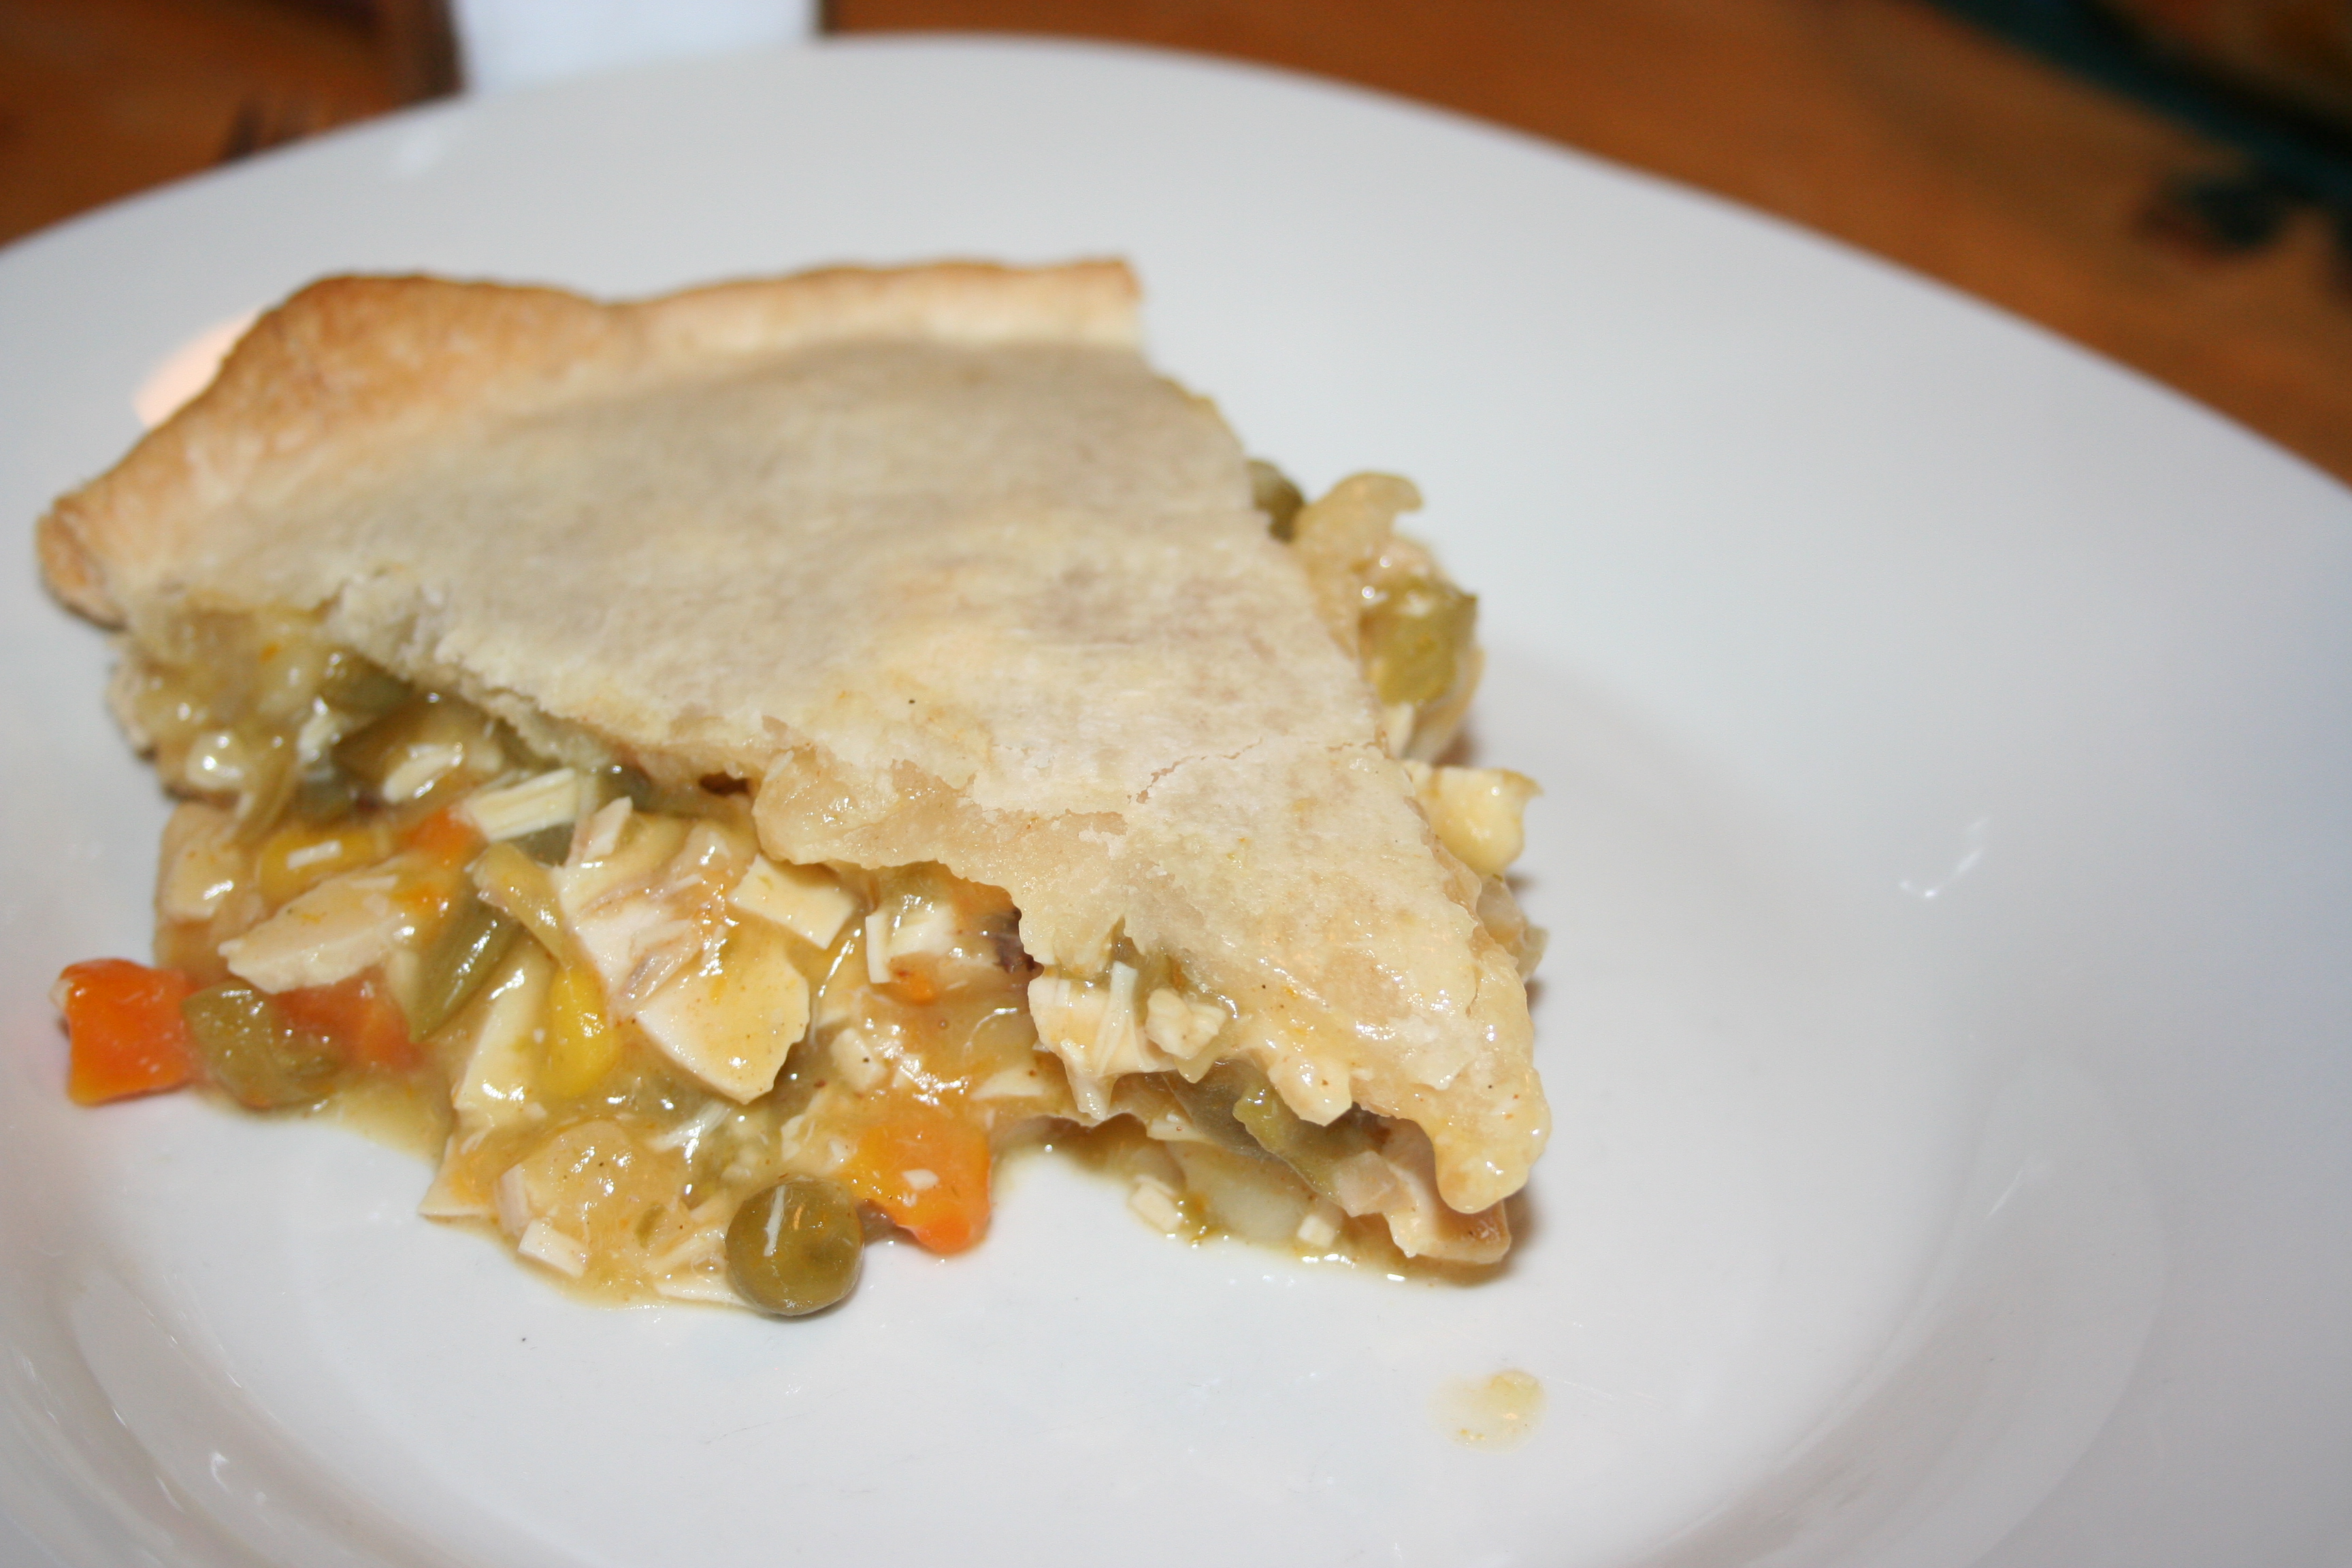
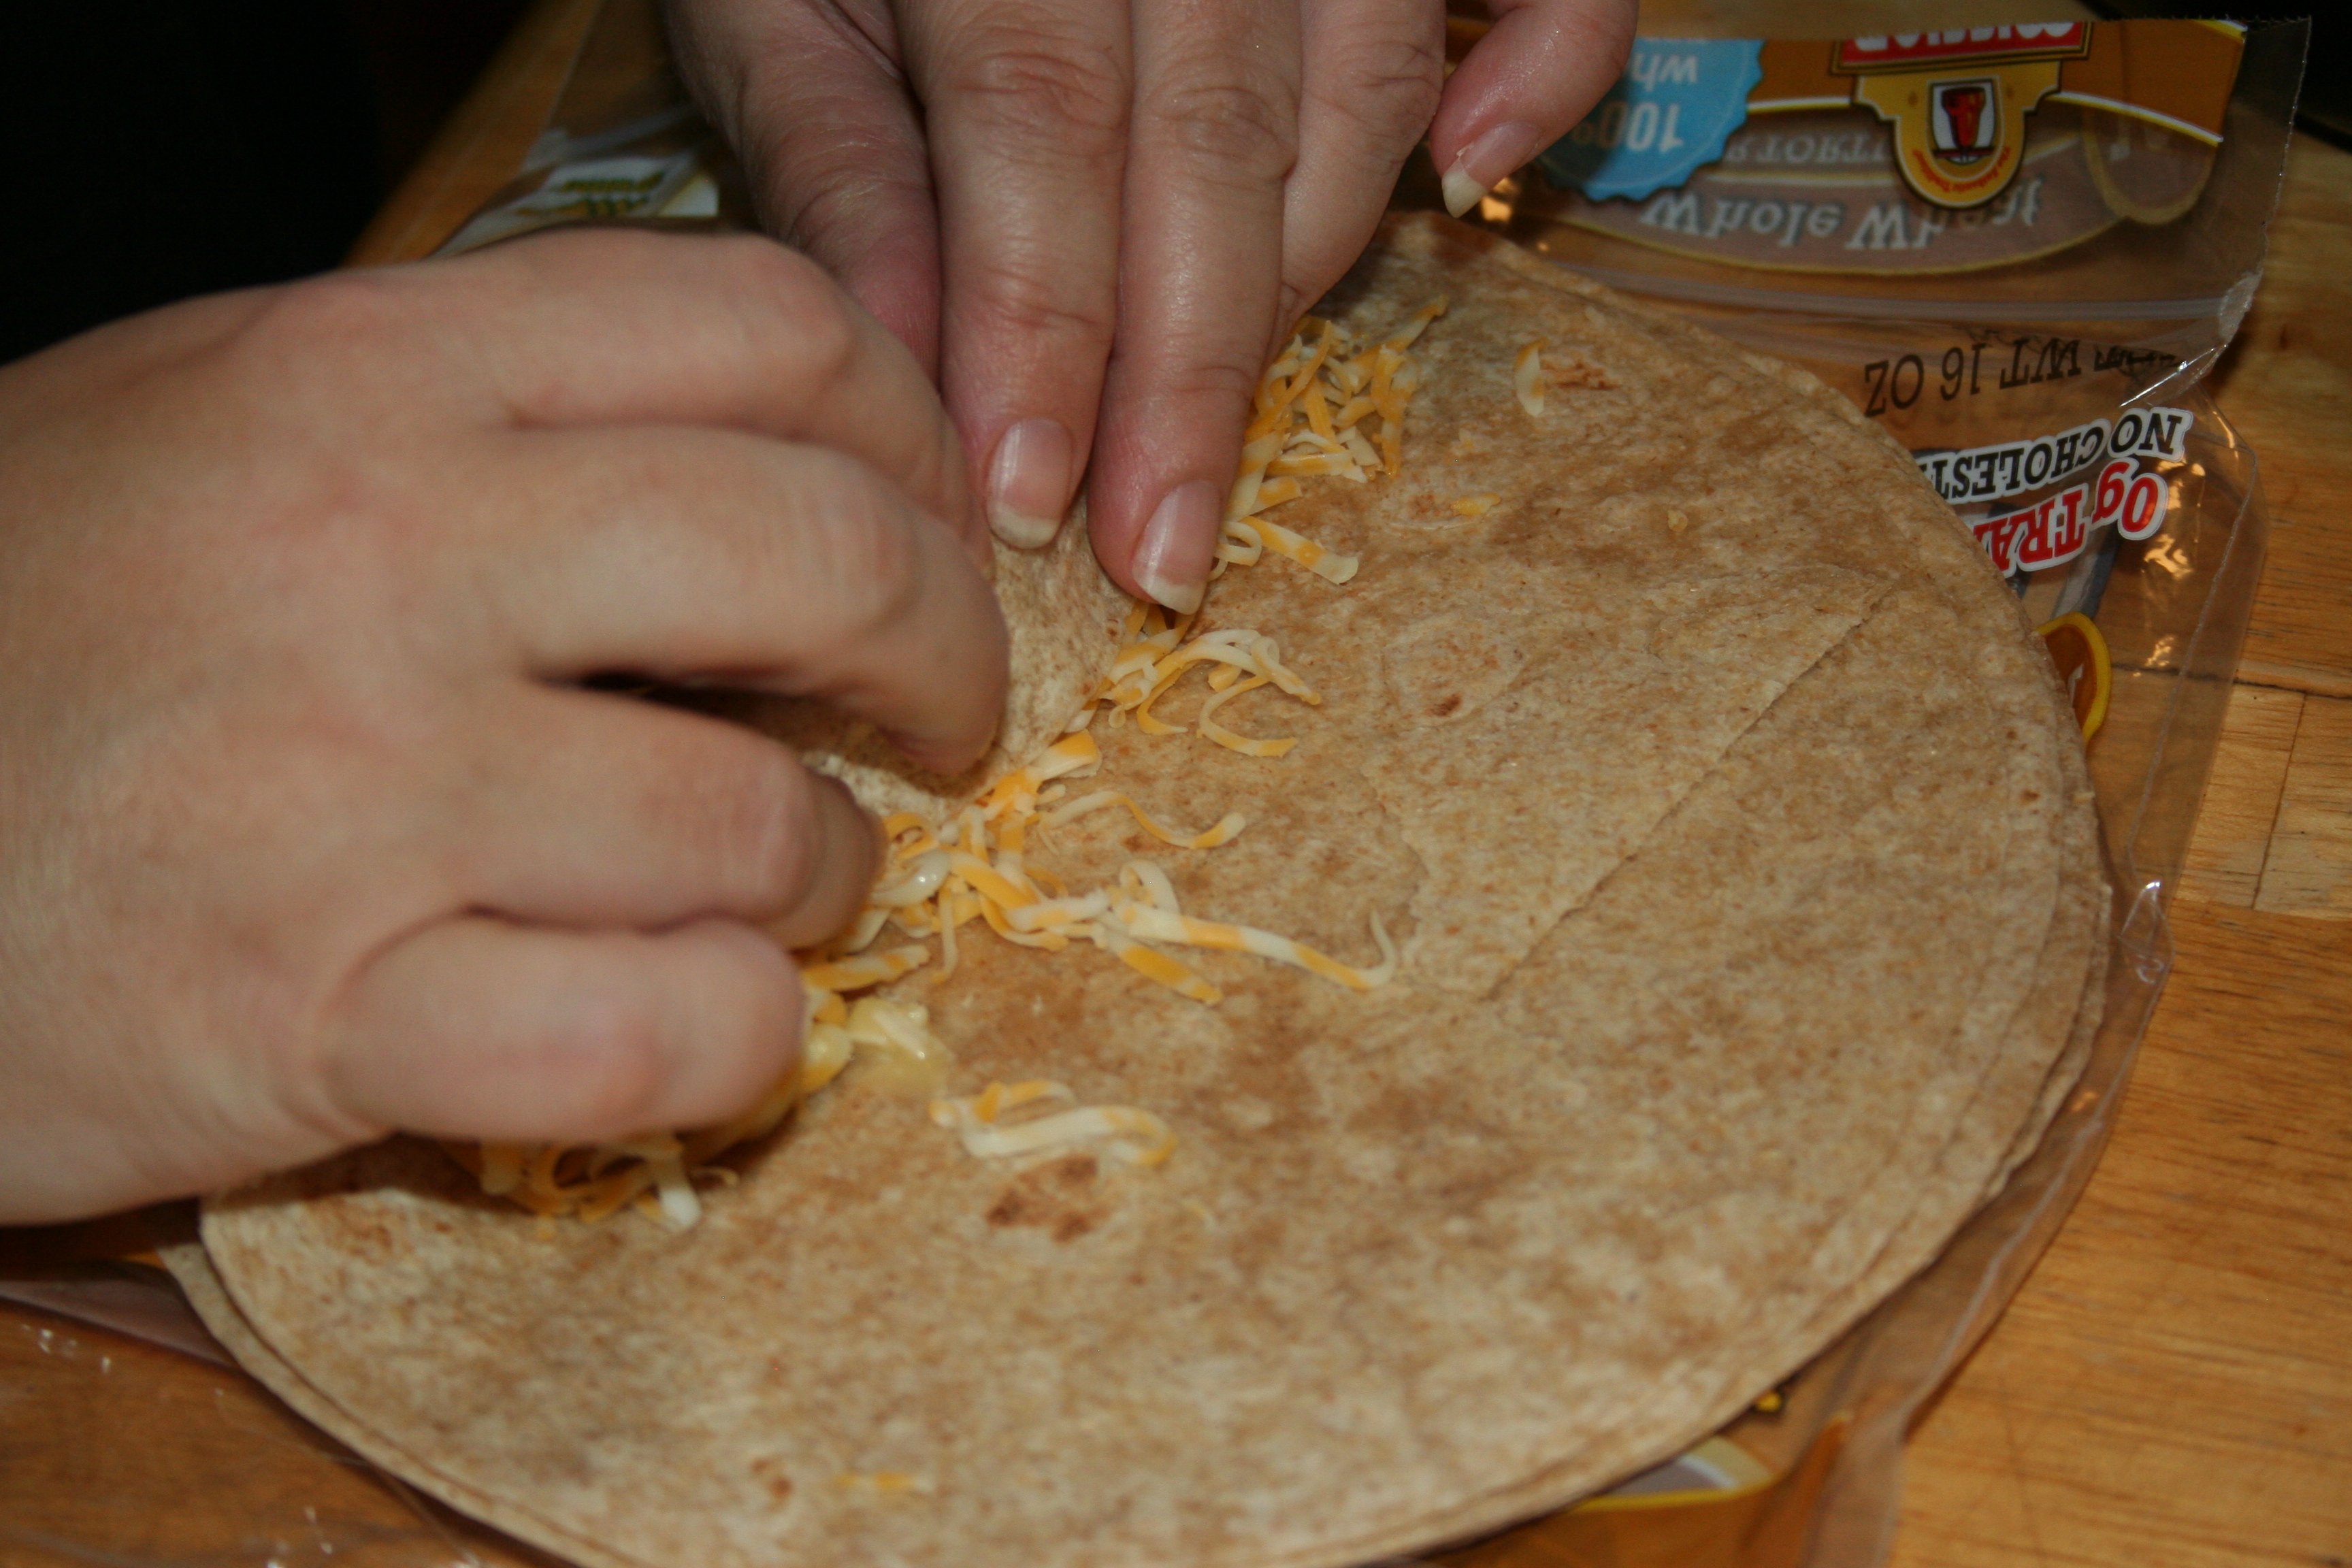
I have always loved Chicken Parmesan but never made it until recently (in the last year or so). I guess I just always thought there was too much work involved in making it but it is sooo worth it.
Chicken Parmesan ~ Lifeofjoy.me

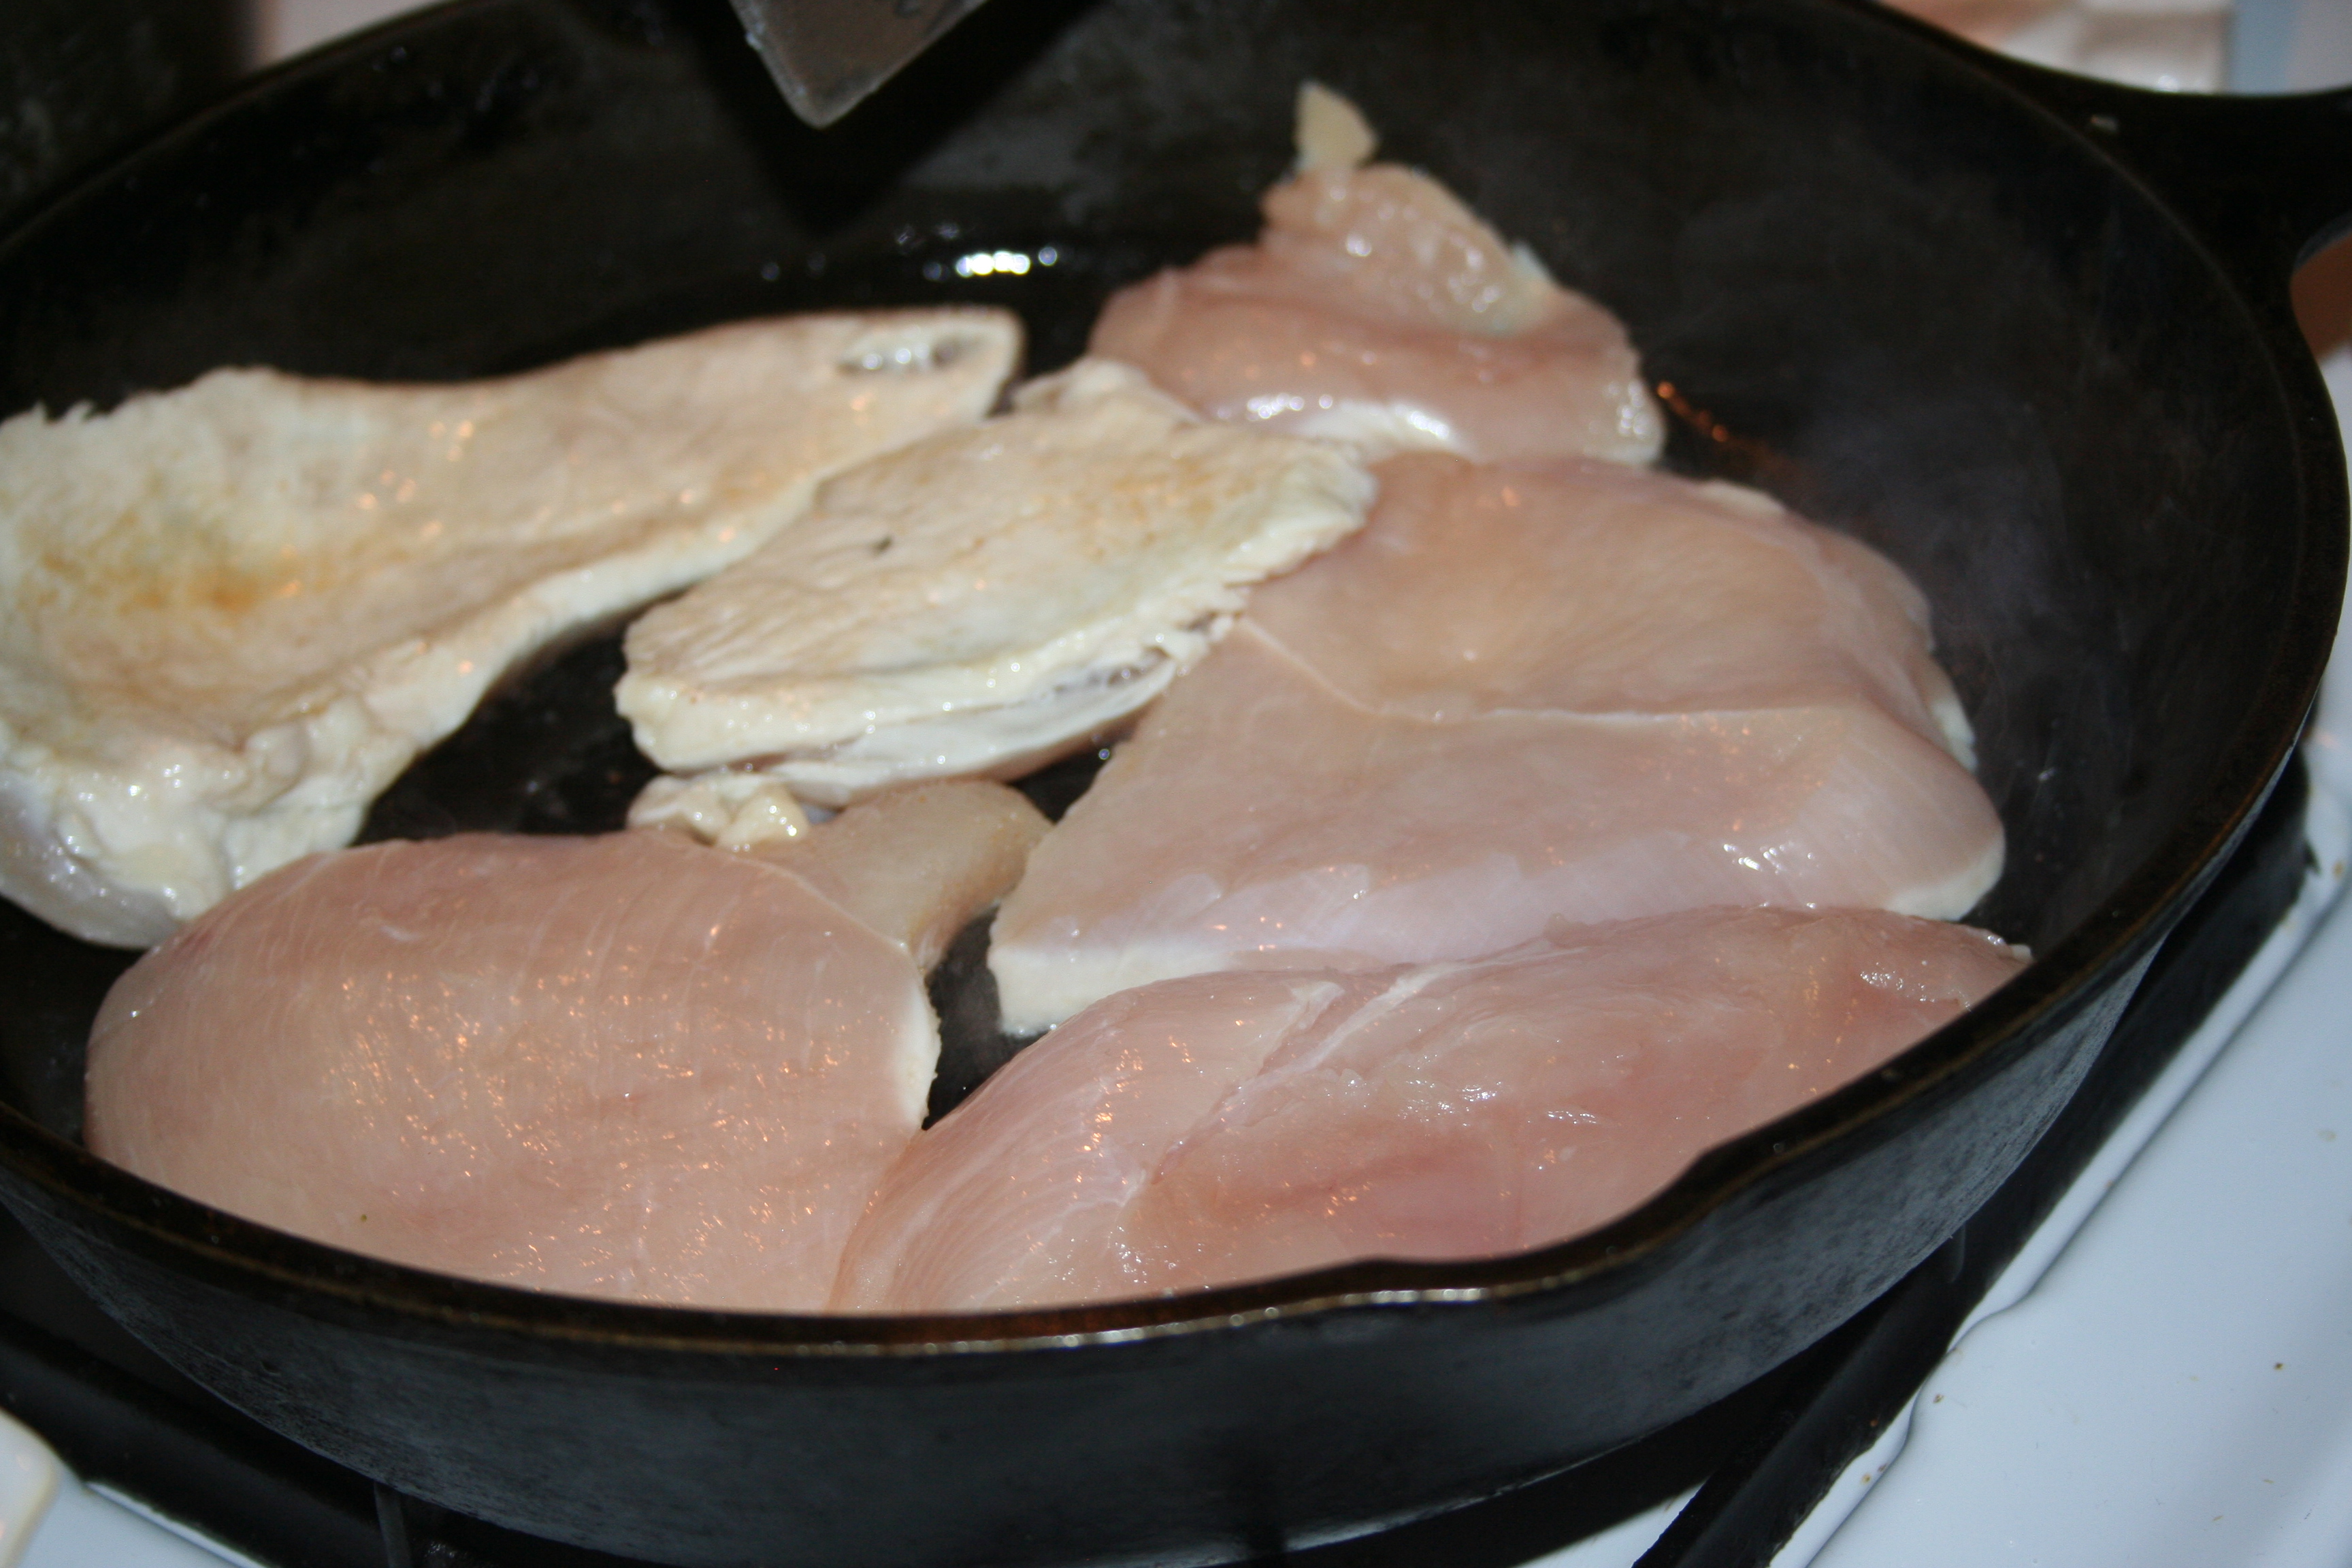
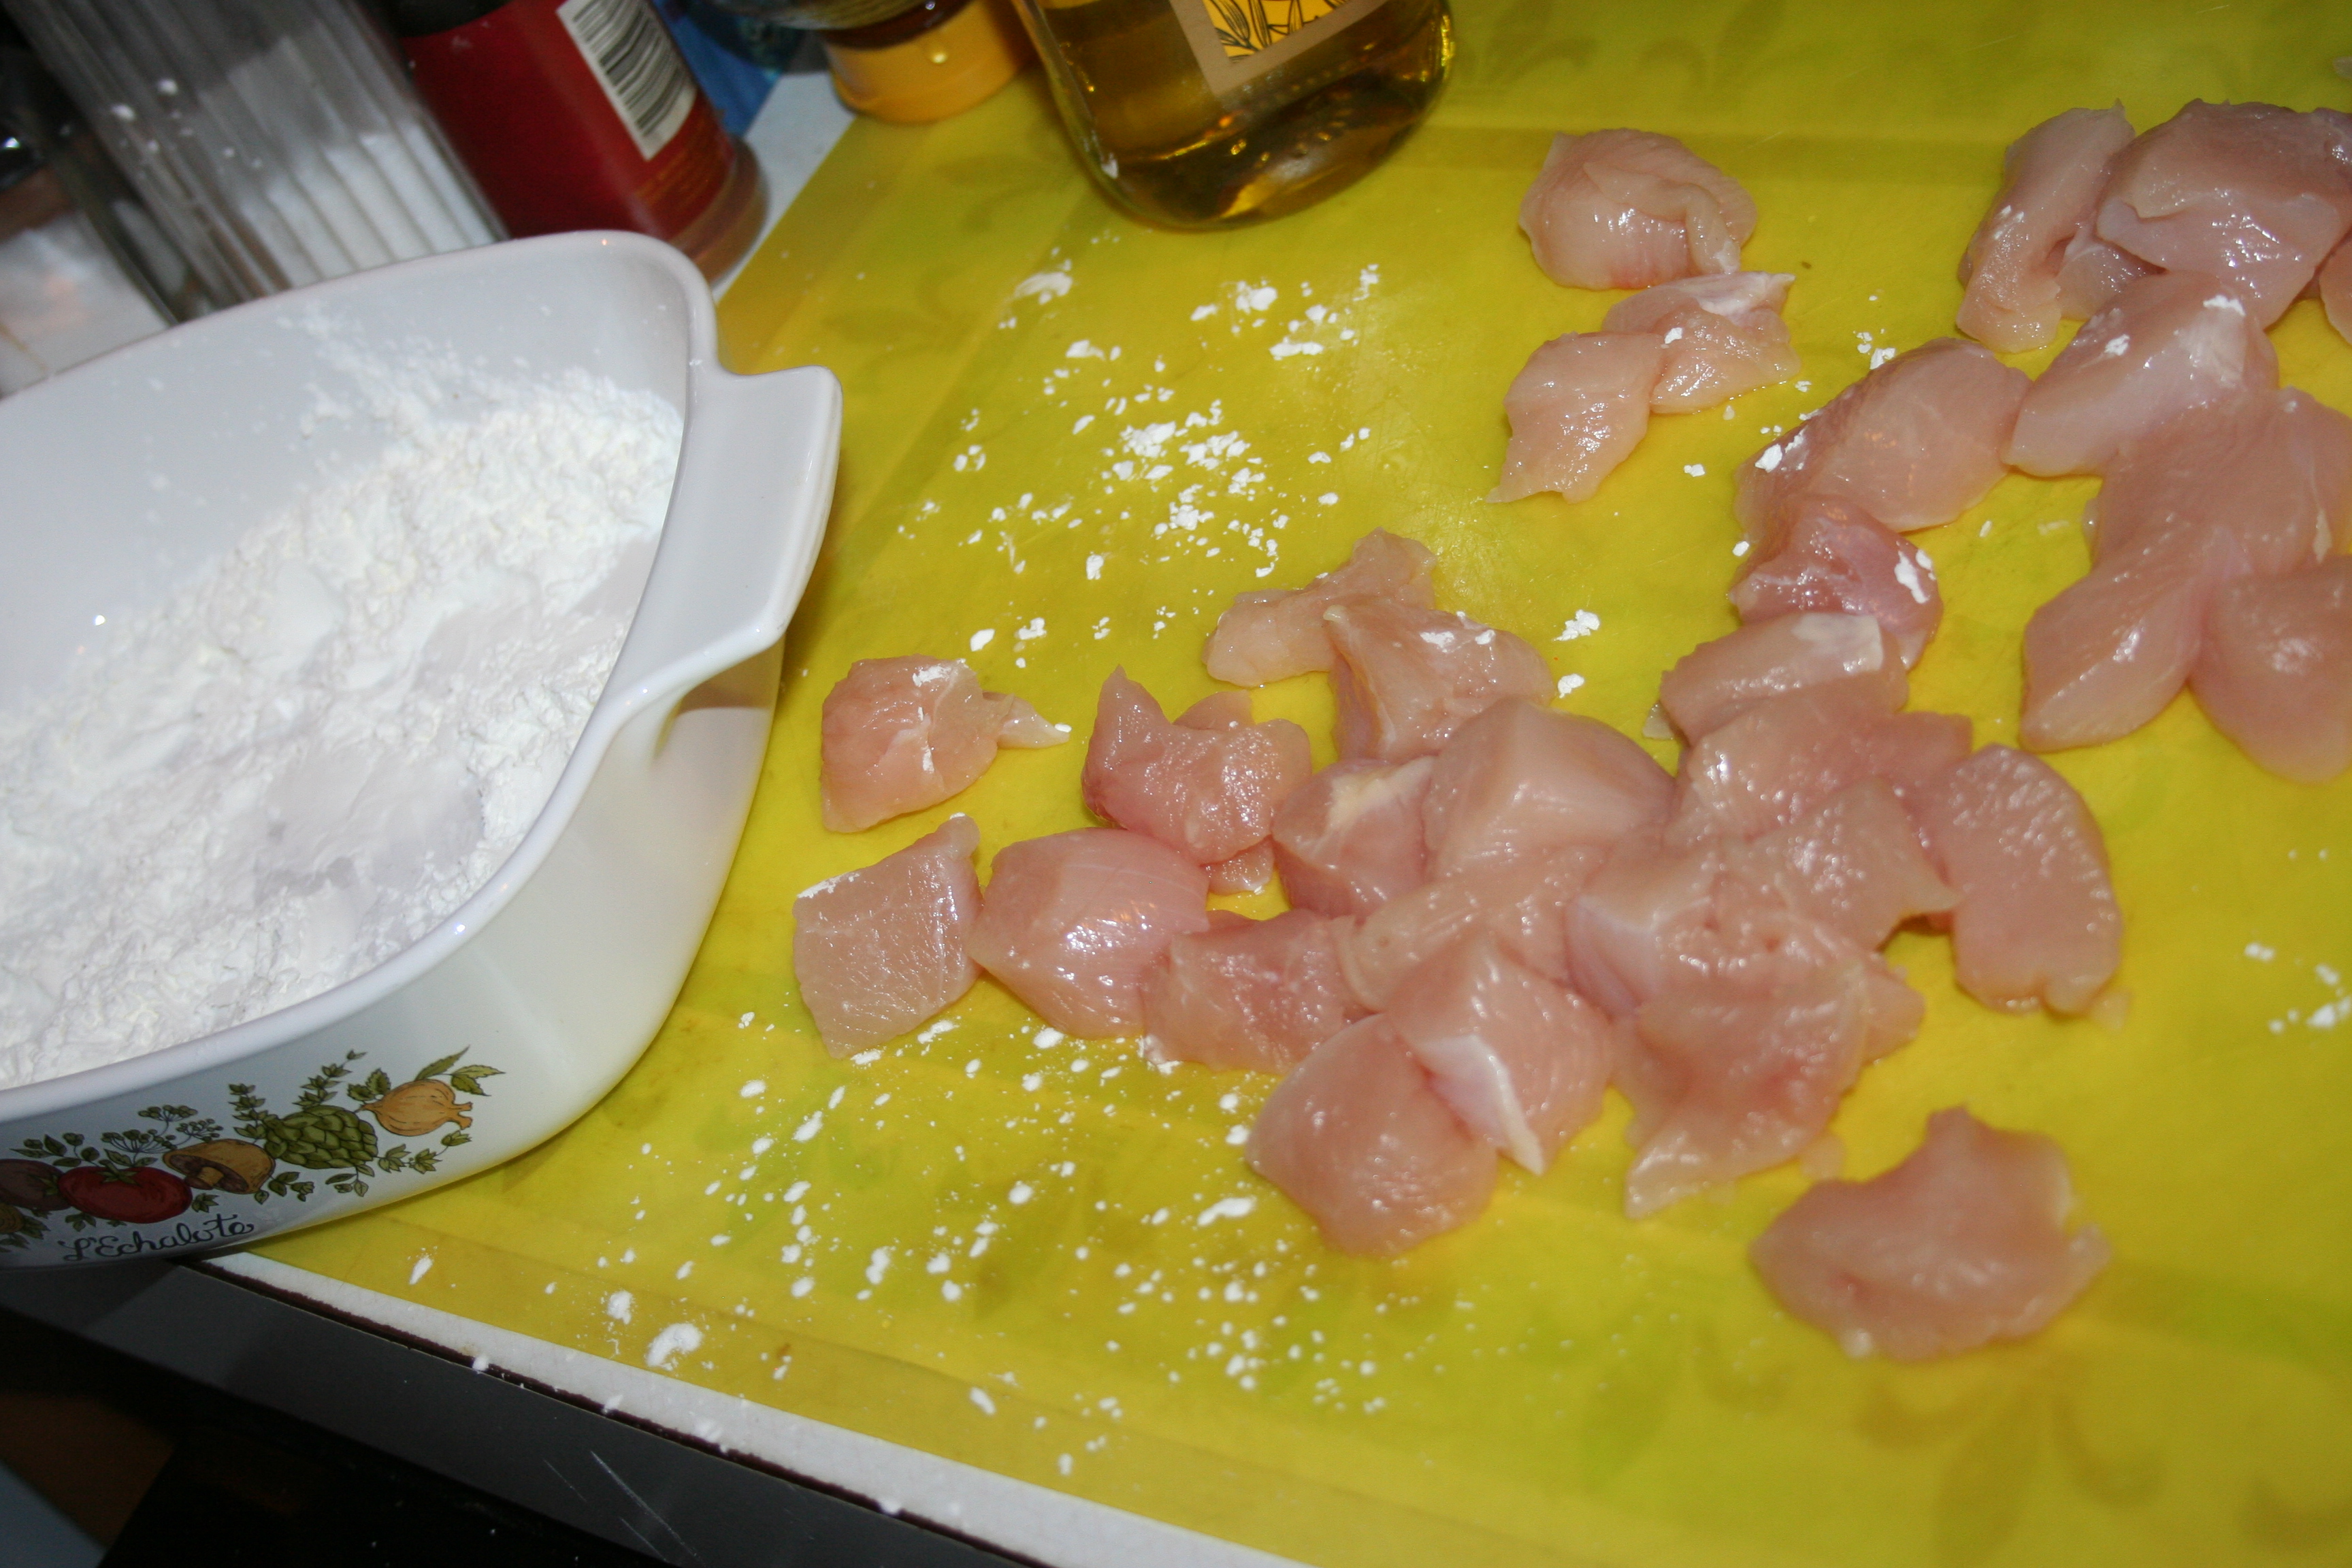
The first thing you need to do is cut your chicken into thinish slabs or pound it thin. I don’t like to pound my chicken breast. I prefer to use a sharp knife and slice it horizontally and then into single size pieces. The chicken breasts I get are about a pound each! So I cut it into at least 4 pieces: in half horizontally and in half vertically. The thinner you cut them the quicker they cook.

Chicken Parmesan ~ Lifeofjoy.me
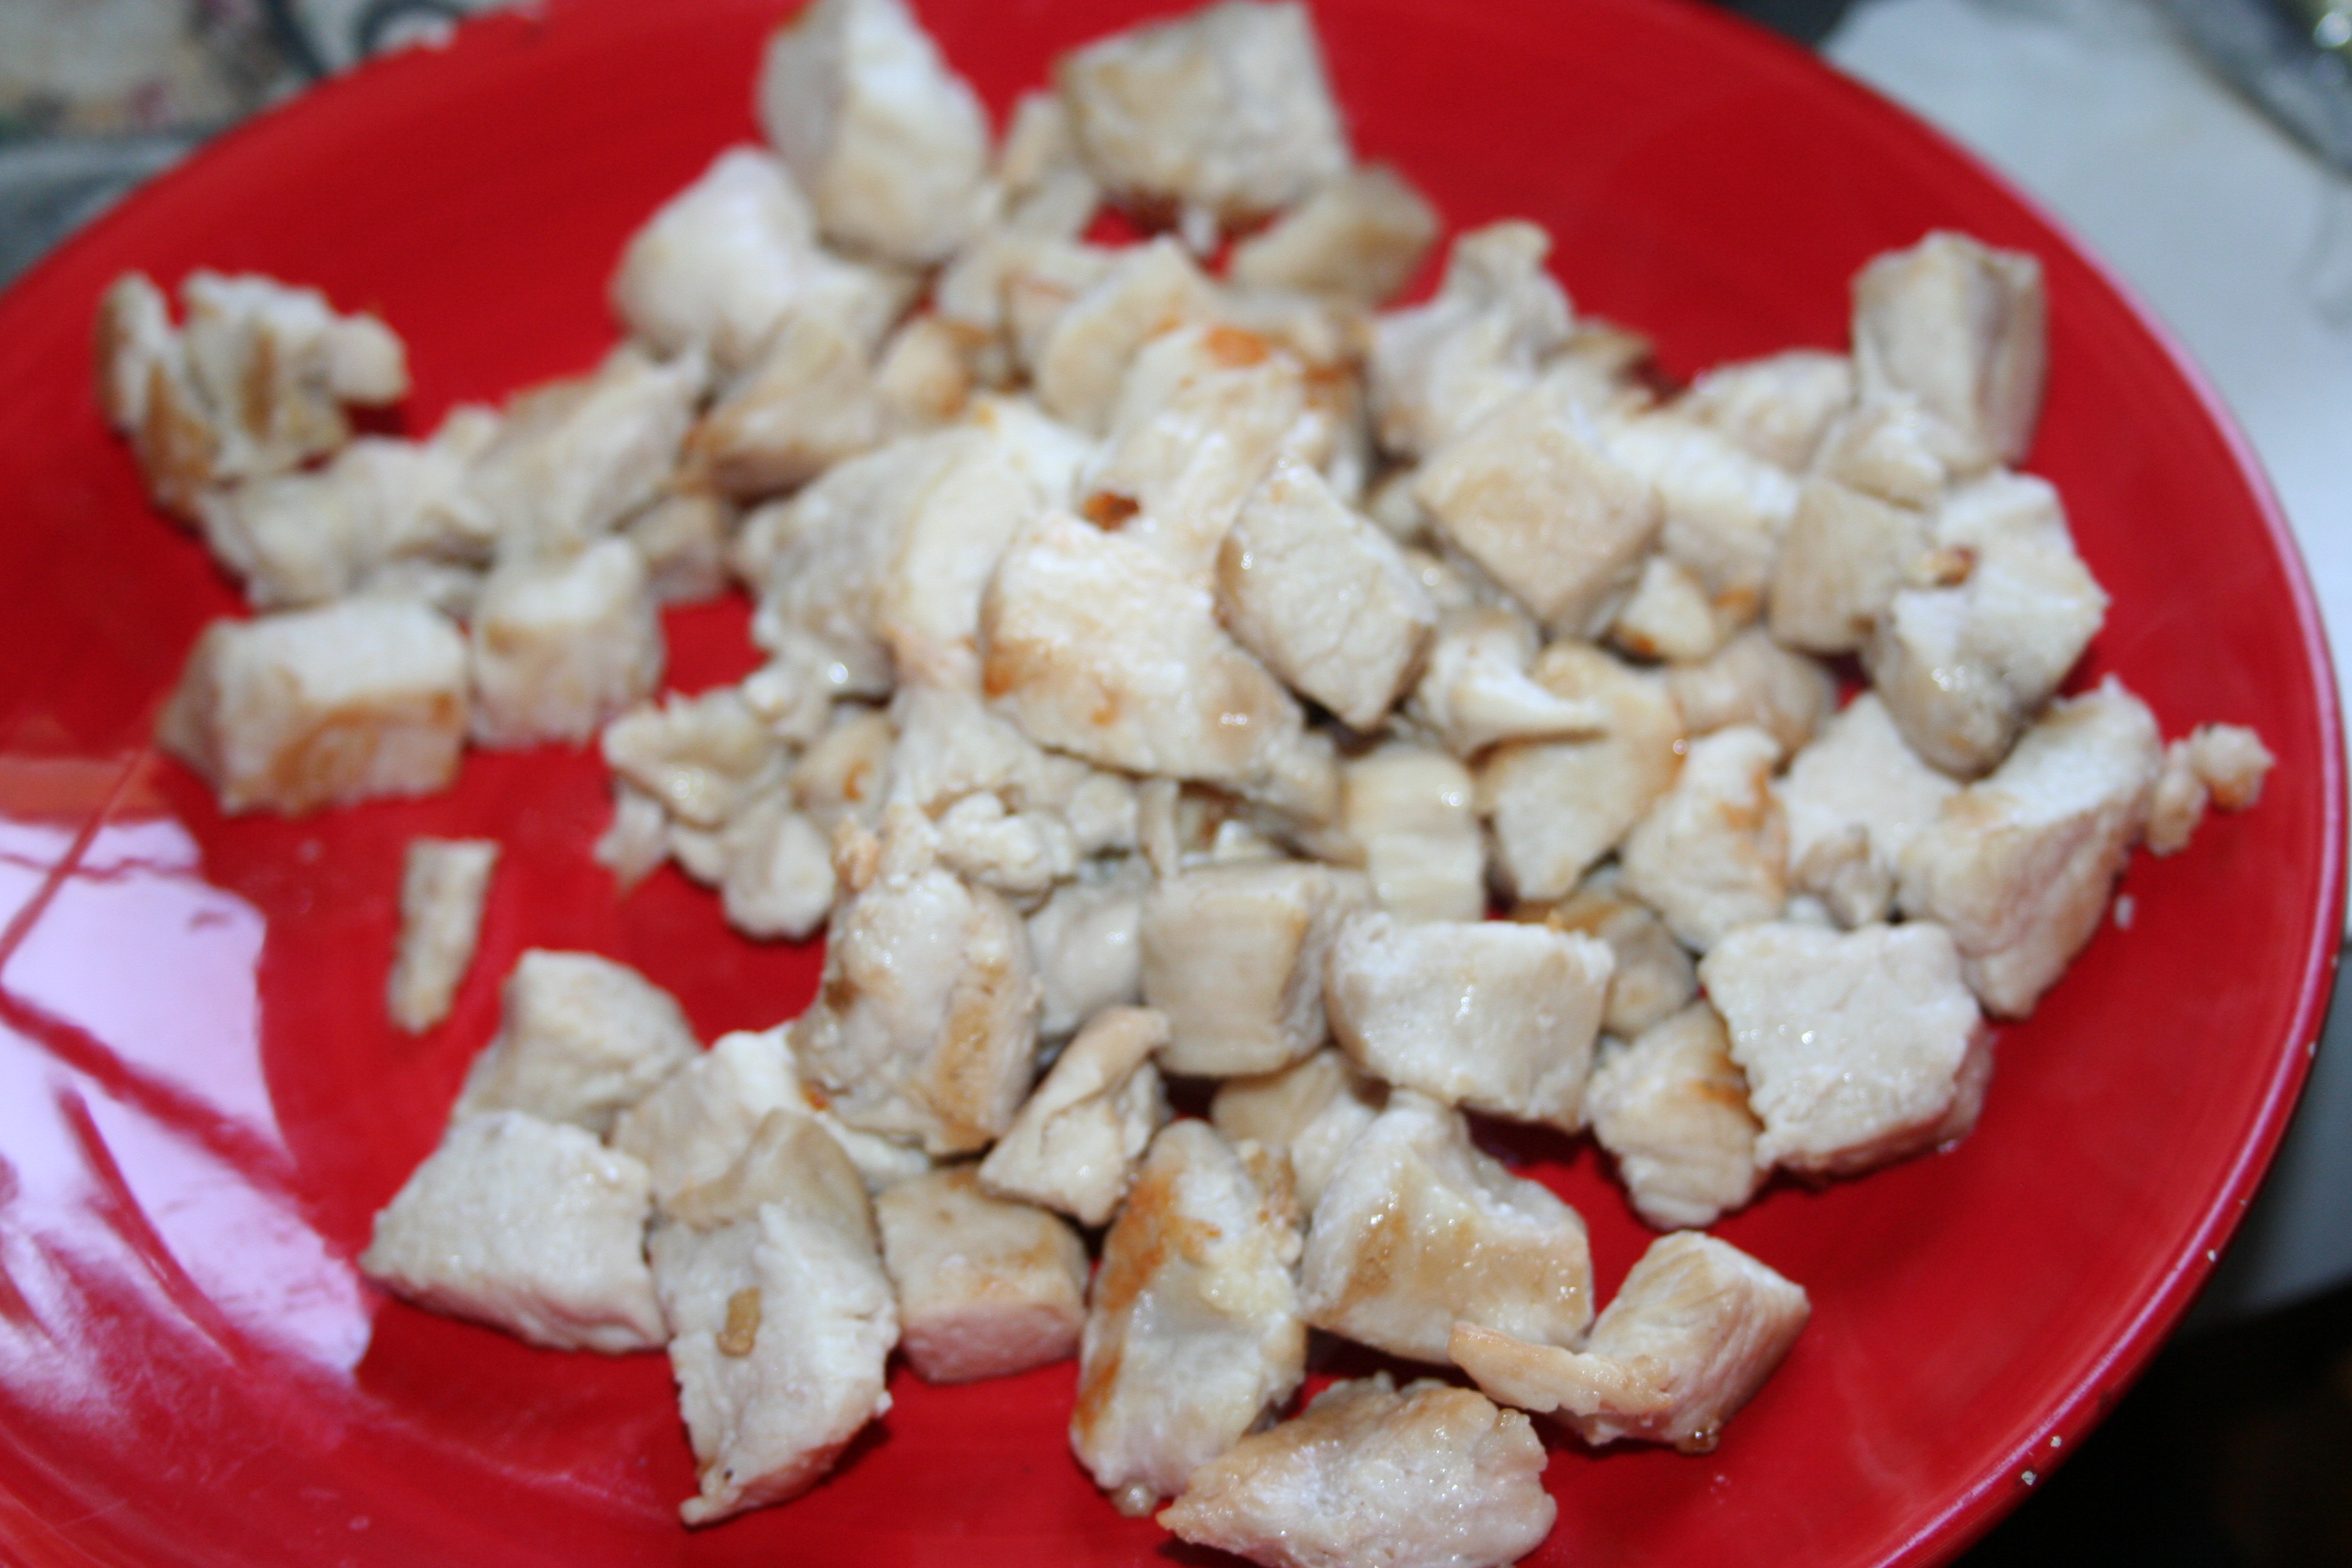
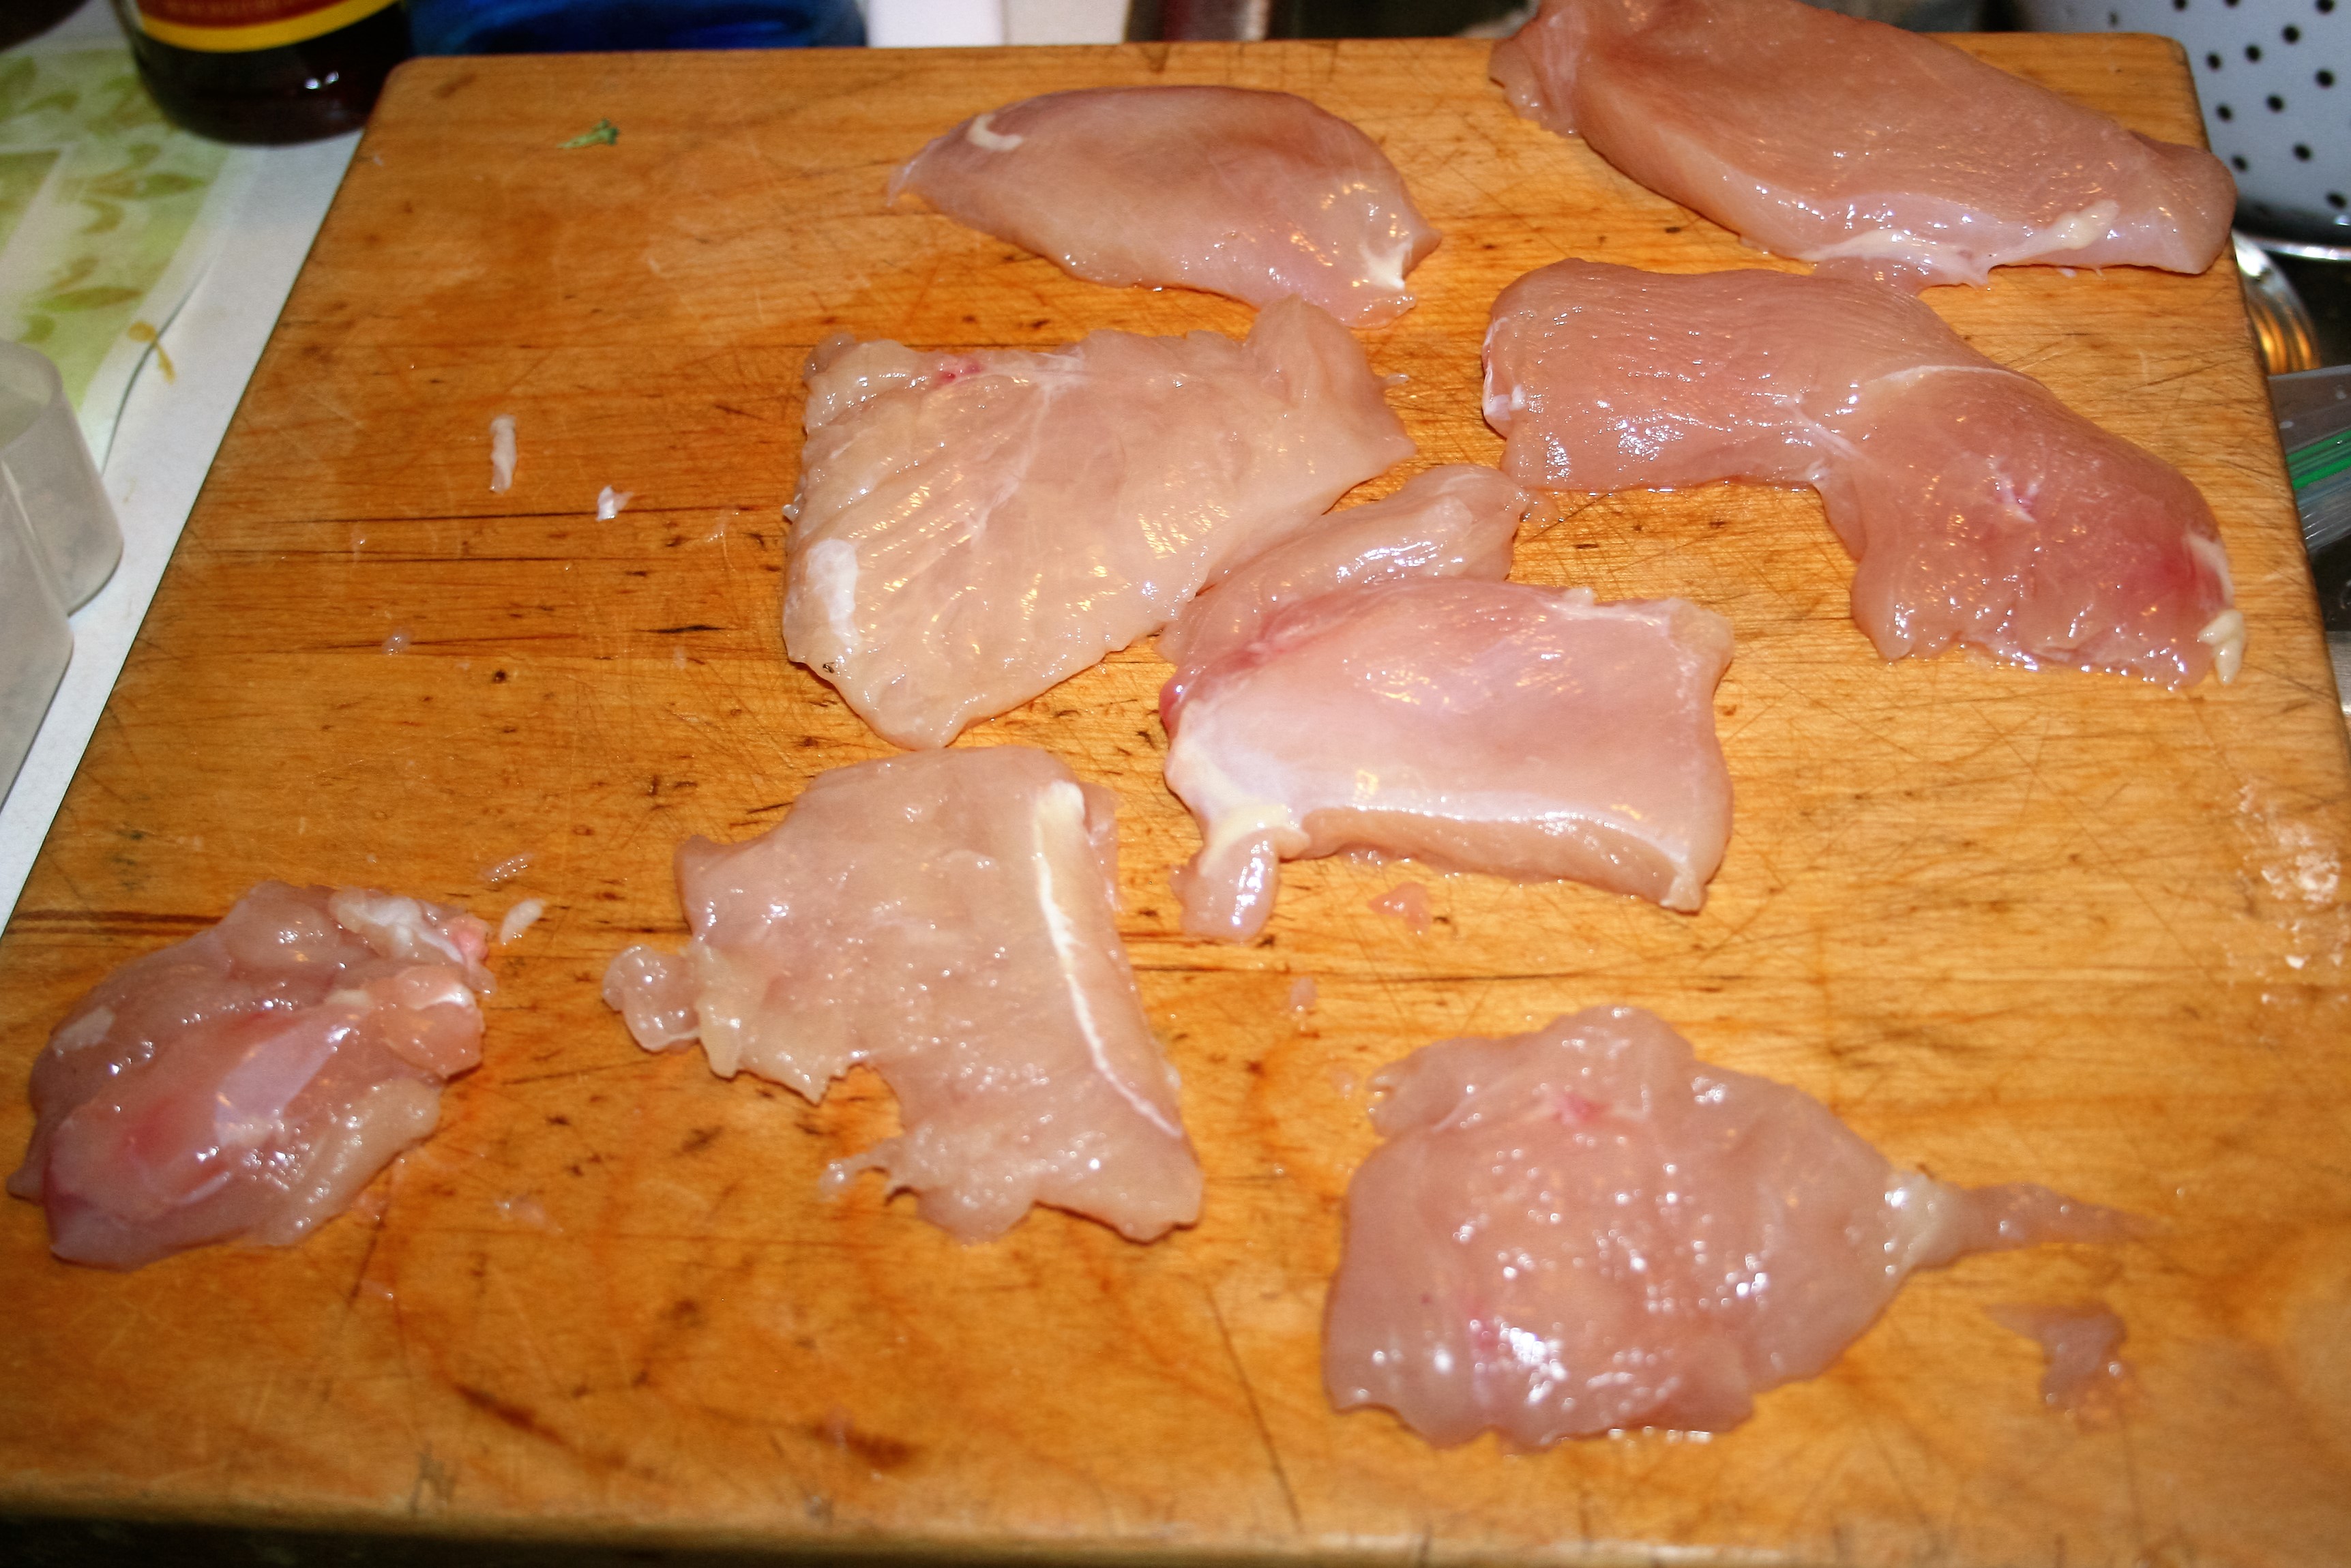
I took these pictures a while ago, so I don’t remember exactly how much meat there was but this looks like it was about a pound and a half or two pounds.

This next picture is really poor quality but it is the best one I had to show the breading station. Put about 1/2 cup flour in one flat container. One beaten egg and about quarter cup of milk in the second flat container. And then about a cup to a cup and a half of Italian bread crumbs in the last flat container.

Chicken Parmesan ~ Lifeofjoy.me
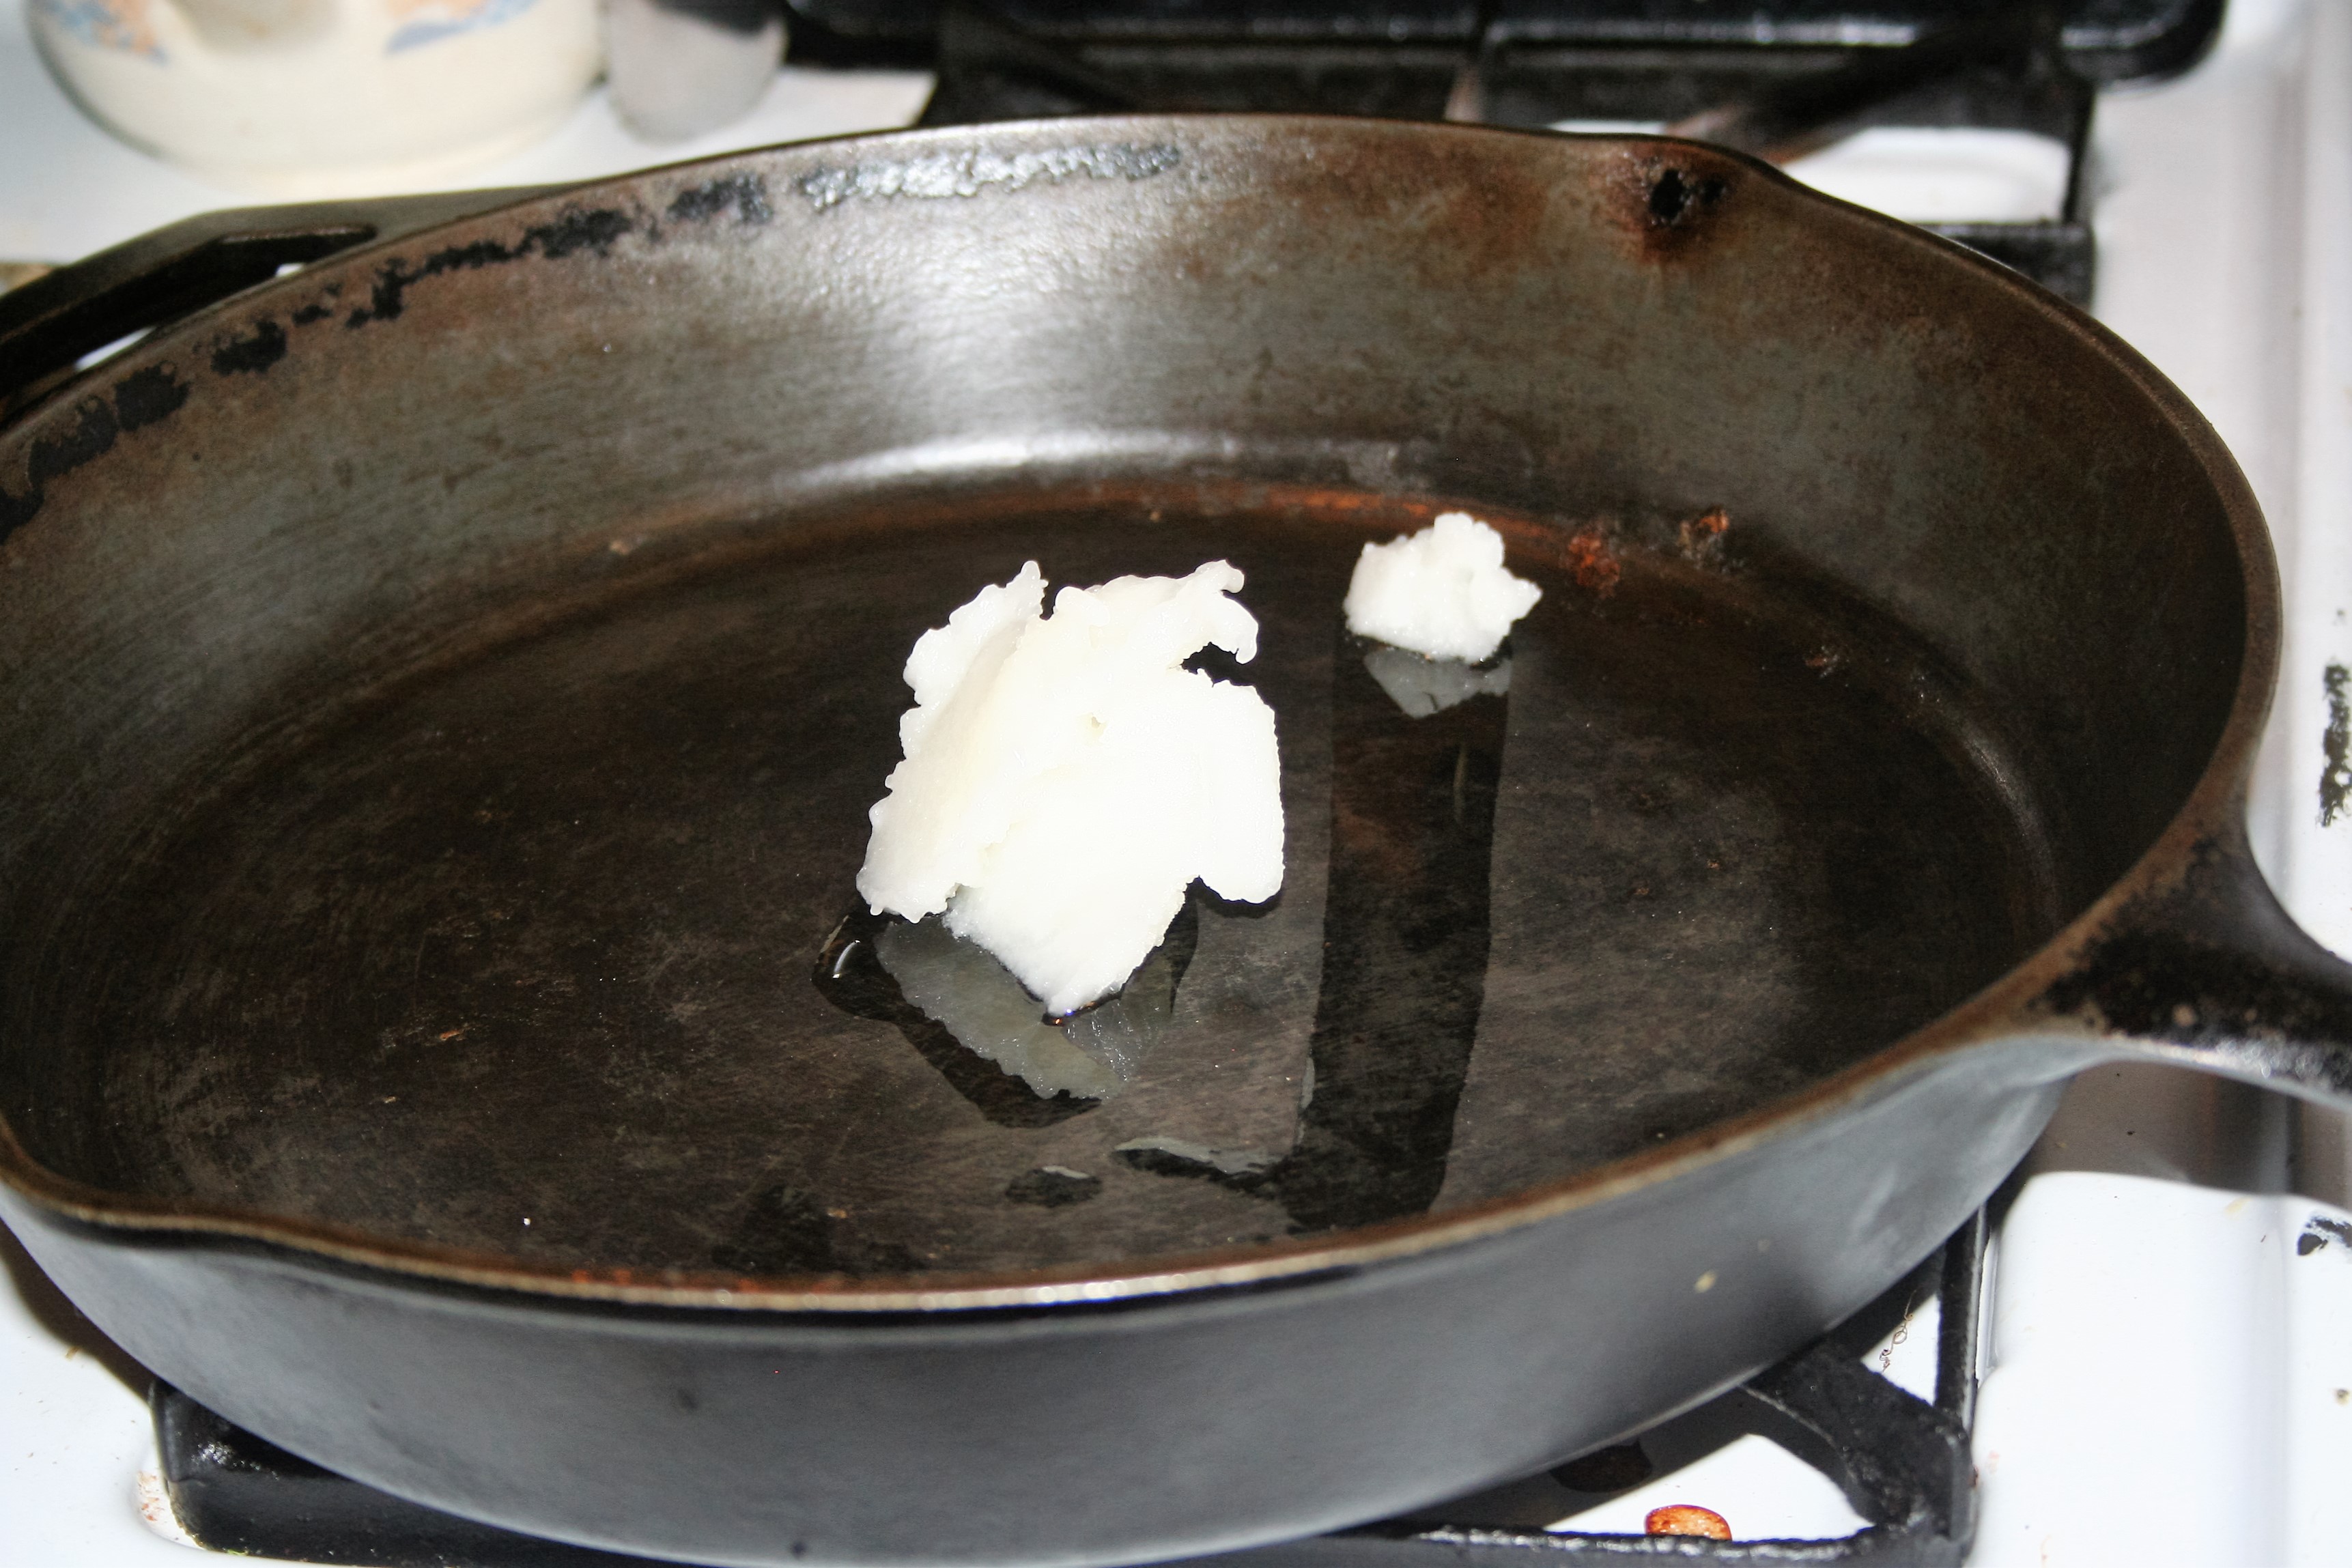
Put a couple of tablespoons of oil in a skillet and turn the burner on to medium-high. We used coconut oil this night.

Chicken Parmesan ~ Lifeofjoy.me

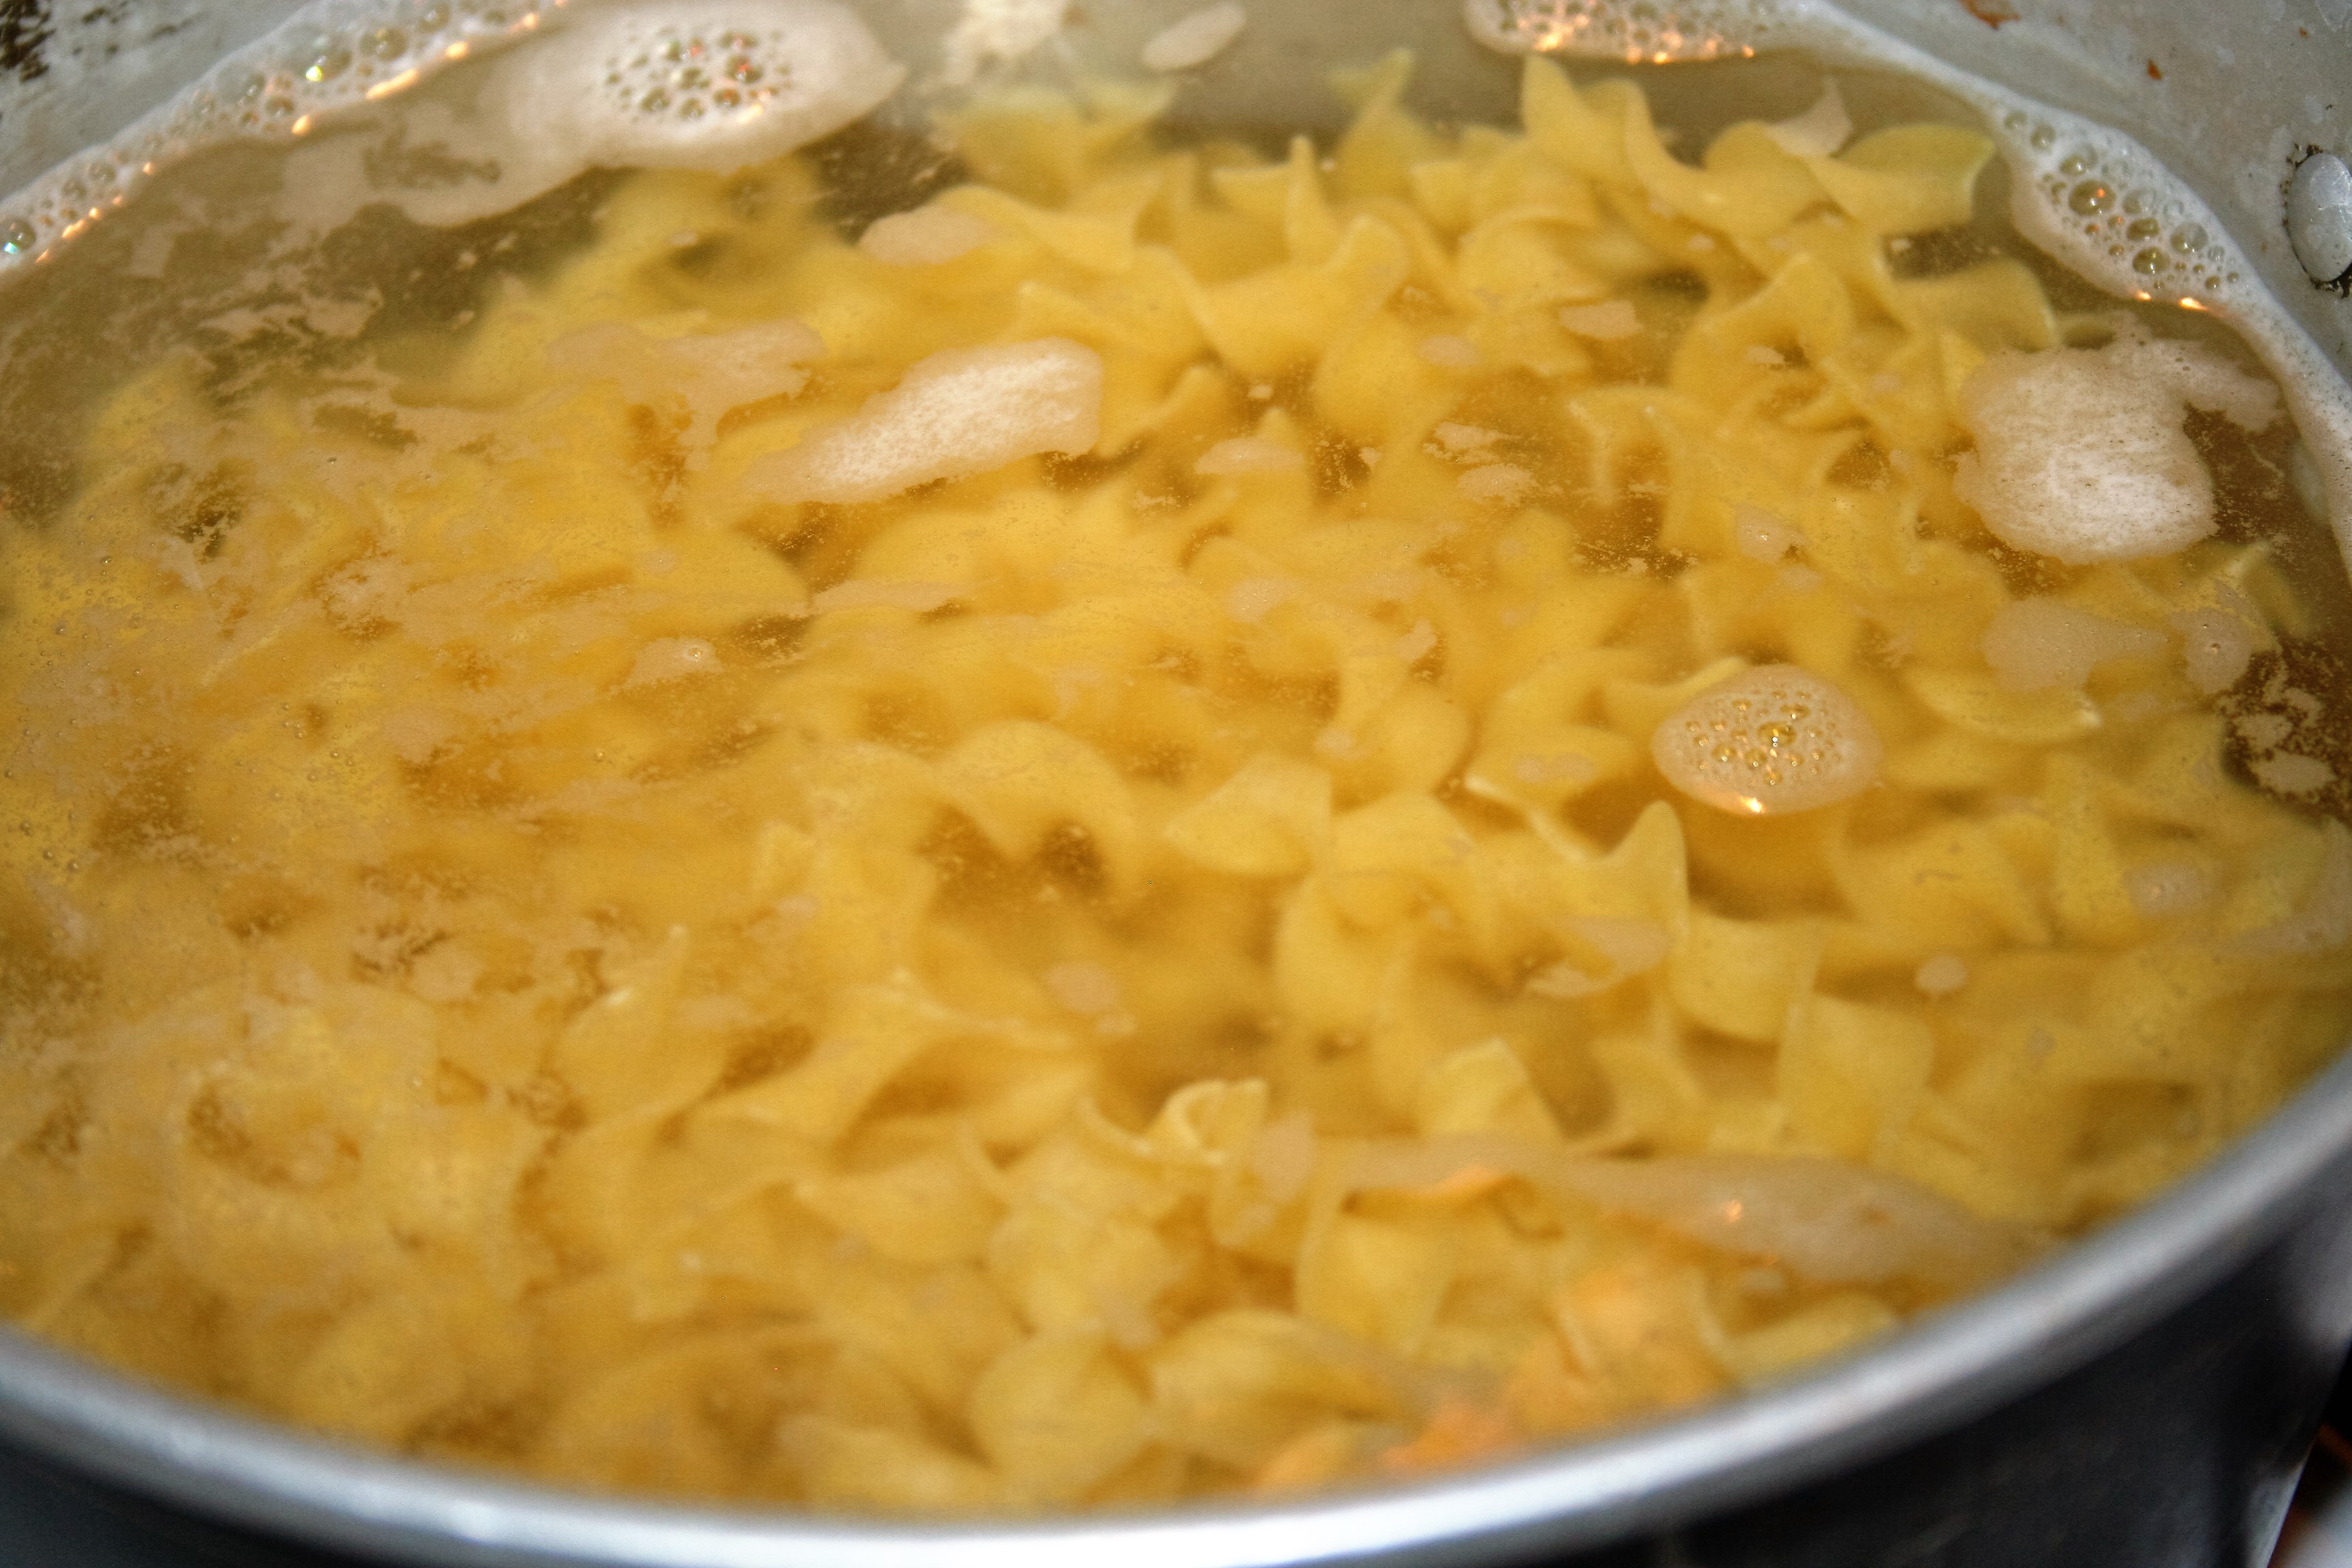
Also put on a pot of water and bring it to a boil, to cook your noodles.

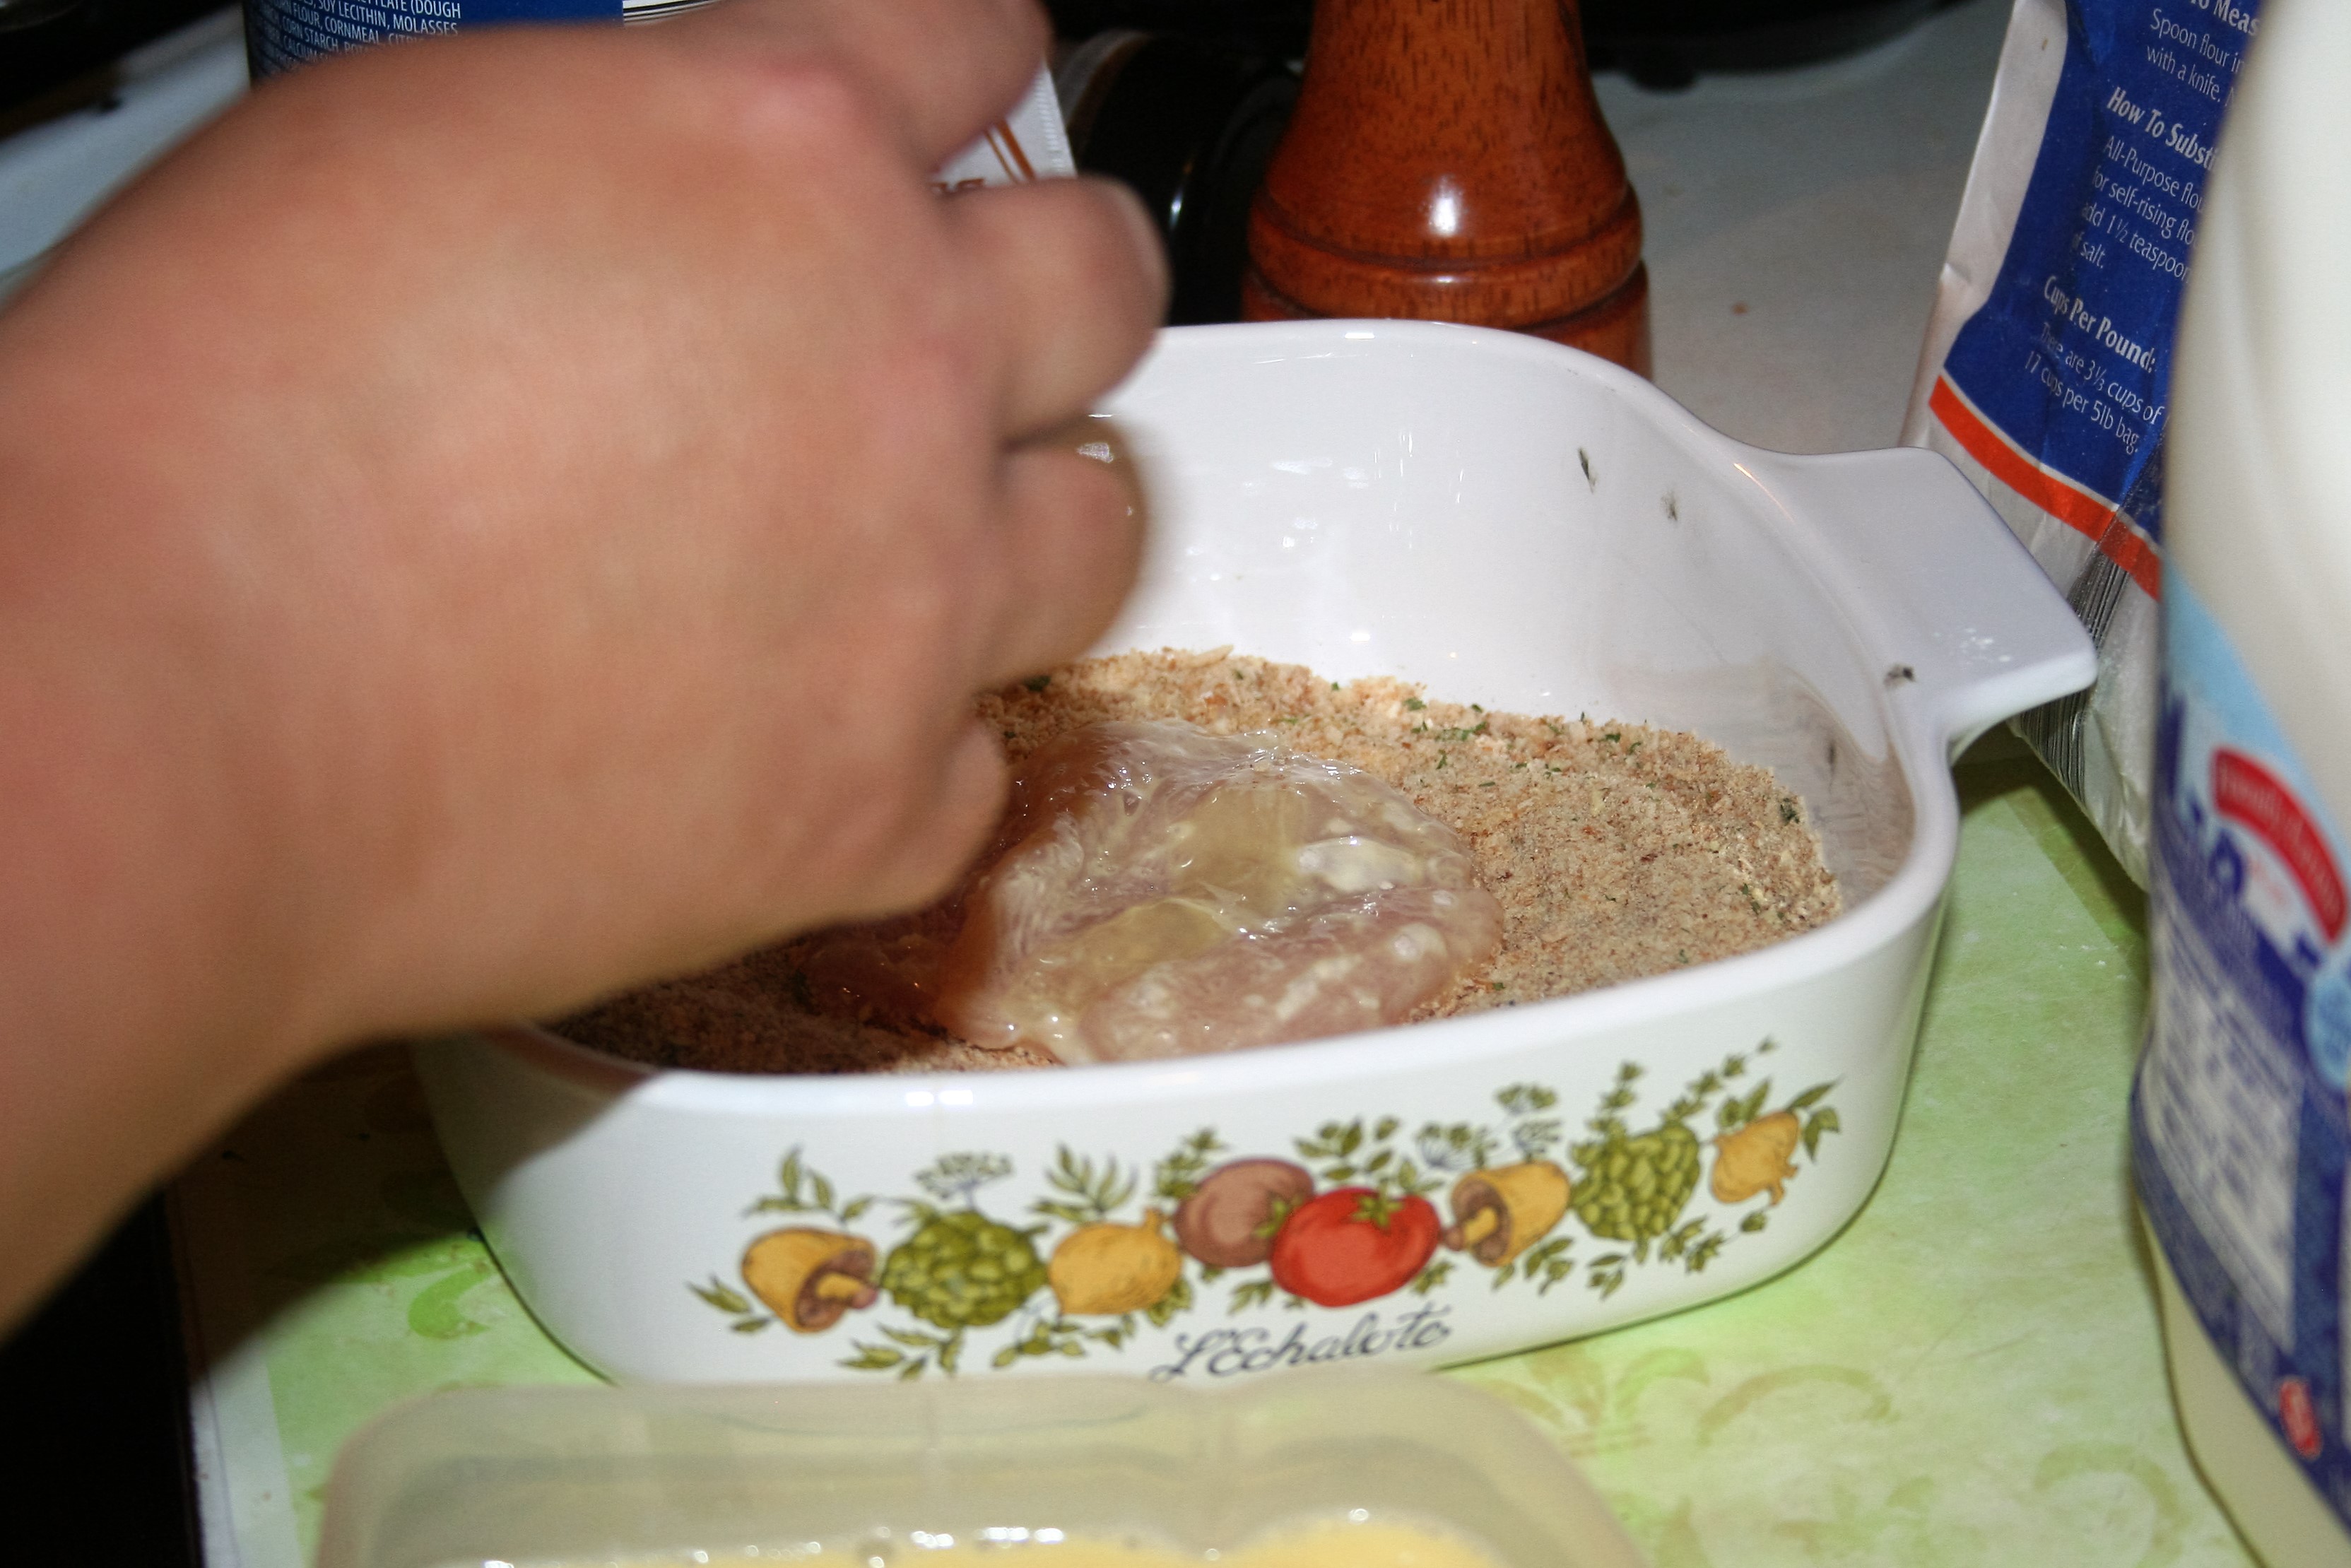
Now, place your piece of chicken in the flour and coat all sides. Then shake it slightly to let excess flour fall back into bowl. This will act as glue to hold on the breadcrumbs. :)

Chicken Parmesan ~ Lifeofjoy.me
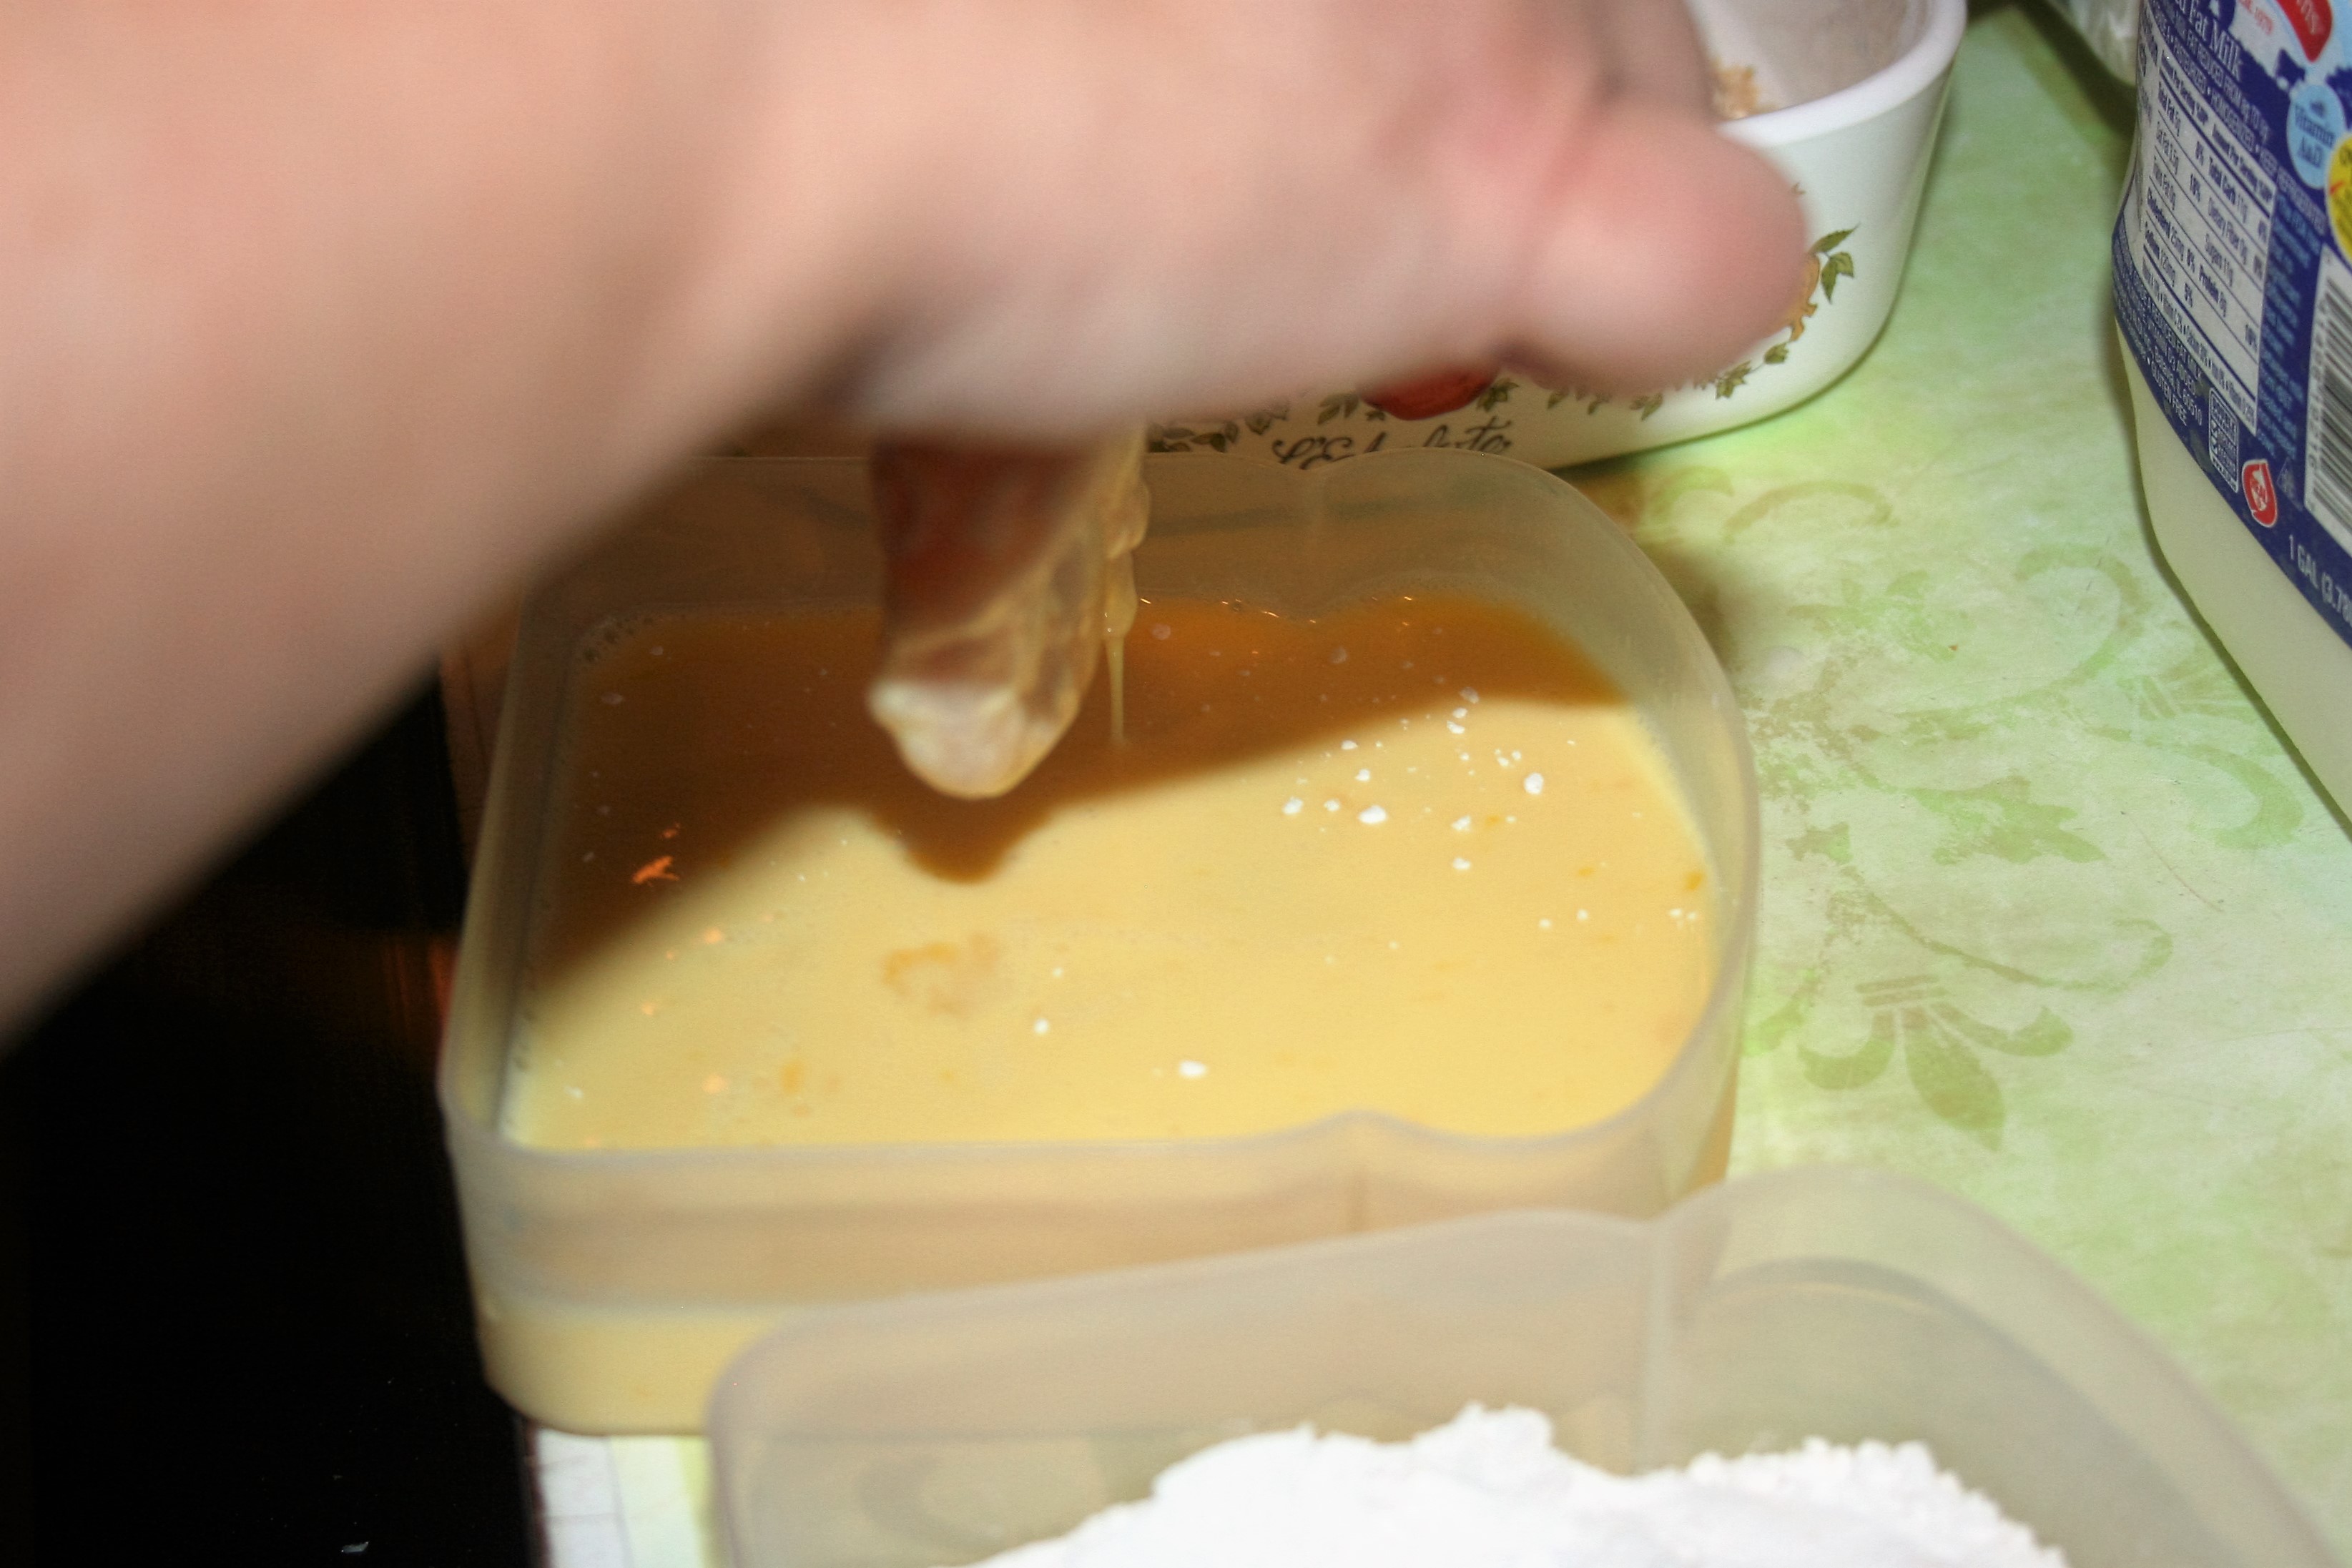
Then place in the egg/milk mixture and turn to coat fully. Let excess drip off.

Chicken Parmesan ~ Lifeofjoy.me
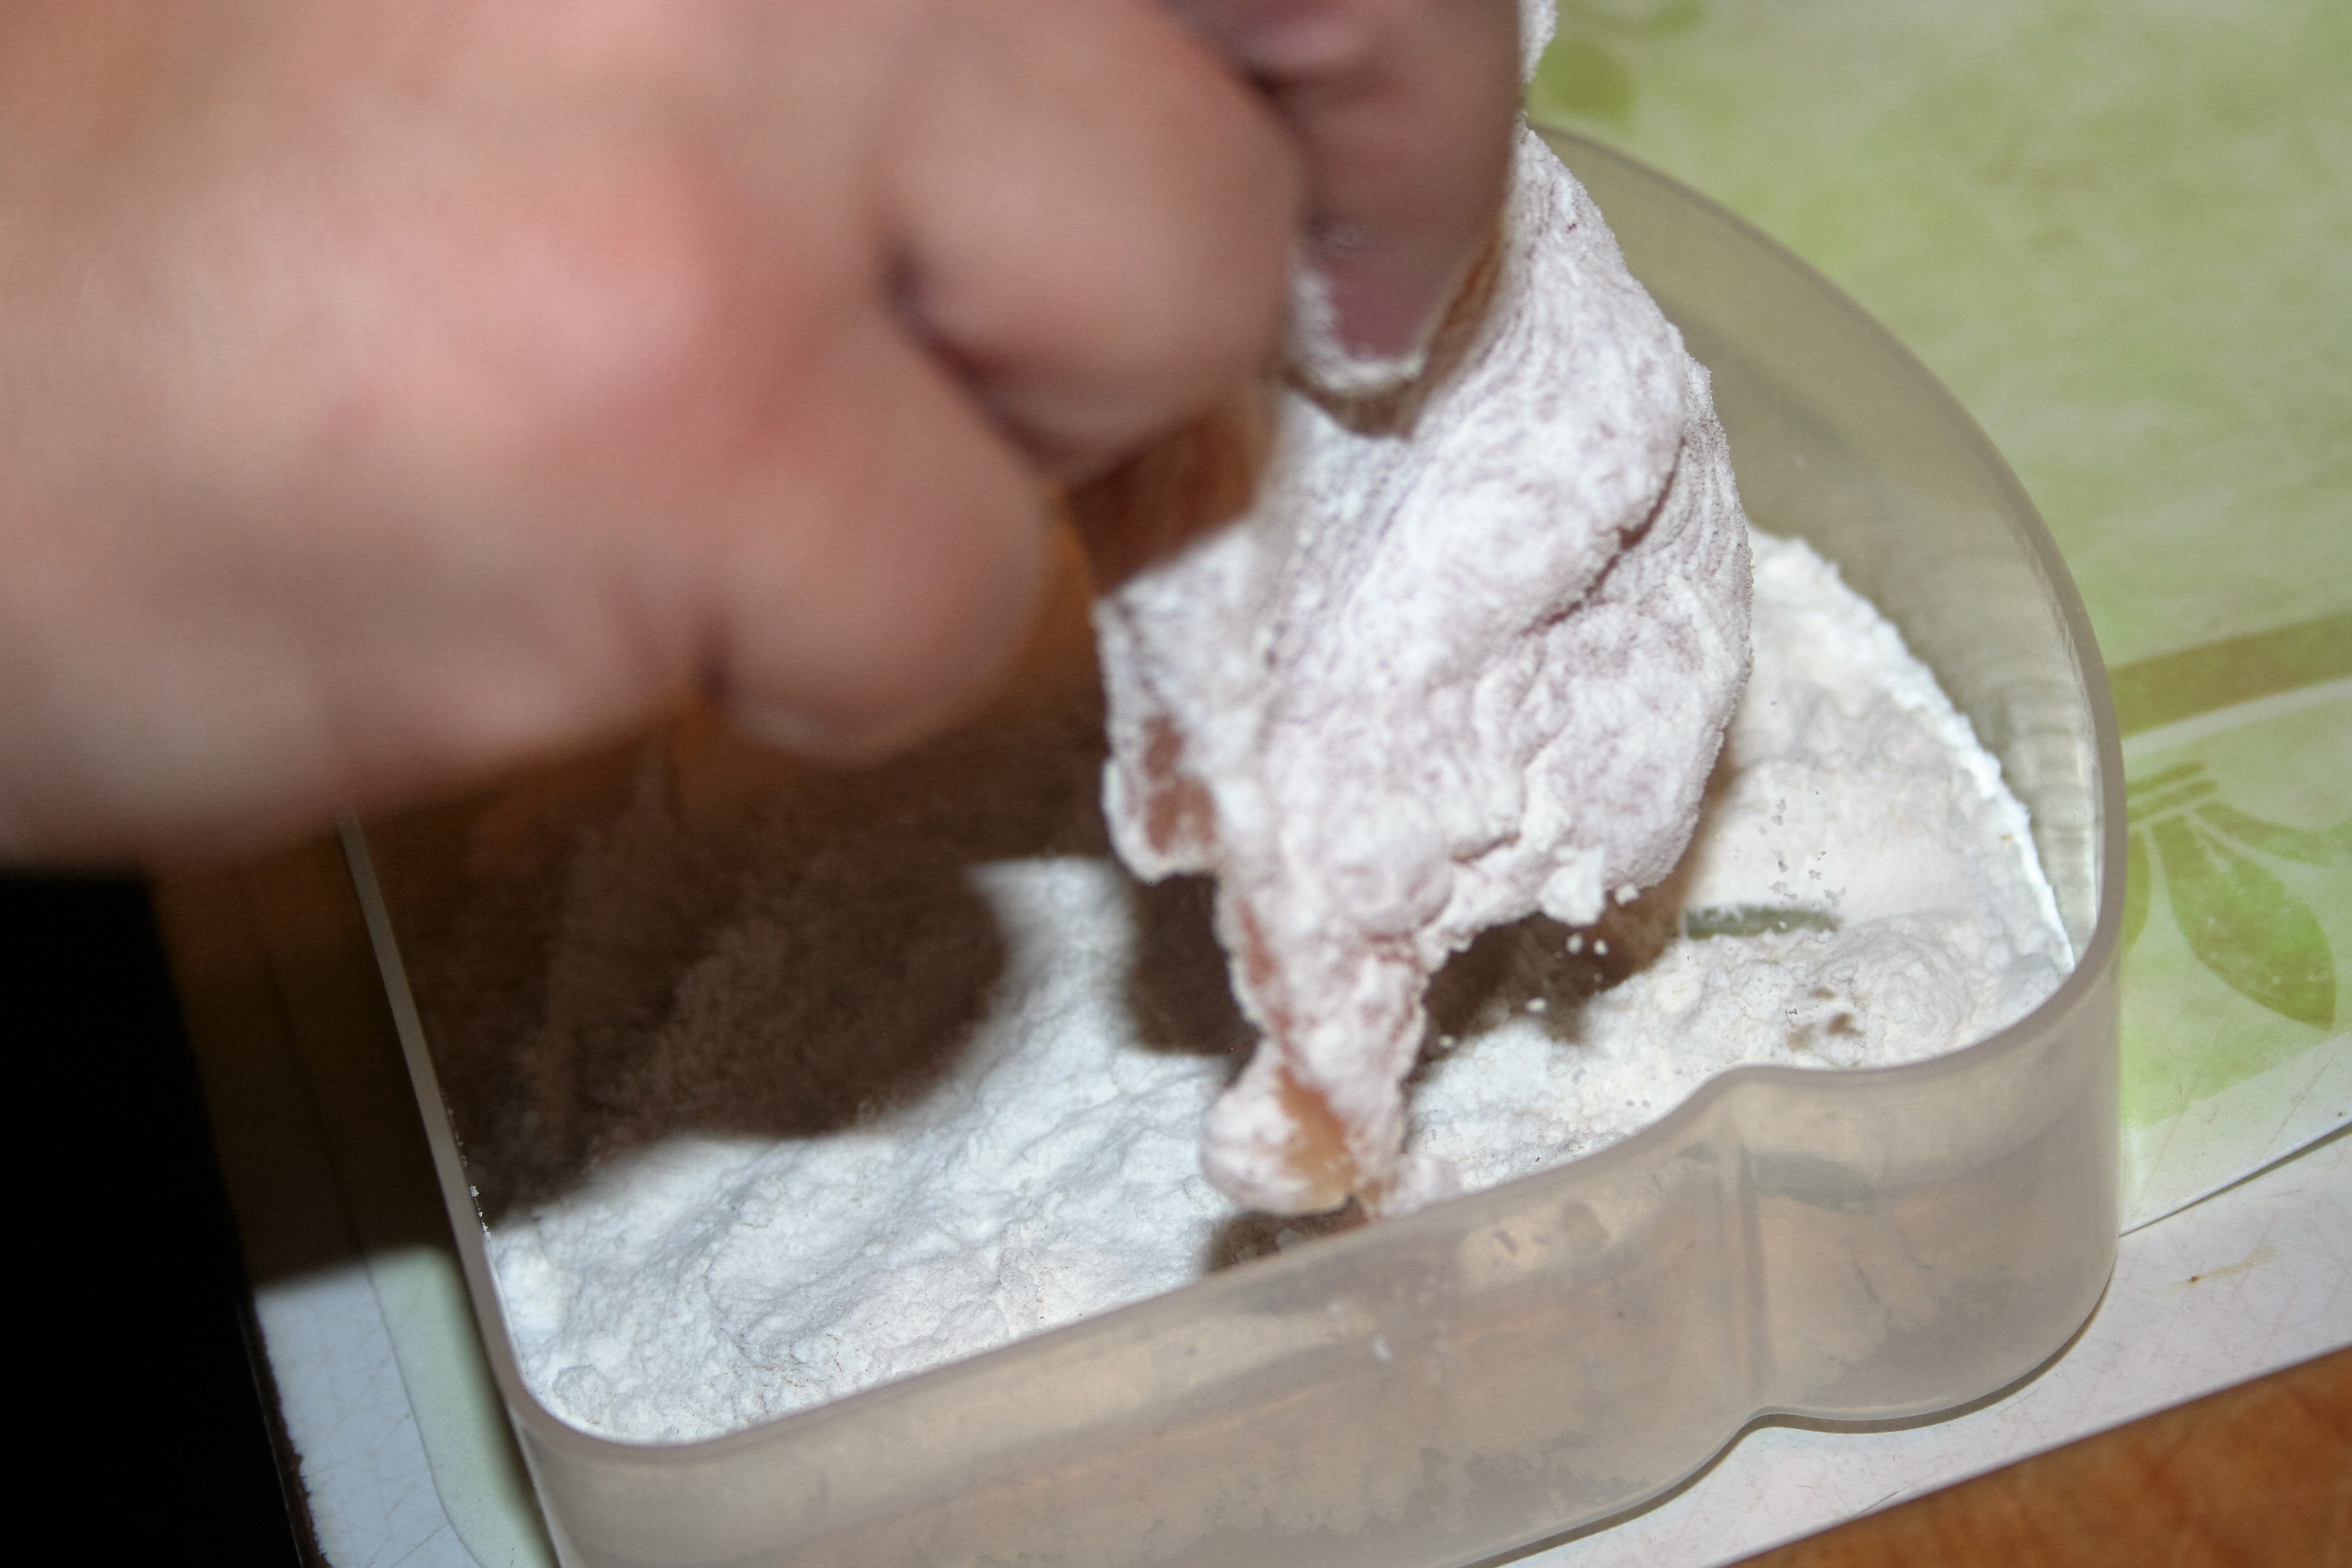
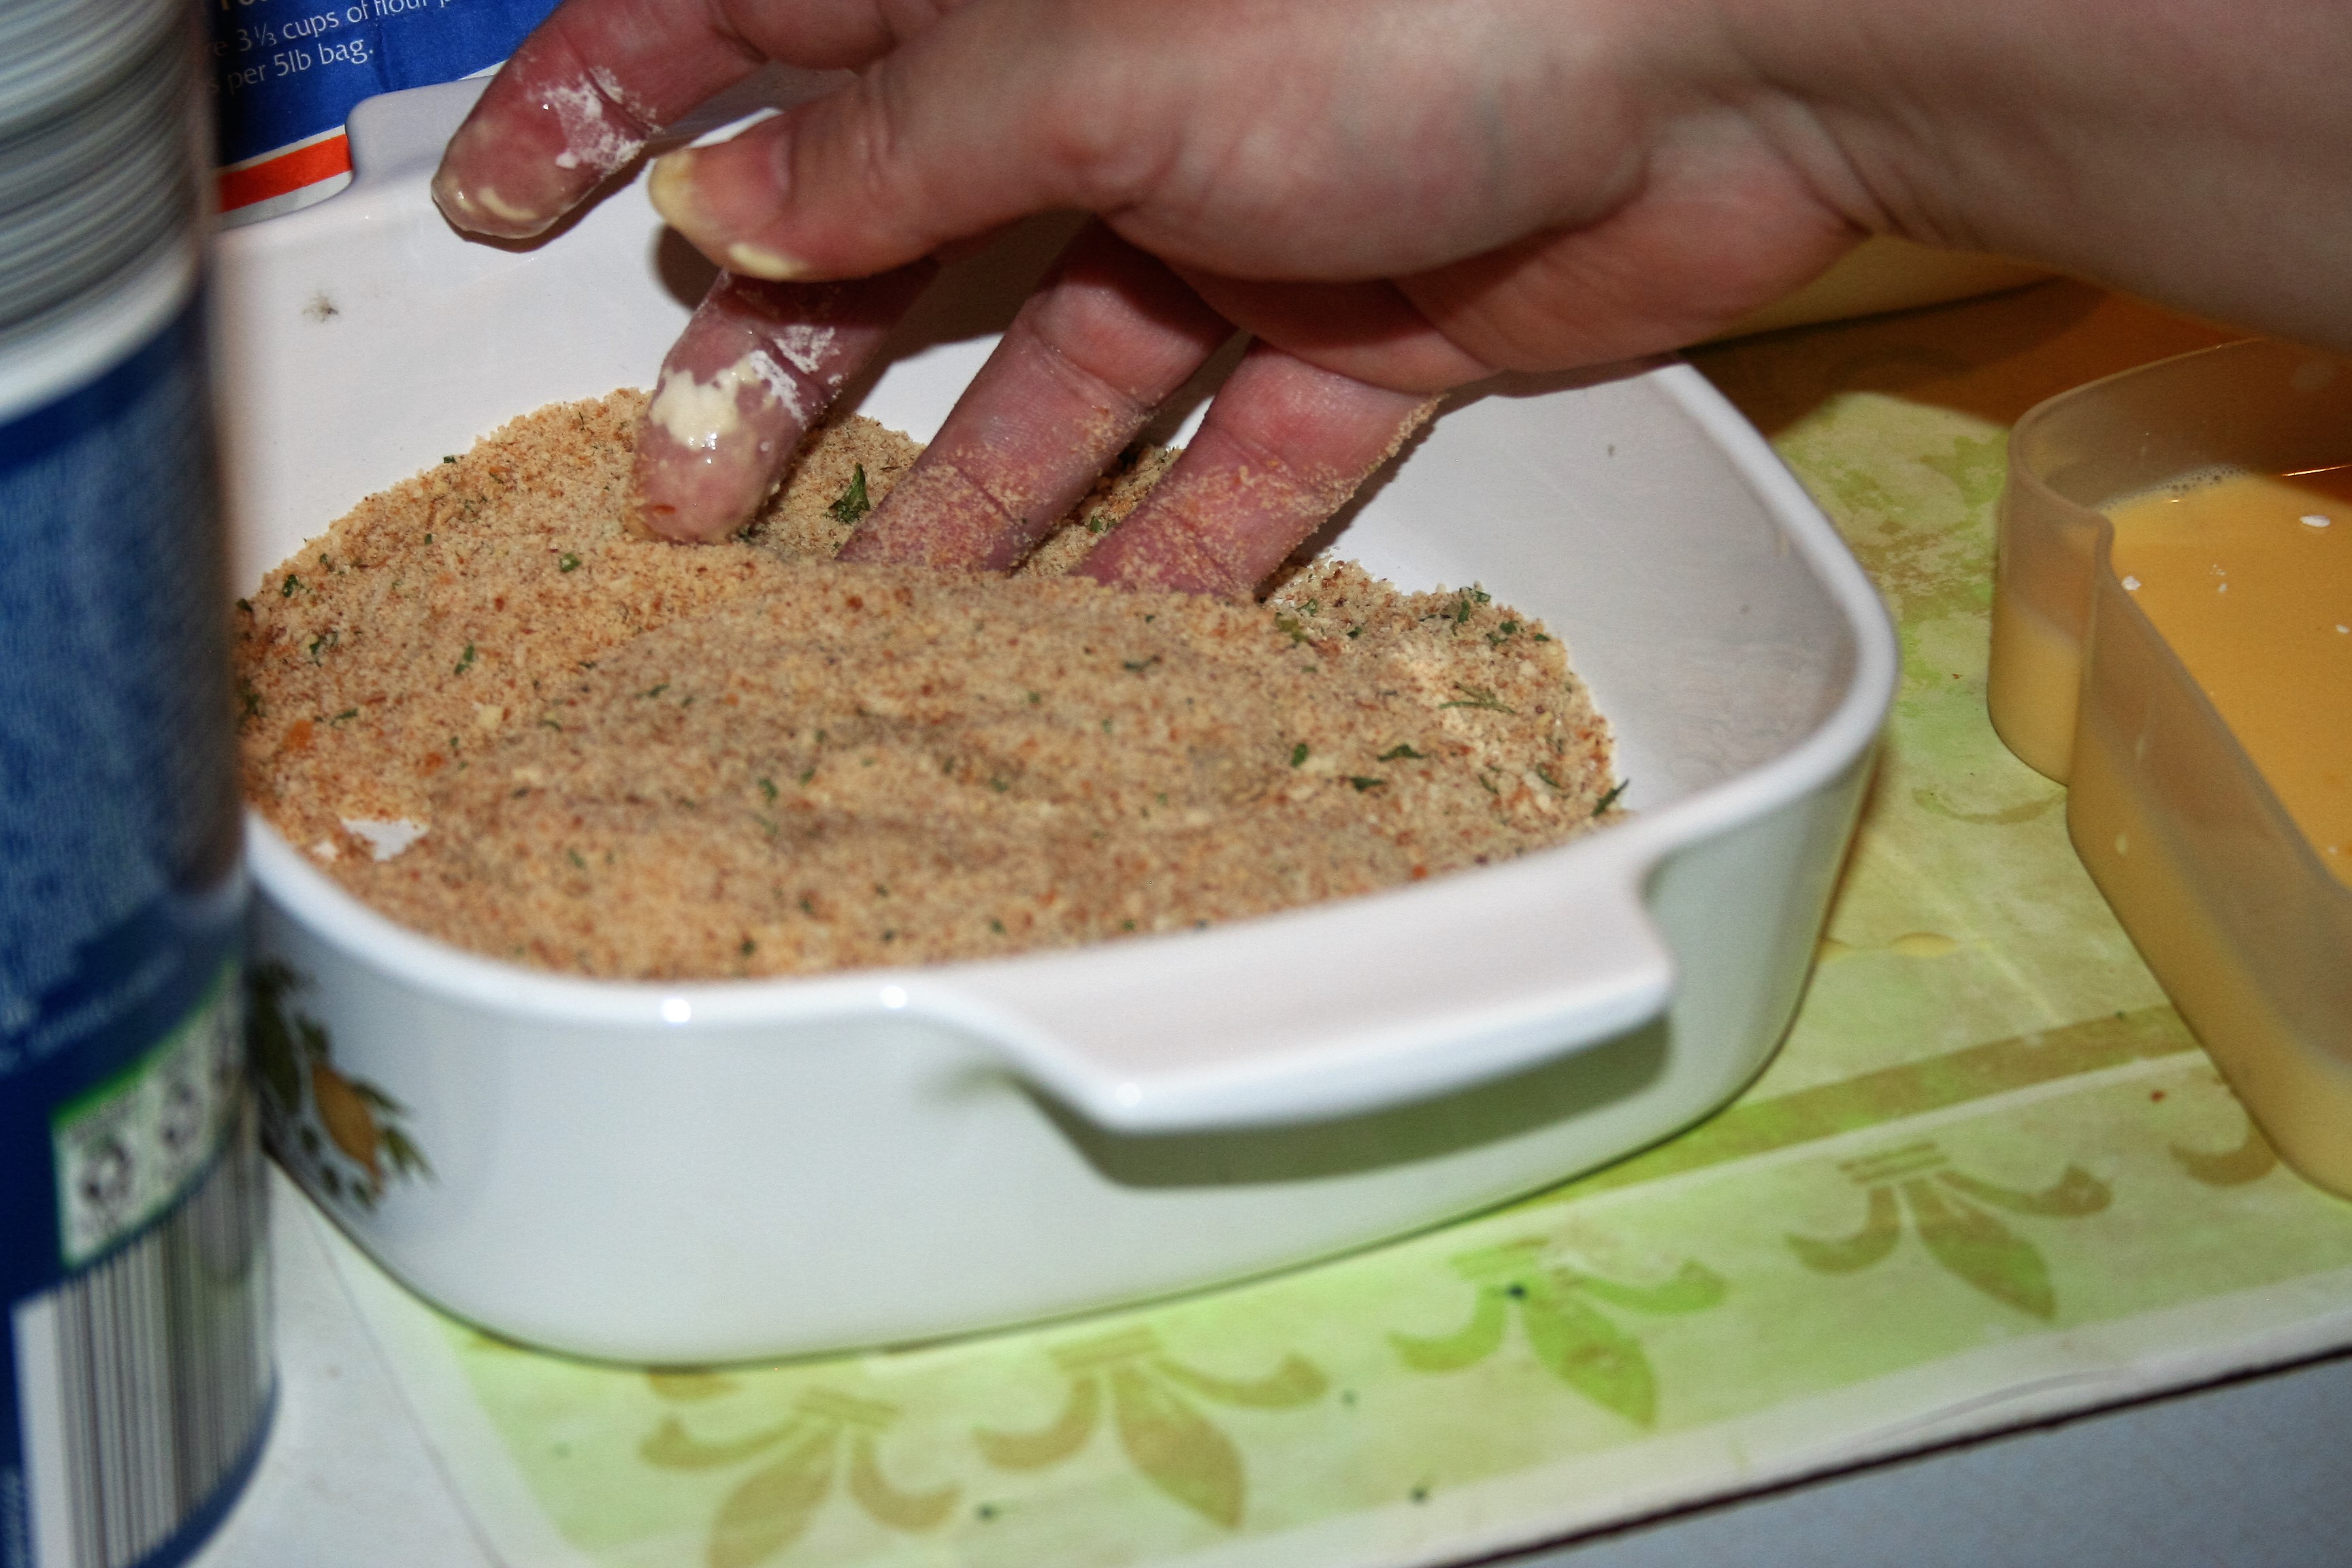
Then place in the breadcrumbs and coat thoroughly. Pat it on, if you like.

Chicken Parmesan ~ Lifeofjoy.meChicken Parmesan ~ Lifeofjoy.me 
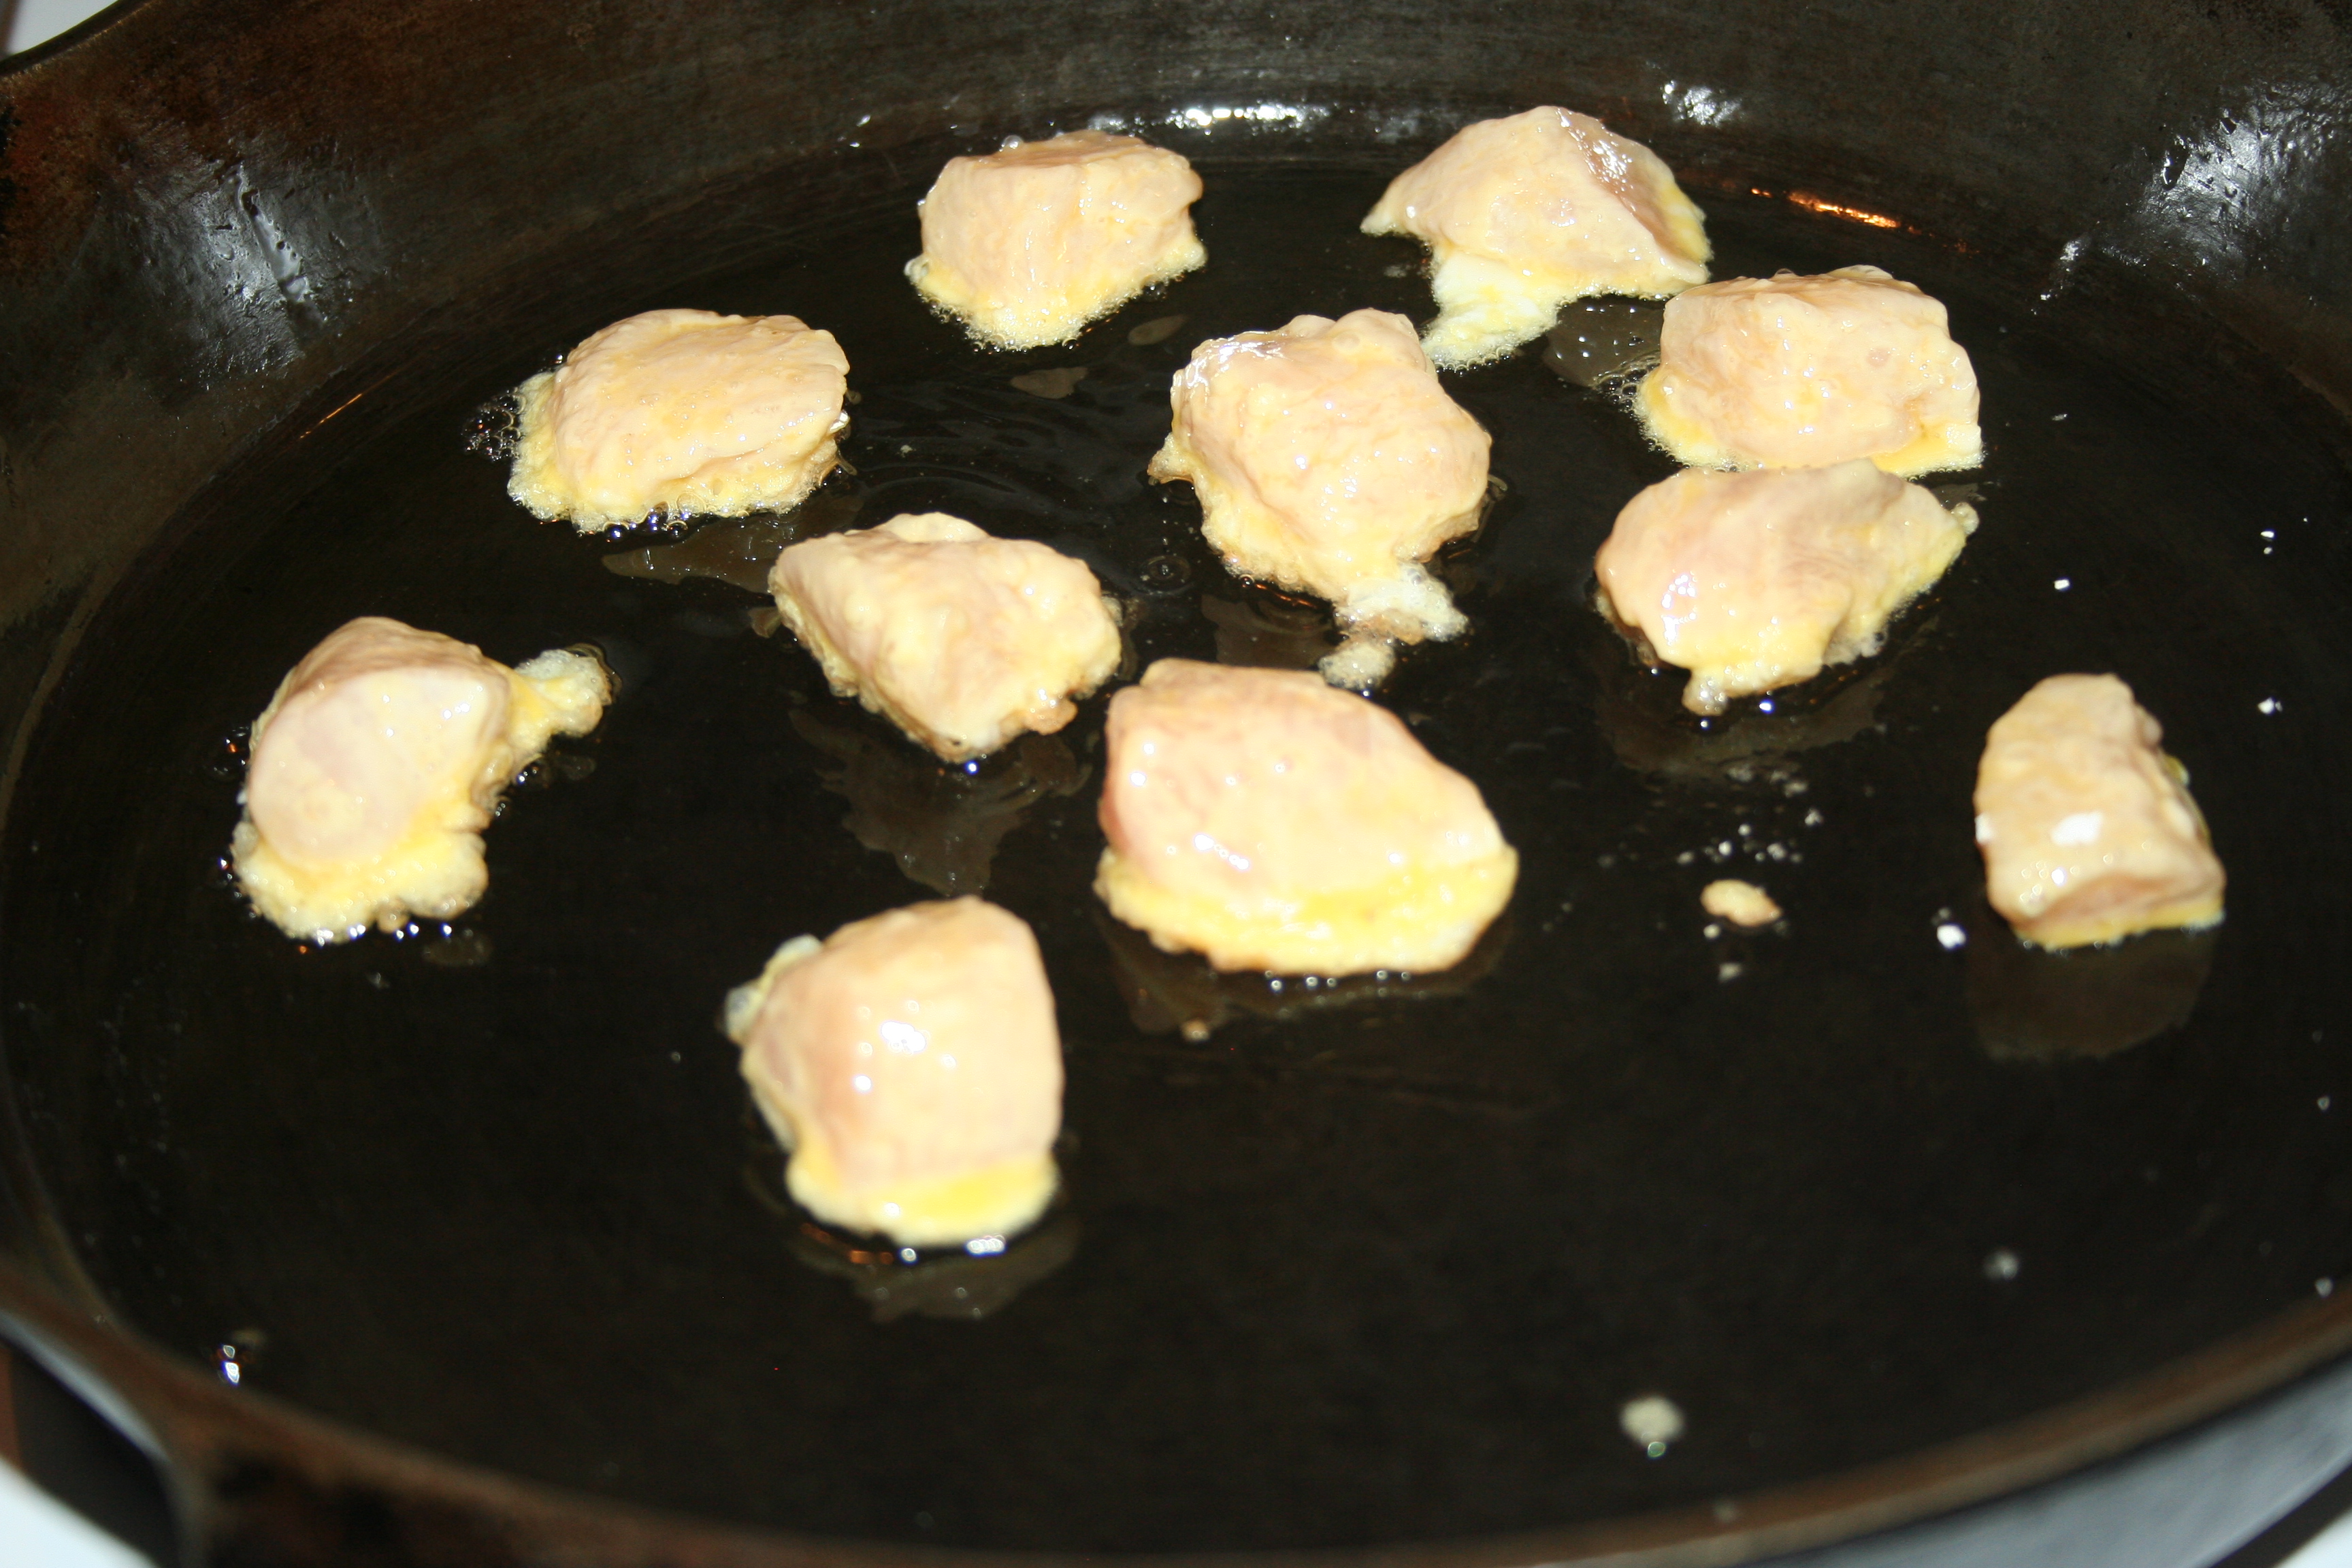
Place into skillet with hot oil.

Chicken Parmesan ~ Lifeofjoy.me
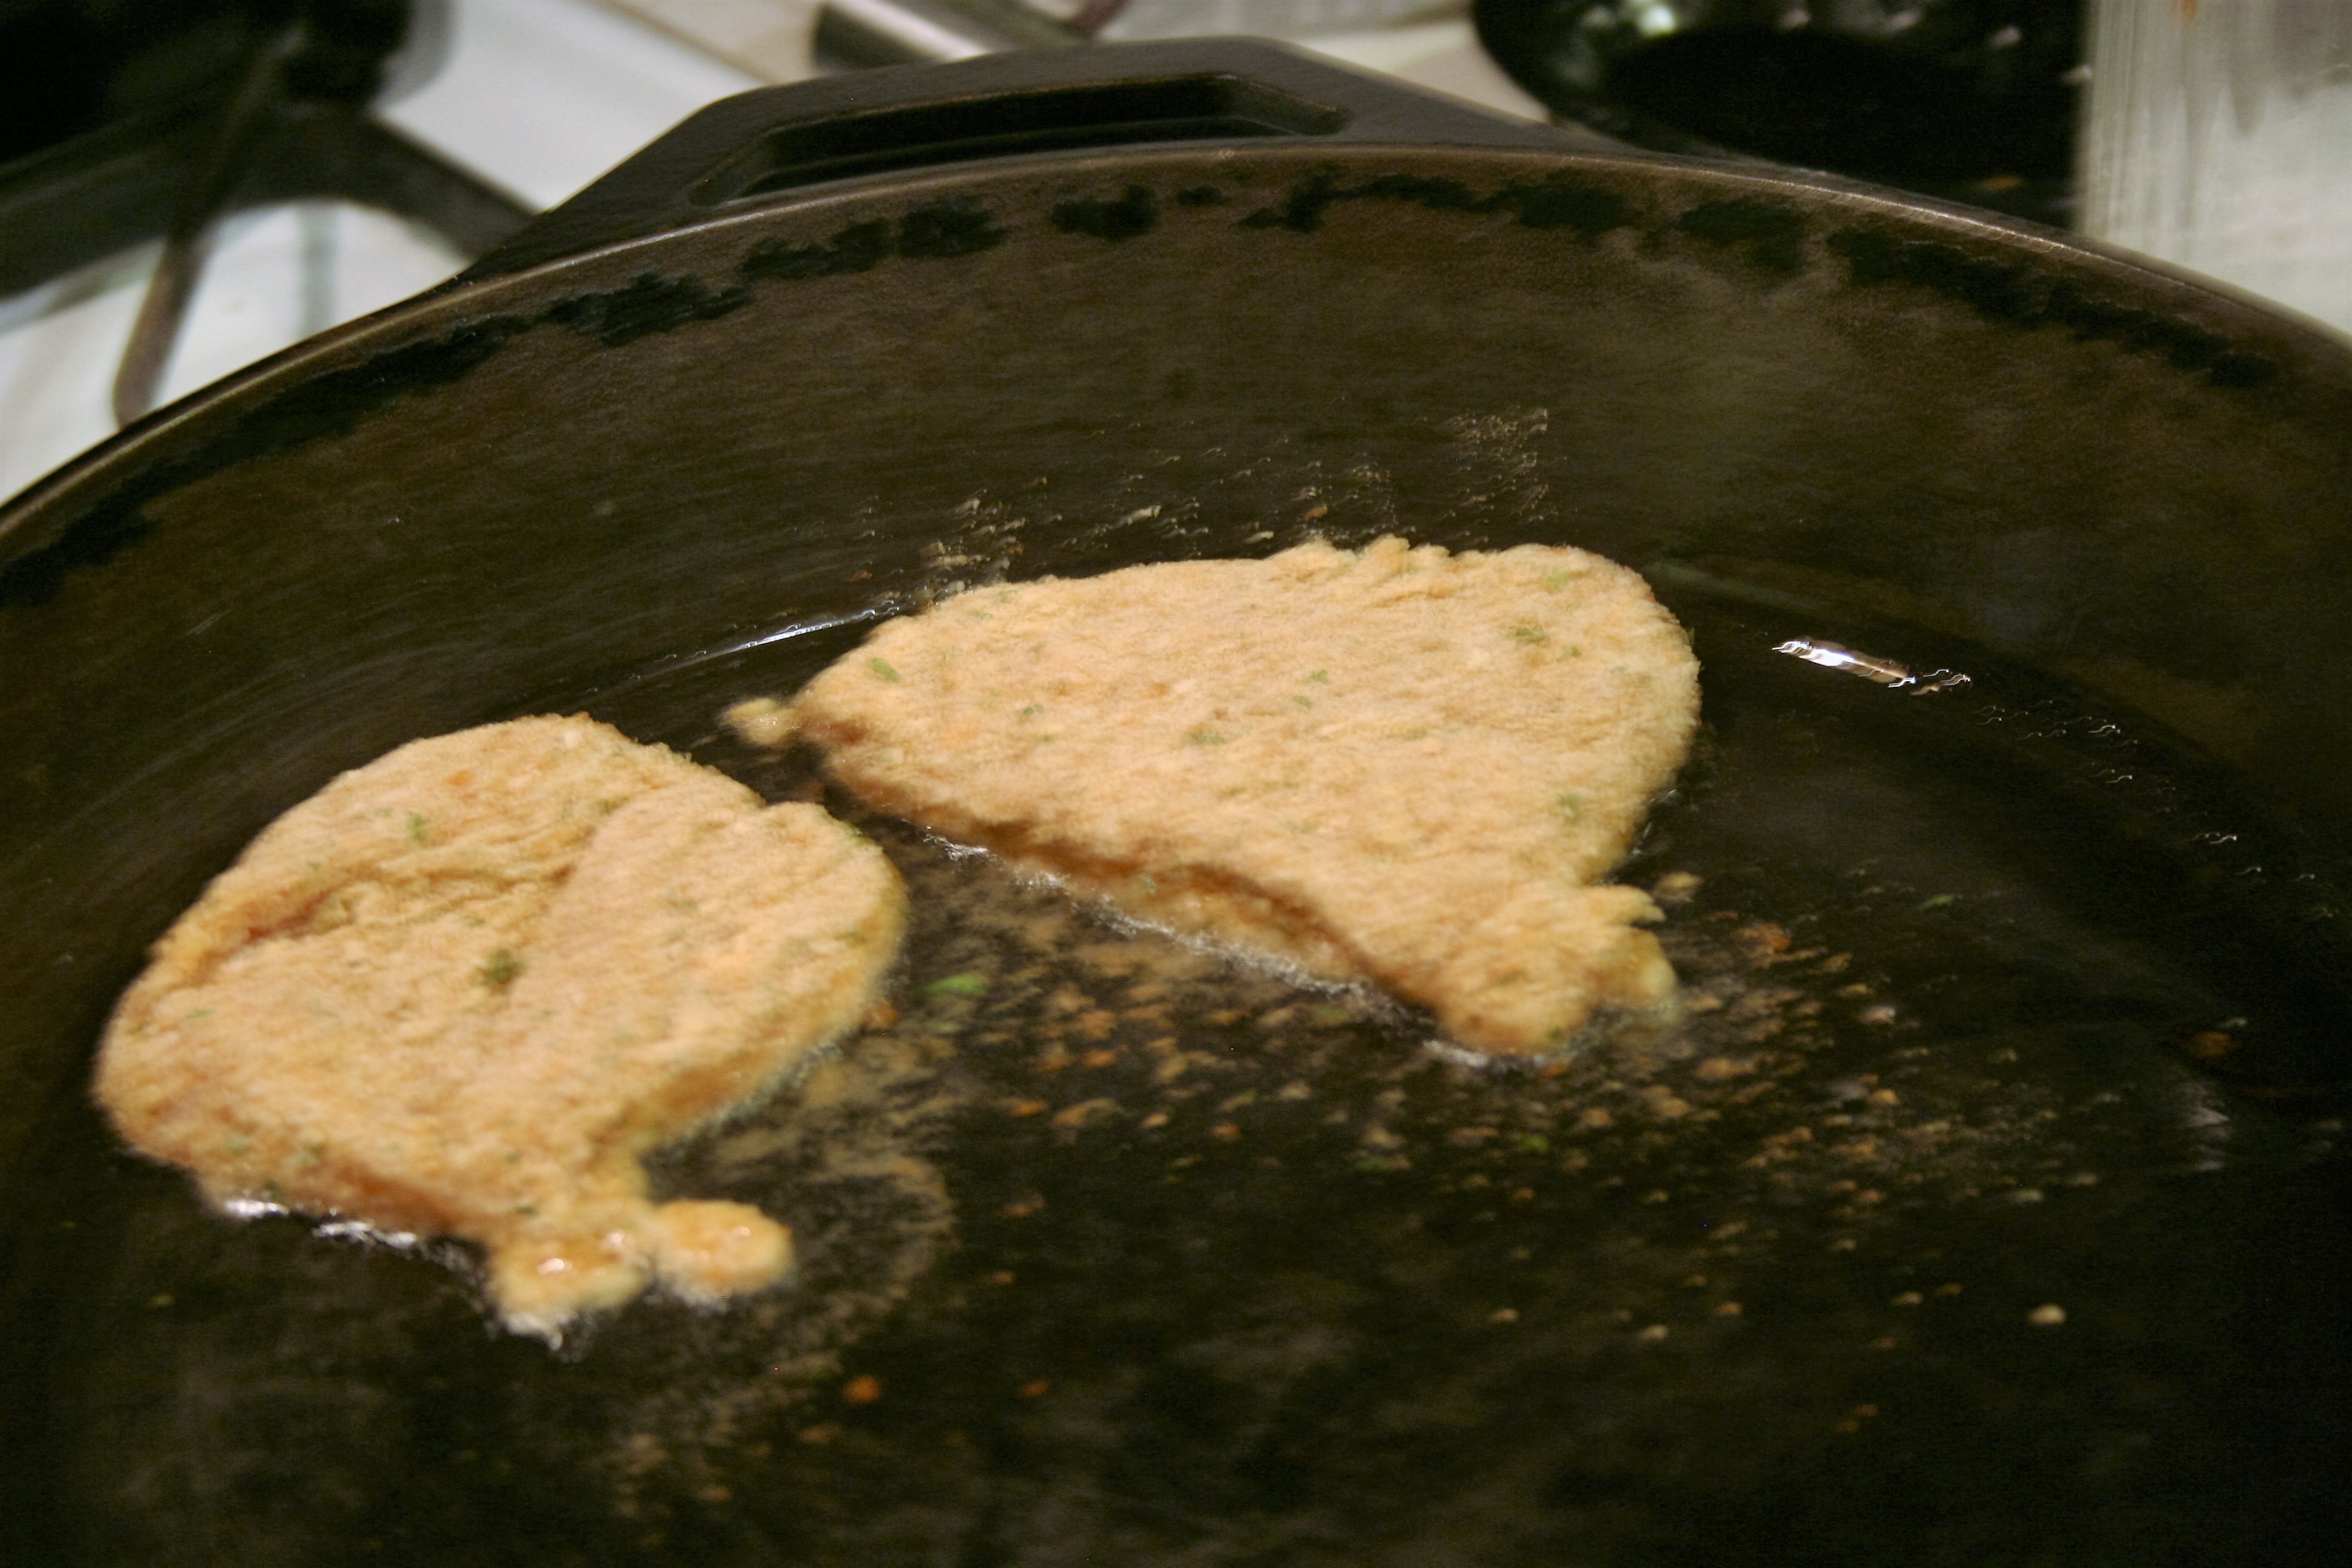
Sorry that’s so blurry.

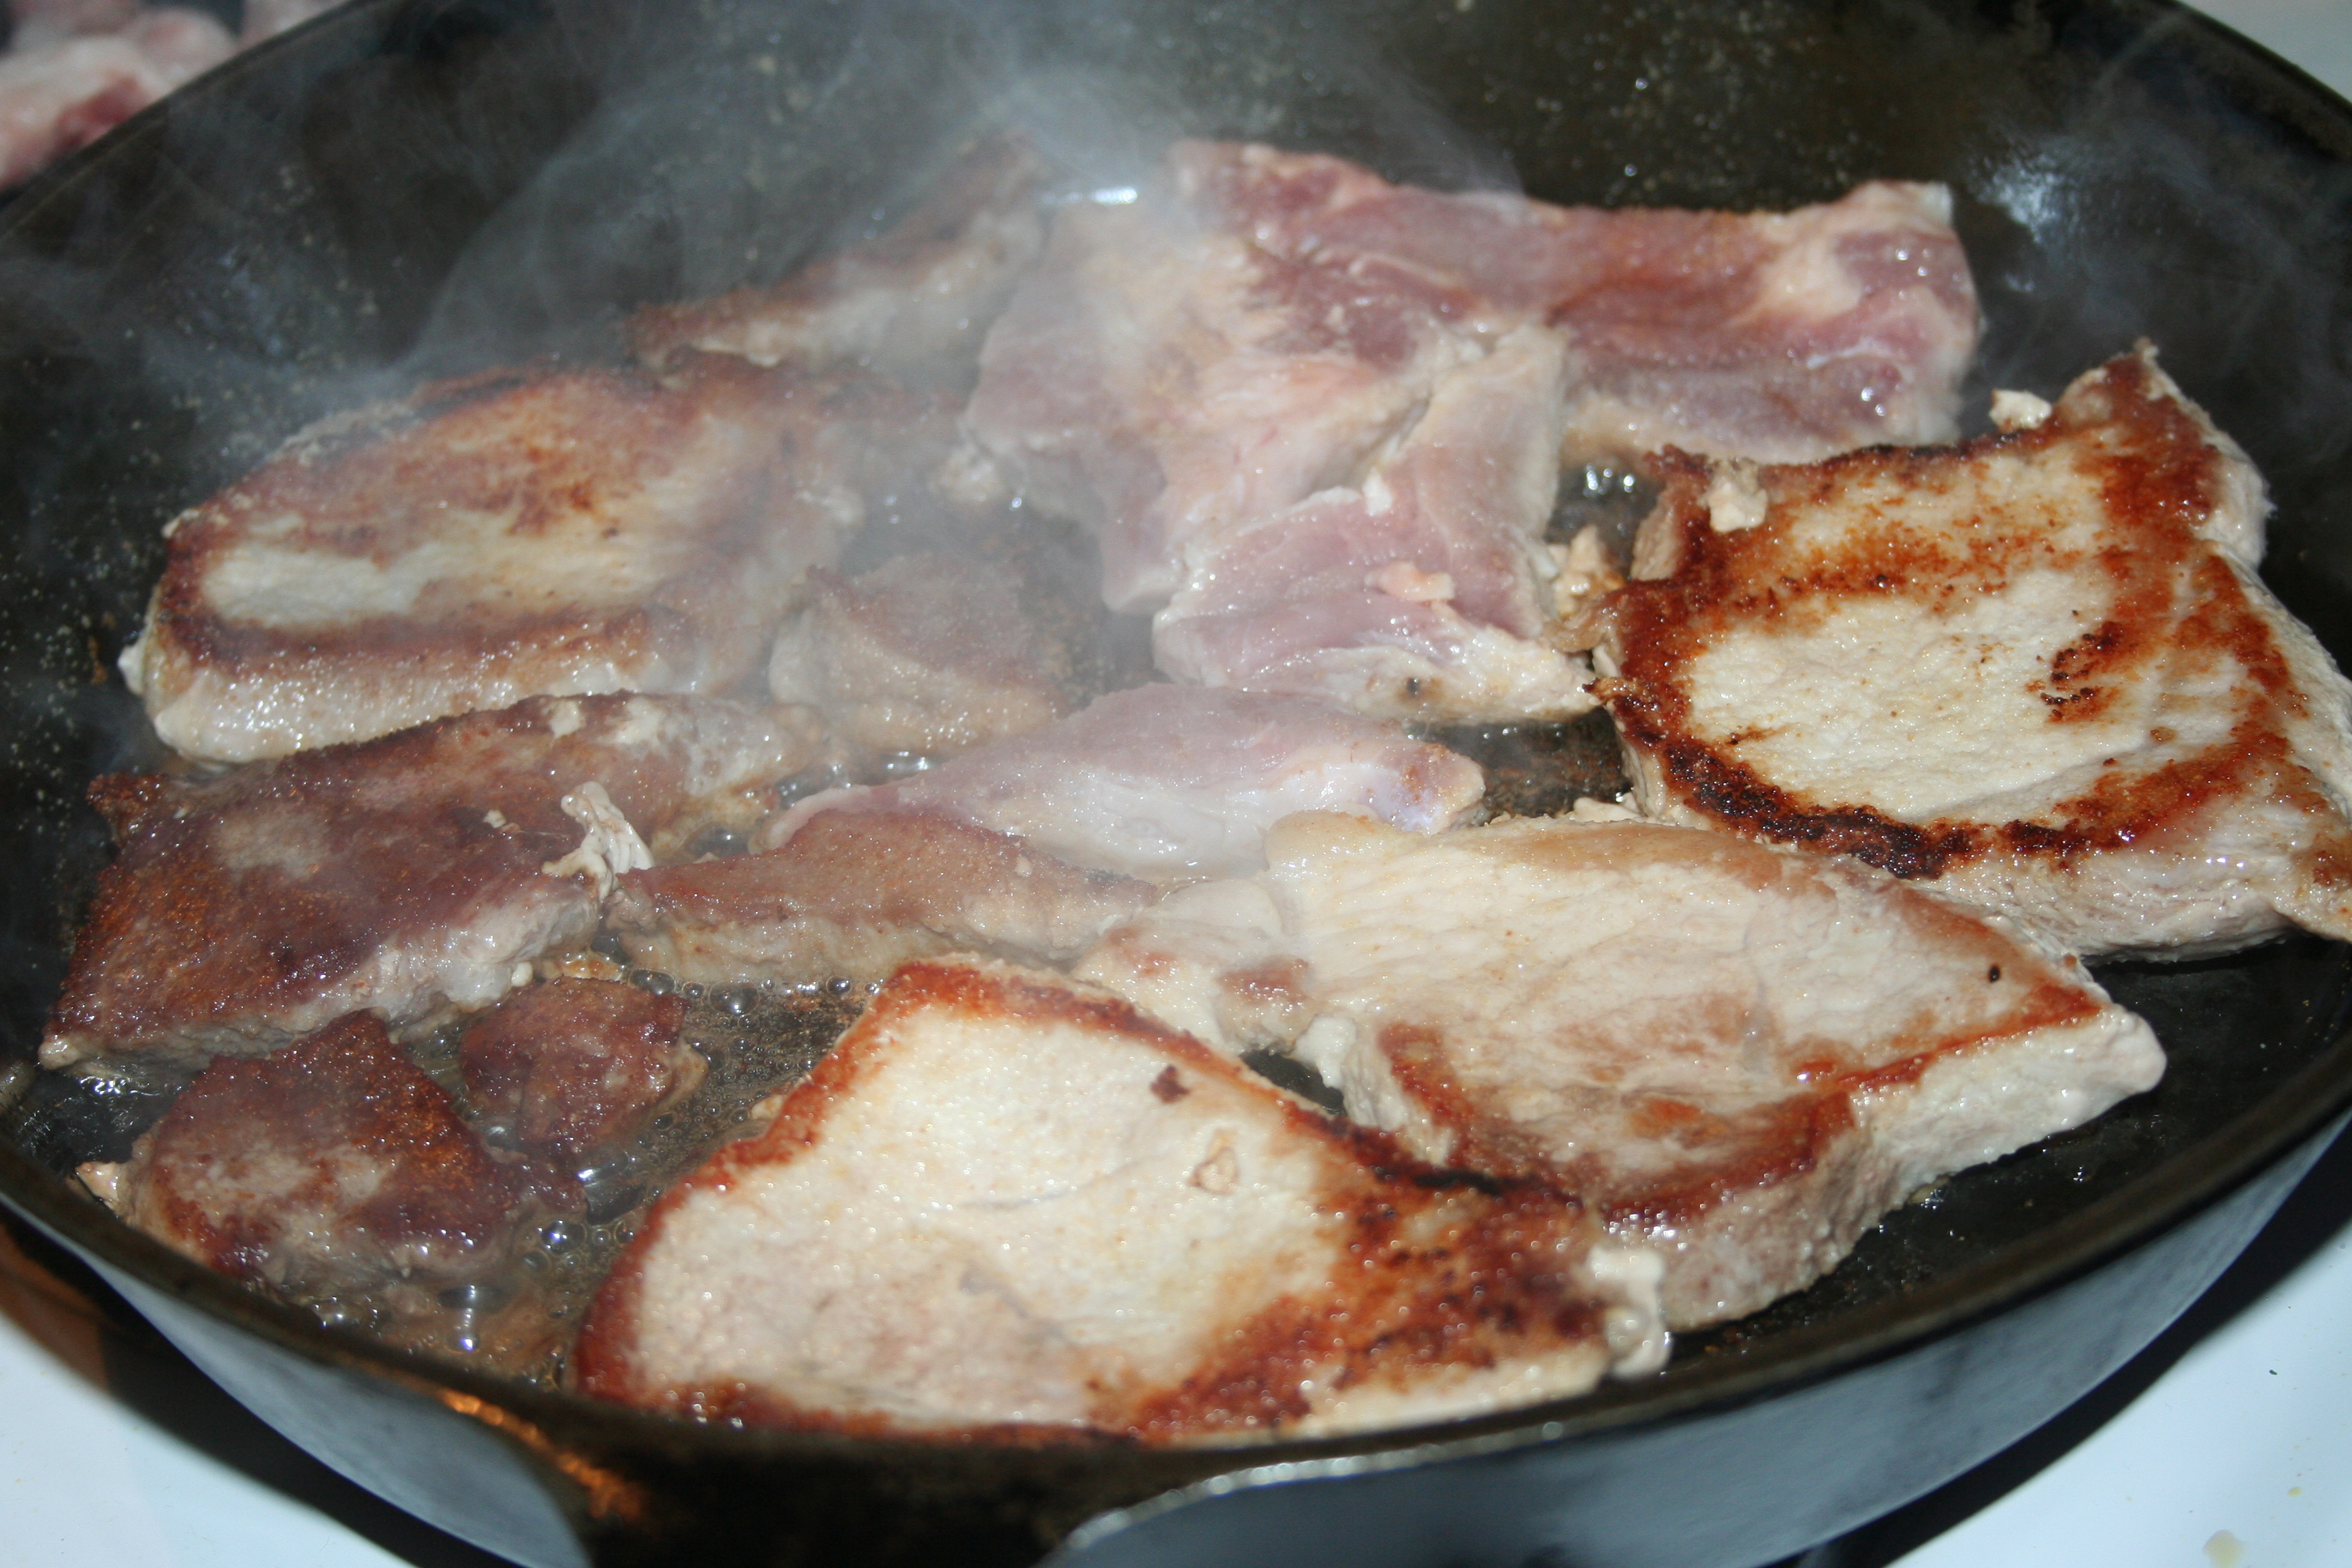
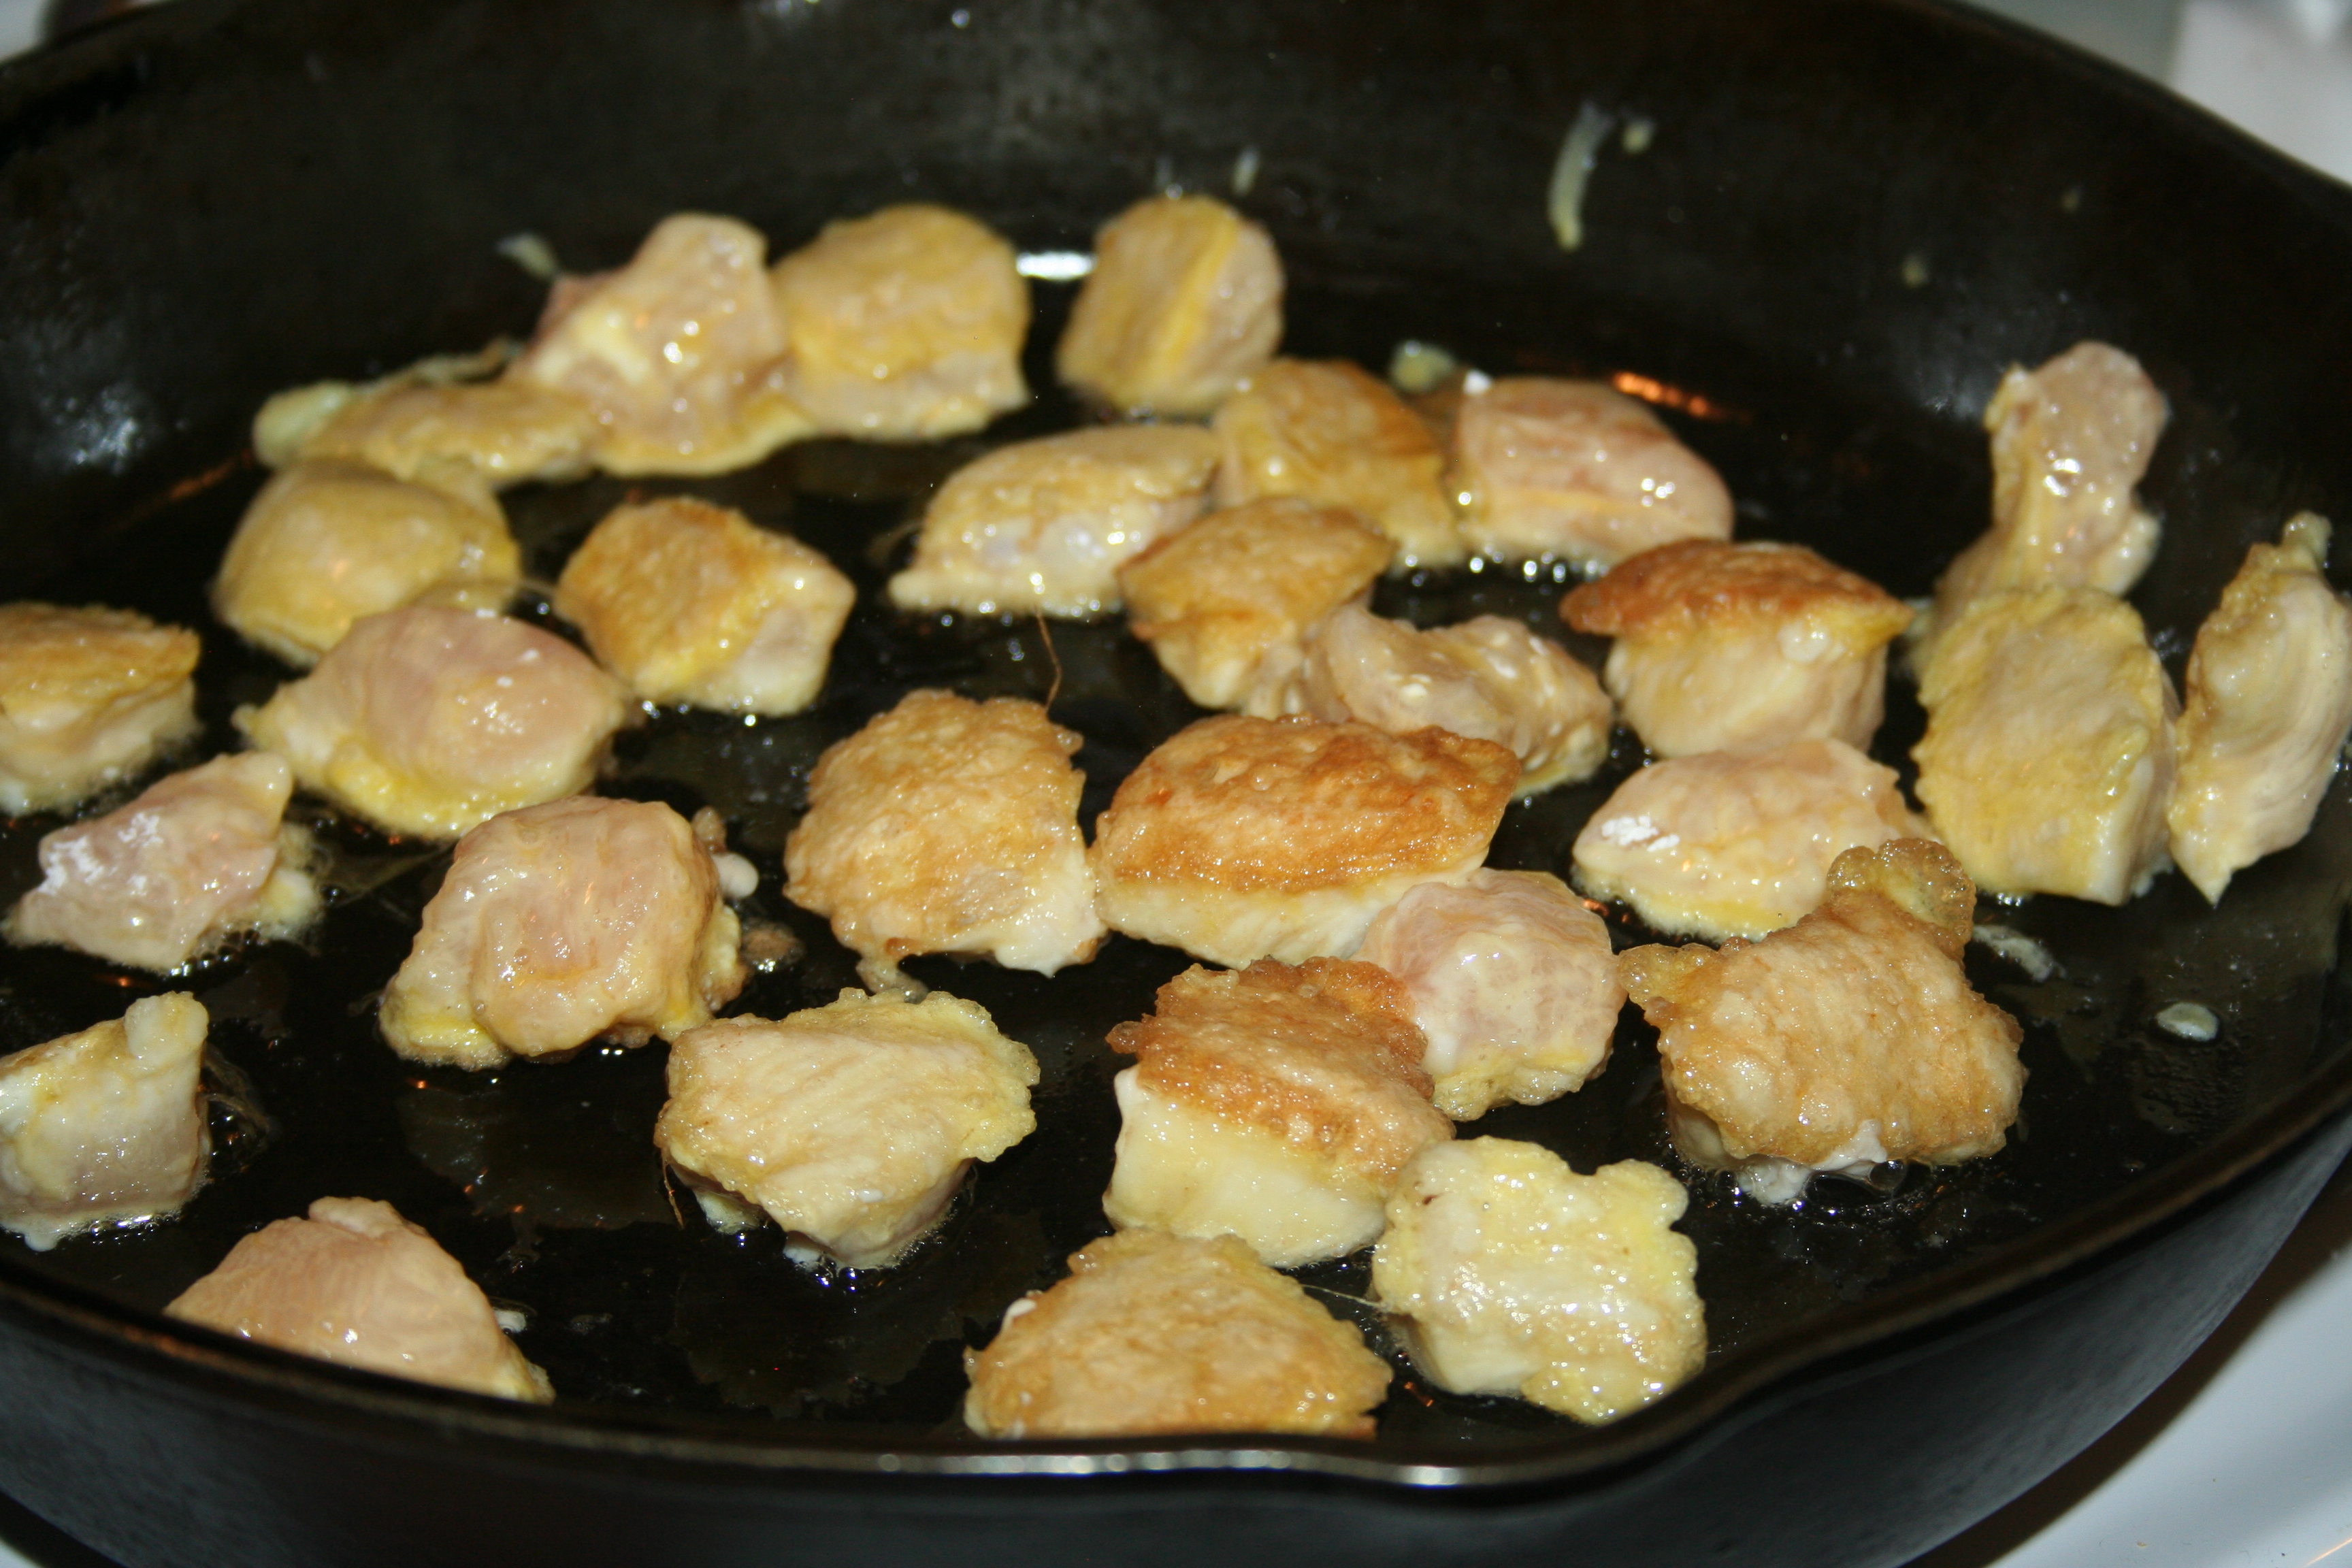
Continue this process until you have all your chicken breaded and placed in the skillet. Turn them over when the first side is golden brown. You should start to see the edges getting done and may see some juices forming on the top. Keep an eye on the heat of your burner, turning it down if it is browning too quickly.

Chicken Parmesan ~ Lifeofjoy.me
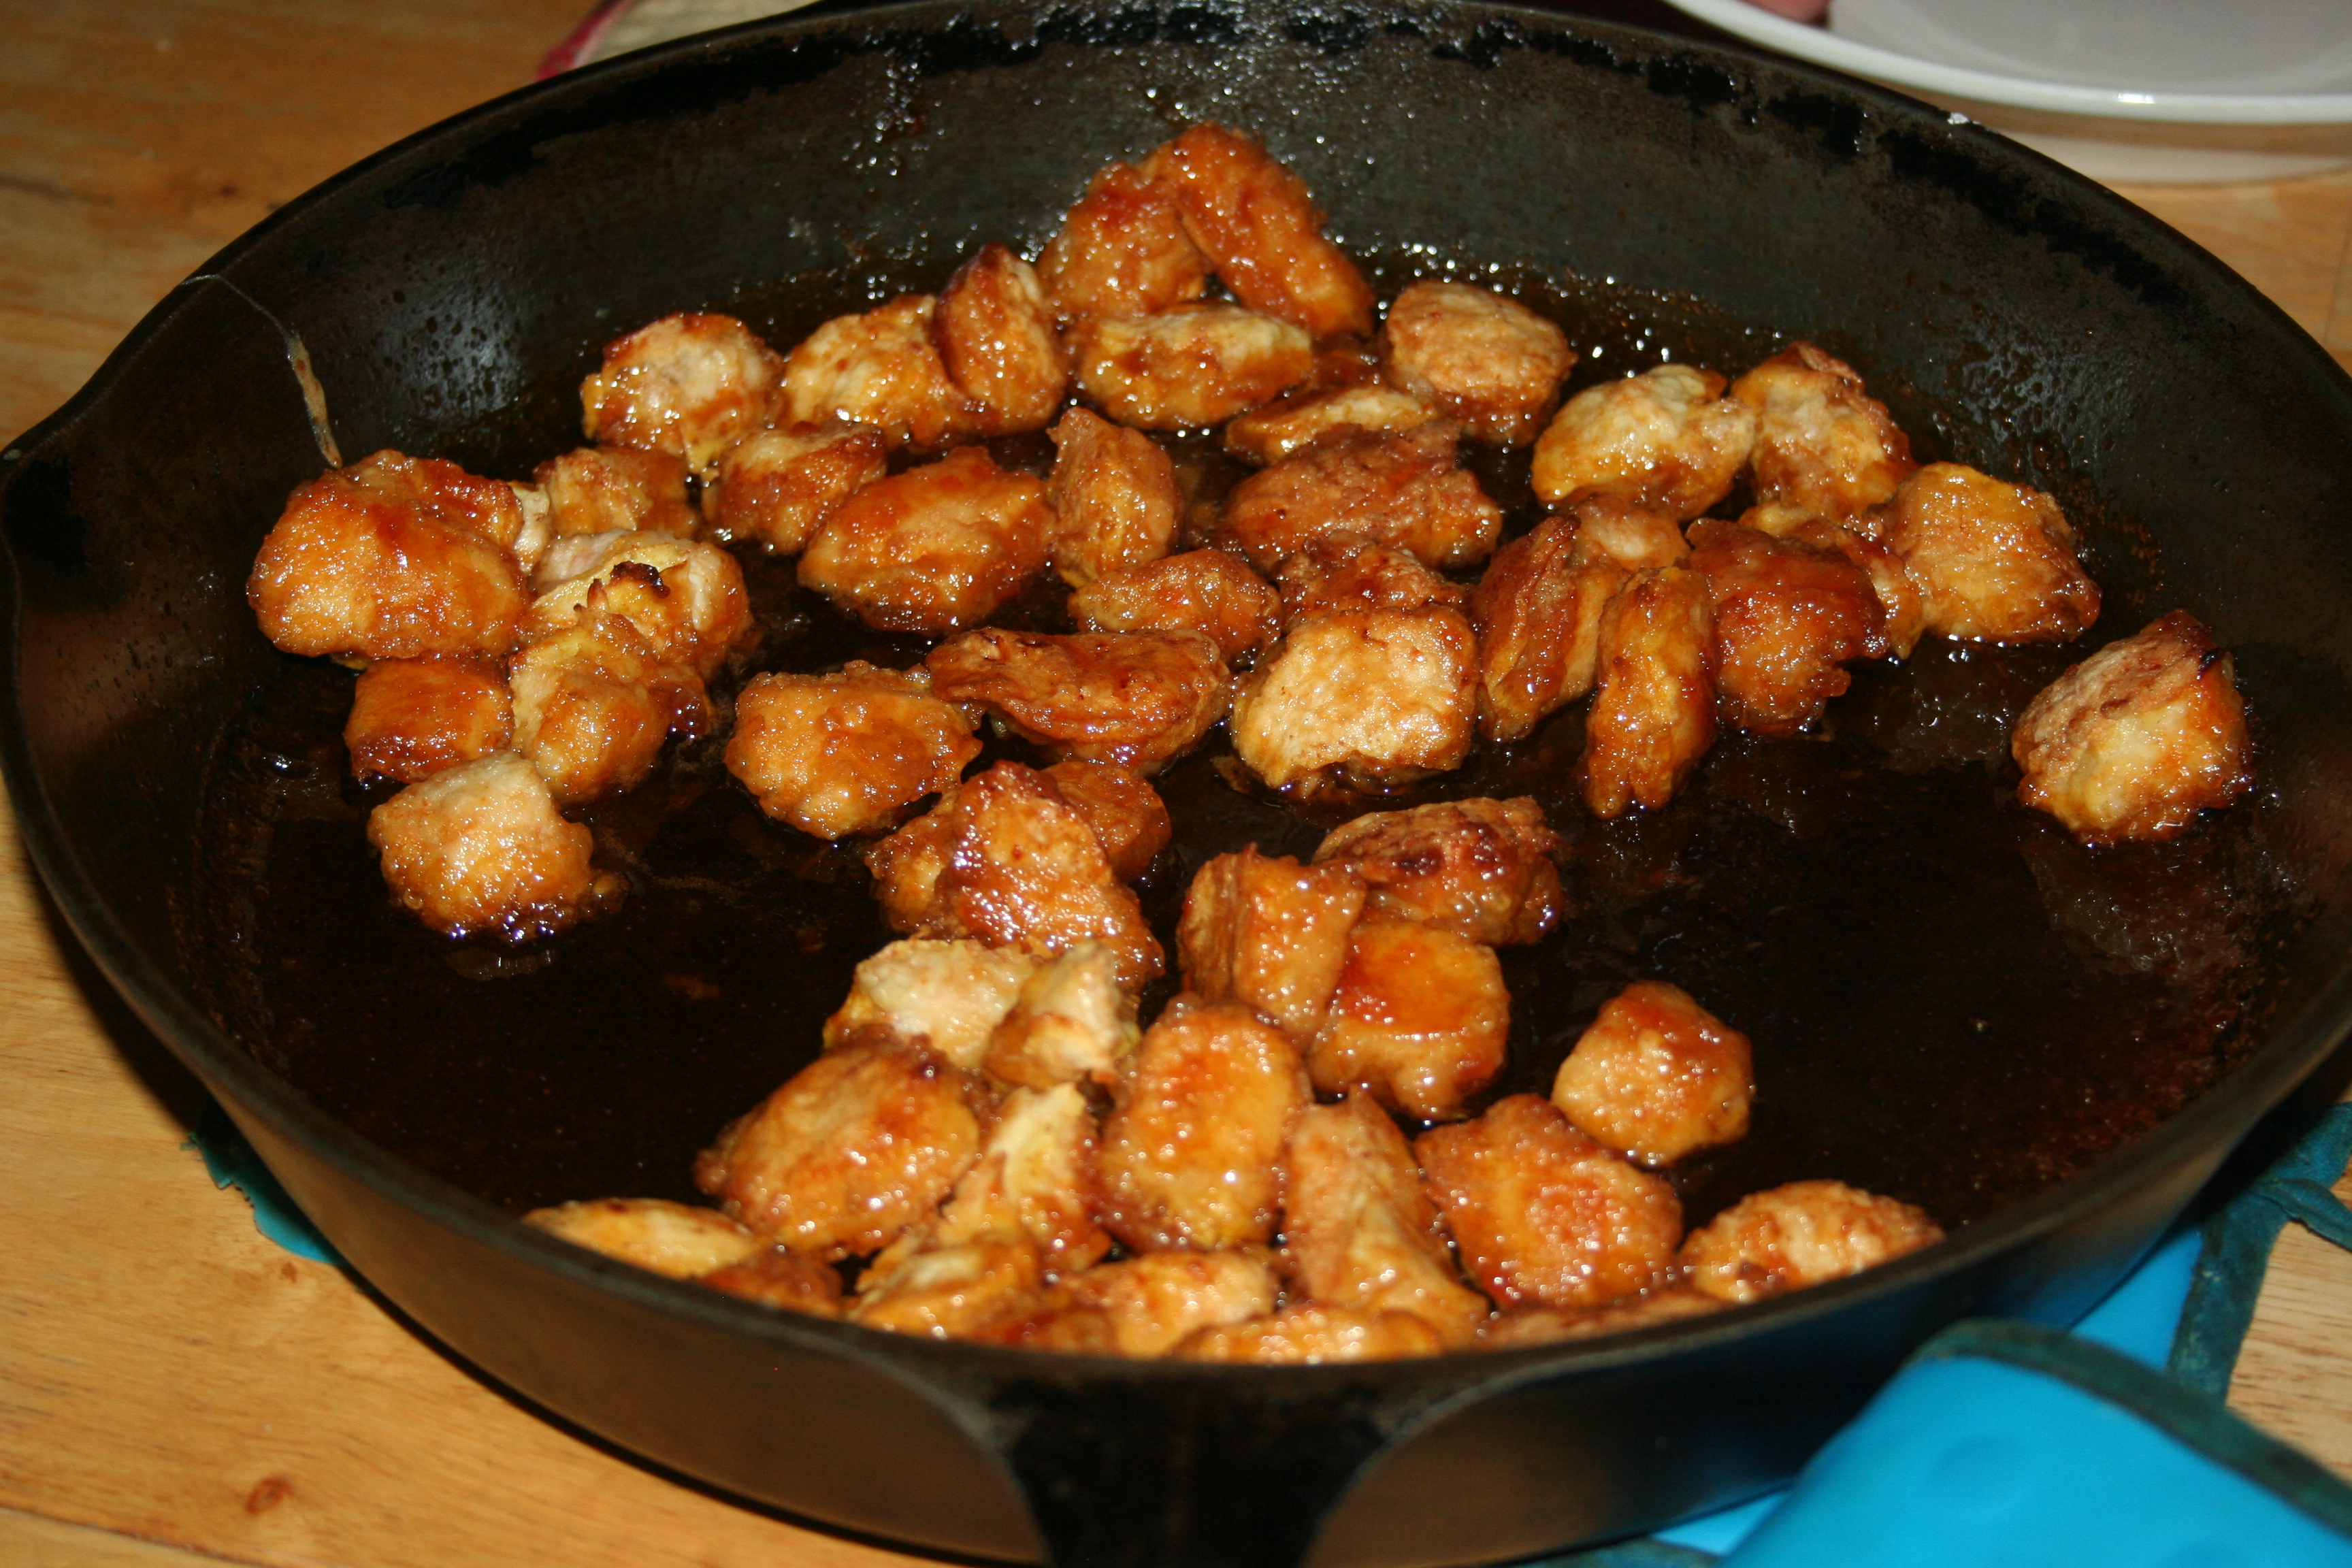
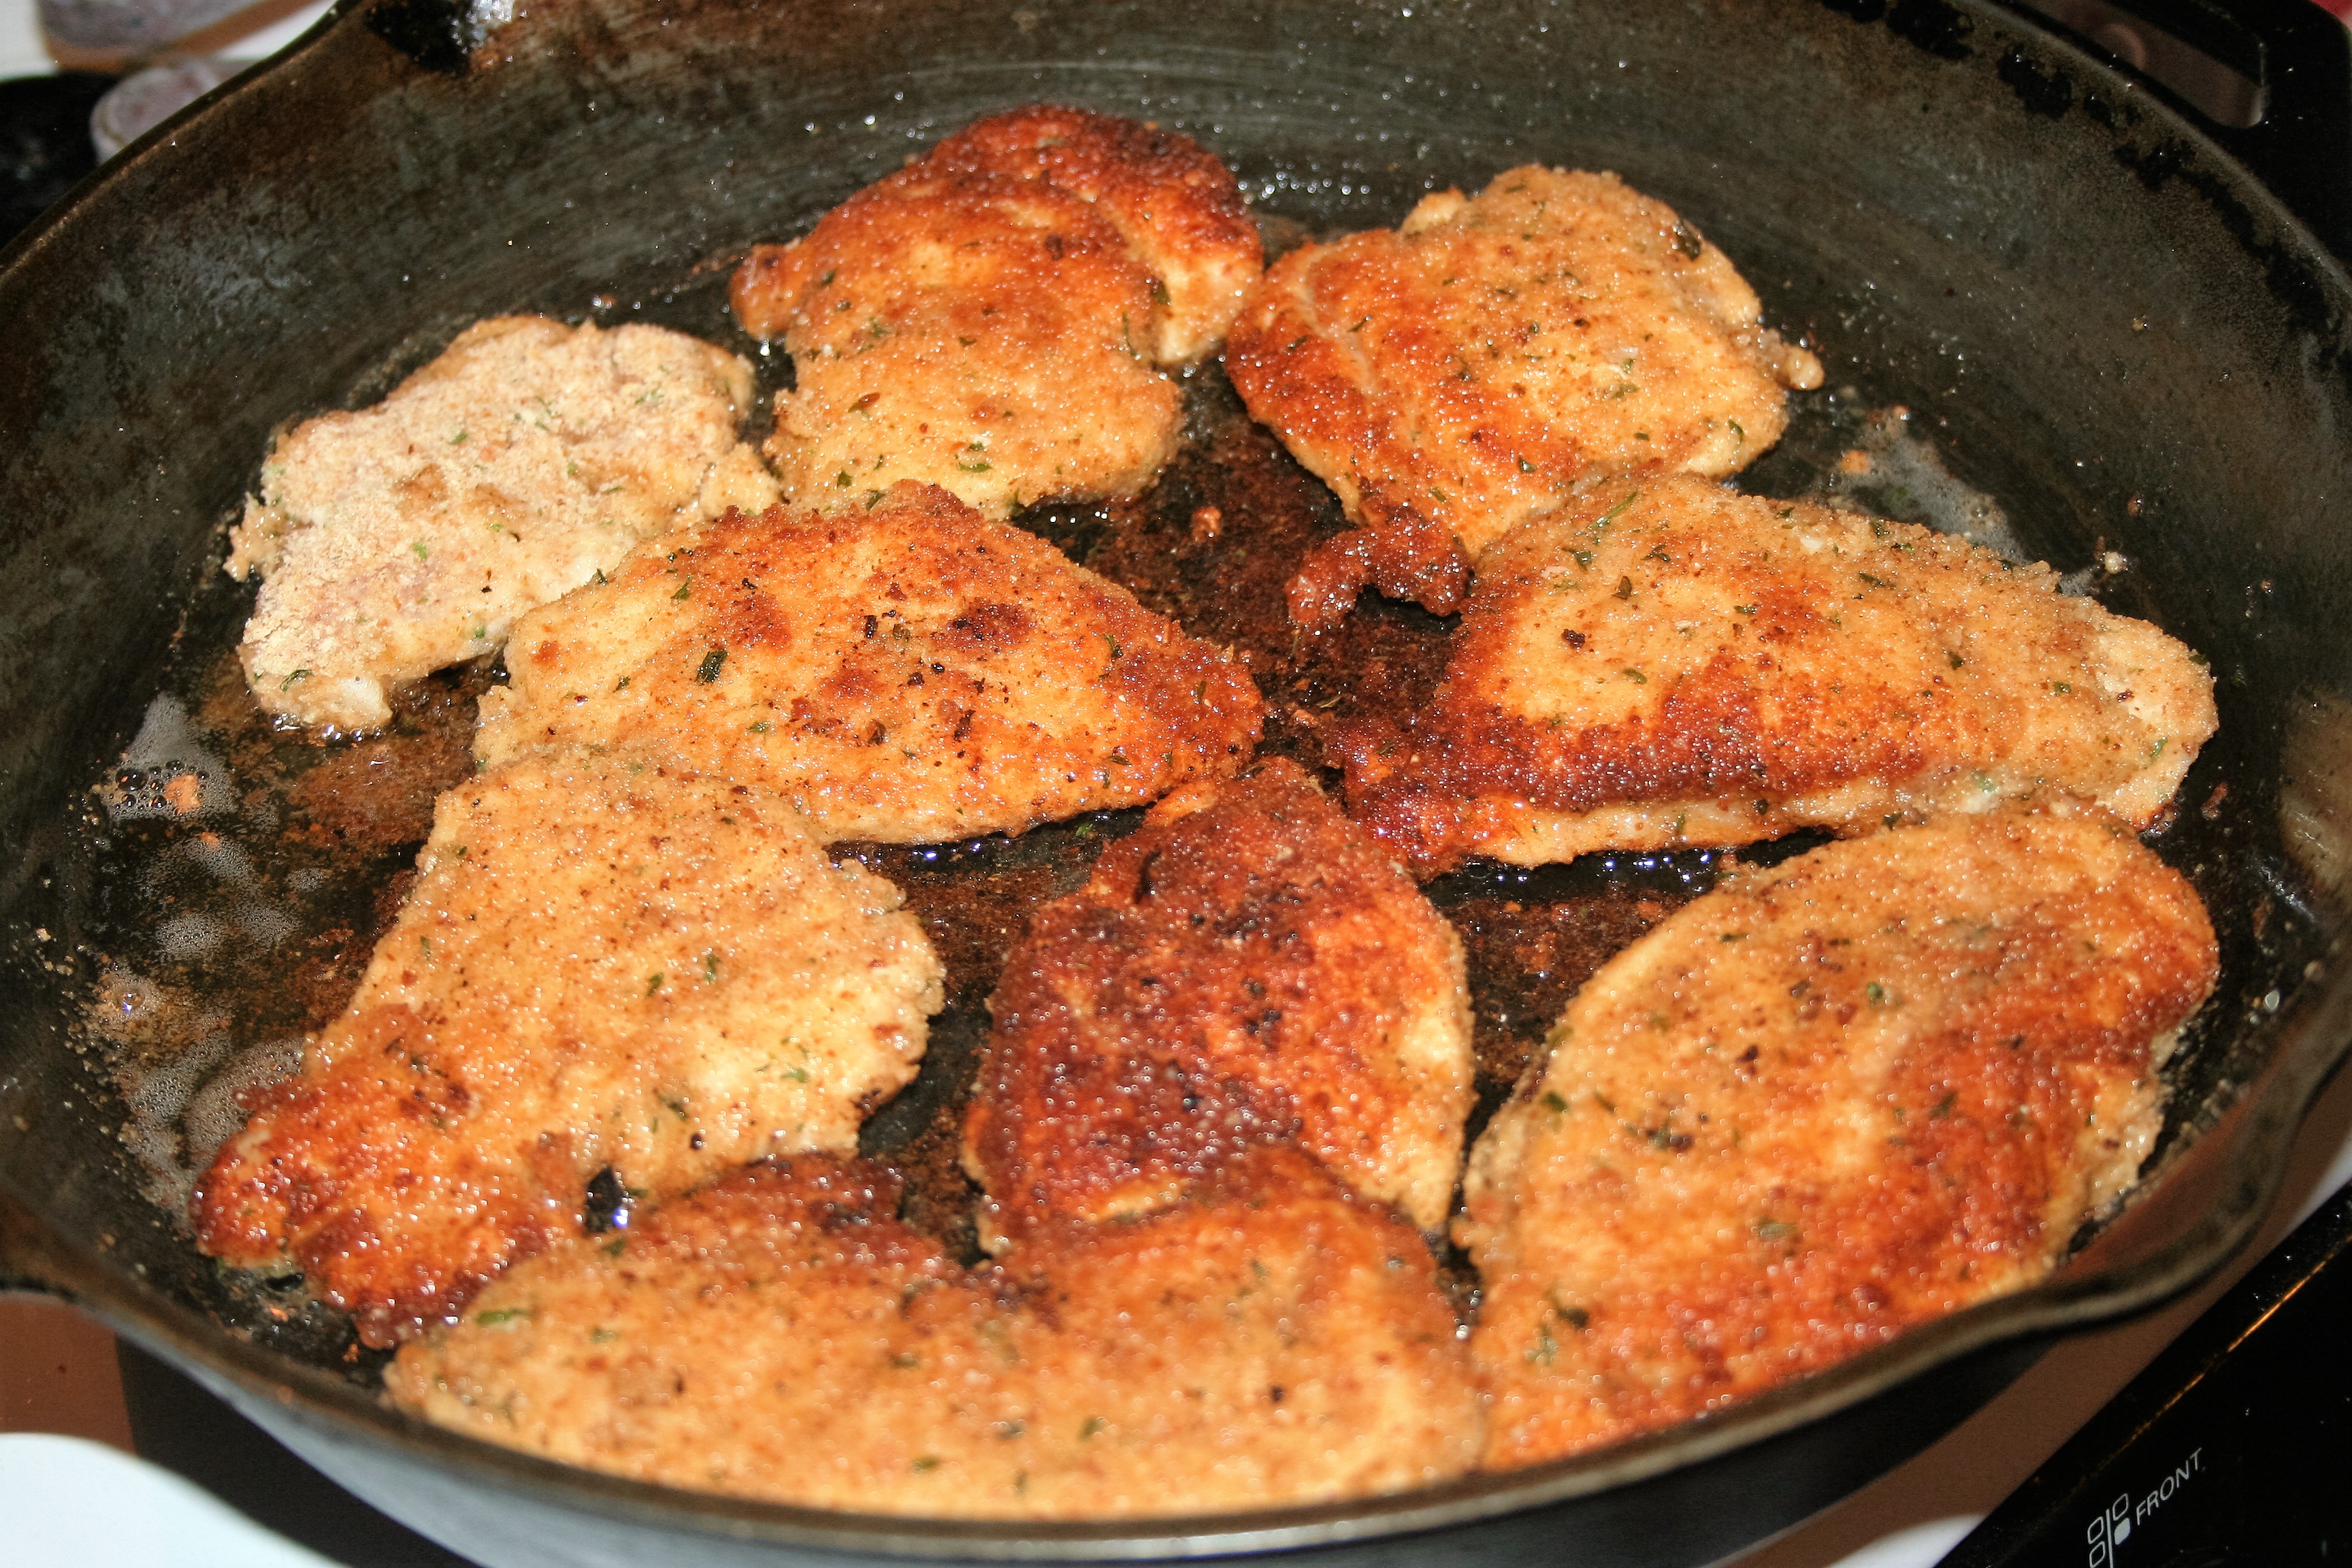
Add more oil as necessary to continue frying. These should not take very long to cook through if you cut them thin enough. :)

Remove them from the oil to a baking sheet. Spread some of your favorite tomato sauce on top. If I am feeling energetic, I’ll make some of my pizza sauce but otherwise we like Del Monte’s traditional sauce in the tall can.

Chicken Parmesan ~ Lifeofjoy.me
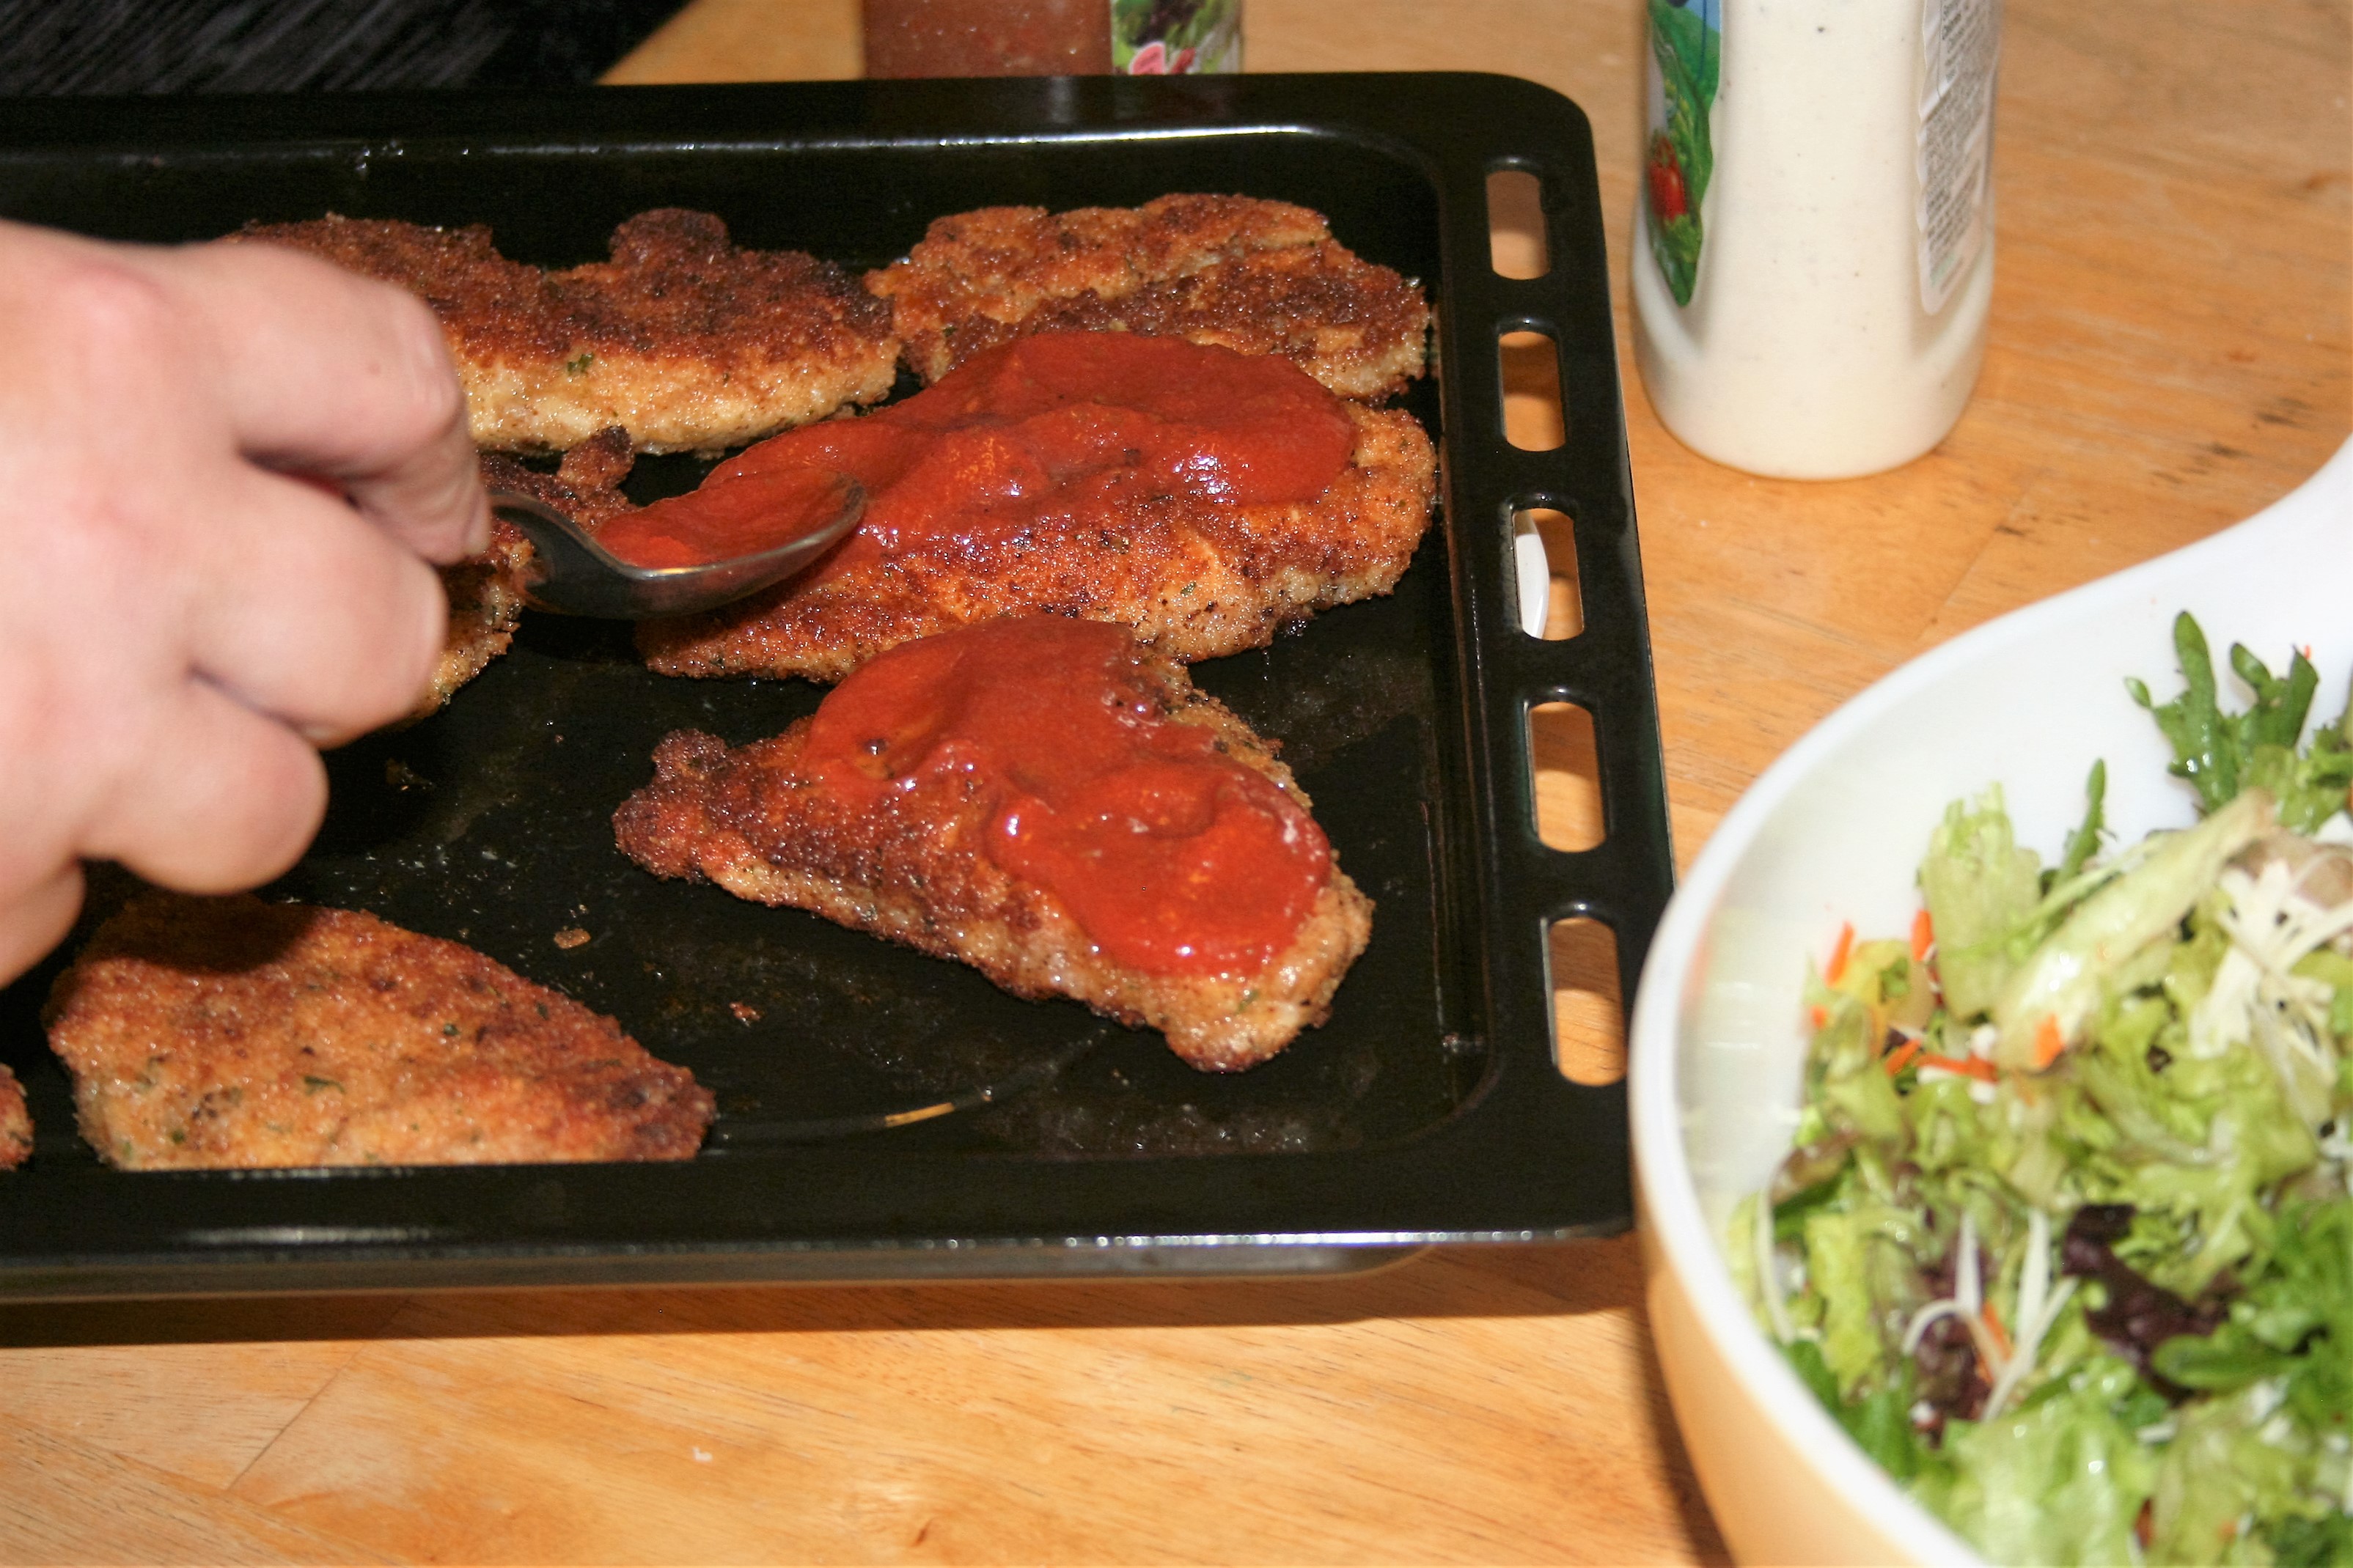
You don’t want a whole lot of sauce, just enough to accent the flavor. The chicken is the star here not the sauce.

Shred some Parmesan cheese and sprinkle it on top of each piece.

Chicken Parmesan ~ Lifeofjoy.meHmmm, I’m not sure that is Parmesan that I used that night. It looks like quite a bit.

This particular night I added some Provolone cheese as well.

Chicken Parmesan ~ Lifeofjoy.mePop it under the broiler to melt the cheese and heat the sauce.

Meanwhile make sure your pasta is about finished and heat up the remainder of the sauce because you will probably want it on your noodles too.

Chicken Parmesan ~ Lifeofjoy.me
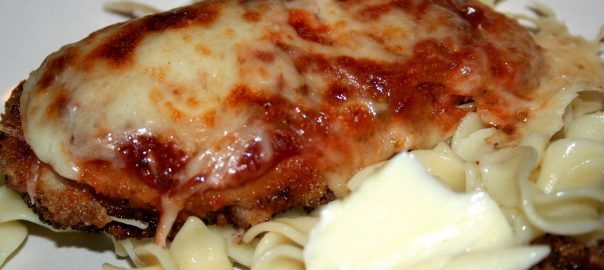
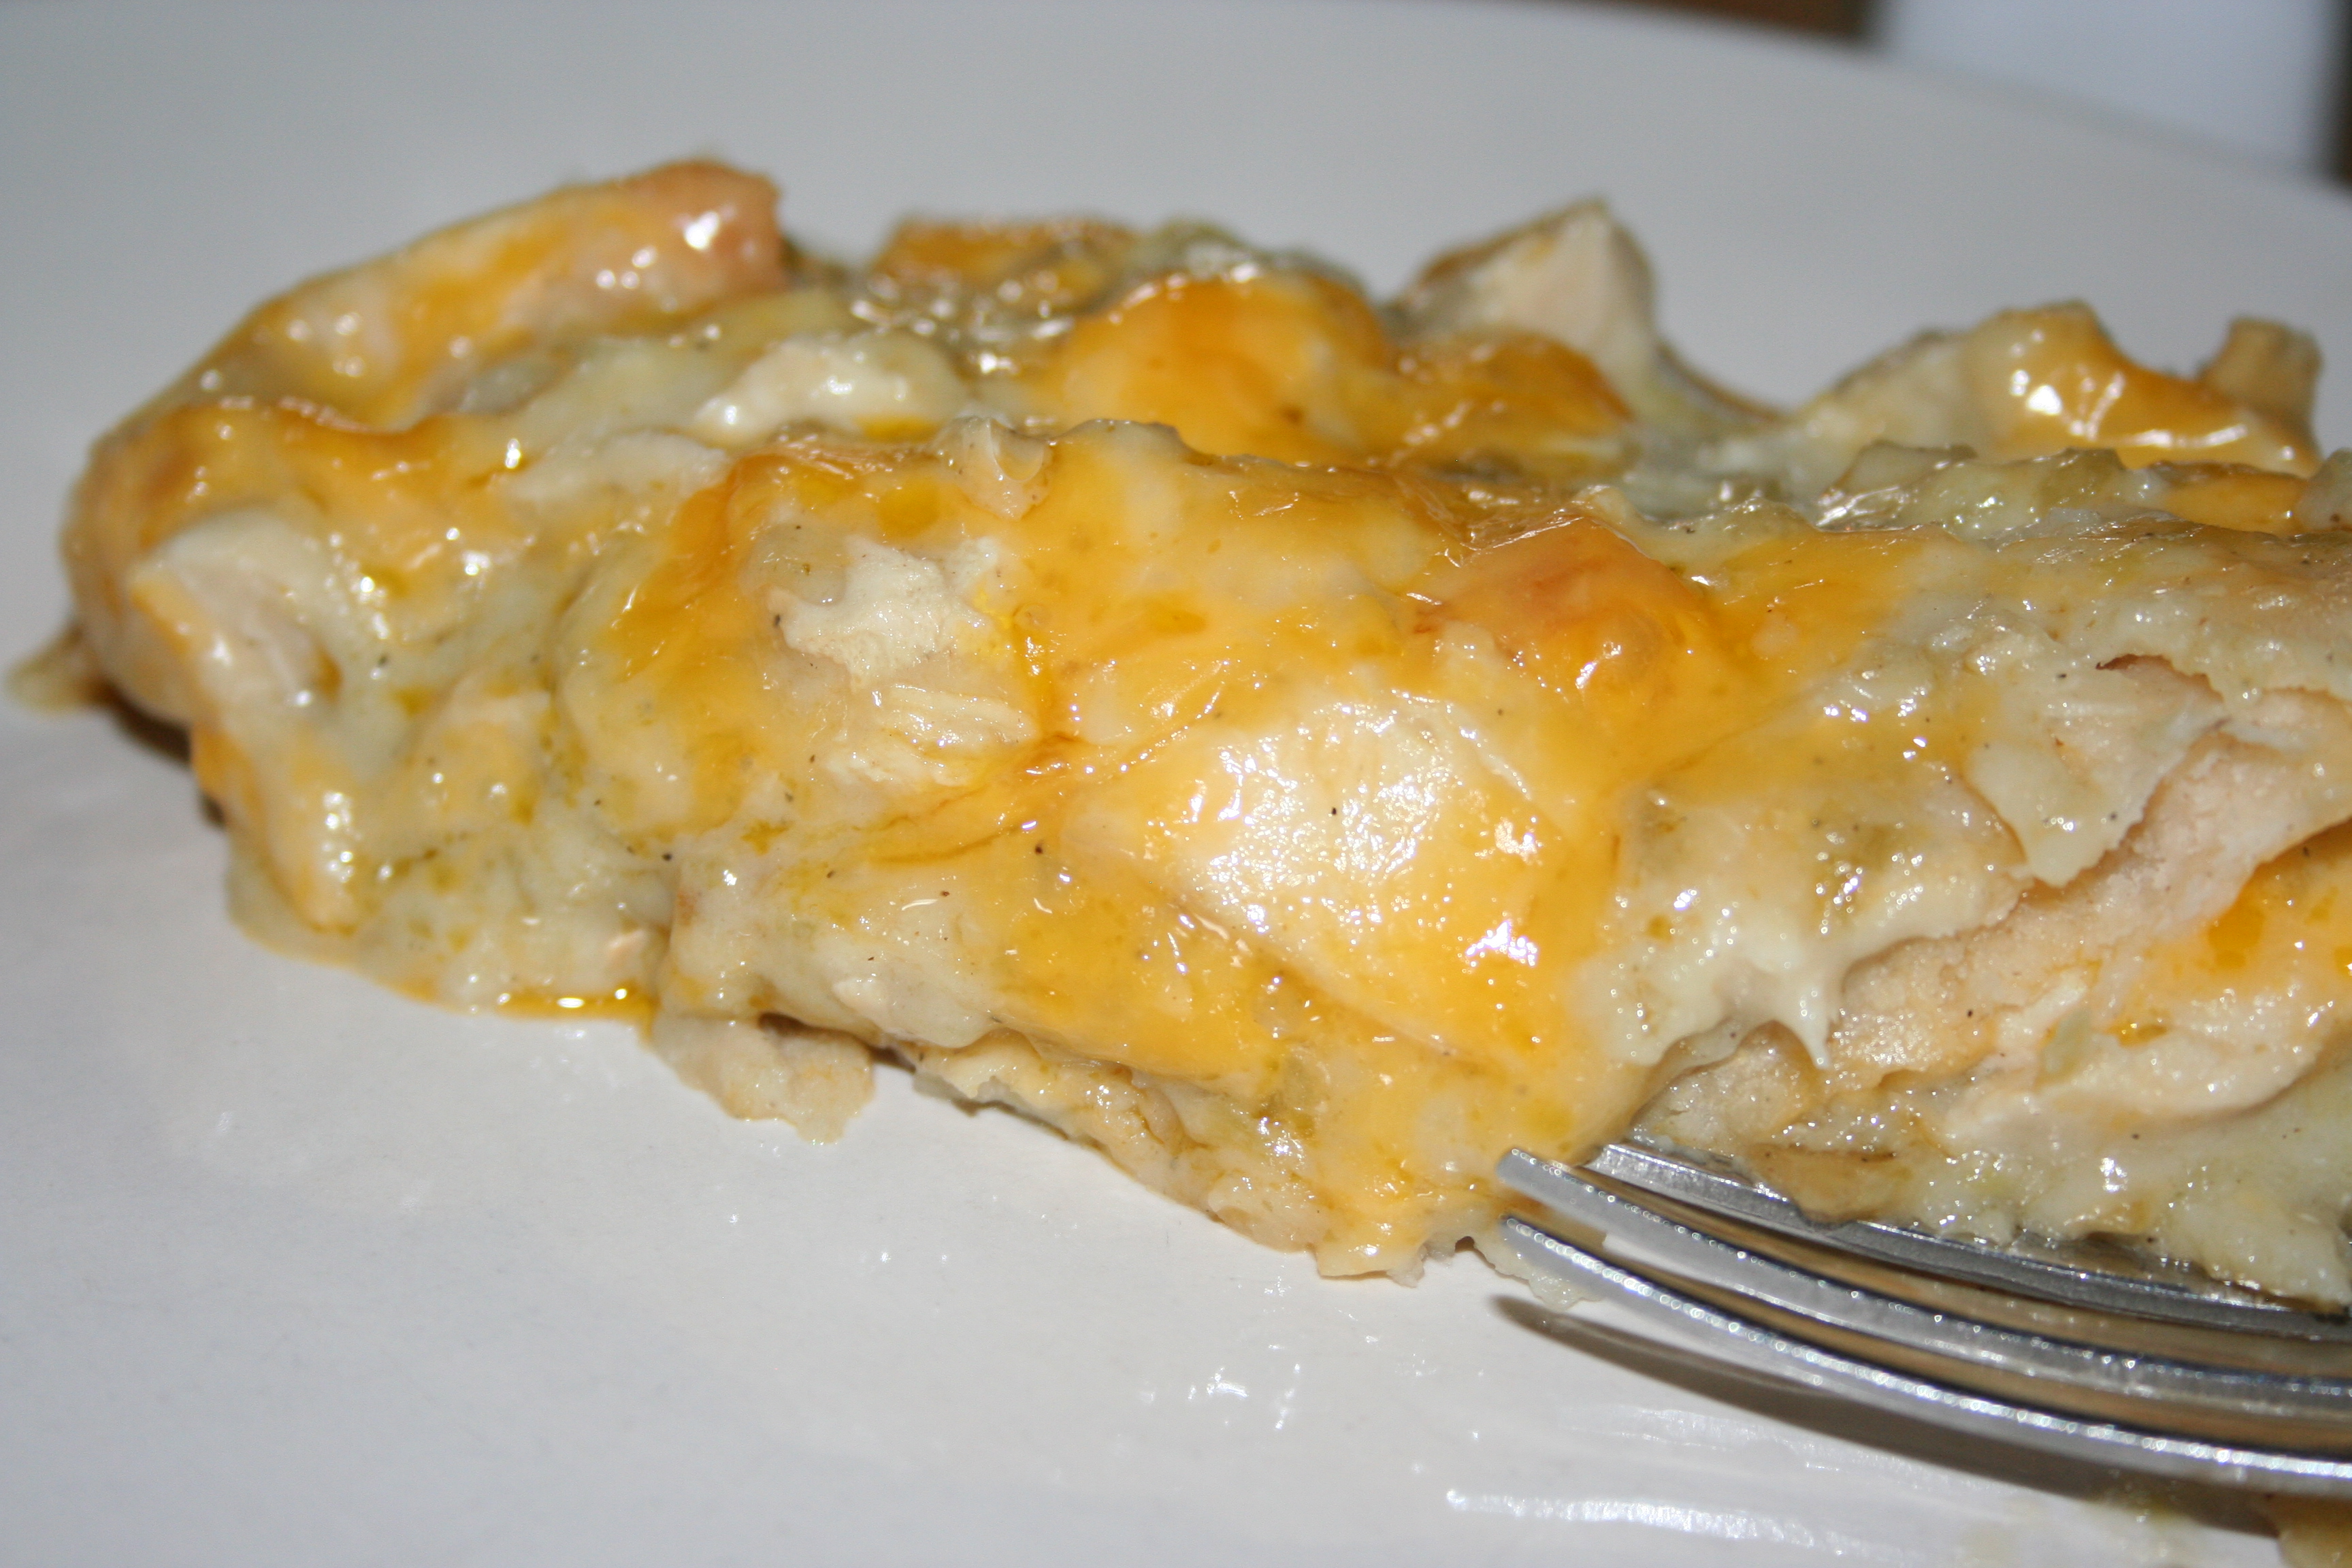
When the cheese is melted it is ready to serve.

Chicken Parmesan ~ Lifeofjoy.me
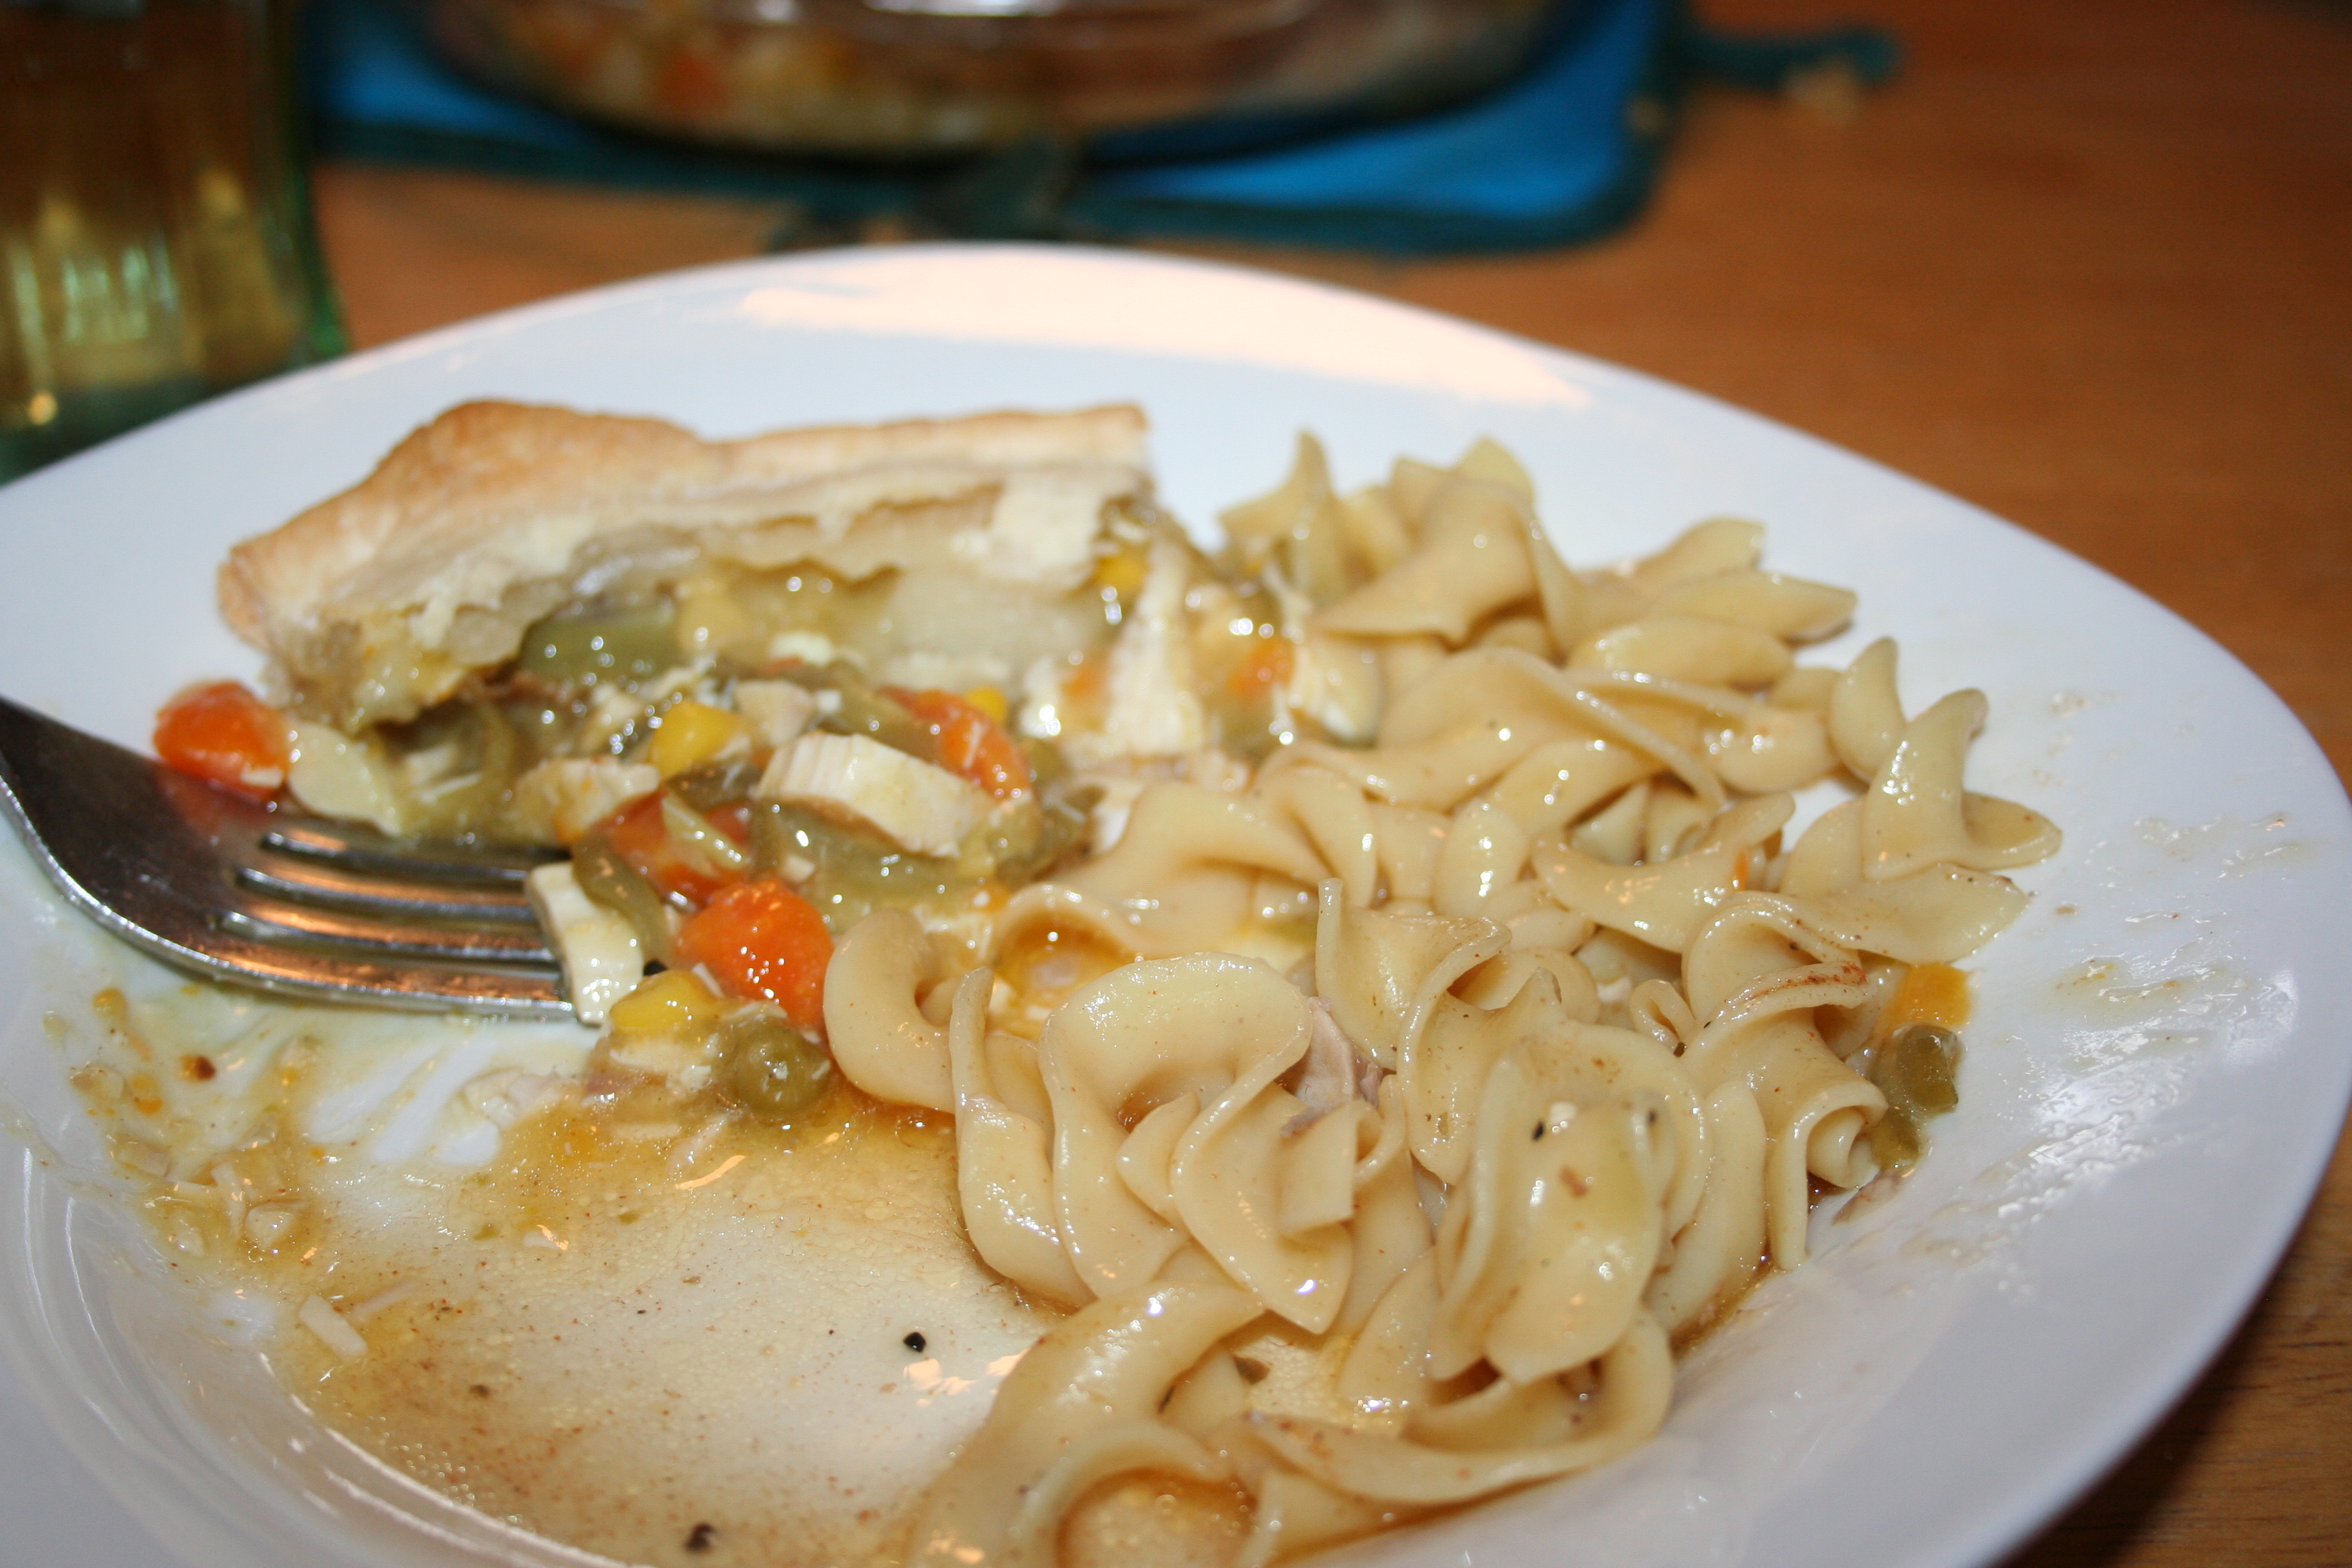
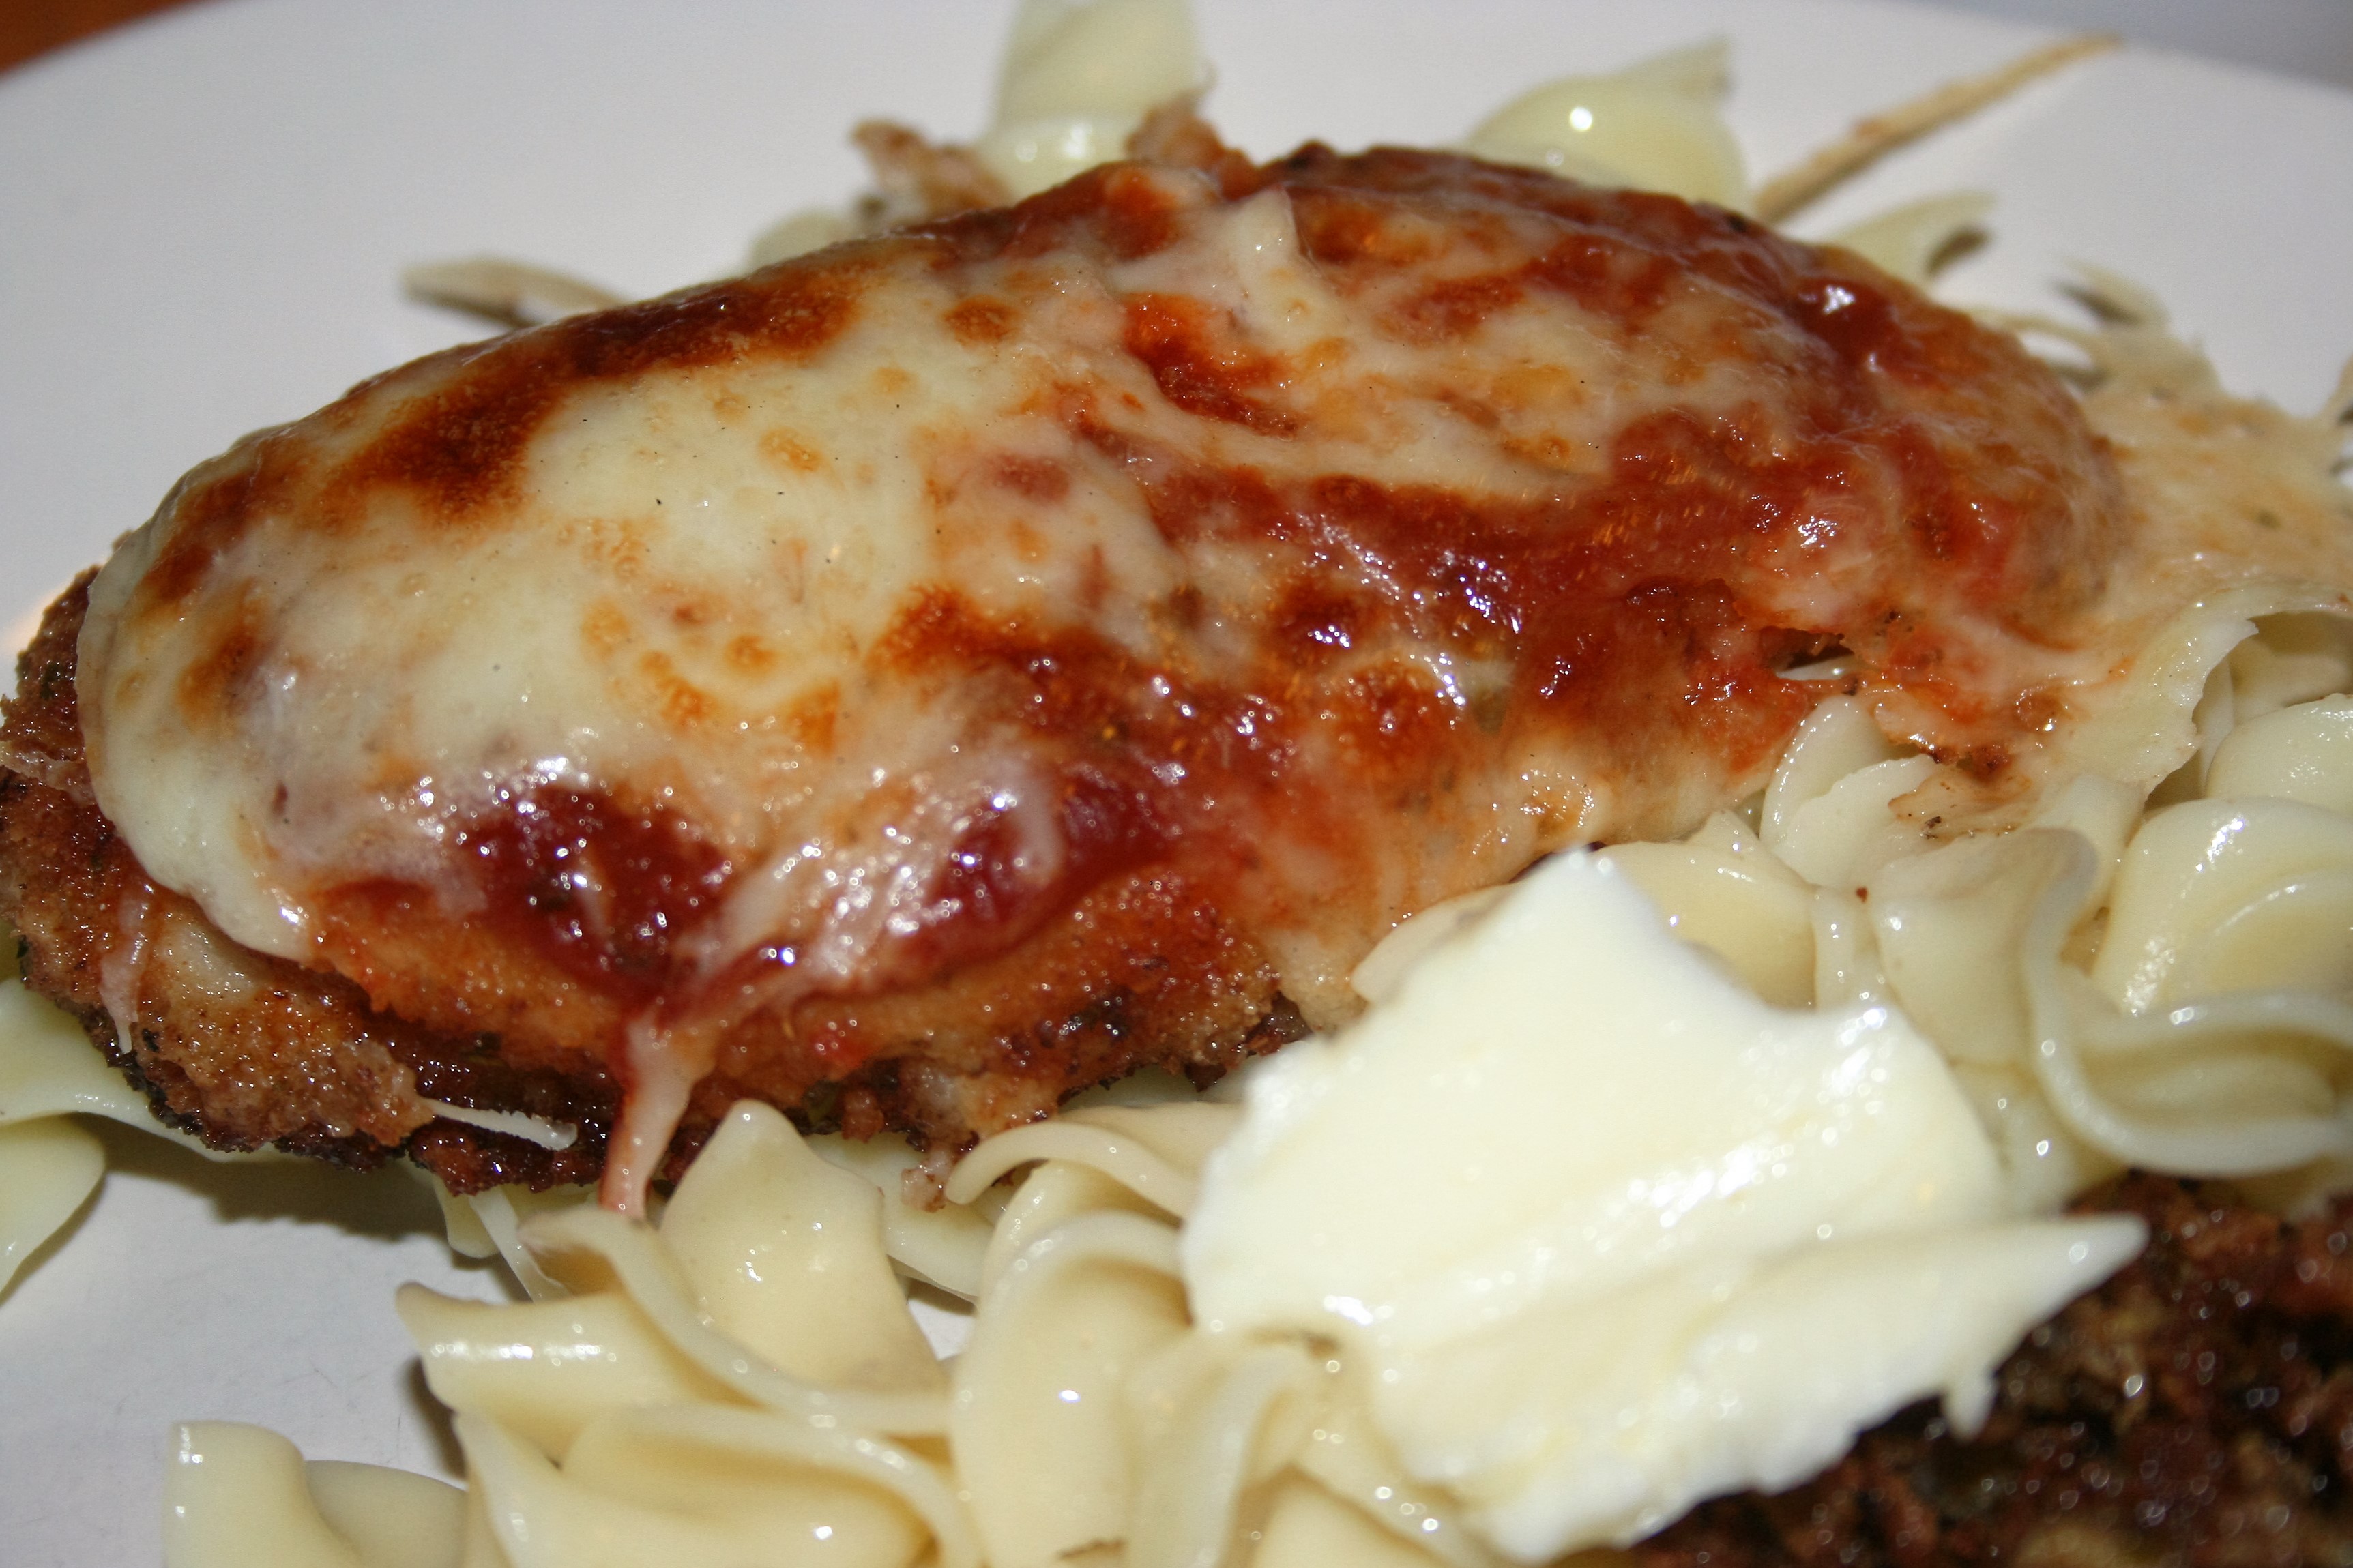
I like butter on my noodles. :)
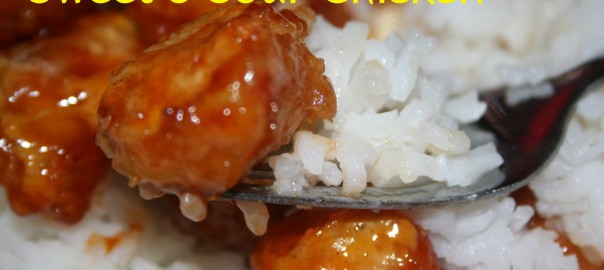
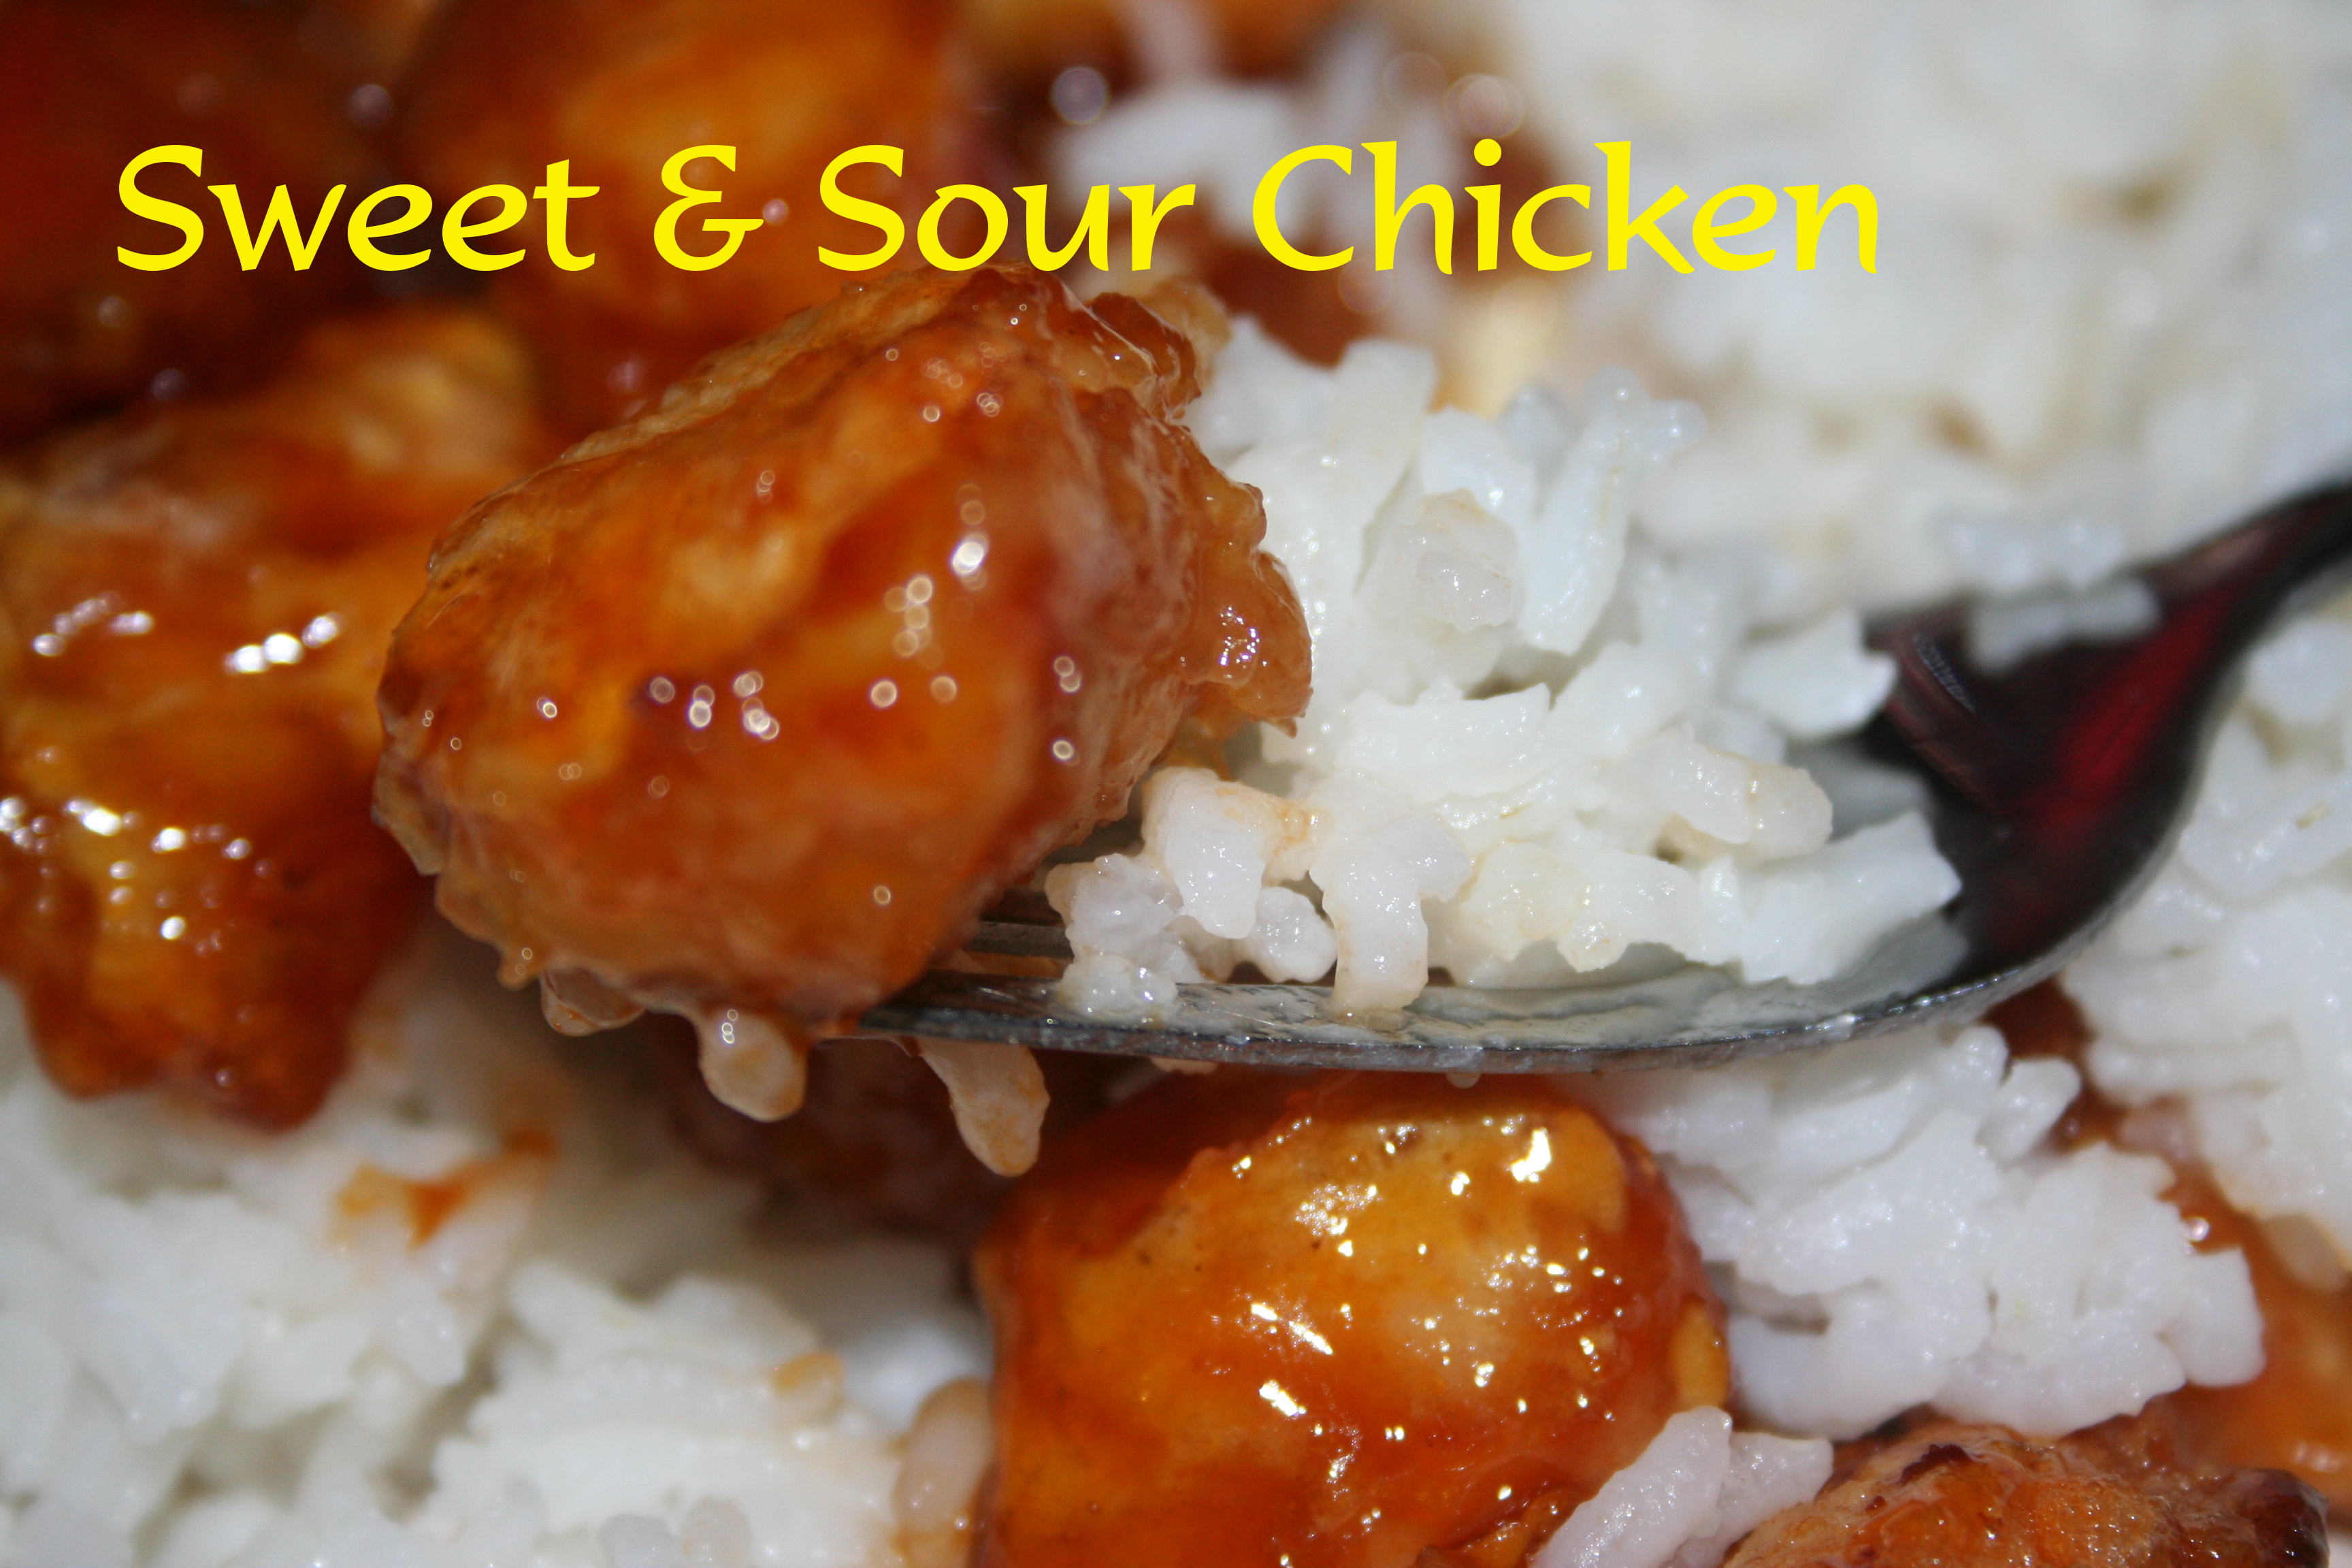
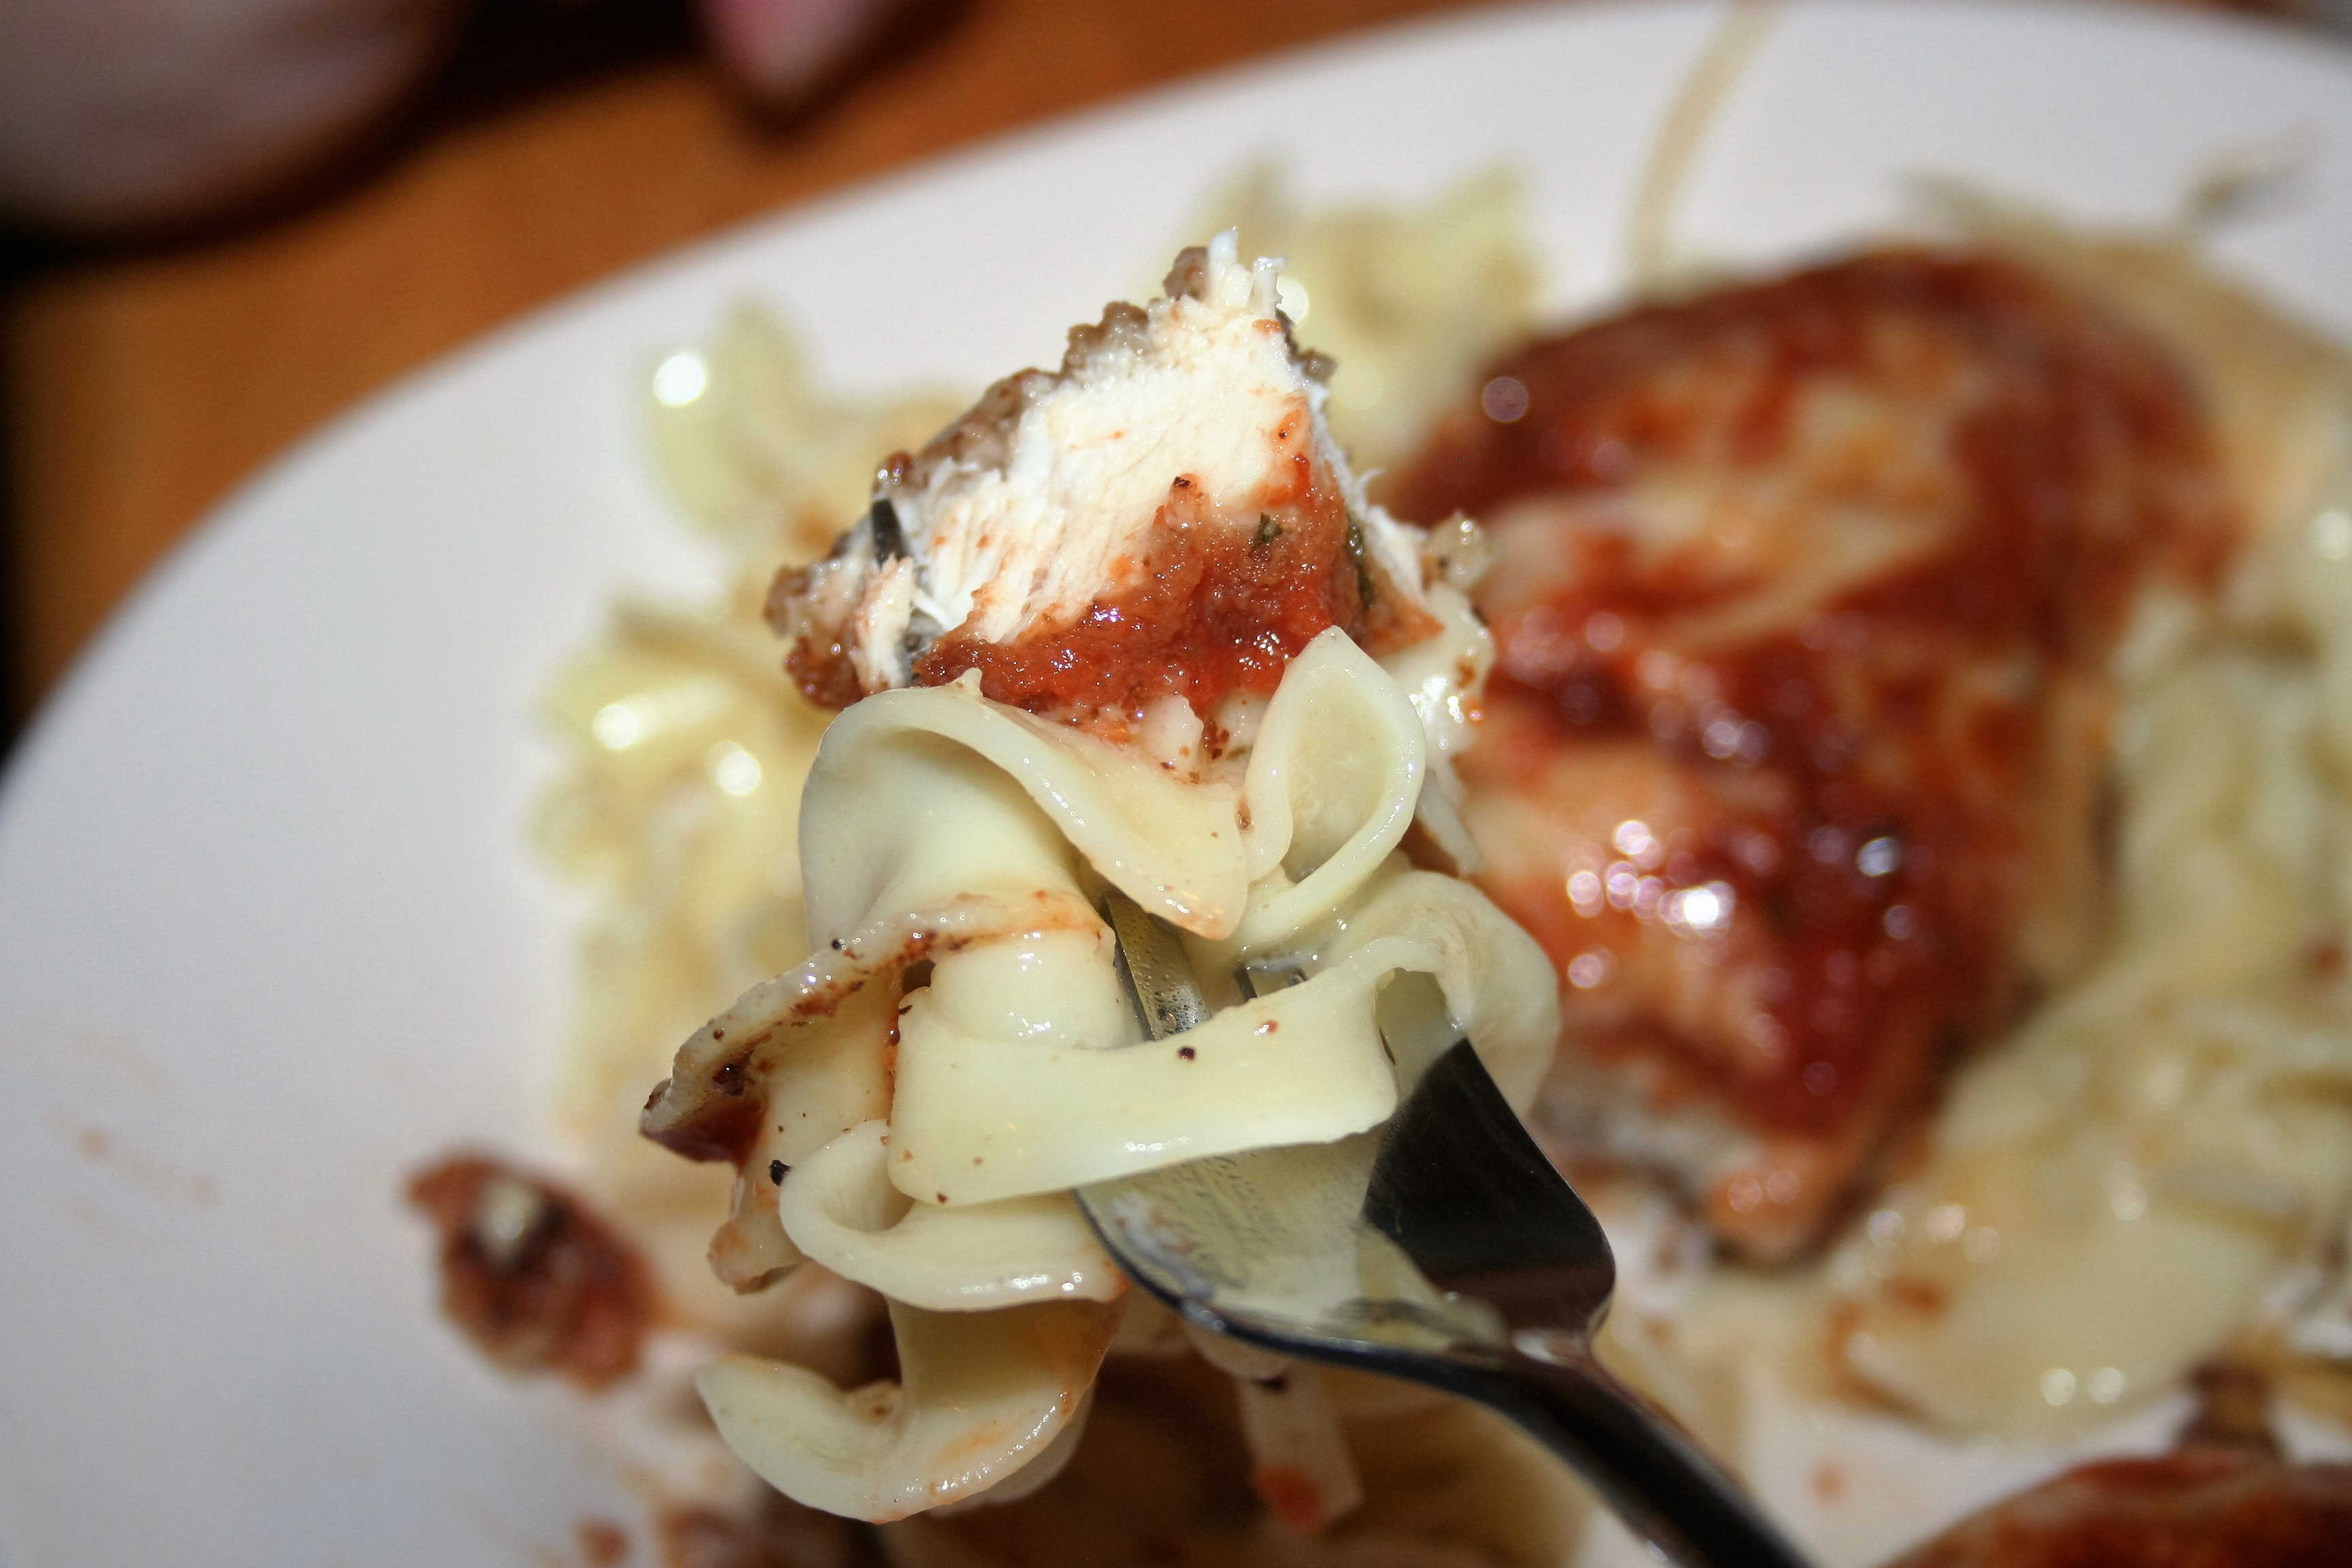
Chicken Parmesan ~ Lifeofjoy.meMmm mmm! Delicious!

Chicken Parmesan

Ingredients

  • 1 pound chicken breast, cut into flat 4 ounce servings
  • 1 egg, slightly beaten
  • 1/4-1/2 cup milk
  • 1/2-1 cup flour
  • 1-2 cups Italian seasoned breadcrumbs
  • several tablespoons oil of your choice, we used coconut or olive oil
  • tall can Del Monte traditional spaghetti sauce
  • Parmesan cheese, about 1/2 grated finely OR cheese of your choice (but it is called Parmesan chicken. 😉 )
  • Wide Egg Noodles, about 8 ounce package cooked according to package directions

Instructions

  1. Combine your egg and milk in one flat container. Place flour in another flat container and breadcrumbs in another.
  2. Dredge chicken in flour, then egg, then breadcrumbs and place in skillet with hot oil.
  3. Fry for a few minutes, until golden brown and then flip and cook on the second side.
  4. Remove from oil and place on baking sheet.
  5. Spread a couple tablespoons of sauce on top of each piece.
  6. Sprinkle shredded cheese on top of sauce on each piece.
  7. Place under the broiler until cheese is melted.
  8. Serve on cooked egg noodles, with butter or more sauce, as desired.
https://lifeofjoy.me/chicken-parmesan/

I hope you enjoy it!

Until next time, God bless,

Michele ºÜº

San Francisco Chops ~ Lifeofjoy.me

San Francisco Chops or Chicken


San Francisco Chops ~ Lifeofjoy.me

I cannot even tell you where I found this recipe. I have had it for years and years . . . well over eighteen years. I stopped making it for a while when we found out Mike was allergic to pork. Then one day, my lightening fast mind realized that I could substitute chicken in for the pork and I was thrilled.

The sauce is a sweet and spicy sauce. There were times that Tiffany mixed the sauce for me while I was browning the meat and we didn’t have any red pepper flakes so I told her to substitute either cayenne or ground red pepper. Of course, that is all she heard. The rest of what I said was just use a dash of it though. I think you can guess that it was way too spicy for my liking that time. I now keep the red pepper flakes on our shelf.

I must also add that this is Lauren’s favorite meal. This is the one she usually requests for her birthday dinner. :) Until a few months ago I had always made it using chicken when she came. She didn’t think she liked pork but when she stayed here while Brian was out of town several months ago, I had some pork chops that needed to be used from our freezer, so she got to try it with pork. Now she doesn’t know which is her favorite. ;) 
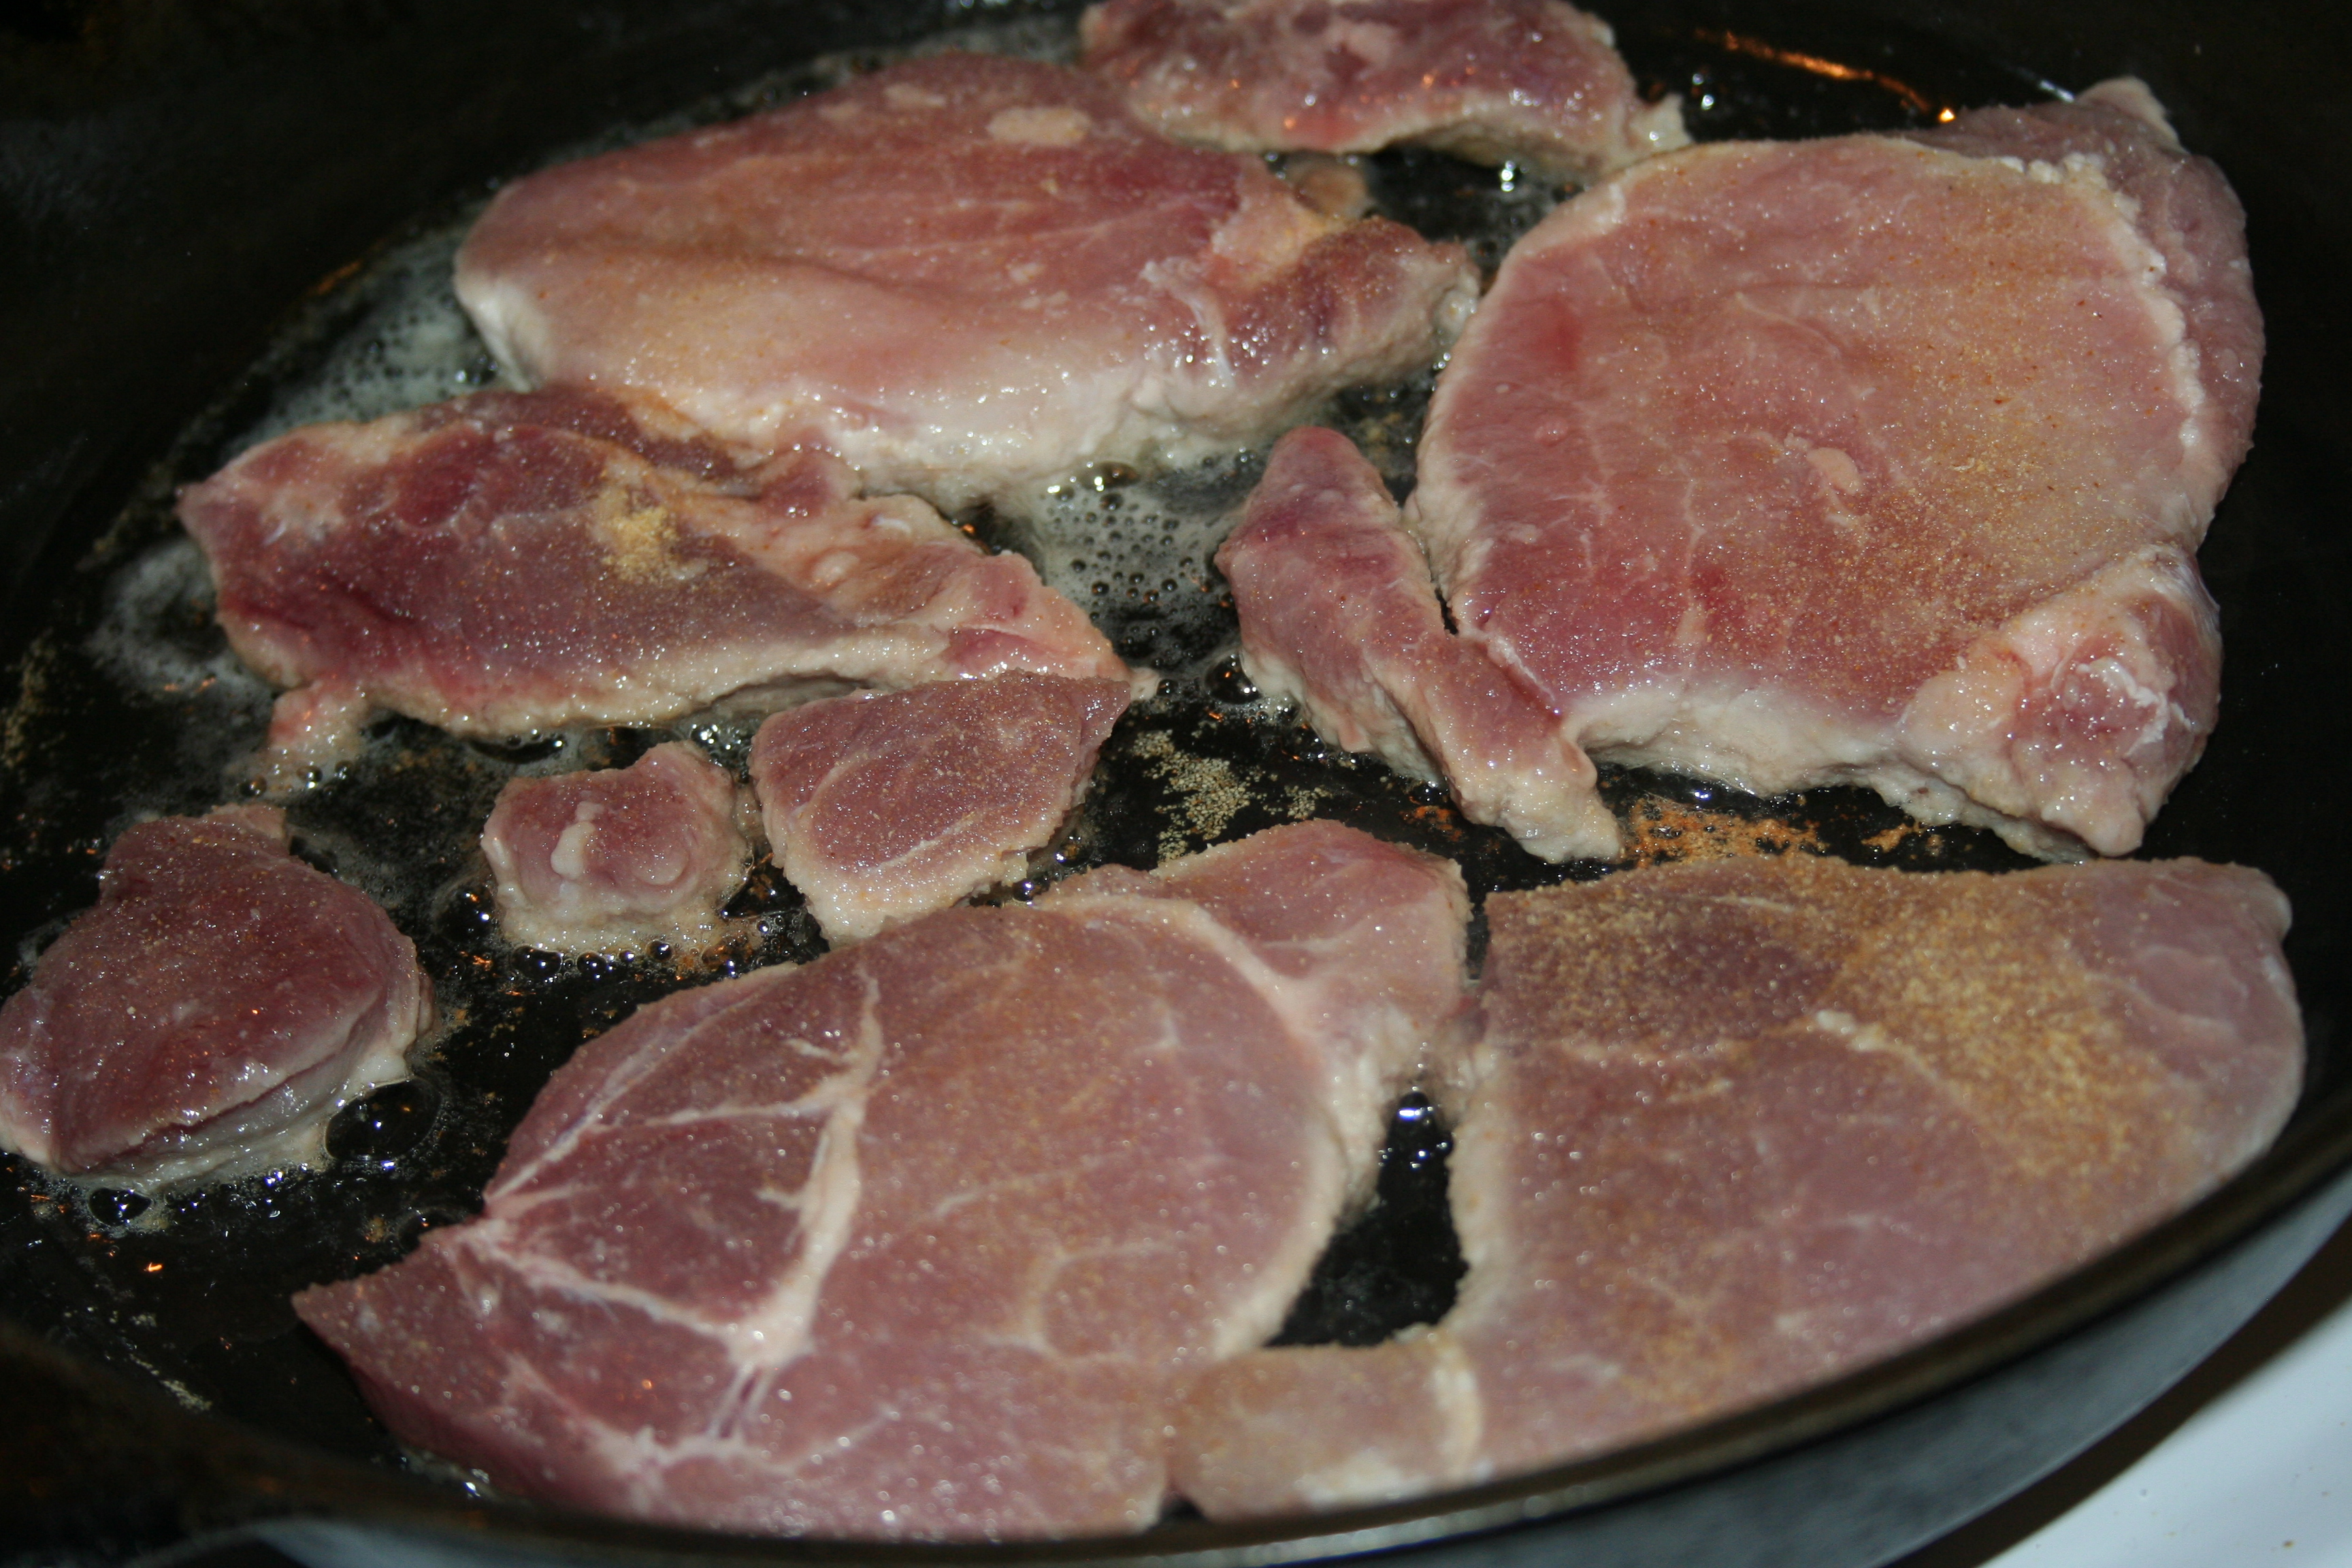
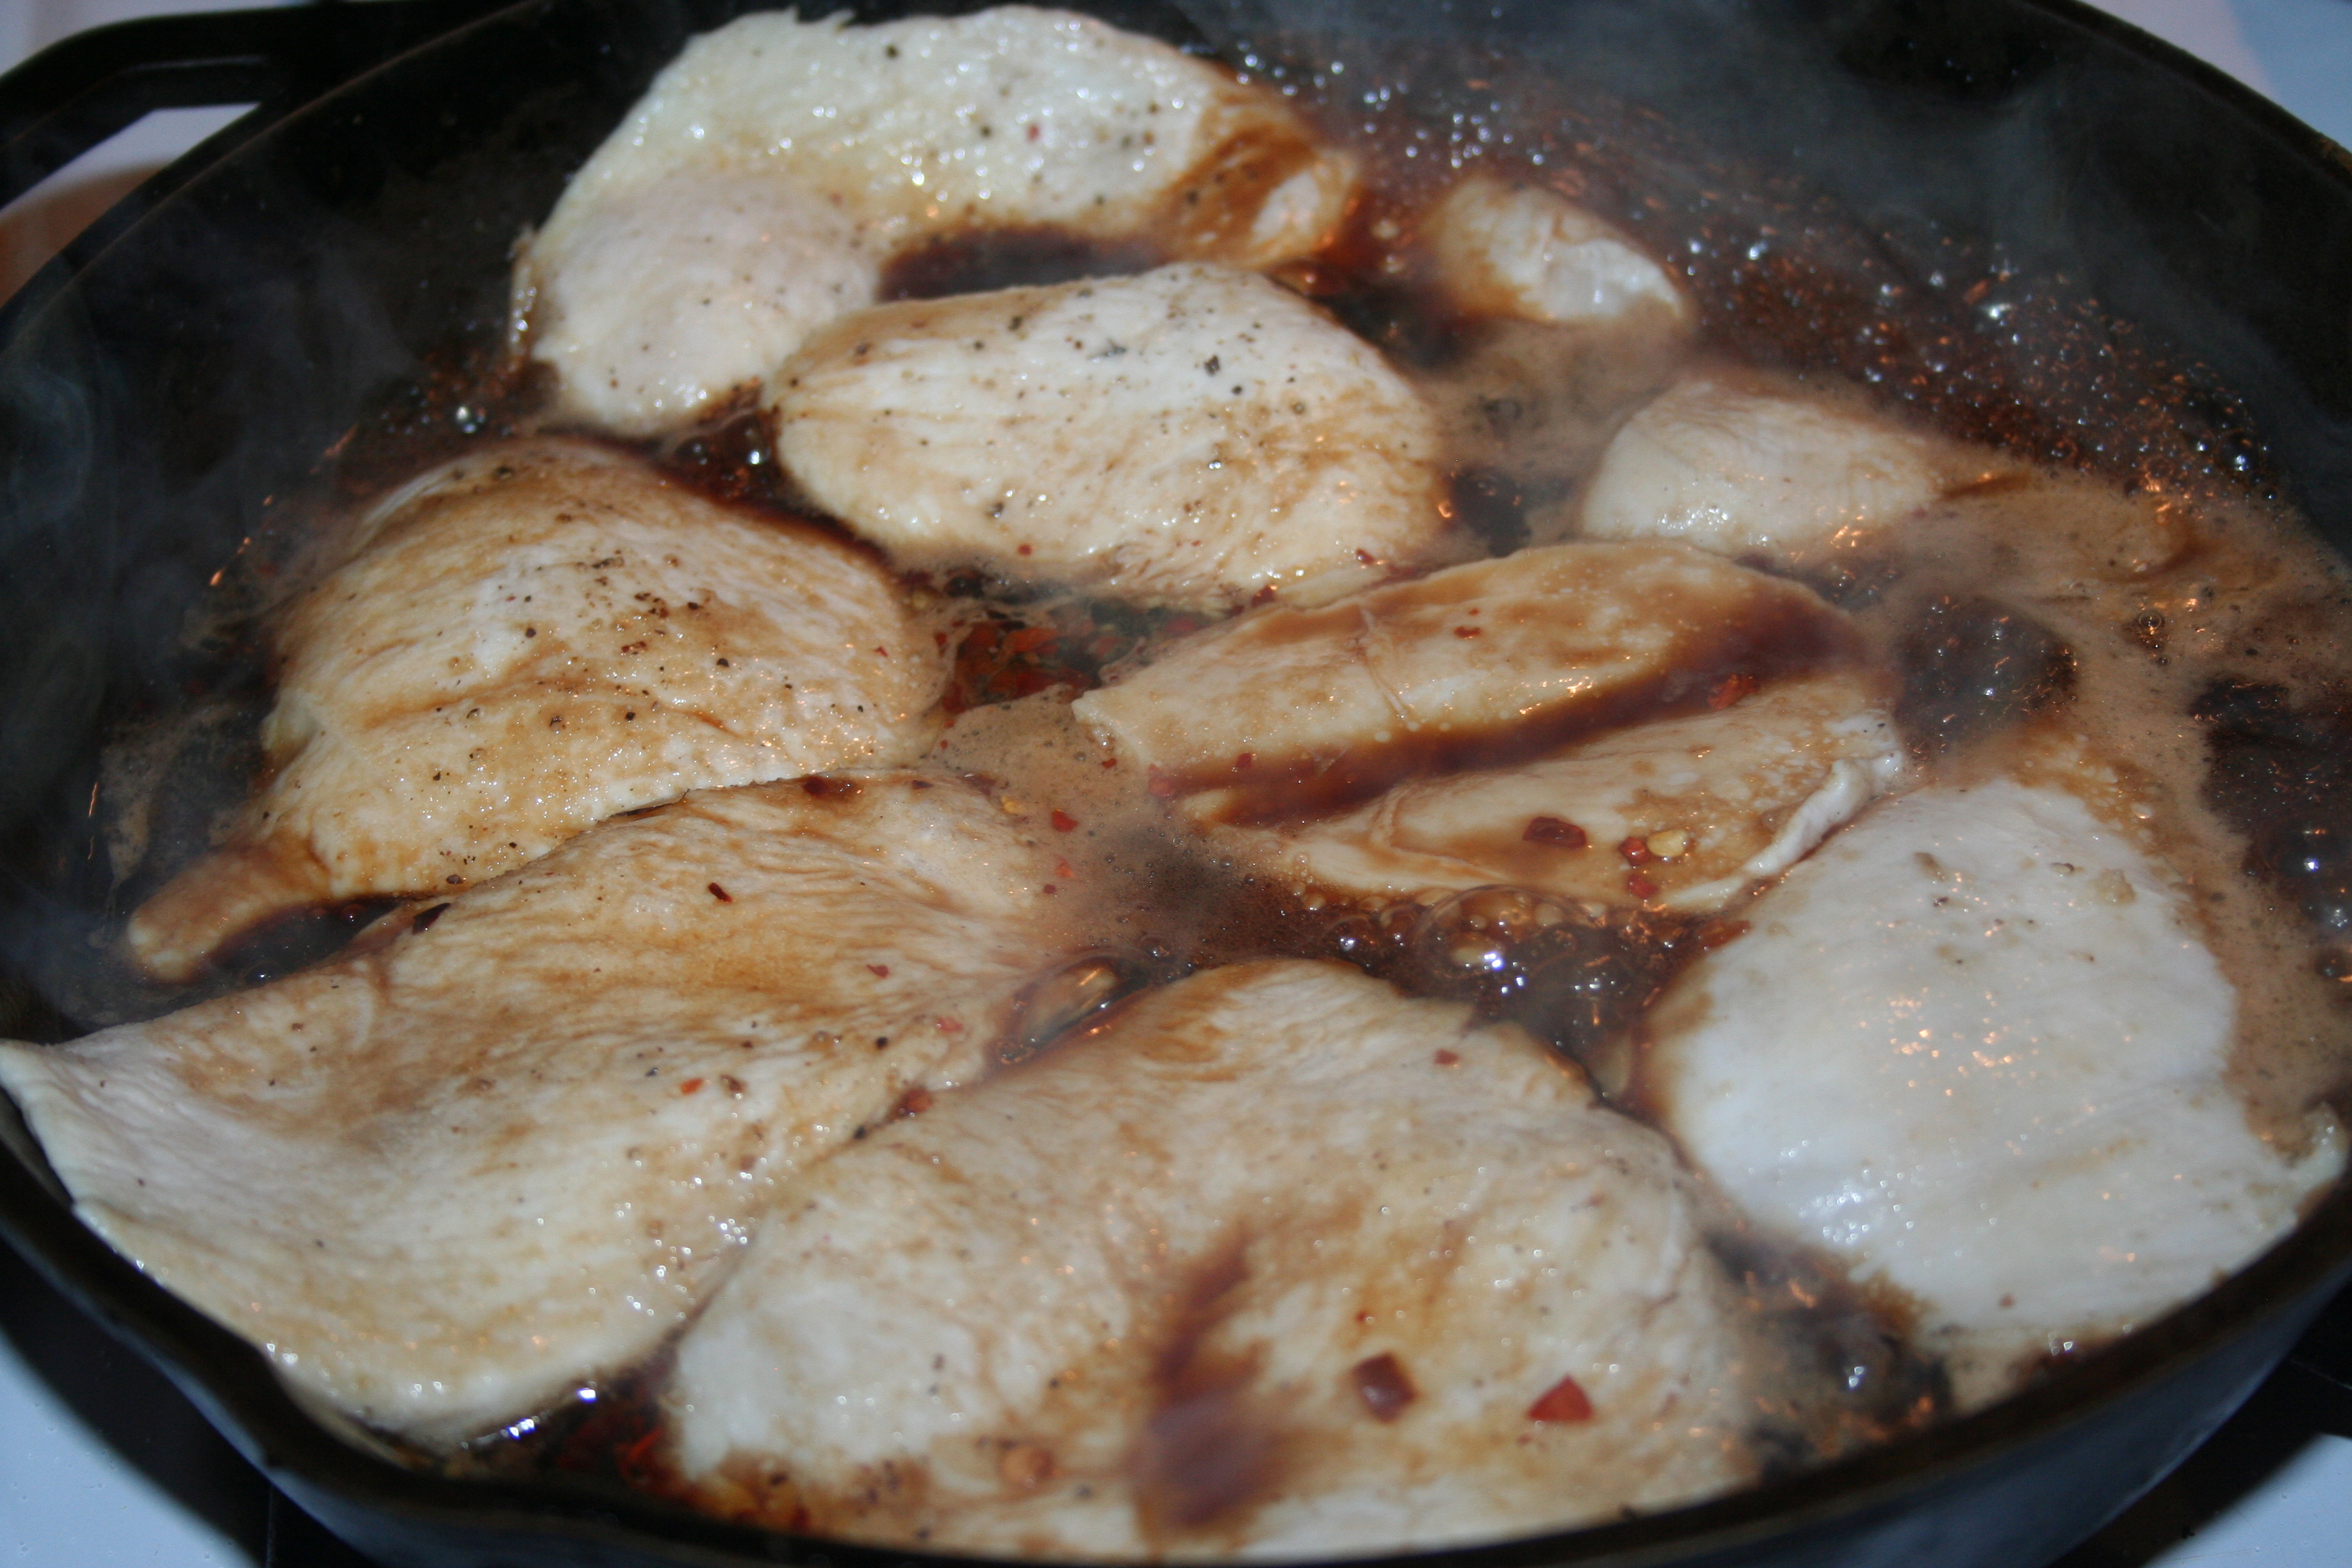
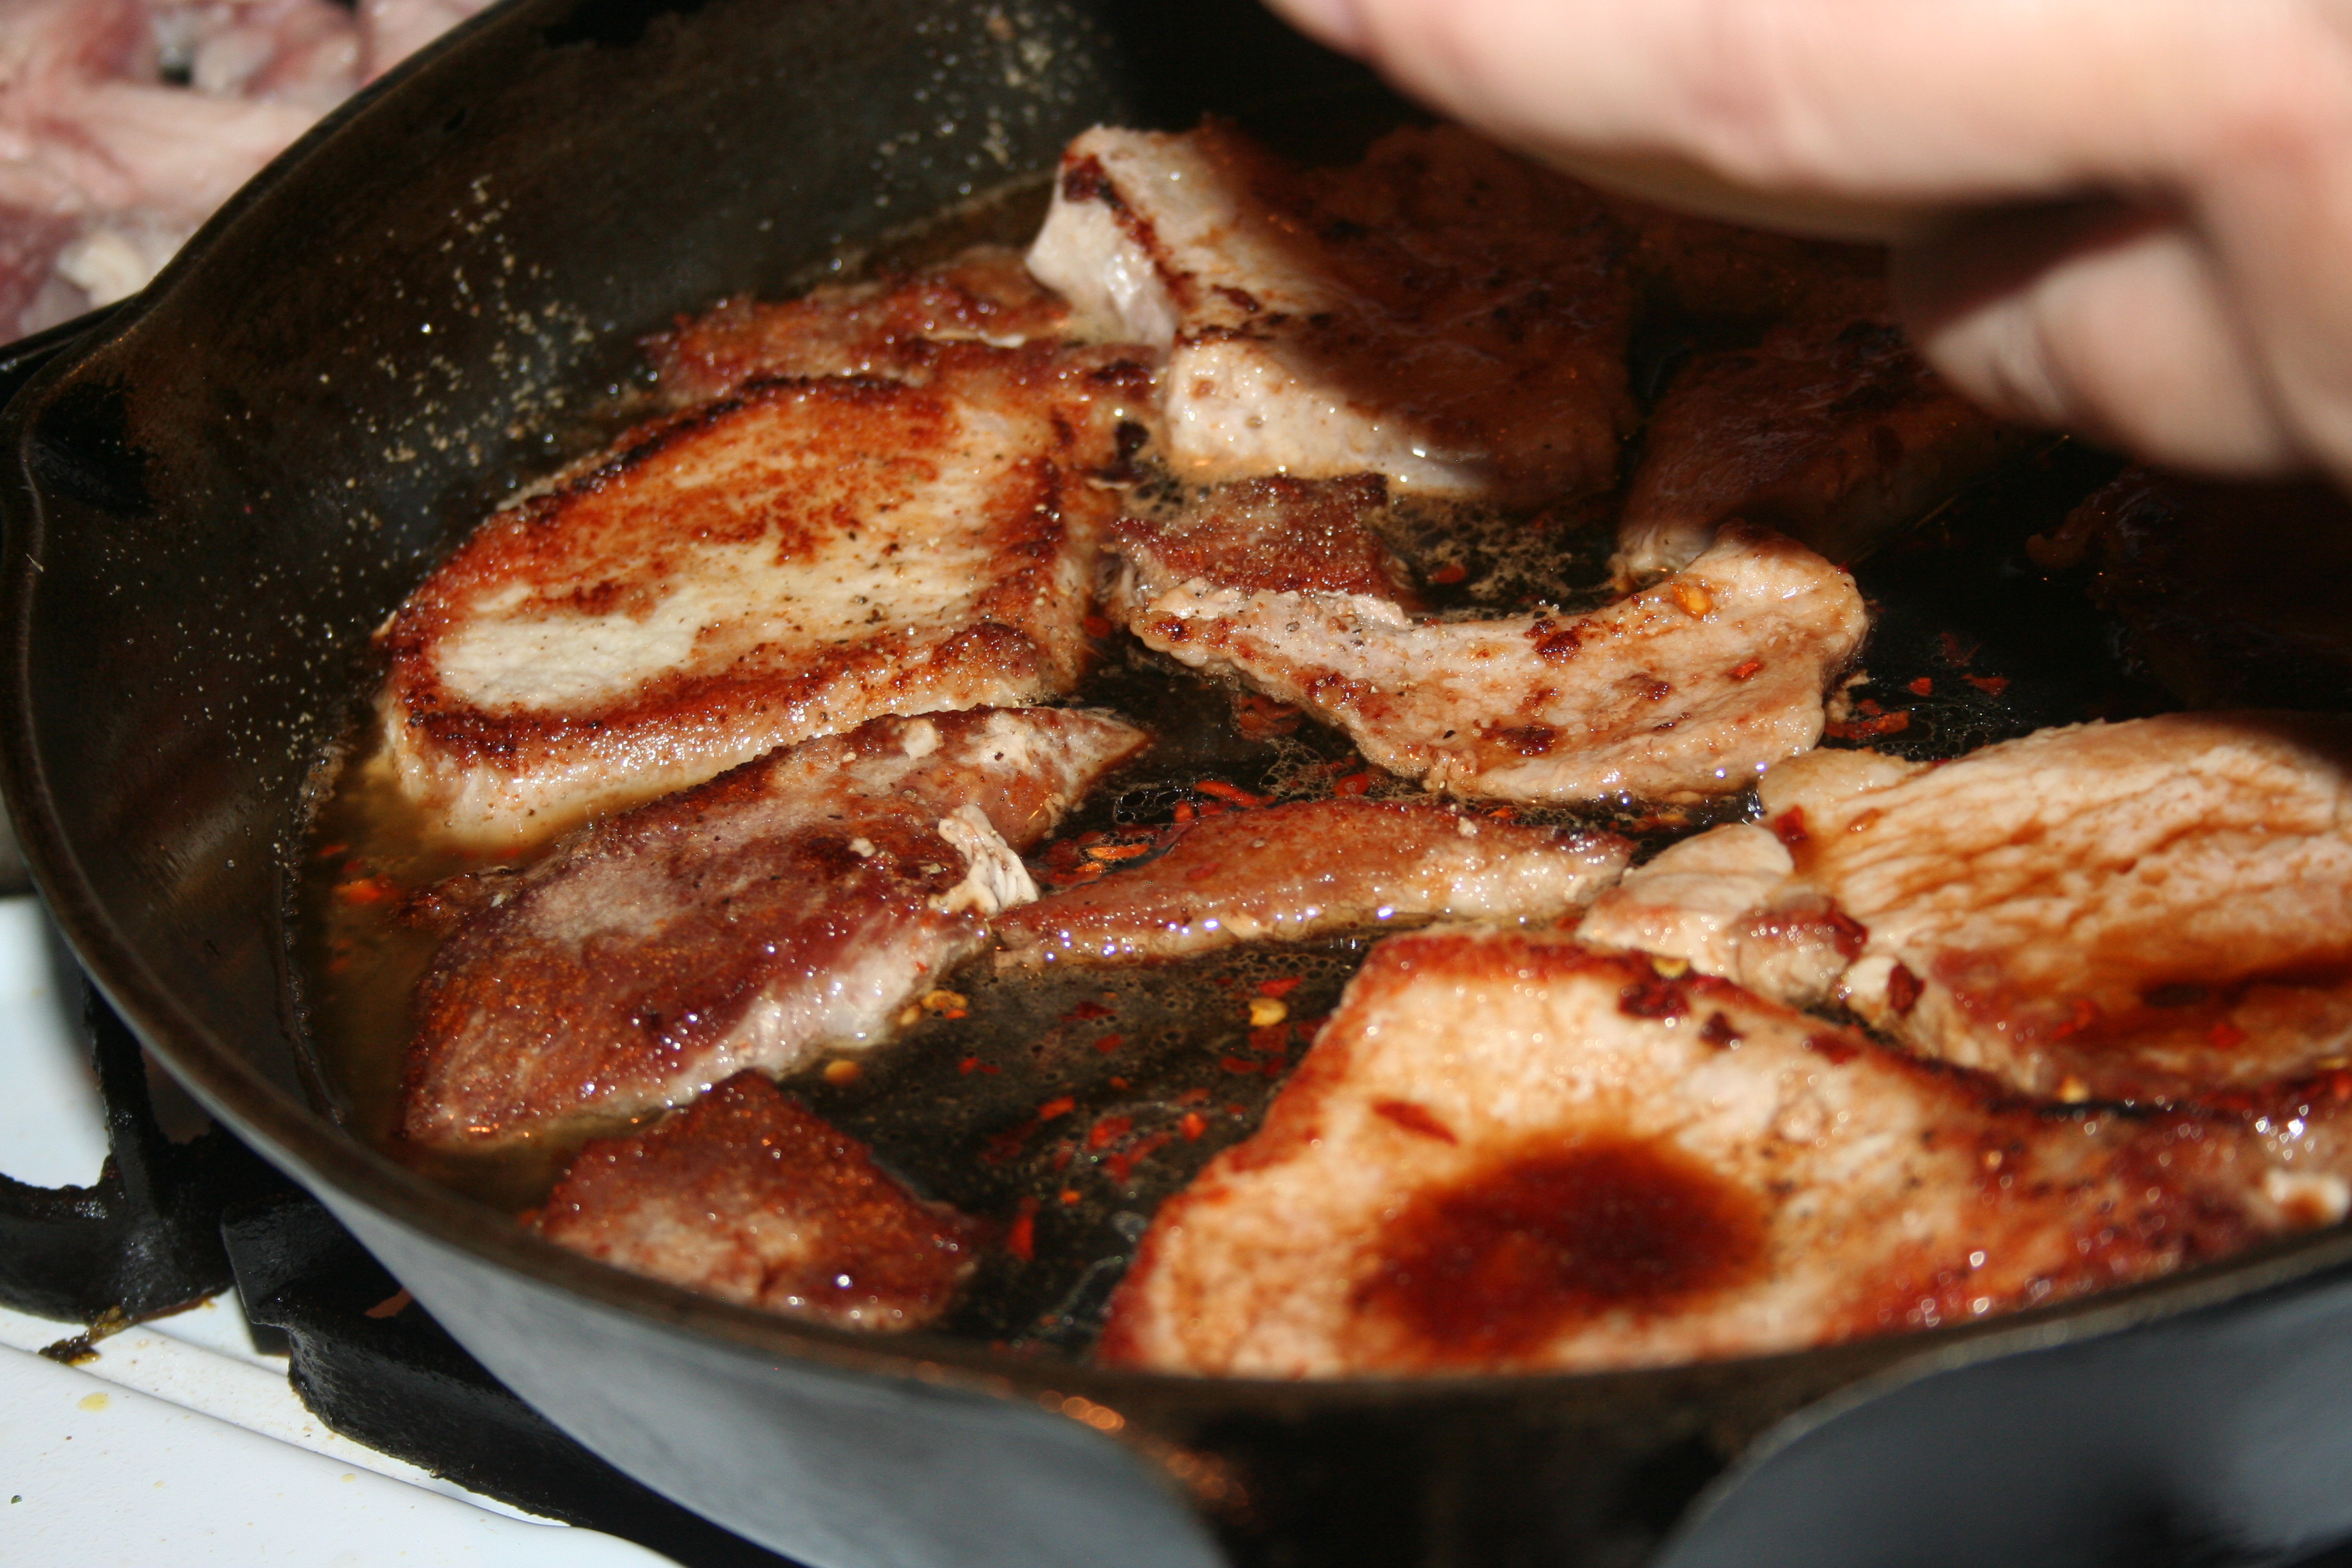
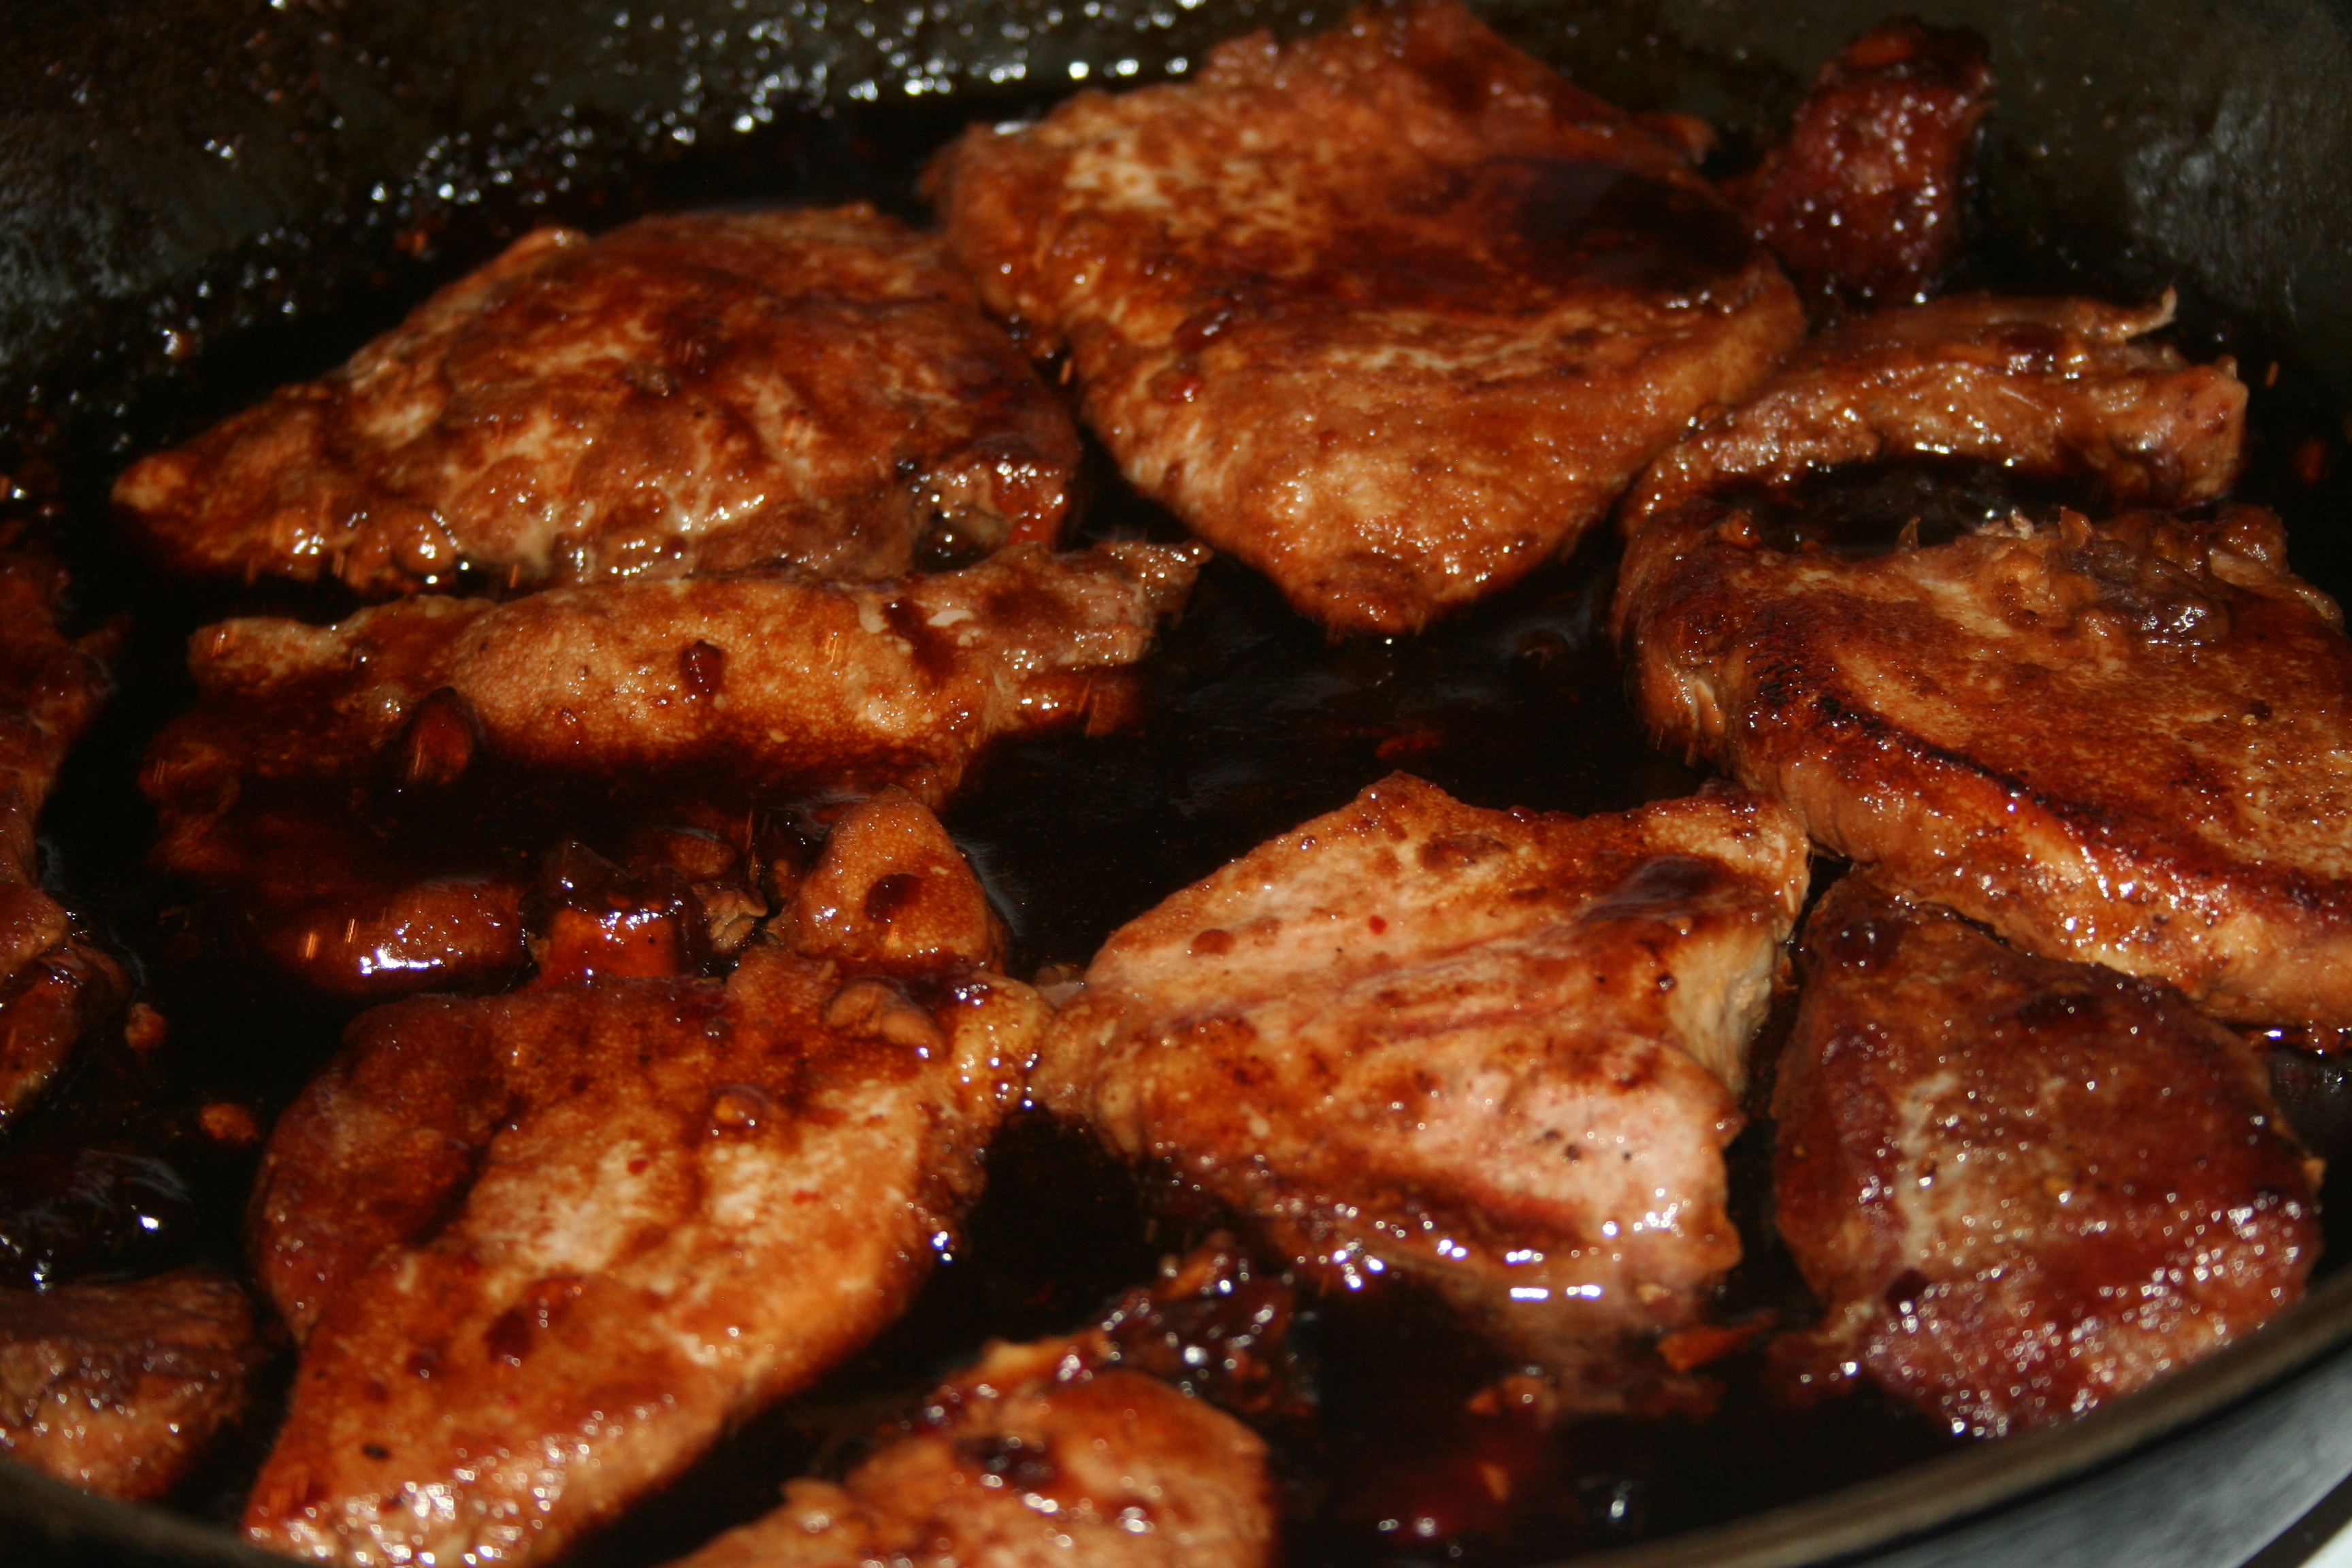
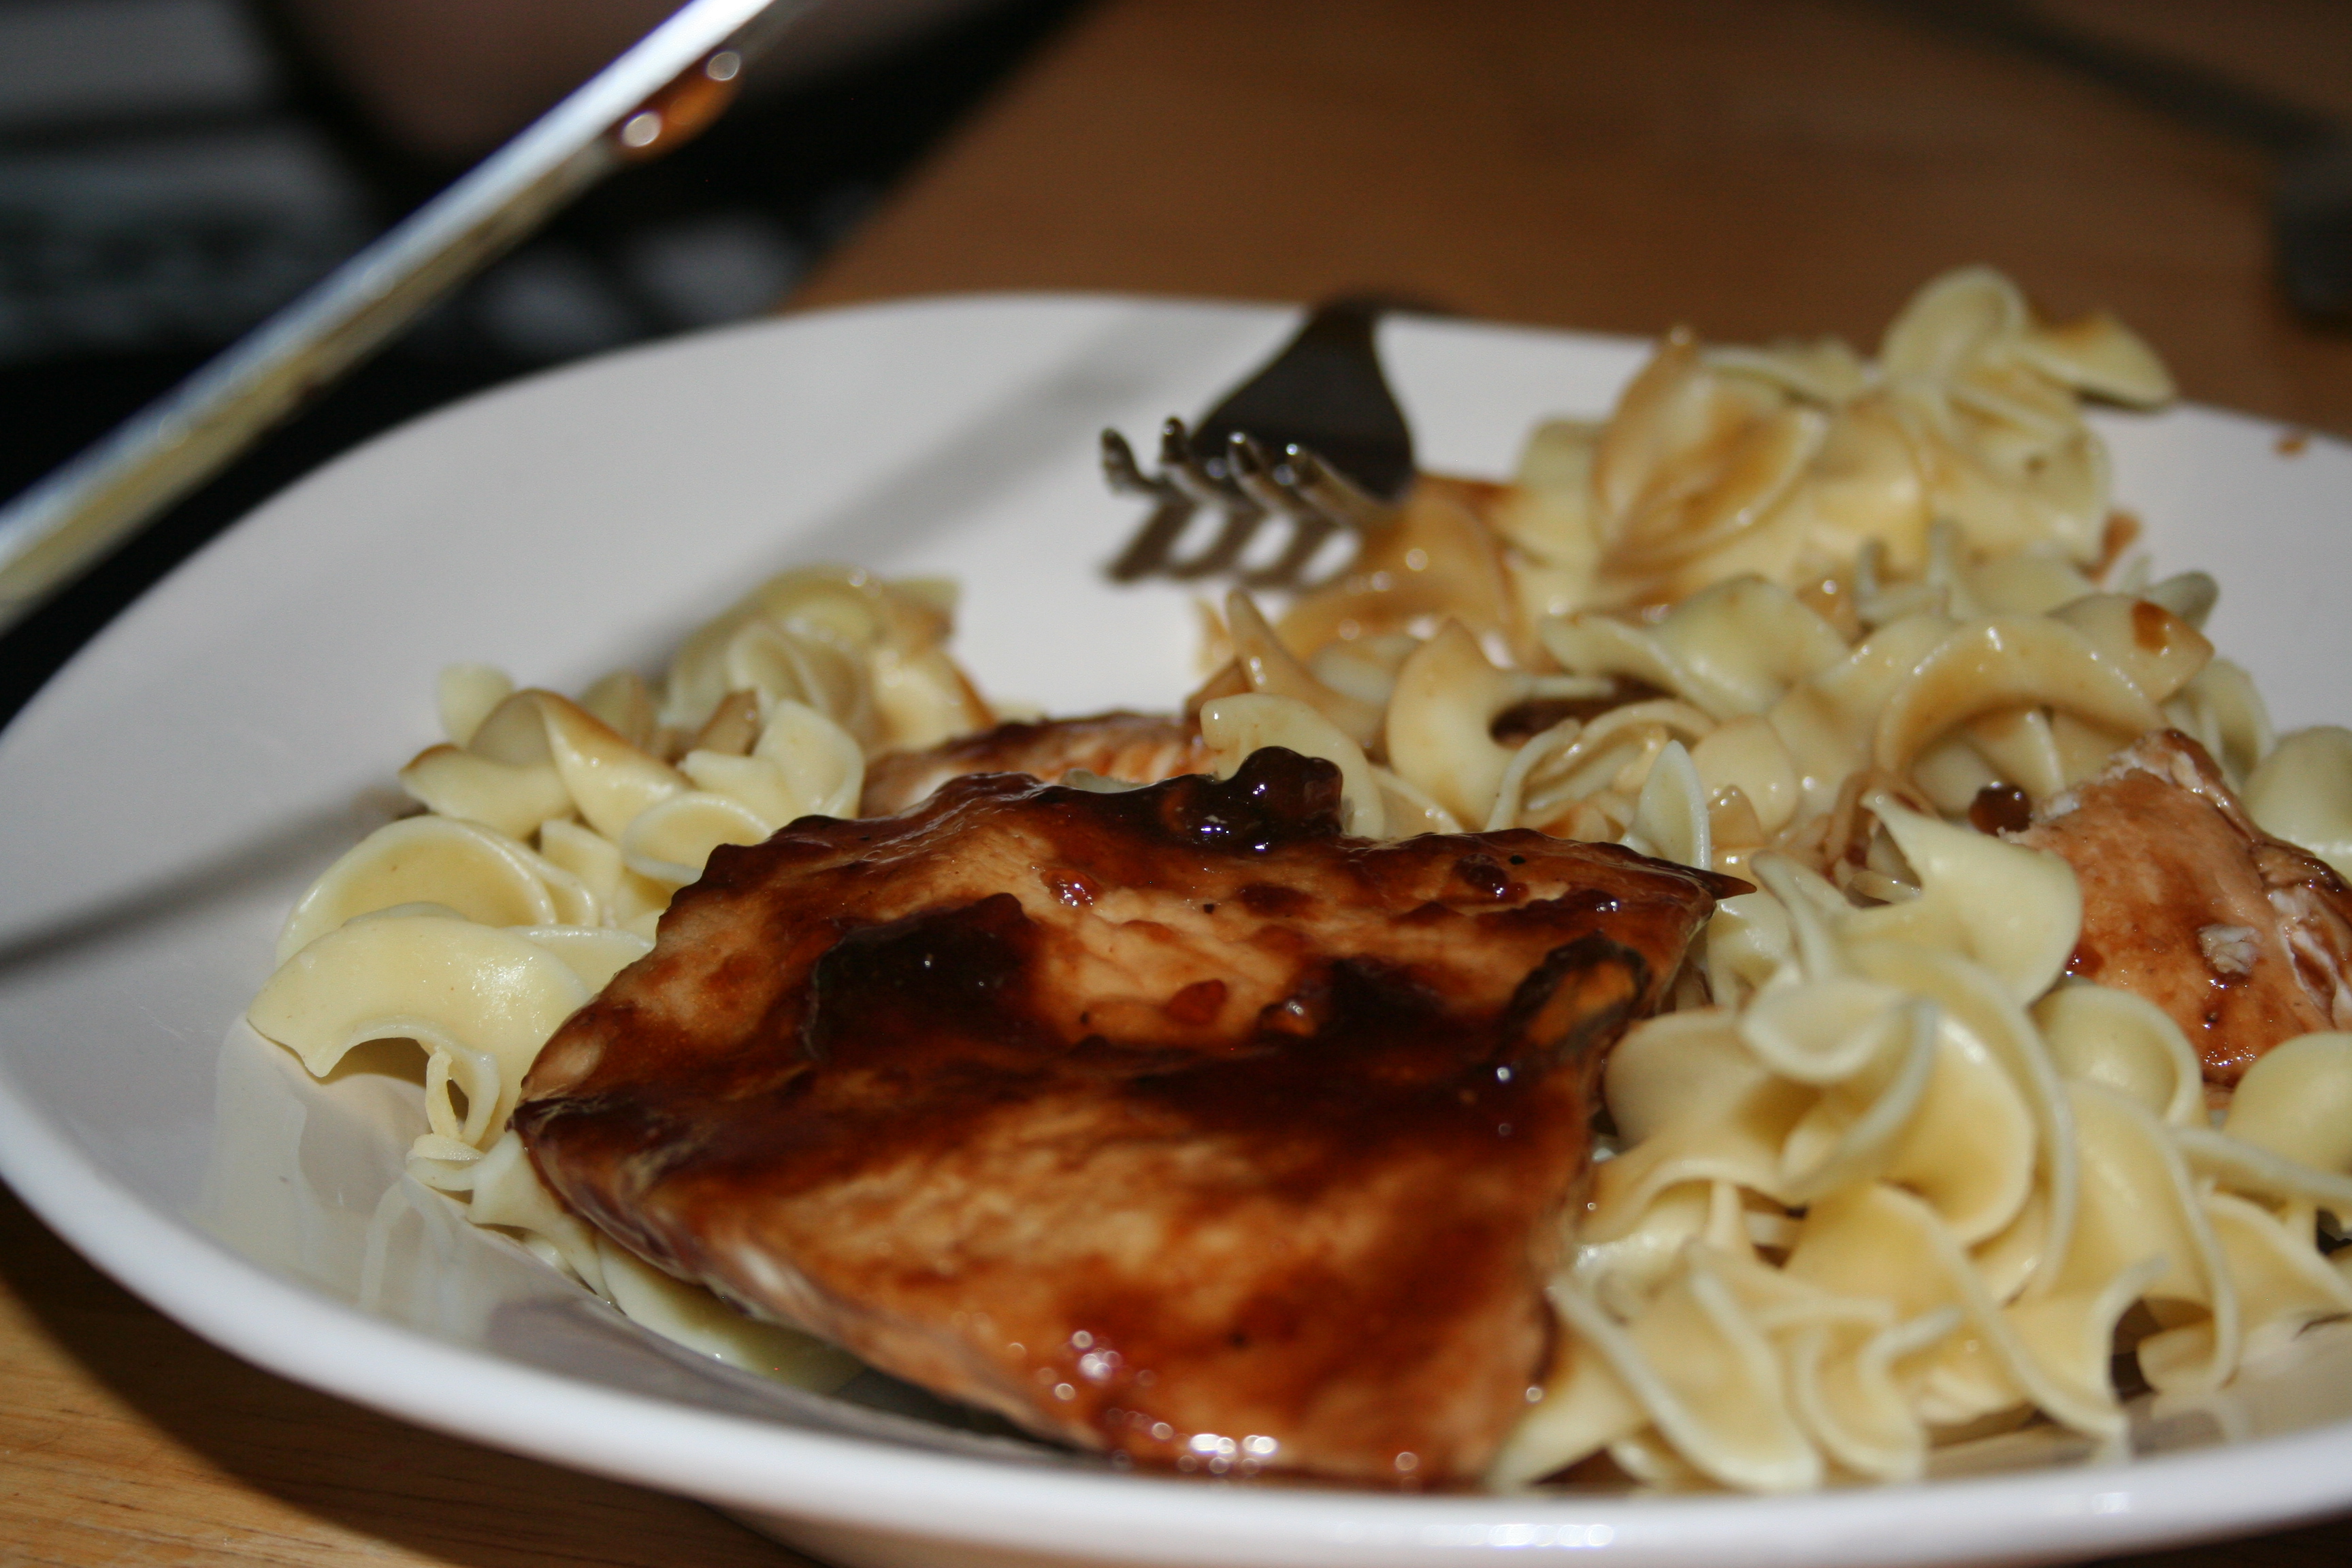
It really is tasty with both meats so use whichever you have on hand or is cheapest.

As you can see by the photo above, we serve this on wide egg noodles. I have learned to make an entire bag of noodles when Brian and Lauren join us for dinner or we run out. :) This particular night I had some pork chops I’d gotten on sale. I cut them off the bone and trimmed of the excess fat. I also got out a chicken breast, which weighed about a pound. I cut that one chicken breast into enough ‘filets’ to fill a 10″ skillet.

Cut Chicken Breast ~ Lifeofjoy.me

Heat a bit of oil in the skillet so the lean meat won’t stick or use spray oil and a non-stick pan.

Heat Skillet ~ Lifeofjoy.me

Sprinkle one side of the meat with garlic powder and place seasoned side down in hot pan. Then sprinkle garlic powder over the top of the meat.

Full pan of Chicken ~ Lifeofjoy.me

Here’s the pork chops in the pan.

Chops in the Pan ~ Lifeofjoy.meAs the meat browns on the first side prepare the sauce or have someone else do it for you. ;)

Flip the pieces when they are browned on one side. I didn’t let the chicken brown quite long enough but I also didn’t want the meat to be tough. Better to have the meat barely browned than tough.
Flip meat ~ Lifeofjoy.meOnce the second side is browned, pour in the sauce. For this much meat we made a double batch of sauce for the pork and a single batch for the chicken.

San Francisco Sauce ~ Lifeofjoy.me

Flipped Chicken ~ Lifeofjoy.me

Sauce on Pork ~ Lifeofjoy.me

If your meat is cooked through, which mine is, bring the sauce to a boil and add the cornstarch and water, whisking it in as you push the meat out of the way. ;) I’m lazy and don’t take the meat out of the pan.

San Fran Chicken ~ Lifeofjoy.me

San Francisco Chops ~ Lifeofjoy.me

The sauce cooked down a bit as we waited on Sean to arrive so we could eat dinner, so it was a bit thicker than usual.

Put noodles on your plate and then top with meat and sauce. I frequently serve applesauce with this meal.

San Fran Chops on Noodles ~ Lifeofjoy.me

San Fran Chicken on Noodles ~ Lifeofjoy.me

San Francisco Chops or Chicken

Ingredients

  • ~1 lb. boneless skinless chicken breast, thighs, or lean pork chops
  • 1 Tablespoon oil
  • garlic powder
  • Sauce:
  • 4 Tablespoons cooking sherry or chicken broth
  • 4 Tablespoons soy sauce
  • 2 Tablespoons brown sugar
  • 1/4 teaspoon crushed red pepper flakes (or dash cayenne pepper)
  • Thickener:
  • 2 teaspoons cornstarch
  • 2 Tablespoons water

Instructions

  1. Trim fat from meat and cut into 'filets'. If your pieces are thick it will take longer to cook.
  2. Heat oil in skillet.
  3. Sprinkle garlic powder on pieces of meat and place seasoned side down in skillet and sprinkle second side. Brown on both sides.
  4. Add sauce and bring to a simmer.
  5. Stir together the water and cornstarch and add to the bubbling sauce. Move the meat around so you can incorporate all the sauce into the thickener. As soon as the sauce is thickened, serve over cooked noodles.
https://lifeofjoy.me/san-francisco-chops-or-chicken/

I hope you enjoy this recipe as much as we do. :)

Until next time, God bless,

Michele ºÜº

Sweet and Sour Chicken ~ Lifeofjoy.me

Sweet and Sour Chicken

Sweet and Sour Chicken ~ Lifeofjoy.meWhen I found this recipe on the pinterest it seemed very odd. Normally when you bread a meat for frying you use flour first then egg then flour again or just egg and then flour. This recipe is different. First you use cornstarch and then dip it in egg. It seemed backwards to me and I was skeptical of even trying it but I did and I am very glad because this is one of our favorite meals! We really like it when we pair it with Egg Rolls.

Mix the sauce (sugar, ketchup, vinegar, soy sauce, and salt) in a medium bowl and set it aside.

Sweet and Sour Sauce ~ Lifeofjoy.me

I take a one pound chicken breast, remove any fat, and cut into bite-size, or smaller, pieces.

Bite size pieces ~ Lifeofjoy.mePlace each piece in cornstarch and coat completely. (I just dump about 1/2 cup into a bowl and then add more if necessary. Better to add more than to have too much and have to throw it away.

In a small bowl, beat one egg. Next coat the cornstarch coated pieces of chicken in the egg mixture. Let the excess drip off.

Dip in Egg ~ Lifeofjoy.meThen place in a hot pan with a couple of tablespoons oil in it.

Into the Pan ~ Lifeofjoy.meBrown on both sides.Brown on each side ~ Lifeofjoy.me

Preheat oven to 350º. When all chicken is browned, pour sauce over all and place in the oven.

Add Sauce ~ Lifeofjoy.meBake for 15 minutes. Flip the chicken over and bake for another 15 minutes.

Finished ~ Lifeofjoy.me

(We should have removed this from the oven a few minutes earlier so that the sauce was less evaporated but it was still VERY good.)

Serve over rice. Yummmm!

Sweet & Sour Chicken ~ Lifeofjoy.me

Sweet and Sour Chicken

Ingredients

  • 1 pound chicken breast
  • salt and pepper to taste
  • 1/2 cup cornstarch
  • 1 egg, beaten
  • oil for frying as needed
  • Sauce:
  • 3/4 cups white sugar
  • 4 tablespoons ketchup
  • 1/2 cup white distilled vinegar
  • 1 tablespoon soy sauce
  • 1 teaspoon garlic salt

Instructions

  1. Whisk sauce ingredients together in medium bowl and set aside.
  2. Cut chicken breast into bite-size pieces.
  3. Coat in cornstarch
  4. Coat in egg, let excess drip off
  5. Brown both sides in hot pan with oil
  6. Preheat over to 350º
  7. Pour sauce over browned chicken
  8. Bake for 15 minutes
  9. Flip chicken over
  10. Bake another 15 minutes
  11. Serve over rice.
https://lifeofjoy.me/sweet-and-sour-chicken/

Until next time, God bless,

Michele ºÜº

Chicken Fried Rice

Chicken Fried Rice ~ LifeofJoy.me

This recipe is easy and very flexible. You can use whatever meats you have on hand or just go with all veggies. We’ve used just chicken and egg before as well as broccoli and carrots. But our go to is chicken and egg with onions and mushrooms because I love caramelized onions and sauteed mushrooms.

It works best when your rice is cold but I seldom have rice sitting in the refrigerator waiting to be used.

When I first ate chicken fried rice it was at a Cantonese restaurant. It had onions and mung bean sprouts and maybe some carrot cubes. Several years after Mike and I got married, I wanted chicken fried rice for dinner but we couldn’t afford to go out at the time, so I set out to make it at home with many disappointments. At first I did not add in the mung bean sprouts because they were crunchy and I don’t like crunchy cooked vegetables. It didn’t taste right so I tried the same recipe I’d found with the sprouts but it was still missing something.

I tried other recipes and one day came upon a recipe that included sesame oil but said it was optional. Well, sesame oil was not cheap so since I wasn’t sure if we’d like it or ever use it again, I did not purchase any. The recipe did not taste like what I remembered it was supposed to taste like. I tried other recipes and one day decided to get the sesame oil and give it a try. That was it! I was amazed that a few drops of this oil is what the key ingredient was to making this dish taste like its restaurant version.

If you have any leftover meat or veggies, this is a good way to use them up. You can use as much or as little of any ingredient as you desire.

If you don’t have any rice cooked, put about 1½ cups of rice in 3 cups of water. Bring to a boil. Cover and reduce heat to a simmer. Simmer for about 20 minutes or until all the water is gone and rice is tender.

I usually use one large chicken breast that is somewhere between three-fourths of a pound to one pound. Cube and cook just until no longer pink.

Diced Chicken ~ LifeofJoy.me

Dice about half an onion and slice about 5 or 6 ounces of mushrooms. veggies ~ LifeofJoy.meSaute in a little butter or oil, with just a few drops of sesame oil. (Sesame oil is very strong, so start out with a little bit; you can always add more later.

Saute Veggies ~ LifeofJoy.meMove veggies to the side and beat 4 eggs slightly. Pour into the pan and scramble them.

Scramble Egg ~ LifeOfJoy.me

Now add about one teaspoon or so of the sesame oil, the cooked rice, cooked chicken, and about 1/4 – 1/3 cup soy sauce to the eggs and veggies and mix/stir fry. (We use low sodium soy sauce.)

Mix it all together ~ LifeofJoy.meRice and stuff added ~ LifeofJoy.meNearly Done ~ LifeofJoy.meTaste it. If it is too mushy, add a bit more oil. If it is bland, add a few more drops of sesame oil or soy sauce.

Serve!

Plated ~ LifeOfJoy.me

I hope you will give this one a try. It really is very versatile and delicious.

Until next time, God bless,

Michele ºÜº

Chicken Pot Pie

Slice of Pot Pie ~ LifeofJoy.meThis recipe is one I created because I like pot pie but seldom ever buy it. One night I was hungry for it and didn’t have any. I knew chicken pot pie was basically chicken, mixed veggies, crust, and a gravy of some kind, all of which I had.

First cook up some chicken. I use one large boneless skinless breast or at least 2 cups pre-cooked chicken chopped. Add can mixed vegetables (drained) and one can of cream of chicken soup (undiluted). Mix together. Look for the combination you like – I added in a can of cut green beans (drained) and another half can cream of chicken soup.

Chicken Pot pie Filling ~ LifeofJoy.me

I cheat and use pre-made pie crusts. Place one in the bottom of a 9″ pie pan.

Pie Crust ~ LifeofJoy.me

Pour the filling into the crust.

Filling Added ~ LifeofJoy.me

Place the other crust on top, tuck the crust hanging over the rim inside the pan and crimp the two crusts together. Cut a few slits in the top crust to allow steam to escape.

Ready for Oven ~ LifeofJoy.me

Bake at 350º for about 30 minutes or until crust is slightly golden and the filling bubbly.

Served with Noodles ~ LifeofJoy.me

I hope you enjoy this recipe.

Until next time, God bless,

Michele ºÜº

Simple Chicken Enchiladas

Chicken Enchiladas ~ LifeofJoy.meI don’t do many recipes with canned soups in them. However, this is one of those that I do use it in. I know I could make my own condensed “cream of chicken soup” but I choose not to for this recipe. I guess I just like it being an easier recipe to make. Opening up 2-3 cans of soup is easier than making a rue and adding milk and broth to it.

If you have a pound of chicken already cooked, this recipe is even easier. ;)

Chicken Ench Ingredients ~ LifeofJoy.me

Shred or chop the cooked chicken.

Chicken for Enchiladas ~ LifeofJoy.me

Combine it with one and a half cans of cream of chicken soup.

Chicken and soup ~ LifeofJoy.me

Spread a little near the edge of the tortilla with a little bit of cheese.

Fill Tortilla ~ LifeofJoy.meRolling Enchiladas ~ LifeofJoy.me

Then I remembered that doing it this way uses more cheese. So I mixed half the cheese with the chicken and soup mixture and continued filling tortillas. Place in a grease pan.

Chicken Enchiladas ~ LifeofJoy.me

Spread  the remaining can and a half of cream of chicken soup over the tortillas.

Ready for the Cheese ~ LifeofJoy.me

Sprinkle the remaining 4 ounces of cheese on top.

Ready to Bake ~ LifeofJoy.me

After getting this all put together I also realized that I usually make these for all of my family, so I usually use 1½ pounds of chicken instead of just one pound. This is why I usually use 3 cans of cream of chicken soup. This night I was only fixing dinner for four and used one pound of chicken and thus I should have only used 2 cans of soup. Thus mine will look creamier than yours. Trust me; three cans is too much – still yummy but too much. Stick with 2 cans for 1 pound of chicken.

I got 9 enchiladas out of this but usually only get 8 per pound.

Time to Eat ~ LifeofJoy.me

As you can see, it is a bit difficult to find where each tortilla ends and begins. Just dish it out from the end with a wide spatula and enjoy.

Chicken Enchiladas ~ LifeofJoy.me

Chicken Enchiladas ~ LifeofJoy.me

Chicken Enchiladas

Ingredients

  • 1 pound chicken
  • 2 cans cream of chicken soup
  • 8 ounces cheese, shredded (I used colby jack.)
  • 8 tortillas (I use whole wheat)

Instructions

  1. Saute and cut chicken.
  2. Add one can of soup.
  3. Add 1/2 the cheese
  4. Spread 1/8 of the mixture onto each tortilla and roll up.
  5. Place in oil sprayed 9x13 baking dish
  6. Bake in 350º oven until cheese is completely melted and bubbly and enchiladas are heated through.
https://lifeofjoy.me/simple-chicken-enchiladas/

I hope you enjoy these as much as we do.

Until next time, God bless,

Michele ºÜº

Chicken Caesar Salad Wrap ~ LifeOfJoy.me

Chicken “Caesar” Salad Wrap

Chicken Caesar Salad Wrap ~ LifeOfJoy.me

Over the last couple of months Tiffany and I have gone to McAlister’s Deli a few times. Tiffany tried their Chicken Caesar Salad Wrap and loved it, rather, she loved it without the dressing. ;) She doesn’t eat many condiments. She liked it so much that she decided to recreate it at home.

lettuce and parm ~ LifeOfJoy.meFirst she tears up a couple of large leaves of romaine lettuce into a bowl and shreds a couple of teaspoons of Parmesan cheese on top of it.

salad on flatbread ~ LifeOfJoy.meShe mixes the cheese and the lettuce and piles it on a flatbread.

slicing chicken ~ LifeOfJoy.meThis time we used leftover chicken breast that had been seasoned with onion powder, garlic powder, salt, and pepper and cooked in a skillet. When we don’t have any of that she uses whatever lunchmeat we have available and because she loves cheese, she adds another tablespoon of grated parmesan to the chicken before adding it to the flatbread.

chicken on flatbread ~ LifeOfJoy.meroll up ~ LifeOfJoy.meRoll up and secure with toothpicks to keep it from unraveling on you before you can get it in your hands to eat.

I prefer to add some Creamy Vidalia Onion dressing to mine, as well as some sliced grape tomatoes.

I hope you like this one.

Until next time, God bless,

Michele ºÜº

Chicken Tortilla Bake

Chicken Tortilla Bake ~ LifeOfJoy.me

This is one that I hadn’t made in a while but when I made again it was a hit. It is fairly easy to make. I choose to make it without canned cream soup, which takes a few extra minutes but is worth it.

I season about one pound of boneless skinless chicken breast with a bit of onion power, garlic powder, salt and pepper. Cook in non-stick skillet or with a enough oil to keep it from sticking. Cool enough after cooked to slice into thin pieces and then cut slices into bite sized pieces (the smaller the pieces the more it is spread throughout the casserole). While the chicken in out of the pan, melt 5 tablespoons of butter in it. When melted add 5 tablespoons of flour to it and stir with a whisk, when fully combined, slowly whisk in one and a half cups of milk. Add the cut chicken and 2 cans green chilies (I puree my green chilis).

Layer six corn tortillas, half the chicken mixture, and 4 ounces shredded cheddar in a 9×13 pan. Repeat layers a second time. I used extra sharp cheddar and it was way sharper than I like so we used only 4 ounces of cheese total. I prefer mild cheddar or colby jack.

Tortilla Bake ~ LifeOfJoy.me

Bake  350º for about 35 minutes or until cheese is melted and bubbly.

Chicken Tortilla Bake

Ingredients

  • about 3 cups cooked chicken, chopped
  • 5 tablespoons butter
  • 5 tablespoons flour
  • 1 1/2 cups milk
  • 2 cans green chilies
  • 12 corn tortillas
  • 8 ounces cheddar cheese, grated

Instructions

  1. (Season boneless skinless chicken breast with a few shakes of onion powder, garlic powder, salt, and pepper. Cook over medium heat in non-stick skillet until no longer pink.Slice and chop.)
  2. Melt the butter in skillet.
  3. Whisk in flour, until thoroughly combined.
  4. Whisk in 1 1/2 cups milk. Stir until thickened.
  5. Add chicken and green chilies.
  6. Layer 6 of the tortillas in the bottom of a greased 9 x 13 pan.
  7. Add half chicken mixture and half the cheese.
  8. Repeat layers
  9. Bake 350º for 35 minutes or until cheese is melted and dish is hot and bubbly.
https://lifeofjoy.me/chicken-tortilla-bake/

I hope you enjoy this recipe.

Until next time, God bless,

Michele ºÜº

Chicken Fajitas

Chicken FajitasI know this isn’t the best photo. I’ll probably attempt to take some better ones of the final product next time I make these and update the photo then. I also want to give Sean, Tiff, and Lauren credit as they have helped me out by taking some pictures for me as I prep food (so yes, those are my plump hands ;) ).

This is actually a recipe that I made on my own, not that I made up the recipe for chicken fajitas, but I took the idea I saw somewhere else and changed it up a lot. Most of the recipes I use have been gotten from somewhere else and we’ve been having for quite some time but this one is much newer.

Did you know that ingredients can taste different depending on how they are cut? It sounds odd to me because it is what it is and how can cutting it up differently change anything but it does. Try it for yourself.

Cutting Mini Pepper ~ LifeOfJoy.meSo when I cut the ingredients for these fajitas, I cut them from pole to pole making long thin strips.

This day I used colored mini peppers because I had an abundance of them but you can also use the full size and only use about 1/3 of the pepper, like I did with the green pepper this day. So with the mini pepper, I cut off the top ( you can see in the upper right corner of the photo) ,then I cut it down the middle from the cut top to the point, remove any large veins and seeds inside, and then I take each half and cut it into thin strips. I cut about 2 of the red and two of the yellow; they were rather large for mini peppers.

Bell Pepper ~ LifeOfJoy.meNext up is the green pepper, of which I use about a third, so I cut down to the right of the center and remove any big veins and seeds that may be in that portion. Then slice, pole to pole, like I did the mini peppers, into thin strips.


Now for the onion, which I cut the same way, removing the poles (top and bottom) and outer layer.

Onion in Half ~ LifeOfJoy.meRemove top and bottom~LifeOfJoy.me

And then cut into thin strips, pole to pole, like the peppers. First cut is nearly sideways ~ LifeOfJoy.meSlicing Onion ~ LifeOfJoy.me

Put a couple of tablespoons of oil in skillet over medium high heat. When pan and oil are hot, add in the onions and peppers. Sprinkle onions and peppers with a bit of salt to help them cook faster. (I like my veggies caramelized or nearly so – no crunchy veggies for me.)

Once I get these veggies started, I slice the mushrooms the same way and add to the pan with a sprinkling of oil. (I used coconut oil.)

Slicing Chicken Breast ~ LifeofJoy.meNow I slice the chicken breast, it would probably be more flavorful if I would do this first, but mine was still quite frozen this day and I was thawing it in a bowl of water, as I prepped the veggies.

Trim the fat off and then cut into thin strips. As the strips get thicker, cut those strips into 2-3 thin strips, so all the strips are roughly the same size.

Season Meat ~ LifeOfJoy.mePut the chicken strips in a bowl and season with about 1/4 – 1/3 cup balsamic vinegar and about 1/4 cup olive oil. Then add 3/4 tsp onion powder, 3/4 tsp garlic powder, 1/2 tsp chili powder, 1/4 tsp cumin, and 1/4 tsp paprika. Stir to coat all the chicken well. Let this sit for anywhere from 5-10 minutes to several hours covered in the refrigerator. Then heat a skillet pretty hot and cook the chicken until no longer pink. This will take about 5-15 minutes depending on how long it marinated and if your pieces of chicken were completely thawed. ;)

Heat tortillas. We like both small corn tortillas and medium-sized whole wheat tortillas. We also like to “fry” these in a bit of coconut oil.Frying Tortillas ~ LifeOfJoy.me

Cooked Veggies ~ LifeOfJoy.meCooked Meat ~ LifeOfJoy.me

Here is Tiffany’s fajita, assembled with a bit of veggies, cheese, and chicken on whole wheat tortilla. Here’s mine with a nice pile of veggies, a few pieces chicken. I did top it off with a nice bit of cheddar cheese and some sour cream, as shown in the first photo above. WW Fajita ~ LifeOfJoy.meCorn Tortilla Fajita ~ LifeOfJoy.me

Chicken Fajitas

Ingredients

  • 4-6 mini peppers
  • 1/3 of large green pepper
  • 1 small onion
  • 4 oz fresh mushrooms
  • about 1 pound chicken breast
  • 1/4-1/2 cup balsamic vinegar
  • 1/4-1/2 cup olive oil (or your choice of oil for marinating chicken)
  • 3/4 teaspoon each onion powder and garlic powder
  • 1/2 teaspoon chili powder
  • 1/4 teaspoon each paprika and cumin
  • 2-4 tablespoons coconut oil (or whatever oil you choose to use, if you "fry" your tortillas)
  • 8 ounce cheddar cheese
  • sour cream

Instructions

  1. Remove any fat from chicken breast and cut into thin strips. Place chicken strips in a bowl with enough balsamic vinegar (about 1/4 cup) and olive oil to coat well. Add onion powder, garlic powder, chili powder, paprika, and cumin and mix to coat chicken evenly. Cover and refrigerate for 10 minutes or several hours.
  2. Slice peppers, onions, and mushrooms, thinly and saute in a few tablespoons of coconut oil (or oil of our choice) over medium heat until desired doneness. I like mine caramelized or nearly so. Add just a tiny bit of balsamic vinegar to veggies to give them added flavor.
  3. Saute the chicken in either a non-stick pan or in enough oil to keep it from sticking. Since I don't usually marinate my chicken very long, I dump chicken and all juice into pan and cook until no longer pink. This should only take a few minutes.
  4. Heat tortillas. We like to "fry" these in a bit of oil. Place on paper towels to remove excess oil.
  5. Shred cheddar or pepper jack cheese and place items on the table for individuals to build their fajitas as they please.
  6. I like to layer it like this: tortilla, veggies, meat, cheese, and sour cream placed along the side of the pile of goodies placed down the center of the tortilla. Fold in half and eat. Have napkins handy!
https://lifeofjoy.me/chicken-fajitas/


Chicken and Fries Salad ~ LifeOfJoy.me

Chicken and Fries Salad

This is probably the day of my posts that will see the most change over time; recipes take more setup than other types of posts, to allow users to print or store them in an easy and formatted way. So please be patient with me and know that I am working on it.

_________________________________

Chicken and Fries Salad ~ LifeOfJoy.me
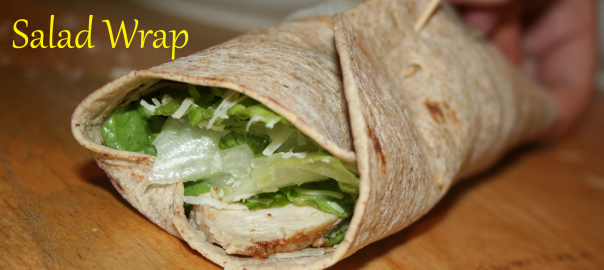
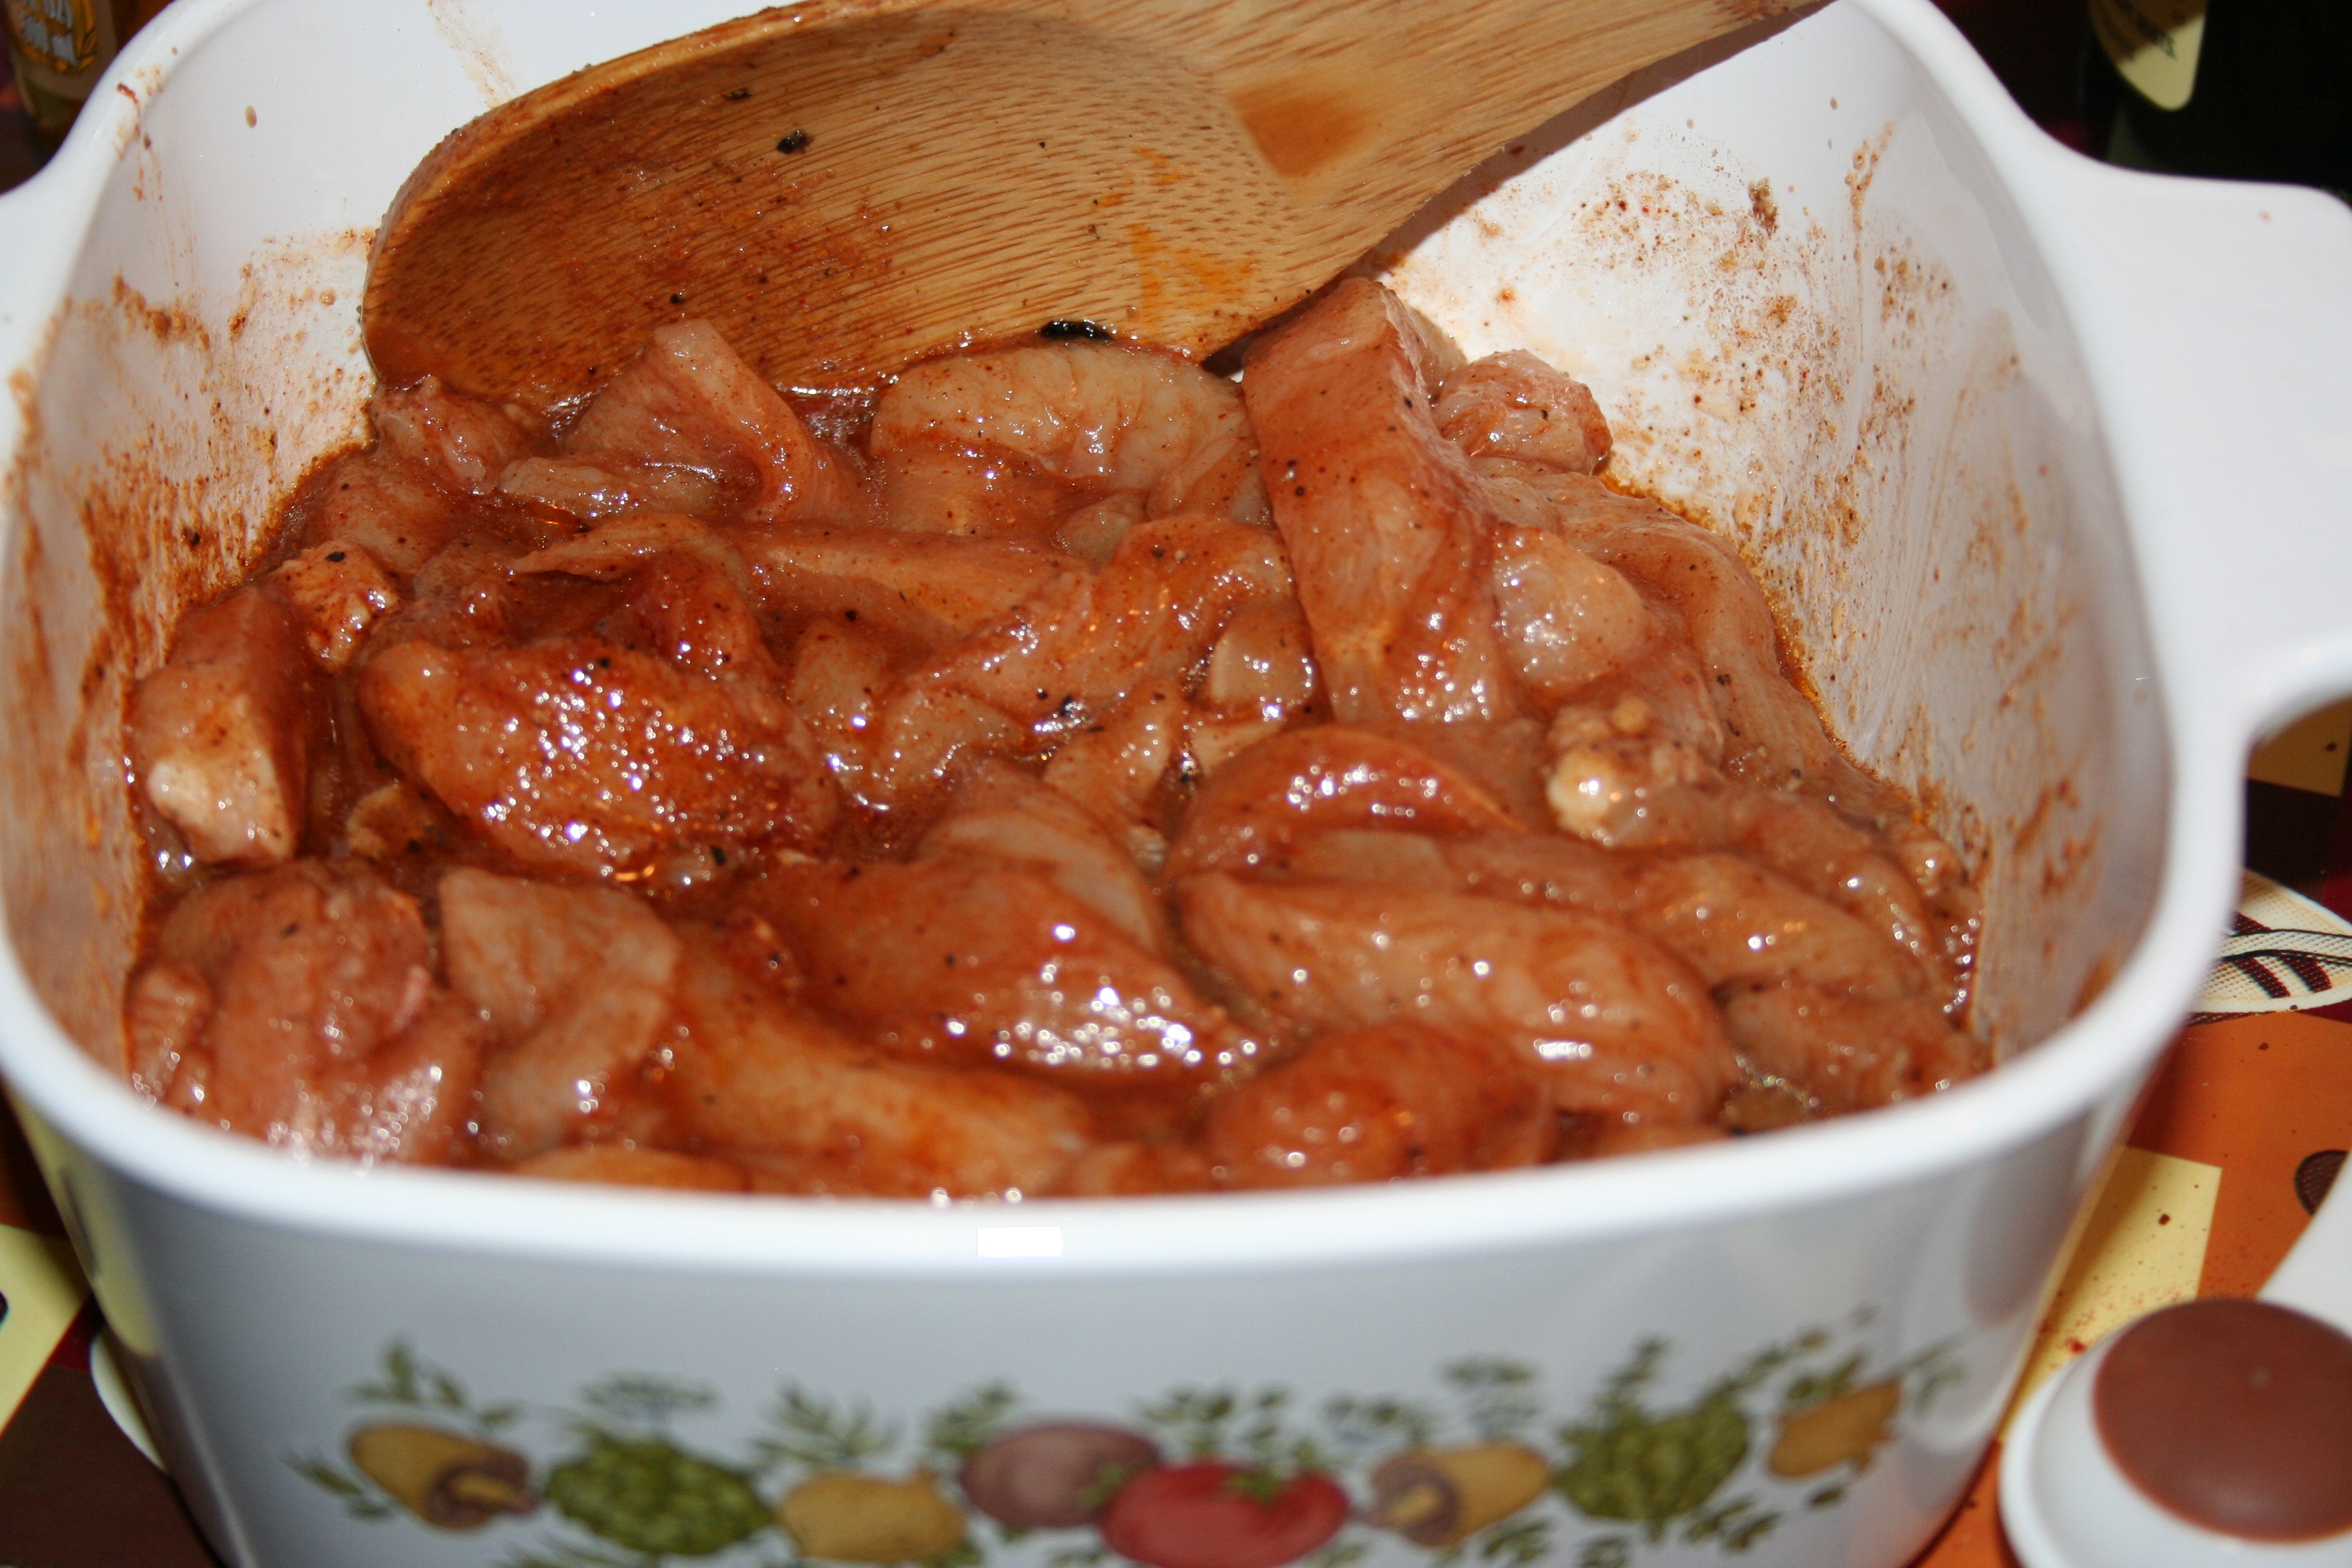
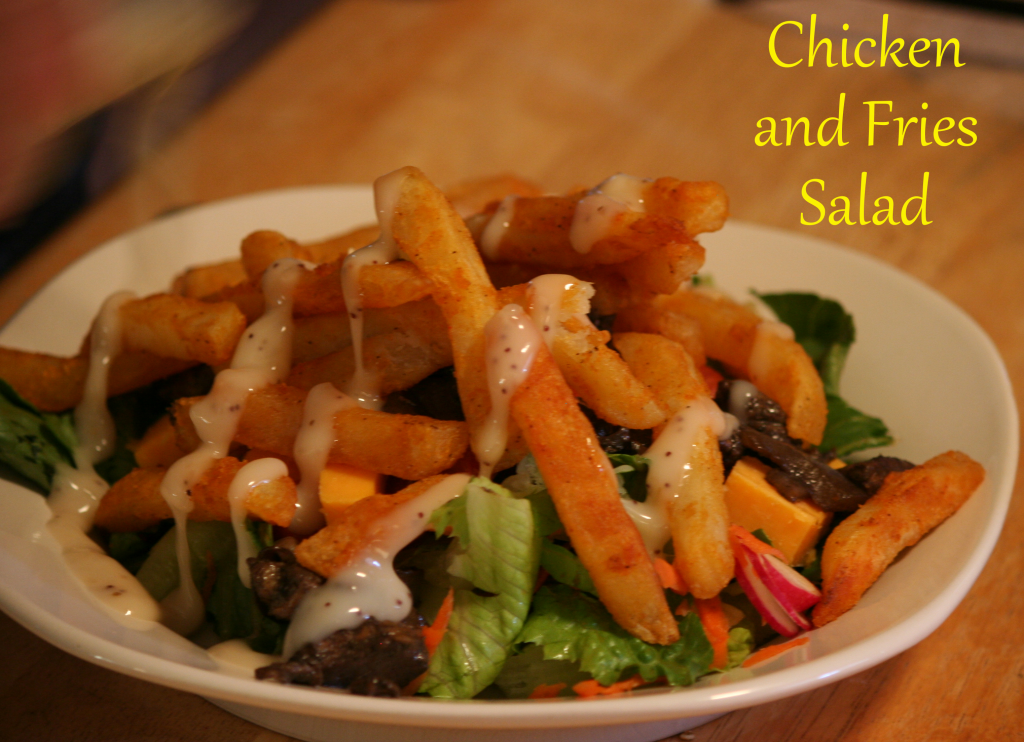
Years ago one of my cousins had a restaurant. One of the dishes they had on the menu was Steak and Fries Salad. It sounded odd but I was told it was delicious and when I finally had the opportunity to eat at their restaurant, it did not disappoint me. I re-created this deliciousness at home but have changed the main meat to chicken, since my husband is allergic to both beef and pork. (It took me a long time to realize that I could make most any recipe and just substitute the meat used if it was originally a beef or pork recipe.) The picture above is how I like mine but I serve it buffet style so the kids can add what they want.

Basic Salad
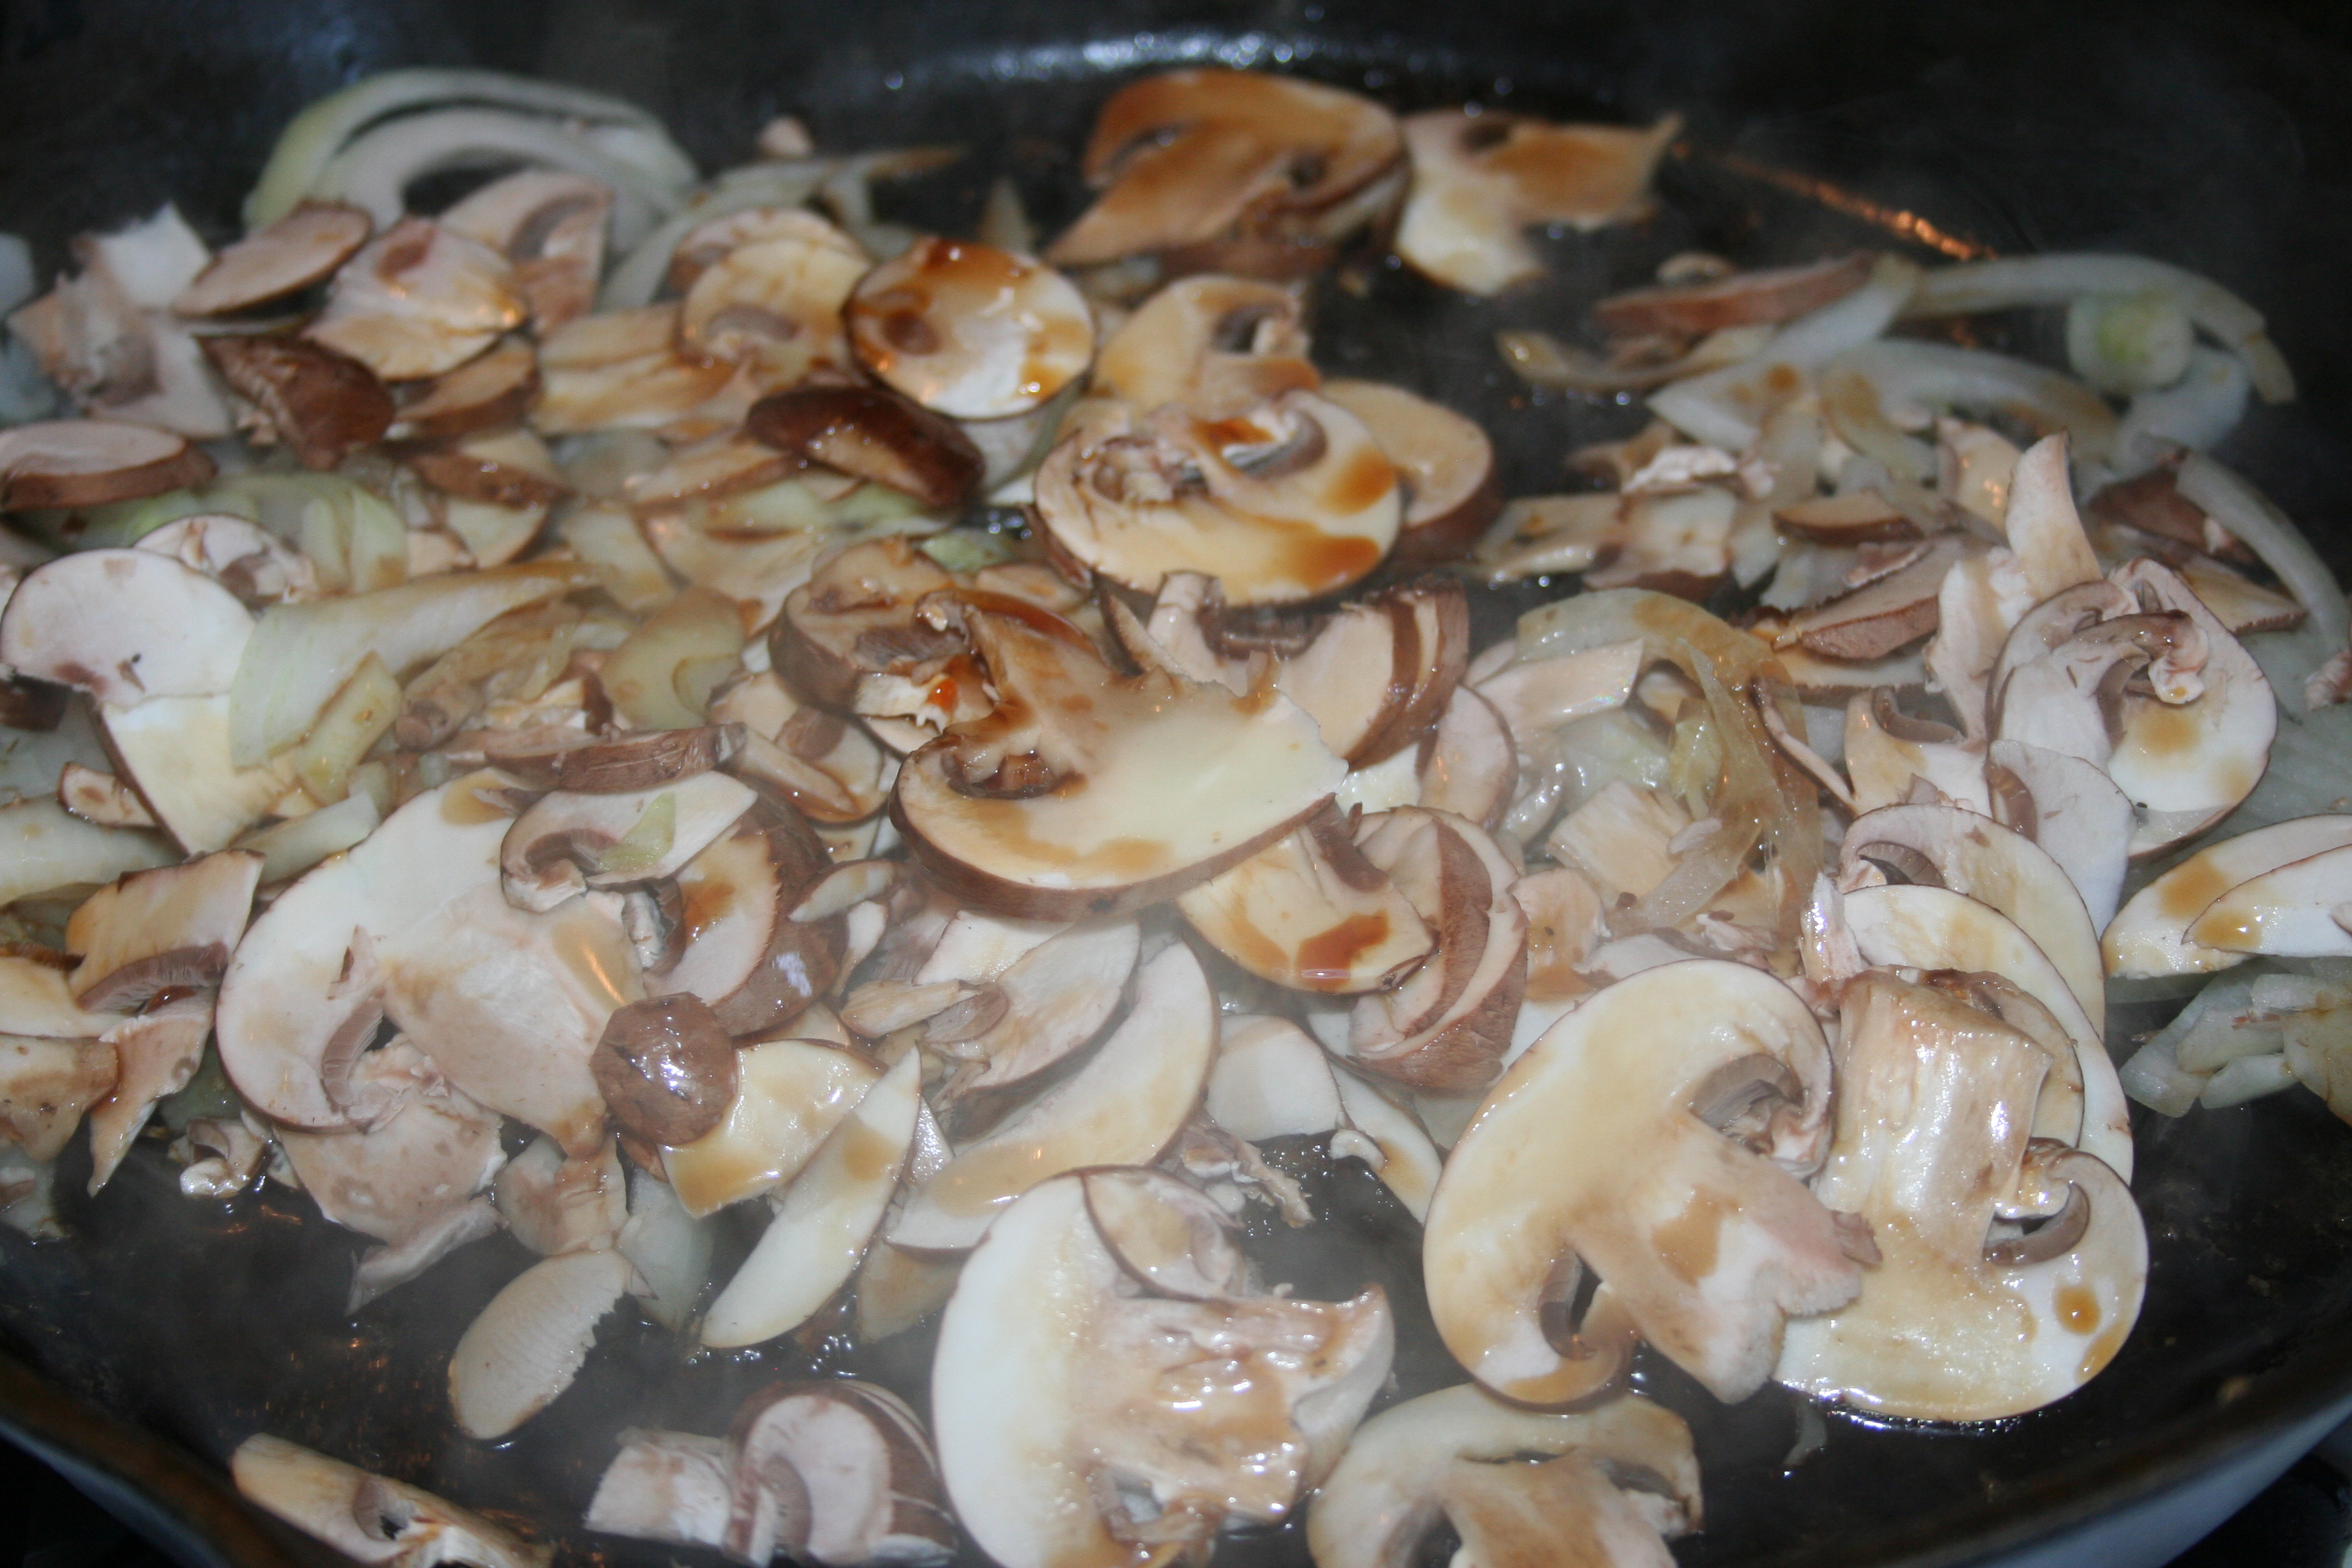
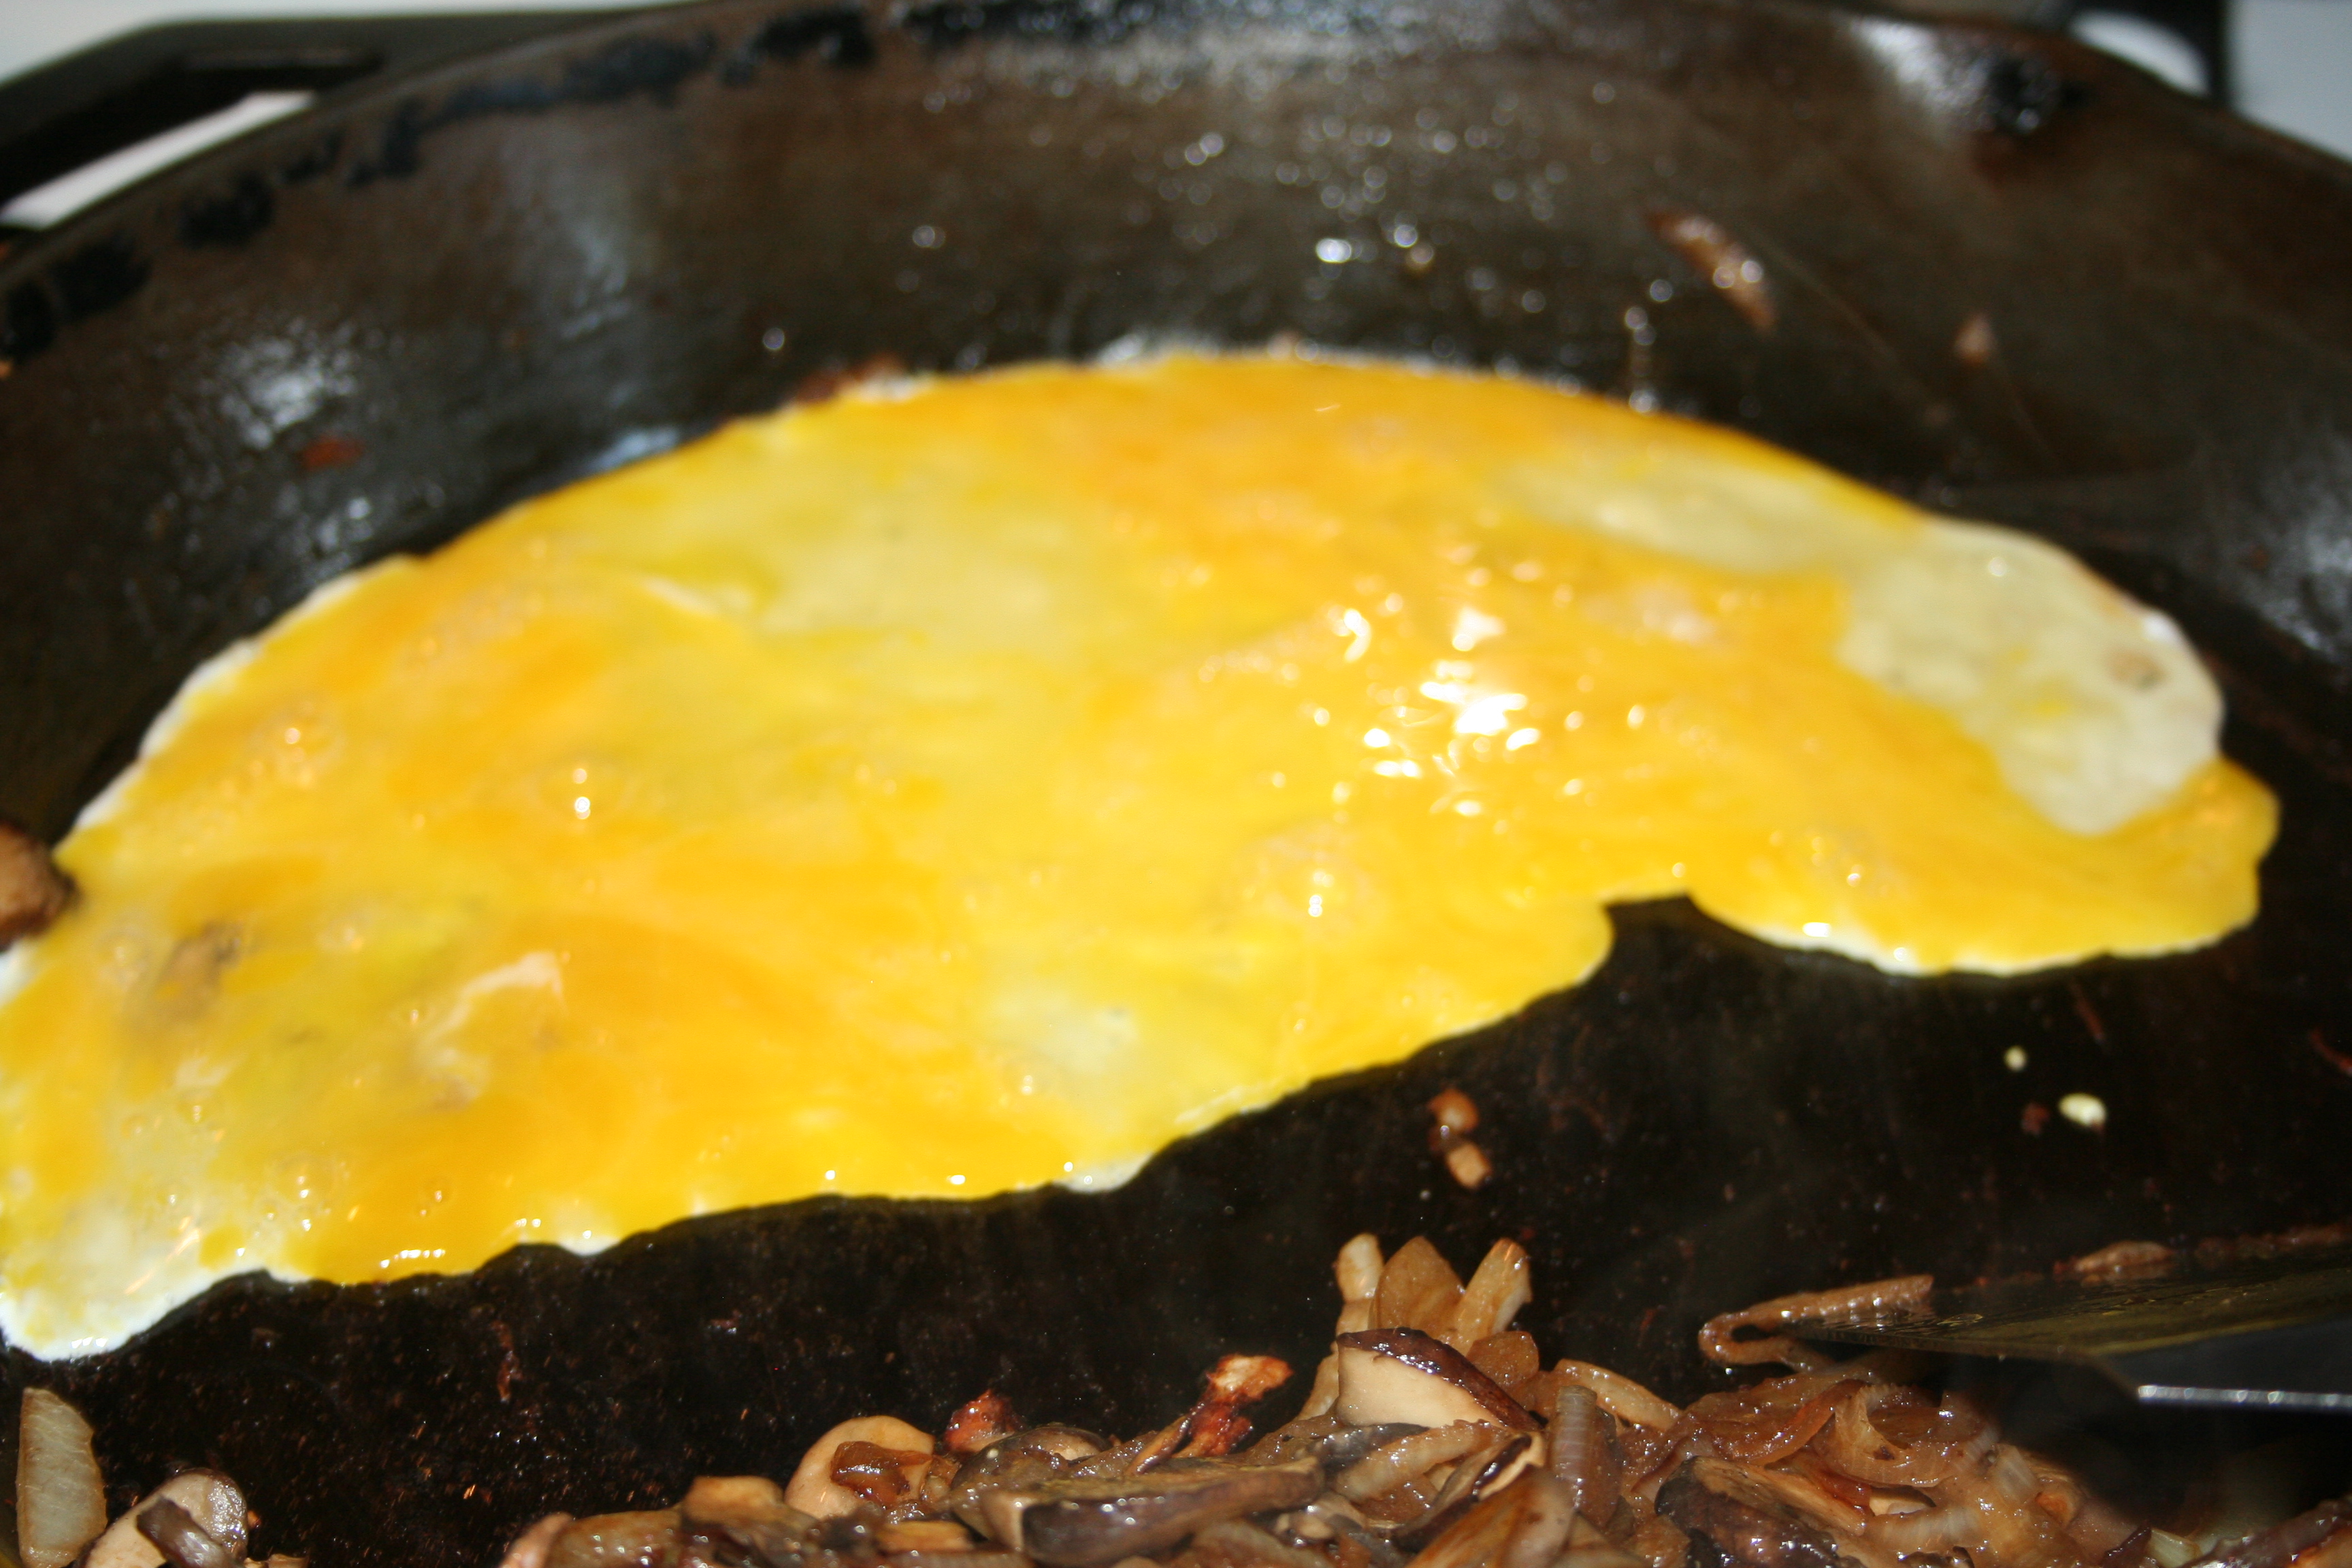
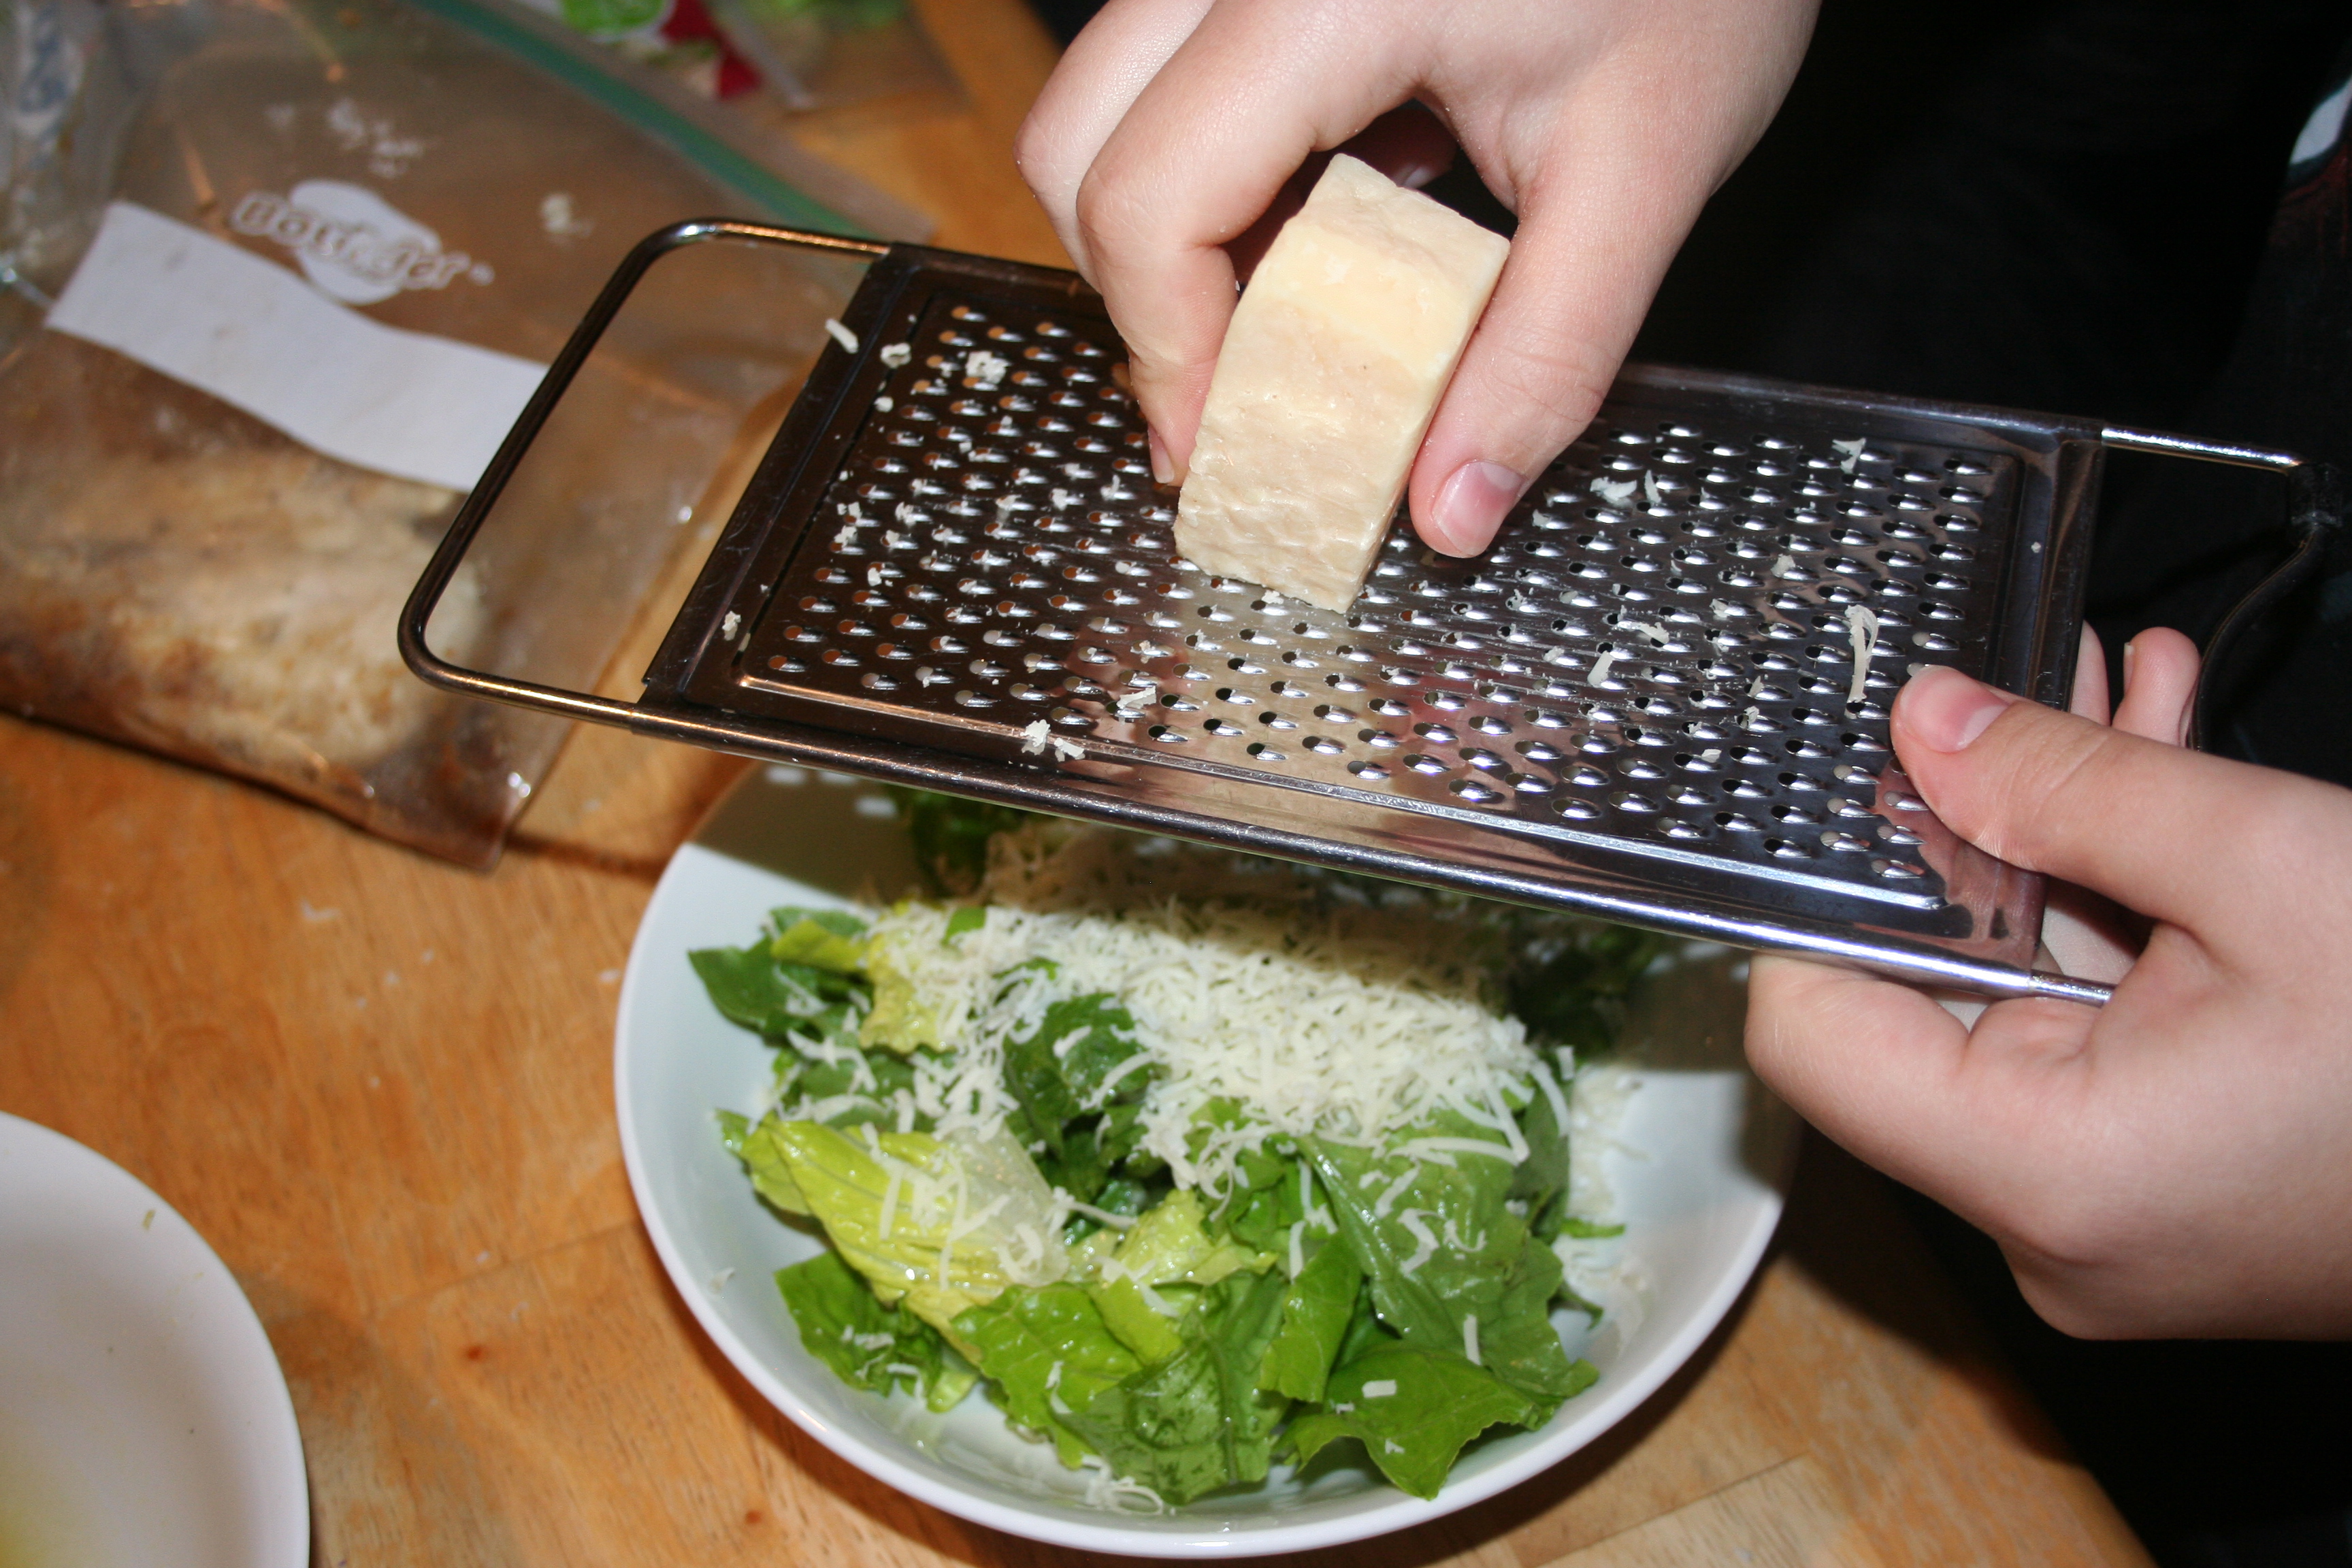
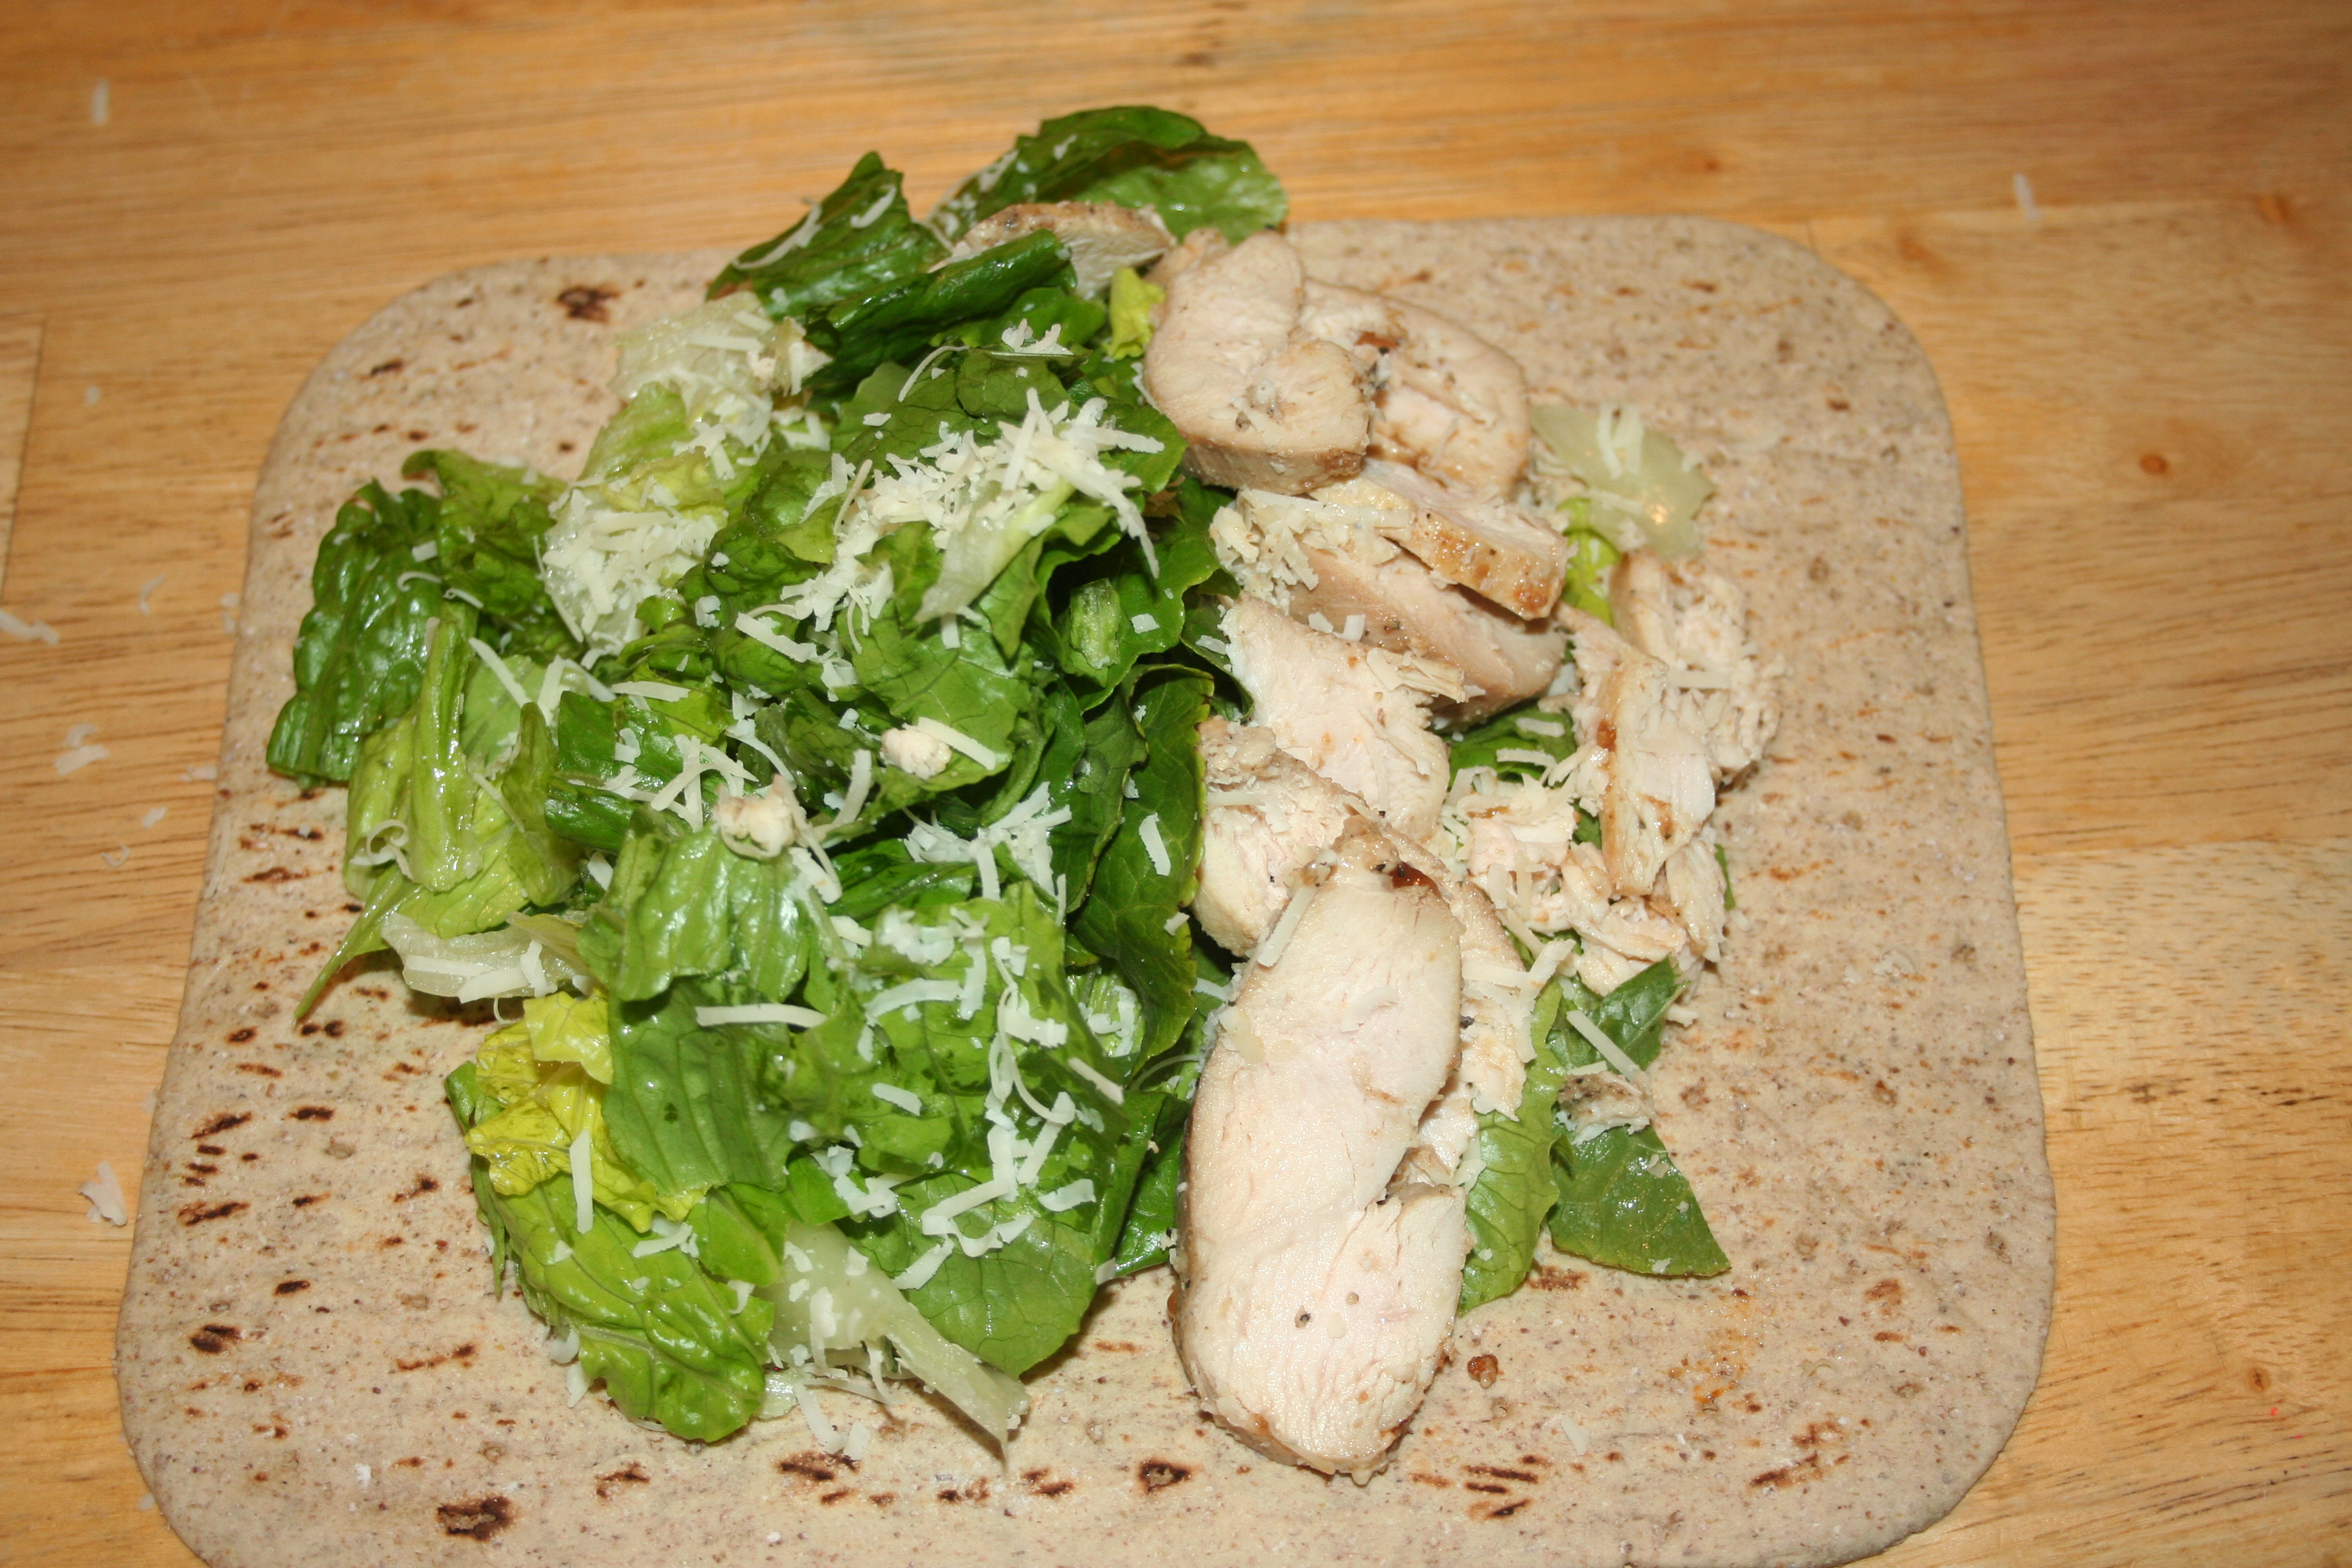
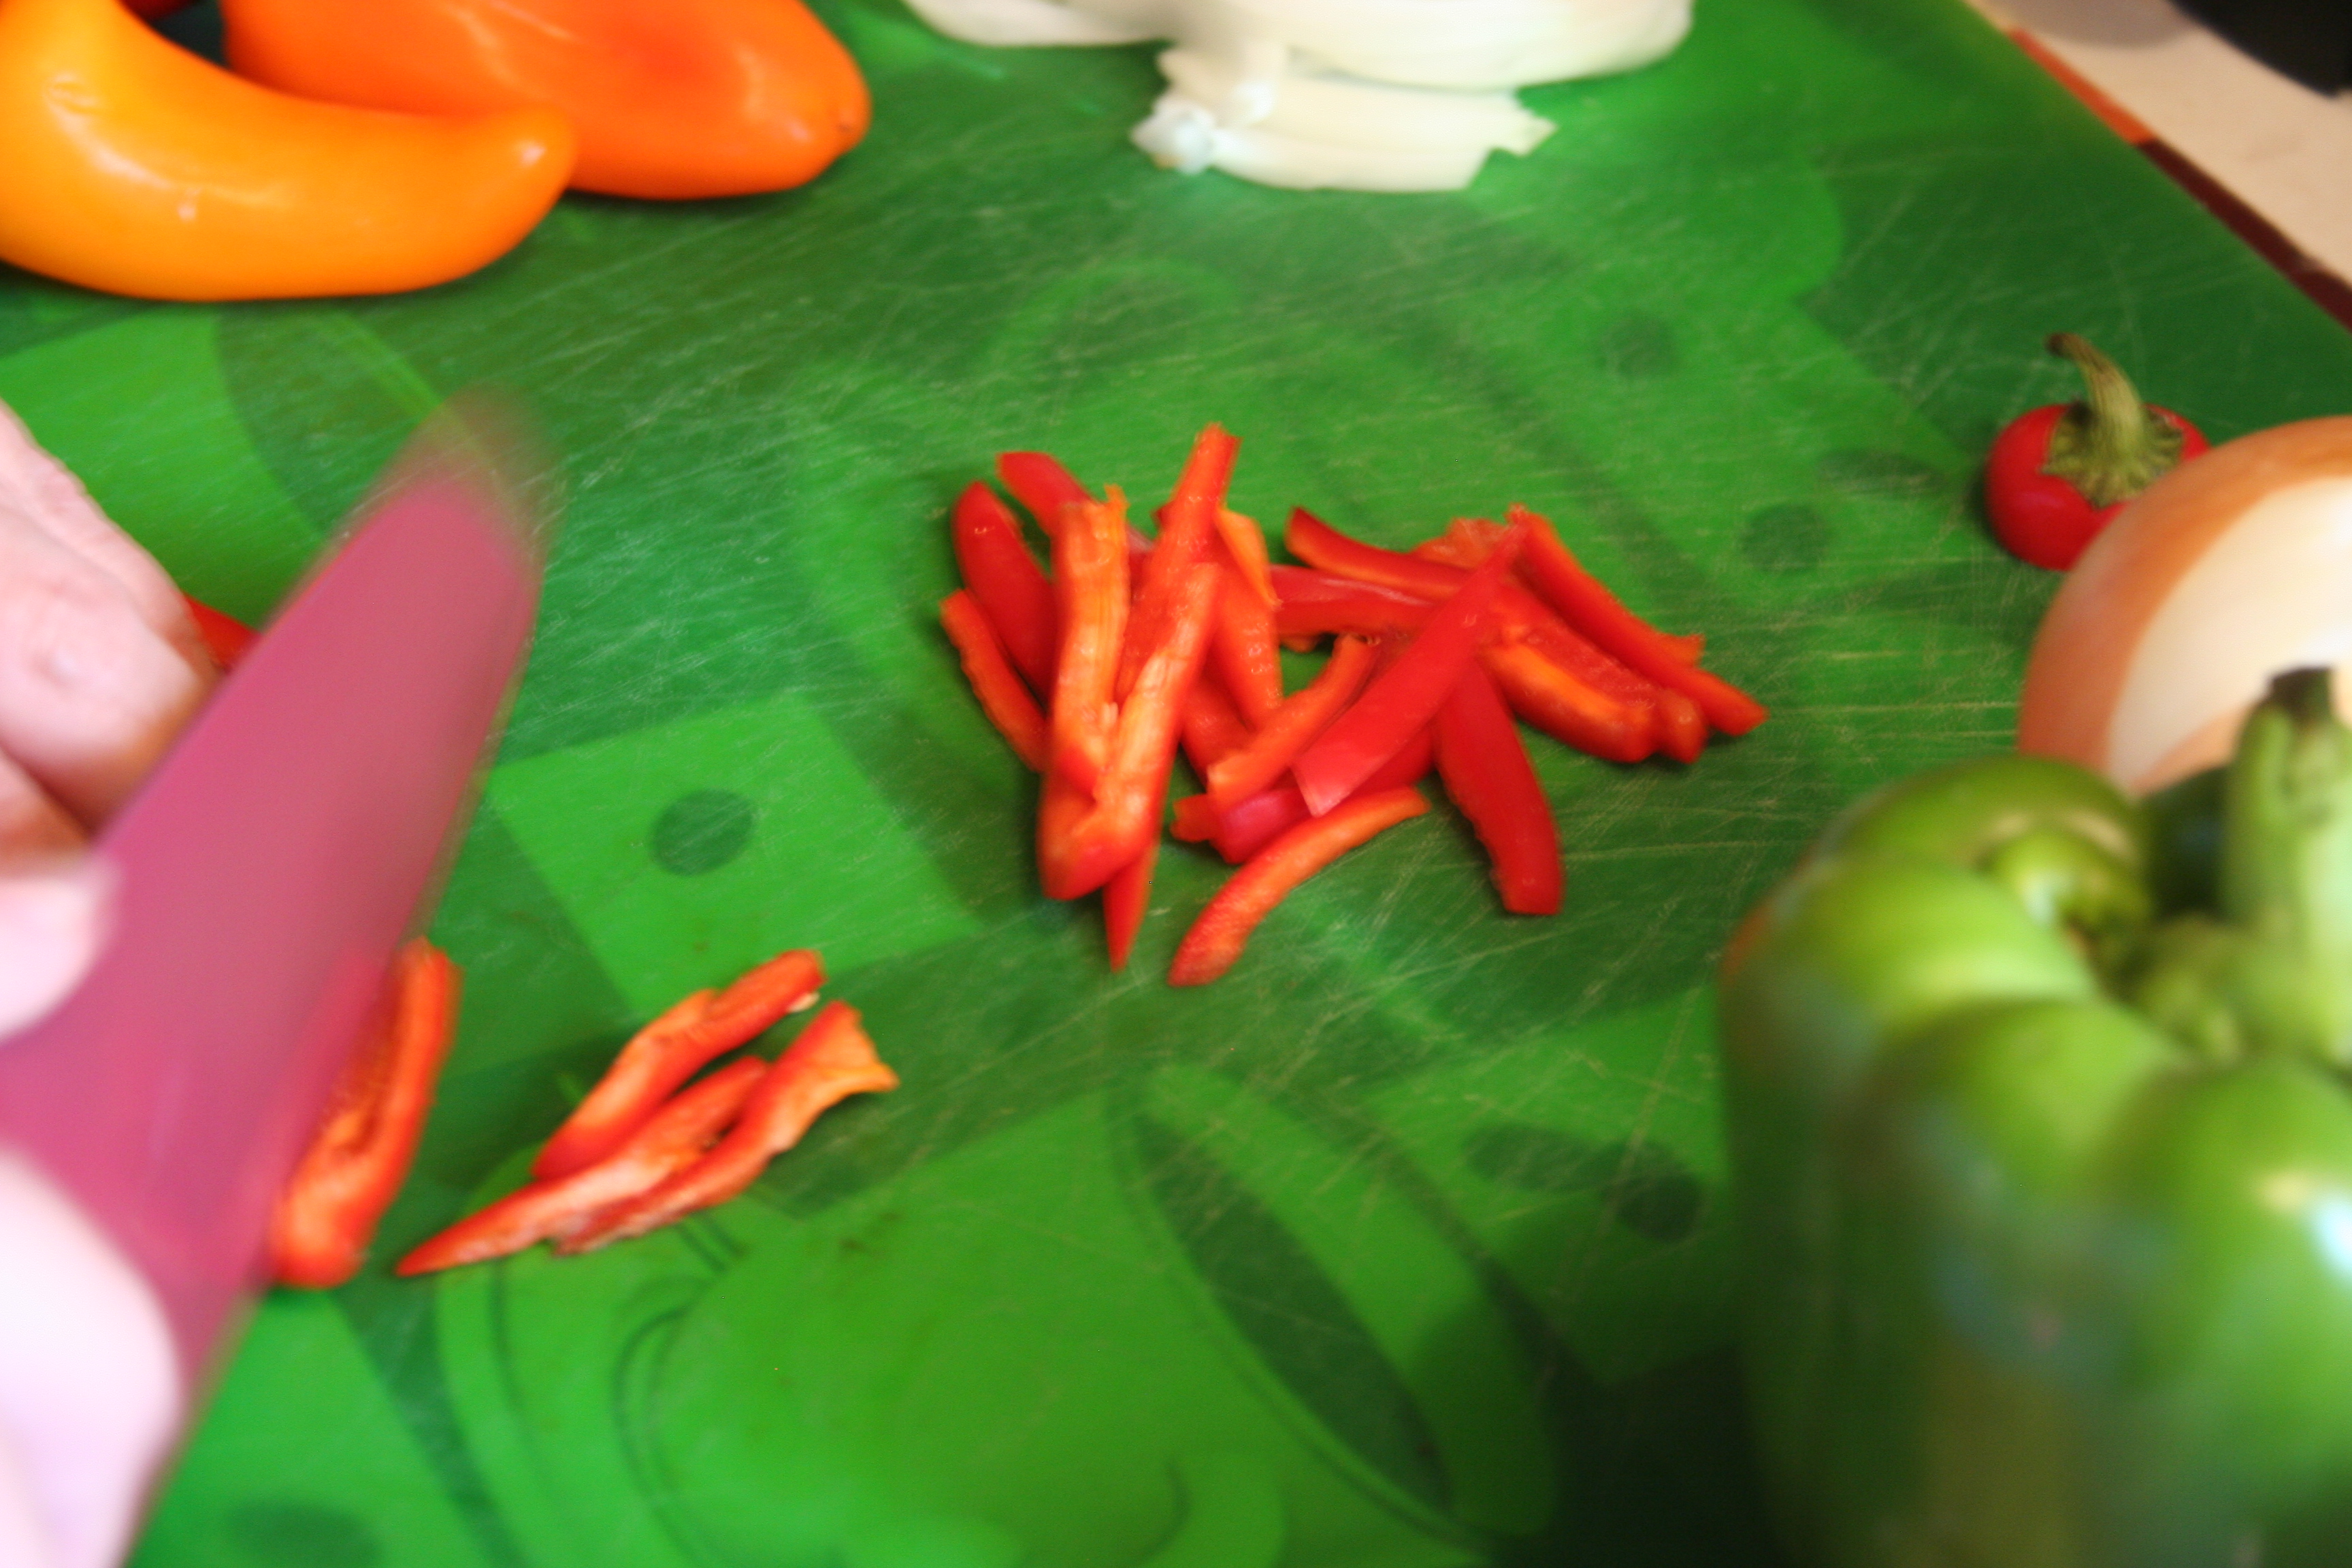
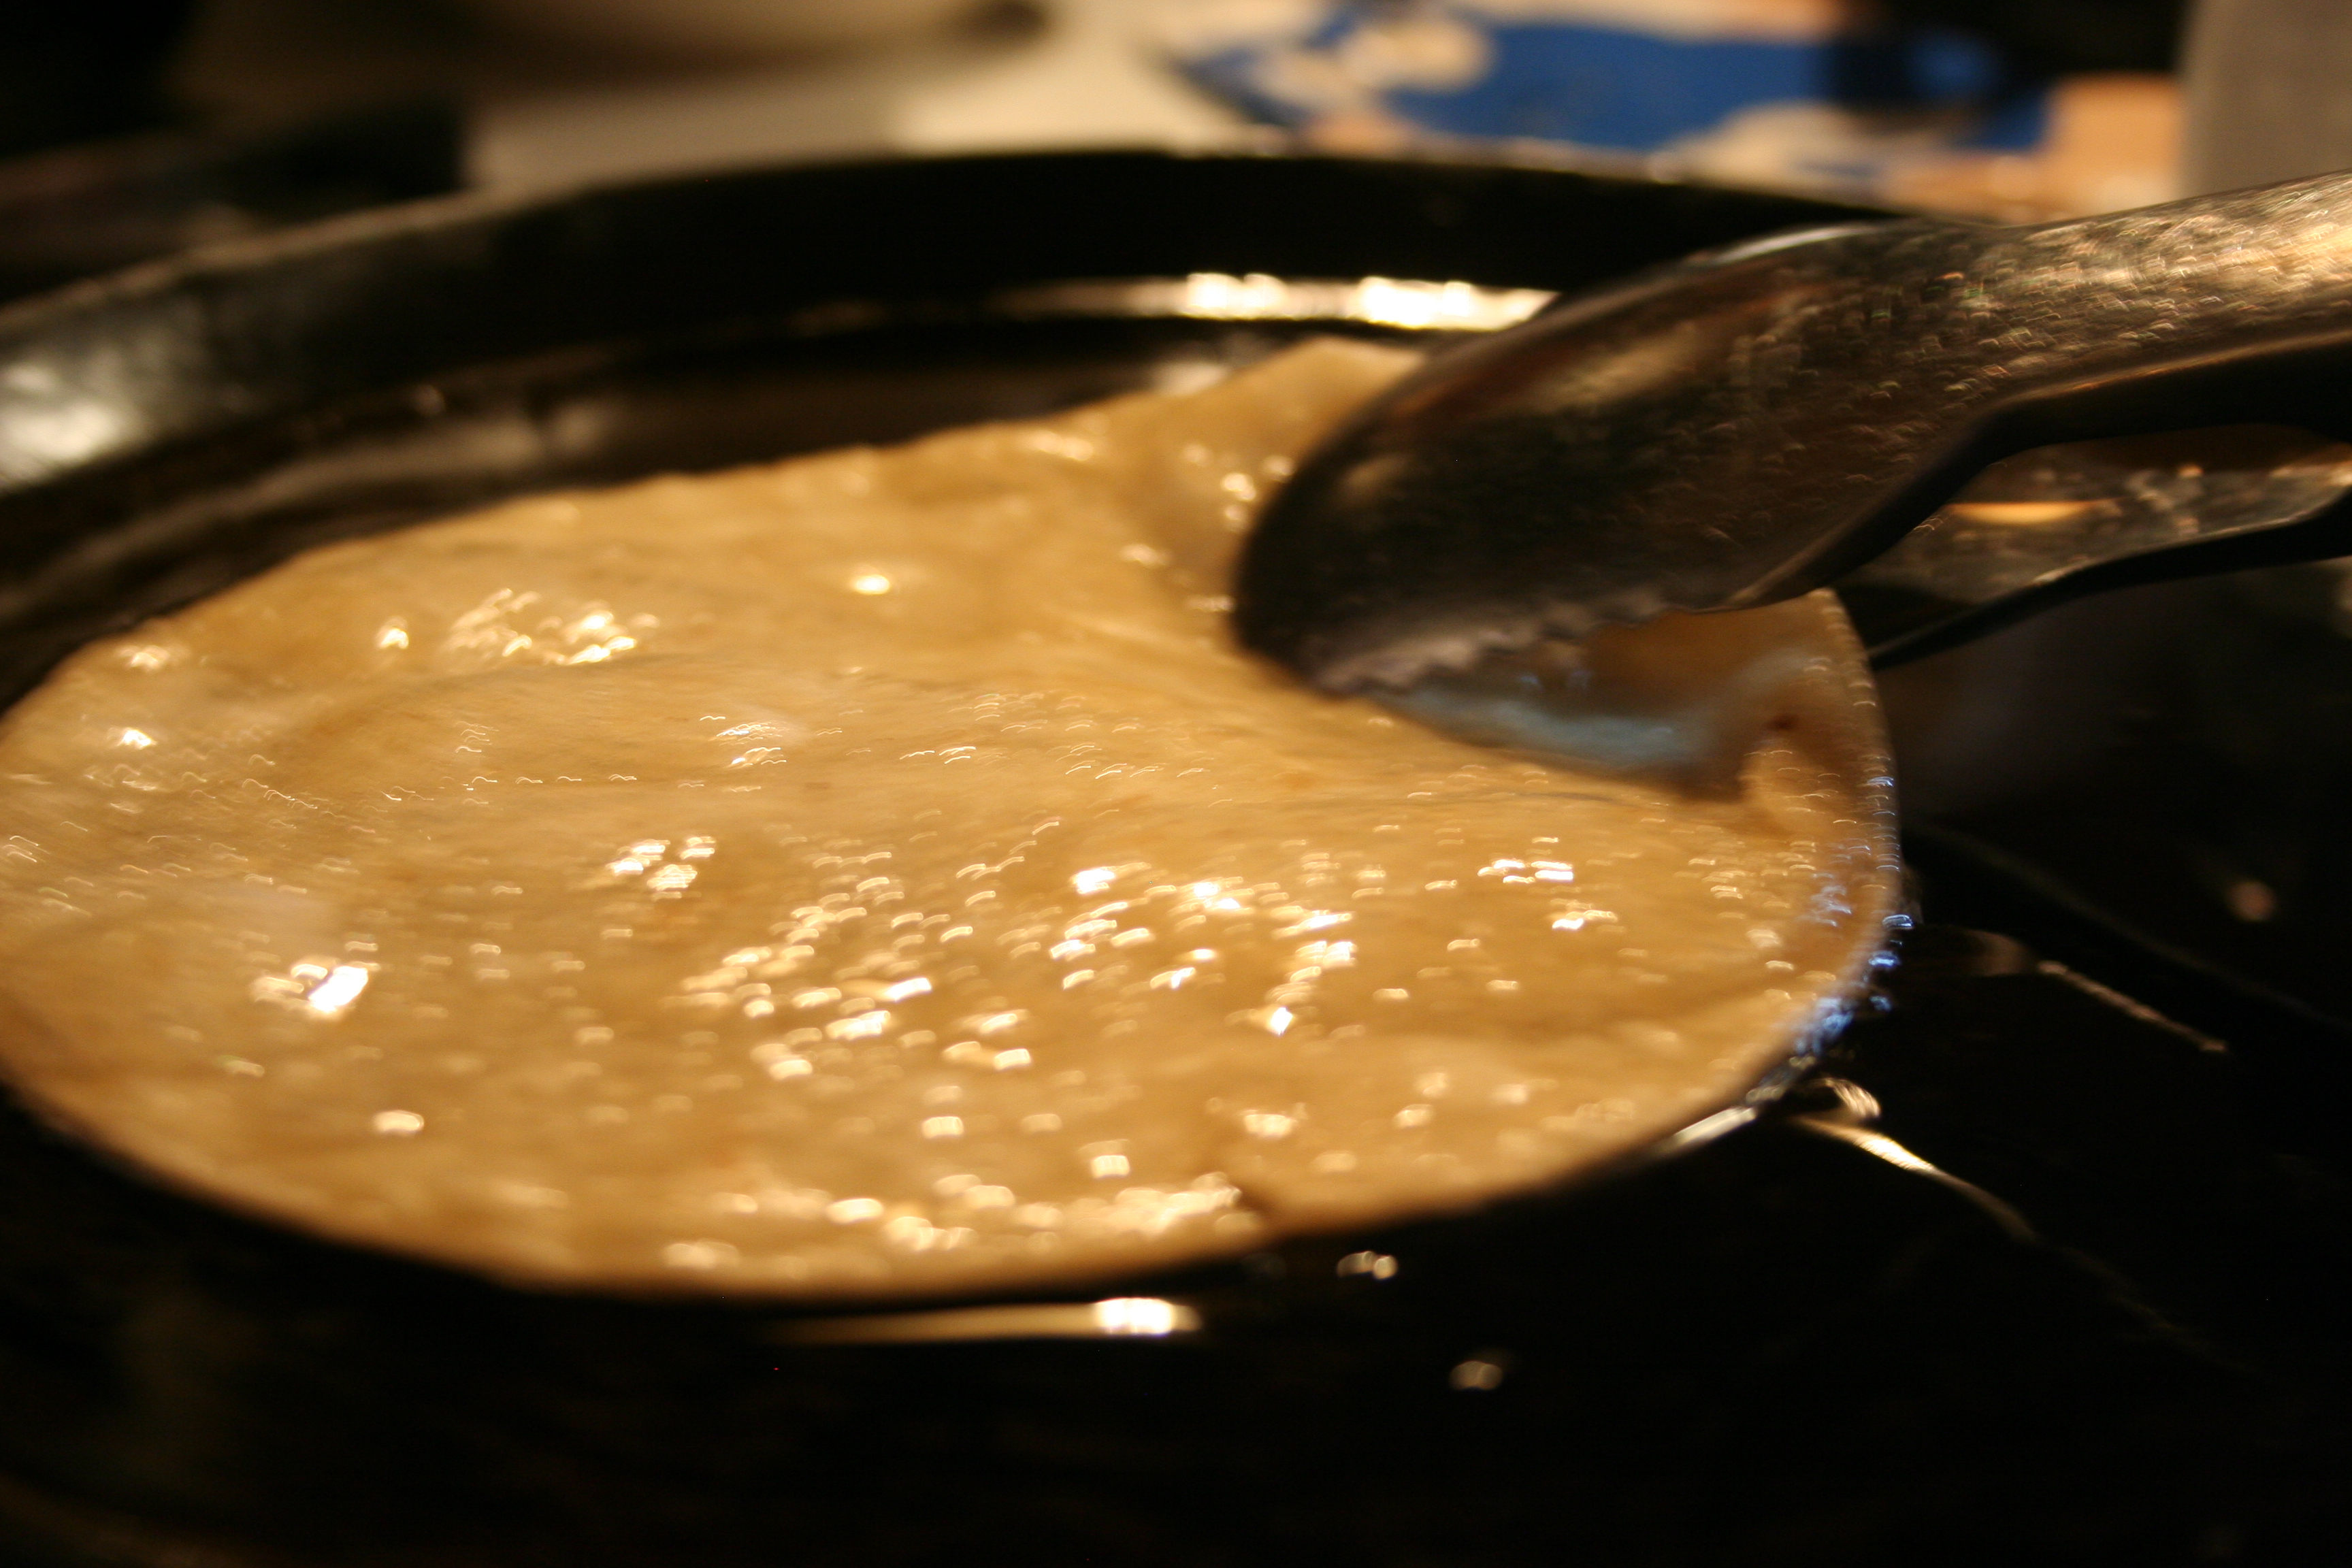
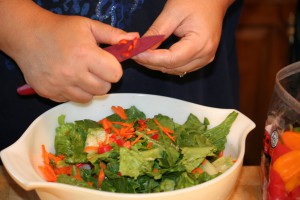
The first thing to do is preheat the oven and put the french fries in the oven to bake; this time we used Seasoned French Fries. We like ours good and crispy. Now  time to get started on the actual salad part. I have included a variety of lettuces (artisan, romaine, and green leaf), sliced radish, shredded carrot, and finely diced mini peppers but use whatever you like.

Next I saute diced onions and sliced fresh mushrooms in butter over medium-high heat, while I cut the chicken breast into bite-size pieces. Since my kids don’t care for onions and mushrooms, I let them caramelize in one skillet and begin to saute the chicken in a tiny bit of oil, seasoning with salt and pepper.

Now, juggling all the pans and the oven, get any other veggies and the cheese prepped. Cucumbers and tomatoes are my veggies of choice. Again, my kids don’t like these veggies, so I don’t include them in with the rest of the salad, besides that, if there is any leftover salad, it will stay good and not get all wet and wilted when stored. Now cube the block of cheese into small bite-size pieces; I don’t add this in with the rest of the salad, so that if there is any leftover, it can be stored separately as well.

Chicken and Fries Salad Table


Have each person build their own salad. I like to put the base salad fNew Favorite Dressing
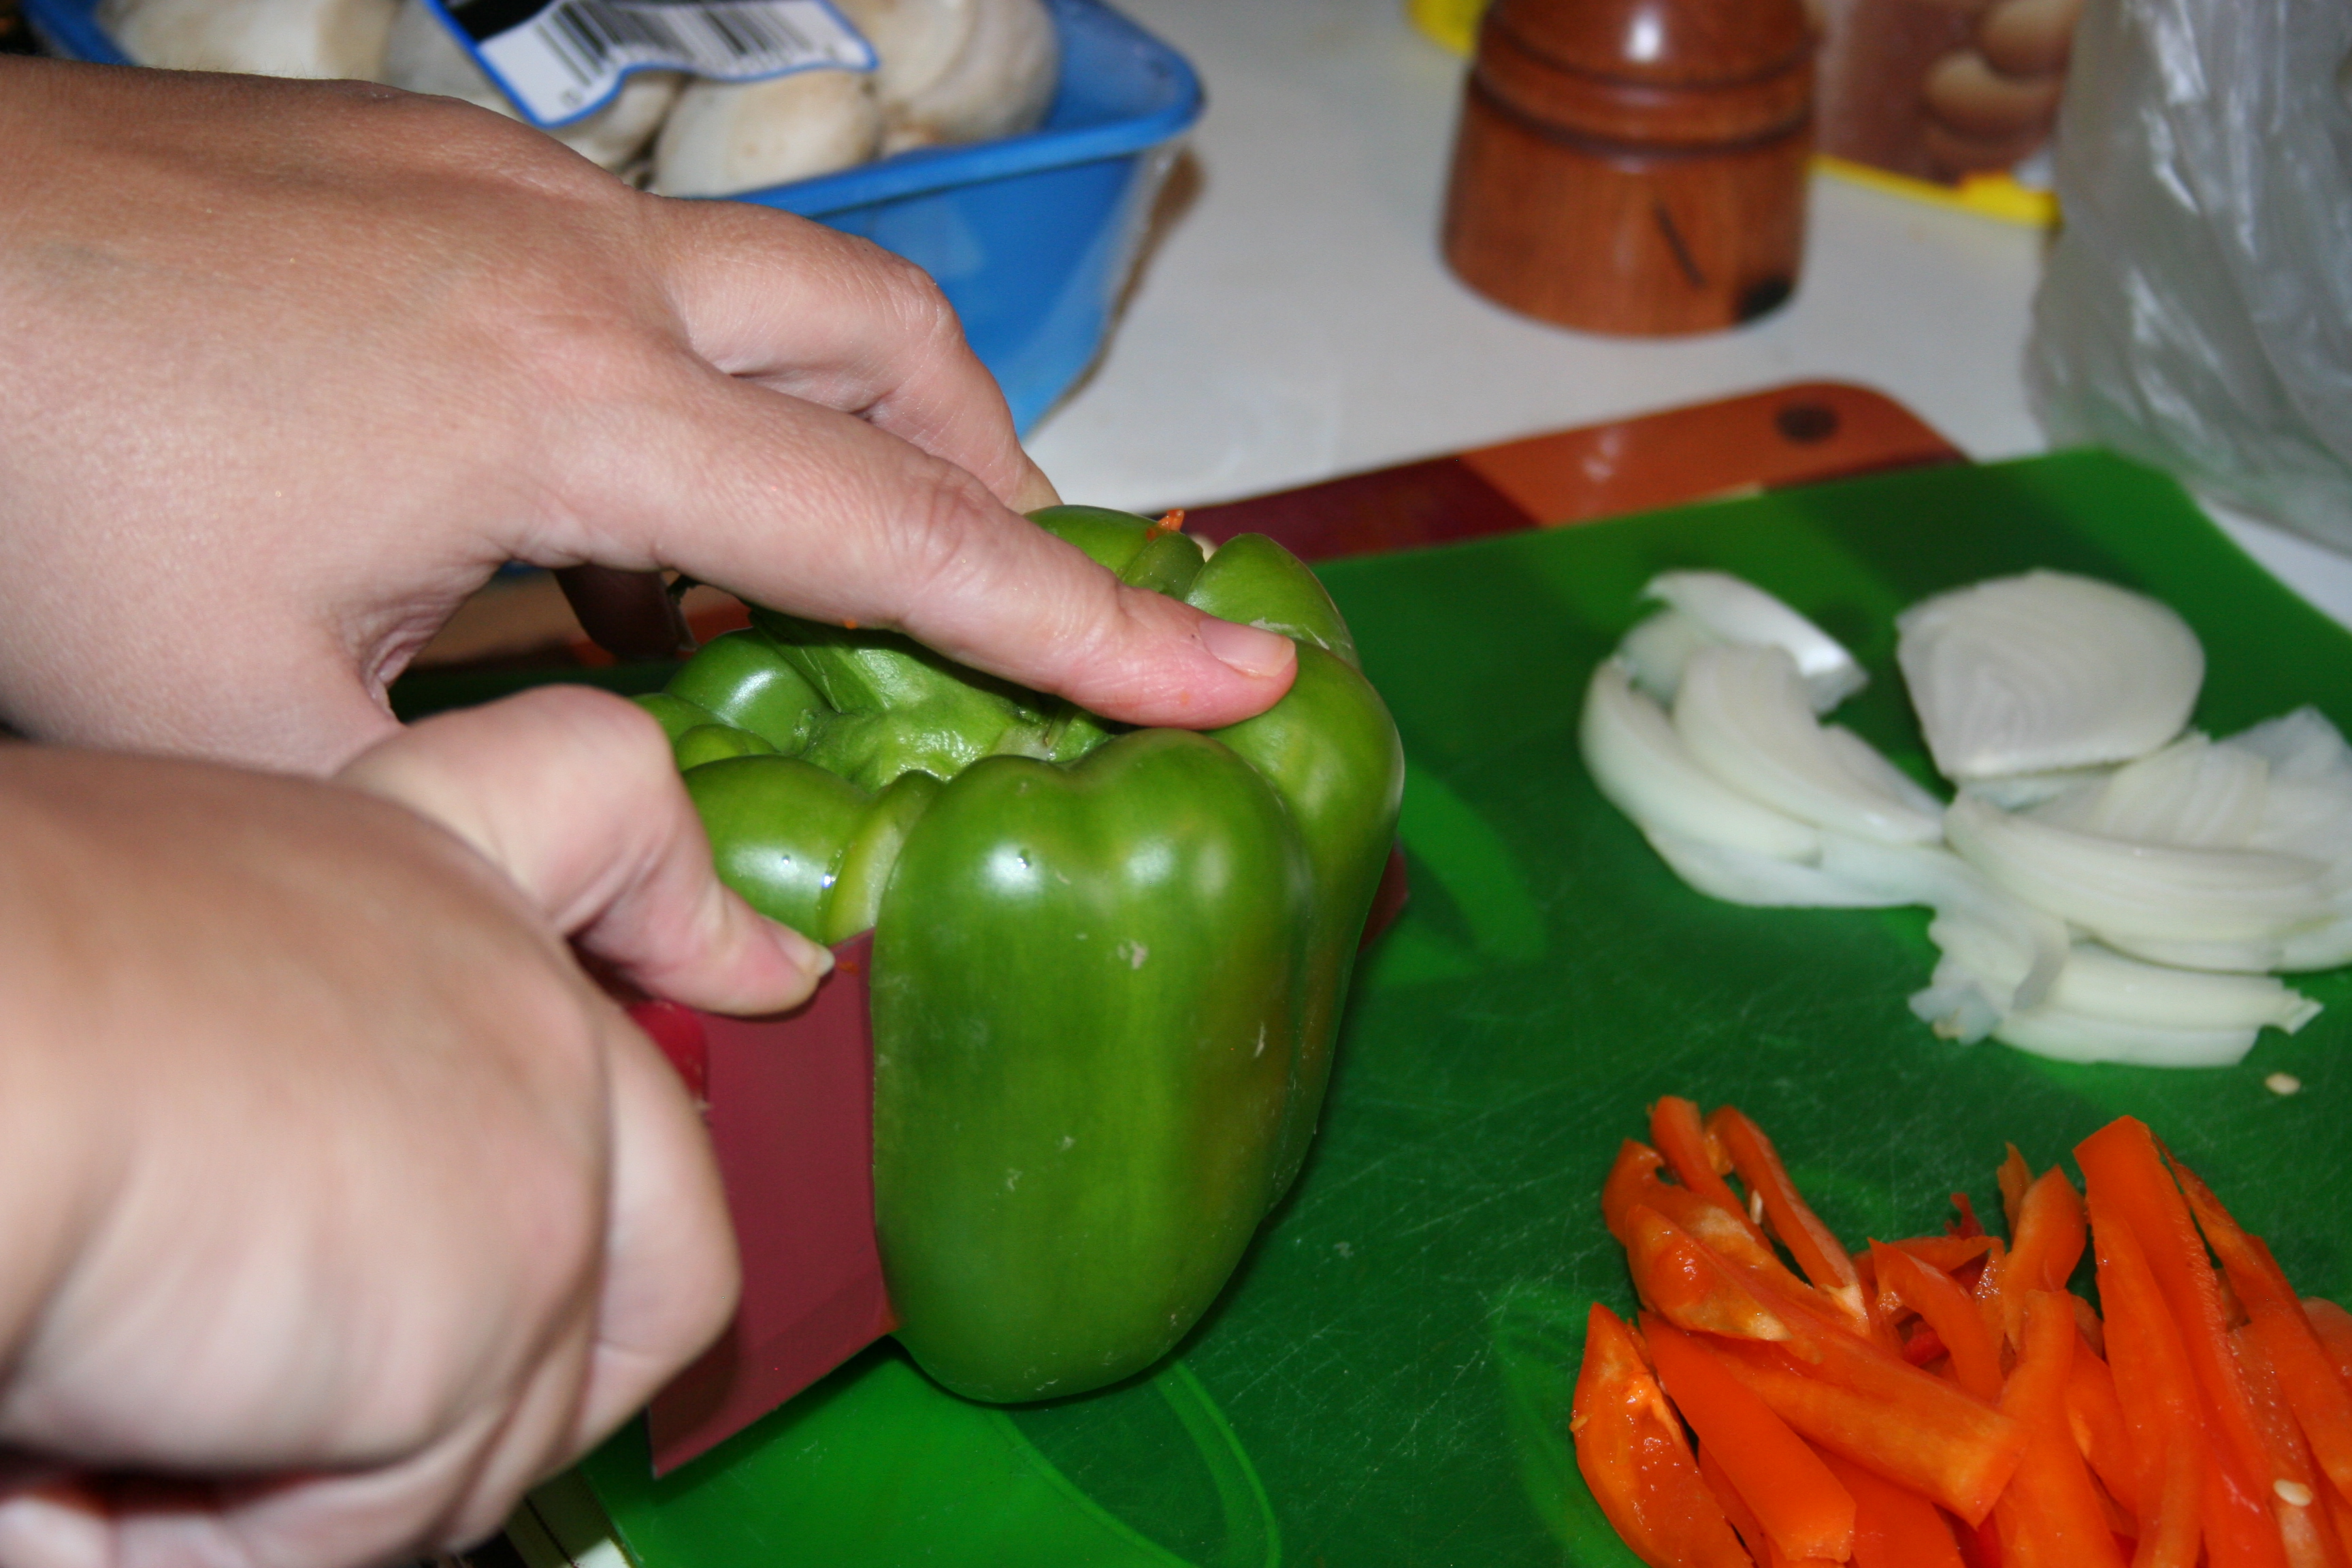
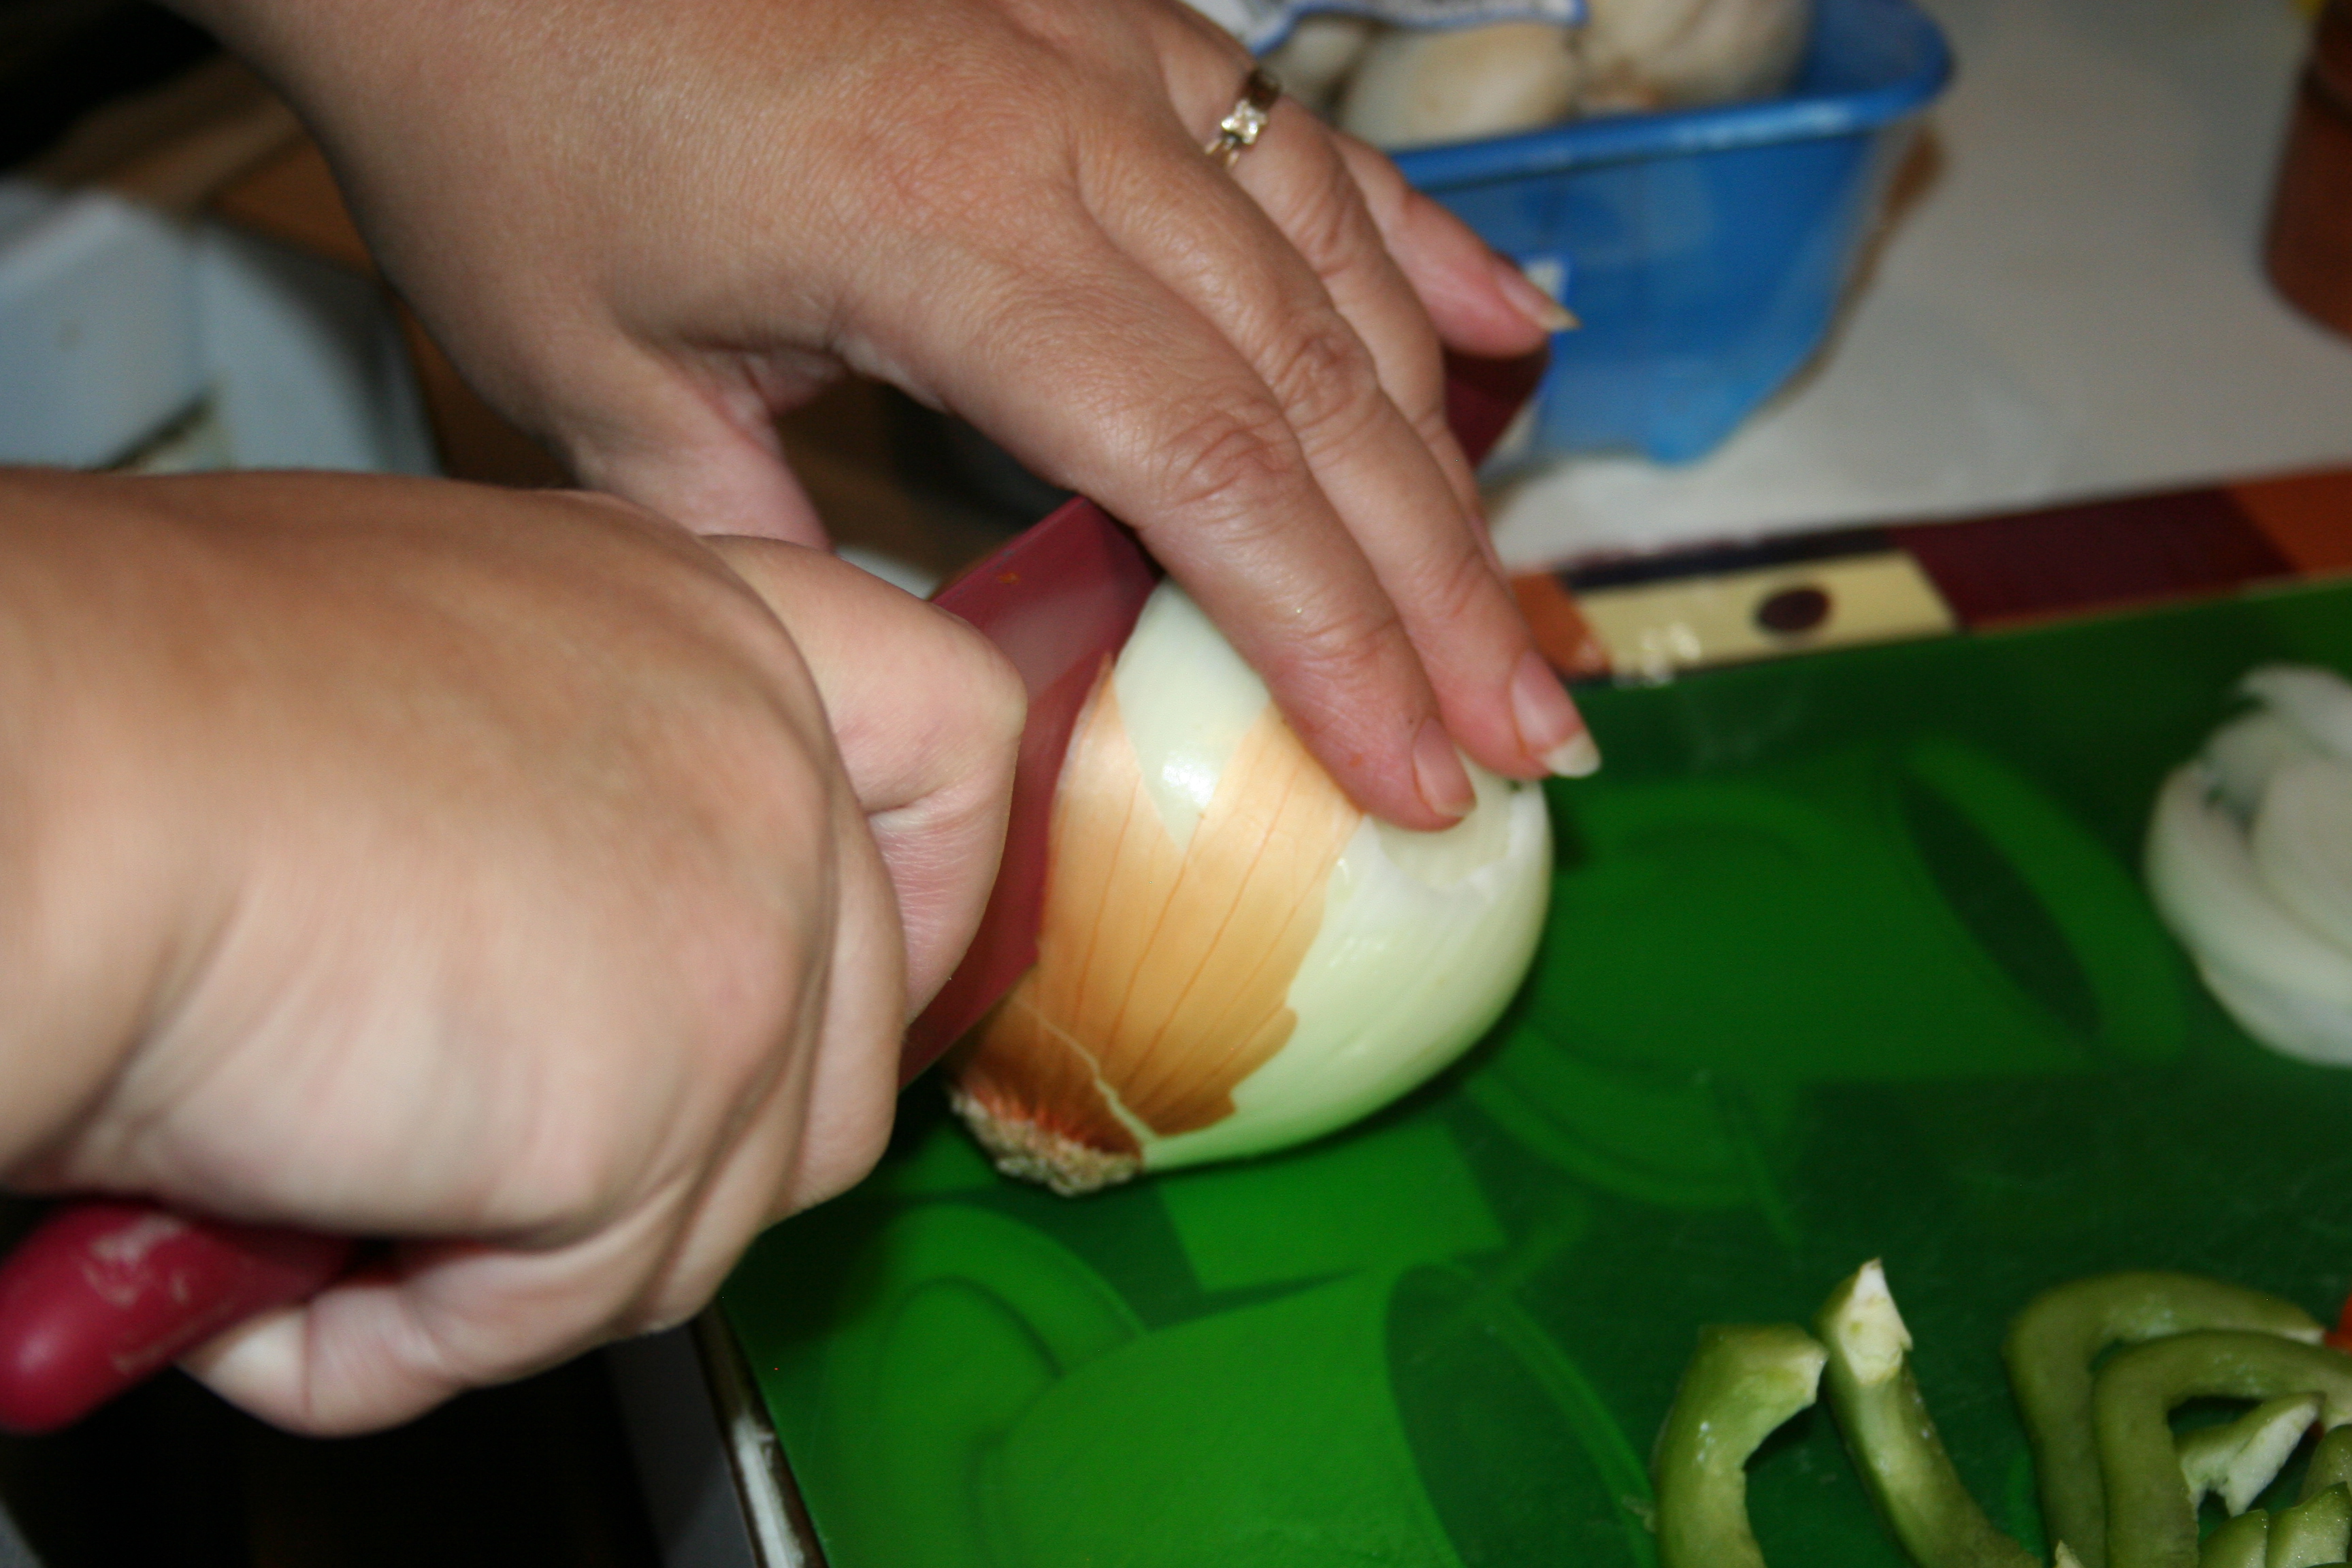
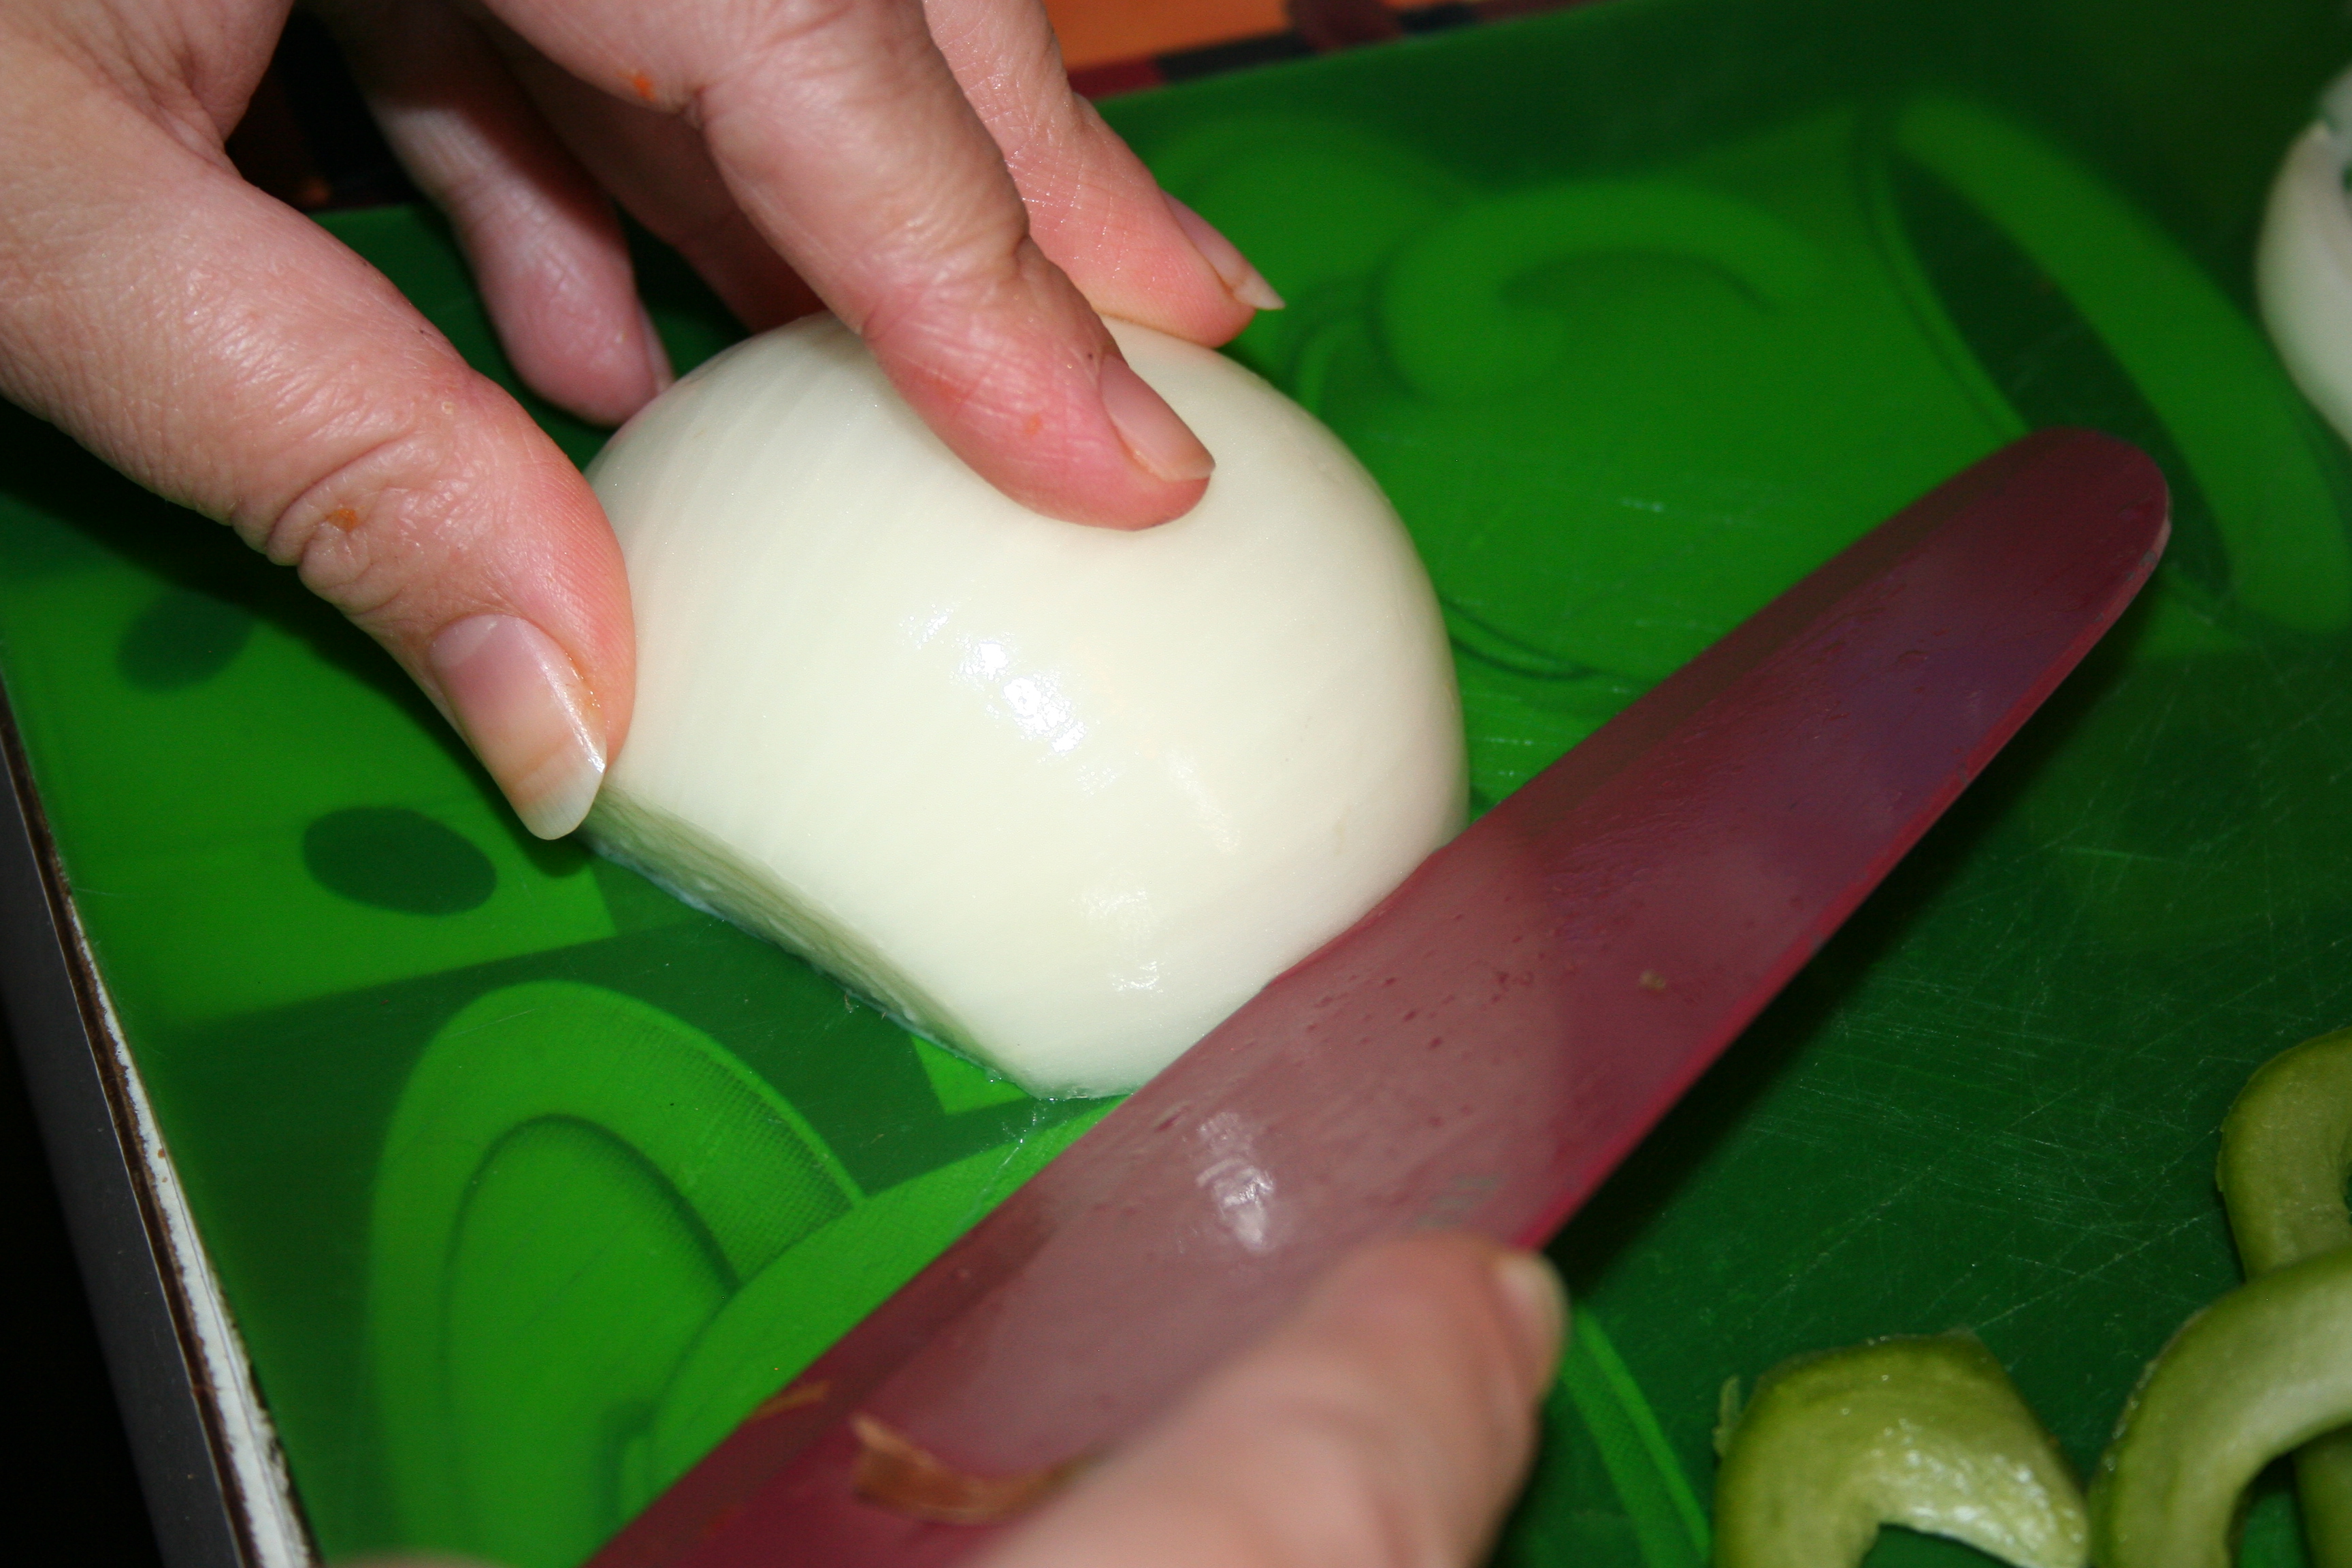
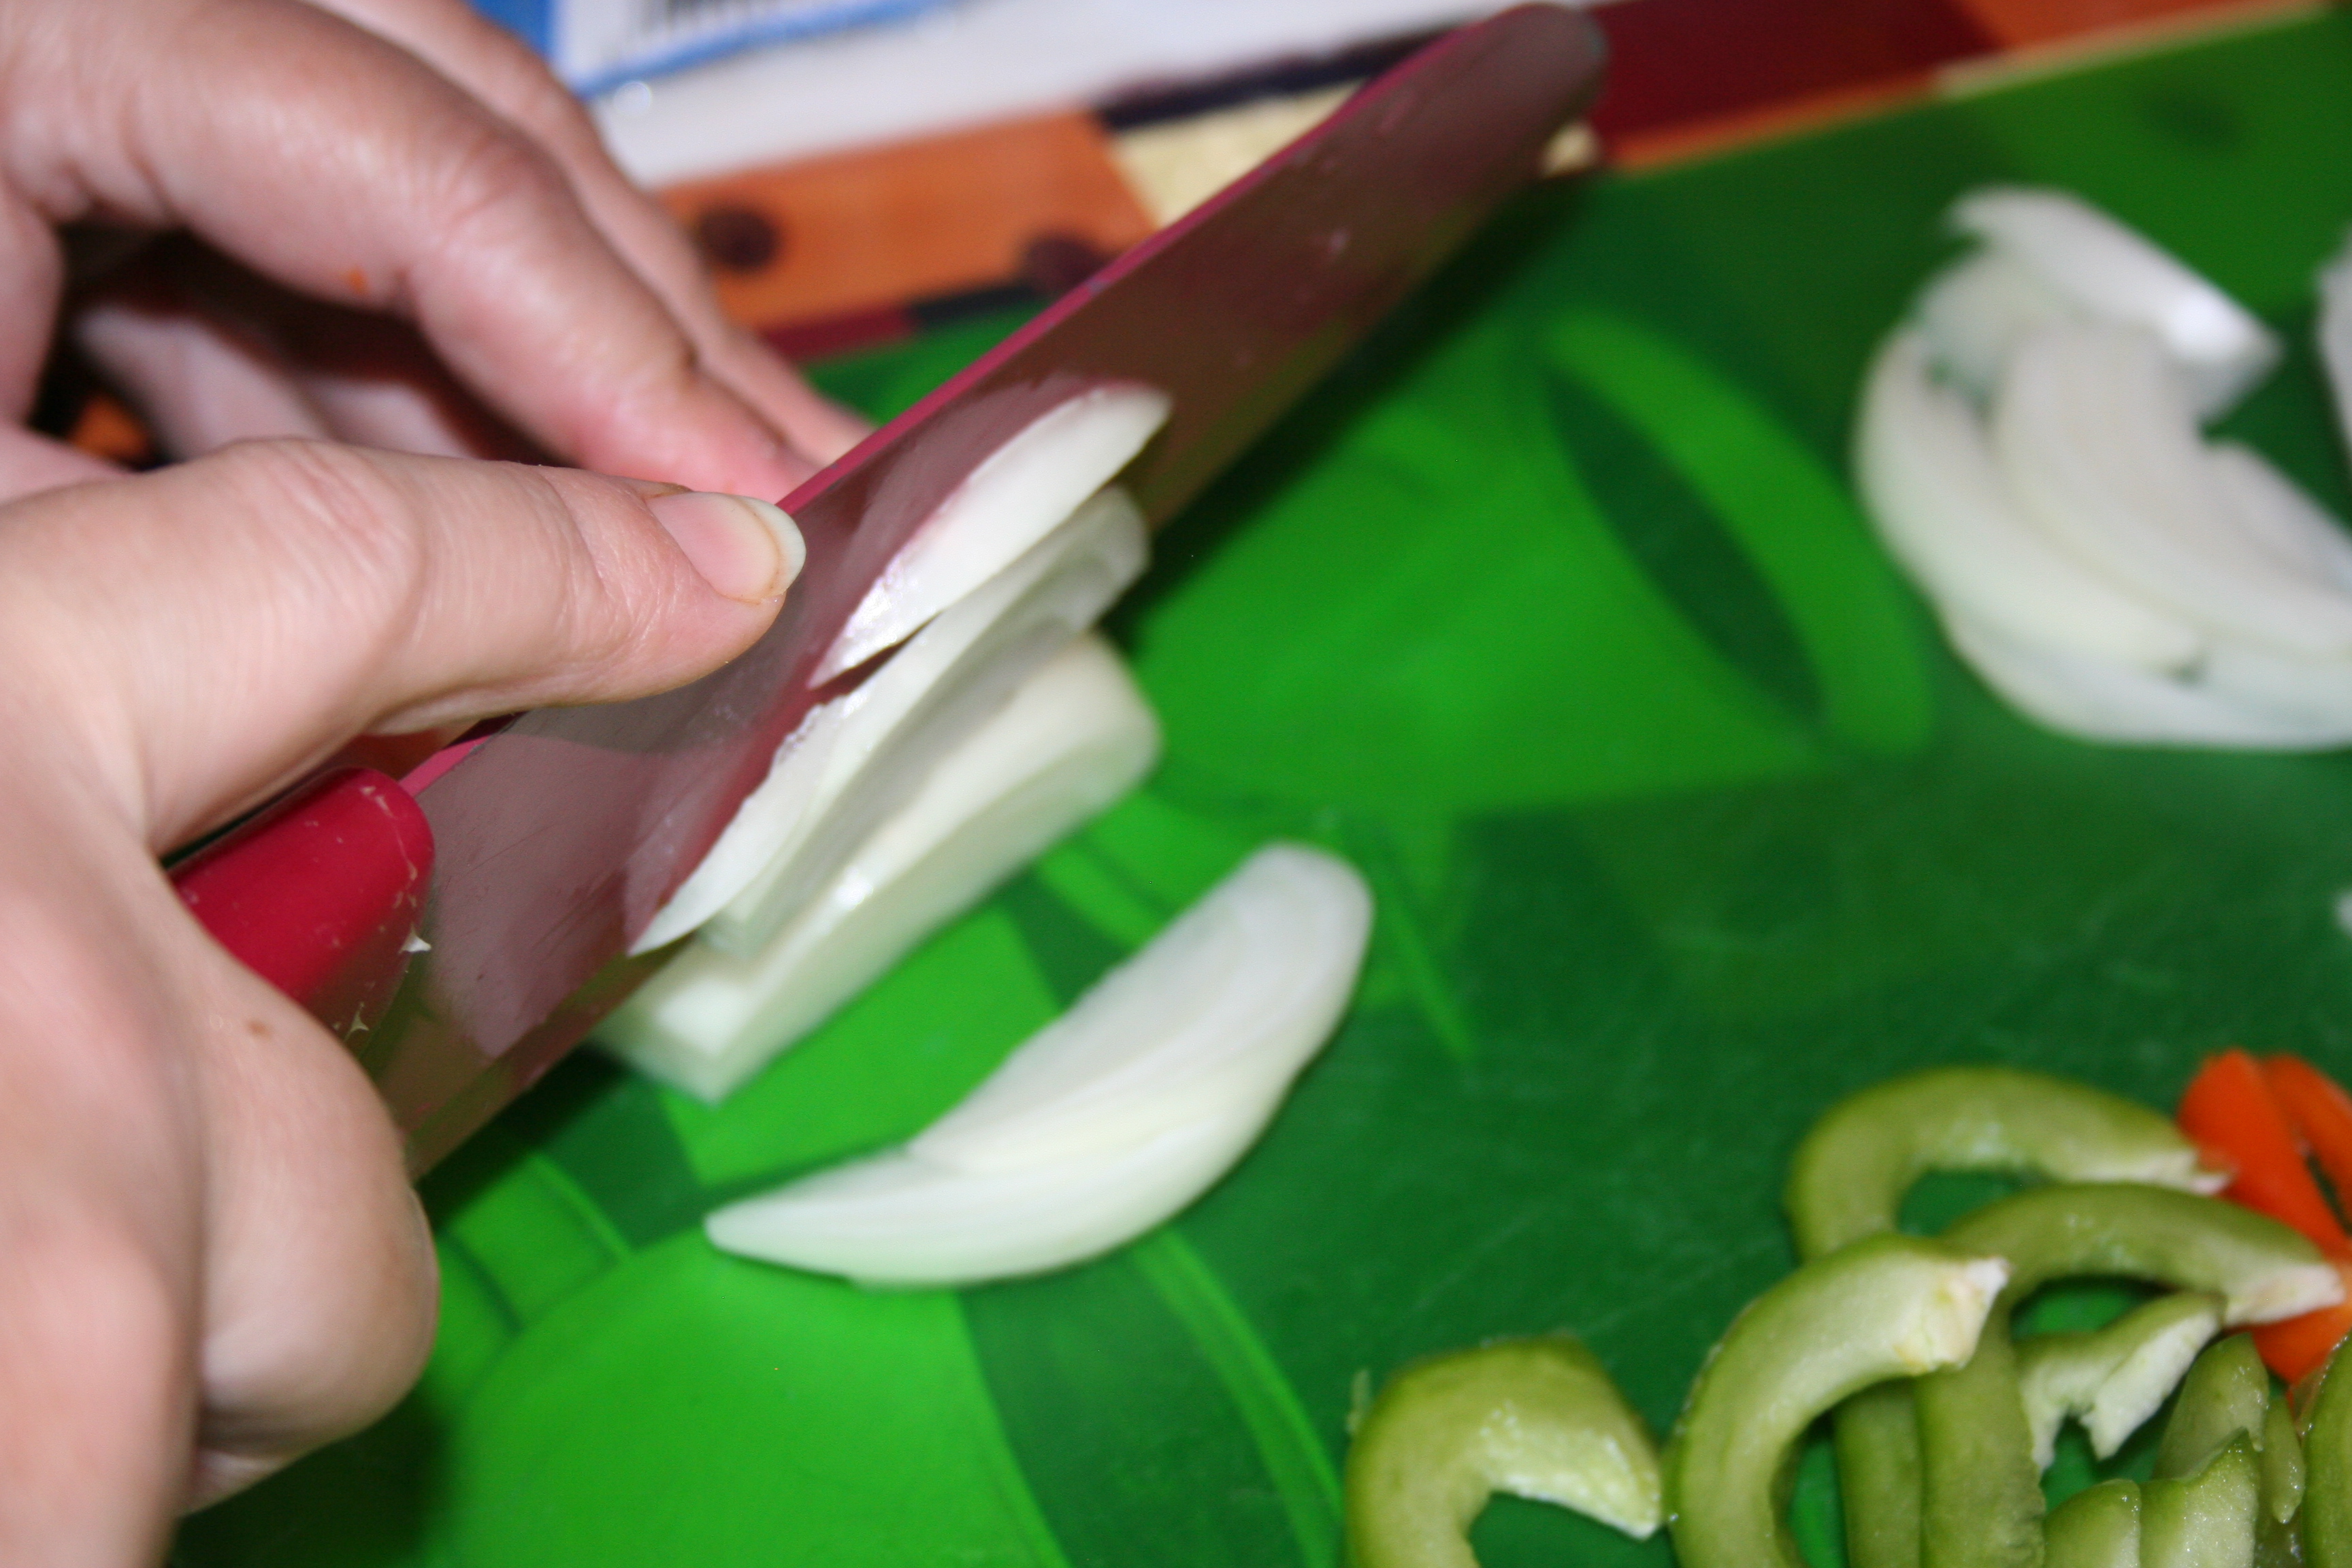
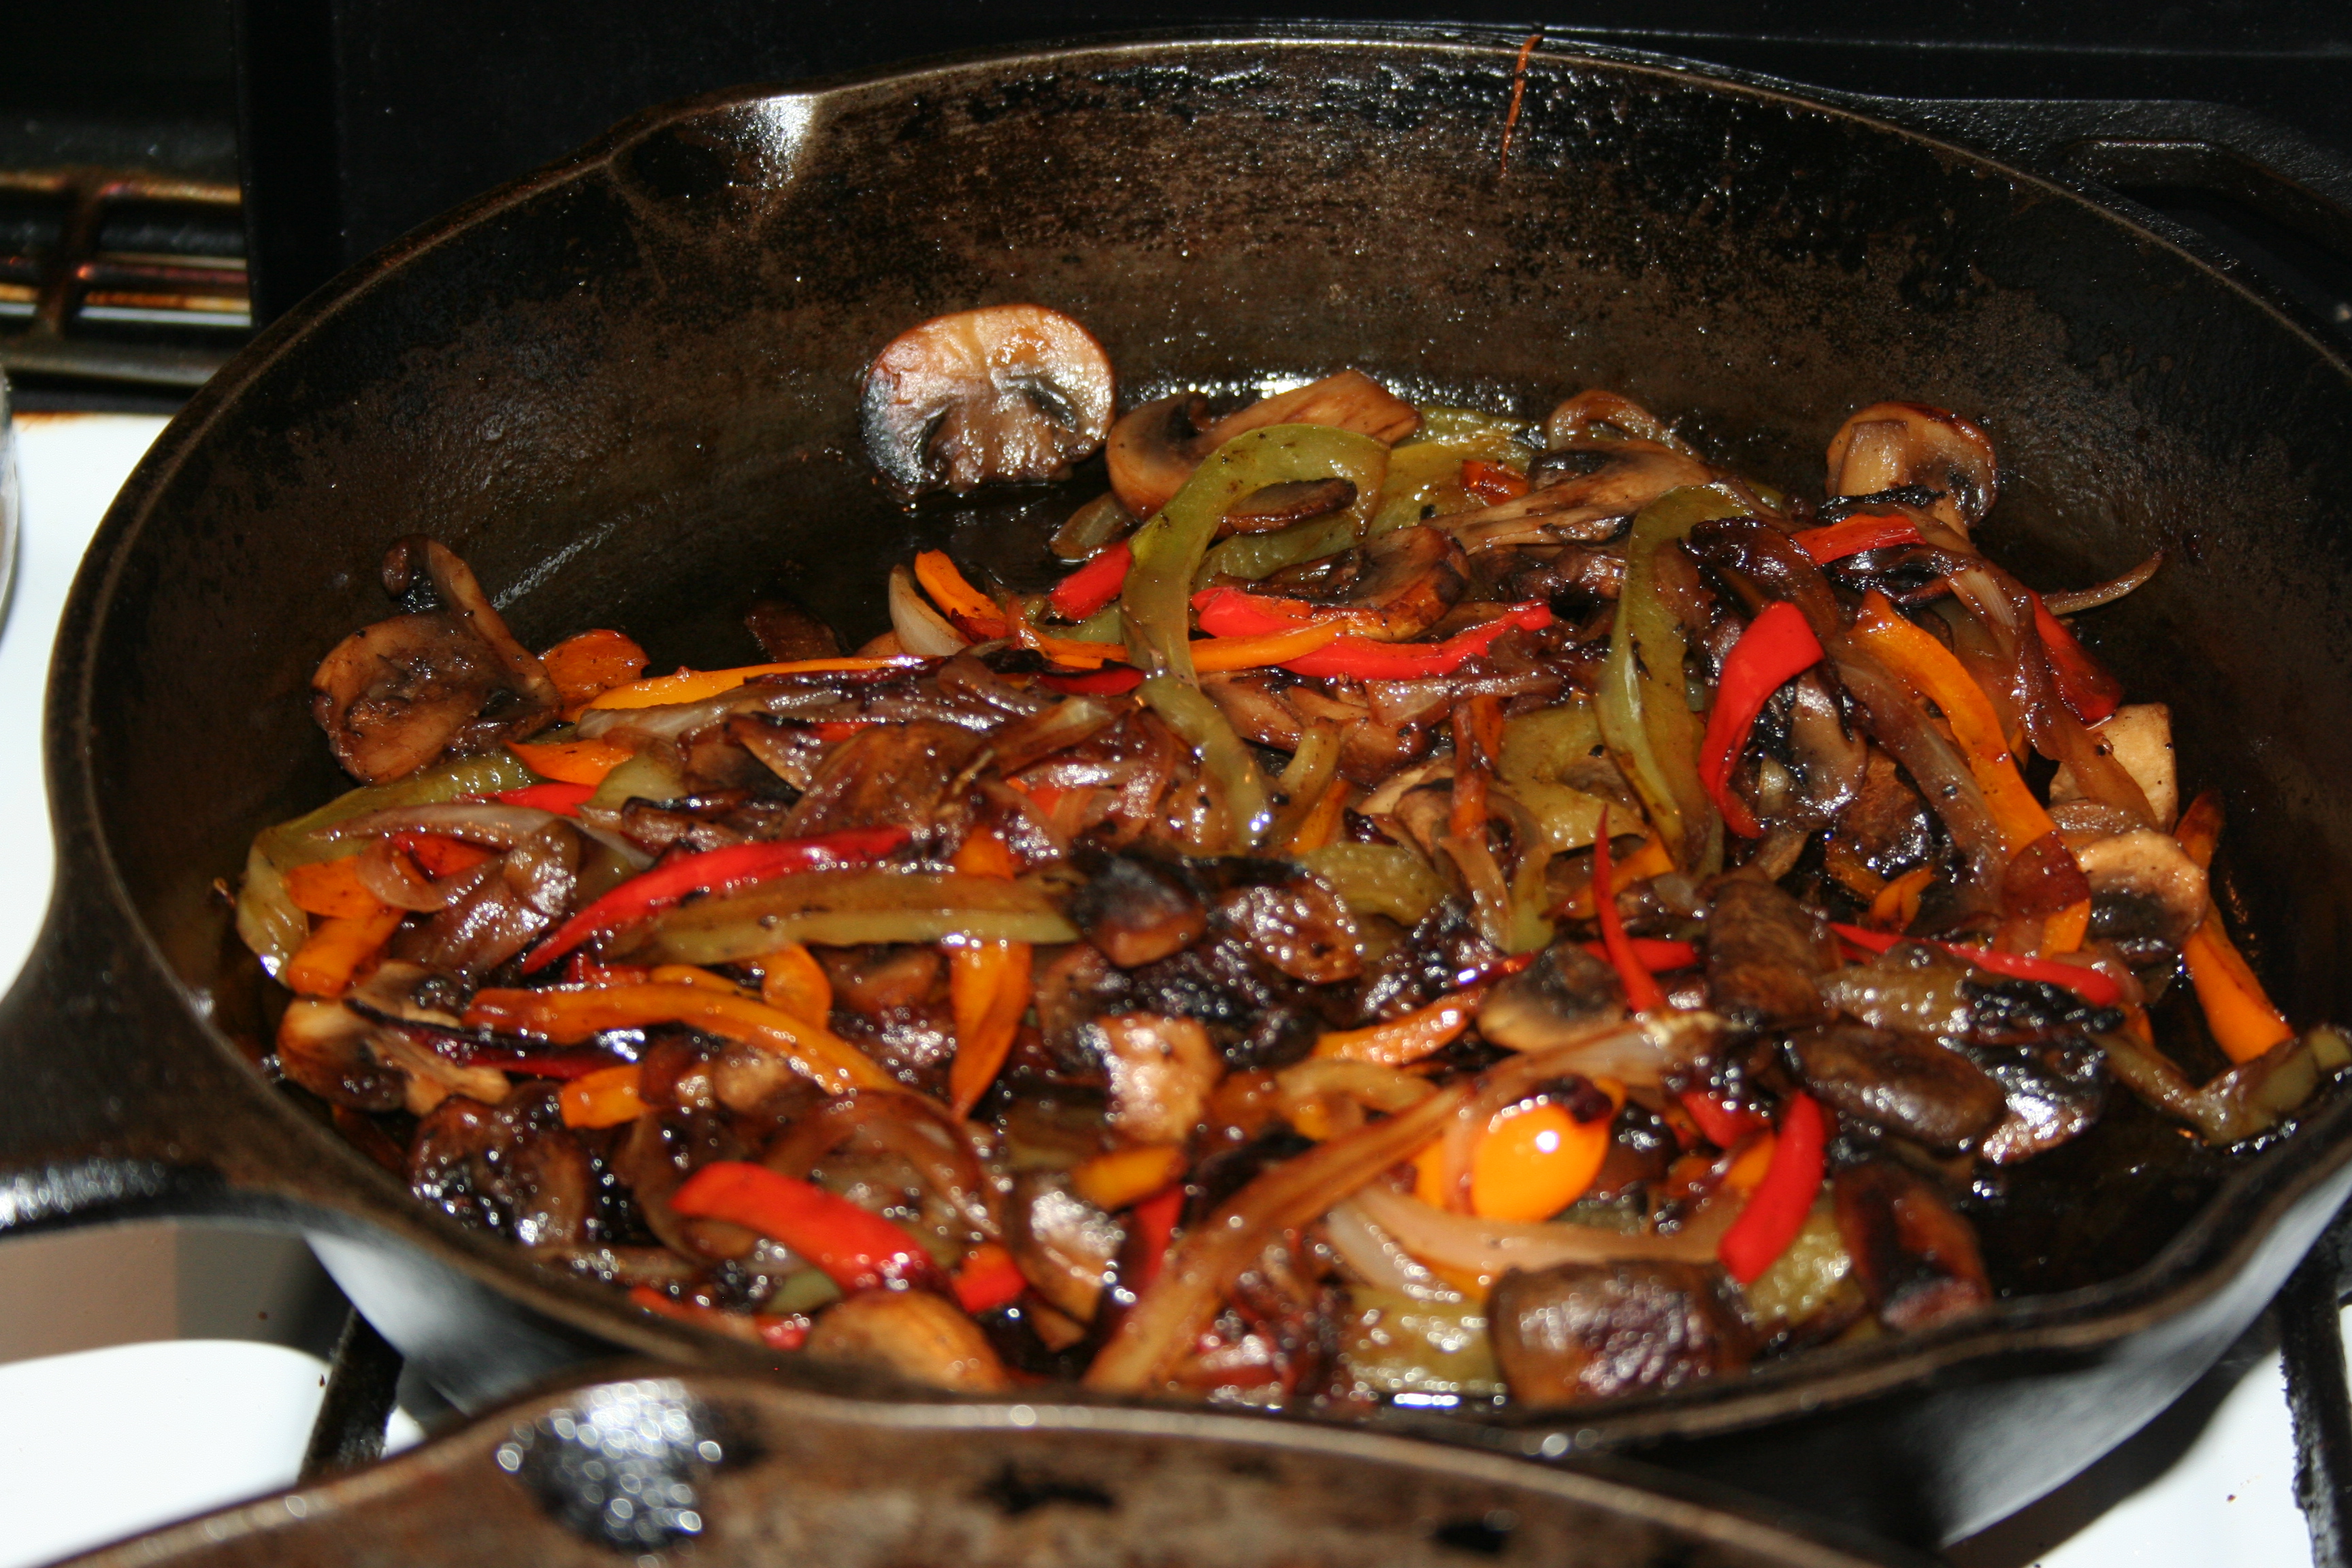
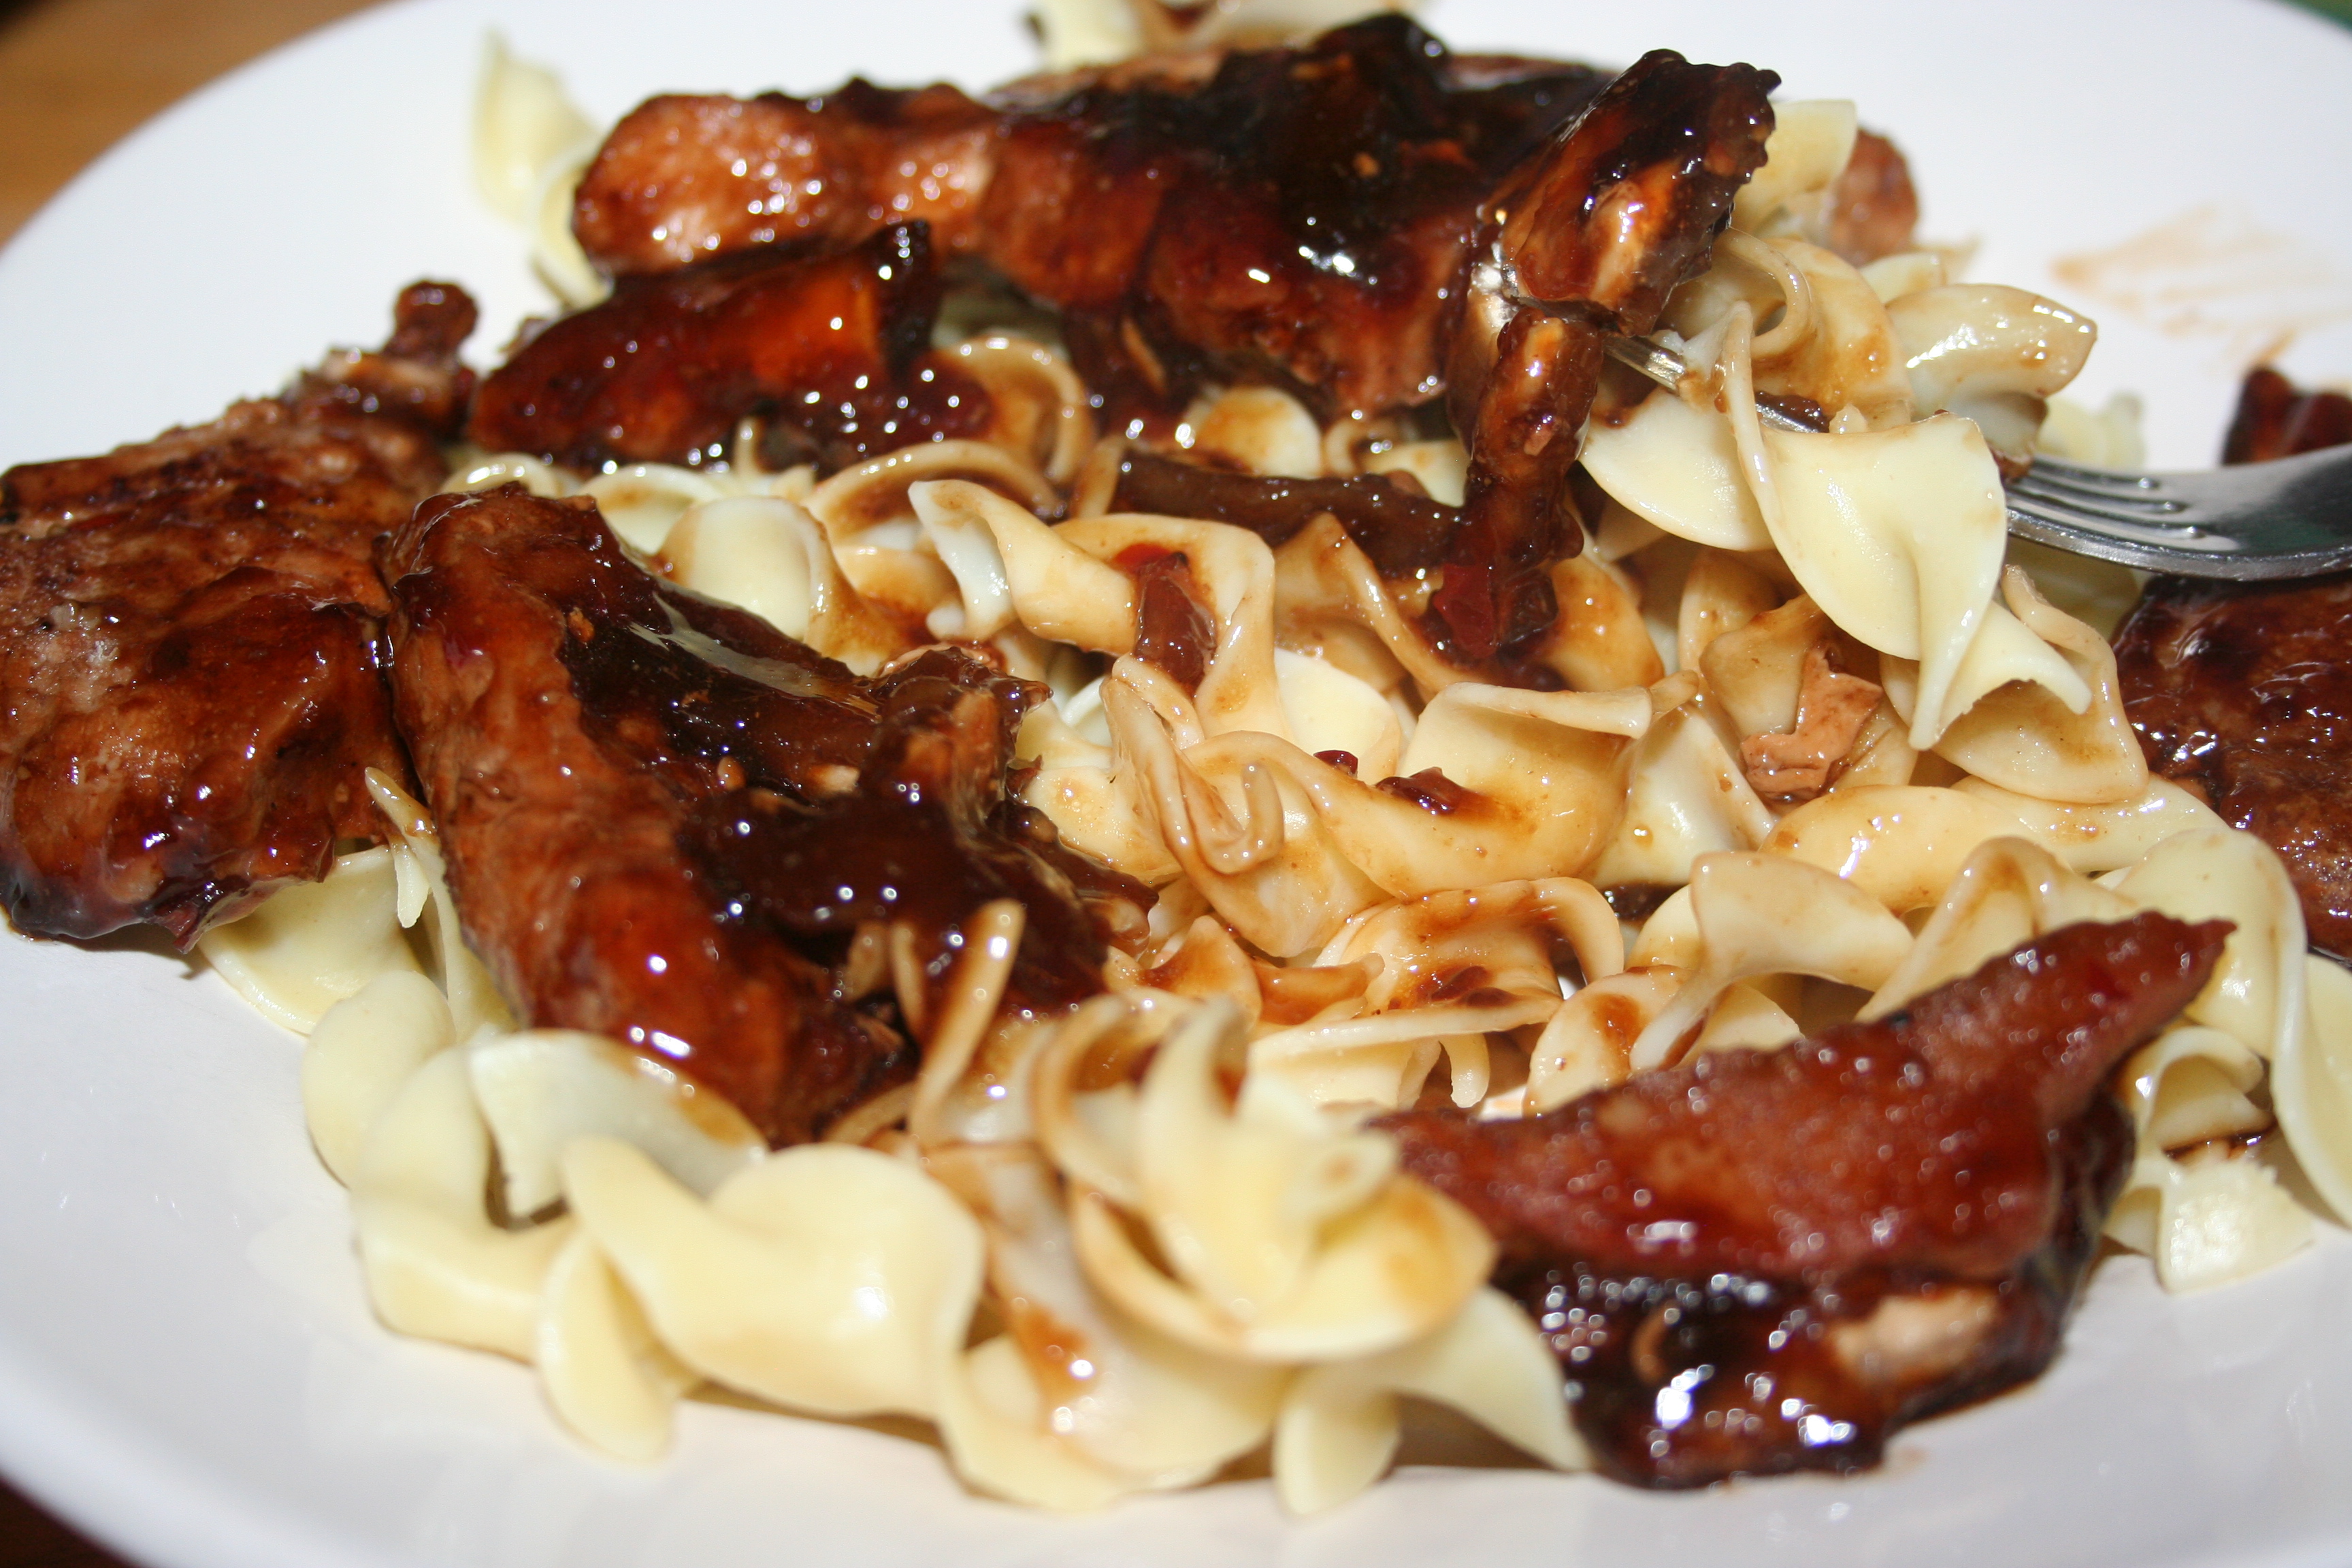
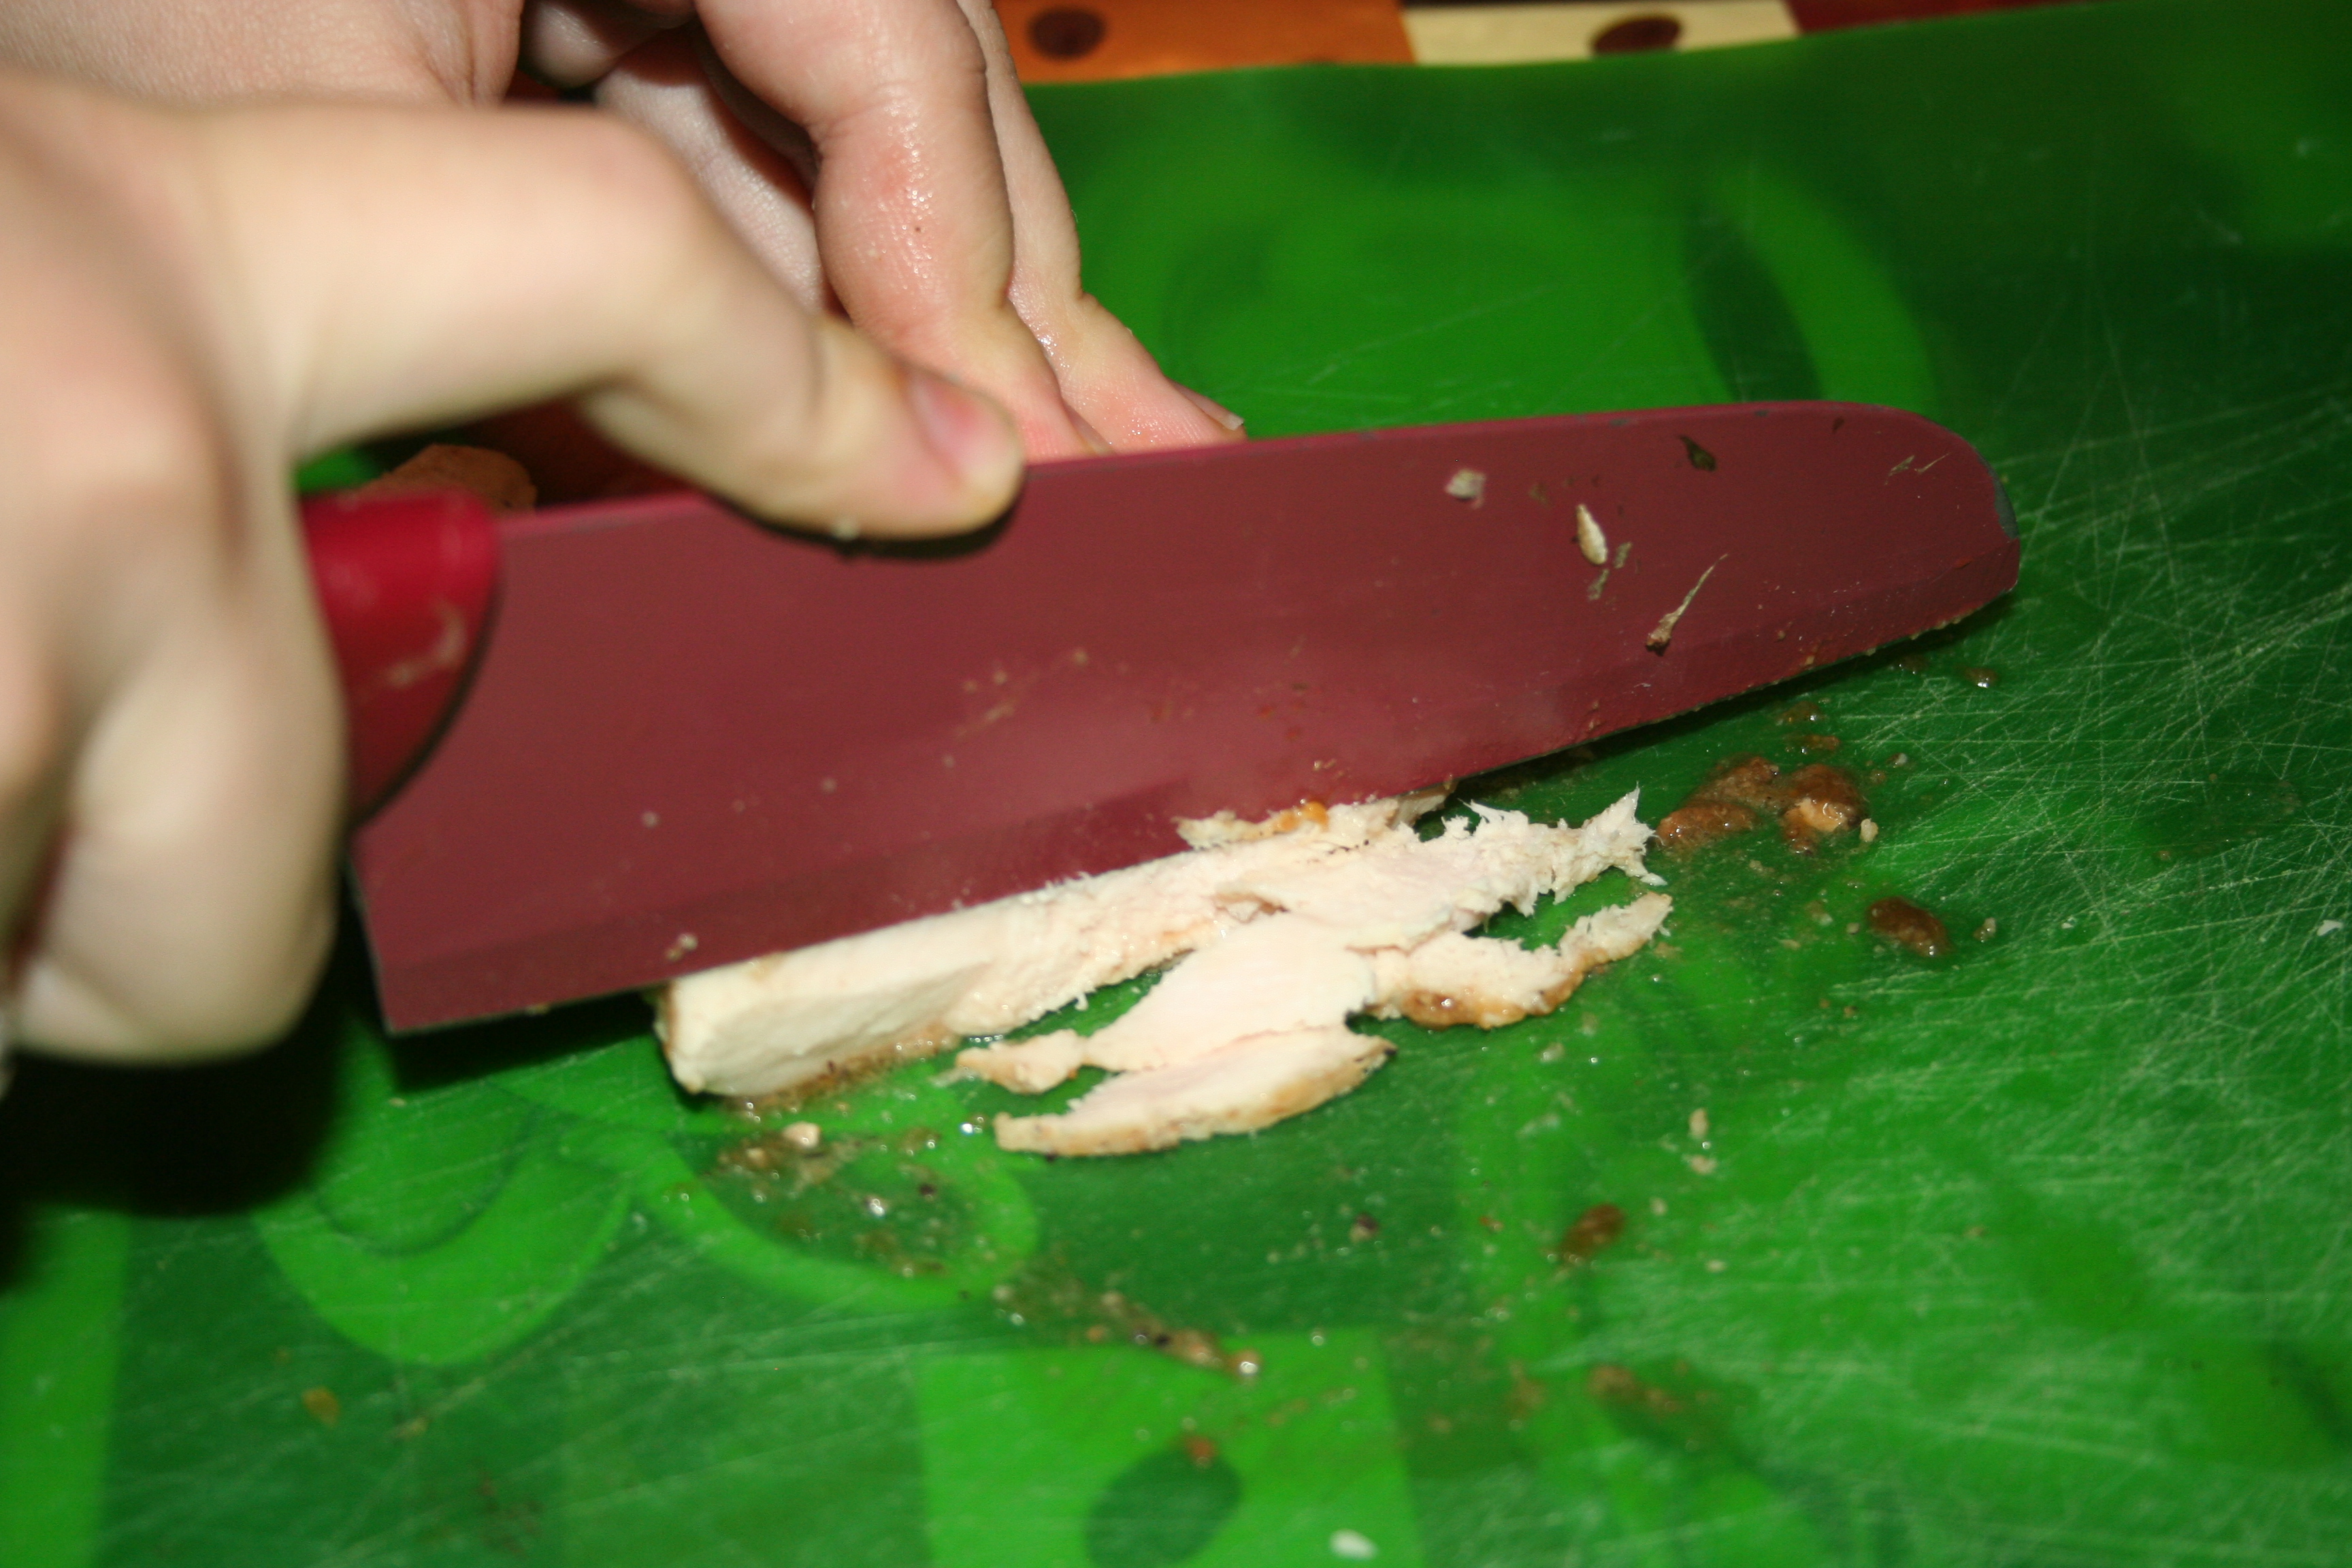
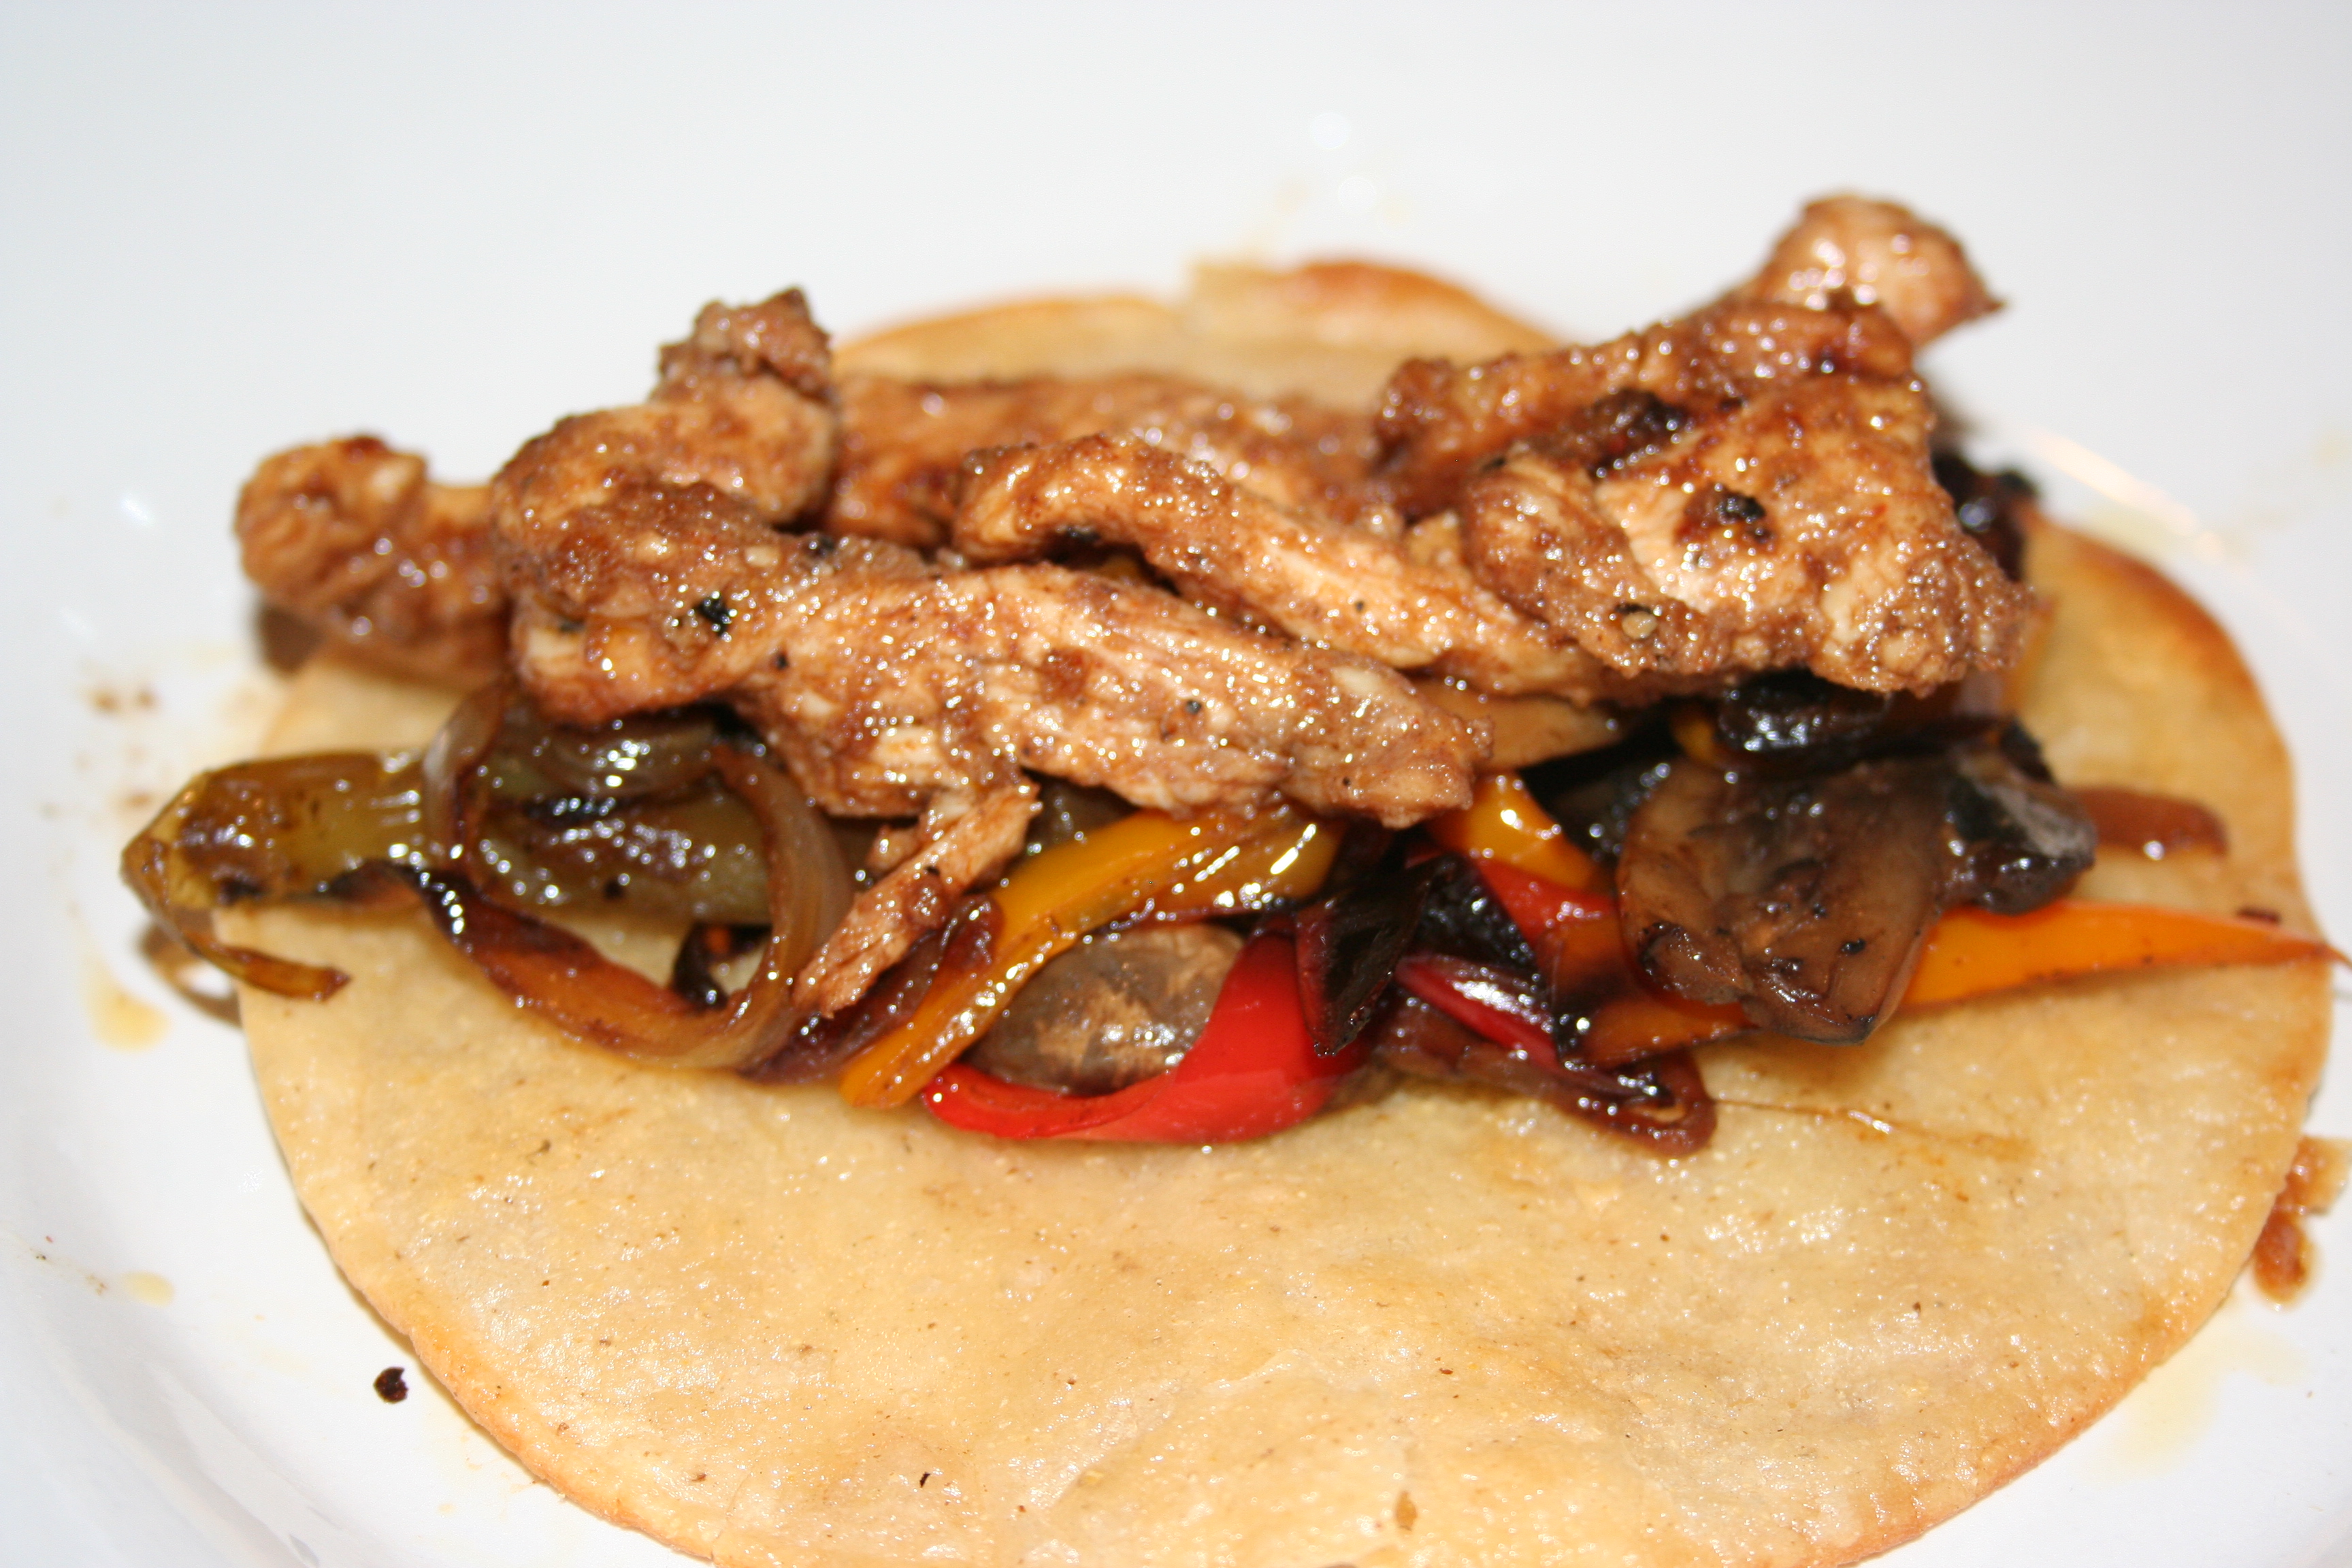
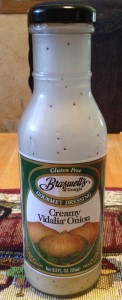
irst then add any extra cold veggies and cheese, then add the cooked veggies and meat, and then top with the fries. I then top it with dressing. I have had it with Ranch, Catalina, and my new favorite Creamy Vidalia Onion; my daughter eats it without dressing – to each his own.Chicken and Fries Salad No Dressing

Chicken and Fries Salad

Ingredients

  • Lettuce or your preferred salad blend
  • Veggies of your choosing, I use:
  • Radish, sliced thin
  • Carrot, shredded
  • Mini Bell Peppers, finely diced
  • Tomatoes, diced
  • Cucumber, cut as desired
  • Small Onion, diced
  • 4-6oz Fresh Mushrooms, sliced
  • 1# Chicken Breast, boneless, skinless, cut into bite-size pieces
  • 8 oz. block, Sharp Cheddar Cheese, or variety of your choosing, cut into small cubes
  • 32 oz bag frozen french fries, regular or seasoned (I use about 3/4 of the bag because we love fries.)

Instructions

  1. Preheat oven to temperature required for baking fries.
  2. Bake fries as directed on package. (I like to add a bit of oil spray to help them get crispy.)
  3. Heat skillet on medium-high with about 1/2 tablespoon butter or oil; add onions and mushrooms. Cook until caramelized adding more butter or oil as needed.
  4. Heat about 1/2 tablespoon of oil in another skillet over medium-high (or add to mushrooms and onions once they are translucent, if you don't have picky eaters) and add chicken pieces; cook just until done (over-cooking makes the meat tough).
  5. Make base salad combining lettuce, radish, carrot, peppers, and any other veggies you like.
  6. At the table, I layer base salad, cold veggies, cheese, chicken, warm veggies, fries, and then dressing.
https://lifeofjoy.me/chicken-and-fries-salad/

Until next time, God bless,

Michele ºÜº